
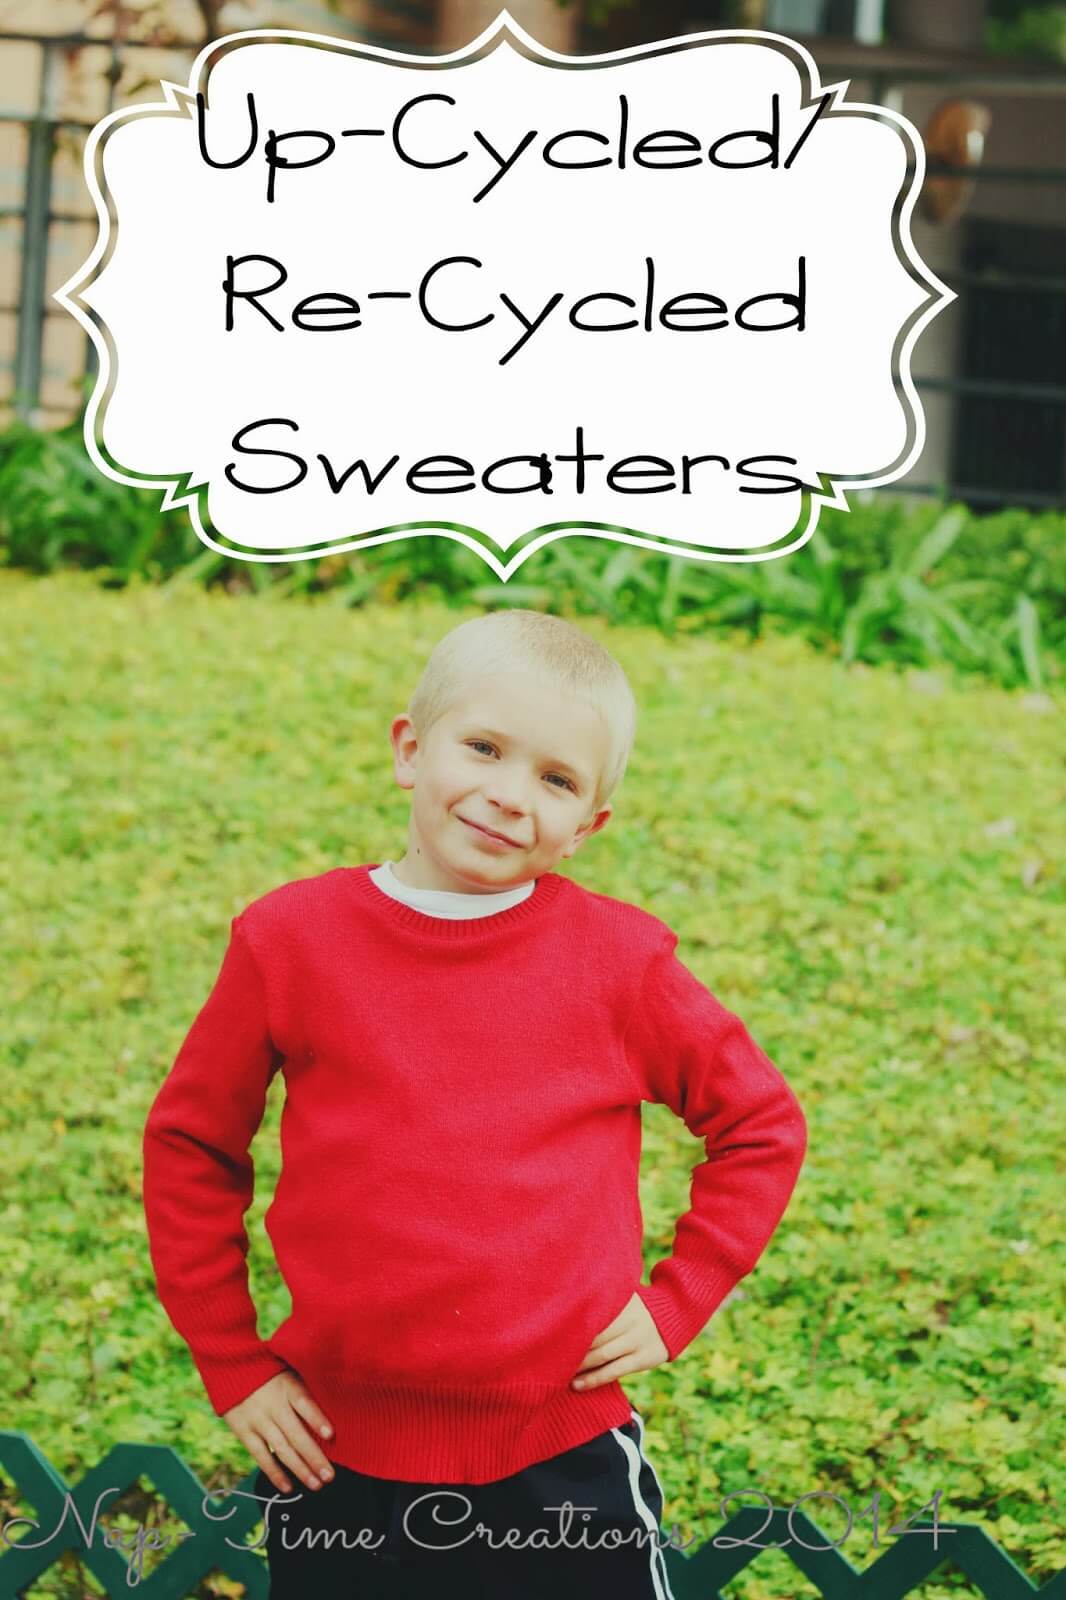
I am so excited to sharing this project, because it turned out exactly as I had hoped… You know the feeling… when you aren’t sure how the idea will turn out {because you’ve never done it before} and then it goes exactly as planned! SCORE! These upcycled sweaters came out just as I wanted them to.
I had put aside two sweaters of mine… I cut both sweaters down from an Adult Small to a 6T {I made them big so he can also wear next year}
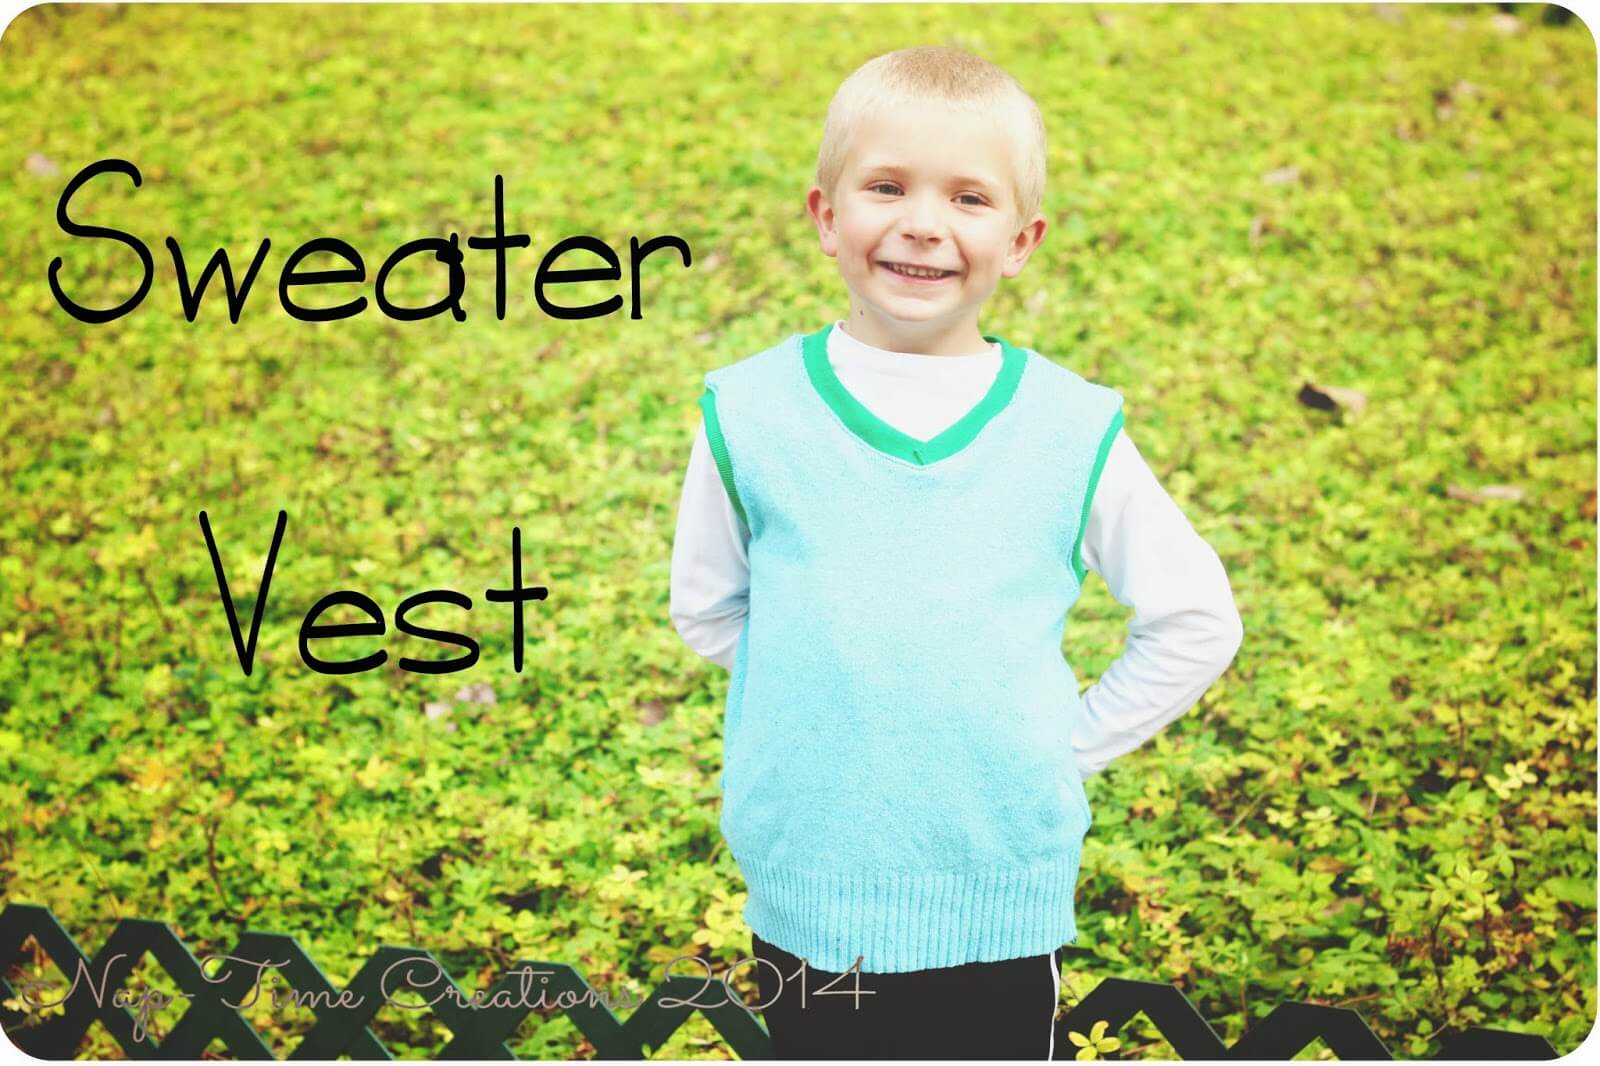
the blue became a vest.
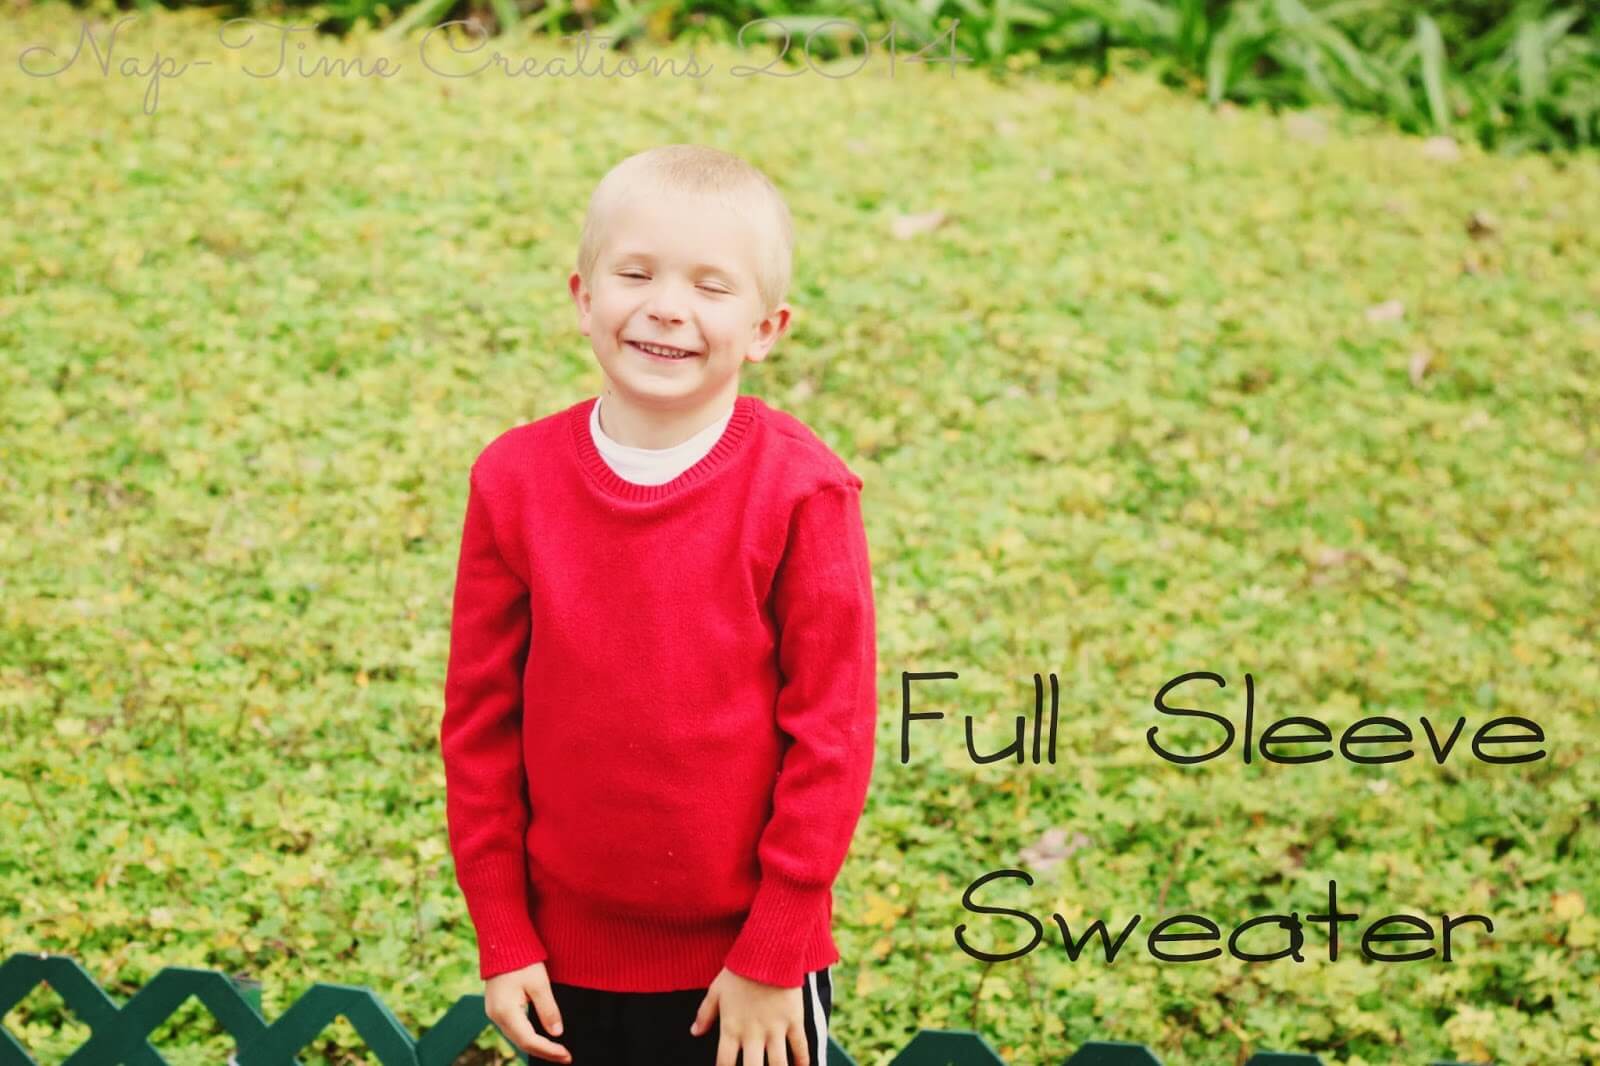
And the red one I kept a full sweater.
I’m going to quickly share how I downsized both sweaters… I used my new serger sewing machine {cheering!!!} and the sweaters were both small knit, so they didn’t fray too much while I was working with the pieces… I assume that sewing on a regular machine and then zig-zagging the edges would also work, but I have not tried that method.
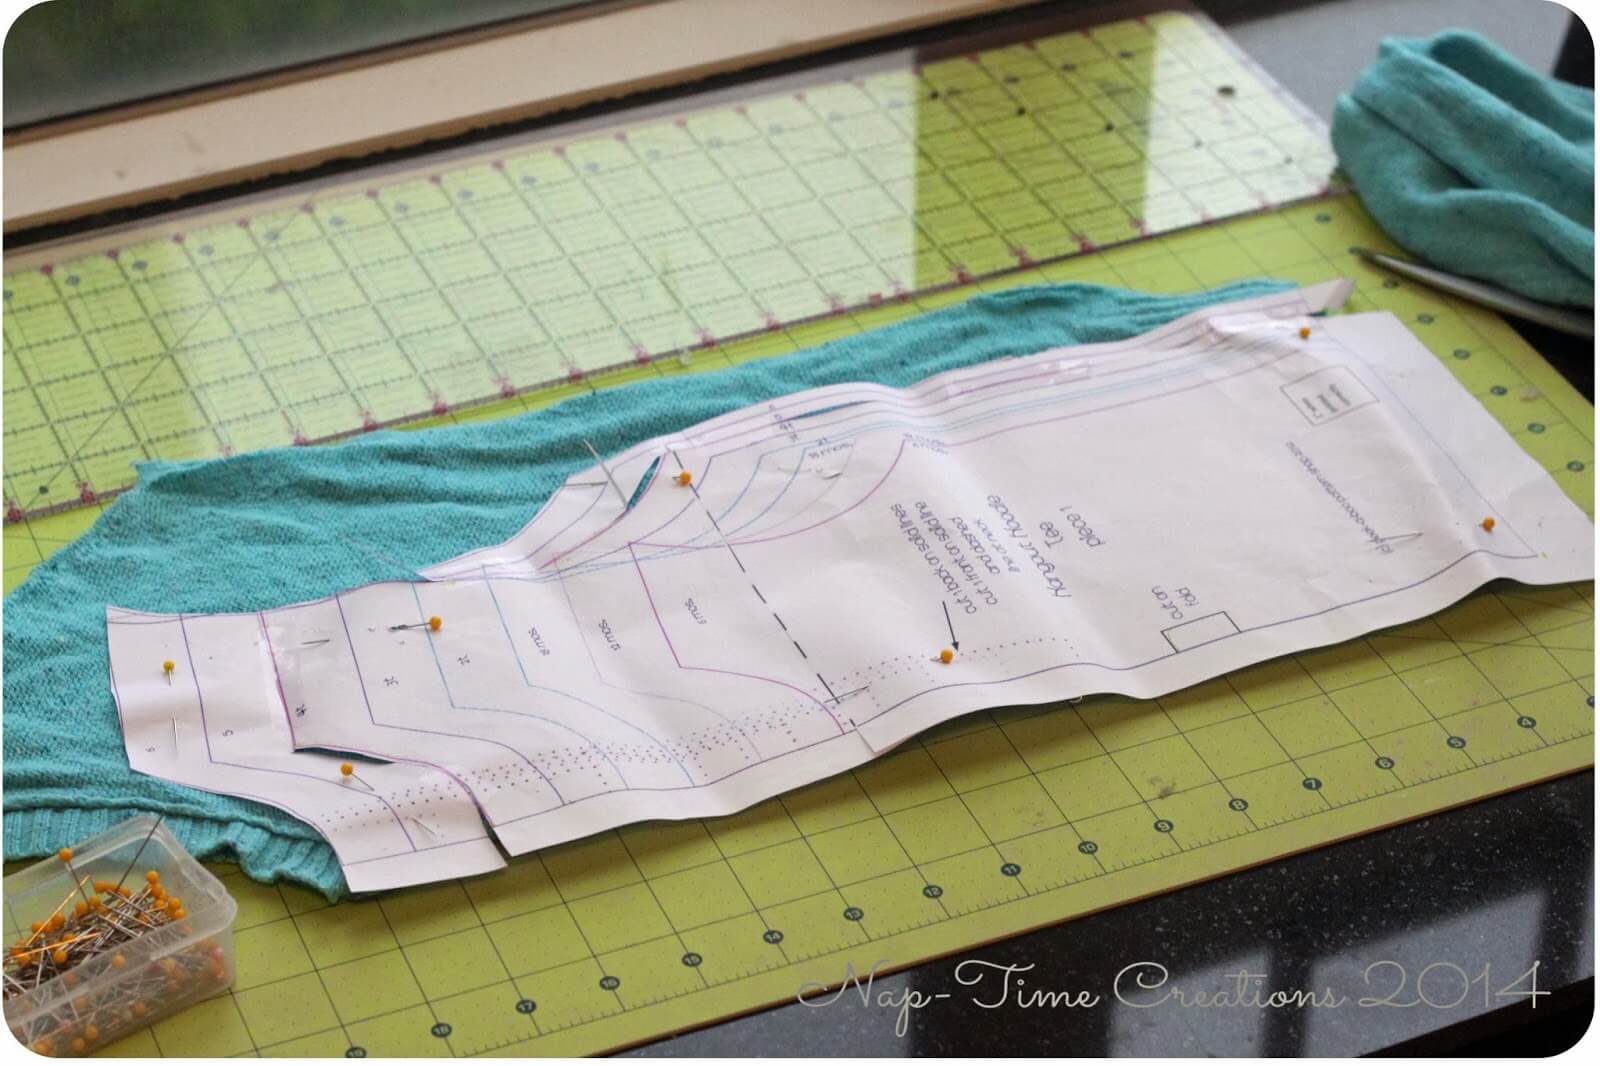
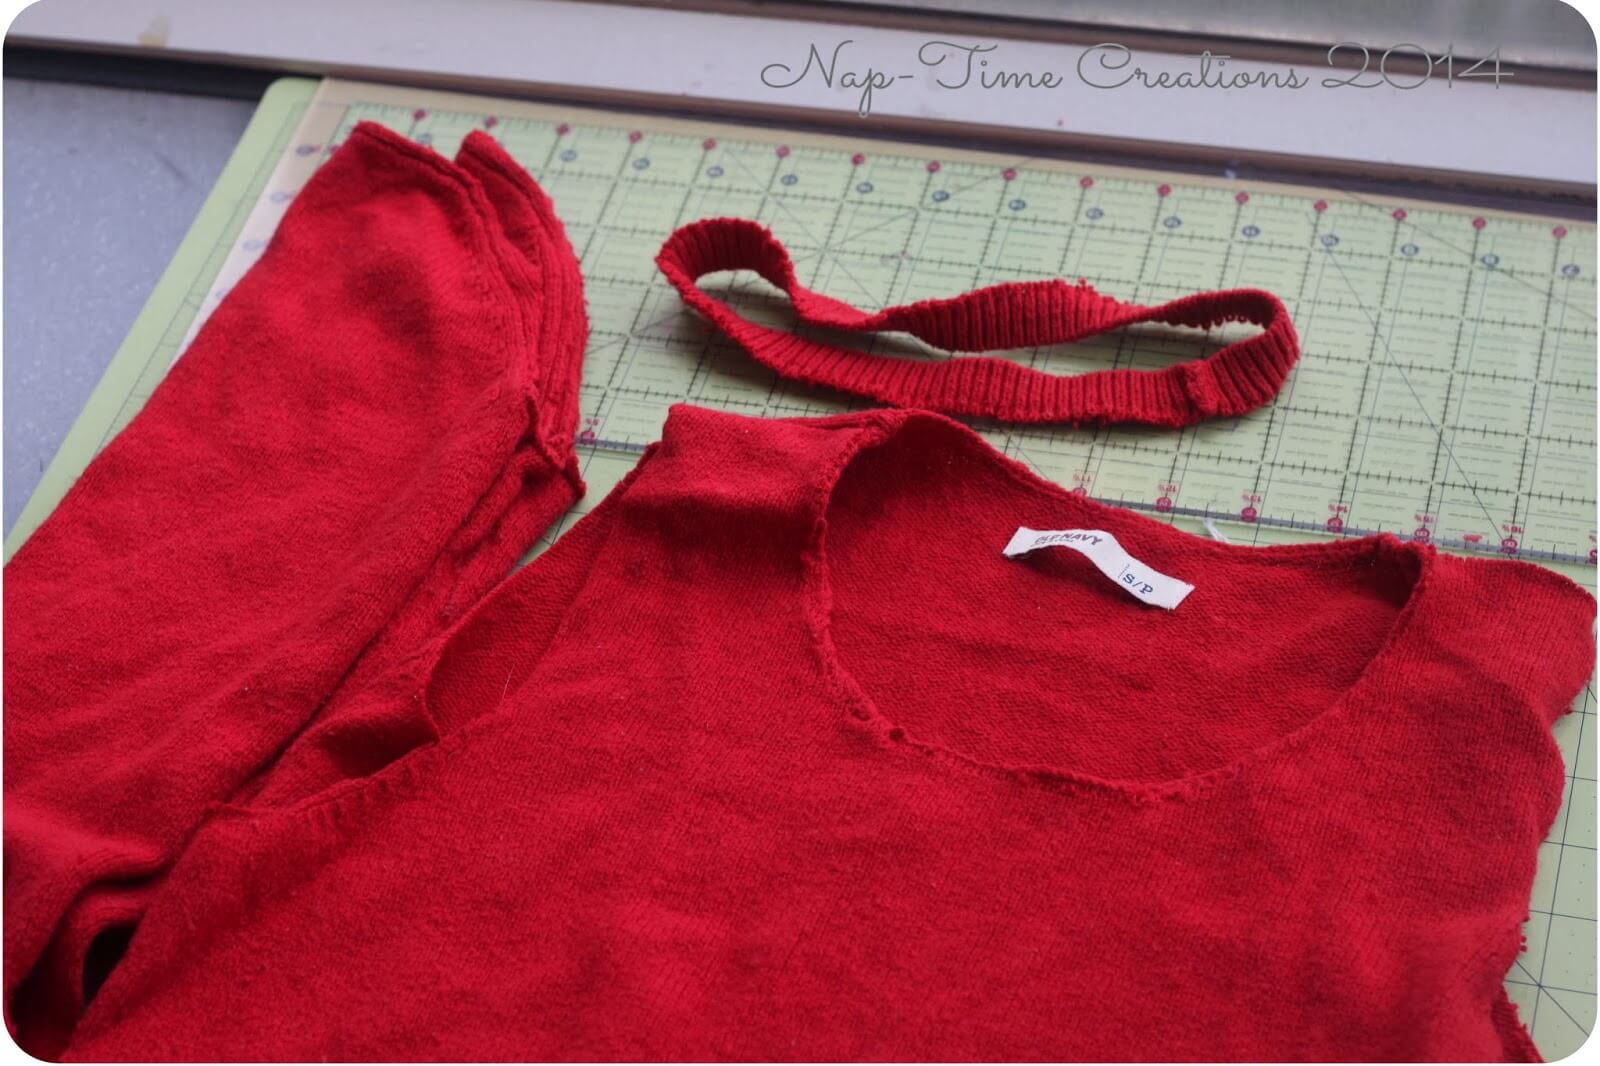
Start by cutting the sweater all apart…
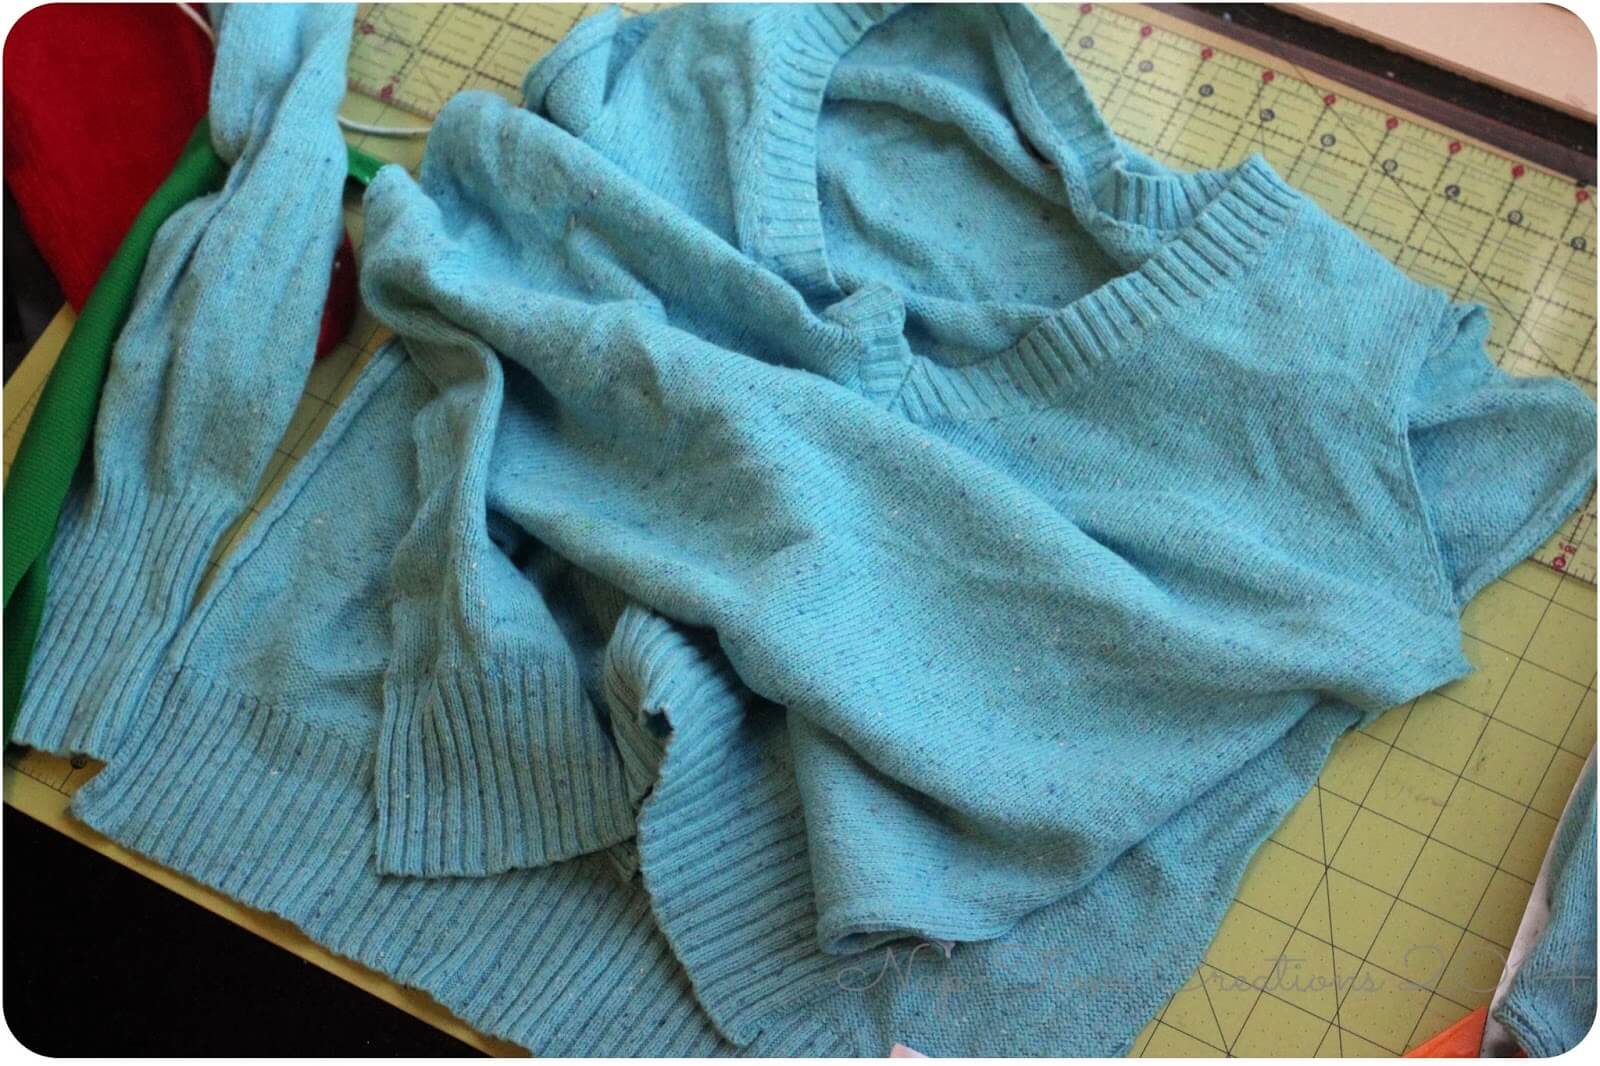
Then use a pattern you already have to create the vest. I just used the front/back piece.
**everything is sewn with a serger sewing machine**
I also turned the rounded neckline into a V-neck.
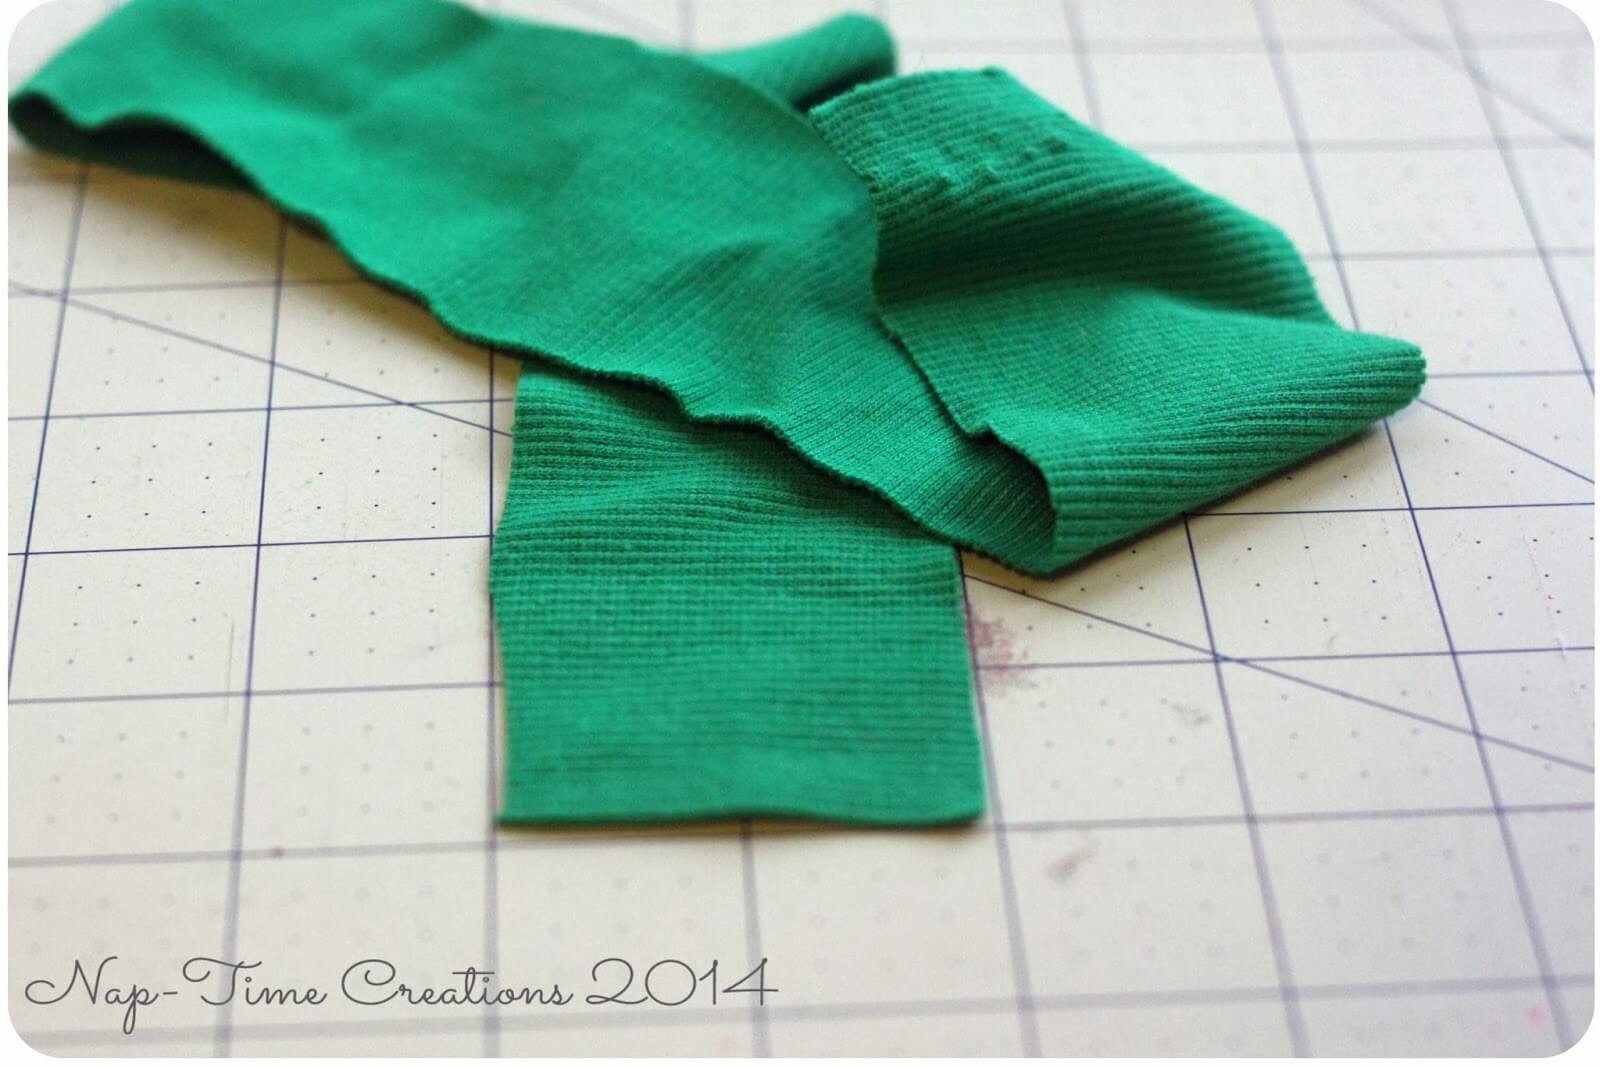
For the sweater vest, I wanted to try using ribbing for the neck and arm holes. I cut the ribbing 2″ wide x the measurement of the neck.
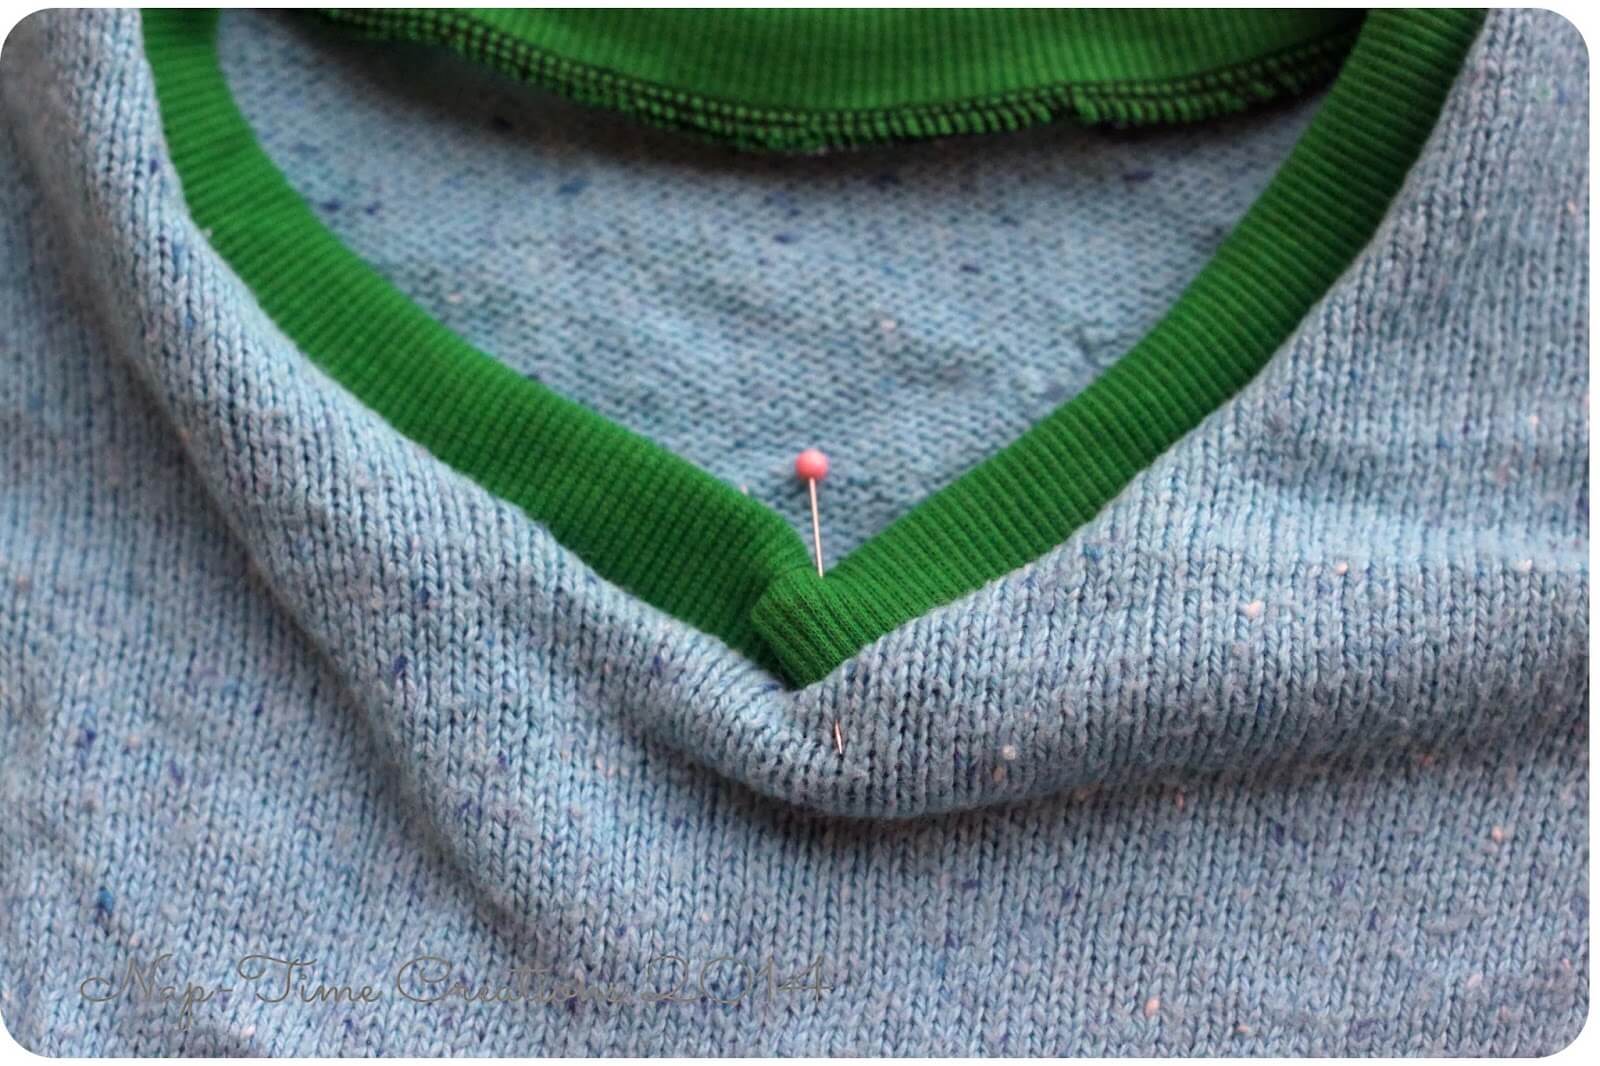
Sew the shoulder seams. With right sides together sew one of the short ends closed. Turn and place the finished edge at the V on the neck. Pin the ribbing around the neck and sew around.
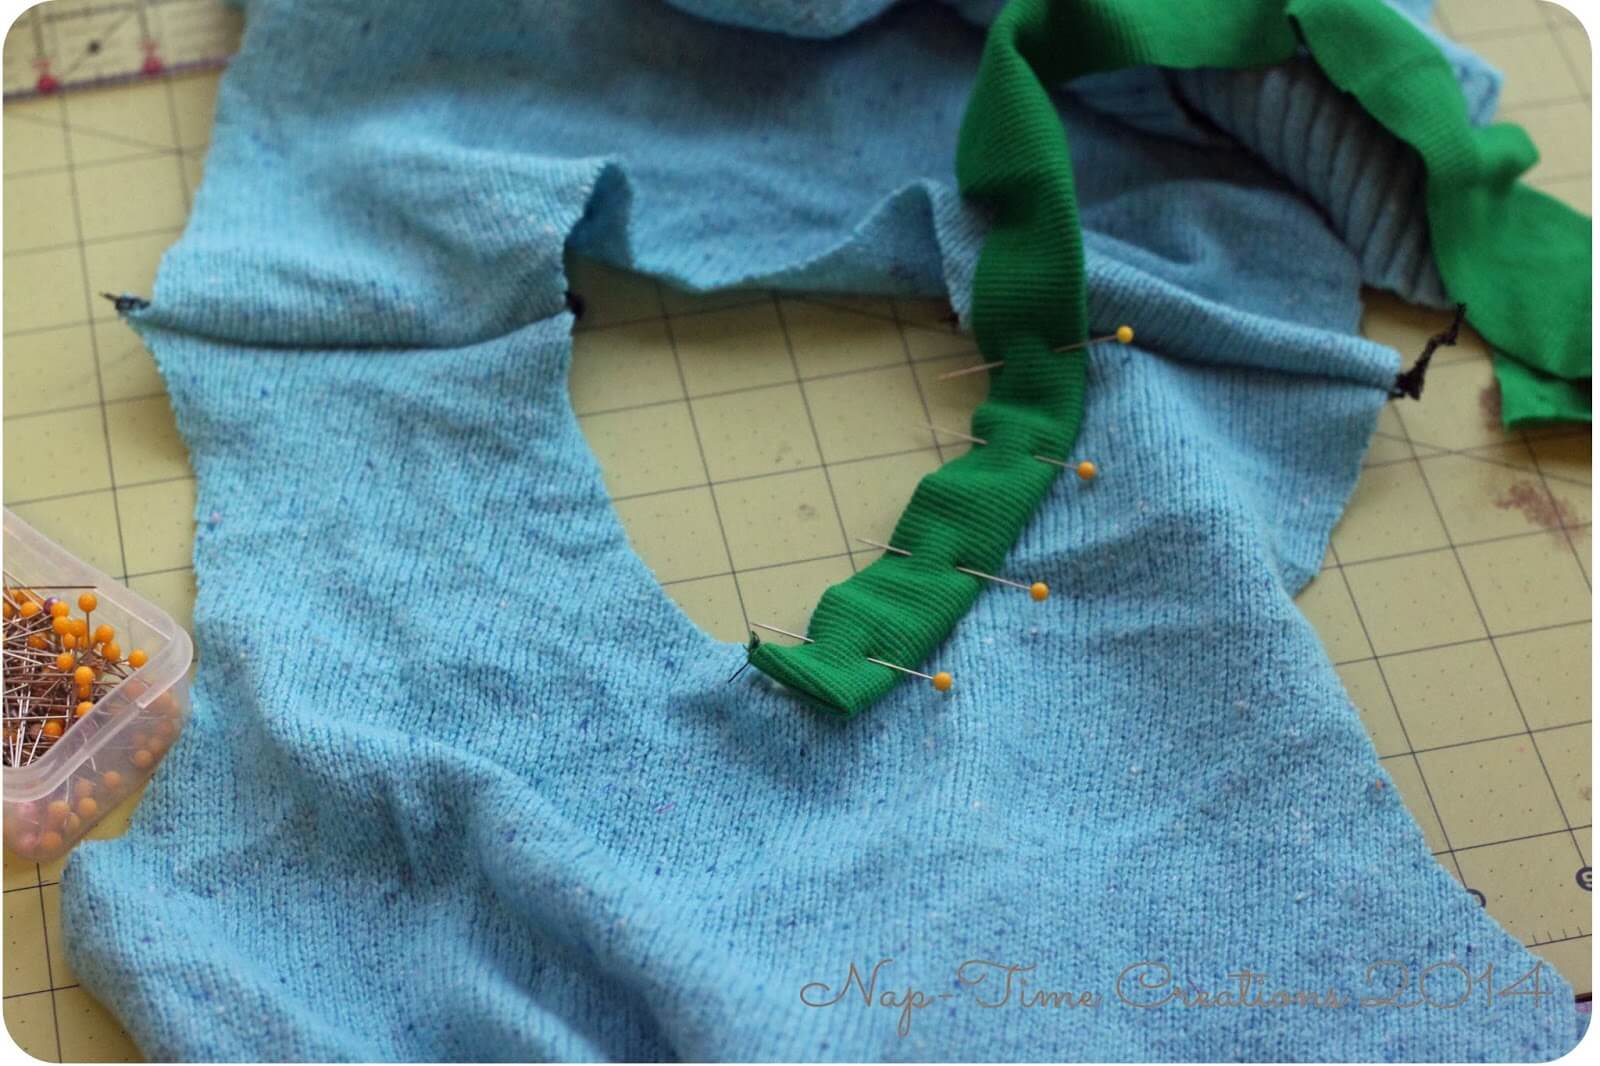
Now you should have something that looks like this.

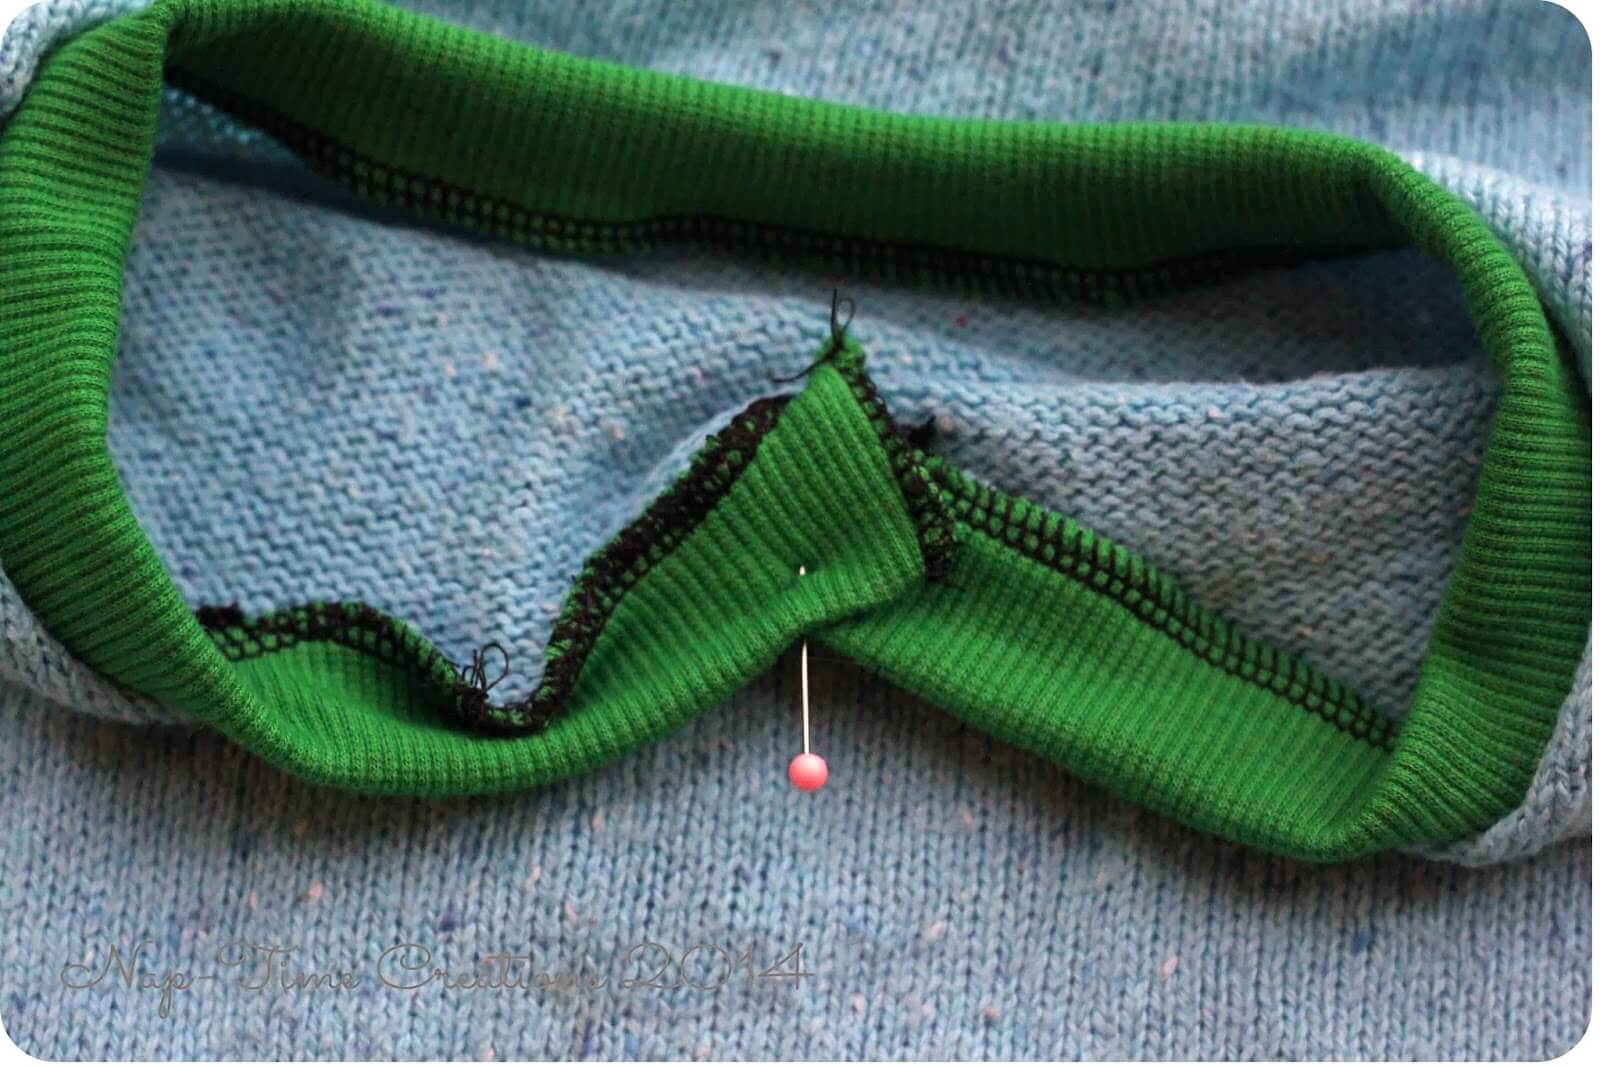
Trim and tuck the end to the back of the V.
I serged the end closed, but I don’t think it would fray if you just left it raw.
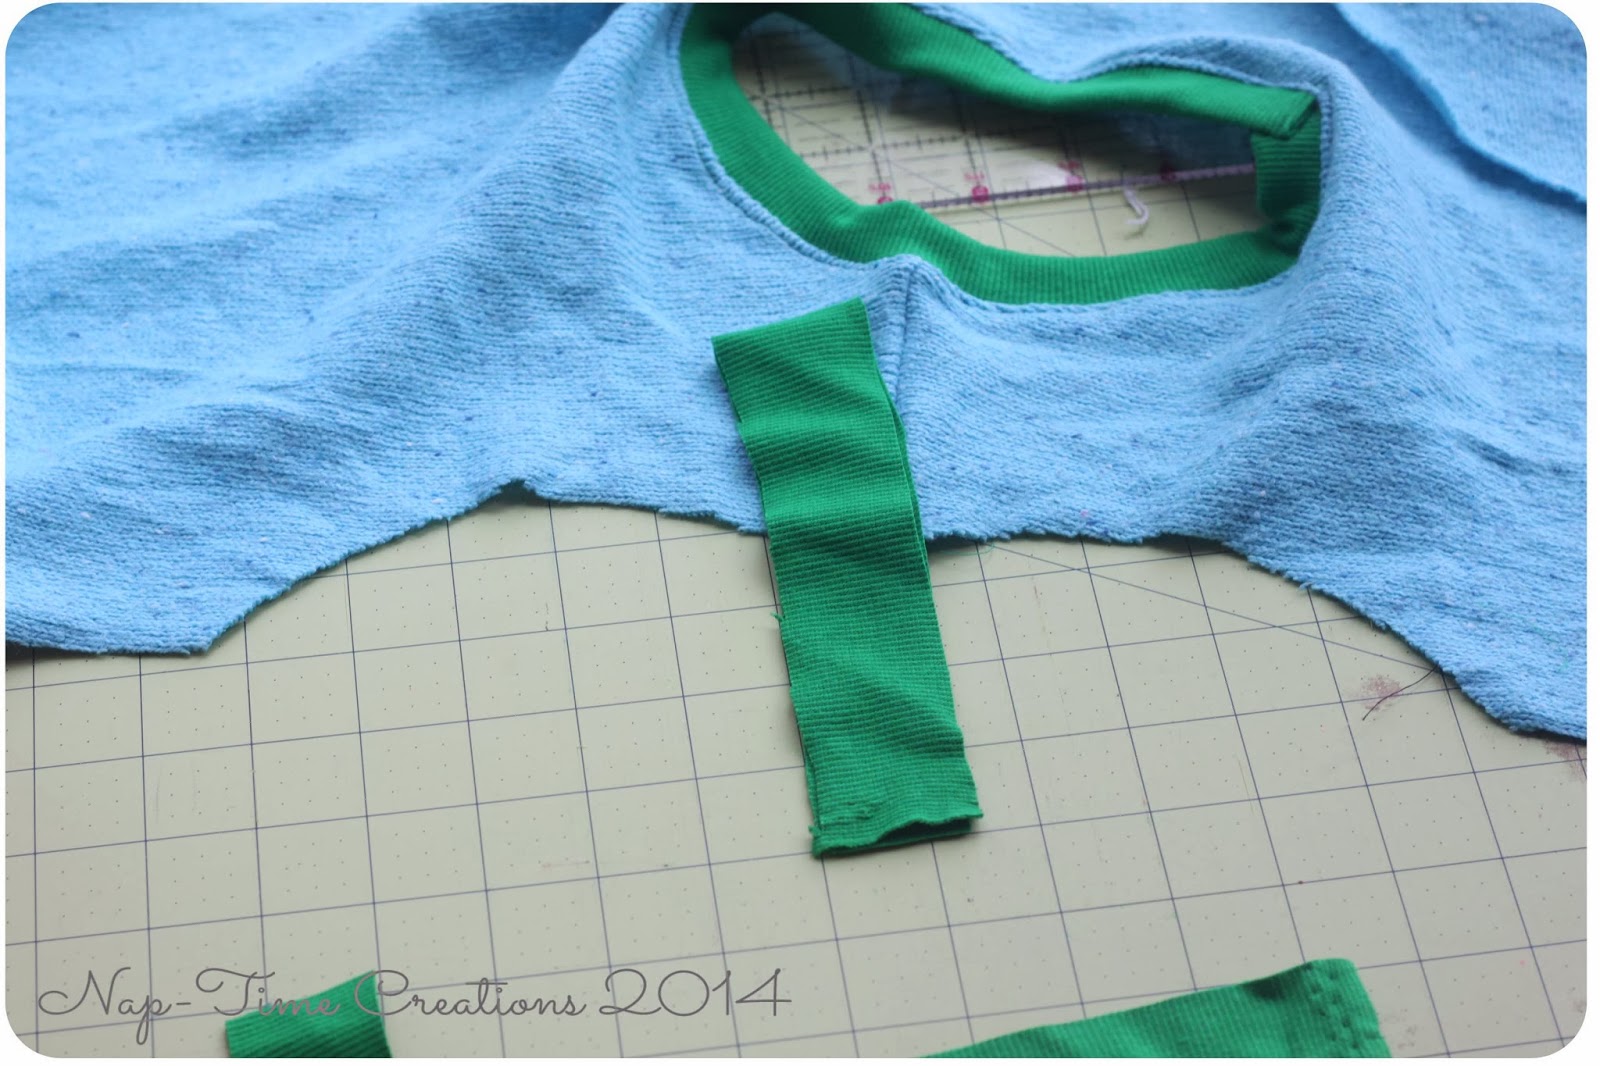
Turn and stitch down the front {I’m not sure I like how mine is angled…} hmmm..something to improve next time. Top-stitch with a regular sewing machine around the neckline.

The arm holes were even easier. I cut the ribbing a bit thiner 1 1/2″x the arm hole length. The folded in half and serged along the edge.
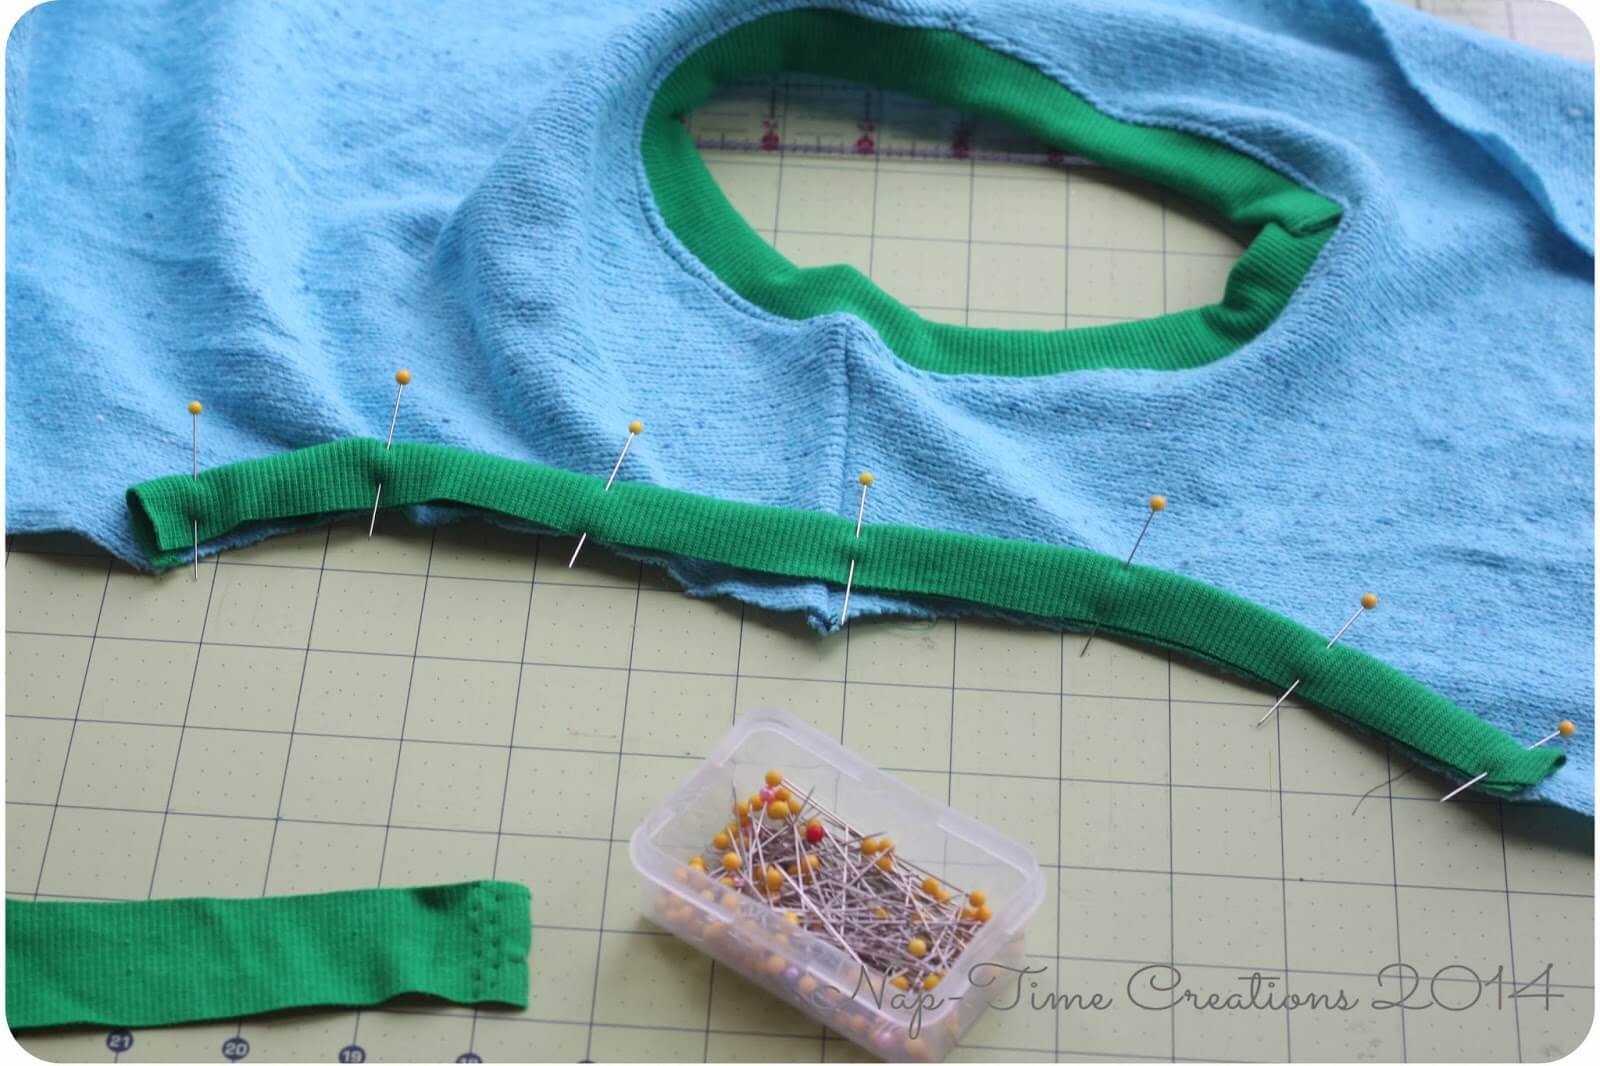
I sewed the side seams and top-stitched around the arm hole to finish the sweater… EASY, right?
Now, to make a long-sleeved sweater and not the vest, I just made one change. I also re-used the original neckband. I carefully cut it off the sweater.
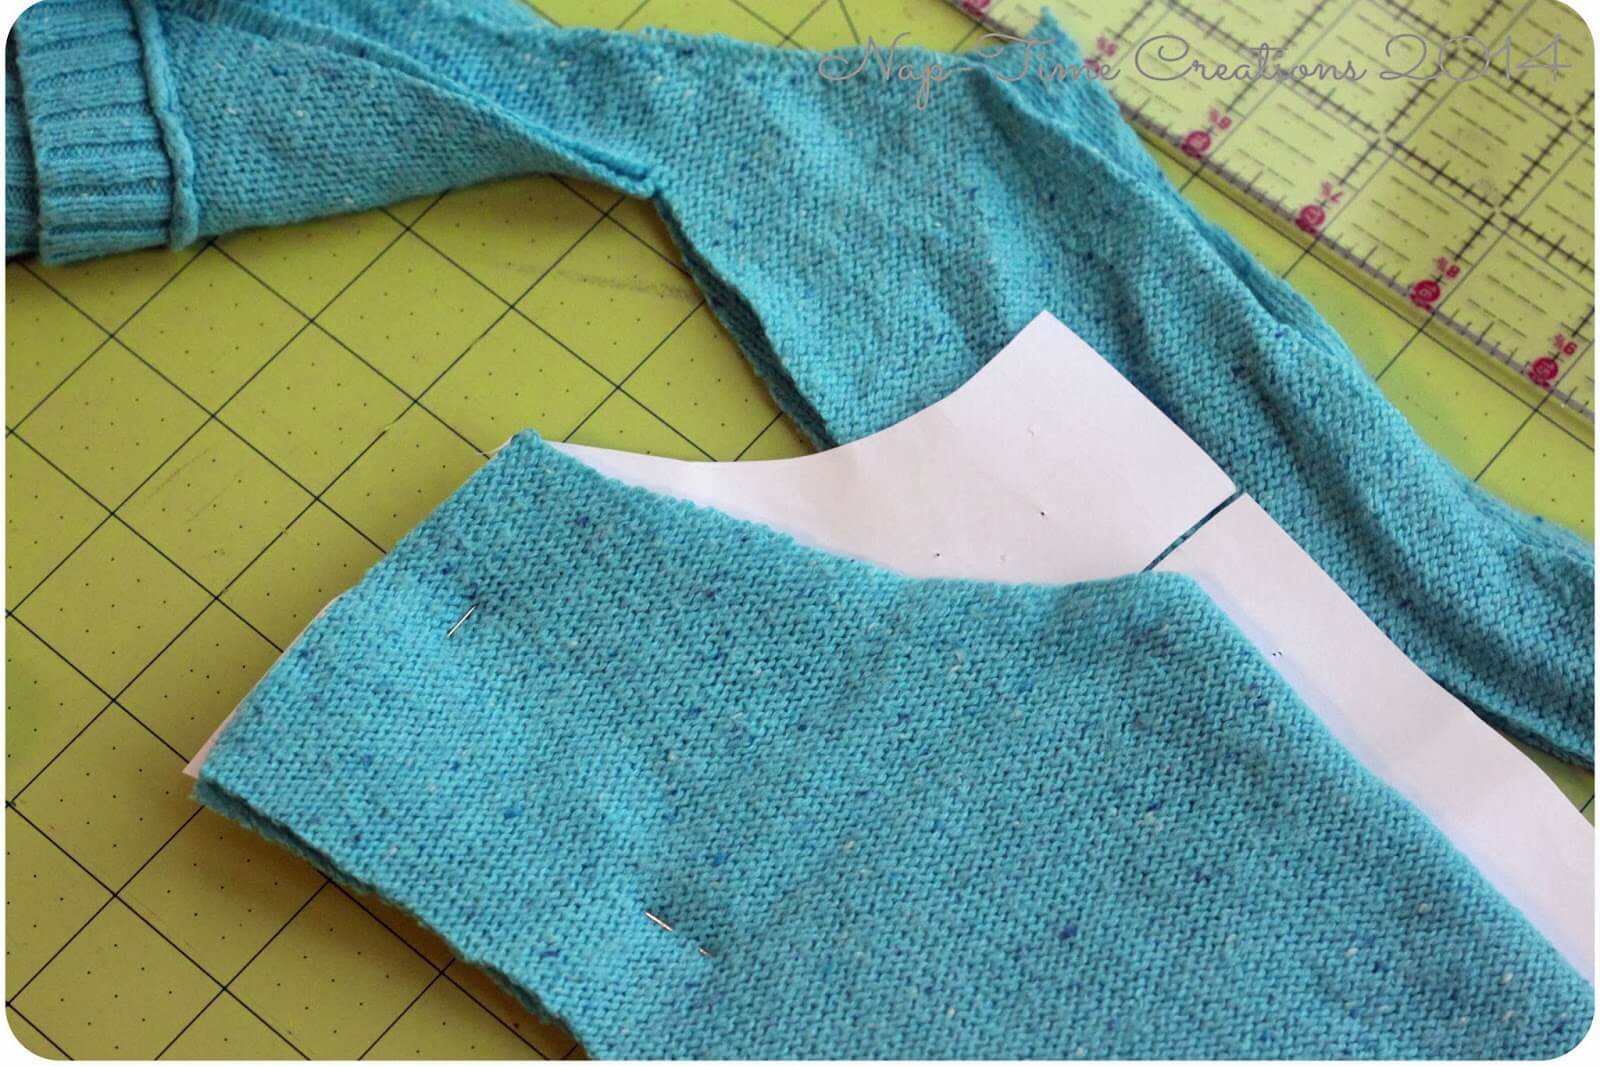
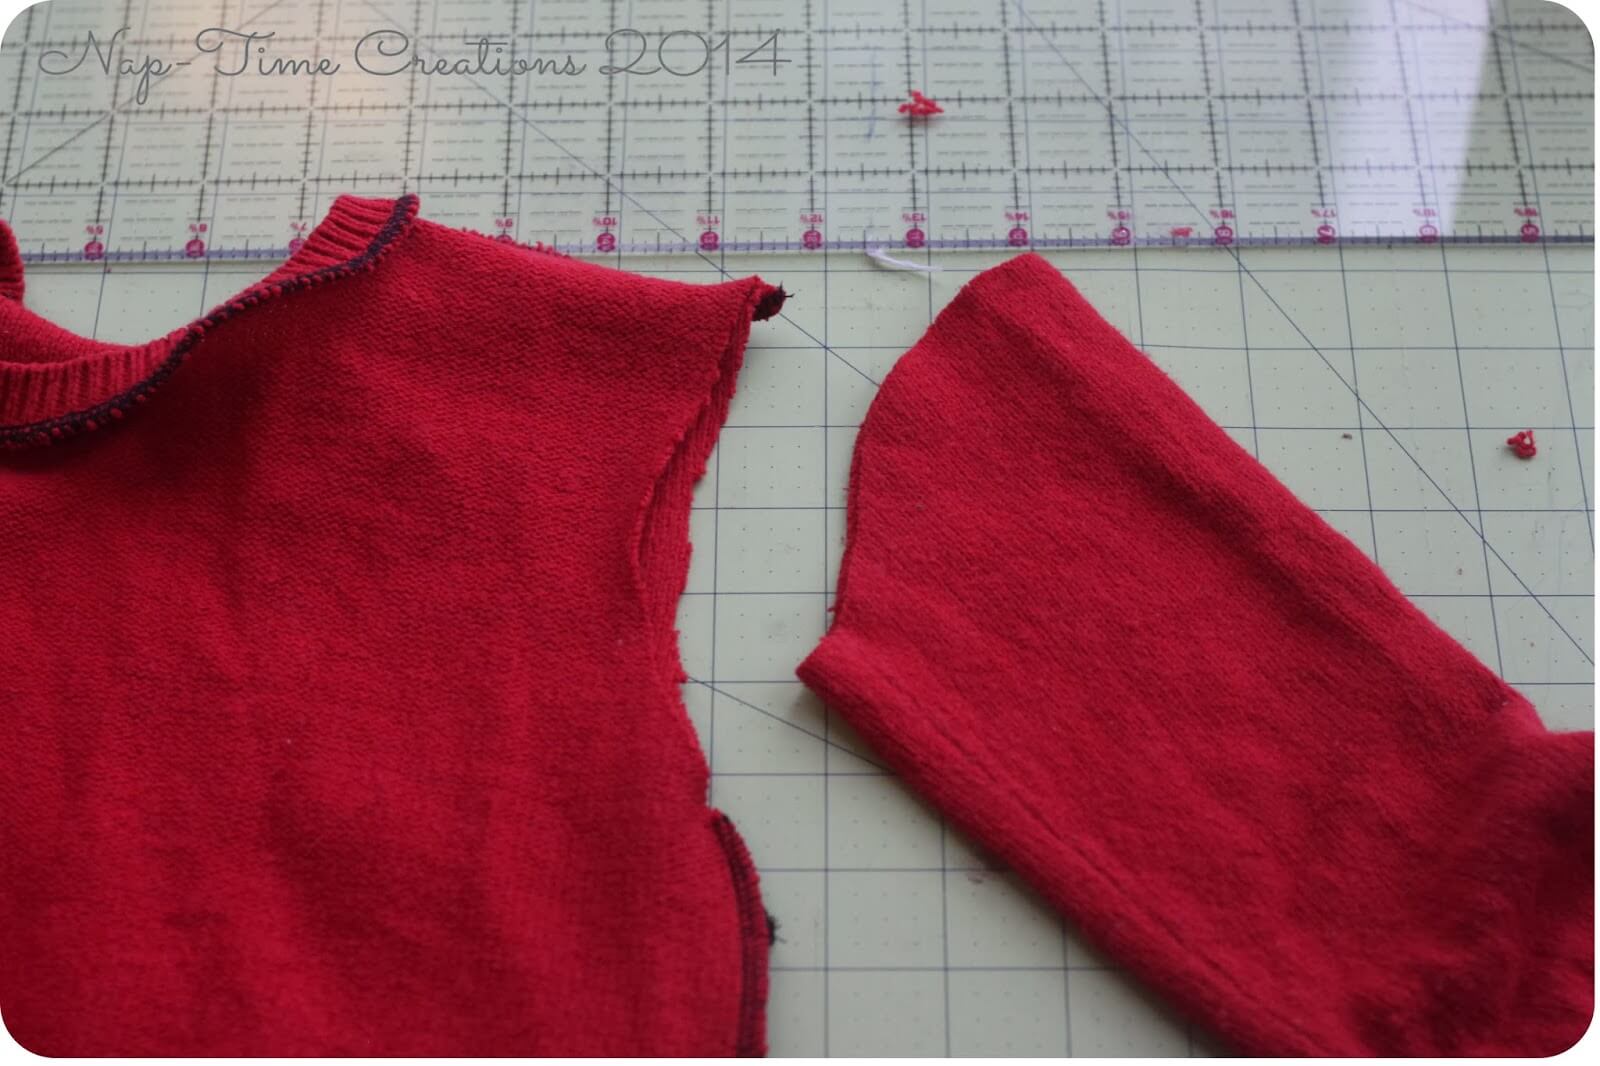
 I also kept the wrist cuffs on the sweater and just used a sleeve pattern as a guide for the curve at the top.
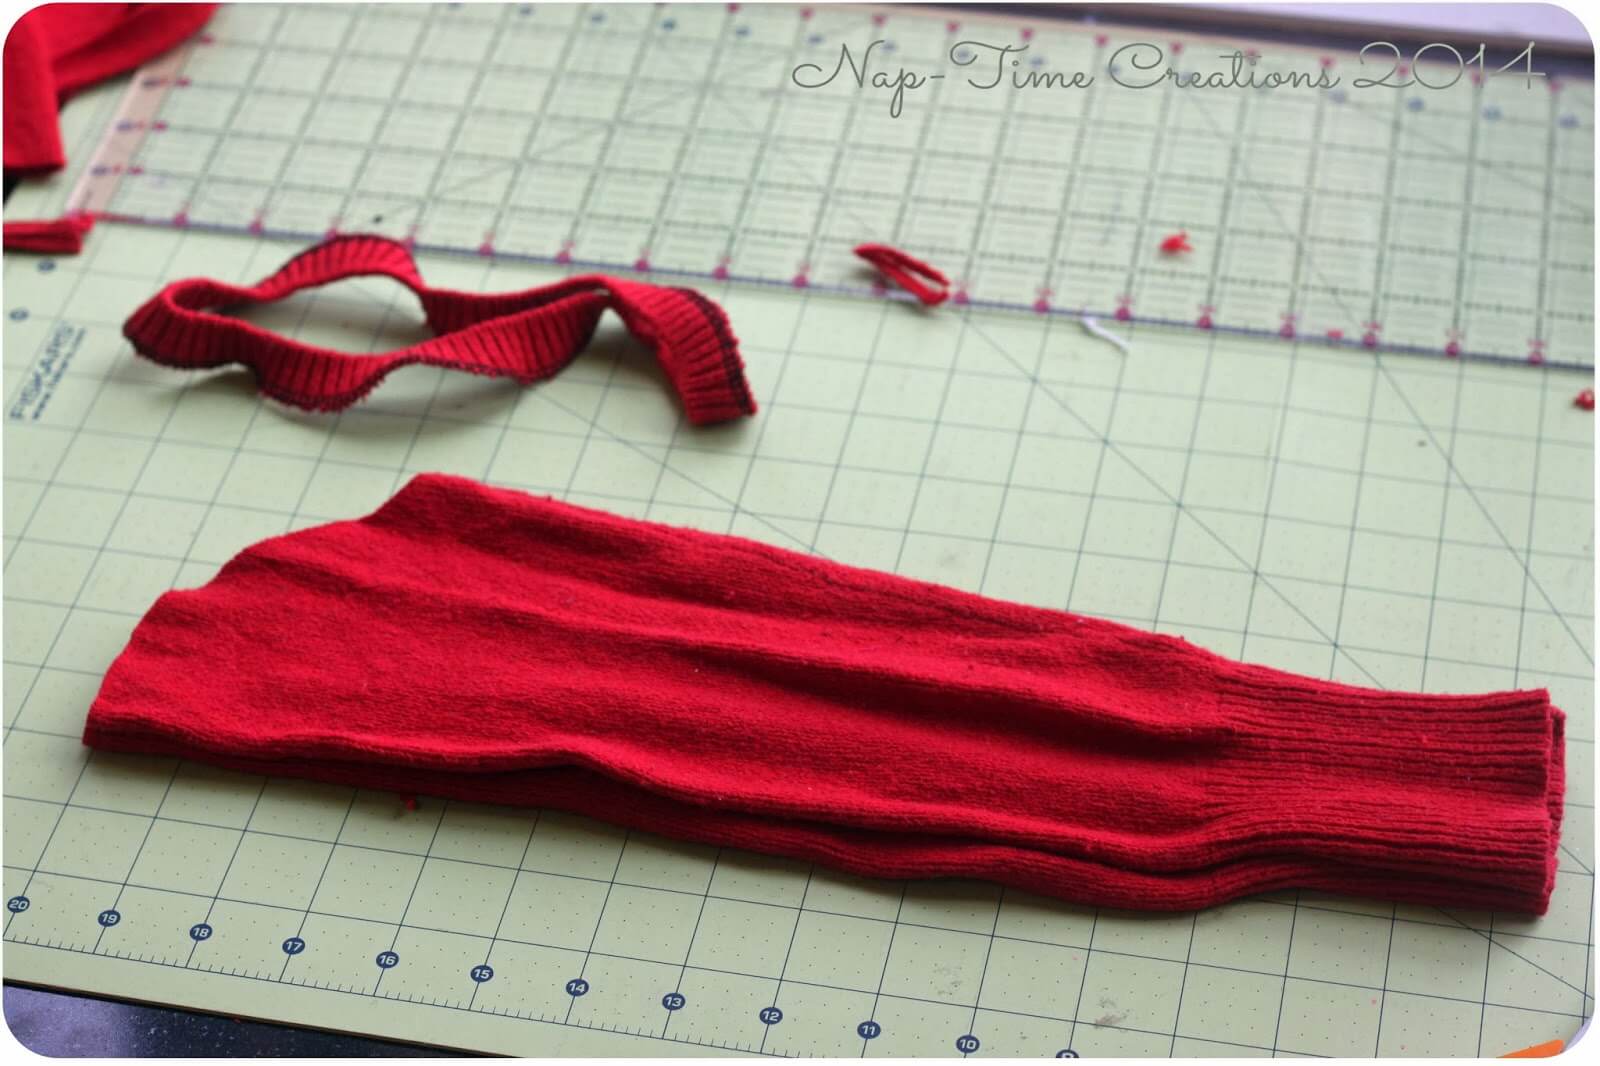
assemble the sweater as you would any shirt… shoulder seams, neckband, sideseams, and finally the sleeves. You don’t have to finish any of the cuffs or bands, because you just used the original sweater ones!!
and that’s it!!! YEAH!! easy right? What a great way to keep the life of a sweater going. Just because I was tired of these two didn’t mean they were done…
and now for some super awesome modelling poses, courtesy of my son… He thinks every shot is an action, and I love his duck lips… oh dear!

Have a sweet sweater day!


Linked one or more of the parties on my link party page HERE
Looking forward to seeing you around the blog…. don’t be a stranger!


no man's sky download day one patch says
hello!,I love your writing so much! percentage we keep in touch extra approximately your post on AOL?
I require a specialist on this house to solve my problem.
May be that is you! Having a look ahead to peer you.