Every school day I pack 3 lunches, 3 snacks and 1 breakfast. With two boys in school and a principal husband who heads to work super early, I have to be organized with my packing. I’ve got the lunch box part down {you can see my reviews here} I feel like I still use a lot of plastic baggies with all this packing, so I made myself a batch of reusable snack bags to make my lunch packing more green. I’ve got that tutorial for you today as well as some great tips for healthy snacking. I used adorable black and white fabric to make these reusable snack bags a color-yourself-version. 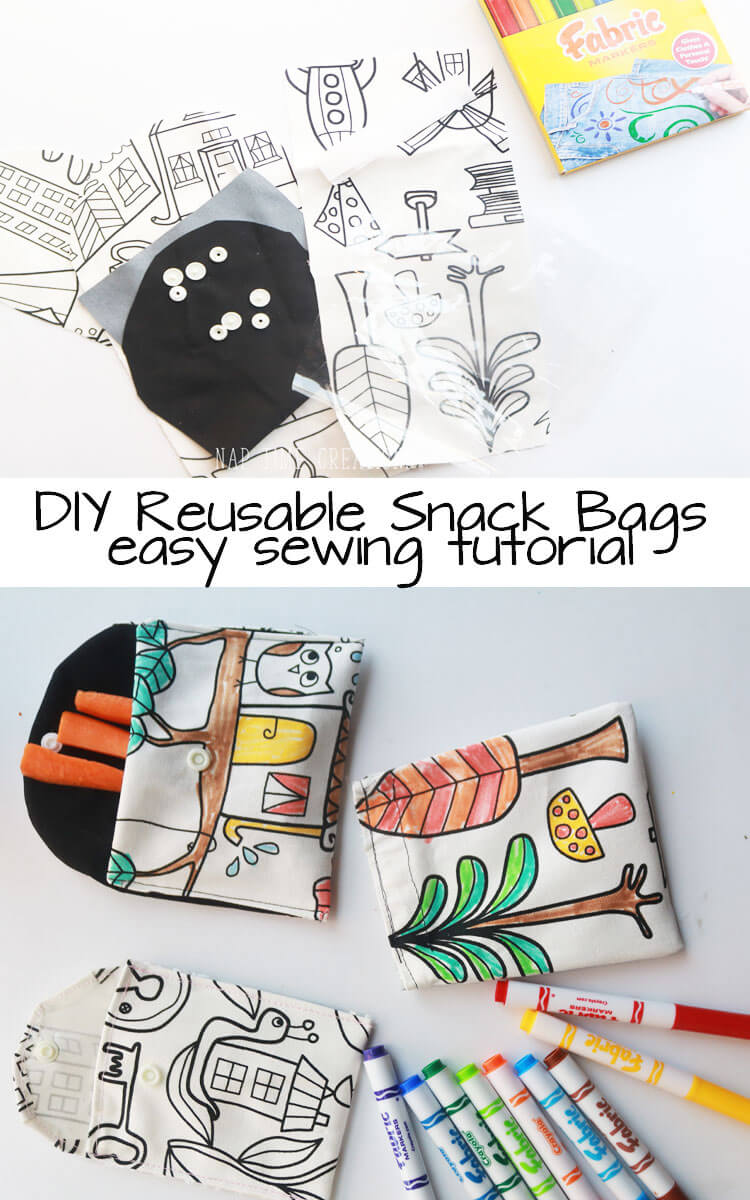
Grab your favorite snacks {we are super into VitaTops™ MuffinTops right now} some fabric markers, Color-Me Fabric and let’s get started.. You will also need some clear vinyl or other laminated plasticy {not a real word… I know!} type fabric. In the video I used a black wipe-able fabric for the bag liner. It’s water resistant for apples and carrots, etc. You can also use vinyl as I’ll show you below.
The sewing required for these reusable snack bags is quite simple, so I’m going to show you how to make these. VitaTops™ MuffinTops come individually wrapped, so you can pop them right in your bag OR put one in your newly made reusable snack bags and get going! We love all the flavors, but the Chocolate and the Golden Corn are SO yummy!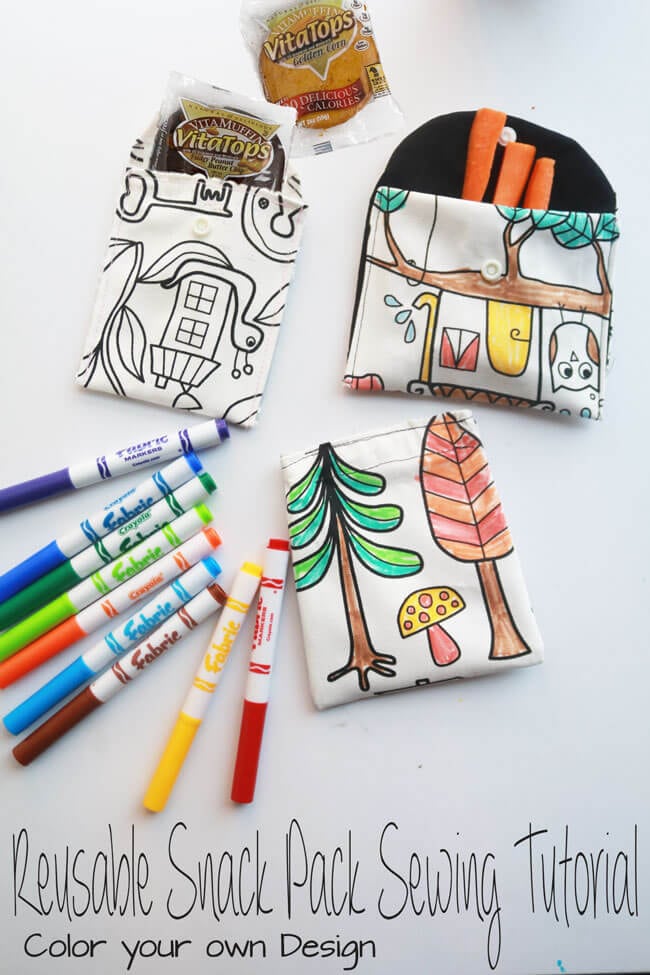
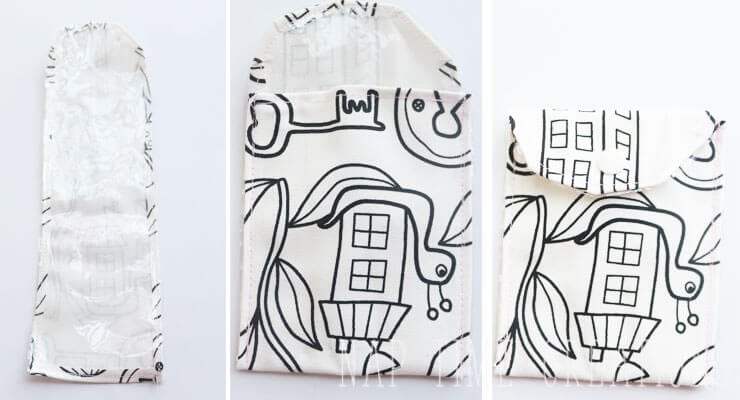
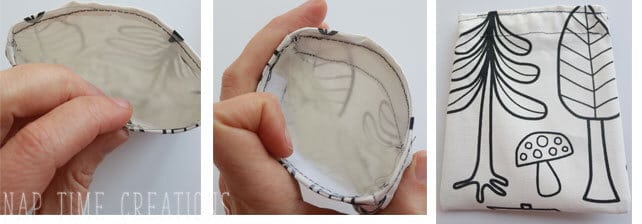
A 1/2 yard of fabric should make you 3-4 reusable snack bags. Cut a piece of fabric 4″ x 13″. Round the top of one short end as shown below for the flap. If sewing and turning {like in the video, cut another piece the same size of lining fabric. If you are using vinyl, cut the vinyl 1/2″ small than the fabric. Iron the edges of the fabric to the back side as shown. Place the vinyl on top and sew around. Fold the bottom up towards the top flap and sew the two sides. Add velcro or a snap for closure. The vinyl is too thick to sew and then turn right side out. So if using vinyl I would make the bags like this.
Here’s another reusable snack bag option… Cut 5 x 12″ and the same from vinyl {maybe cut the vinyl just slightly smaller. I used velcro to close this sack. Sew the fabric right sides together. Also sew up the sides of the vinyl. Turn the fabric out, and put the vinyl inside the fabric. Fold the top of the fabric over and pin.
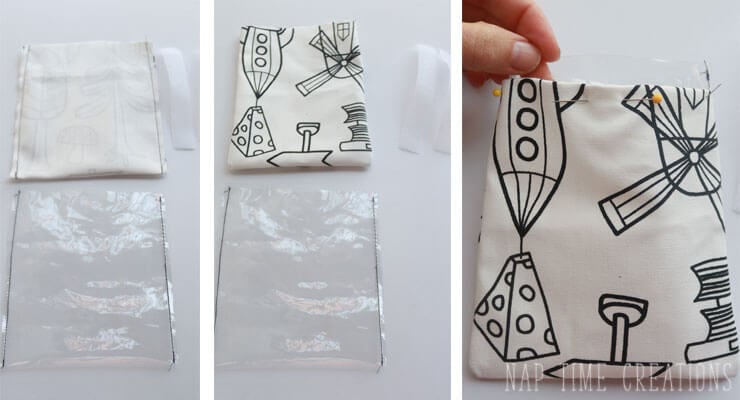
Sew around the top of the sack, trim any extra vinyl. Pin and sew velcro to both sides of the top of the bag, this bag closes all the way across so you can put smaller snacks in this bag.
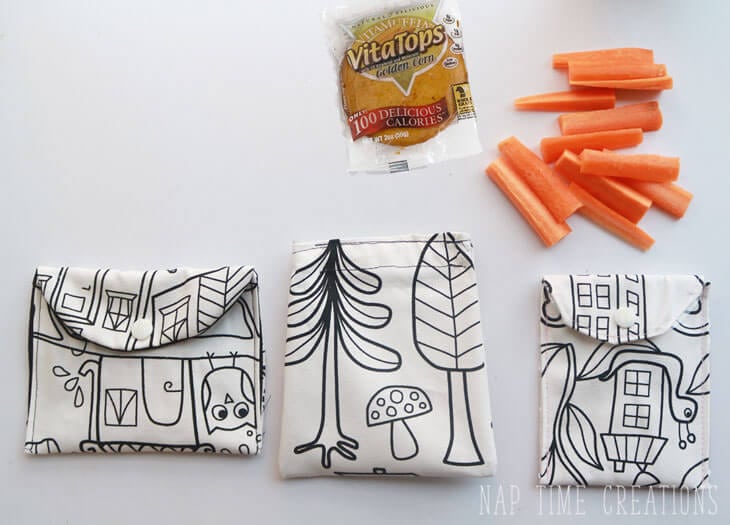
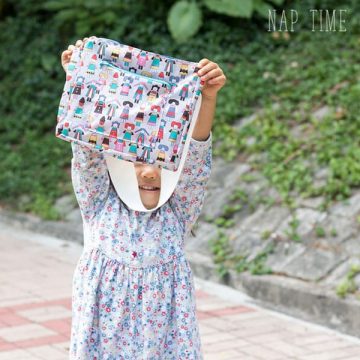
SO fun right? Here are my three reusable snack bag variations.. Color, Fill and GO! Make your sacks sizes that work for you… there is no one way to make them. Let the kids color {or color yourself!!} and enjoy.. I’ve already taken my bags out a few times.
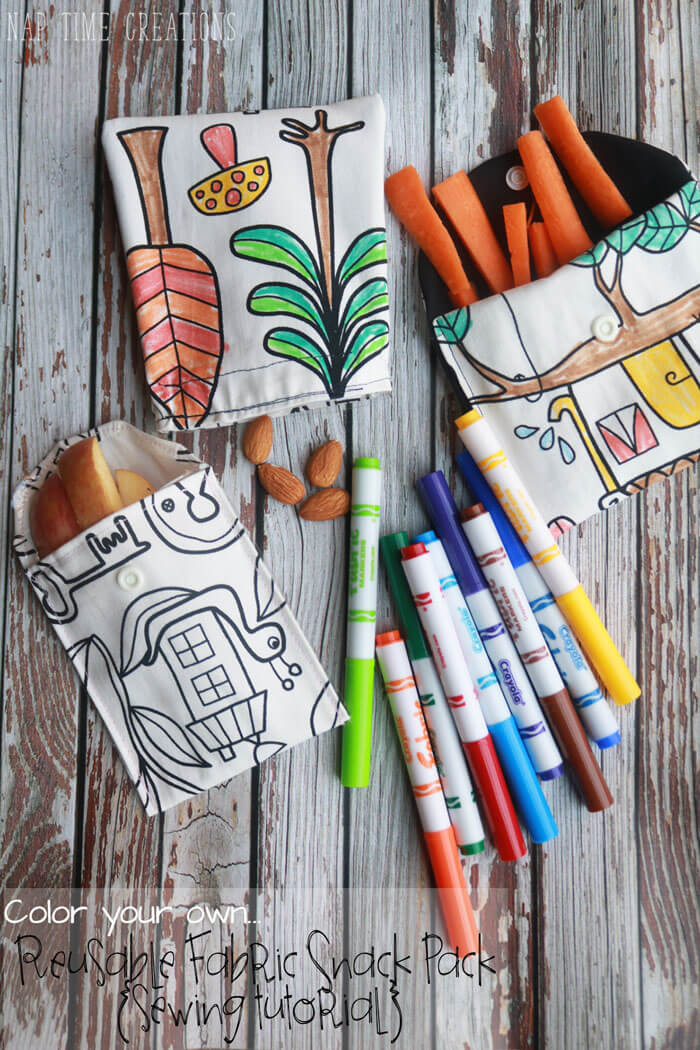
Perfect snacking for on the go!! AND, you can wash the bags after each use, then reuse, over and over again…
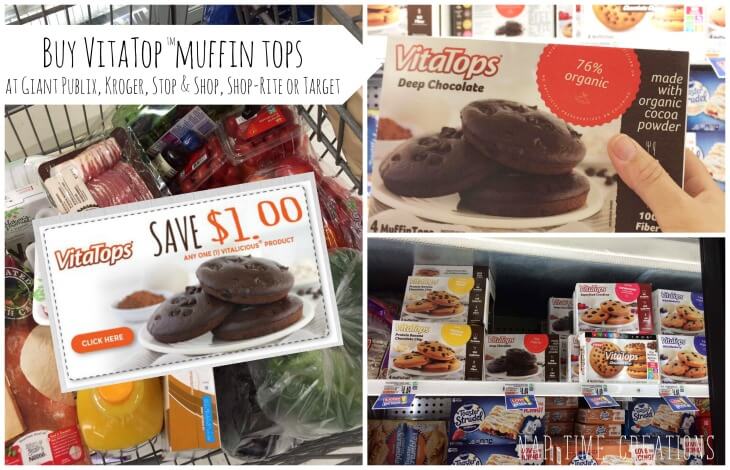
You can buy VitaTops™ MuffinTops at the fabulous stores listed below. I found mine at Stop & Shop and used the $1.00 off coupon to save while I shopped. You can grab your coupon HERE.





Christina Orso says
Hello from another VitaTops blogger! Those bags are adorable!! Feel free to stop by my blog sometime! 🙂xo, Christina – Hungry Meets Healthy
Linda Primmer says
Very cute bags. The pattern print is adorable. Very cool to color your own design. thank you for sharing these cuties at DI&DI.
Marie says
I love these!! I get to save money on snack bags and be creative? Score! Thanks for the tutorial!
Gina Kleinworth says
You are so clever – I love these!
Mary says
Great idea! Practical and cute!
Diane McCoy says
Very nice snacks bags, wonderful idea! Thanks I’m going to try using the vinyl.
AA says
Lovely job, Emily!
Do you have a tutorial on sewing in velcro? My machine hates it, I end up with loose velcro and a hideous tangle. 🙁
Carol lockwood says
Did ou buy the Velcro with sticky back? It is impossible to see. The dry back is for sewing.
June Rostad says
Came over from Inspire Me Wednesday. Love, love, love these, especially being able to color them with washable markers. I pinned, and also followed you on Bloglovin’ because of the CommentLuv 🙂 I wonder how a stand up vinyl one would be. Gunna go make my daughter one this weekend.
Amanda @ The Kolb Corner says
These bags are so much fun! What a great idea. Thank you for sharing at Merry Monday
Christine says
That looks like such fun to make!
Cristina at Ava's Alphabet says
These are so cool! So, does the marker wash out when you launder them or is the fabric marker permanent? Either way this si such a fun project. Pinned and sharing. Thank you for joining us at Family Joy Blog Link-Up Party. I hope you will join our next party starting Sunday at noon EST.
Emily says
If you use a fabric marker it will be permanent!
Trudy says
Really love this idea. I’m slowly trying to take my household to waste-less and these sound great. We’ve tried little plastic containers, but there’s always an issue of lids and space. I will be trying these and I’ve pinned!
Rebecca says
Wow what an amazing idea. I will have 2 kids in school come September so I will definitely be giving this a try.
F Wikman says
Hello, I need the right insight for this. I highly recommend you email me instantly: frans.wikman@gmx.com
Lani says
Instead of vinyl for the lining, why not use the wax on the fabric so it is a healthier food container? I’m looking for your link to purchase the wax pellets now. Will also make cute gifts for friends & coworkers. Maybe add a piece of Velcro or elastic (sewed on to the bag, to use as a closure.) Kids could still color the fabric first.
Emily says
yes, you could totally do that. I made these before I was expirmenting with the wax fabric.
mikal shone says
that is looking cute to me! how wonderfully you carried all this