inside: learn how to sew a hood with this sewing tutorial and free pattern. Sew a hood on any t-shirt pattern to add a fun design to any shirt. PLUS grab the free sewing pattern.
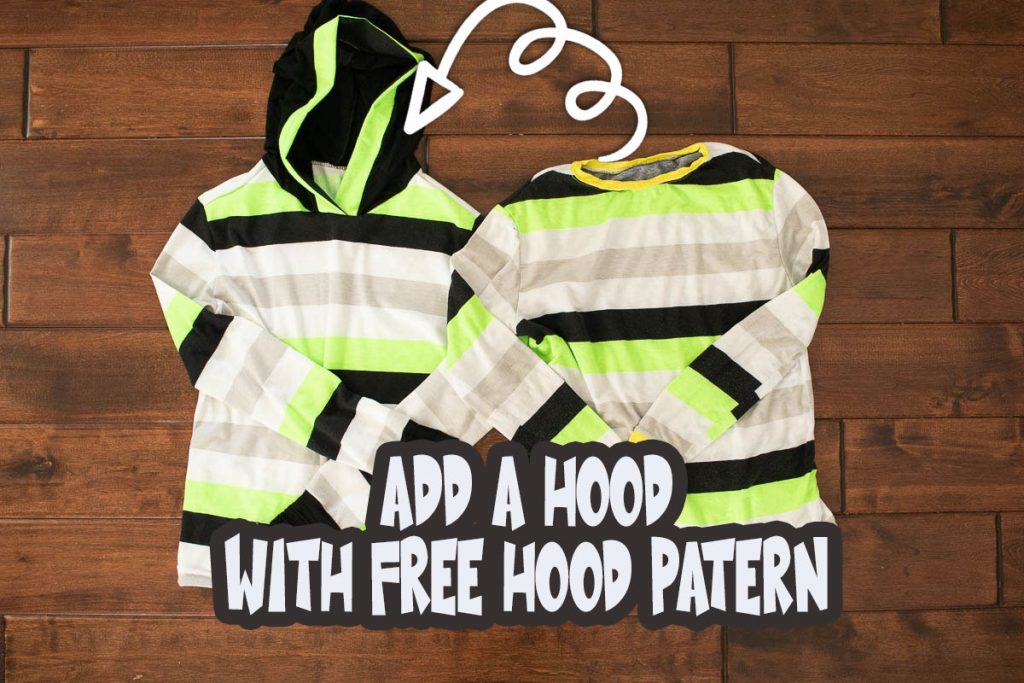
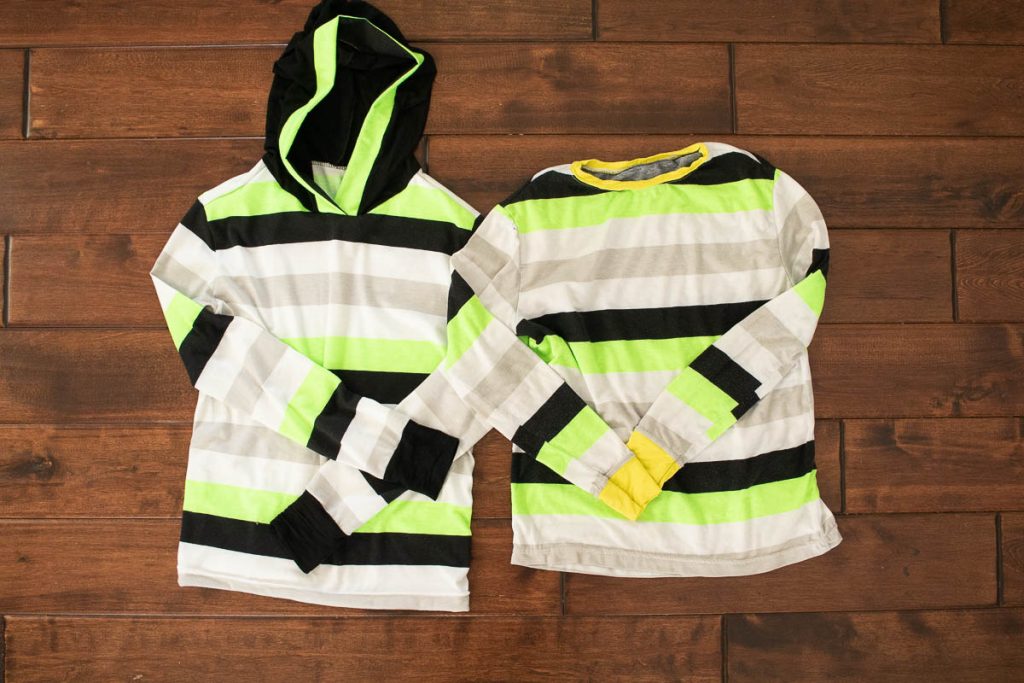
My oldest son loves shirts with hoods. I’m not sure I see the appeal, but for him a t-shirt with a hood is what he asks for. You can see in the photo above the shirt without a hood I made a few years ago, and the one I made this year WITH a hood. Same t-shirt pattern {the free boys pattern}, one with an added hood. Today I have a hood sewing pattern {free} and a tutorial for adding it to any t-shirt pattern.
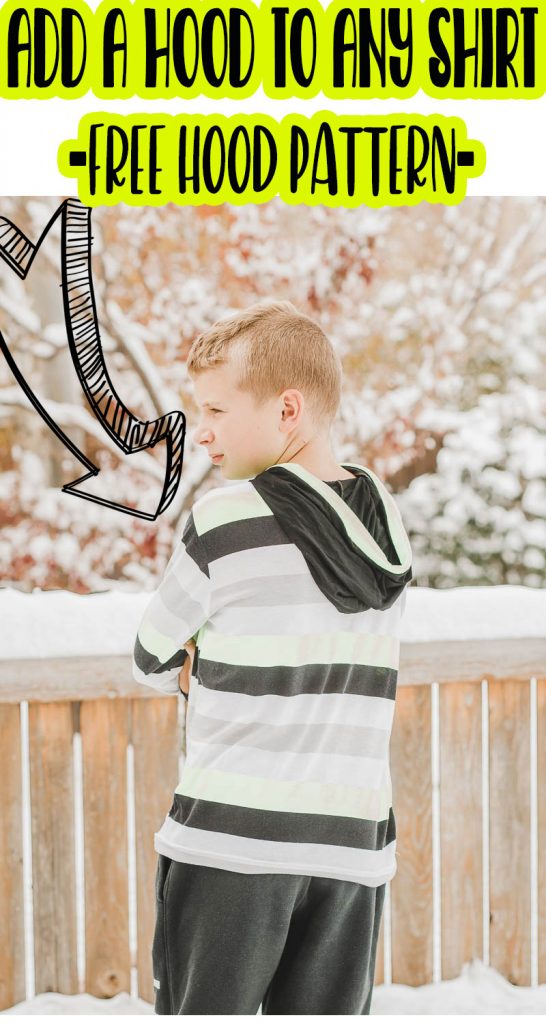
Sew a hood tutorial
For this tutorial I will be using my free boys t-shirt pattern – found HERE, but you can use any shirt pattern you already have and love if you want. I also have a list of my other free shirt pattern below you might want to use.
Other great free shirt patterns to use:

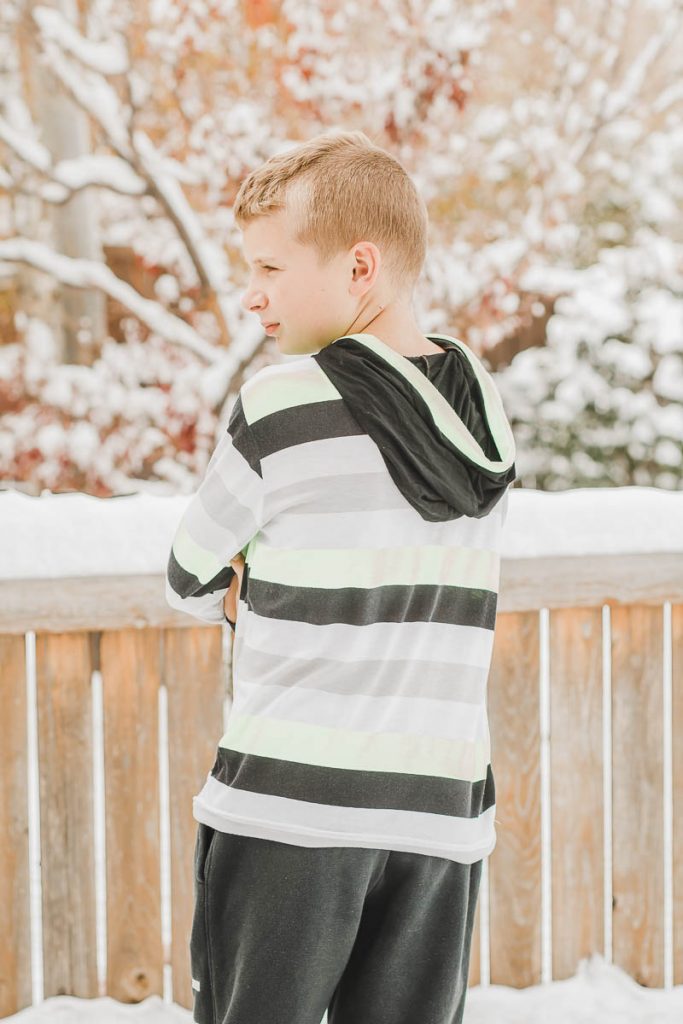
While I’m not sure why he wants a hood on all his shirts, I will say I think this one turned out pretty great! I also love that he requested it in the SAME FABRIC as before because he loved it so much the first time. I don’t always have the same fabric two years later, but I’m so happy I did this time. Even when I get photos like this from my son… haha…
How to make a hood on a shirt
Ready to sew a hood? Pick your favorite t-shirt sewing pattern and then download the hood from the link below. It’s also free and comes in kids sizes 2-10. You an also trace a hood that your child likes and use that to create a hood shape.
Already, let’s make a hood! Cut out your normal shirt pieces PLUS two hood pieces AND a hood band. My edging is 2″ wide x the length of the hood front.
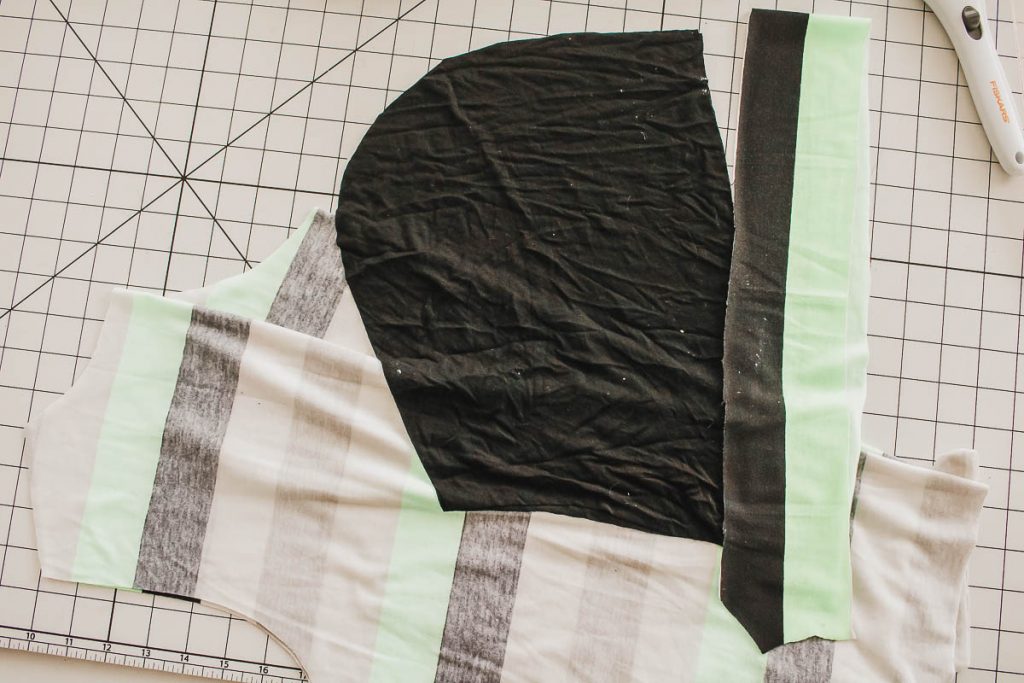
Next, sew the outer curved of the hood with the right sides of the fabric together.
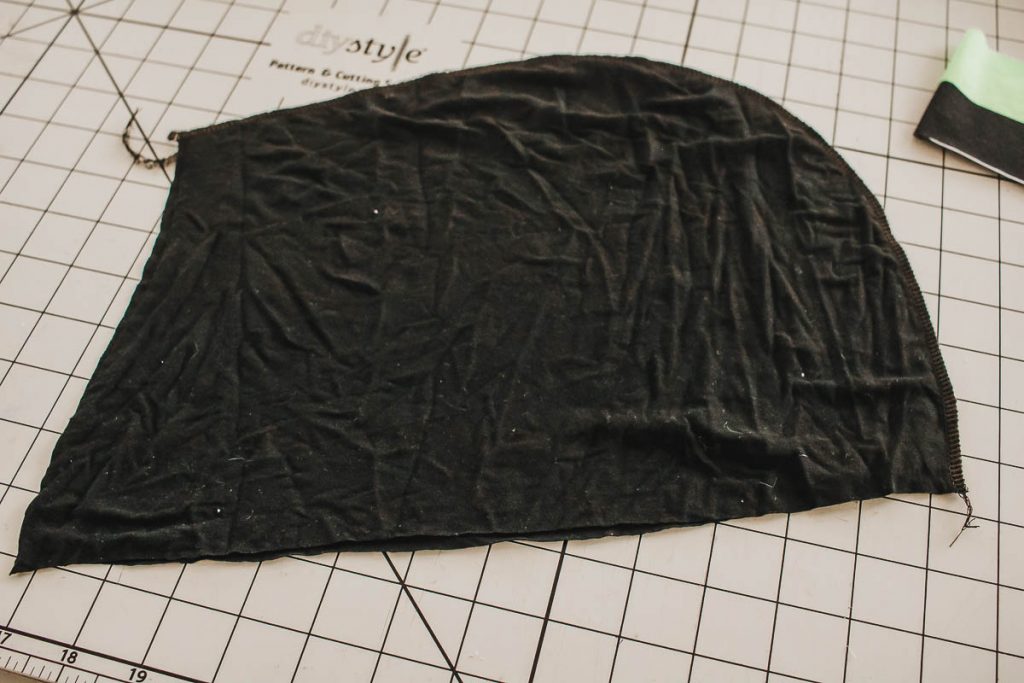
Fold the hood band with wrong sides together and pin it on the straight edge of the hood.
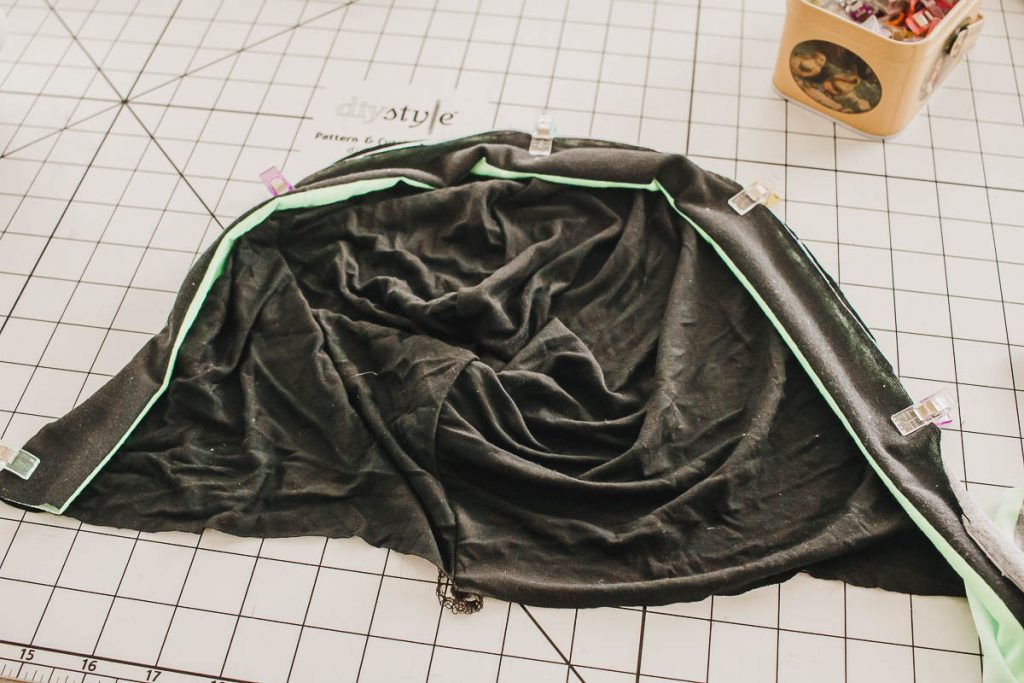
Sew the band to the hood using a serger or stretch stitch to attach the hood.
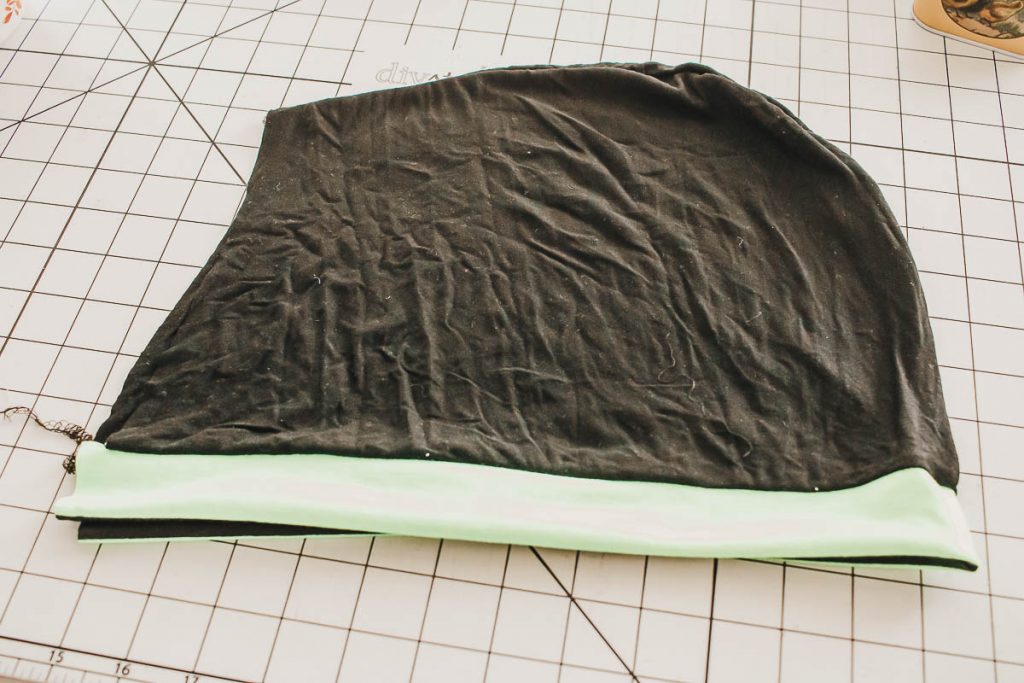
Prepare the shirt by sewing both shoulder seams. Then turn the shirt right side out.
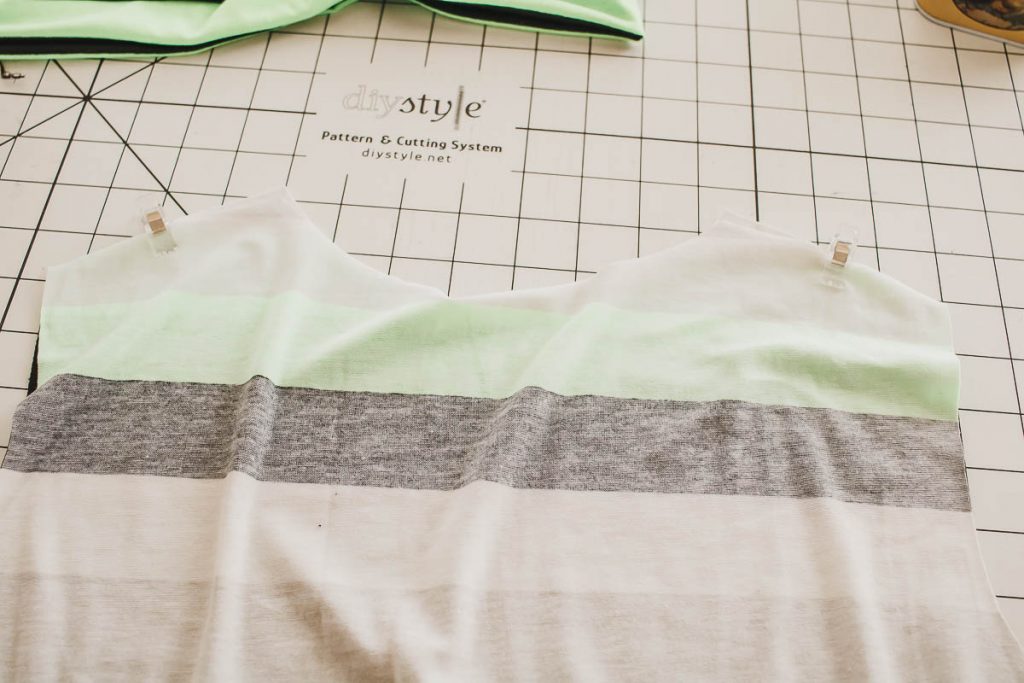
With right sides together pin the hood to the shirt. I start by matching the back middles, then working around to the front.
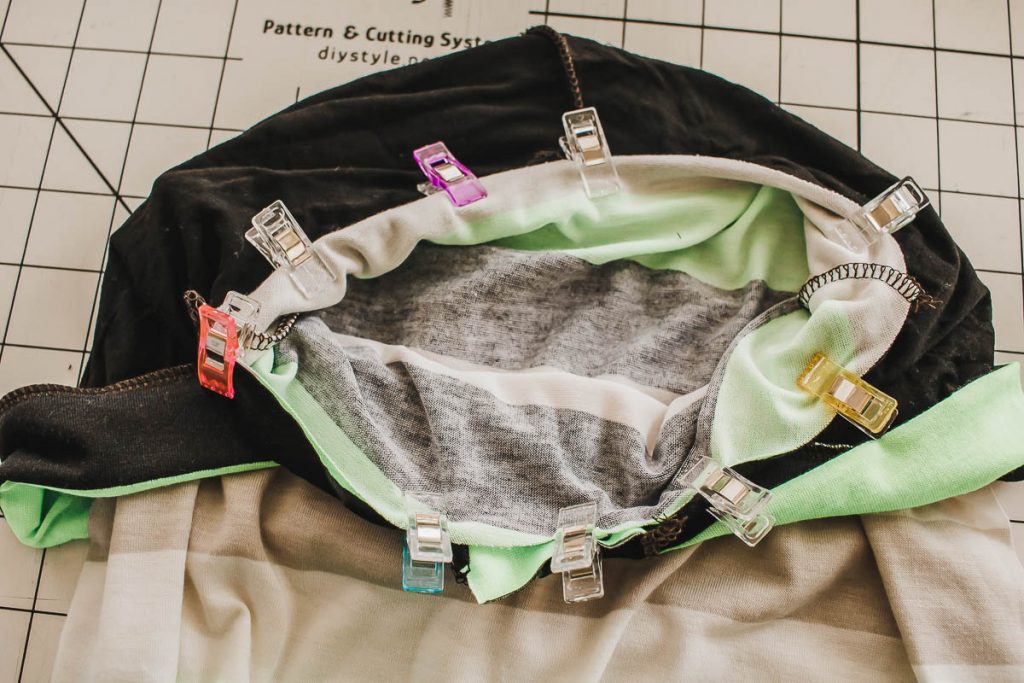
The front edges of the hood MUST overlap. This will create a fully finished neckline. If they don’t overlap you will have exposed raw neckline. Depending on the shape of your neckline your hood may overlap more or less than mine.
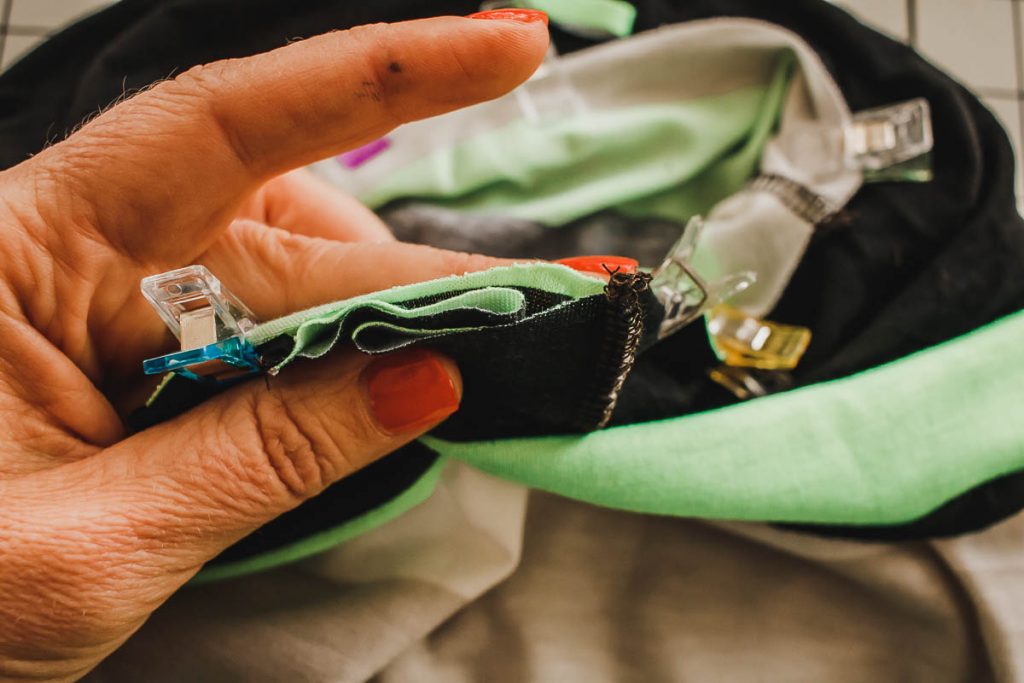
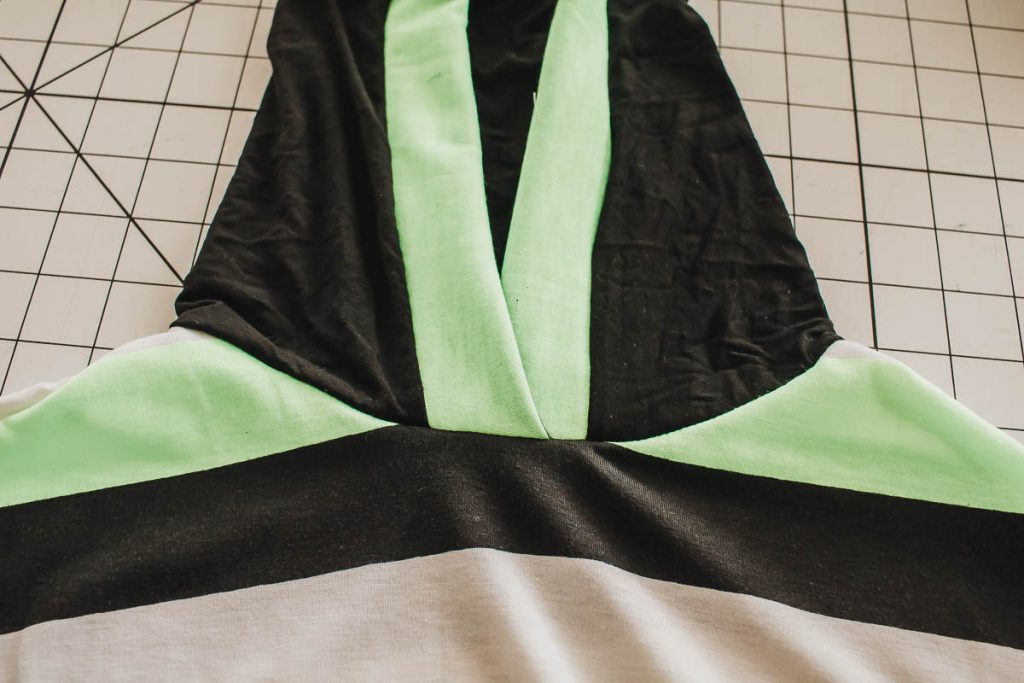
Sew the hood to the shirt with a stretch stitch. Here is the front view.
And the side view of the hood on the shirt.
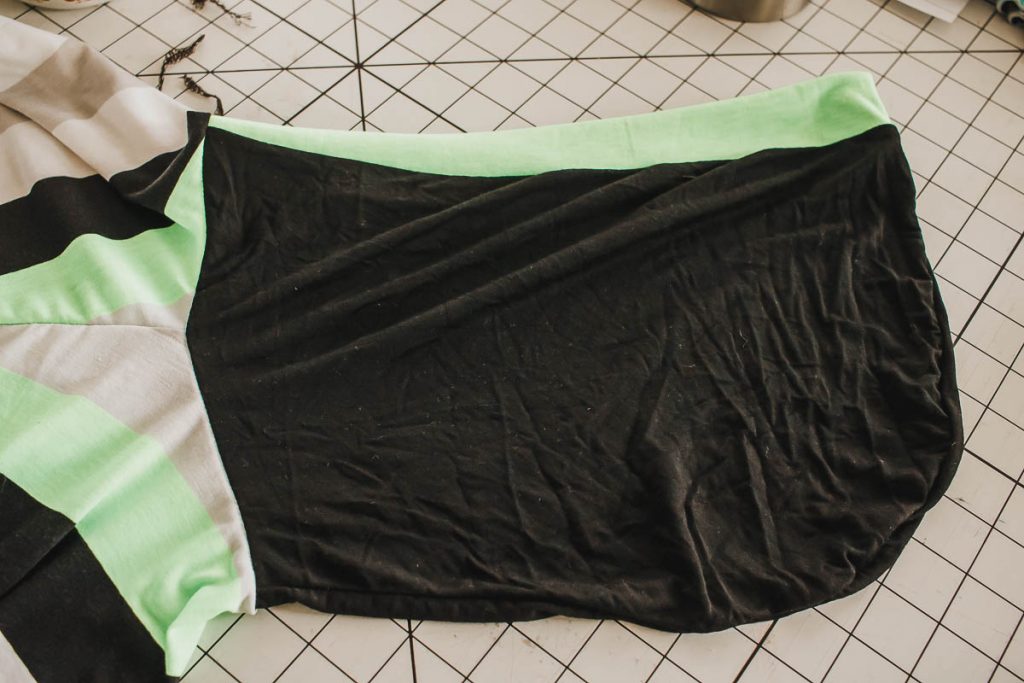
And now you can enjoy sewing t-shirts with hoods or without using the same shirt patterns.








CLOVIS says
I like the colors of the shirt and hood.