


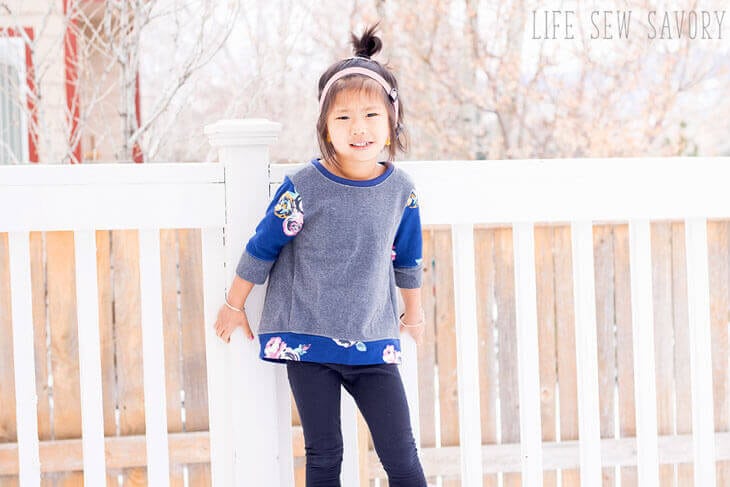
inside: Sew up a beautiful sweatsuit set to stay cozy for fall. This sweatshirt set is sewn with free pdf sewing patterns and is so soft and comfortable.
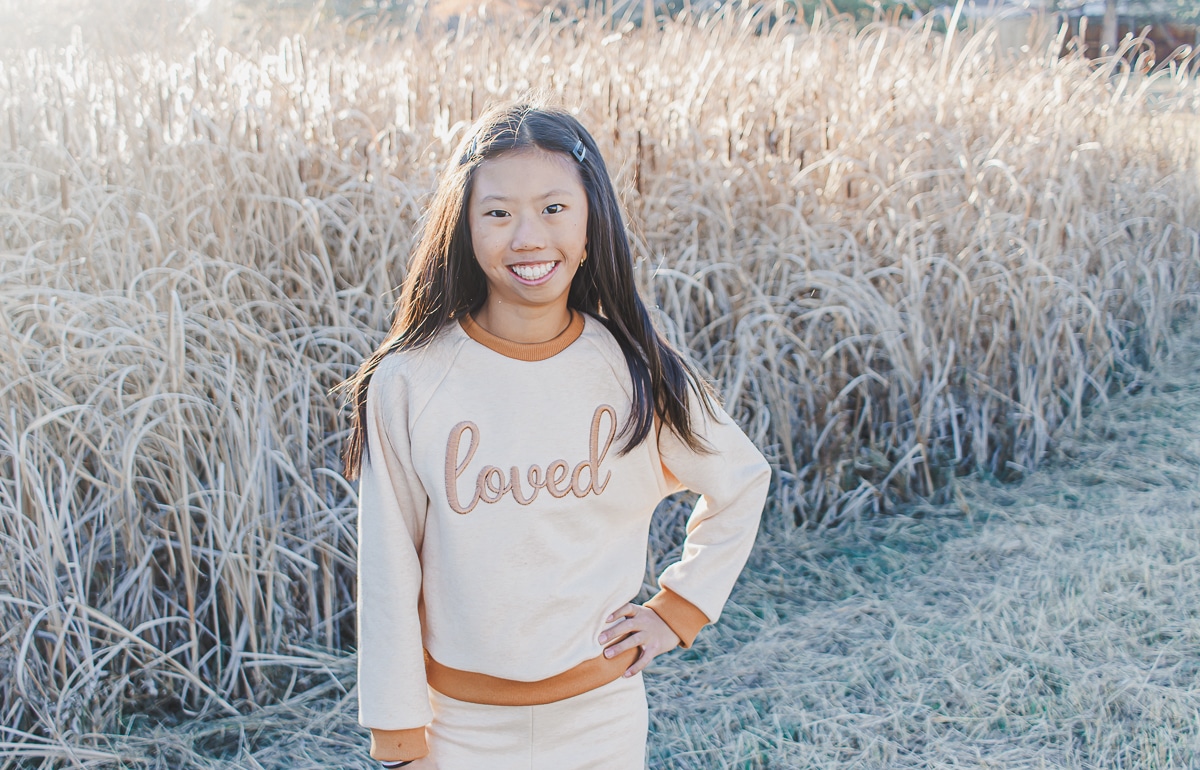
Cozy sweatsuits are all over right now and I had this beautiful sweatshirt fleece, so it was time to sew a cozy set for Rose. I added a bit of embroidery detail to the top for some added fall cuteness, and I’m just thrilled with how this sweatshirt fleece set turned out. I sewed both pieces with free pdf patterns, and the details are below.
DIY Sweatshirt Set
How cute did this turn out? I just love this cozy set and Rose loves it too. I’m sure this will get tons of wear over the next few months as the weather gets colder.


I used sweatshirt fleece for the top and bottom, as well as rib knit for the bands. I had both of these in my stash, but I will put my sources in the tutorial below. The puff embroidery on the sweatshirt was done using the foam and thread linked in my foam embroidery post.


Now I want to create this same look for myself!! You may see an addition to this post with photos of me soon.. {haha}


Other sweatshirt projects to try-
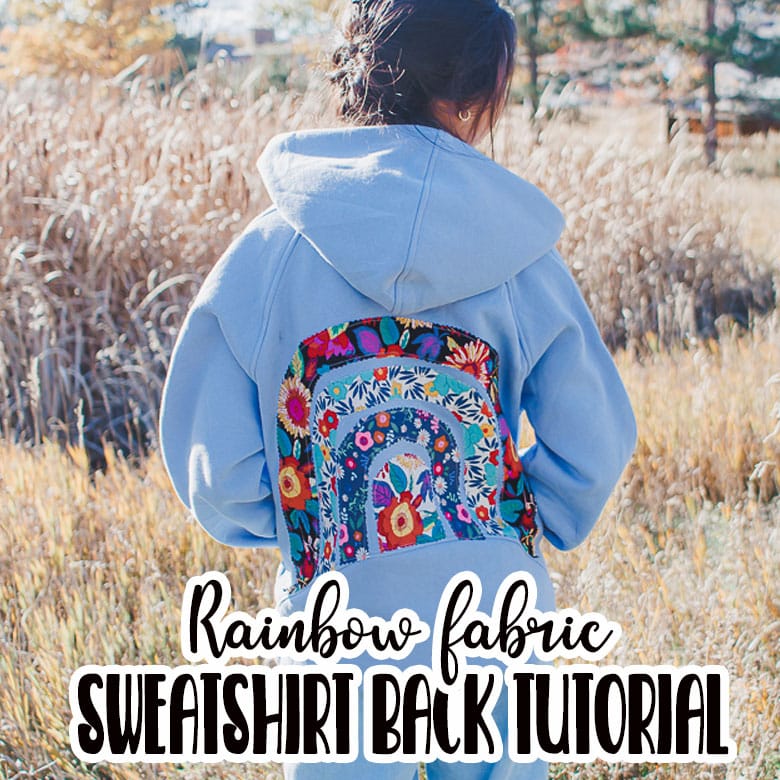
- Add a rainbow to the back of a sweatshirt
- Matching fall sweatshirts
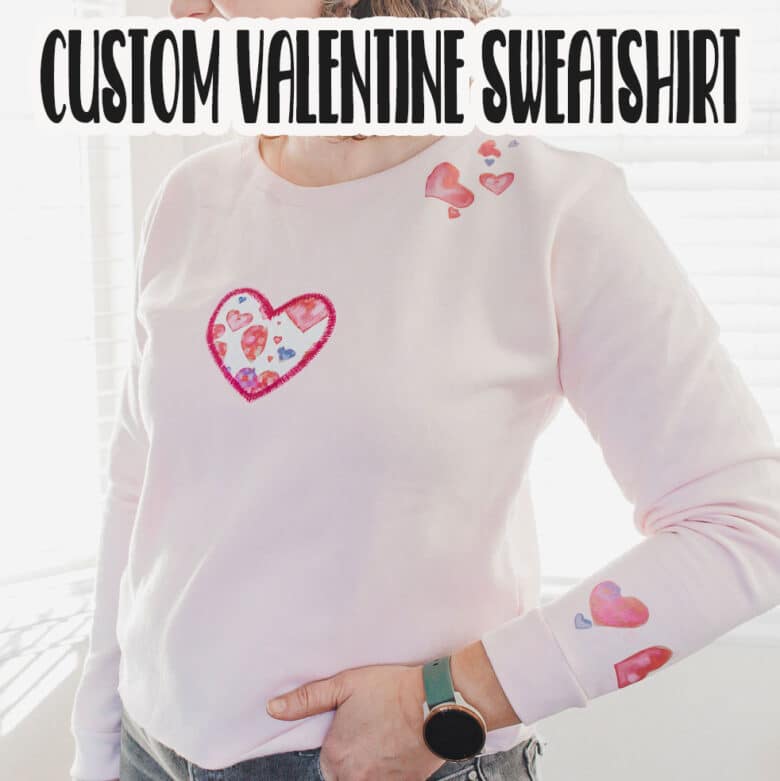
- Custom Valentine sweatshirt
- How to add reverse applique to a sweatshirt
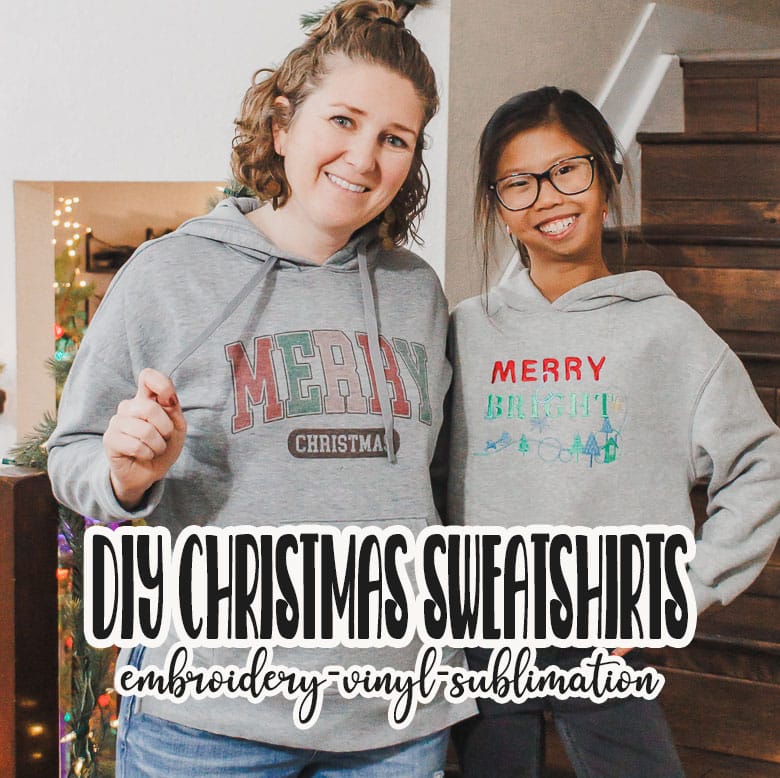
- DIY Christmas Sweatshirts
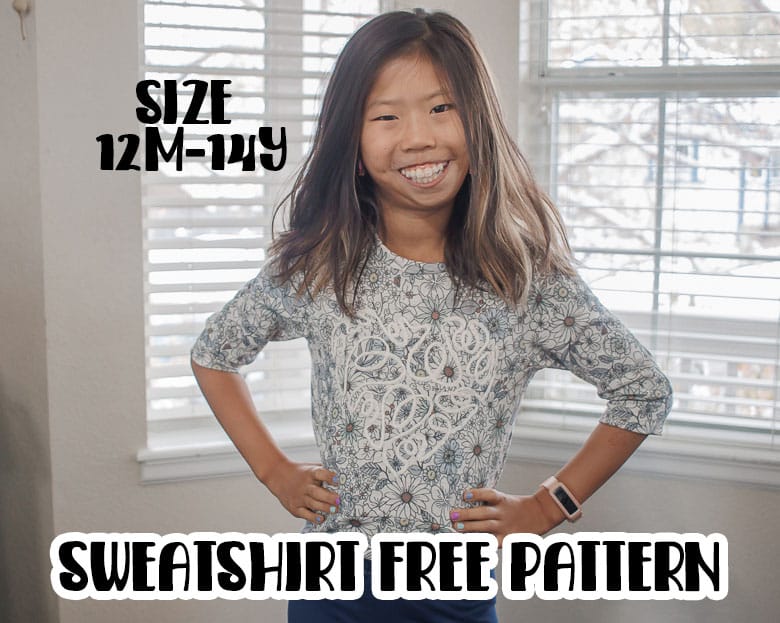
- Girls sweatshirt tunic free sewing pattern
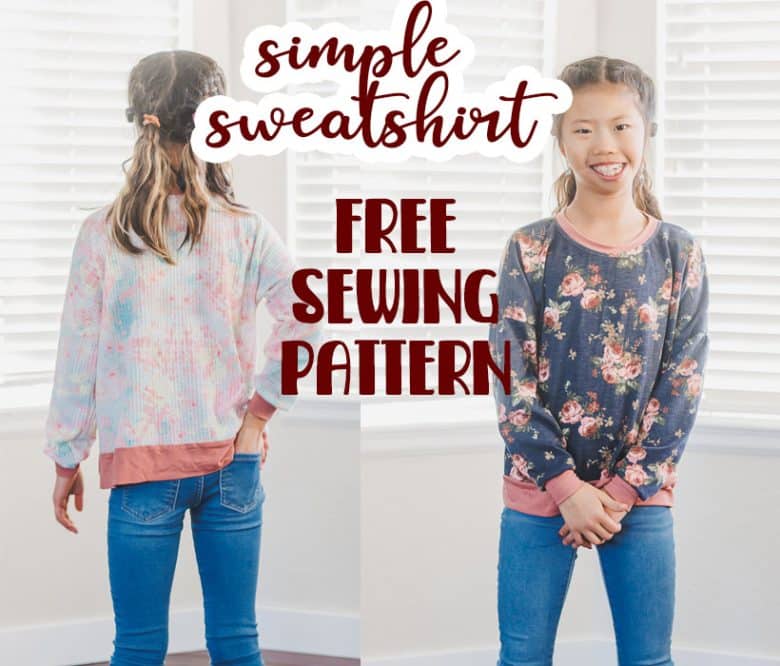
- Simple Sweatshirt tutorial
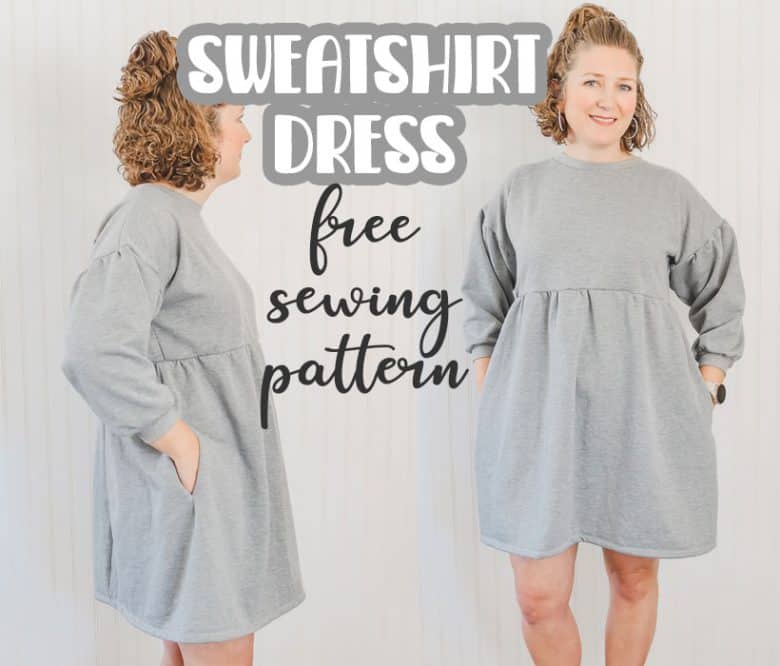
- Sweatshirt dress free pattern
- Womens Sweatshirt tunic
- Girls raglan sweatshirt
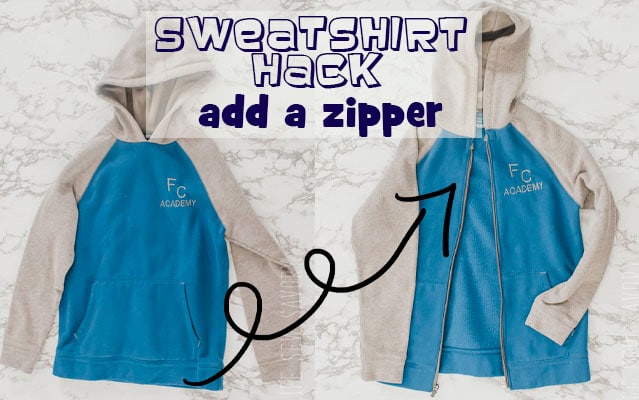
- Add a zipper to a sweatshirt

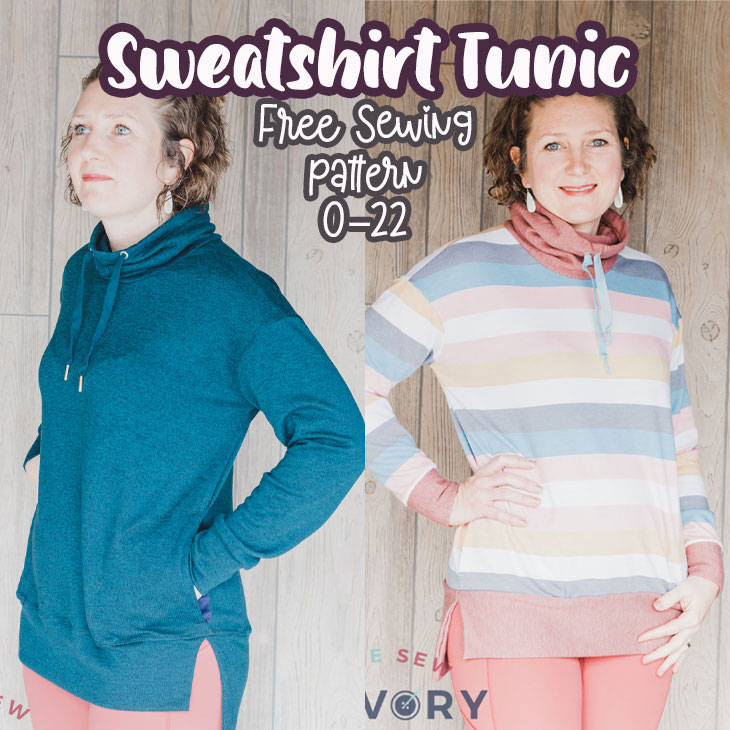

Free PDF patterns to sew a sweatshirt set
Here are the details for the patterns and fabric I used to create this look. I used two free pdf patterns, with a few modifications for this set.
Patterns:
- Kids Raglan Sweatshirt {cropped a bit}
- Kids free sweatpants pattern
Fabric used:
How to sew a cozy sweatsuit set
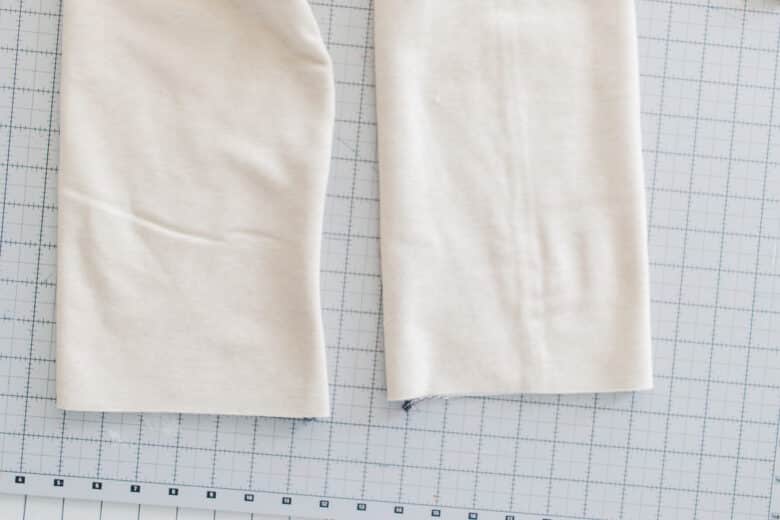
I’ll start with how I made the pants. If you want the full tutorial for sewing these sweatpants, see the link in the supplies for the full tutorial and pdf pattern. I widened the pant legs to be straight down as shown here.
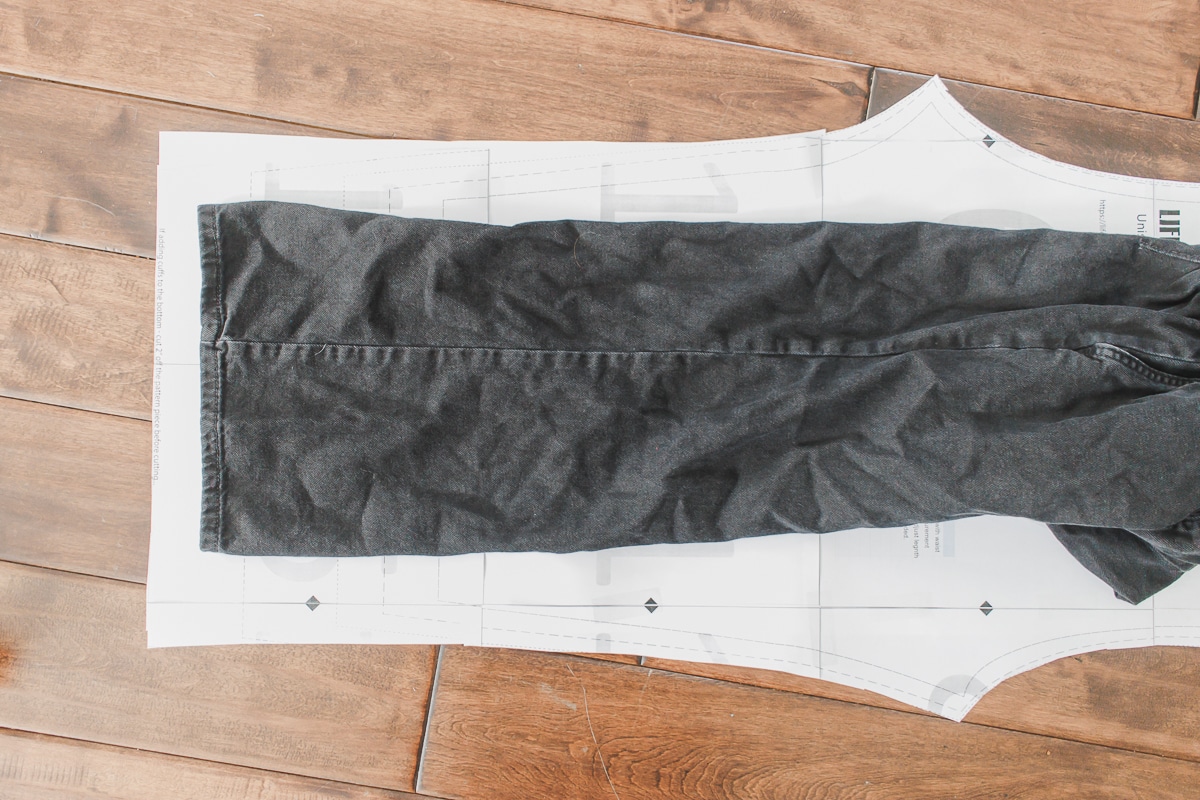
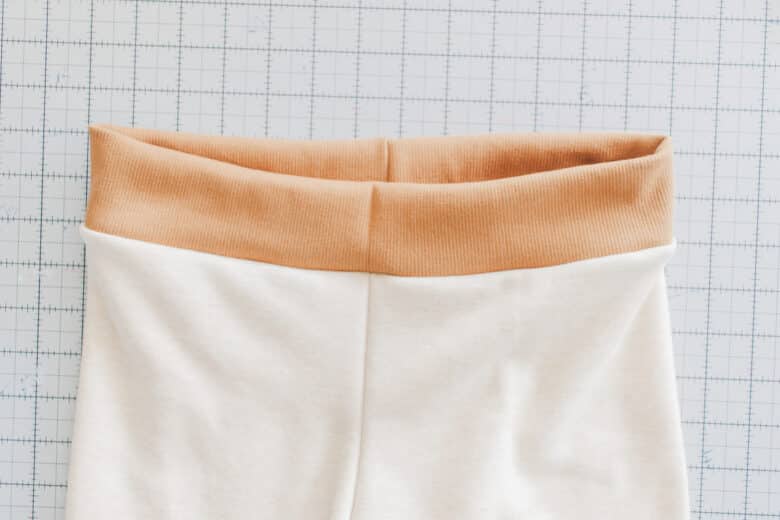
I lowered the waist by two inches, then added a waistband for 2″ wide elastic. The bottom of the pants were hemmed with a 3/4″ hem. Use a serger or stretch stitch for all seams and hems.
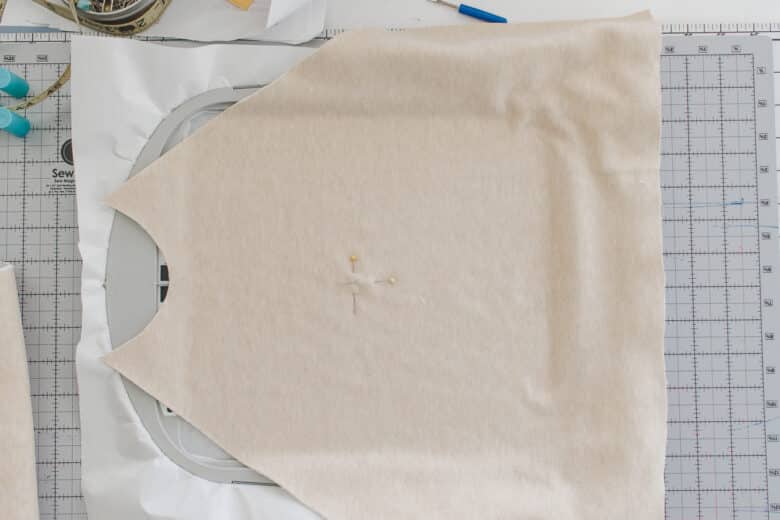
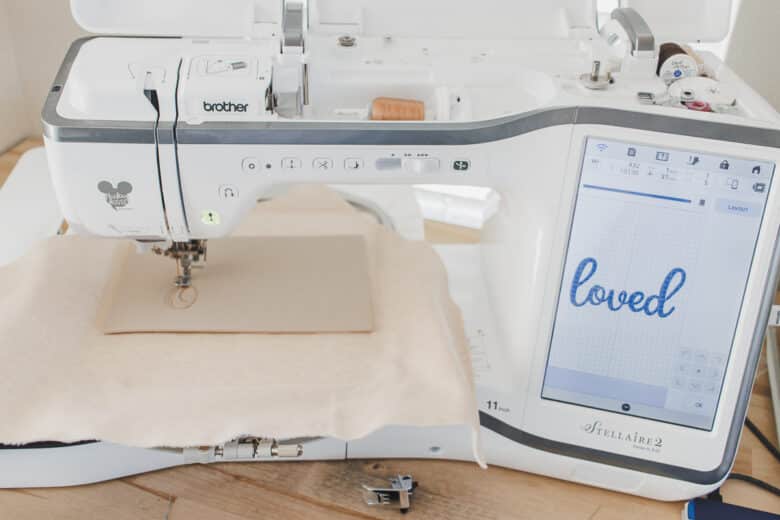
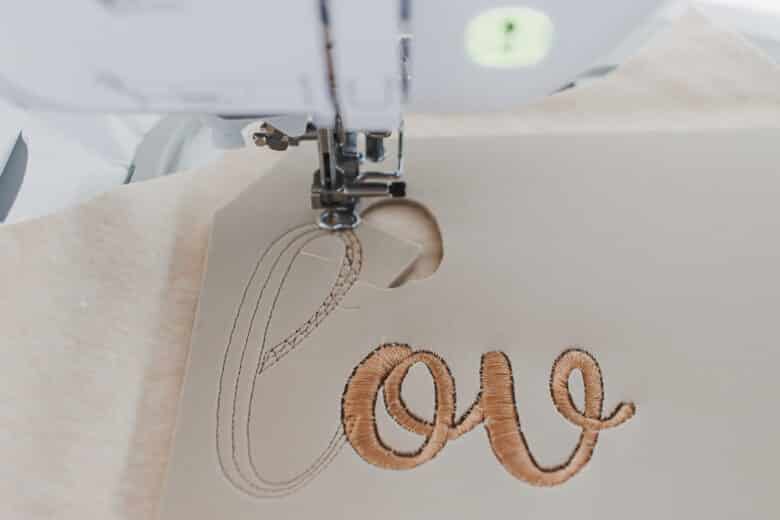
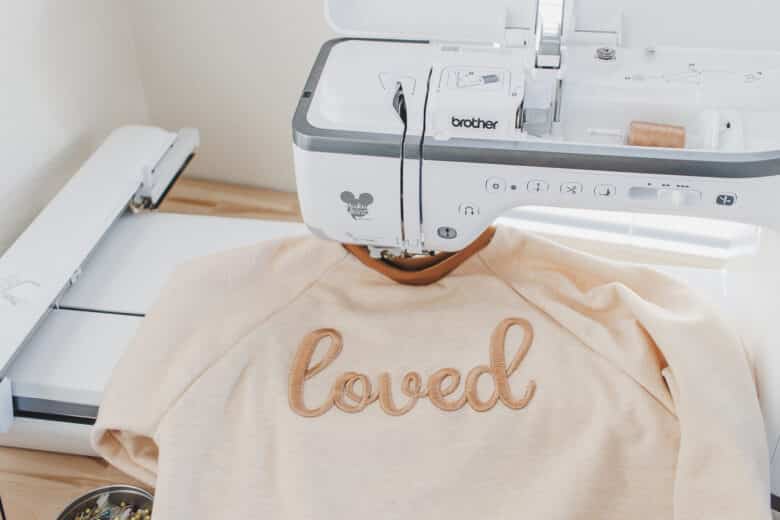
The sweatshirt was sewn just like the raglan sweatshirt in the pattern section above. You can find the full tutorial for this project there. I also added some puff foam embroidery to the front before sewing. You can find my detailed puffy foam embroidery post here.
I chose not to hoop the front of the sweatshirt, instead I used adhesive stabilizer to hold the shirt front in the hoop. Make sure to mark where you want the embroidery before hooping so you can place the design in right place.
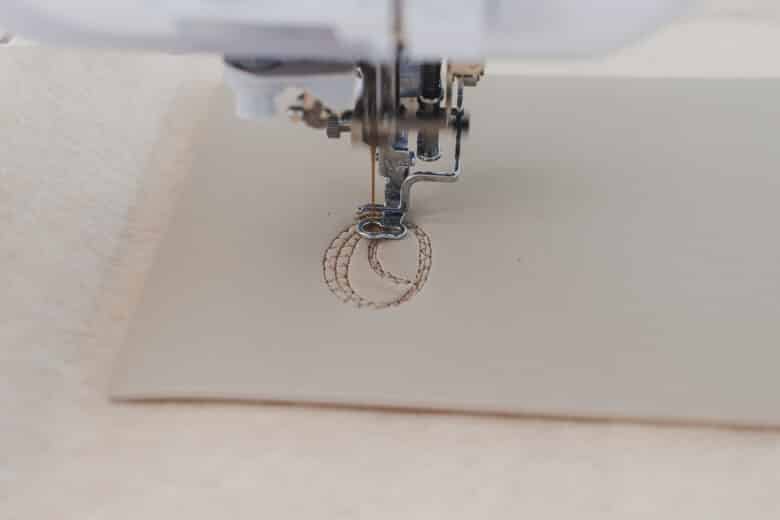
Slide the foam in place after checking outer edges of the the design.
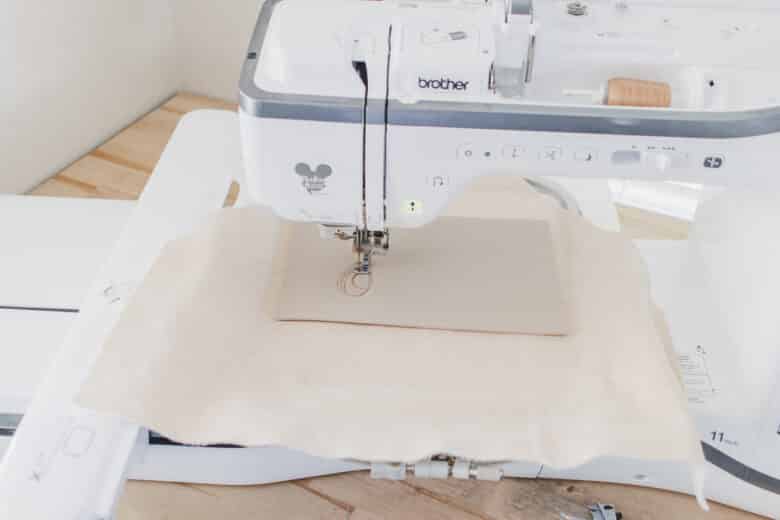
I imported each letter of the word via usb file, then used the embroidery editor on my Brother Stellaire to put all the letters together into a single word. I chose to use all lower case letters.
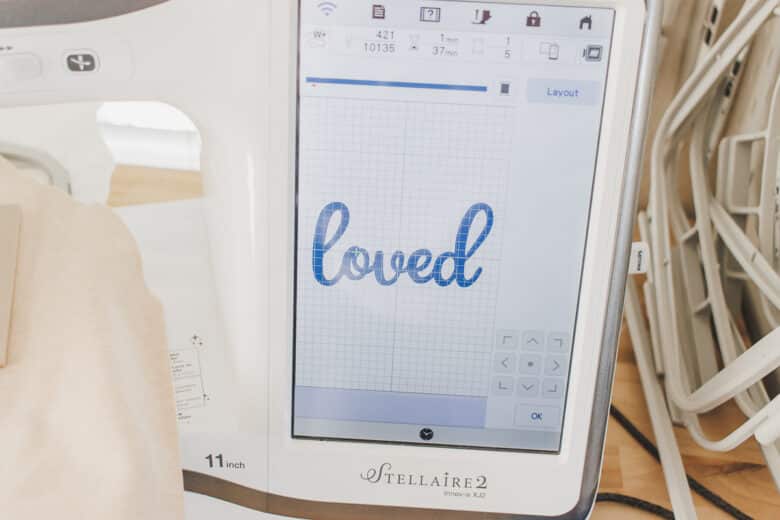
Stitch out the letters
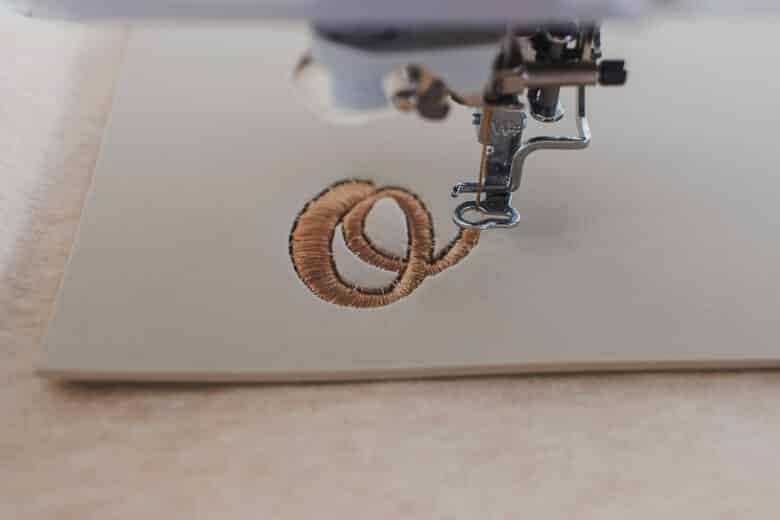
When the embroidery is finished, remove the foam and stabilizer from the back. Enjoy your new sweatshirt and stay cozy!!


Leave a Reply