Inside: a fun zipper sewing hack to add a zipper neckline to a shirt pattern. Create fun and unique designs with zippers.
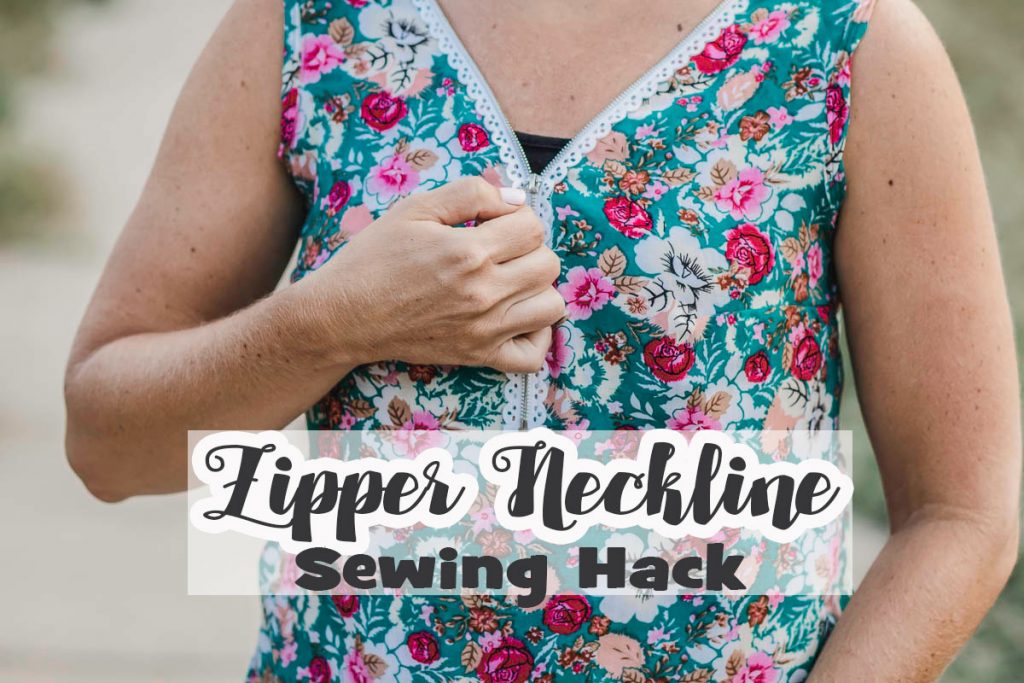
I saw a friend wear a shirt with a cool zipper neckline over a year ago and last fall I had fun playing around with this cool zipper sewing hack. I didn’t share the post then since it was getting cold and these photos are me in a tank top aren’t that inspiring for those of you thinking of sewing cozy sweaters. Of course this fun sewing hack can be used with long sleeves, but I haven’t tried that yet.
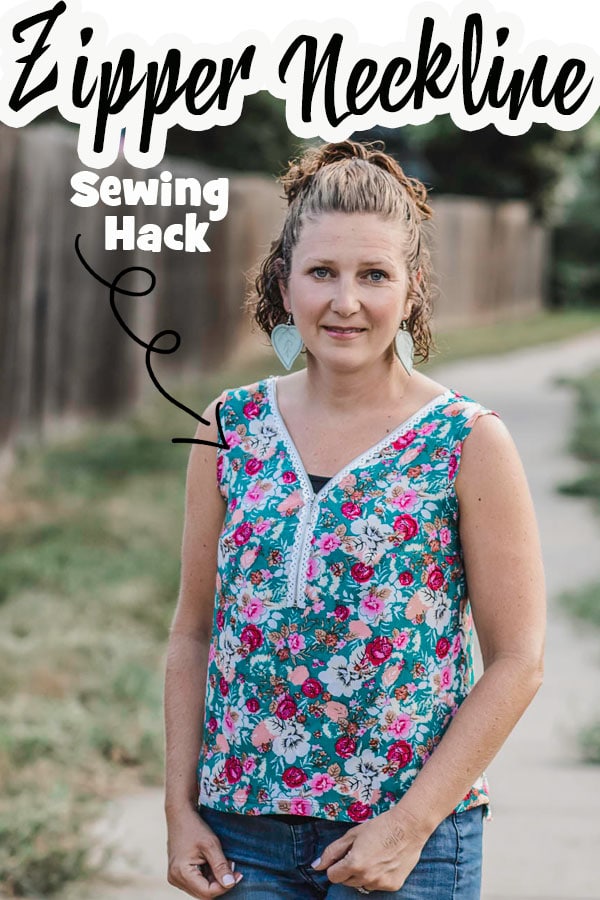
Zipper Sewing Hack
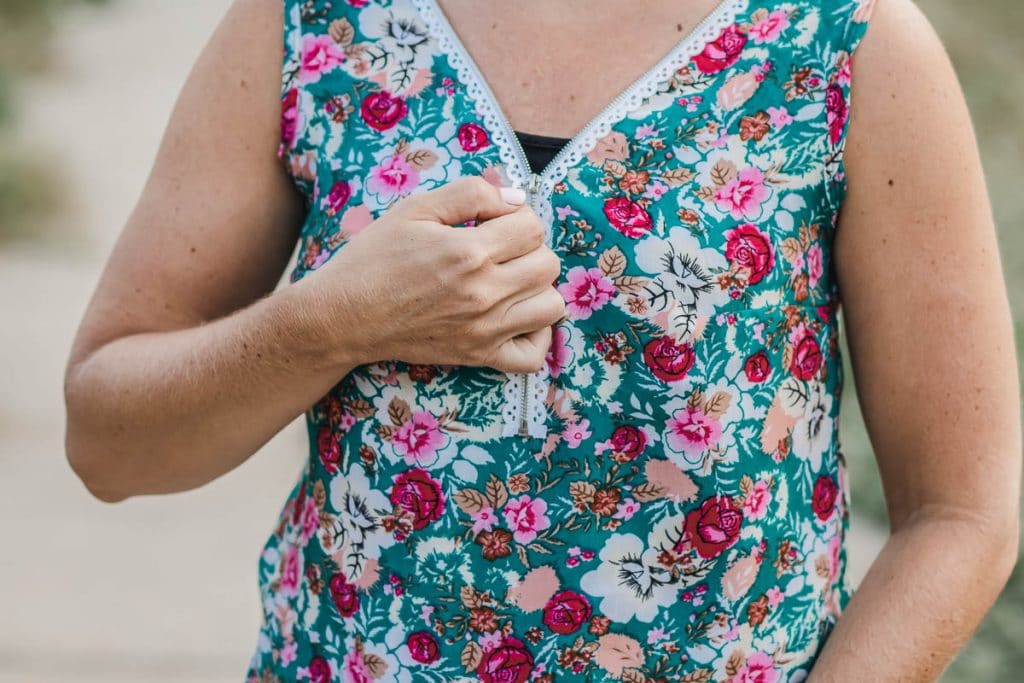
This zipper neckline can be used with knit or woven fabrics and with tanks or long sleeves. There really are so many options for adding this fun neckline to clothes.
Here’s what you need to get started!
Supplies-
- pattern {I used this free tank pattern – the Sorbetto top}
- you could also use my free knit tank pattern too.
- Fabric for your shirt
- Decorative zipper

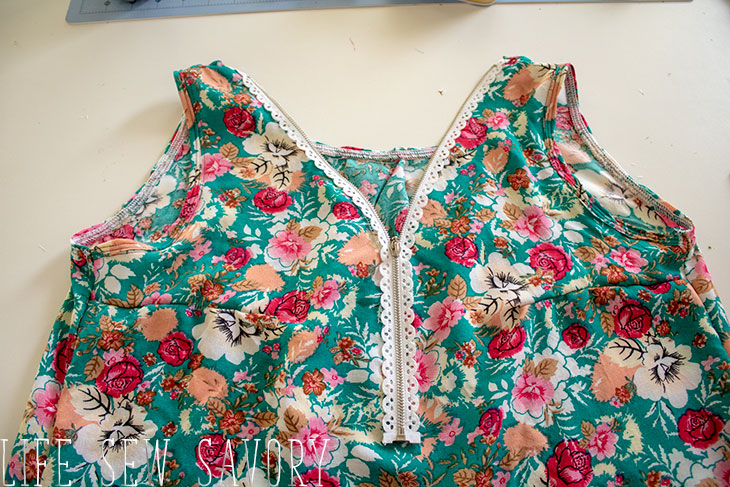
Just like the snap neckline hack I shared, this one gives you some style options when you wear it. Zip it up high, or unzip it depending on your look for the day.

Ok, before we get into the actual sewing tutorial I’m going to talk about what I did to edit the Sorbetto top. If you have looked at that tank it actually as a pleat in the front, so first I took the extra fabric pleat out of the front and then I made the neckline a V instead of a scoop – this step shown below.
I also added a pleat to the back to make up for the pleat I took out of the front. This just gives a little more swing to the tank and I think the finished result is pretty cute!
I’ve got another one cut out to make soon! I think I will sew it on a sewing live show soon.

How to add a zipper neckline
Gather your supplies as mentioned above. Here is my tank top cut out {with modifications as mentioned} and my cute decorative zipper. Now I’m ready change up the neckline {this works for any shirt!}.
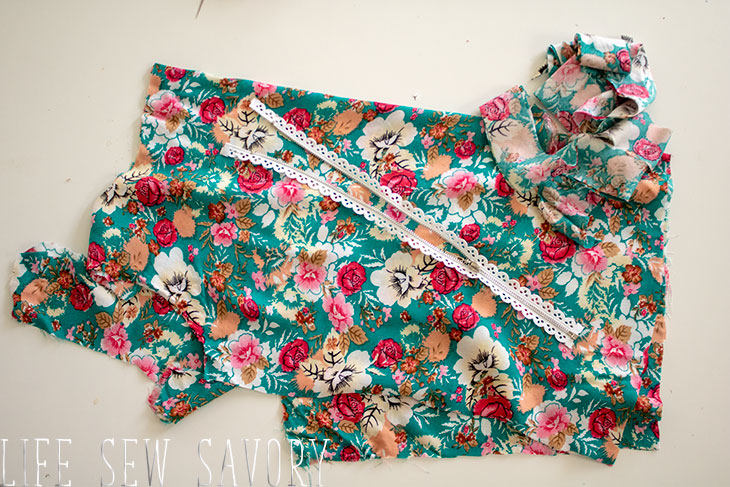
Fold the front of your shirt/tank in half. Lay the zipper top at the shoulder seam then angle straight down to the front. This will show you the part of the rounded neckline to trim.
With top of zipper at shoulder, mark 1″ above the bottom of the zipper. I have a pin in my fabric to bark below. Trim from the pin to meet the edge of the zipper and create a V neckline. It may have a gentle slope and not be a severe V.
If using woven fabric finished the raw edge of the neckline with a serger or zig zag.
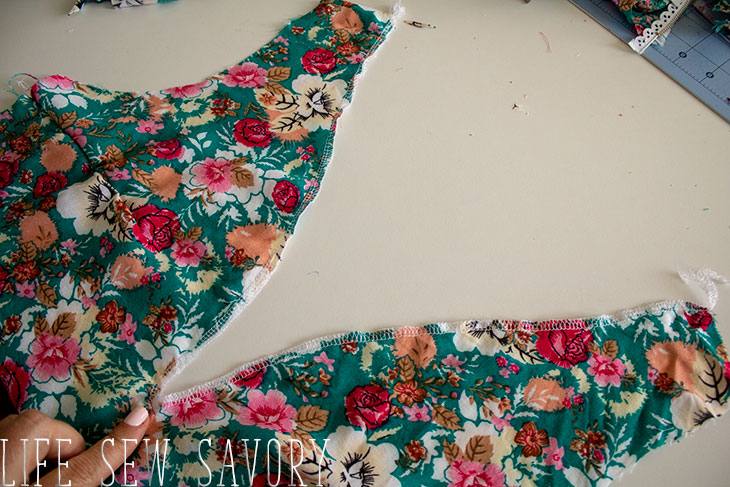
At the apex of the V stitch a straight stitch back and forth to prevent any tearing of the fabric.
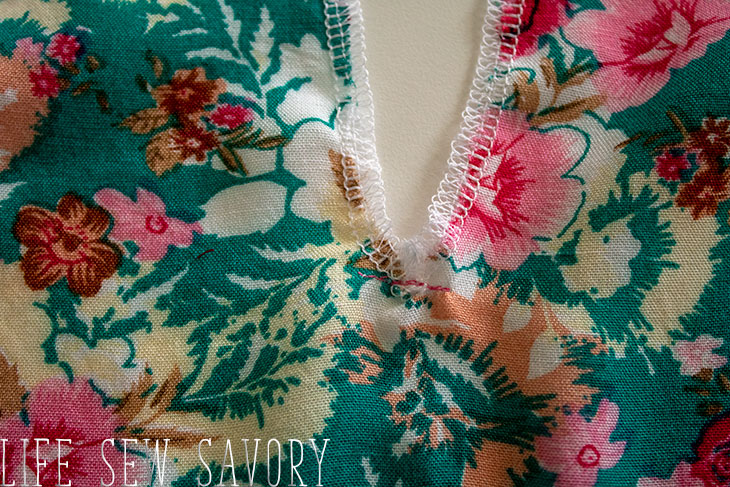
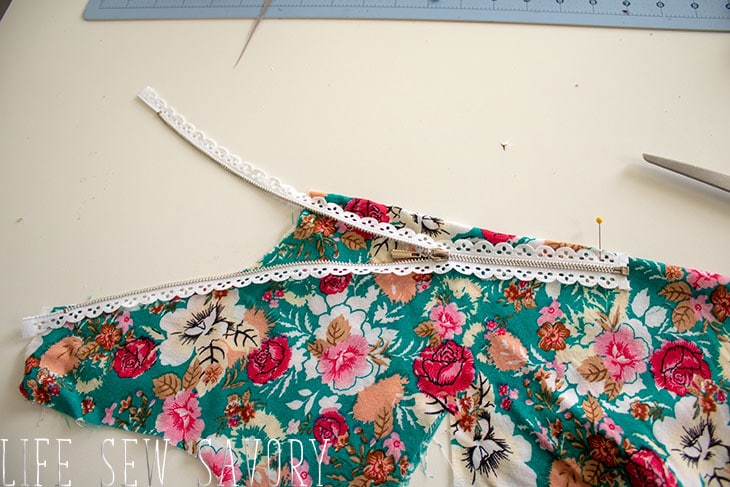
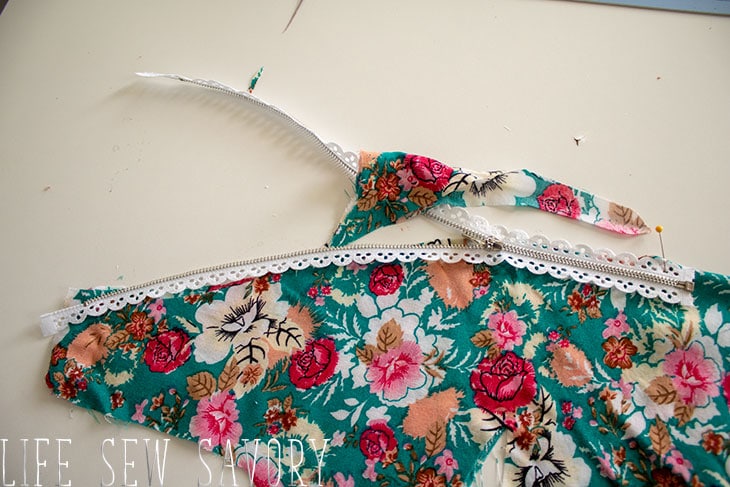
Place the zipper stop 1″ down from the shoulder seam. The extra zipper tape should still go up to the top, but the zipper teeth are 1″ down.
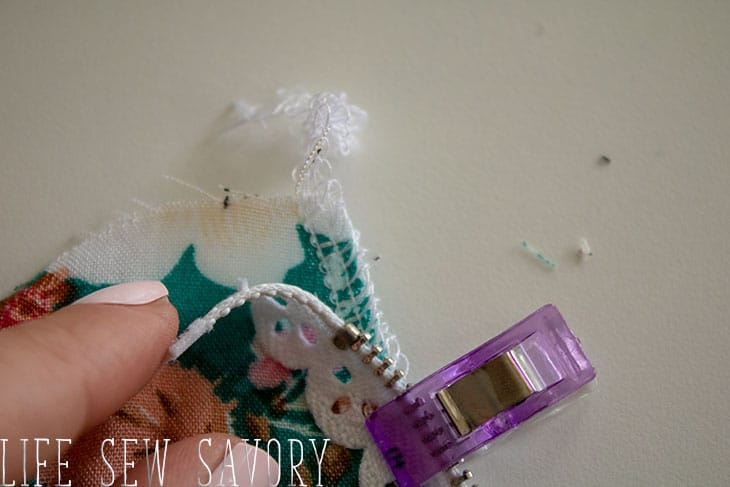
Continue pinned or clipping the zipper {I LOVE my clips here} until you get to the bottom of the zipper. The zipper should extend at least an inch past the cut, it can be more than that if you need.
The zipper teeth should extend over the edge of the fabric and the zipper tape should be on the fabric.
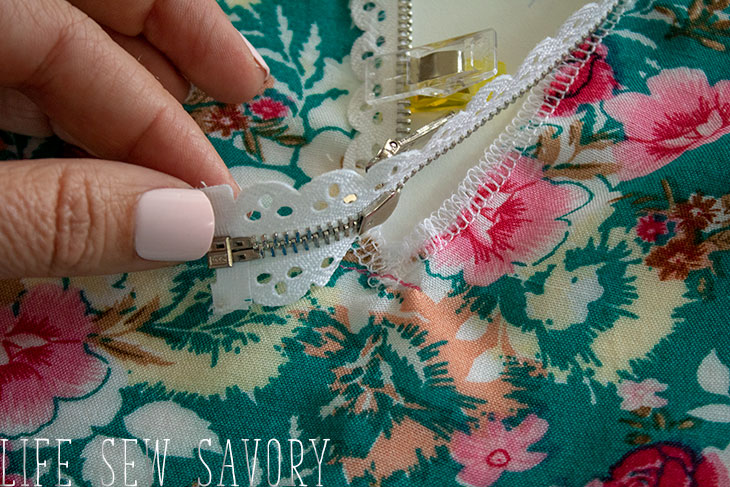
Clip one side and then the other. It should look like this.
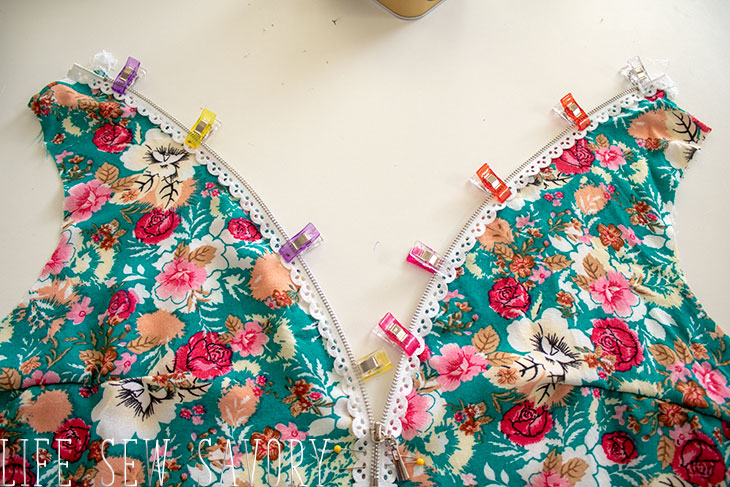
Stitch with a zipper foot and as straight stitch. I sewed on the top side of the zipper. Starting at the top, sewing to the bottom, then back stitch and start at the top on the other side. I like to start on the top on both sides.
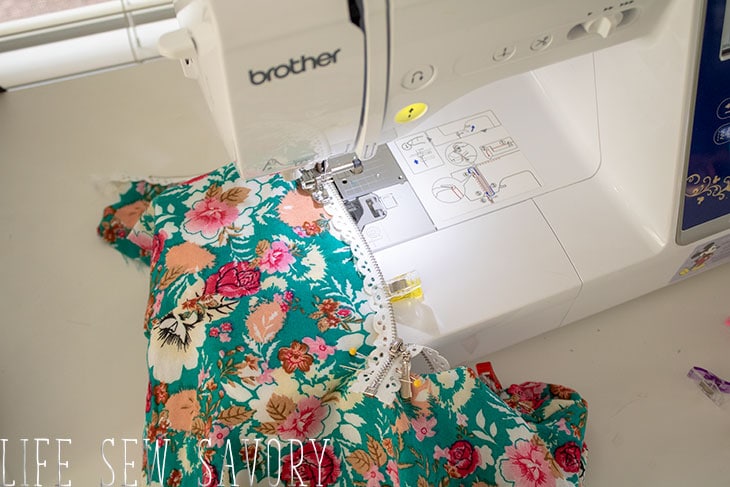
After you have stitched the zipper on both sides we can move onto the remaining steps of the shirt. I’m going to walk through finishing the neckline, the rest of the construction you can follow the original pattern.
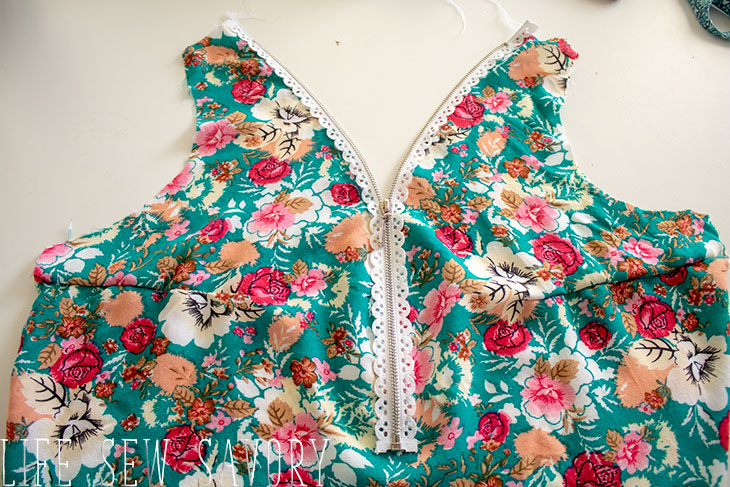
Put aside the front and finish the back neckline. I did a binding with my woven fabric. But if you have knit you may want to add a band.
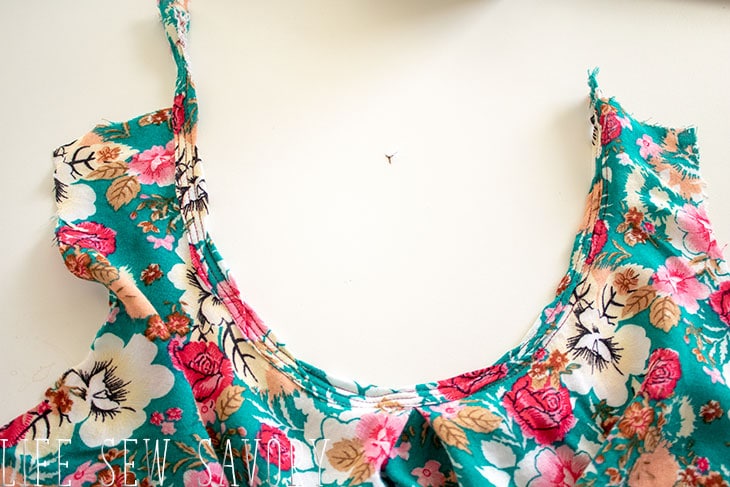
When you have the back and front neckline finished match the shoulder seams with right sides together. Make sure the front and back line up perfectly at the neckline. {you can always trim at the arm hole if needed} Sew the shoulder seam.
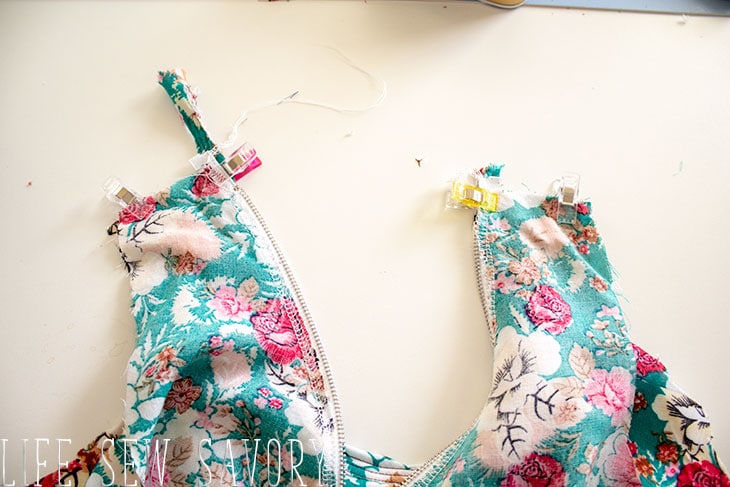
Fold the seam allowance back and stitch on the neck side of the shoulder seam.
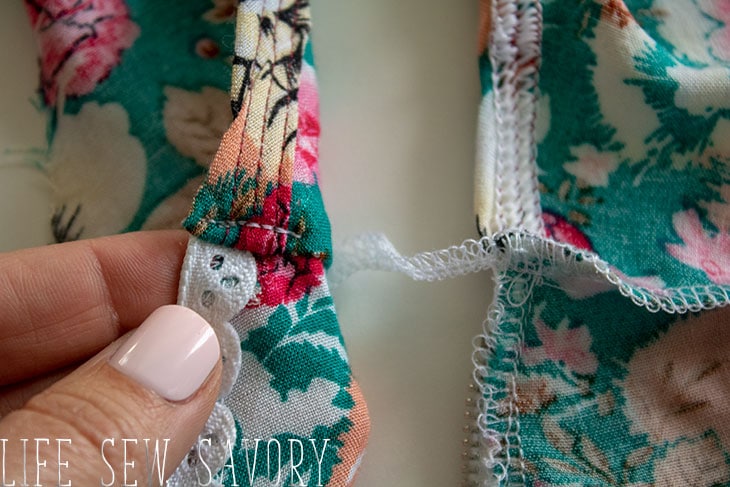
Finish the arms and hem as directed in the pattern and enjoy your finished shirt with the most amazing zipper neckline!




Beal says
This is super cute! ❤️