I’ve been thinking about sewing with Elastic Thread for over two years now.. I bought the elastic thread to make a shirred skirt and then never got around to it. I moved my elastic thread half way around the world when we move last summer and now 10 months later, I FINALLY made a shirred skirt using elastic thread. Today I’m going to give you a couple of tips for sewing with elastic thread, plus a shirred skirt tutorial with matching doll skirt.
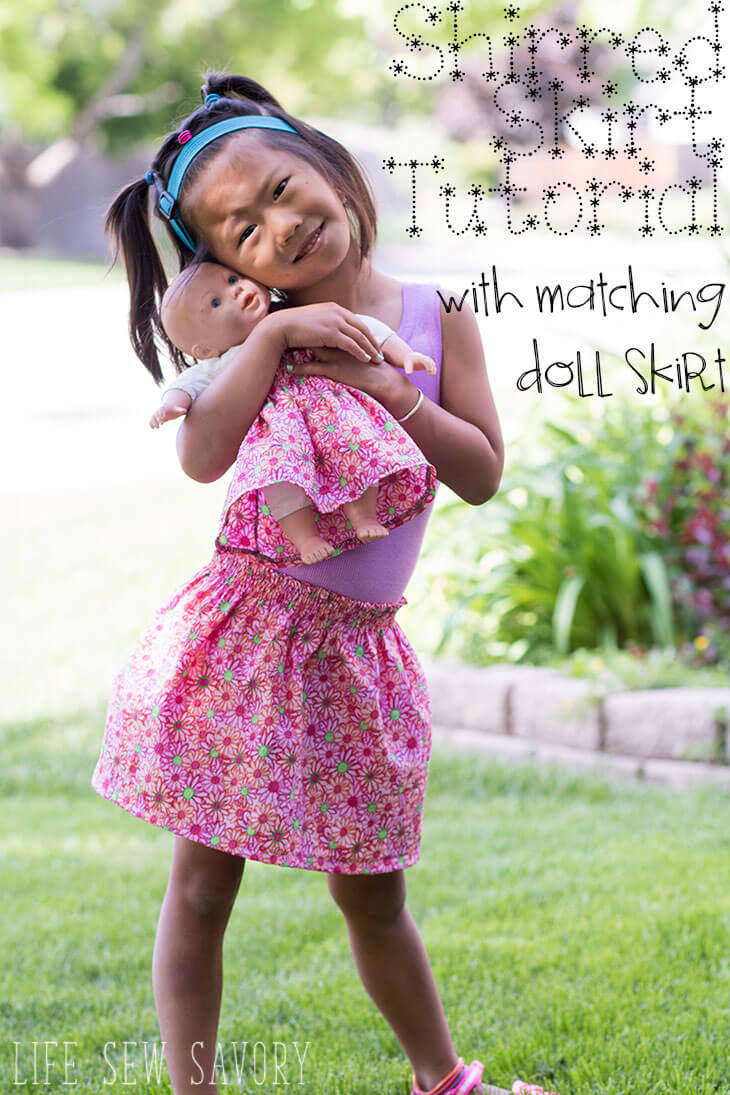
Sewing with Elastic Thread – Shirred Skirt Tutorial
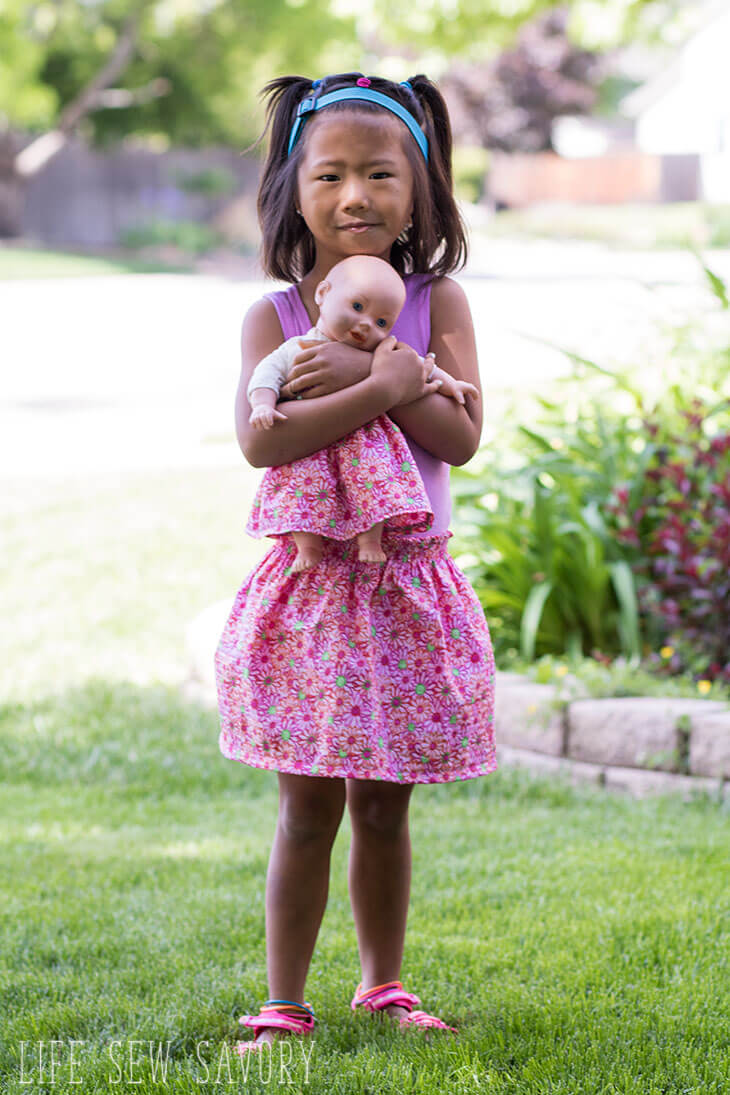
This shirred skirt sews up quickly, is adjustable for many sizes and looks adorable. Rose is wearing a pair of summer shorties under this skirt as well.
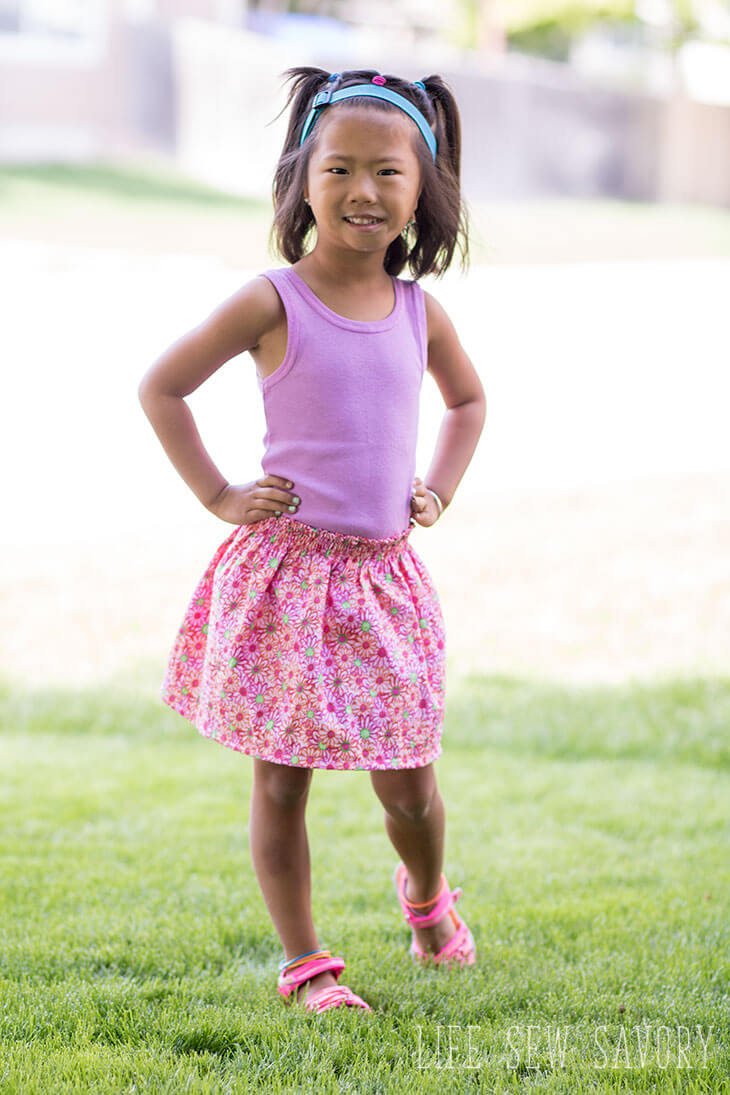
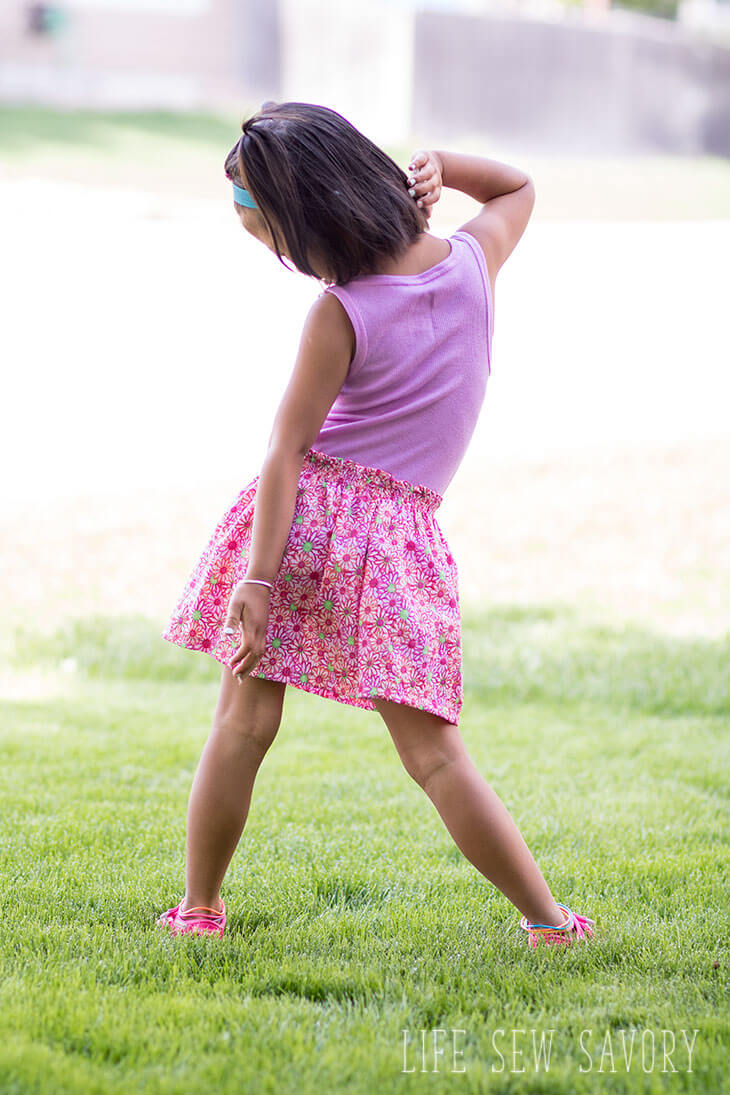
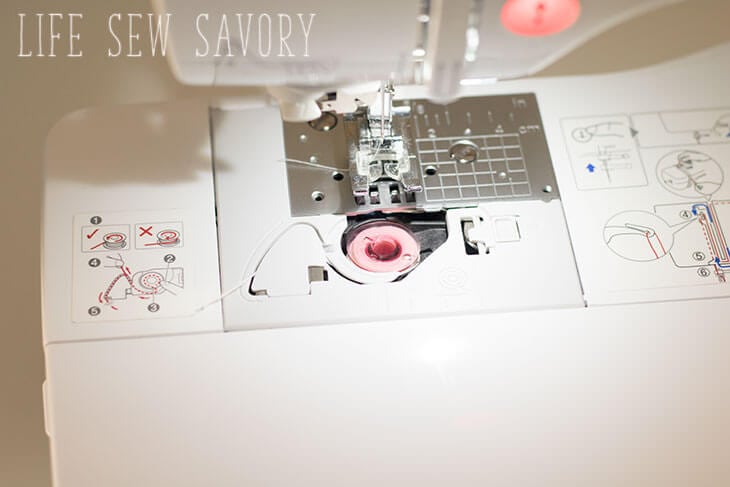
Let’s start with a couple of tips for sewing with elastic thread. First you need to buy elastic thread to wind on your machine bobbin. You need to put the elastic thread on your bobbin only. Use regular thread for your needle thread. I had read that you should hand wind the bobbin with the elastic thread, but when I tried that it did not work for me. I used my machine bobbin winding as normal to put the elastic thread on the bobbin. I would recommend trying just a bit to see what works for you.
There are also differing opinions on adjusting your thread tension. I found that my fabric did not gather at all using normal tension, so I had to adjust the tension a bit tighter {higher number} and lengthen the stitch length. You can play around with these settings, but I found machine winding the bobbin and adjust the stitch length and tension to be the winning combination.
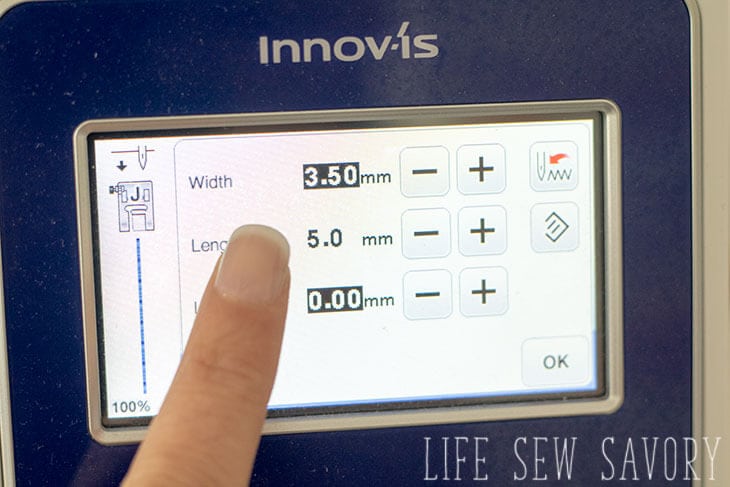
You will know when you have the settings correct because your fabric will start to gather as you sew. The lighter you fabric the easier it will be to gather with the elastic thread. I used a lightweight woven fabric for my skirt {plisse}. For kids you can get away with a single width of fabric strip. For women I would cut 2x the width of fabric and sew the short end together to create a long strip. You want the height of the fabric to be the desired skirt length. Add 1.5″ for top and bottom seam allowances. So many variables go into how much your fabric will gather, so my thought is to start with about 2/3x the width of fabric and gather is as much as you can, then sew it into a skirt. I’ll show you how I made my shirred skirt.

My shirred skirt tutorial –
1 width of fabric strip {42″ wide for my 20″ waist daughter}, elastic thread, and an iron. I cut the skirt the height of my daughter from waist to knee plus 1.5″ seam allowance. Like I mentioned above I used my machine winding to transfer the elastic to the bobbin, but you may need to hand wind if that doesn’t work for you.
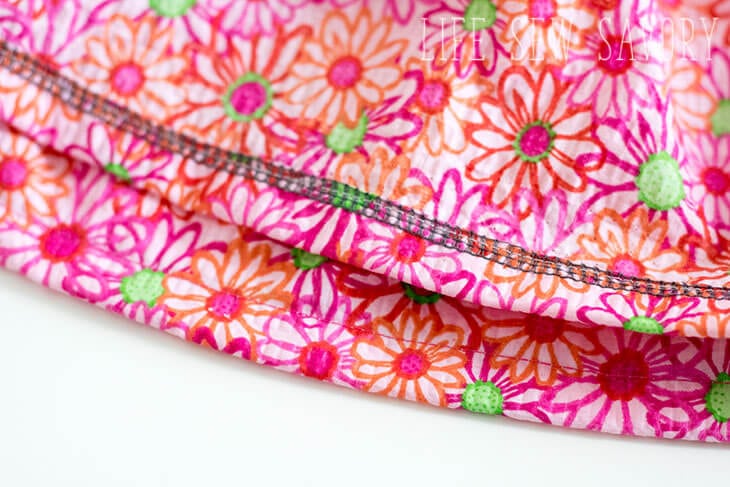
Finish the top and bottom of your fabric with a serger or zig-zag stitch. 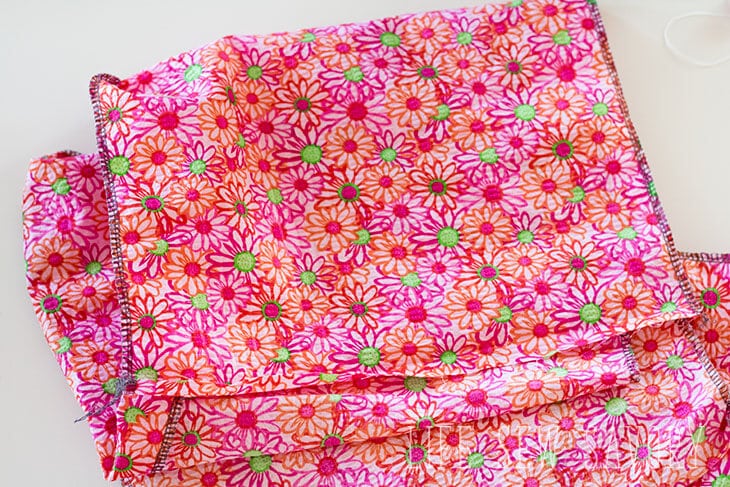
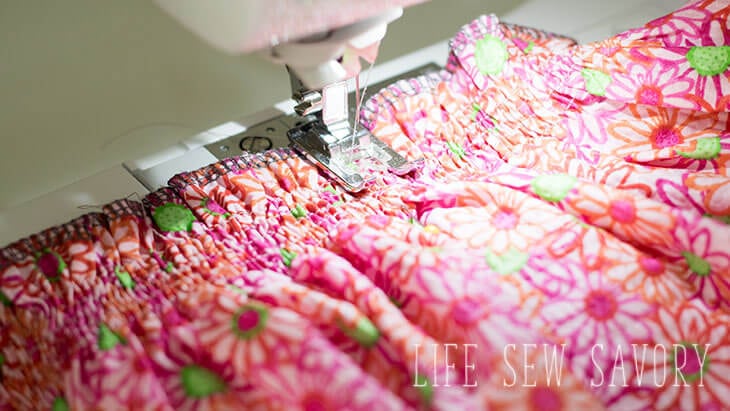
Begin sewing 1″ from the top edge of the fabric. {you should have a long piece, not sewn into a circle} Sew with the wrong side of the fabric down. I lengthened my stitch and tightened the tension just a bit. Play around on a scrap of fabric first. The first line of stitches should gather the fabric a bit, but each additional line should tighten the gathers. I spaced mine about 1/4″ apart. At each end I tied off my threads to prevent any unraveling. 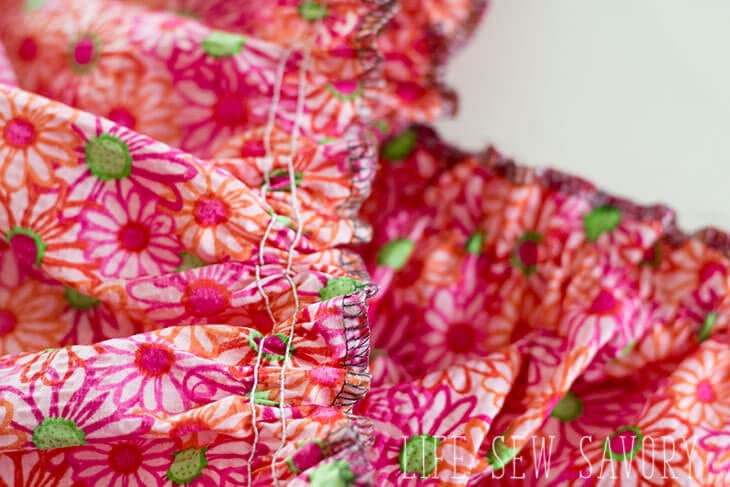
Sew 5/6 lines of elastic thread. Stretch the previous stitches so the new line can sew on flat fabric. This step does take a few minutes to sew all the rows. 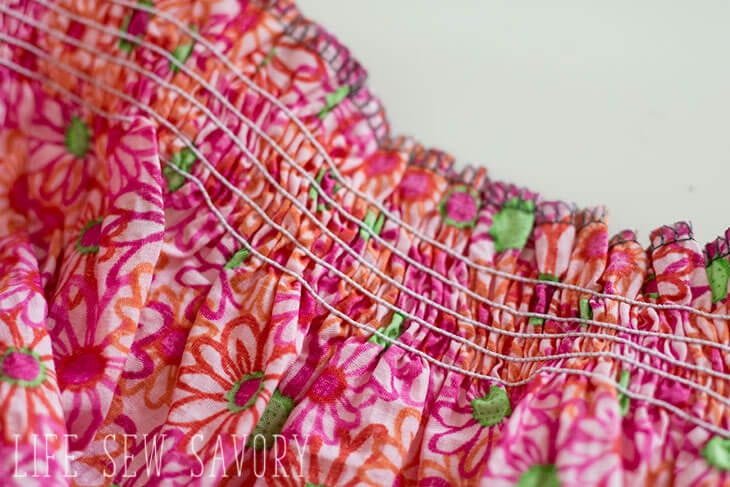
Here’s what the front looks like.
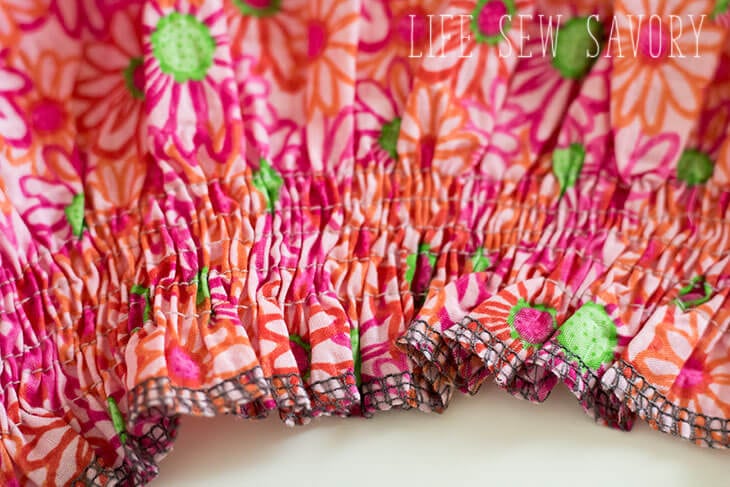
Now take your iron and set to hot and steam. Place on the top of the fabric {right side} and steam each section along the top. Do not slide the iron, press and hold, then lift and repeat. Measure the waist of you child {or yourself} for fit and width. You want the elastic to stretch a bit, but still fit snug.

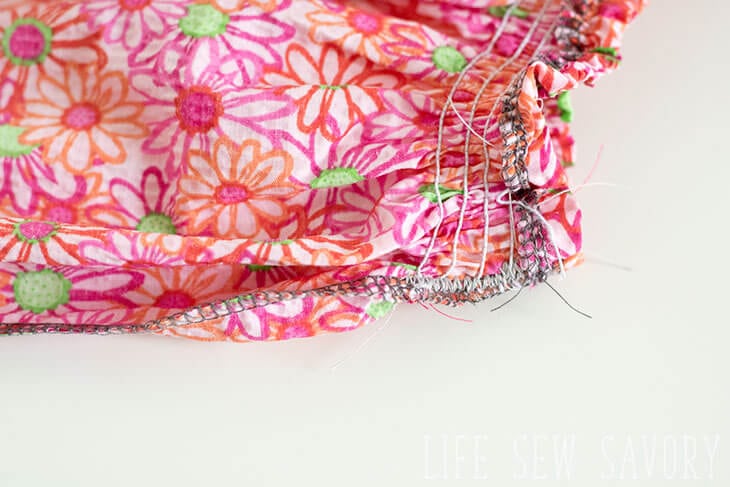
Mark on the fabric where the skirt will be sewn and sew a zig zag stitch here to secure the elastic. I wanted to keep the short piece for a doll skirt, so I also stitched a second row. Cut the fabric in between these stitches.
Sew the skirt into a circle with right sides together. Reinforce the stitching where the elastic meets to keep it from coming out.
Turn the top edge over 1/2″ and topstitch down to finish that edge.
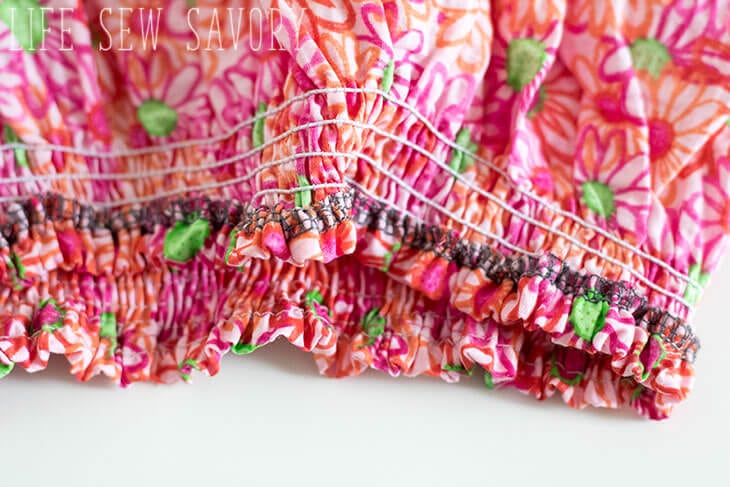
Hem the bottom of the skirt as well. I like to turn up 3/4″.
Now you have the cutest little skirt and you can use any scraps of gathered fabric that you had to whip up a tiny doll skirt as well. My extra just fit the doll when sewn into a circle. Super cute and easy!

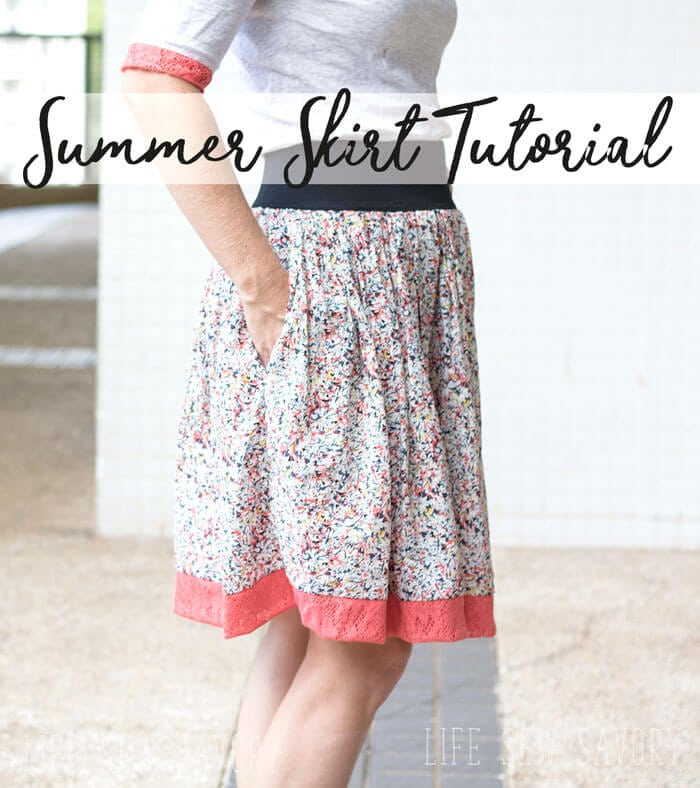
Here are a couple of other skirt tutorials you may enjoy!
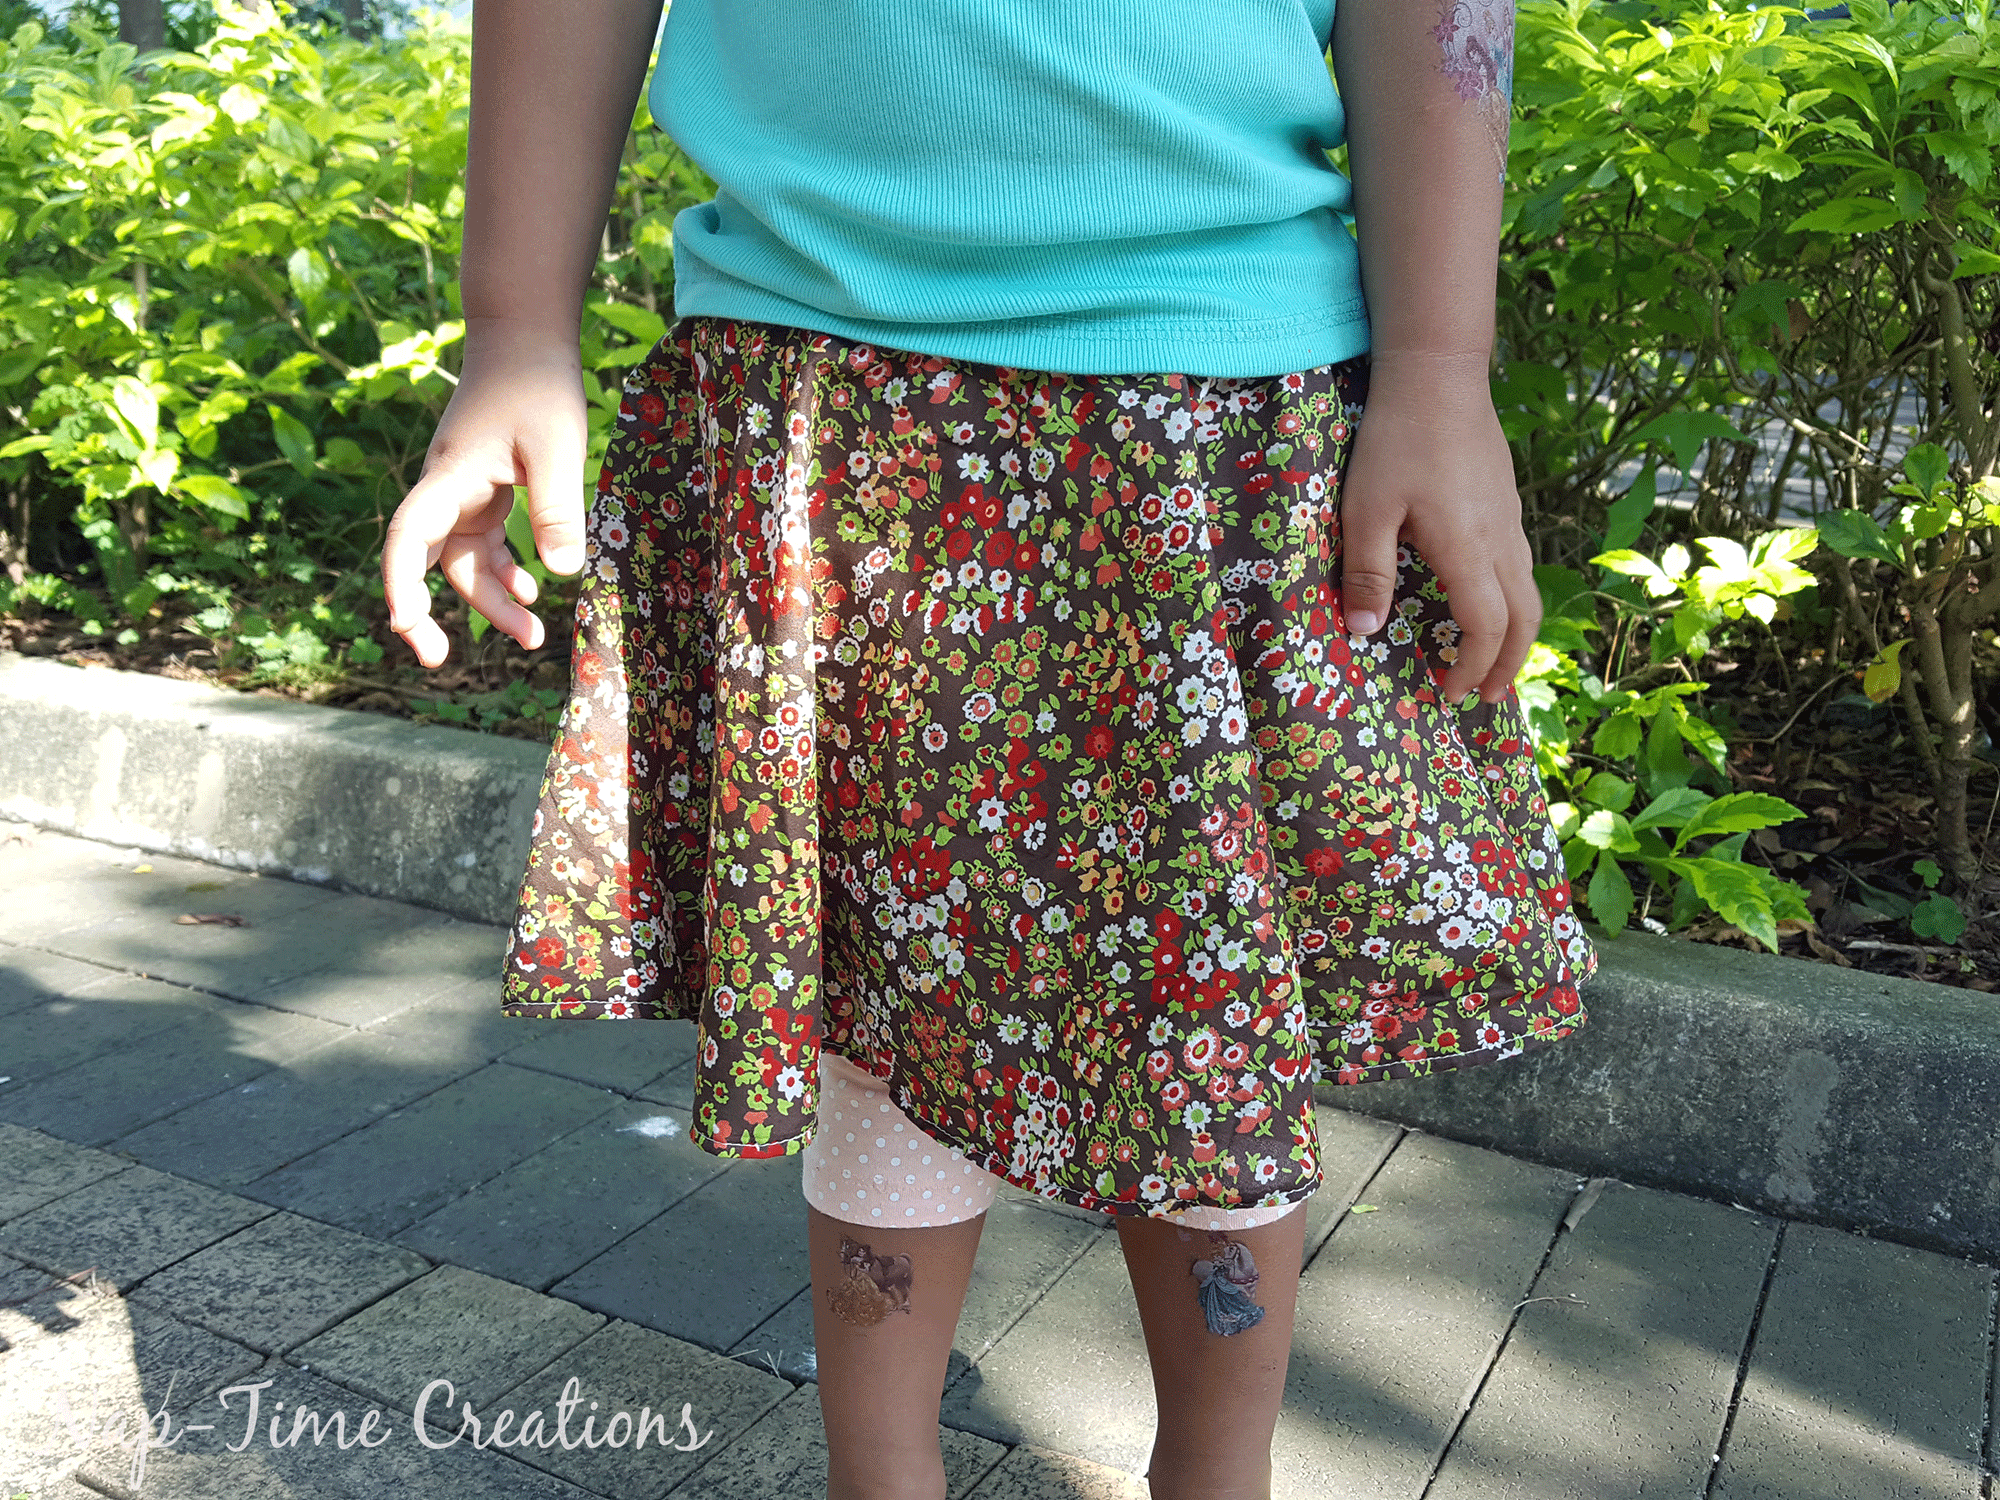
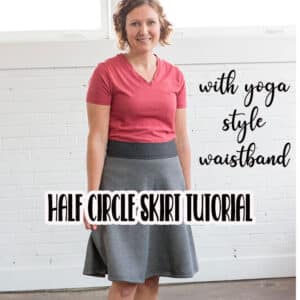
Circle Skirt





Leave a Reply