


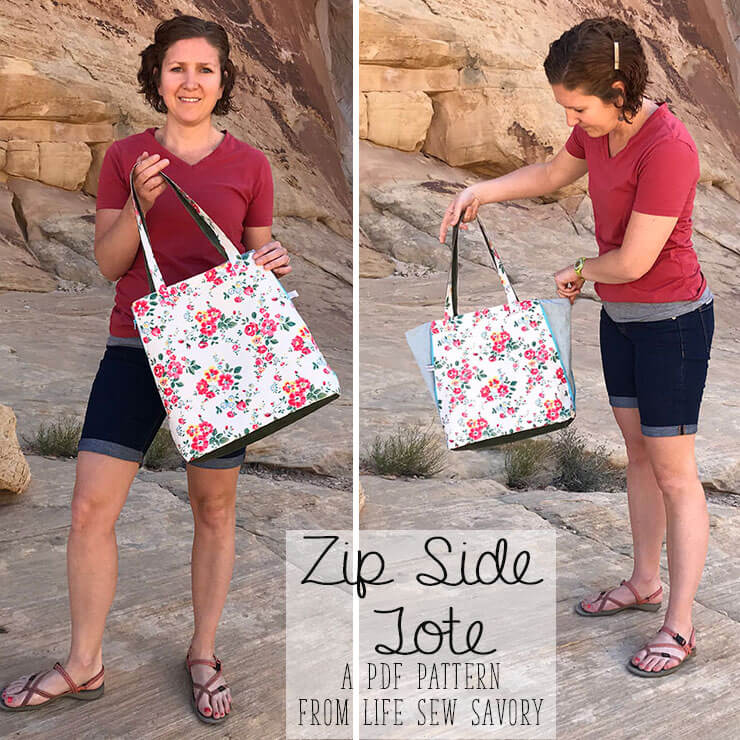
inside: This simple tote bag tutorial is a fun and different way to sew a tote. The easy method is fun and functional and creates a lined bag. Add embroidery for a fun design feature for this lined tote bag.
I’m excited to share this simple tote bag sewing tutorial with you today. This method of tote sewing is easy and perfect for anyone who wants to sew a fun tote bag with a lining. I may have shared several tote bag tutorials before, but this one is different, and I added fun fall embroidery for a twist.

Unique tote bag sewing tutorial
Tote bags are one of the things I love to sew over and over. Each one can be just a little different and it makes for a fun sewing project and I always love the results. Today I have a simple tote bag tutorial to share with you.
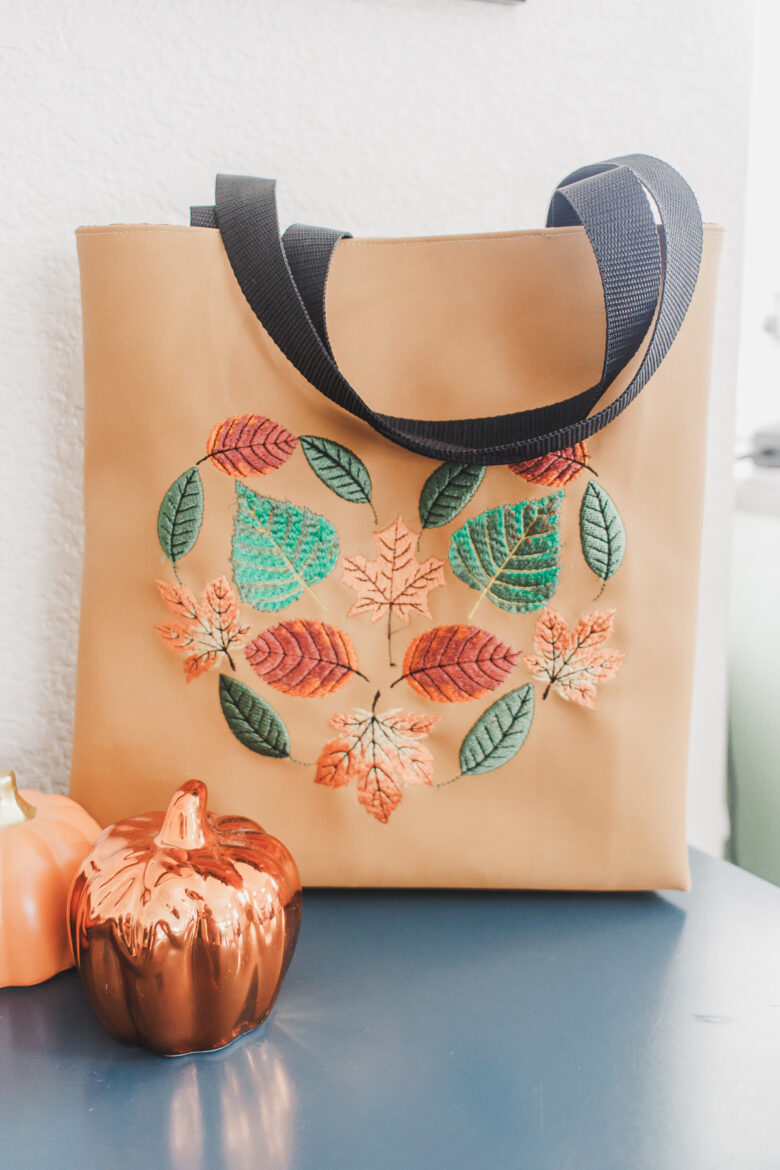
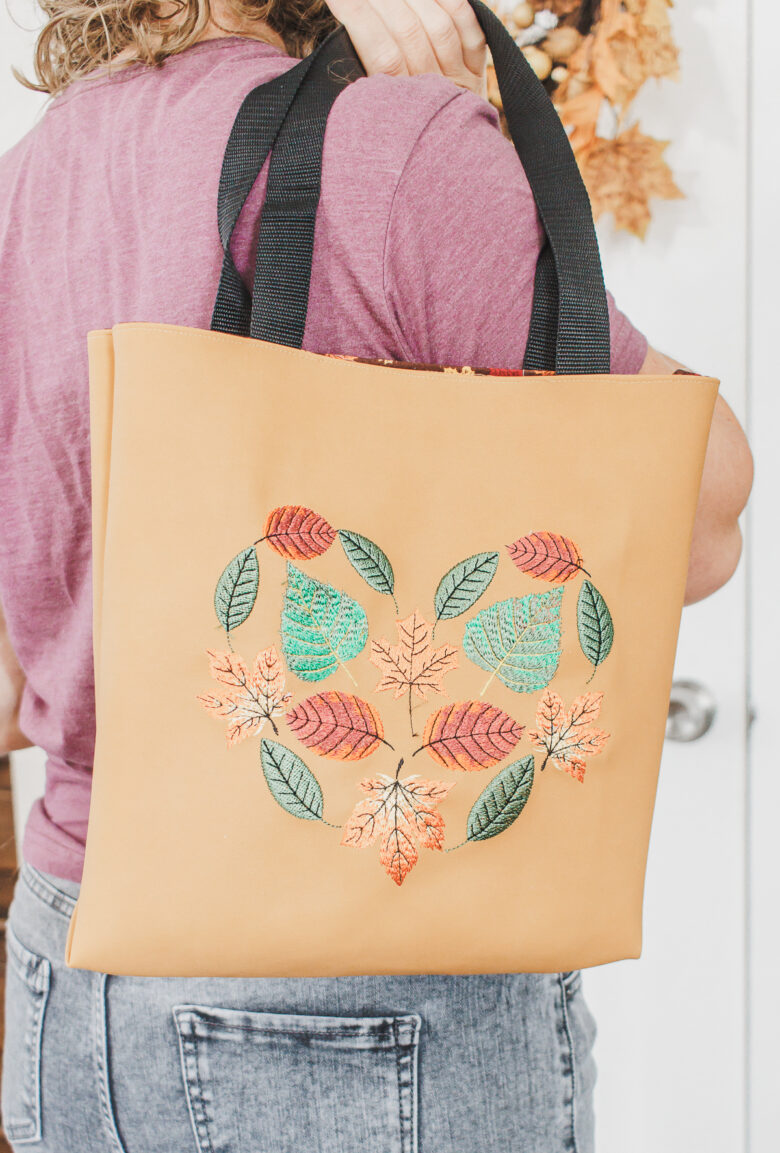
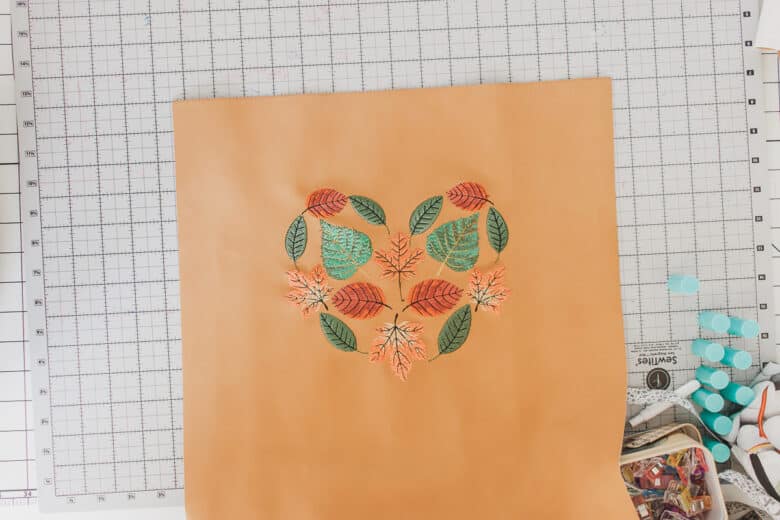
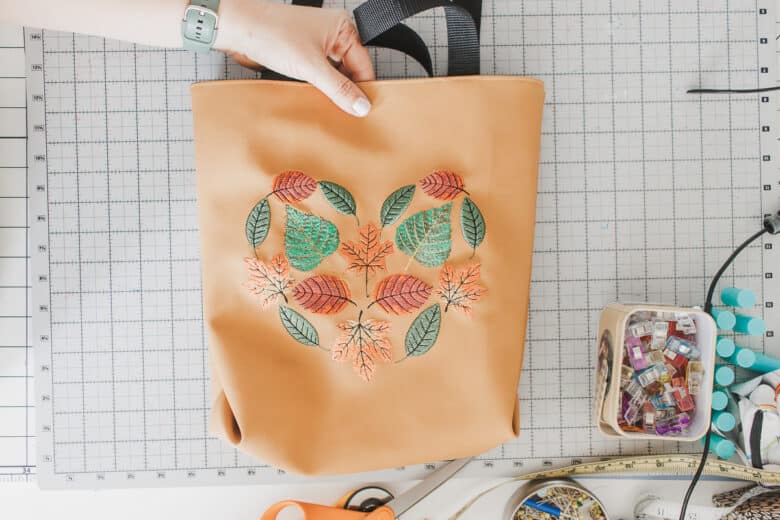
This bag turned out so cute, right?? The tote bag is actually super simple, but the added embroidery gives a fun design element to this tote bag. You could also add iron on vinyl or sublimation if you don’t want to add embroidery. I created this cute fall leaf heart design in the Artspira App. Each leaf was an individual embroidery file and I used the app to combine and create the heart before sending to my machine.

Fun tote bag tutorials to sew
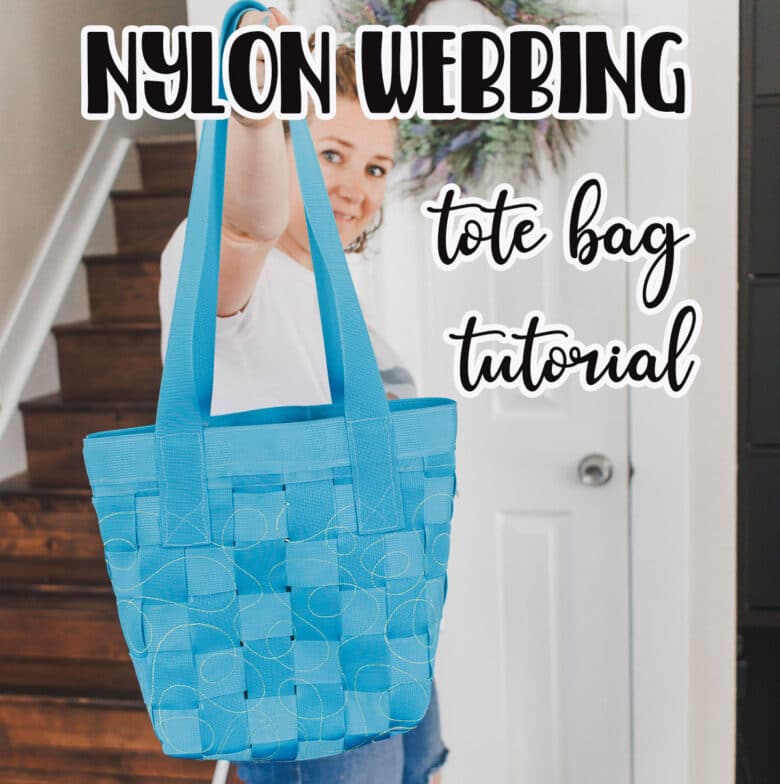
Looking for some other fun tote bags to sew? Here are some of the other bags I’ve created in the past.


How to sew a simple tote bag
Ok! Let’s sew a tote! Let me know if you have created a bag using this technique before.
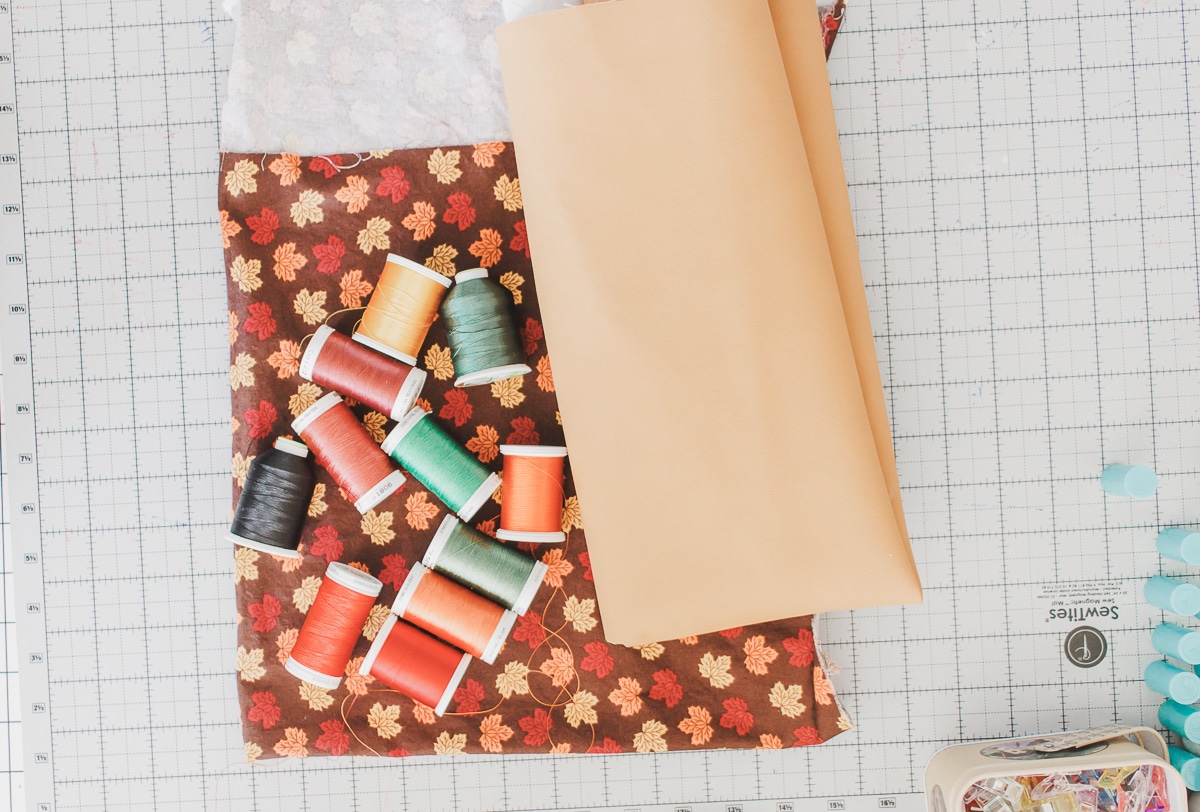
Tote Bag Supplies
- Outer fabric – Vinyl, canvas {any thicker, more structured fabric}
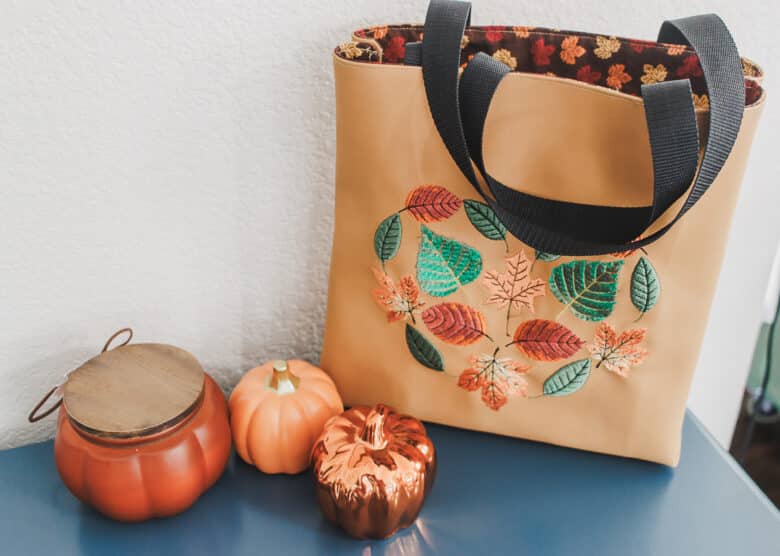
- Lining fabric – I used fall quilting cotton
- Strapping – I used 1″ wide straps
- Optional – embroidery, vinyl, sublimation for design.
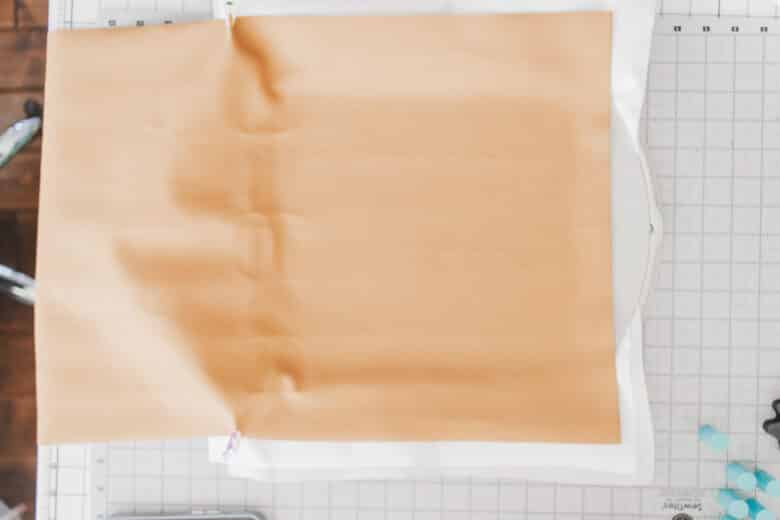
For the tote cut each fabric approx 16″ x 26″, one of the outer fabric and one of the lining fabric. Cut the straps each 21″ long.
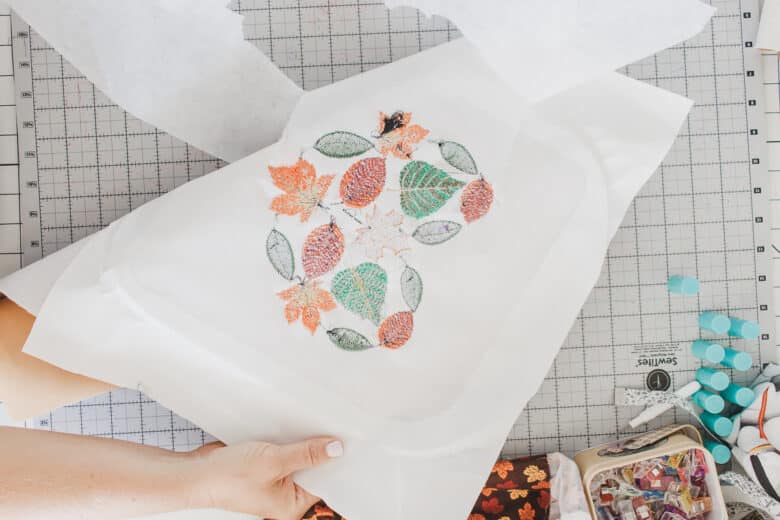
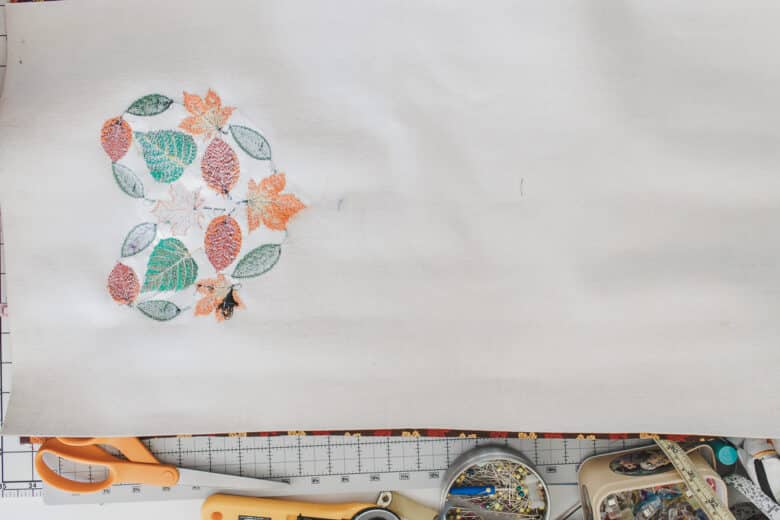
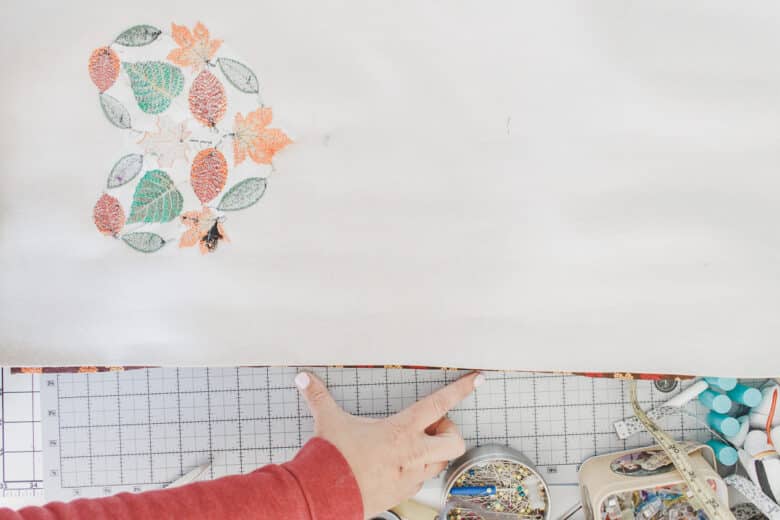
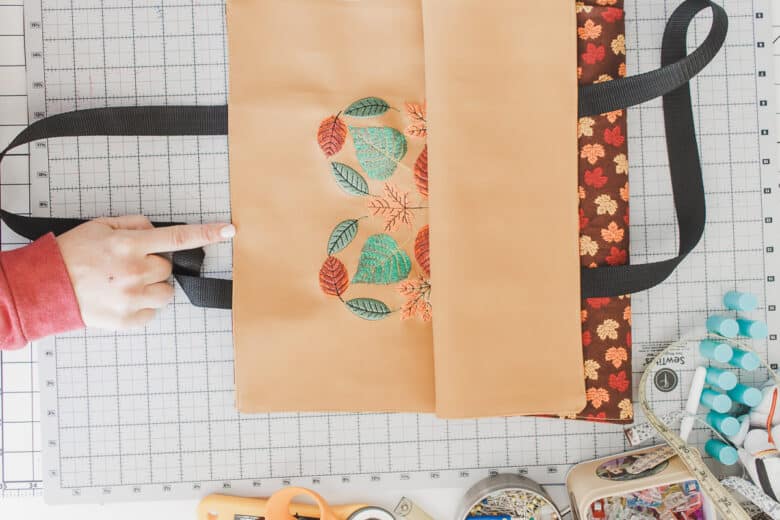
If you are adding decoration to the tote, you will want to do it before sewing so you have a nice flat surface. I used sticky stabilizer to attach my vinyl to the hoop. Stick the design 3/4″ down from the top of the bag and centered in the middle. These fall leaves are a combination of free and premium leaf designs in the Artspira App.
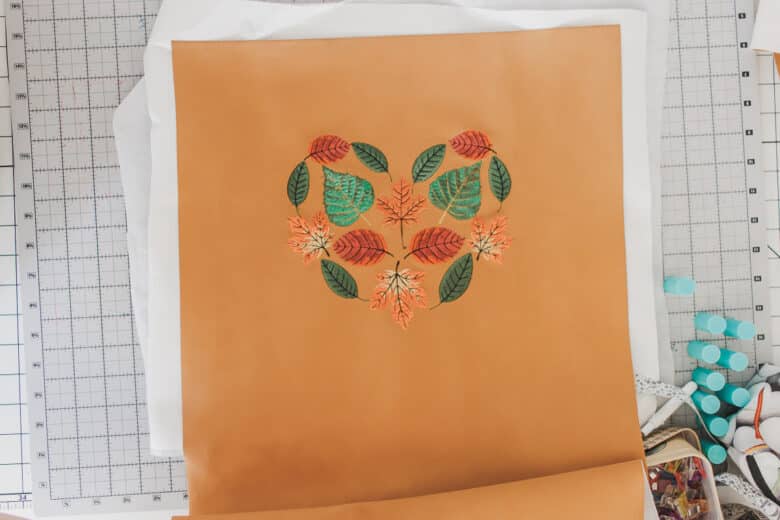
When the embroidery is finished peel off the stabilizer.
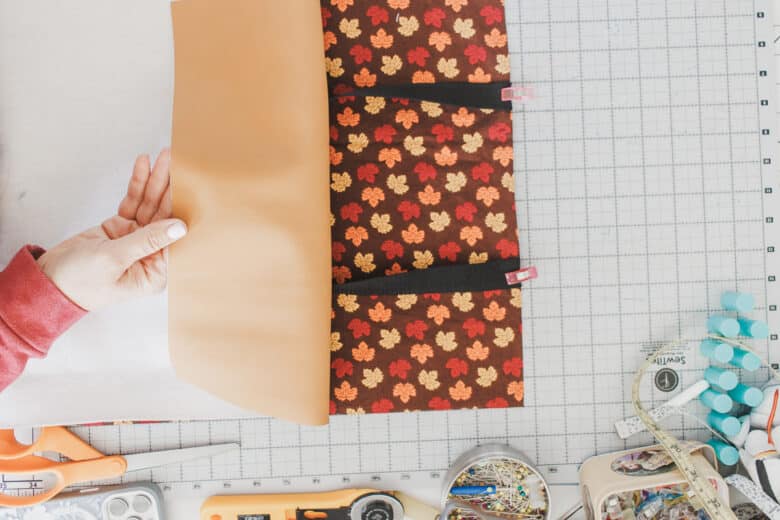
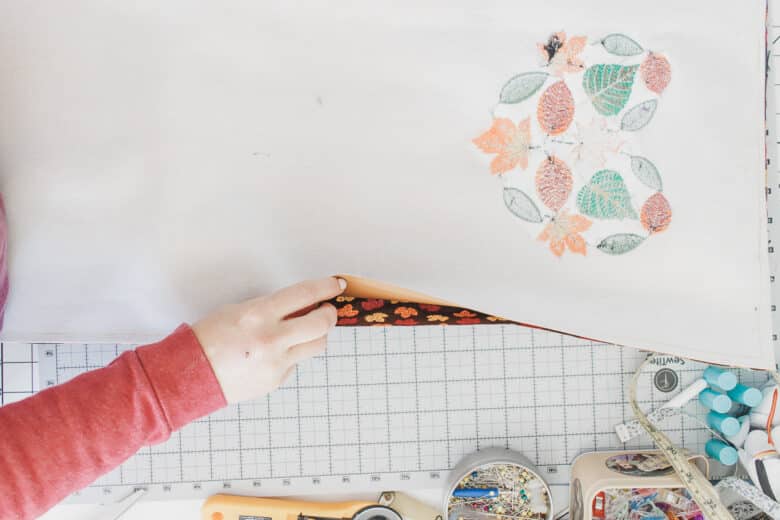
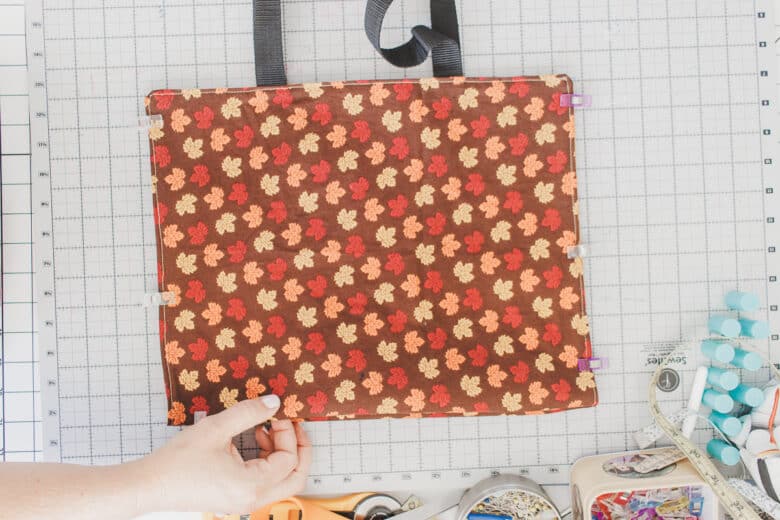
Place the lining fabric face up and attach the straps to the short ends. I placed the straps each 4″ from the outer edge. Loop the straps towards the middle of the fabric. Place the main fabric right side down on top of the lining. The two rectangles should be lined up on all sides.

Sew all the way around the edges, leaving an opening to turn the tote right side out.
Sew all the way around with a 3/8″ seam allowance. Turn the bag right side out after sewing.
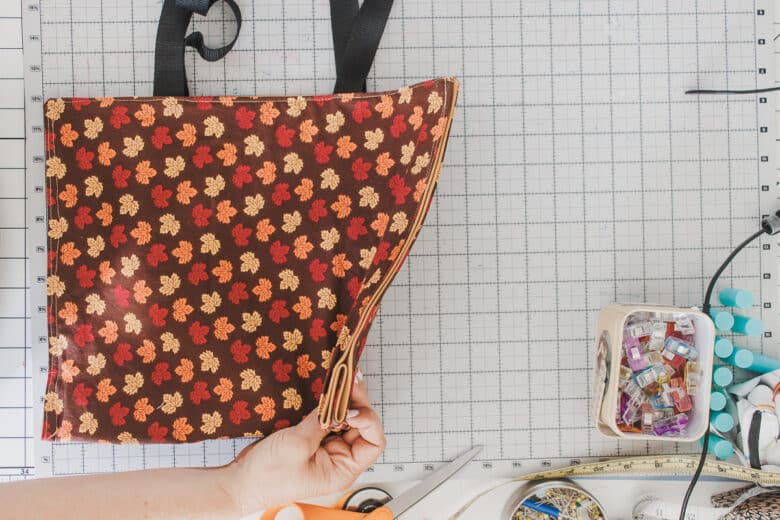
Tuck the seam allowance in and pin or clip to close the hole. Stitch all the way around the rectangle, sewing close to the edge.
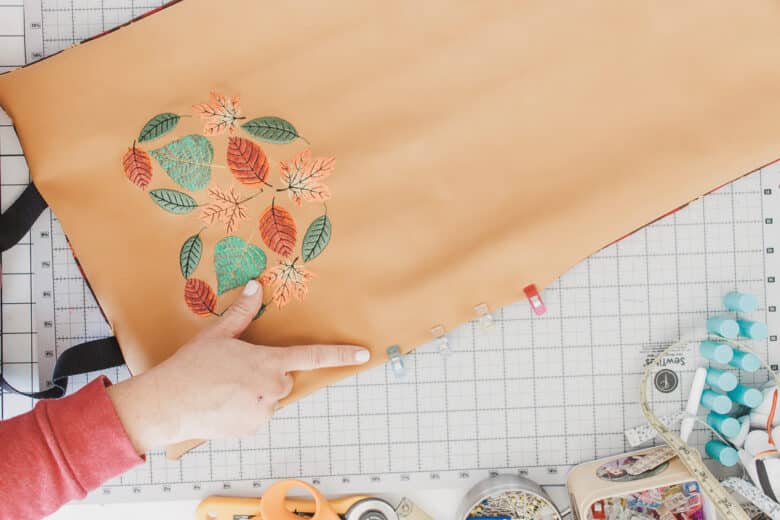
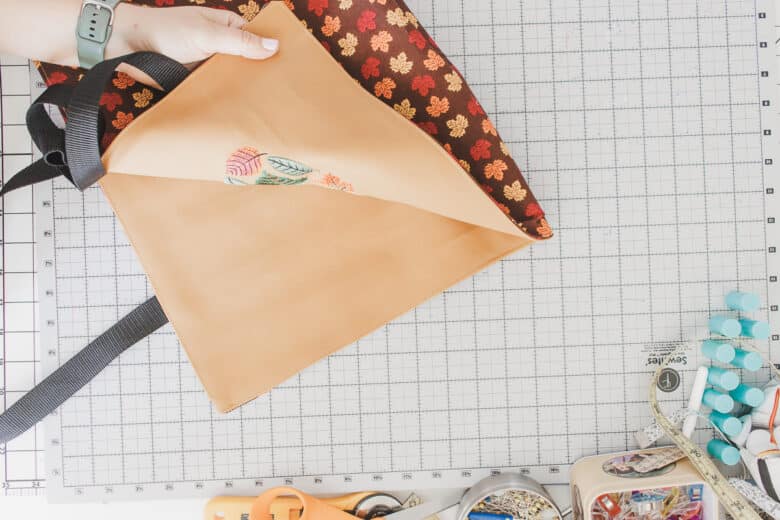
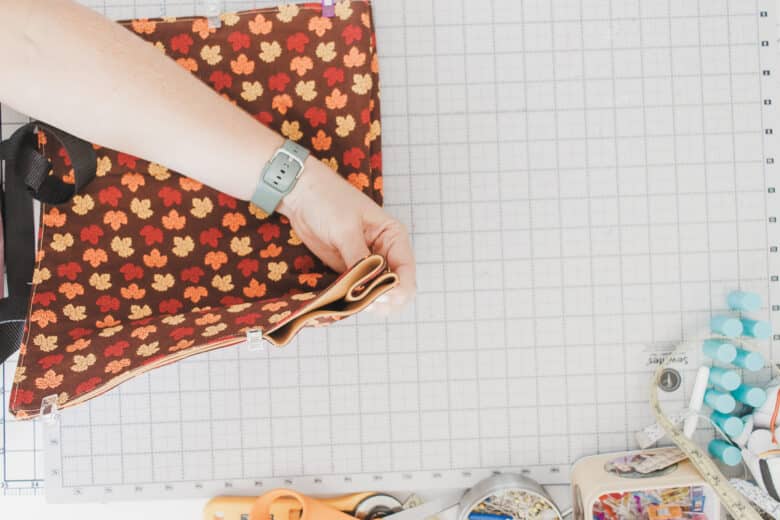
Fold the rectangle in half so the short edges are lined up and the handles are aligned. Pin or clip the sides together from the top edge and about half way down the side.
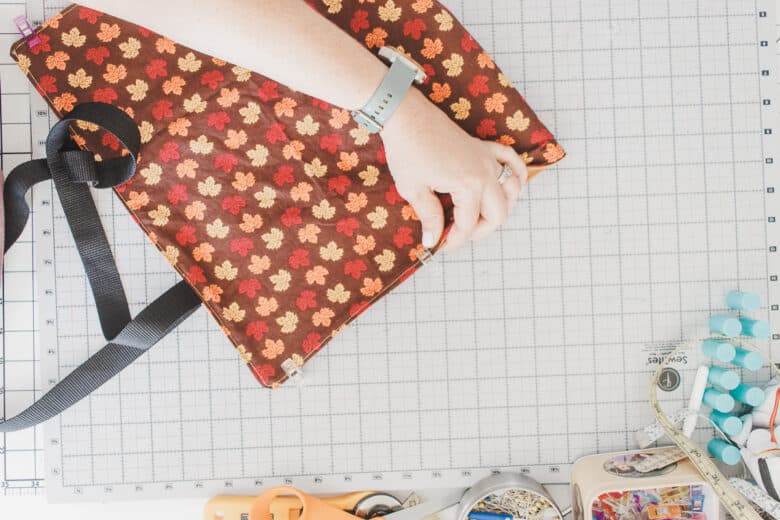
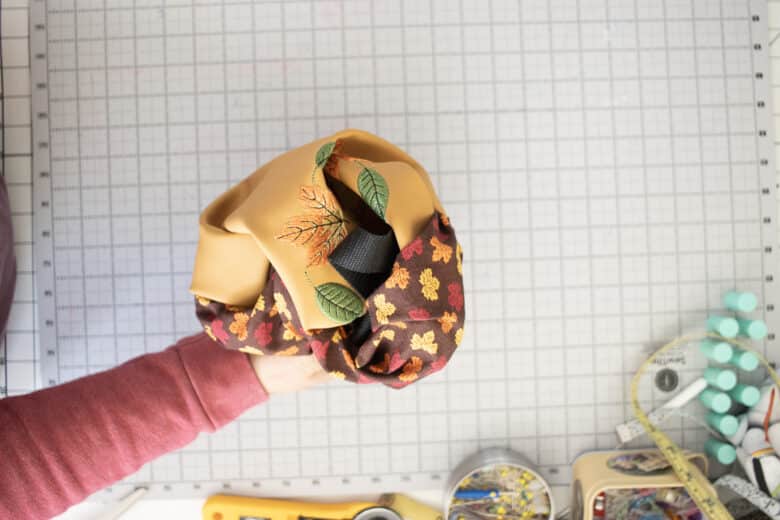
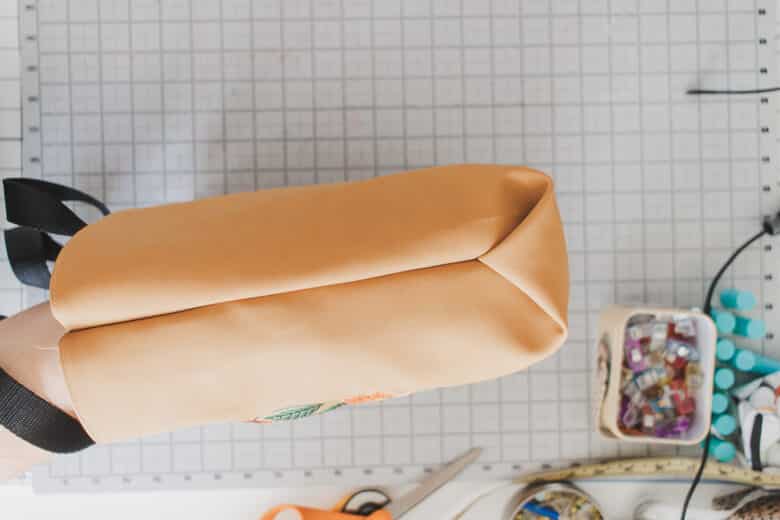
Open up the bottom fold a bit and fold the middle fold up into the bag. The folds should be 1 to 1.5″ long.

Repeat on the other side and make sure the folds are even.
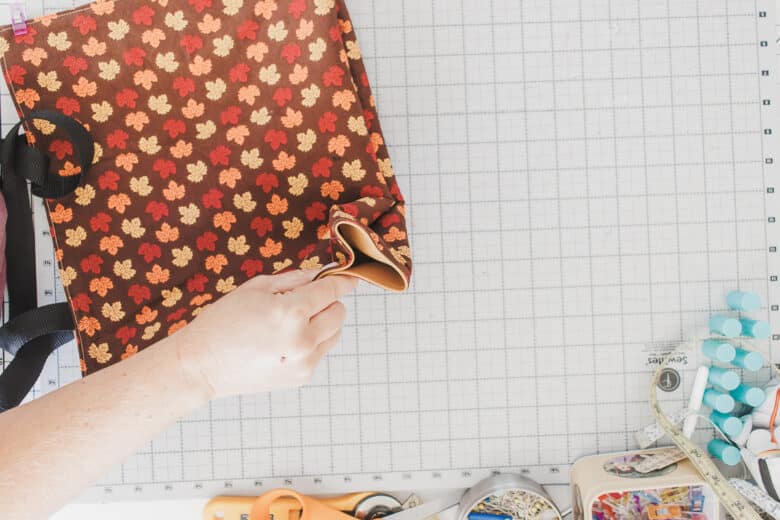
Start at the top edge {the one by the handles} and sew down the edge. I used a large jean needle for this, as the layers are thick. Turn right side out and push out the corners.
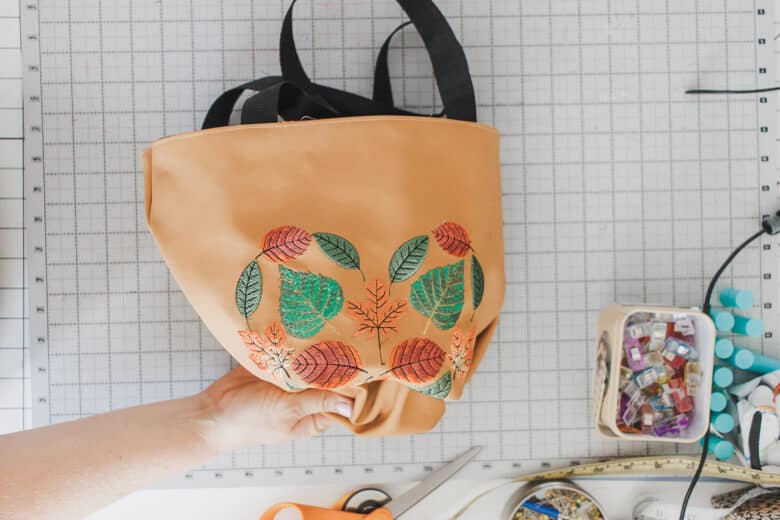
Here’s what the corners look like when finished. How fun and easy right? This little tote is going to be my new favorite for fall for sure! Can’t wait to see what your version looks like.


Leave a Reply