inside: Learn how to sew a small faux leather purse with this free sewing pattern and tutorial. Printable PDF, step by step instructions, links to supplies – everything you need to sew a beautiful new bag.
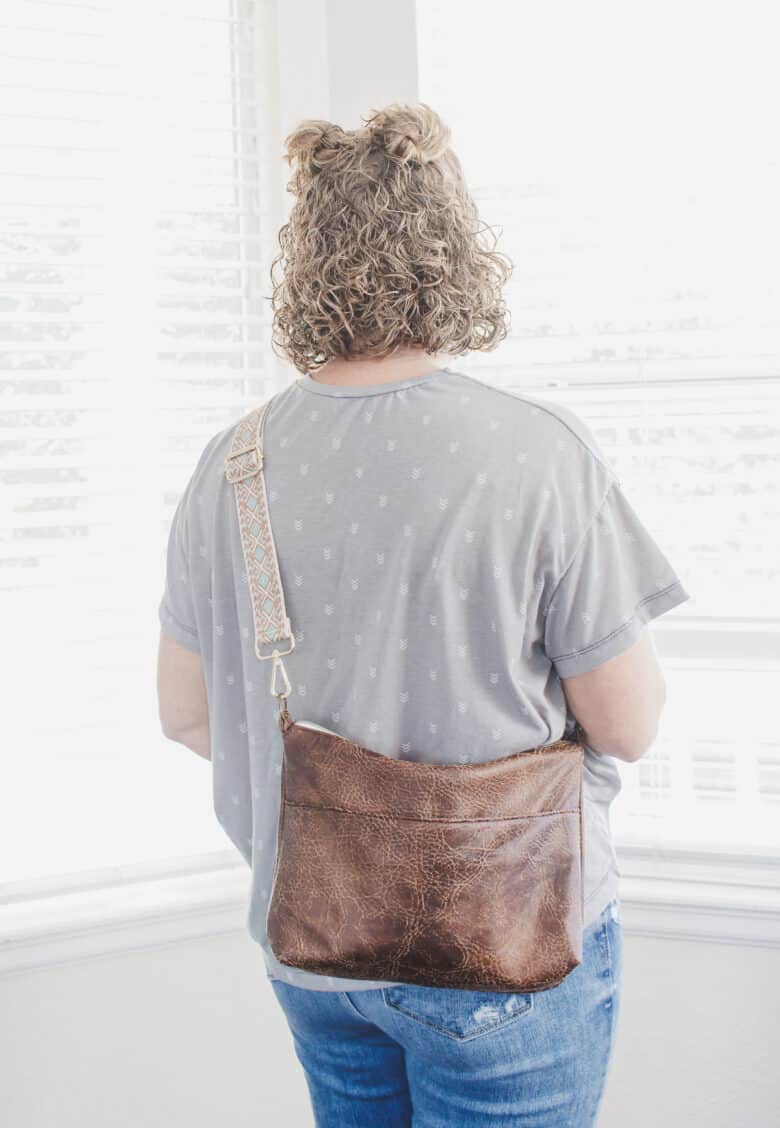
I wrote in a previous newsletter several weeks ago that I was planning to make myself a new bag. I wasn’t sure if I should use one of my existing patterns or create a new one. Well, this post should clue you into the fact that I decided to create a new one {haha} I actually was inspired because I found the fun pre-made strap for this bag and needed a purse to go with it. We all start somewhere, right? So here’s my new small purse made from faux leather.

Small faux leather bag free sewing pattern
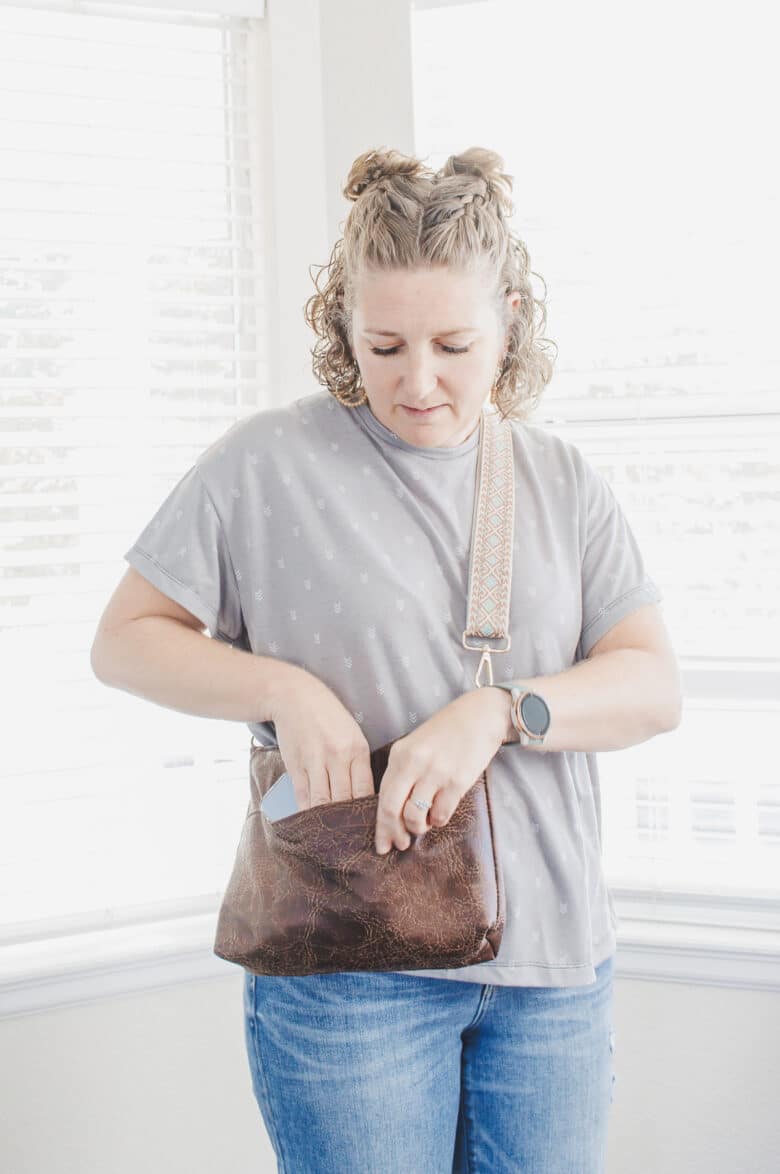
I’m super excited about how this bag came out! I’ve actually been using it as my everyday purse now for about two weeks and it’s working exactly as I had hoped. It’s a great size, small, but just big enough to hold quite a few things.
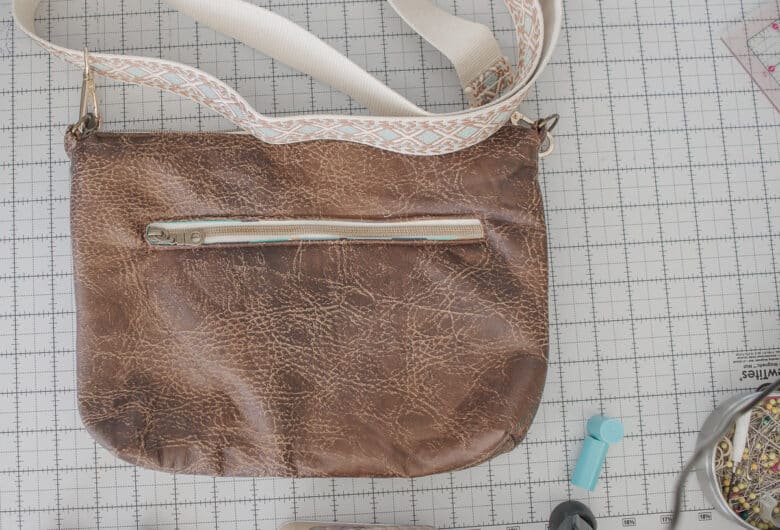
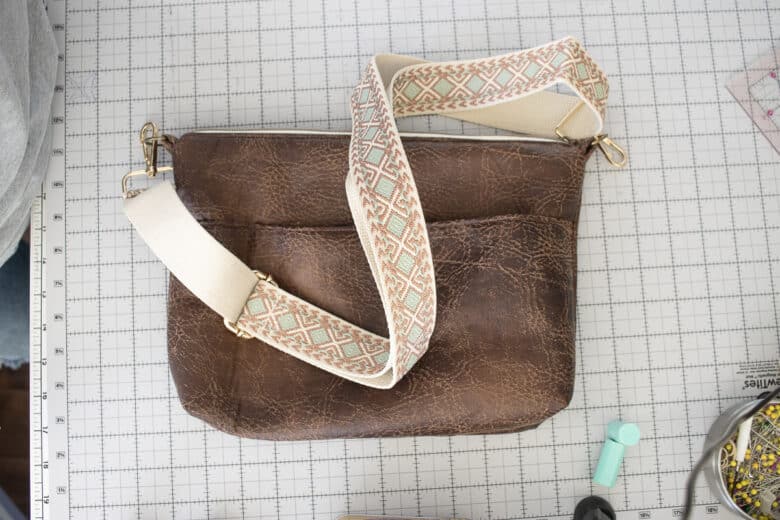
This whole bag was inspired by the strap I found online {link above}, and I’m pretty pleased with how the strap completed this purse. Also, I can’t decide if I like to wear the zipper or pocket side out on this bag.
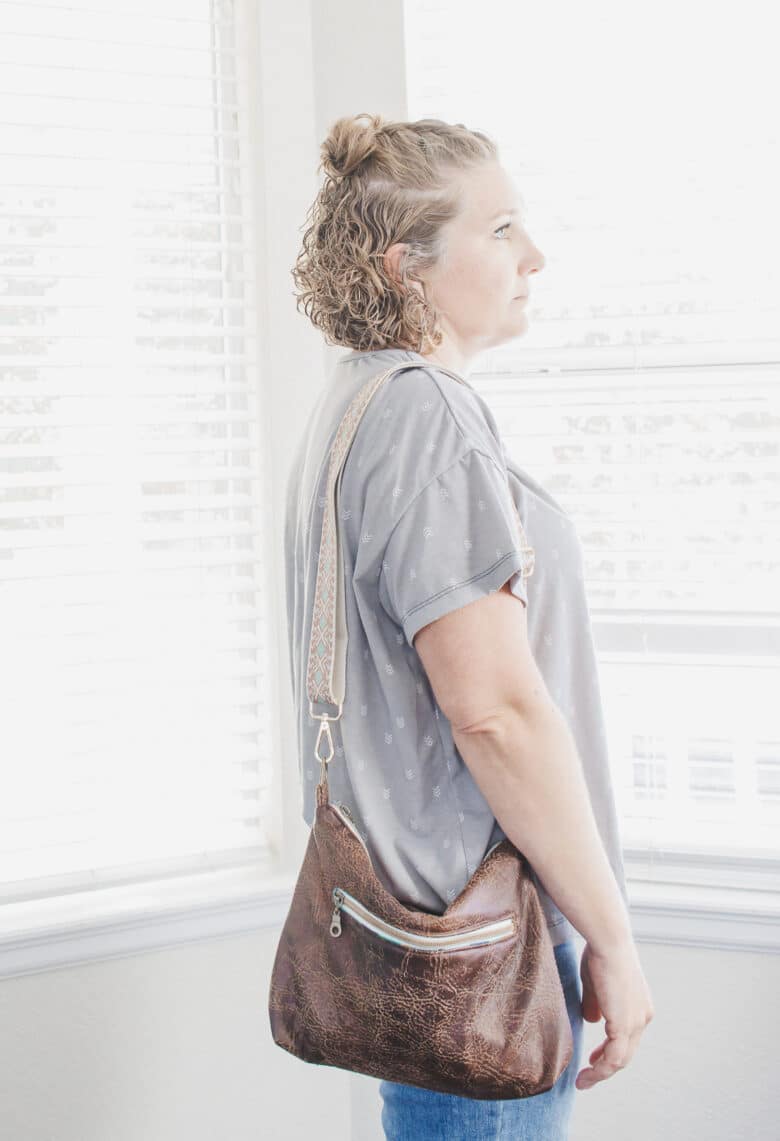
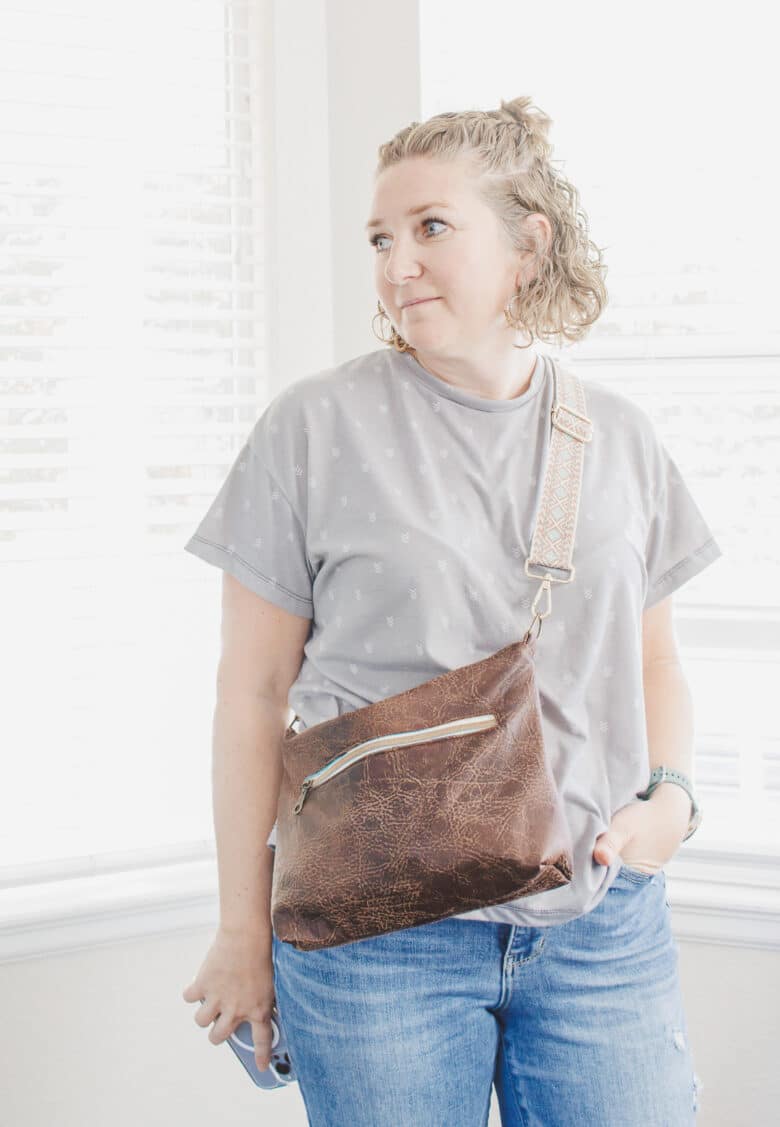
The strap is long enough to go cross body or just over the shoulder. I’ve worn it both ways for sure. Alright! Let’s get sewing.
Free bag patterns to sew
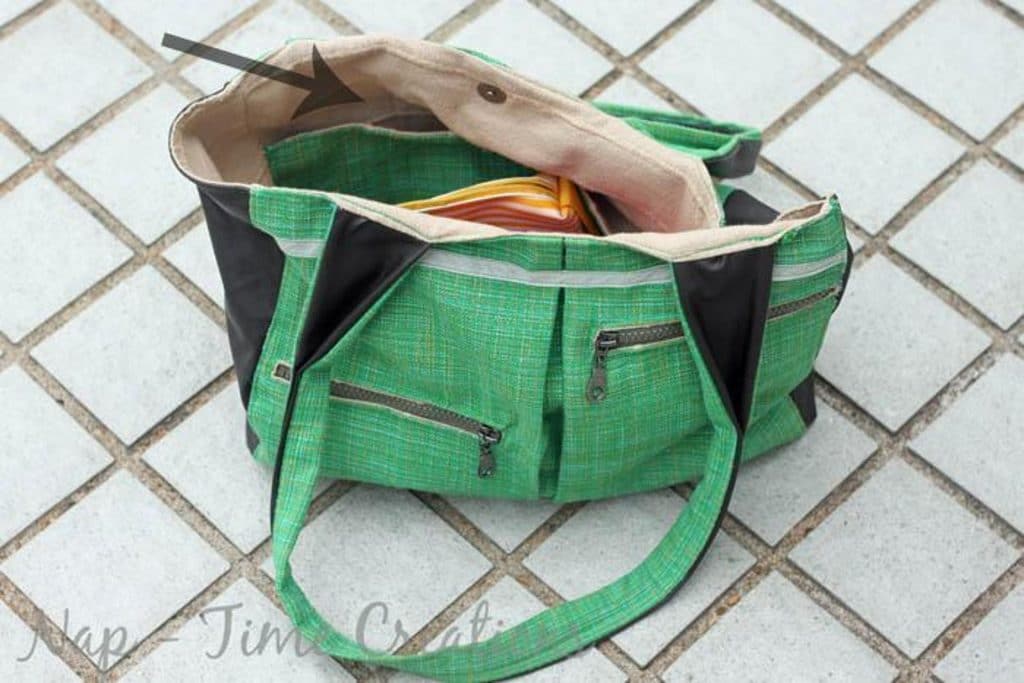
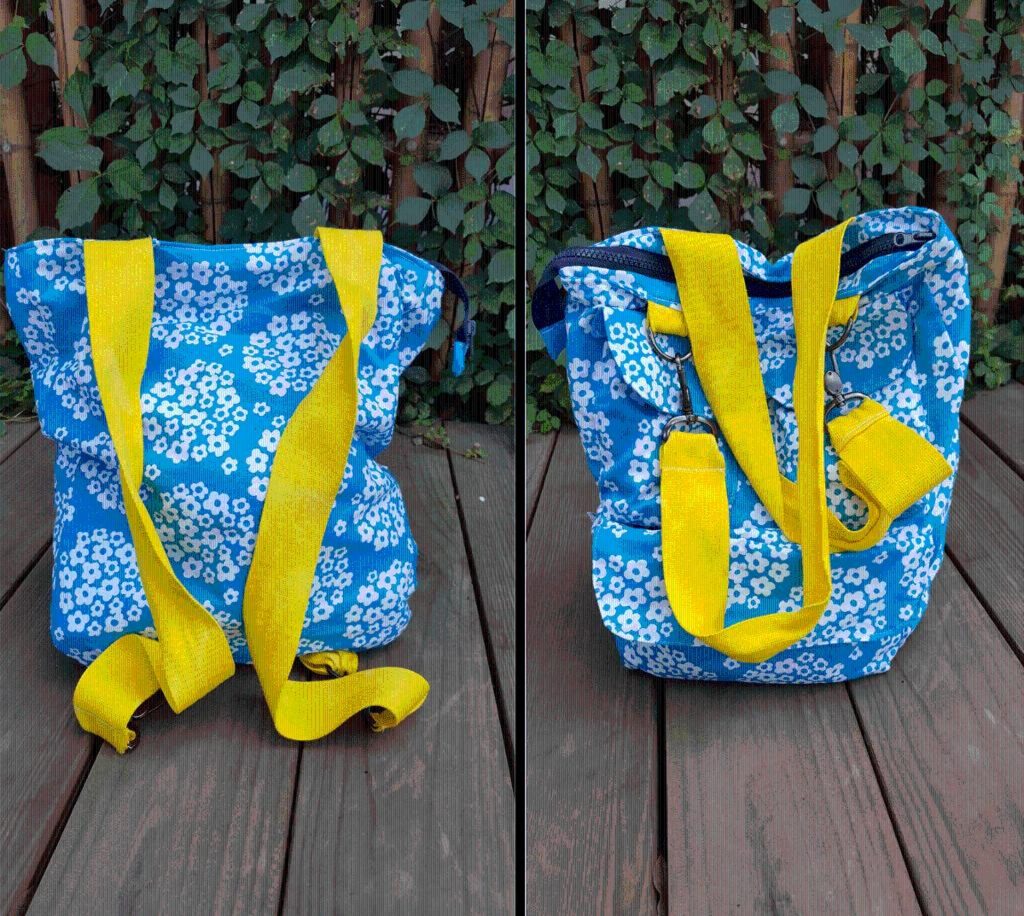
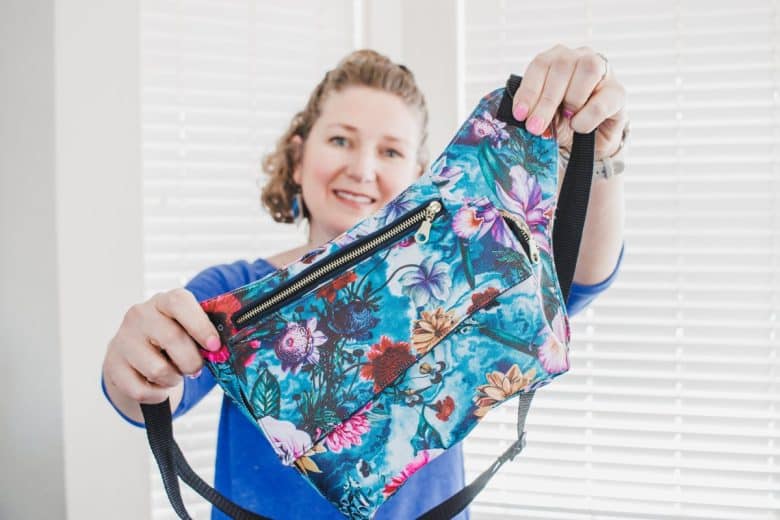
Like this pattern? Looking for something a bit different? Here are several other bag patterns to try.
Here’s what you will need:
- 3 zippers {I buy it buy the yard}
- 5″
- 9″
- 14″
- 2 D Rings
- 1 purse strap {here’s the one I bought}
- Fabric
- 1/2 yard lining
- 1/2 yard main {I used a faux leather, you can use any fabric with some structure}
- Tutorial: How to sew a zipper pocket
- Free pdf pattern – use the green button below to head to my shop where you can download the free pdf pattern. The pattern pieces are in the printable pdf – the tutorial/instructions are here.
You should have cut 3 Zippers, two pockets for the zipper pockets, two main pieces, two lining pieces, one lining and one main for the outside pocket, and finally two small pieces for the D-ring straps.
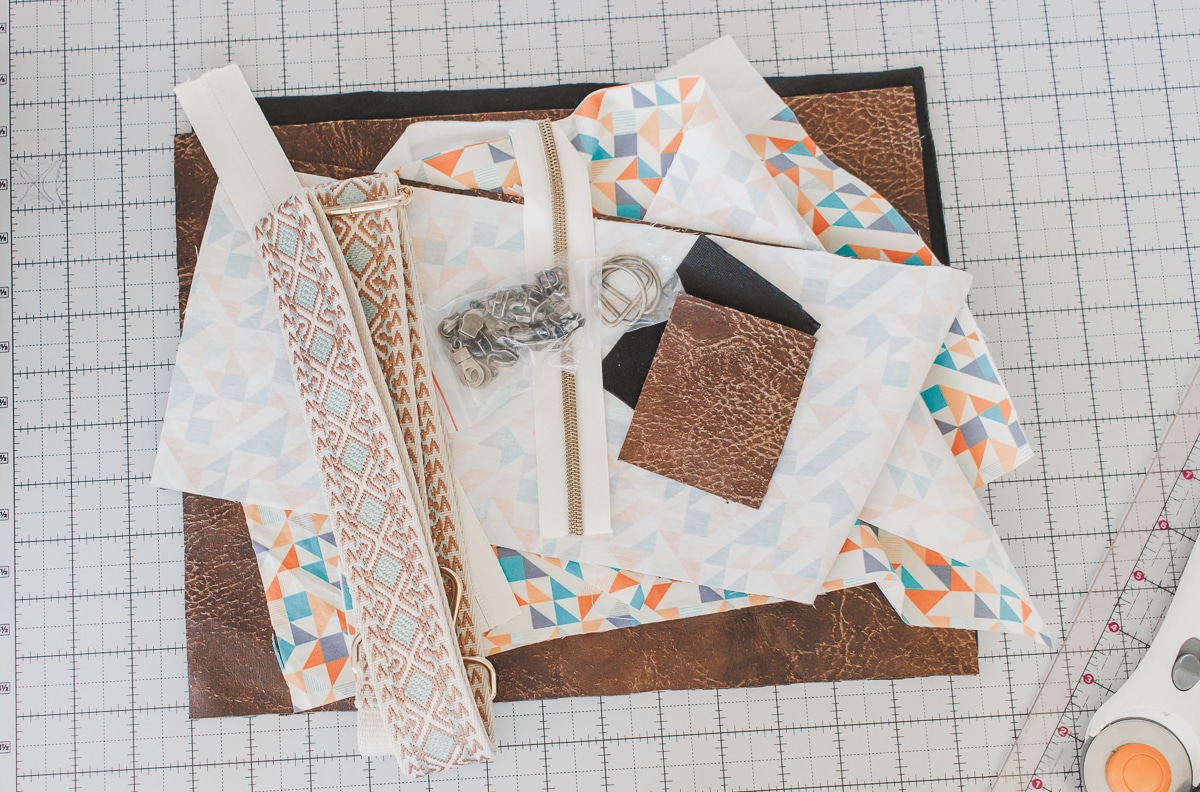
How to sew a small purse pdf pattern
We will start by preparing the two main pieces with their pockets. Place the lining and main of the outside pocket right sides together and sew that top edge. Flip right side out and top-stitch the folded edge. My main fabric was longer due to lining fabric restrictions, but yours should be the same size. Place this finished pocket on one side of the main fabric and baste in place.
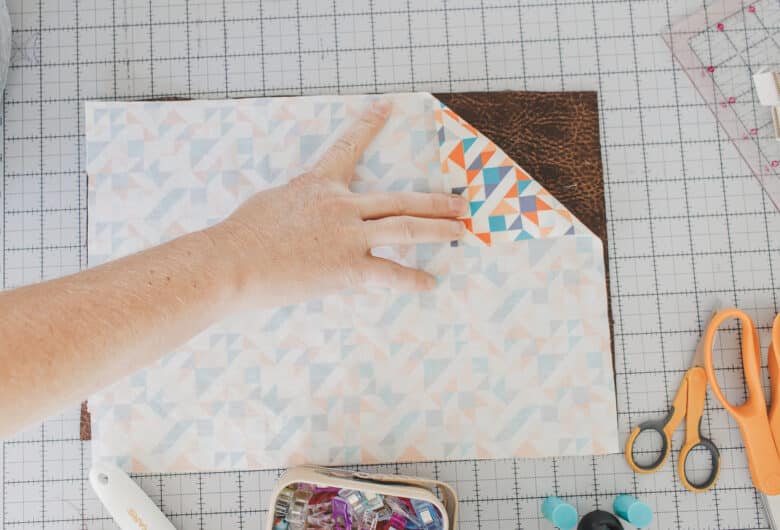
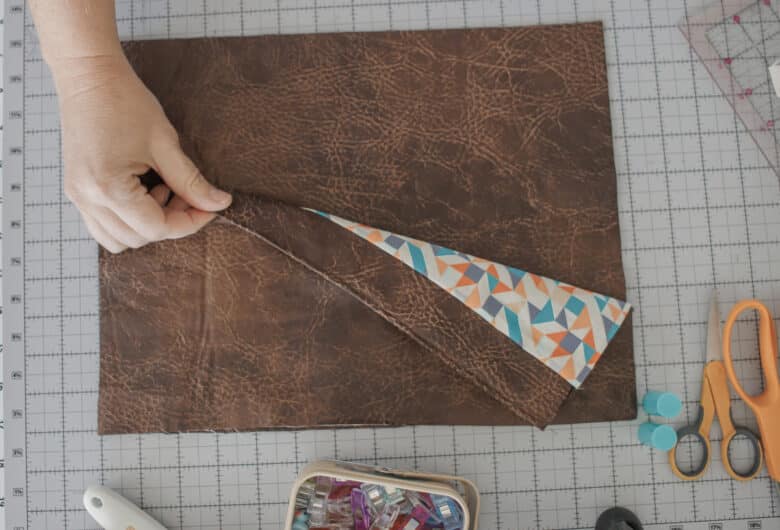
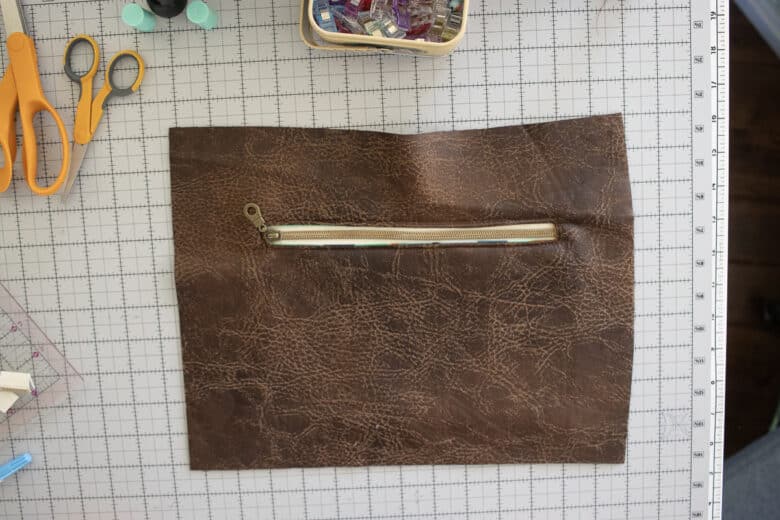
On the other side of the main outside fabric you will use the 9″ zipper and pocket to create a zipper pocket. The tutorial is linked about or you can find it here to create a zipper pocket.
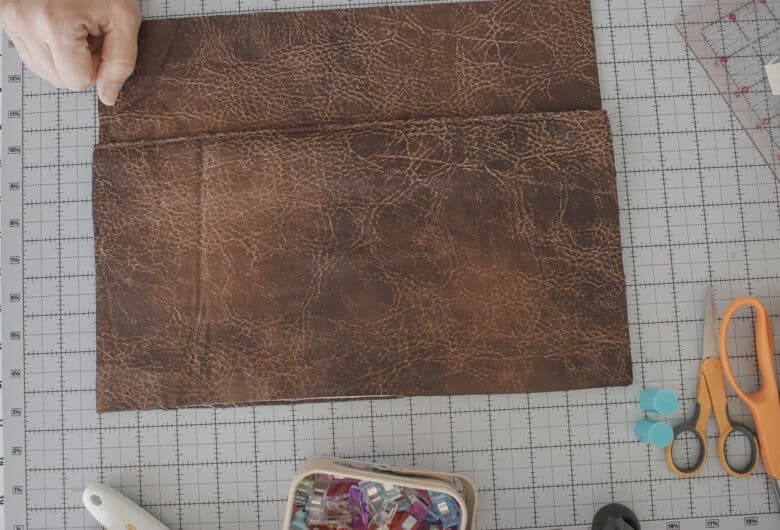
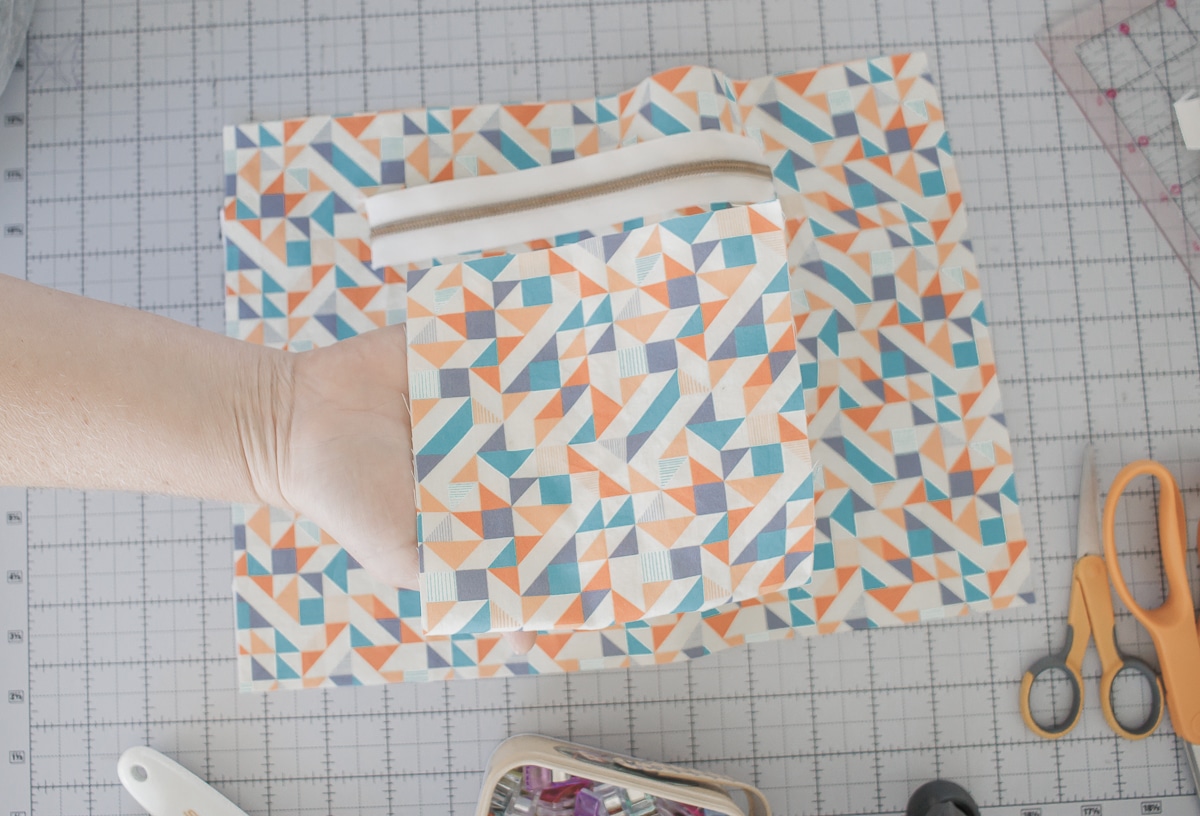
Now you will prep the lining sides. Create a zipper pocket using the 5″ zipper and small pocket on one side of the lining using the same method as you did above. Use the linked tutorial if needed.
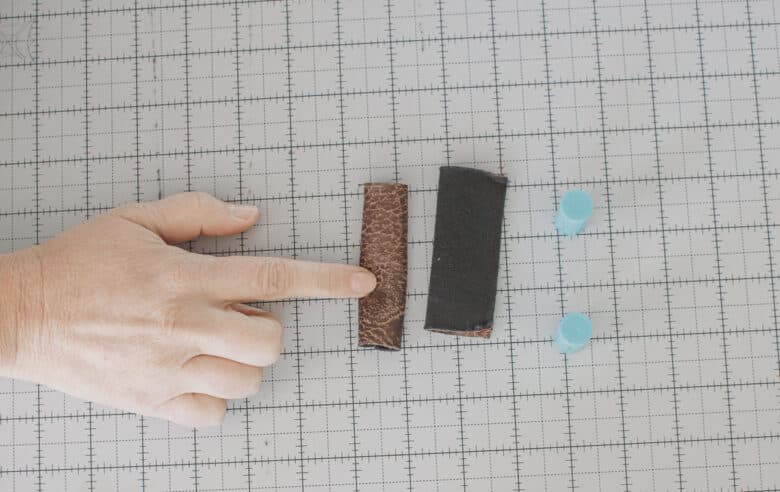
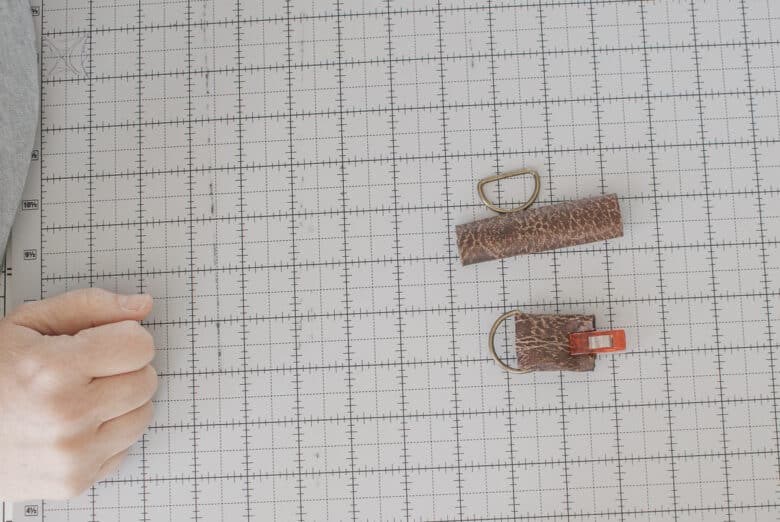
Take the two D-Ring strap pieces and sew together on the long side. Turn right side out and slide through the D-rings. Pin or clip the ends and set aside.
Time to assemble the bag! Place the zipper right sides together along the top edge of one main bag side. Then place the lining right side down, lining up the top edge. If you need to baste two layers, then add the third you can do that. Or pin/clip all three layers and sew with a zipper food about 1/4″ from the zipper teeth.
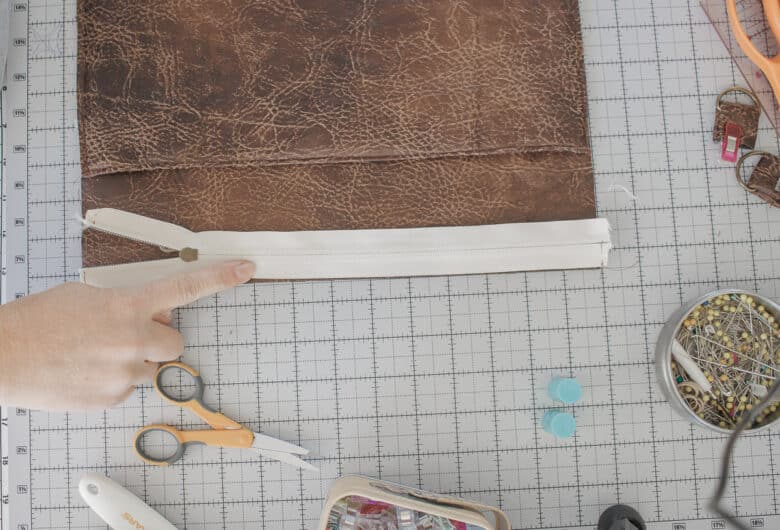
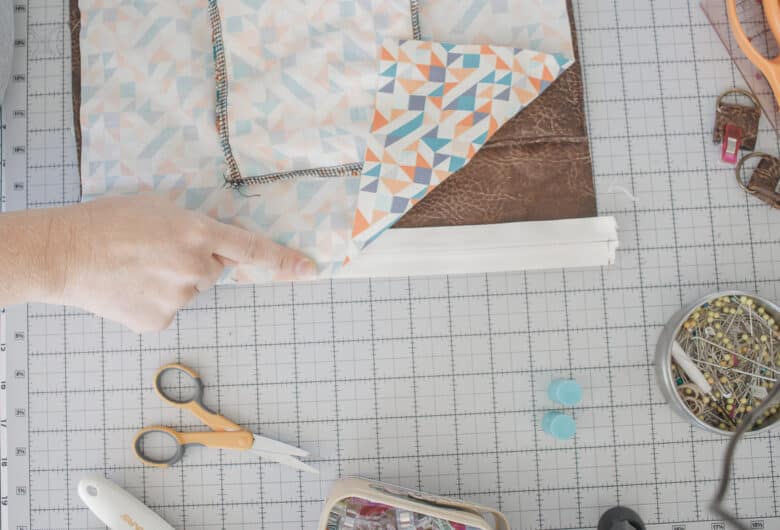
You have now created one side of the bag. Tuck the lining under so the wrong sides of the main and the lining are touching and the zipper is at the top.
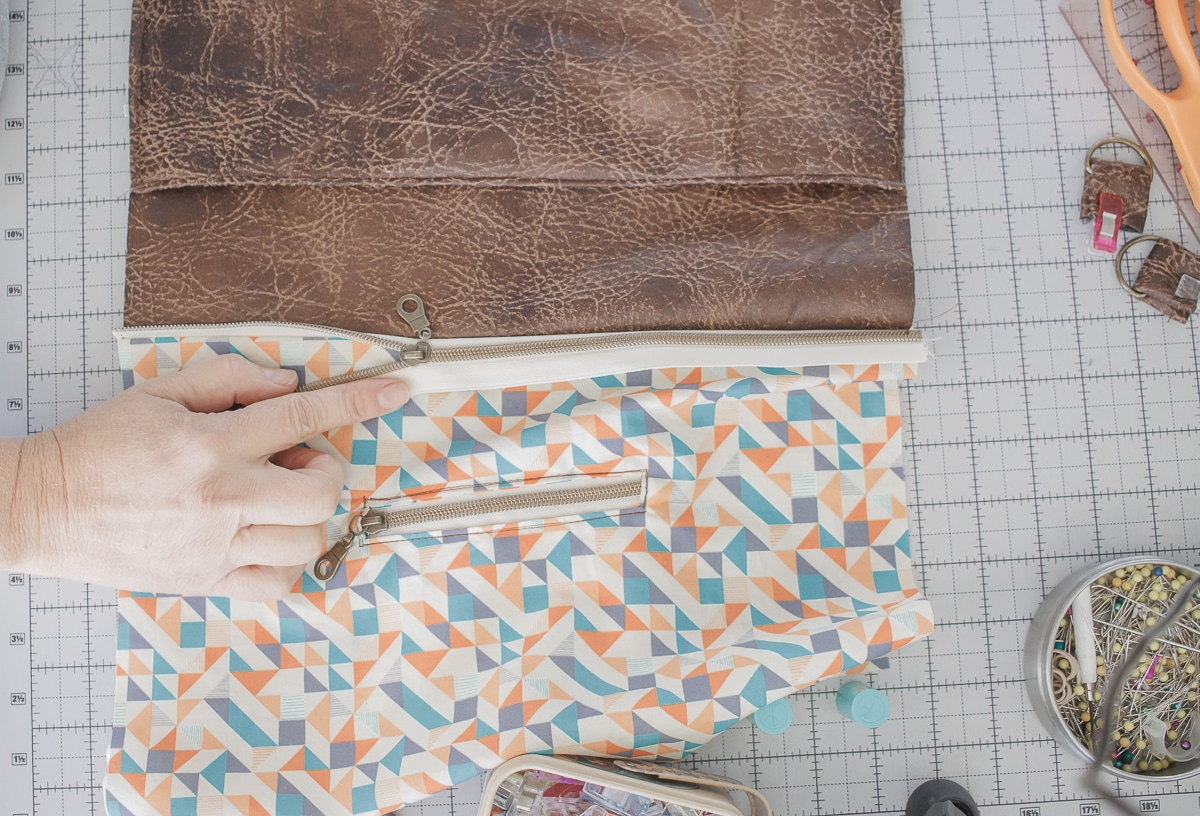
Place the second lining side under the zipper. The right side of the lining will be on the wrong side of the zipper. Again, place the top of the other side of the main on top of all of this and line up the three layers. Baste two if needed before adding the third. Sew again with a zipper foot.
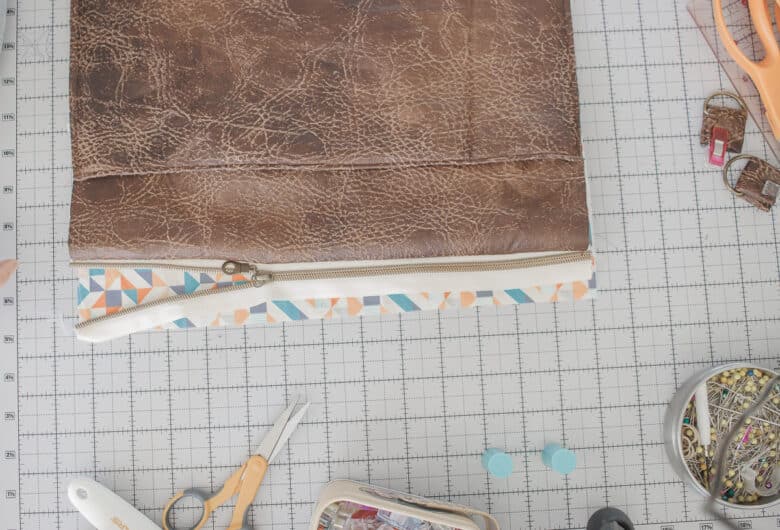

Now you have both sides of the bag and you can up it up on both sides of the zipper as shown. Front and back.
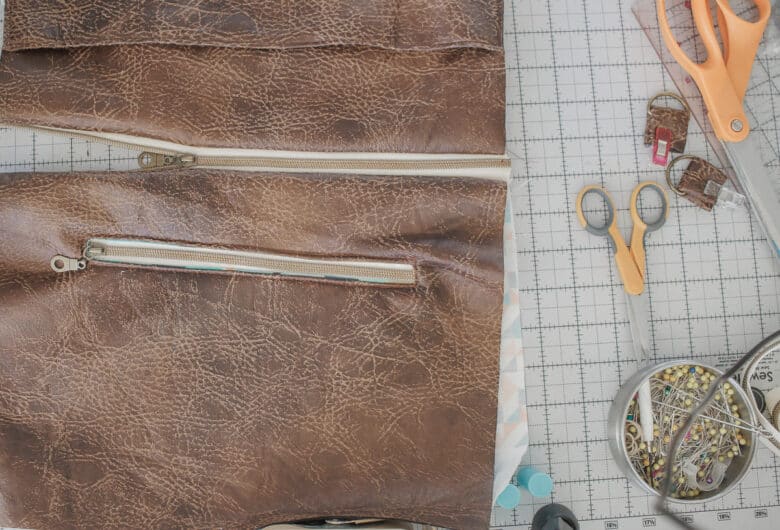
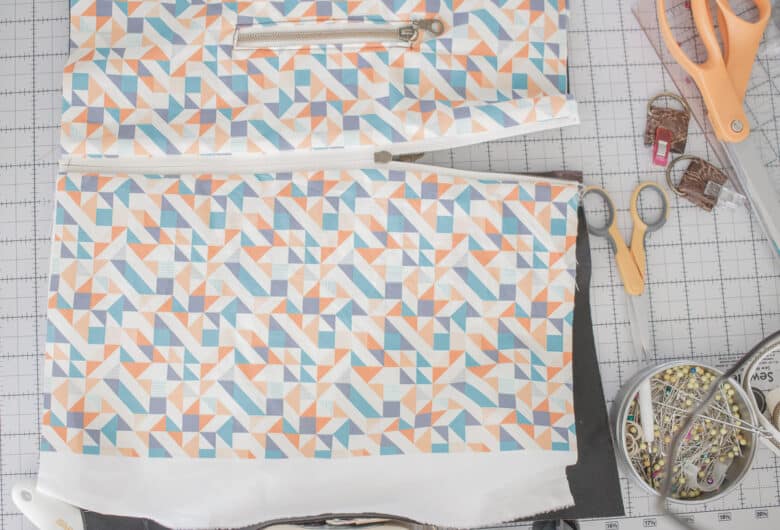
Top-stitch close to the zipper with coordinating thread to finish this zipper. You will be sewing through the main and lining, so make sure both layers are flat and pulled away from the zipper.
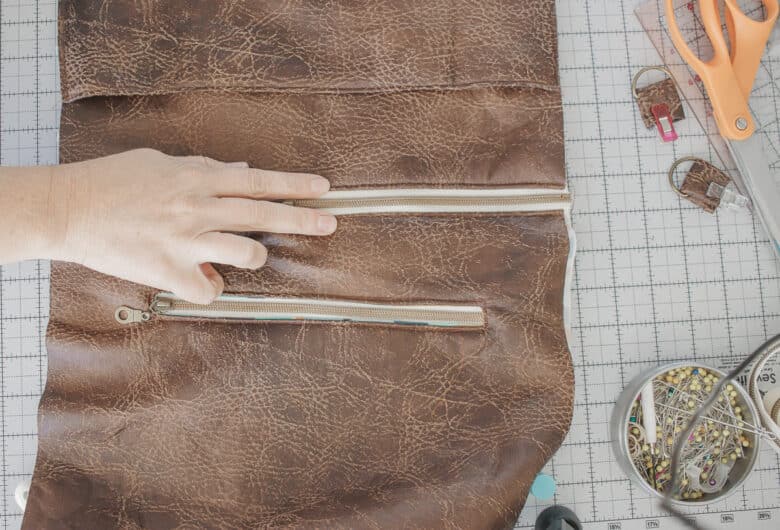
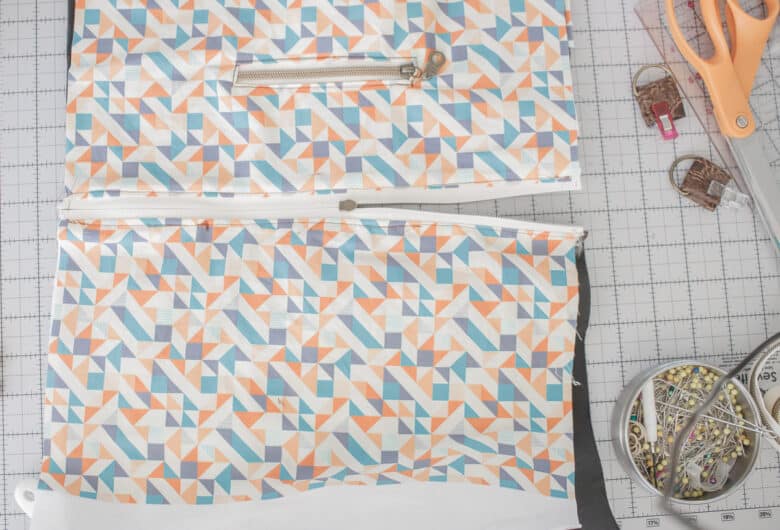
On the outside pocket stitch about 1.5″ along the top edge of the pocket to make the opening a bit smaller and stabilize the pocket.
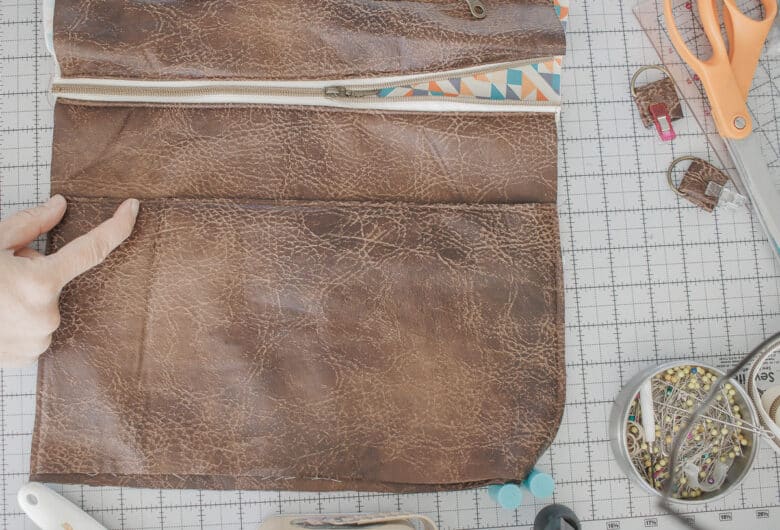
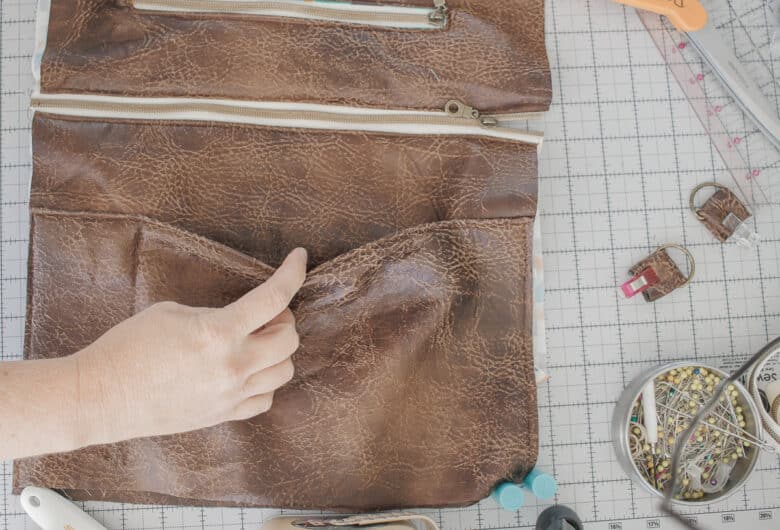
Place the raw edges of the ring straps at the ends of the zippers. I trimmed my straps down so they were a bit shorts. baste in place.
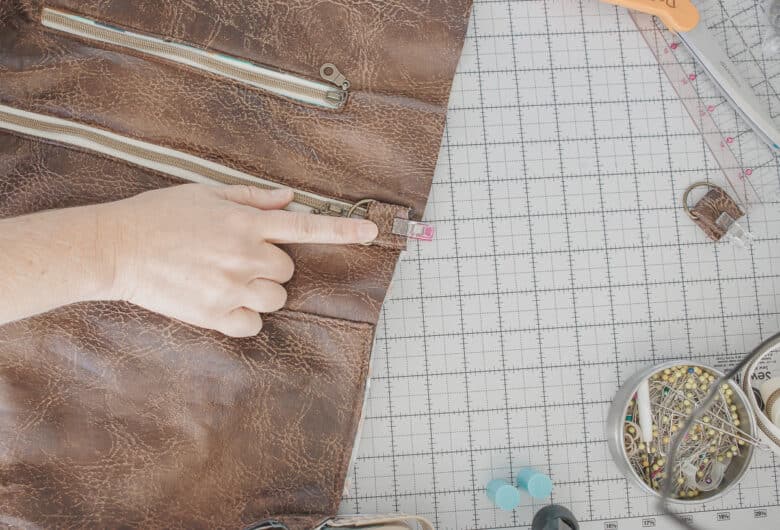
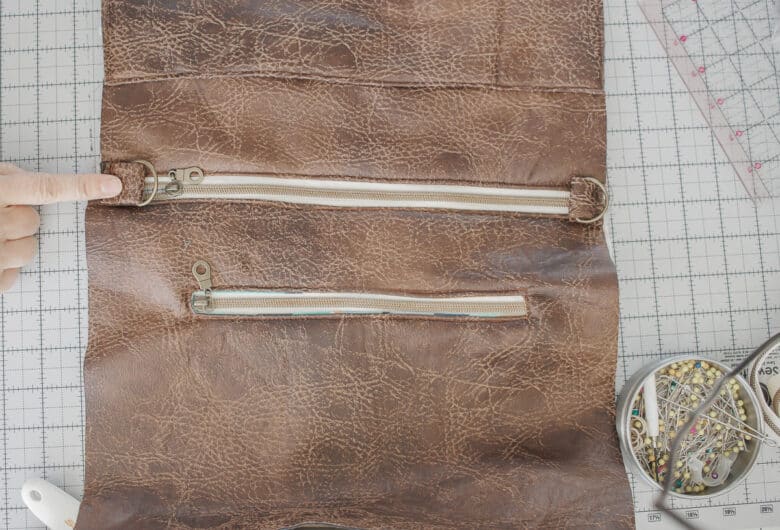
Fold the main fabrics so they are right sides together and the lining fabrics so they are right sides together. Sew from about 1/2″ down from the zipper all the way around the main side. You will not sew all the way to the zipper {you can’t really with the strap piece there}. On the lining side sew the same, 1/2″ from the zipper around, but leave a 3″ turning hole on the bottom edge.
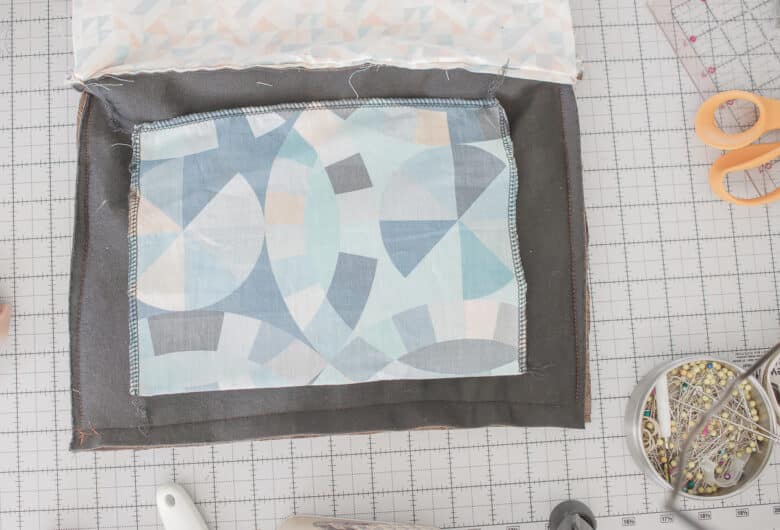
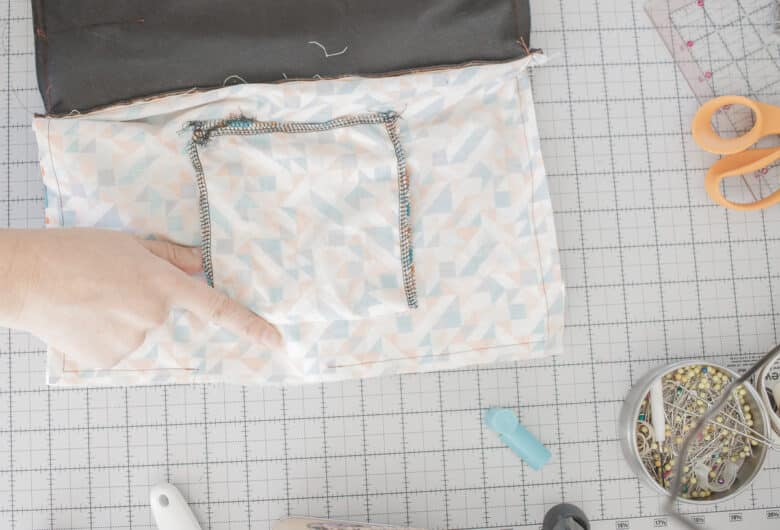
To finish these sides fold the corners by the zipper as shown and sew across. You should be able to fold flat the lining side and fold flat the main side {that gap that you didn’t sew above. Stitch across the zipper width {carefully on the teeth}. Do this on both ends of the zipper catching the main fabric and lining fabric. When you turn right side out you will have nice corners here.
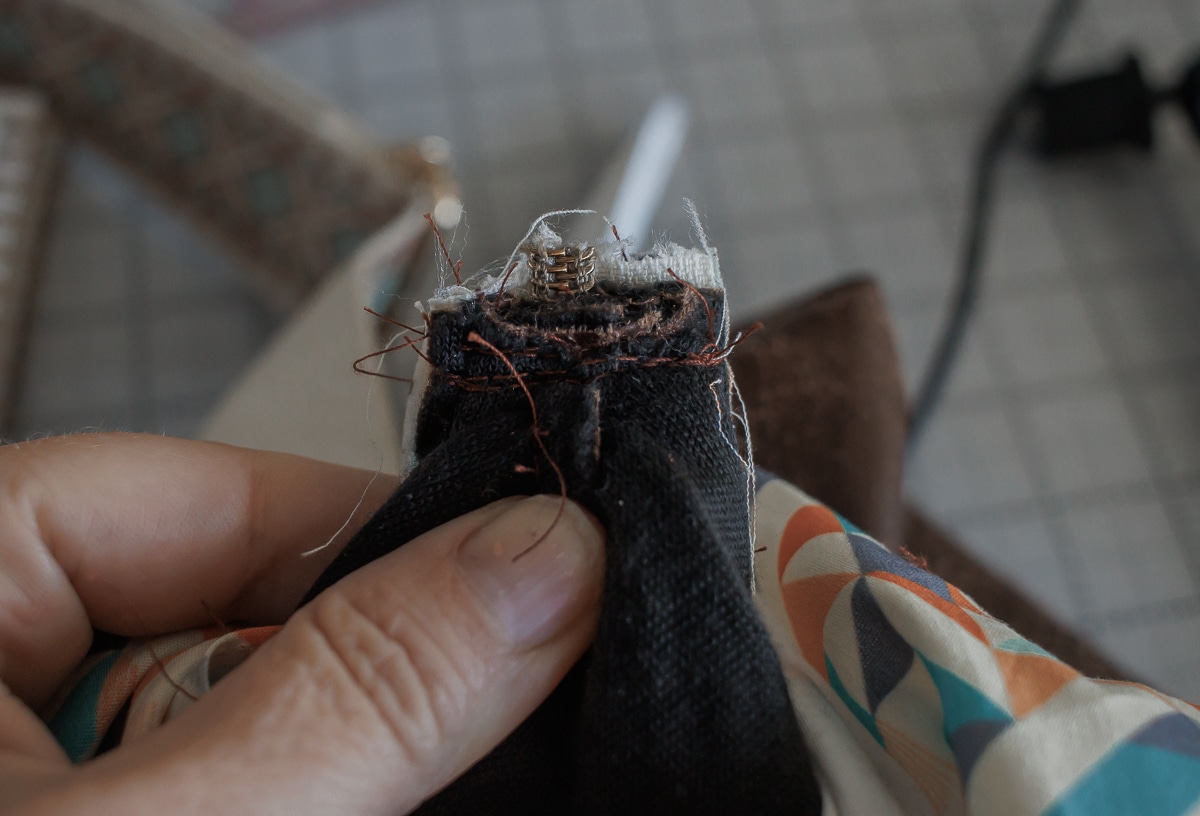
Time to create box corners on the bottom of the bag. This step will only be sewn on the outside fabric, not the lining. Flatten the corner of the bag so that the bottom seam and side seam are lined up. Open up the seam allowances.
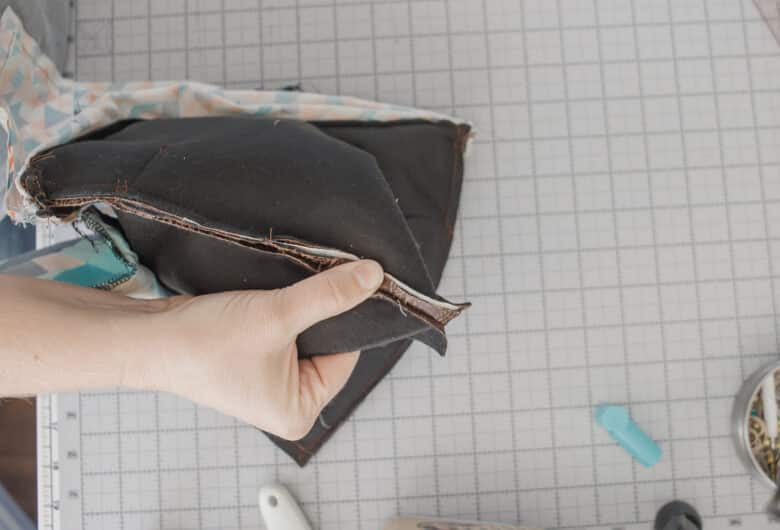
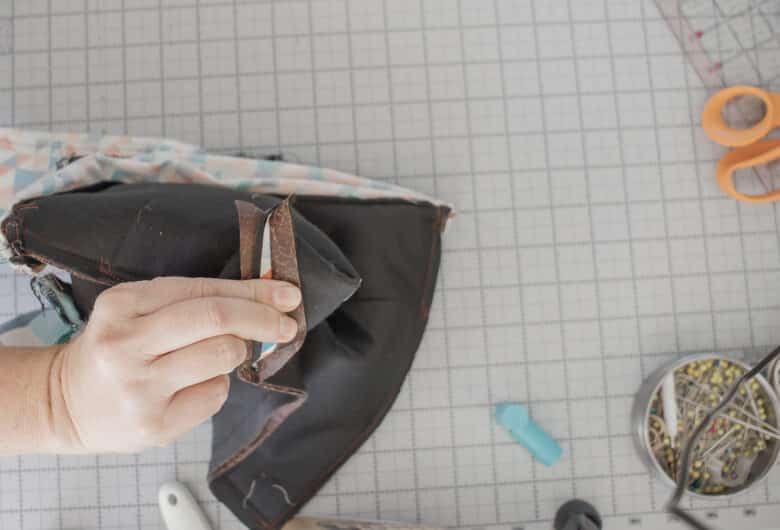
Sew a line straight across the triangle corner 1.5″ from the point. Stitch this securely {I go over it a couple times} Then cut off the corners.
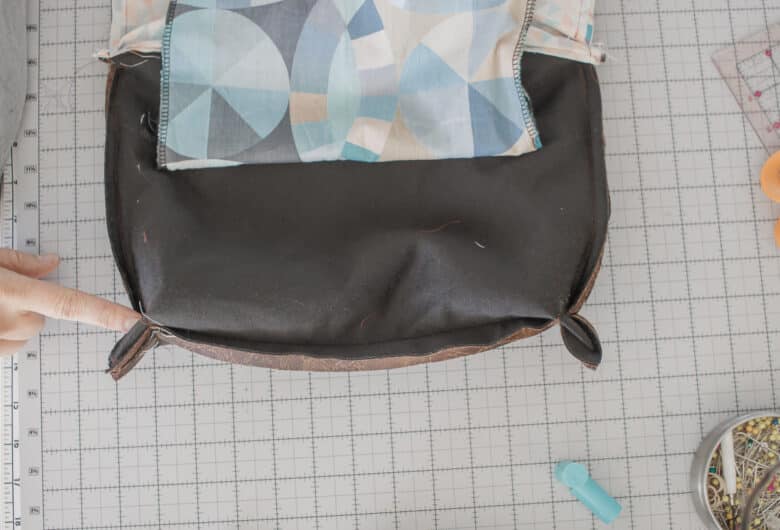
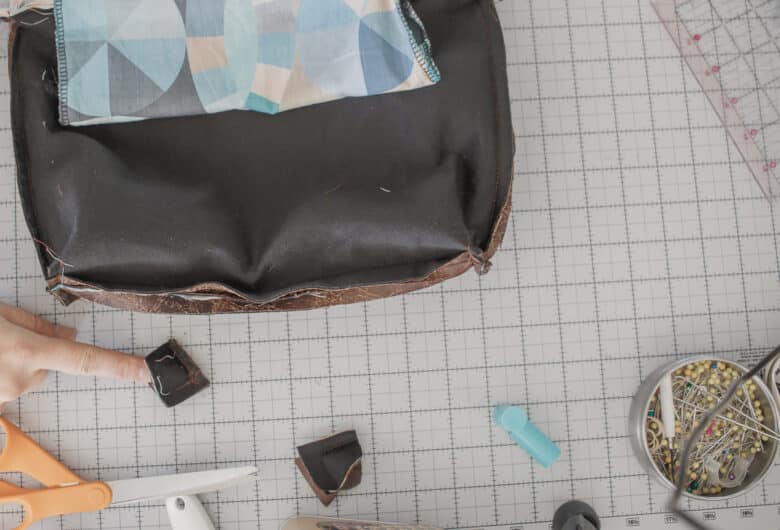
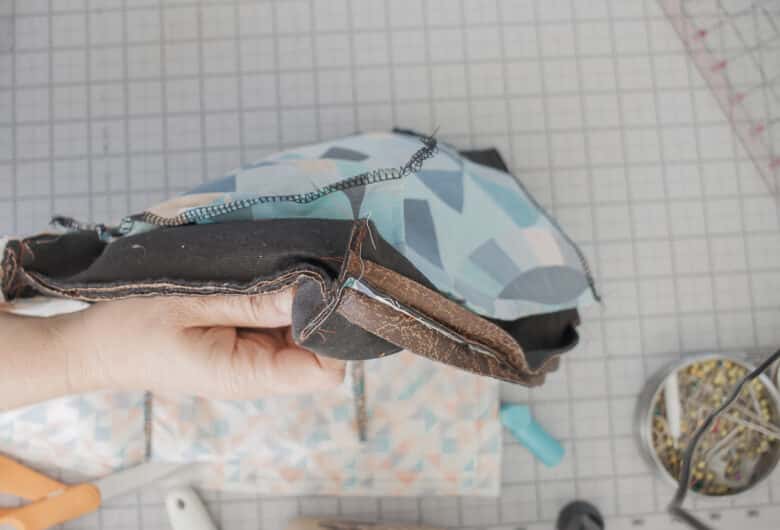
Now the bottom corners and square and boxy. Turn the whole thing right side out through the whole you left in the lining. {no photo, but fold the seam allowance in on the lining and stitch the hole closed} Add the strap and you are ready to go!!

Ok! if you made it all the way through this tutorial and still haven’t downloaded the pattern – now is the time to download the free pdf pattern. Use the green button below to grab your copy of the free sewing pattern and use this tutorial to put it all together.






Leave a Reply