inside: Learn how to add a snap placket with this sewing tutorial. This simple shirt placket looks great with this snaps or buttons and adds a great addition to any top.
I recently sewed a few things for my kids and our family photo day. One of the shirts I sewed was this fun button placket collared shirt and I just love it so much. I’m excited to show you how to recreate this for yourself with this snap placket sewing tutorial. I’ve shown you before how to sew a shirt front placket, but this one is a bit different because we will be adding a collar and placket.
Simple Shirt Placket with Collar
Why sew just an ordinary sweatshirt when you can make and awesome snap placket collared pullover sweatshirt. I think this looks so classy and just a step up from a sweatshirt. I’m trying to convince my son it looks better {he’s not convinced} haha. But…. let’s take a closer look at this top before we just into the sewing tutorial.
As I’m writing this I’m wondering if I should have broken this up unto two tutorials… the placket and the collar, but you are getting a two for one since I’m going to share them both here. Maybe since I named this post after the placket, I’ll do another post on just the collar sometime.
This isn’t the first time I’ve hacked one of my basic free t-shirt patterns. Check out all my shirt hacks here.
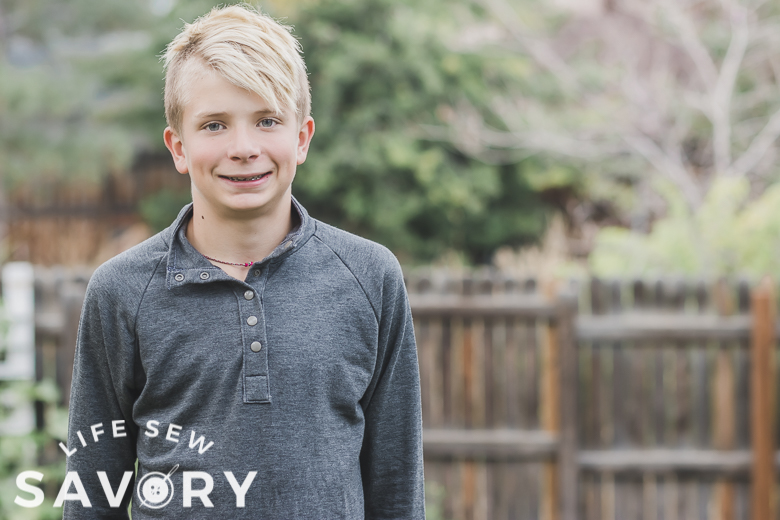
I reused some sweater cuffs and waistband from a grey sweater that my husband was done with and used a super soft sweatshirt fleece for the top. I think the finished result is just dreamy and I’m excited to show you how to sew a shirt like this too.
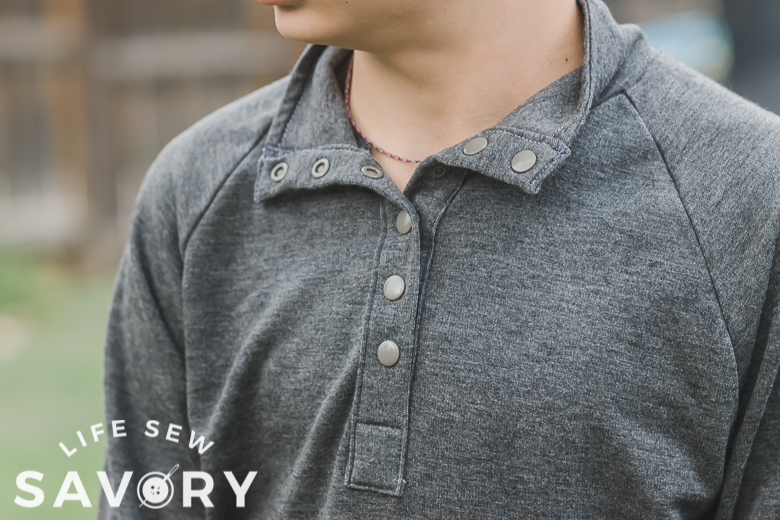
Snap Placket Sewing Tutorial
ok! Let’s get started with this simple shirt placket tutorial. I will also be showing you how to cut out and sew the collar as well as the placket. If you are looking for just a basic placket you can follow this tutorial here. If you want to sew a collar and a placket and make this awesome looking sweatshirt.
Collared placket shirt supplies:
- Shirt pattern of your choice
- I used the Kids Raglan Free Pattern
- you could use this Free Shirt Pattern
- 1-1.5 yards fabric {depending on pattern}
- Snaps
- In addition to your shirt pieces, cut out a placket 6″ x 8″. The direction of stretch should go with the short end.
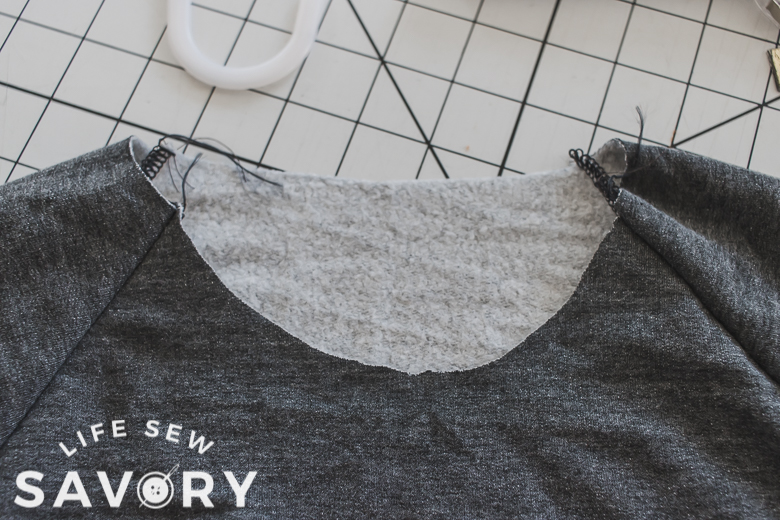
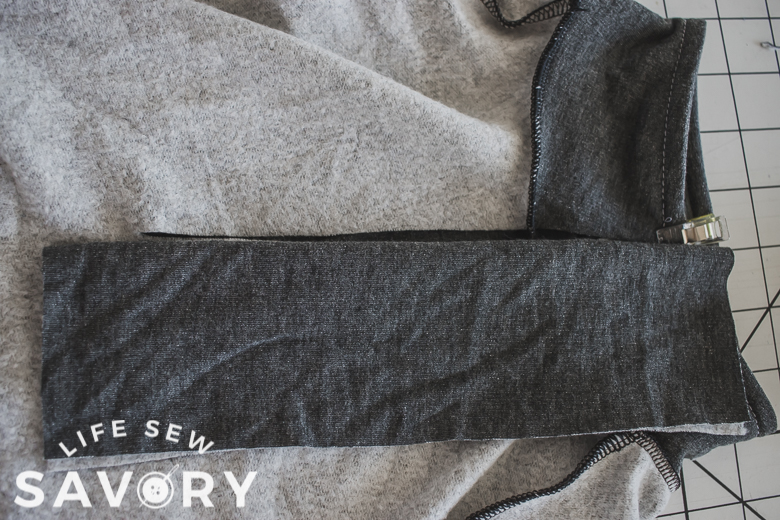
Sew your shirt until it’s time for the neckline. Here is my raglan sweatshirt without the neck on. At this point I’m going to add the collar placket. For this size 14ish I cut a 6″ long placket. You can adjust a bit longer or shorter if you are sewing a smaller or larger size.
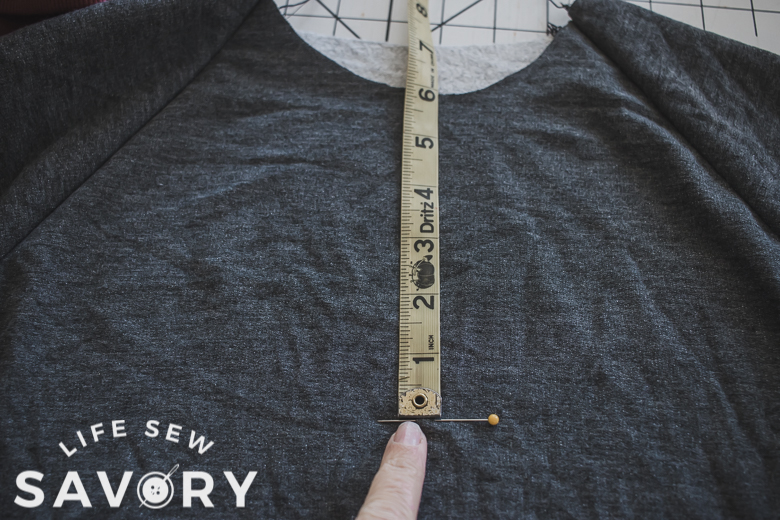
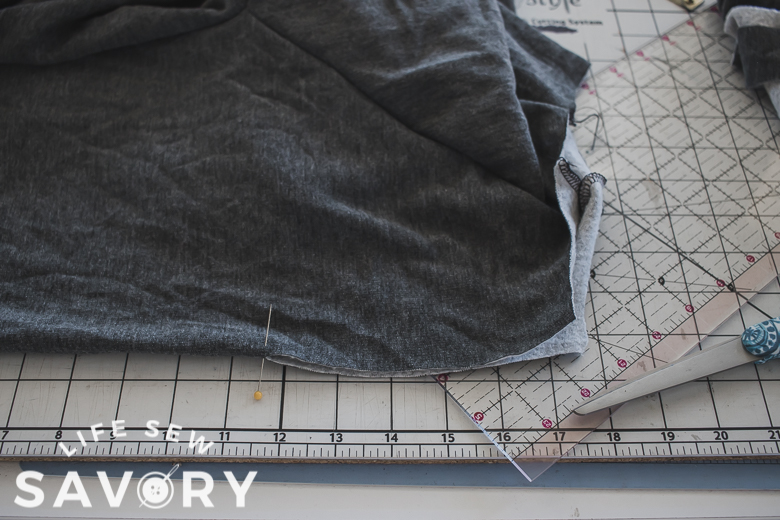
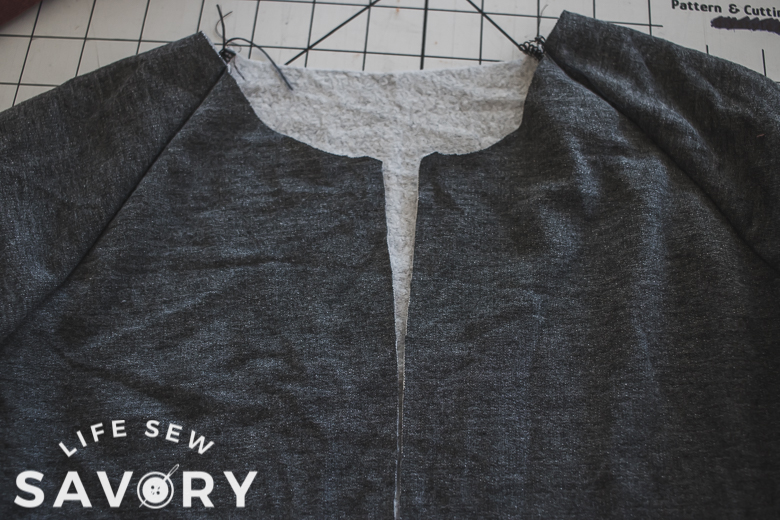
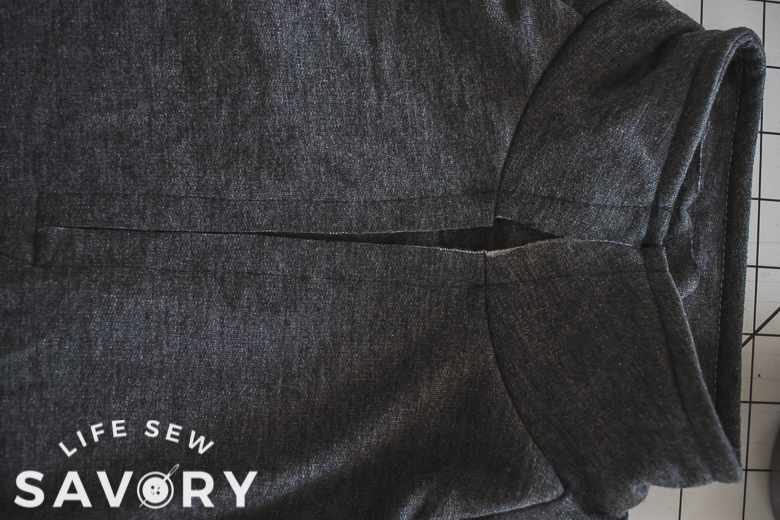
Fold the shirt in half to find the center front and cut the 6″ down. Open back up to see the cut placket.
Now we need to create the collar. You can create a collar in any size by following these steps. Measure around the neck opening of your shirt. Mine is 15.5″ so I will be working with this measurement.
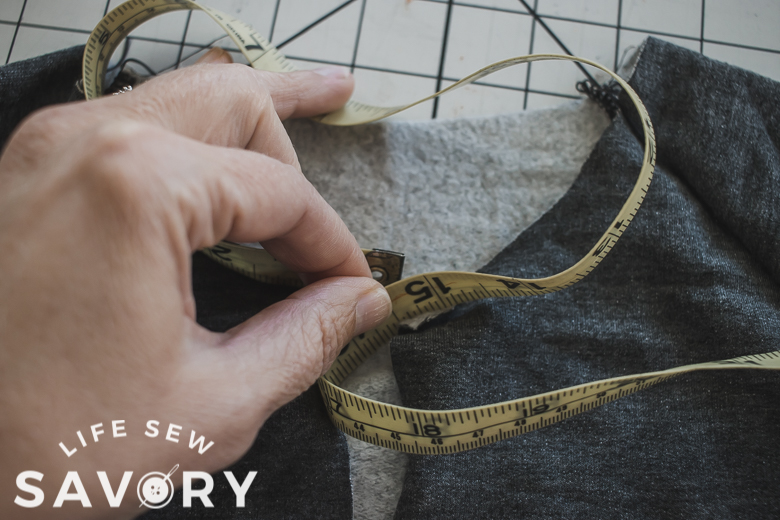
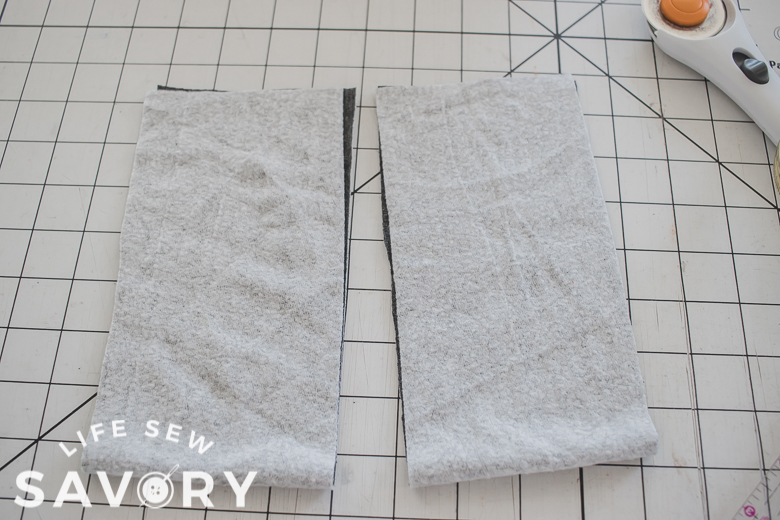
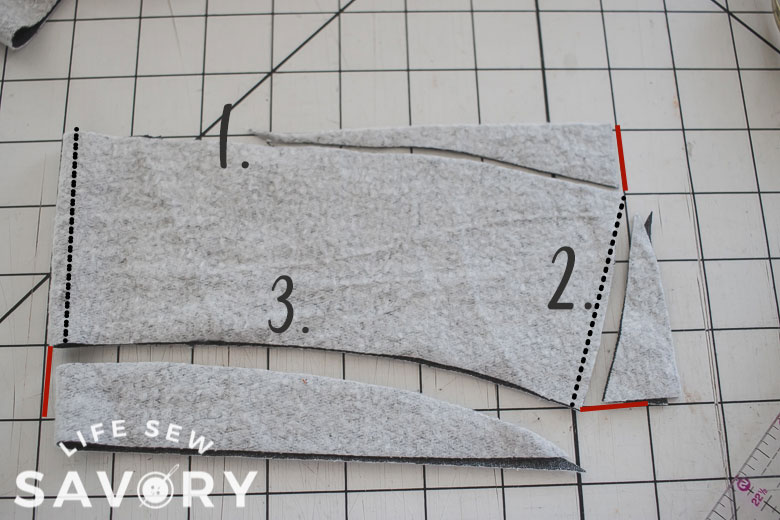
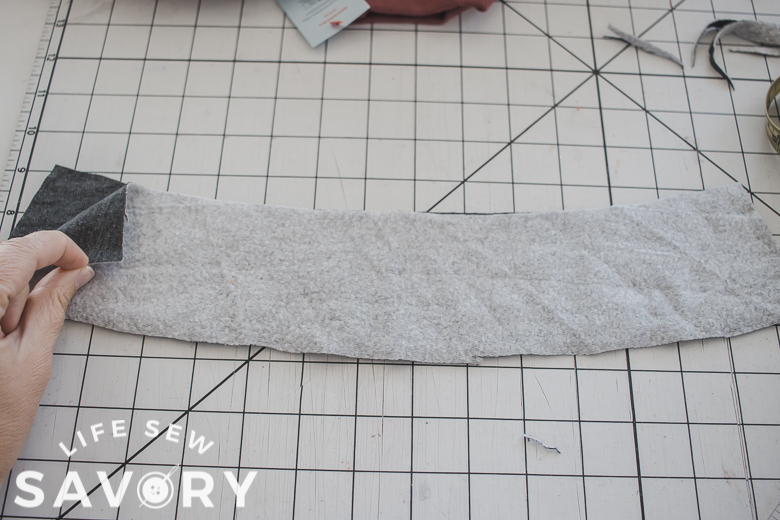
For this size I cut fabric 4″ x 15.5″. Any stretch in the fabric should go from side to side with the long edge of the fabric. I like to cut this on a grid cutting mat as it helped me to keep everything straight. Here is how to create a collar. See the photo with the numbers and the coordinating steps.
- fold the fabric and place the center on the left side. One the right side measure one inch down and then curve back towards the fold.
- On the bottom right corner, measure 1″ in and then cut straight up to the new cut point.
- From the cut on the bottom of number 2, curve to the left fold and curve up and over to 1″ up from the bottom.
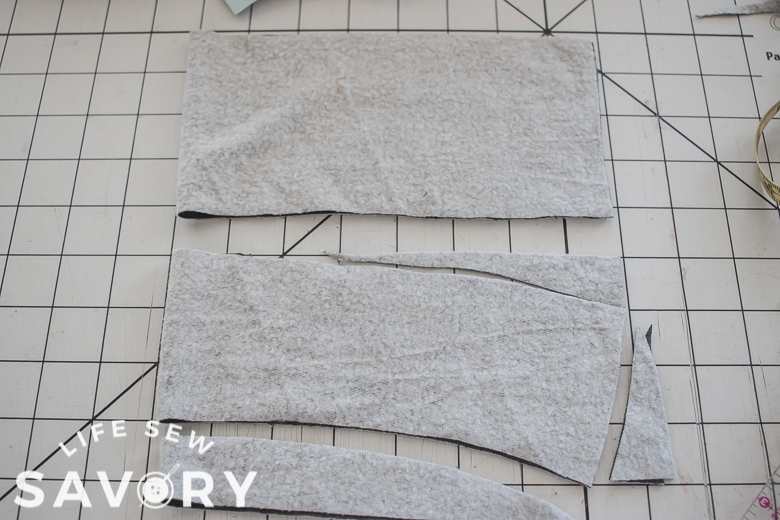
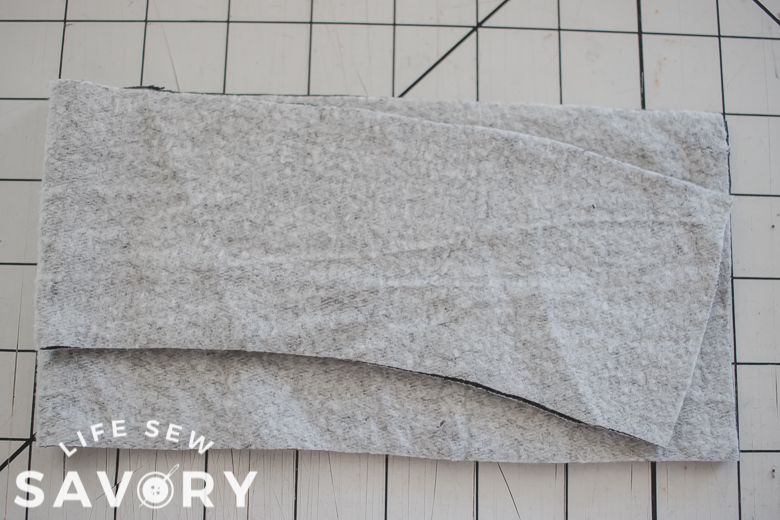
The final collar should end up 3″ tall at both the fold and cut end. {see dotted lines} NOTE: If I were making an adult size I would probably add 1/2″ inch to the height and create a 3.5″ tall collar. For smaller kids I would create a collar 2-2.5″ tall. Adjust cuts accordingly. Use the first as a pattern for the second layer.
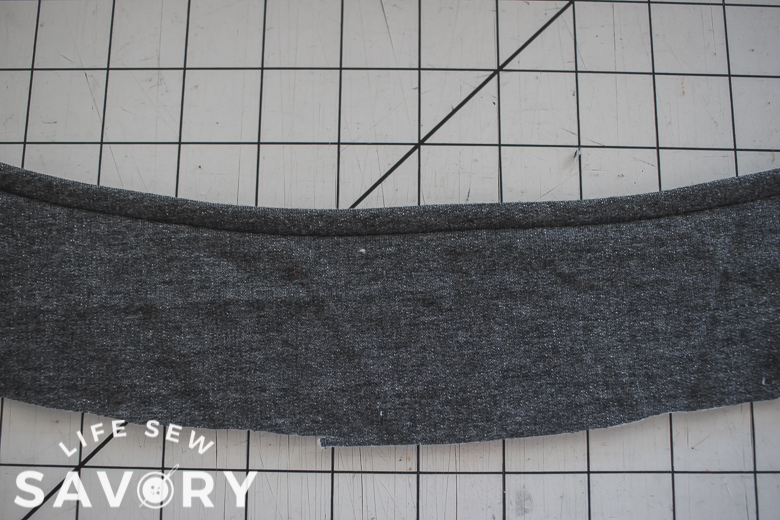
Place the collar pieces together with right side together sew the top curved edge. Flip to the right side and top-stitch.
Line up the bottom raw edges of the collar with the neckline and sew from one cut edge to the other.
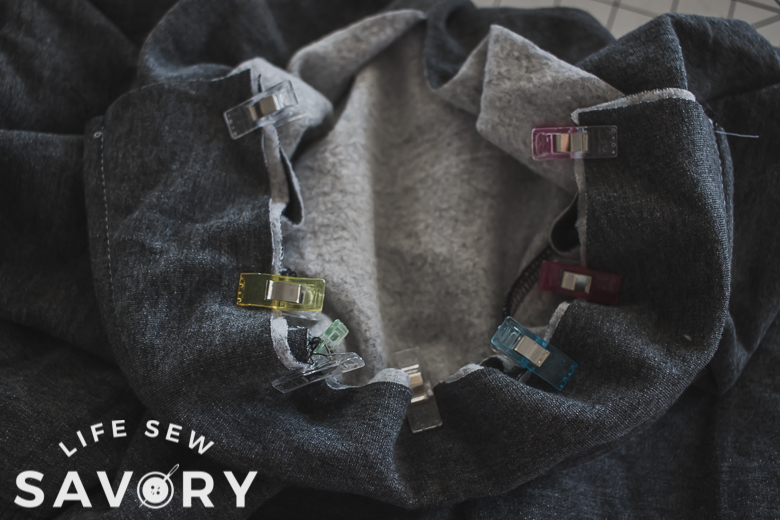
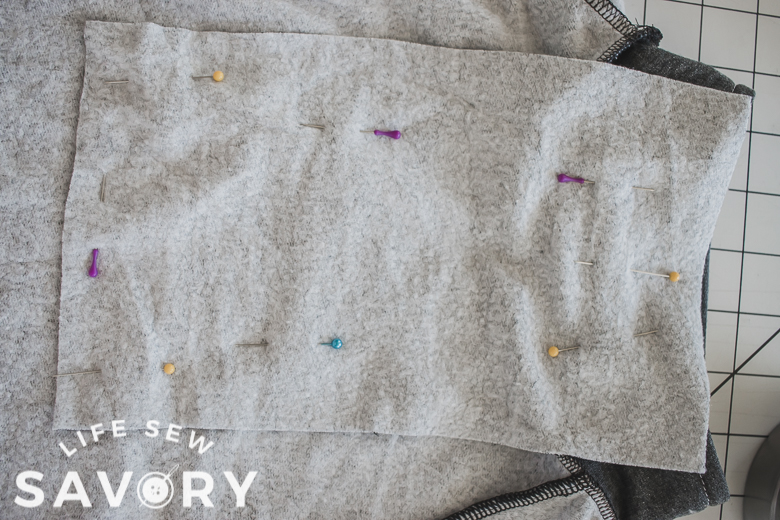
Turn the shirt to the inside and place the center of the the placket pieces you cut {see supplies}. Fold in half and place the fold on the cut. You should have 1/2″ extend above the collar and the rest of the extra extend past the cut. Pin in place with the right side of the placket on the wrong side of the shirt.
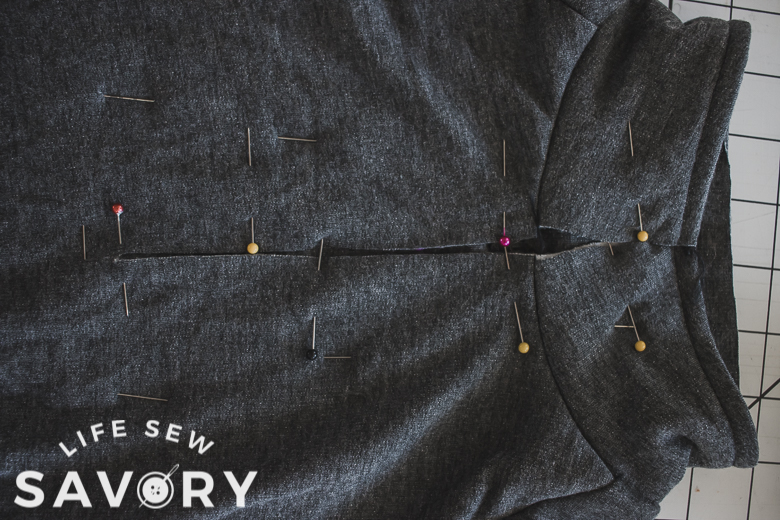
Turn right side out and make sure what you pinned is all straight and even. Pin even more to hold everything in place.
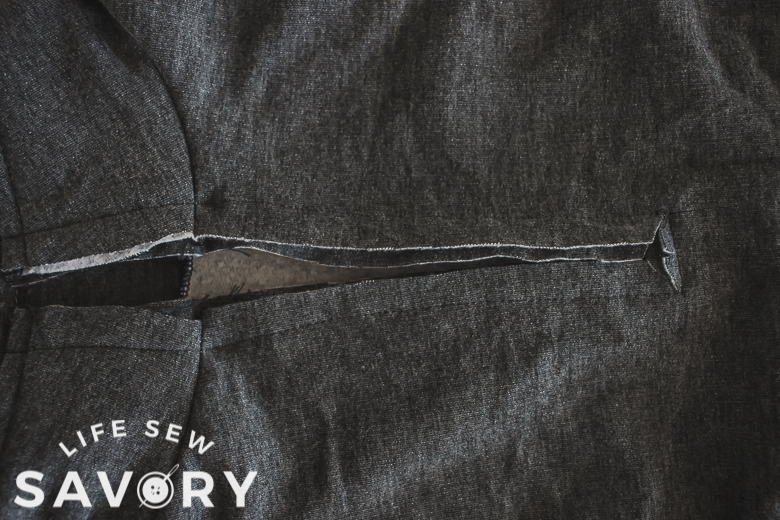
On either side of the cut, sew 3/8″ from the cut. I started at the bottom and sewed up towards the top on both sides. This seems to keep everything in place well. Sew across the bottom last with the same seam allowance.
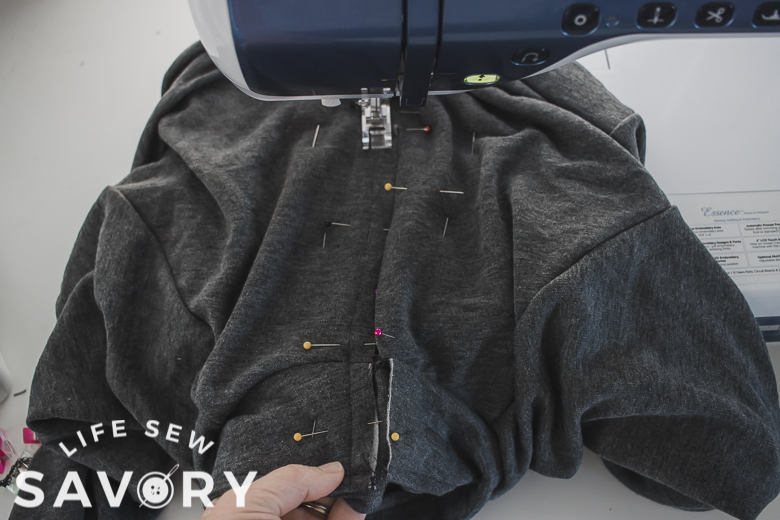
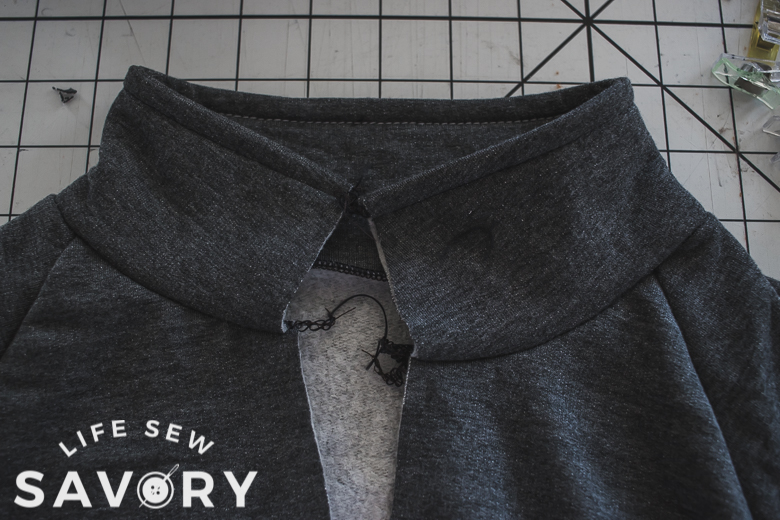
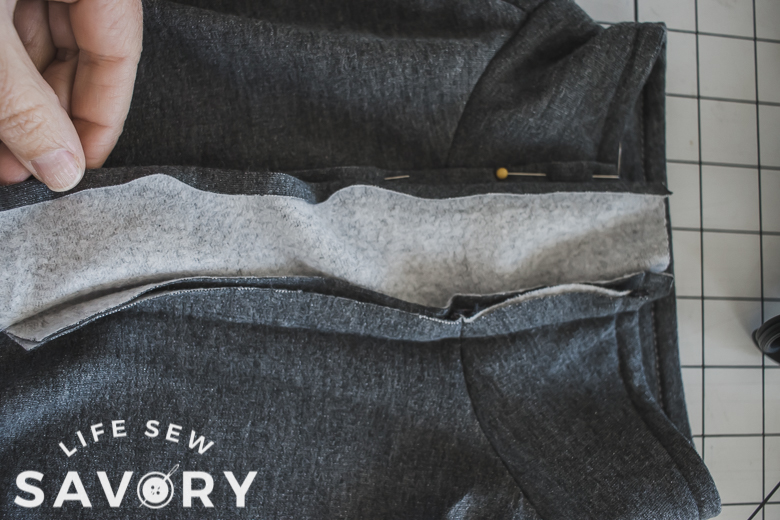
Now your placket should look like this. Cut open the center line again and then Y the bottom to the corners as close as you can to the stitching.
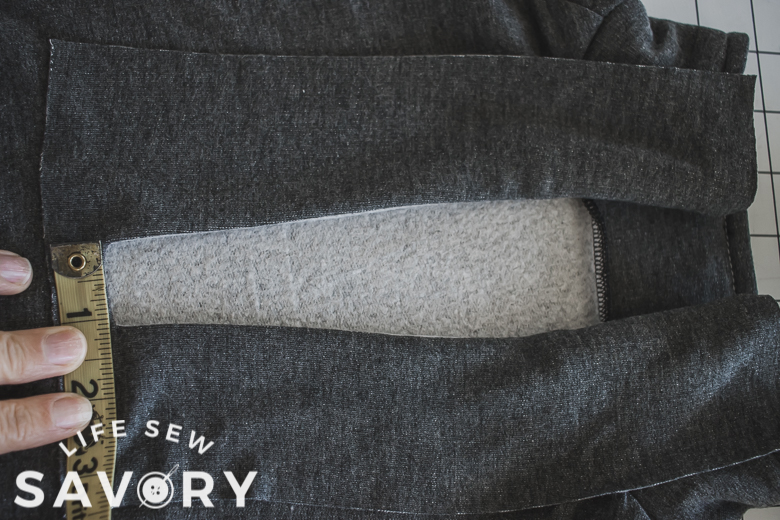
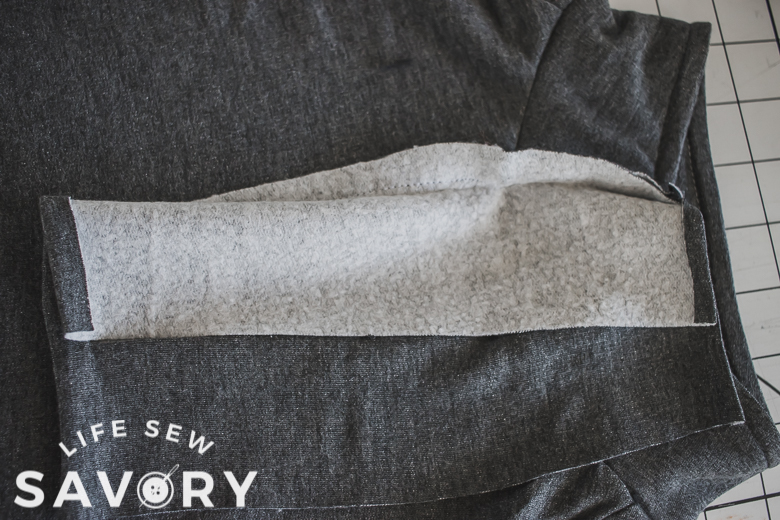
Pull the placket piece to the front of the shirt and press the seams. Press under the bottom of the placket. If you have more that 1″ extra, trim it before pressing under.
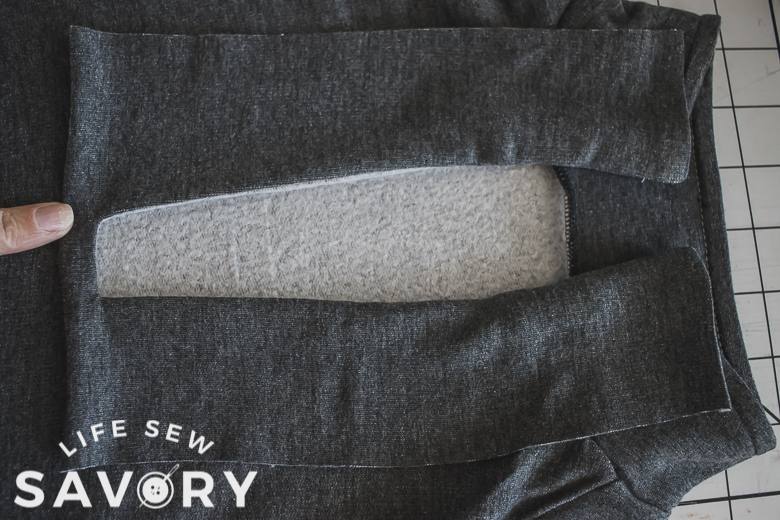
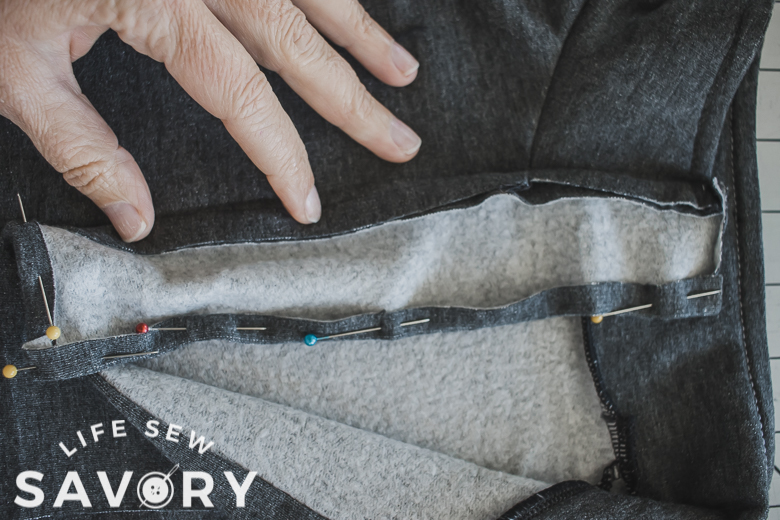
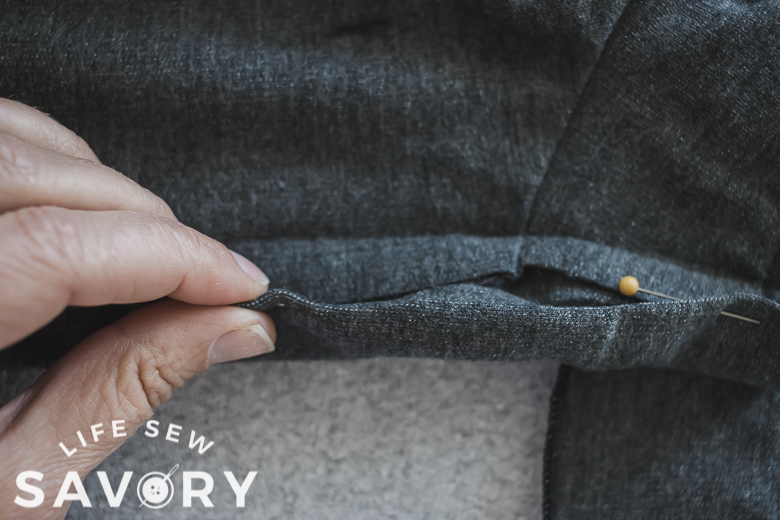
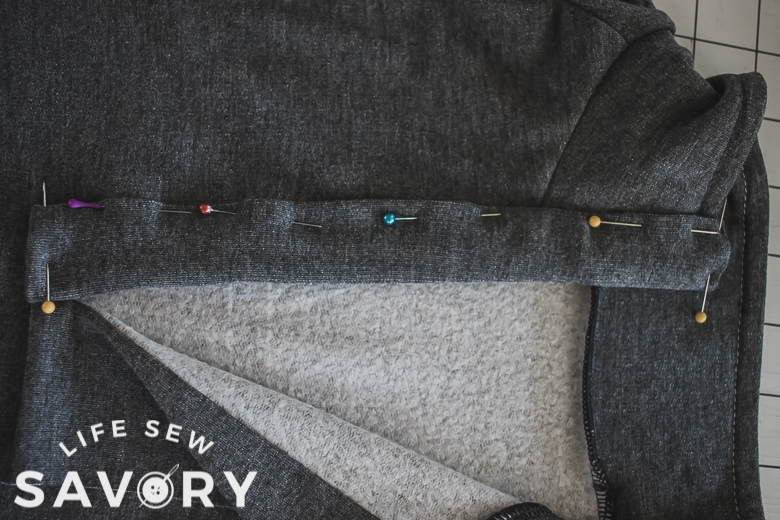
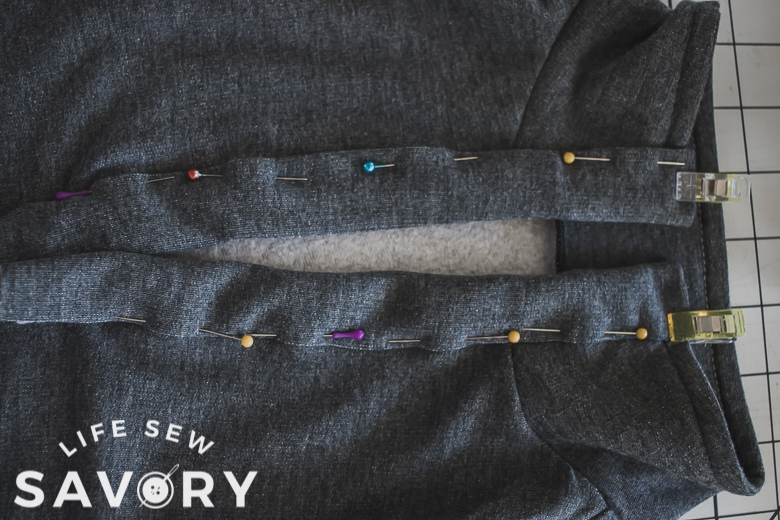
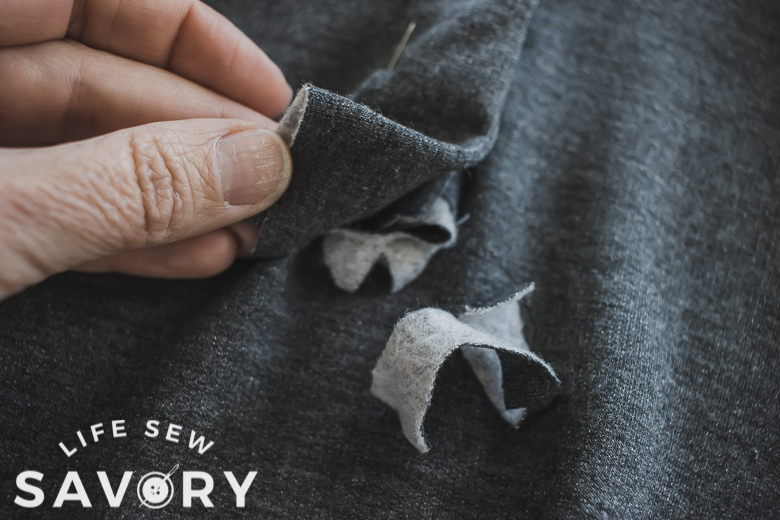
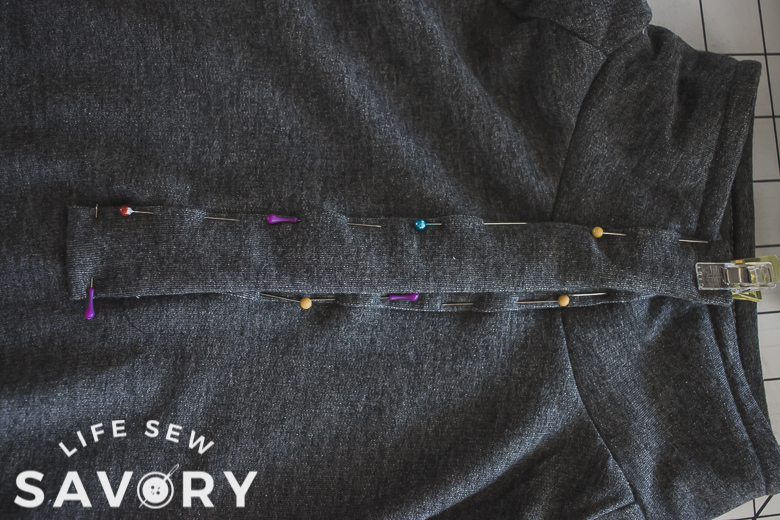
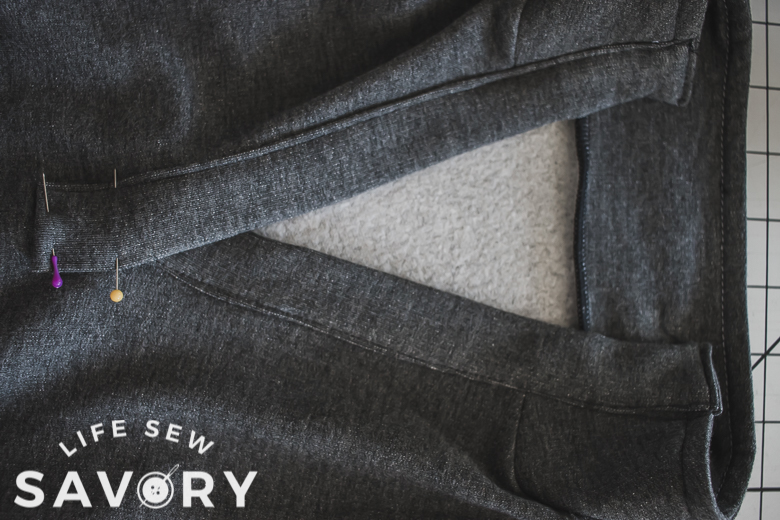
The next four photos will detail these four steps.
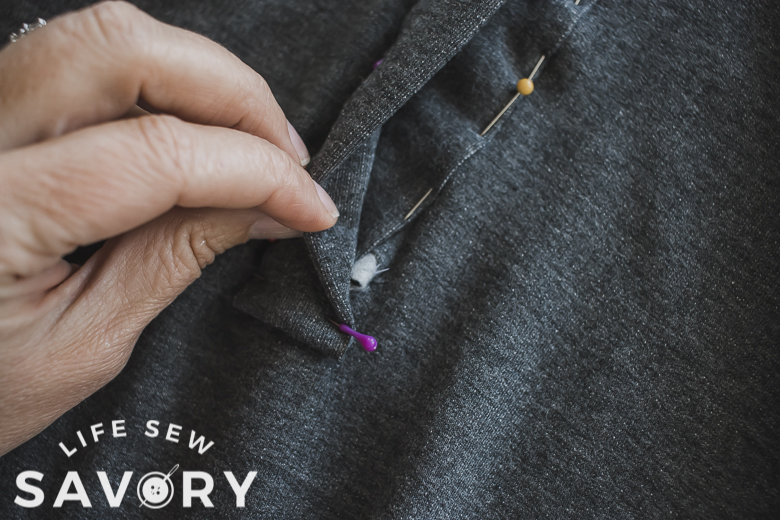
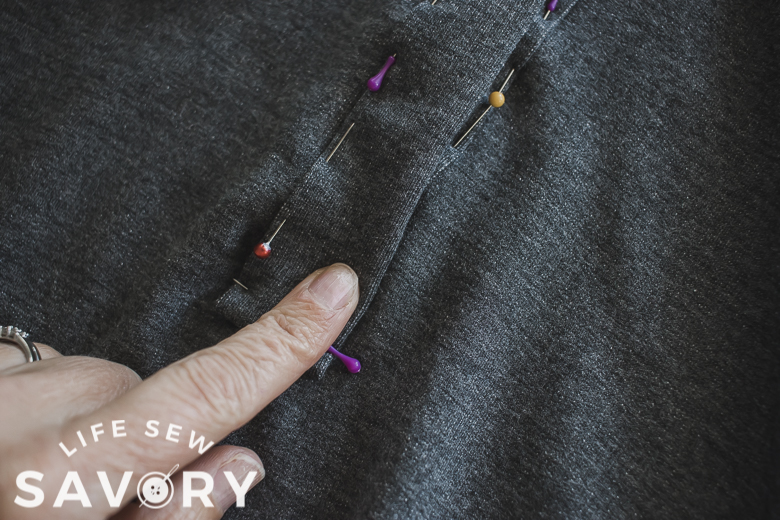
- fold the left placket open.
- Fold the seam allowance over towards the placket. Fold/press under the raw placket edge.
- Fold the pressed over edge towards the seam and cover the seam.
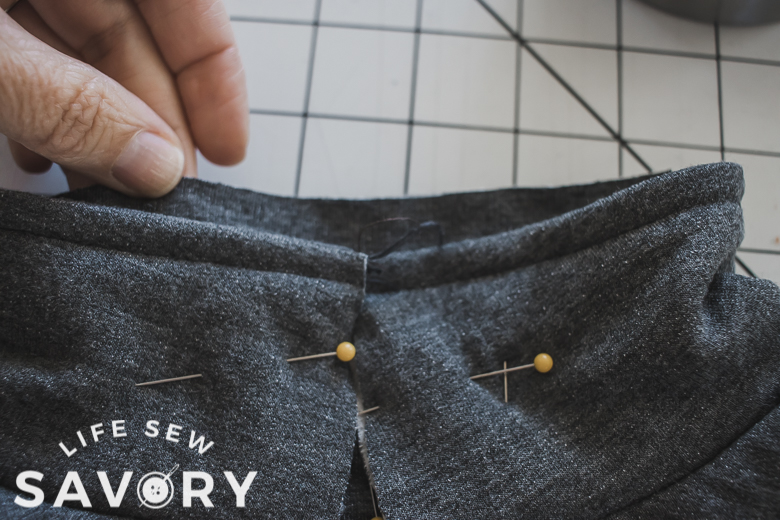
- Pin in place from top of collar to bottom of placket. The top of the placket should be folded in to match the collar top.
Repeat the above steps with the other placket side. The bottom of the placket is still un pinned at this time.
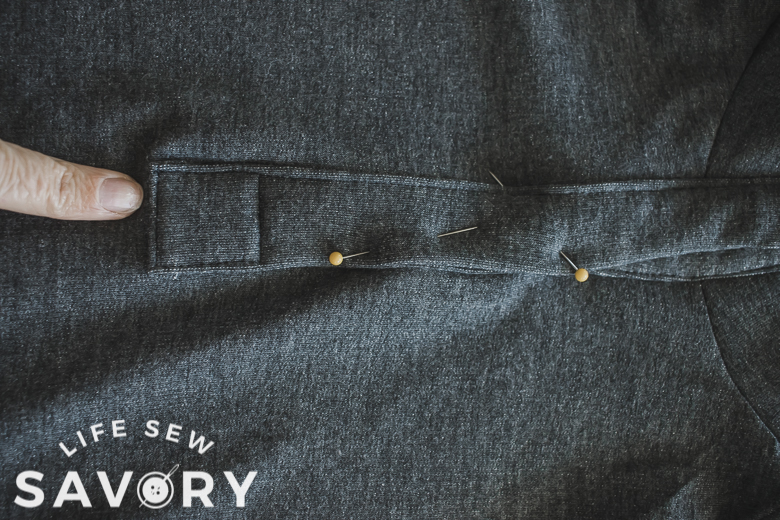
Now let’s pin the bottom together. Place the left over right or right over left and stack the plackets. Whichever is your bottom layer – trim the excess fabric from here {it’s too bulky to keep all of it.} After you trim the bottom layer you should be able to fold under the bottom seam allowance and the sides to form a finished bottom edge. Pin in place.
Keep the pins only at the bottom and sew the two pinned outer edges from bottom to top. Sew across the top edge to finish. After you have sewed the sides, stack the placket again and sew a square at the bottom to secure and keep the placket in place.
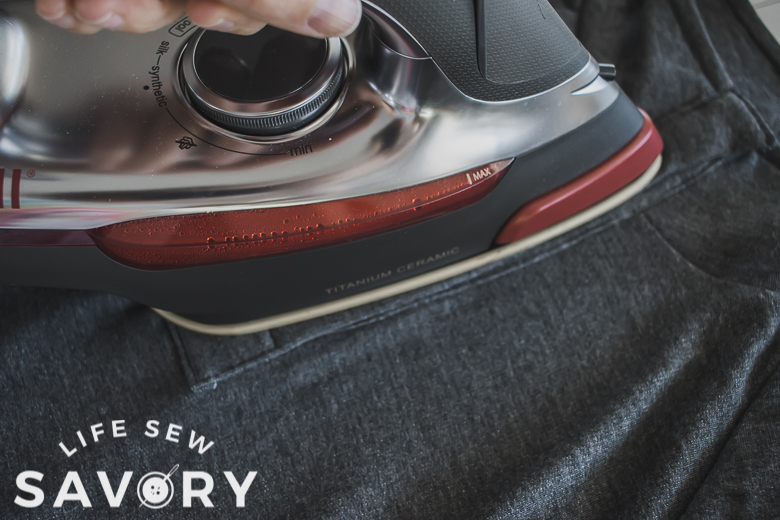
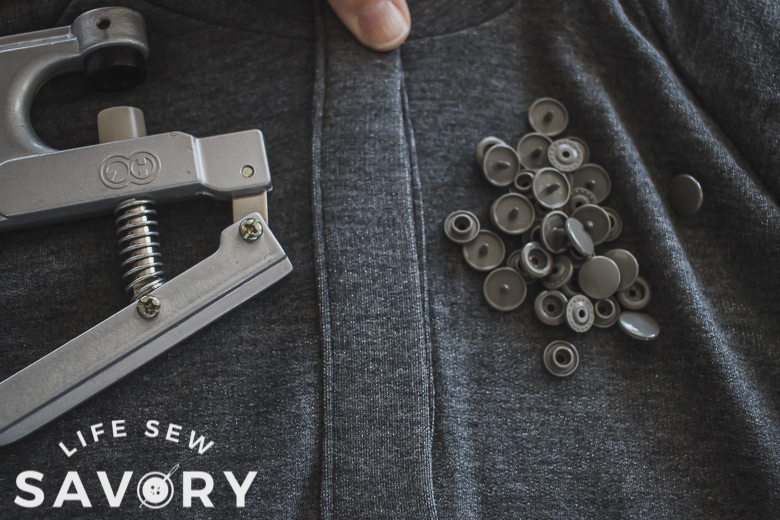
Press the placket now and gather your snaps.
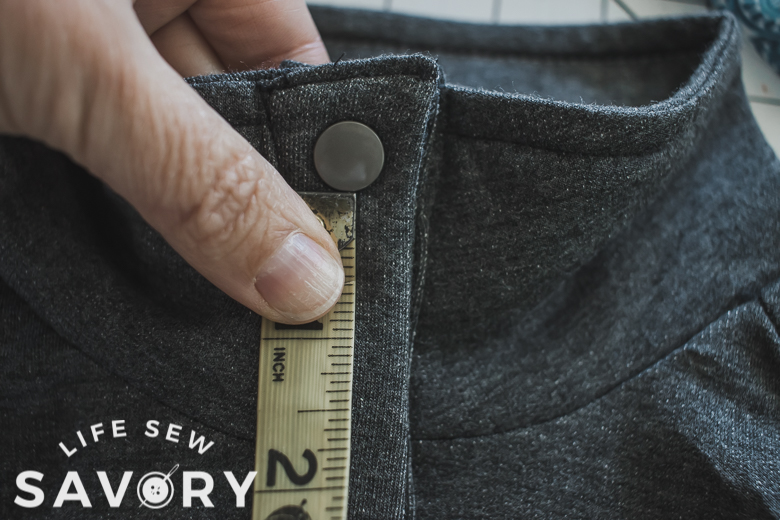
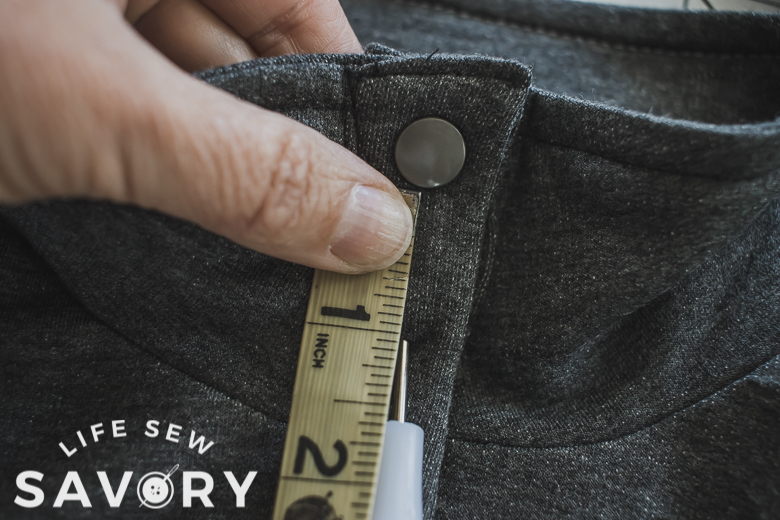
Start at the top and place a snap as close to the top as you can without placing the snap on the seam. It should be able 1/2″ down. Measure from bottom of snap 1″ and poke the next hole. Place another snap and then measure again. Work down towards the bottom keeping the placket stacked and lined up.
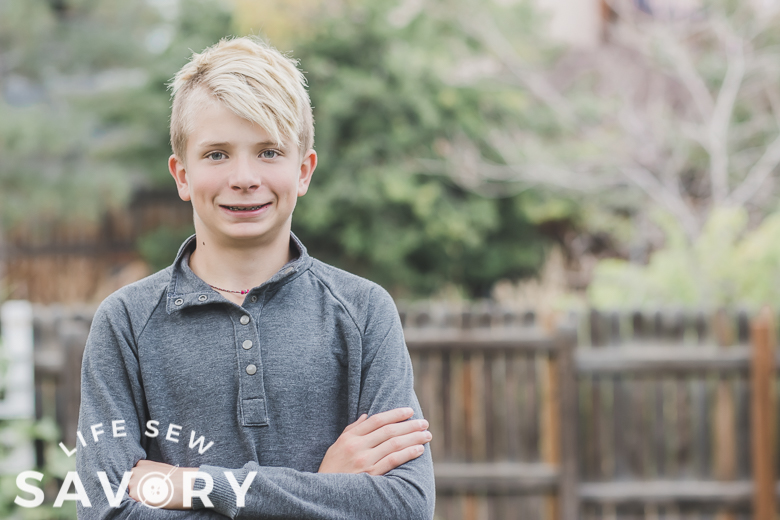
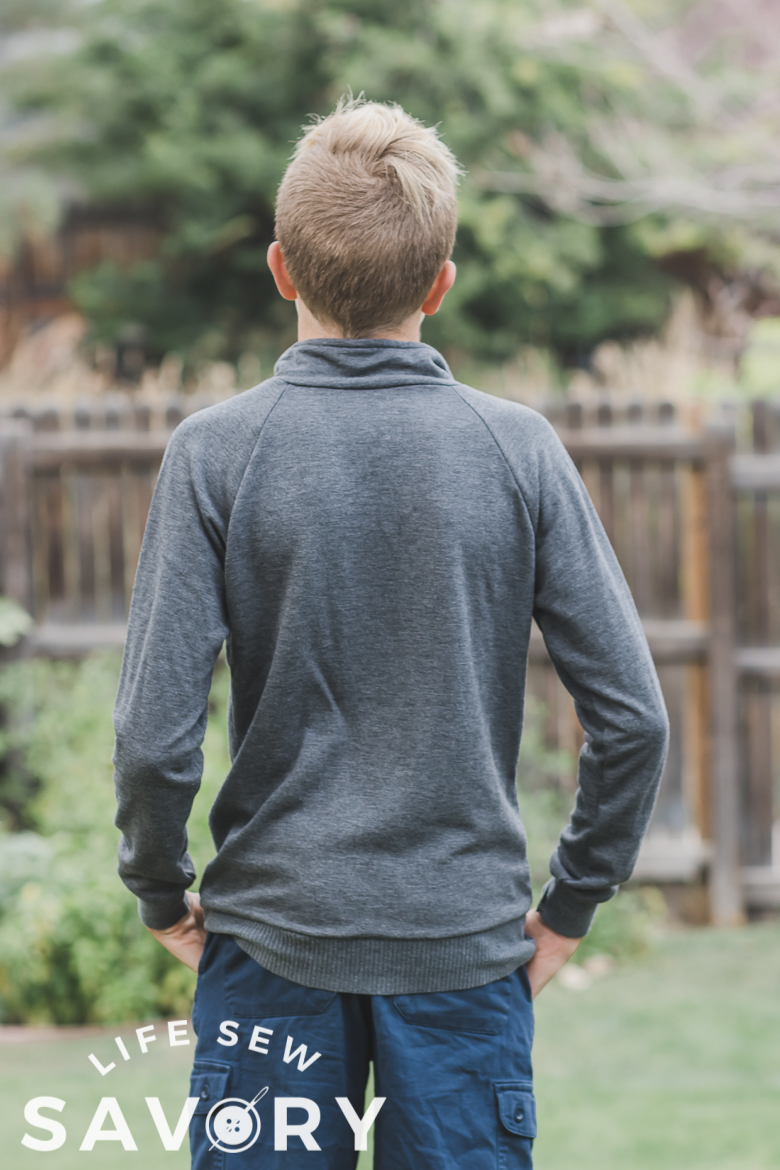
Now you have an amazing collar AND placket. I love the whole thing and it looked really really great with our family photos.
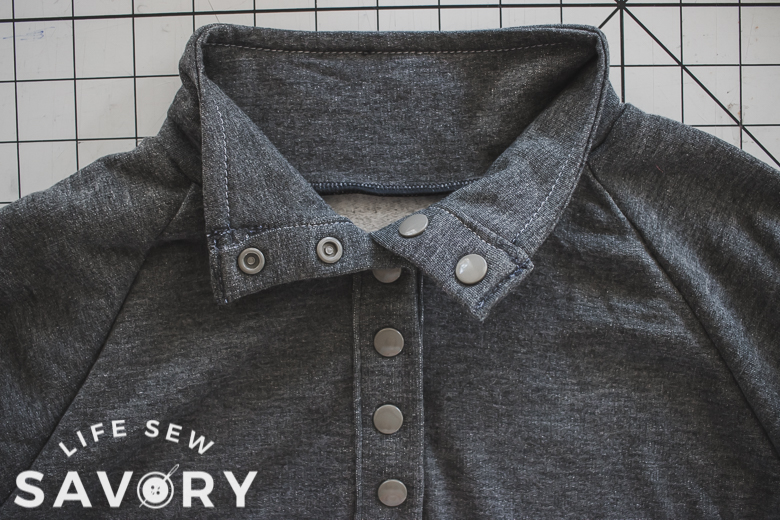
The fit was perfect too!









Leave a Reply