inside: Check out my method for sourdough made simple. This tasty bread is from scratch sourdough without much fuss. My easy sourdough method is a must try.
Post updated 3/2024 – originally posted in 2020
I started baking sourdough back in April 2020. My brother had been baking it for awhile and I decided to give it a try. I ordered a starter off Amazon and asked my brother a million questions and got baking. Over the past several months I’ve simplified my method to keep it as simple as possible and today I’m going to share with you my sourdough made simple method.
This updated post is after 4 years of learning more and more! My bread is just as easy only even tastier!!
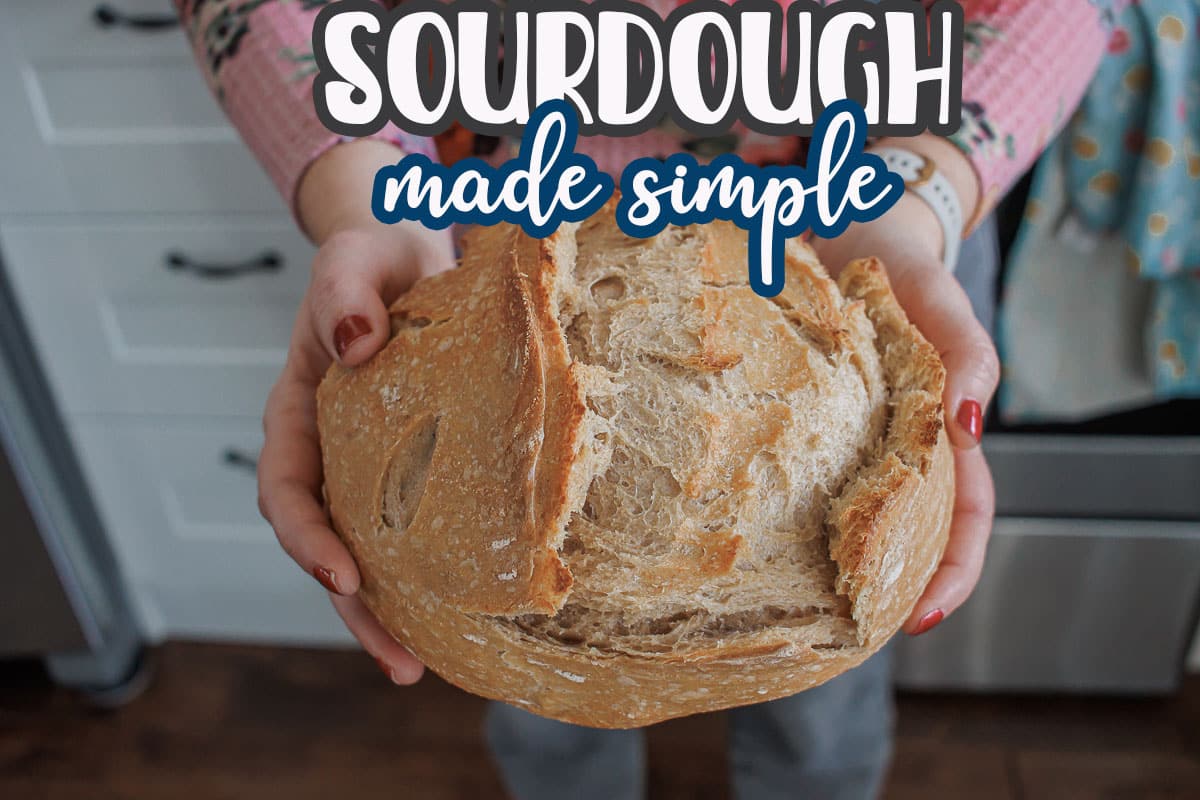
Sourdough made simple –
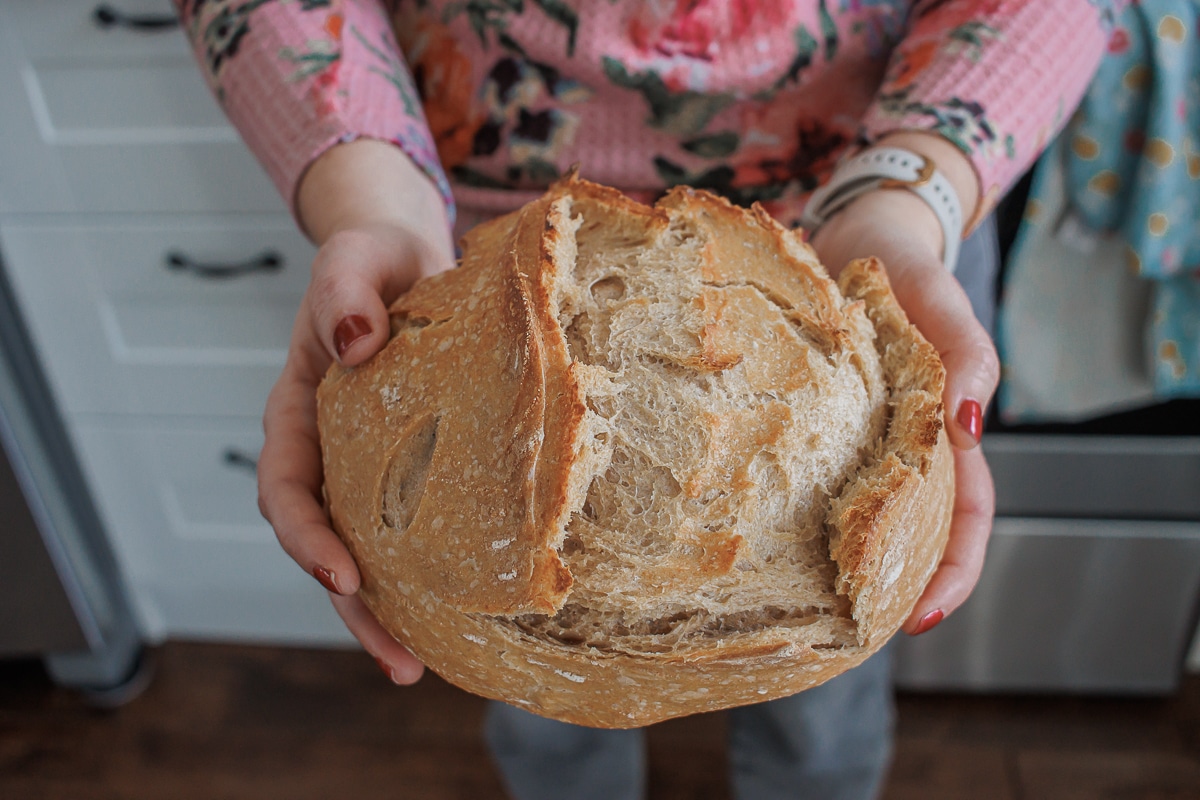
I’ve got enough going on in my life without having to give a lot of TLC to a sourdough starter. I’ve tried many different methods in the past few months and now I’ve got it all pretty simplified and it doesn’t take much time at all. I’ve changed a few things with how I bake the bread so now it has a better crust! You can see the difference in some of the photos here… from a few years ago, to my bread now.
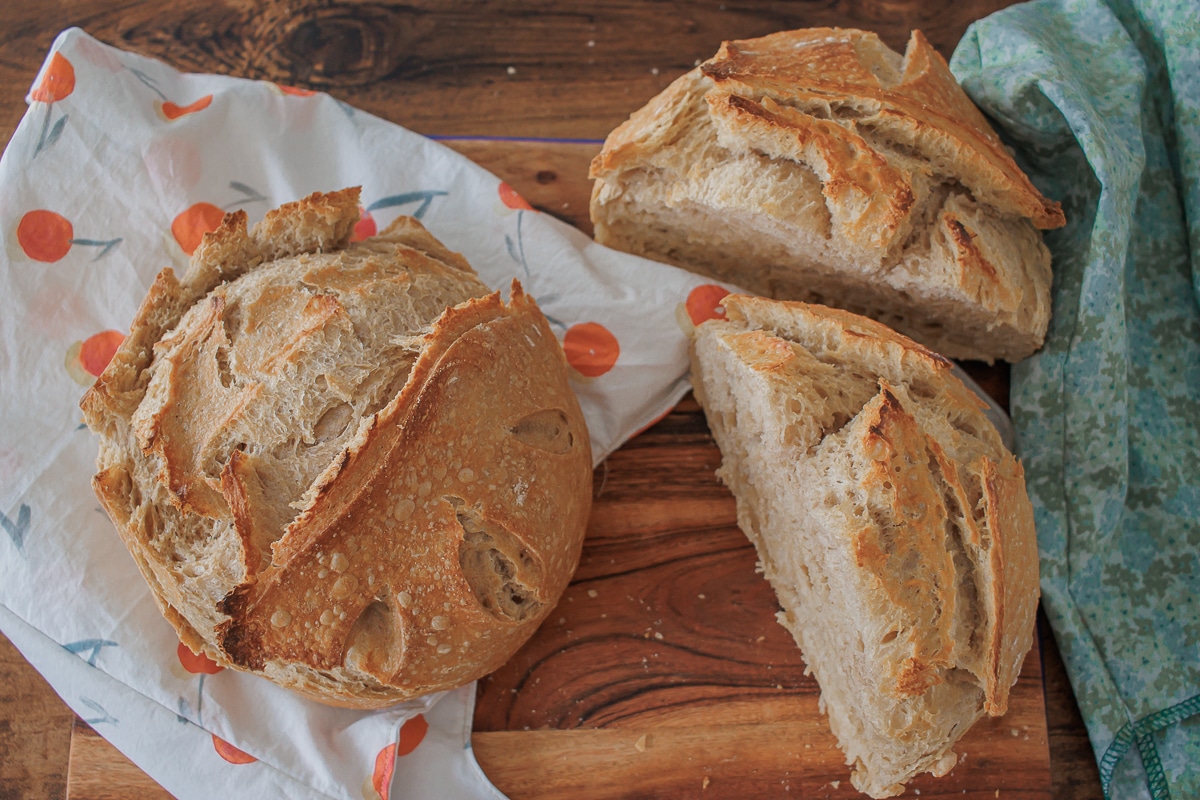
I’ve have a full walk through video for you to see how all the pieced fit together in sourdough baking. I think at first I was super confused at how each part of the process fit into the whole, that I wanted to step it out for you.
Other Tasty Bread Recipes
Easy Sourdough Video Tutorial –
If you can’t see the video, check that you don’t have an ad blocker turned on.
I will also walk through all details here in written form and a printable recipe card.
Simple Sourdough Supplies:
- Sourdough starter.. buy it HERE or HERE or get from a friend
- Jar with lid
- mixing bowl
- Dutch Oven
- Colander or Banneton
- Rubber Spatula
- Food Scale
Feeding your Starter
If you are just getting your starter going, follow the instructions on the packing for a few initial feeds. Then follow my instructions here.
I feed and bake weekly. You can do this process as often as you want to bake.
Make sure to weigh the jar before adding the starter so you know how my just the starter weighs.
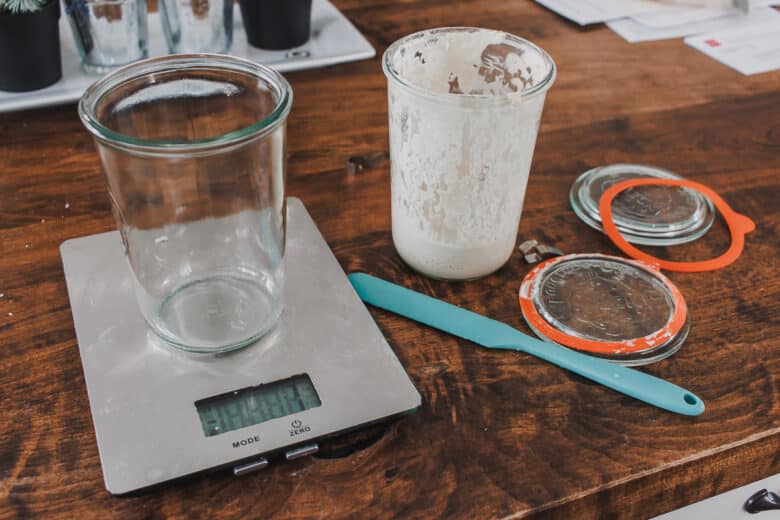
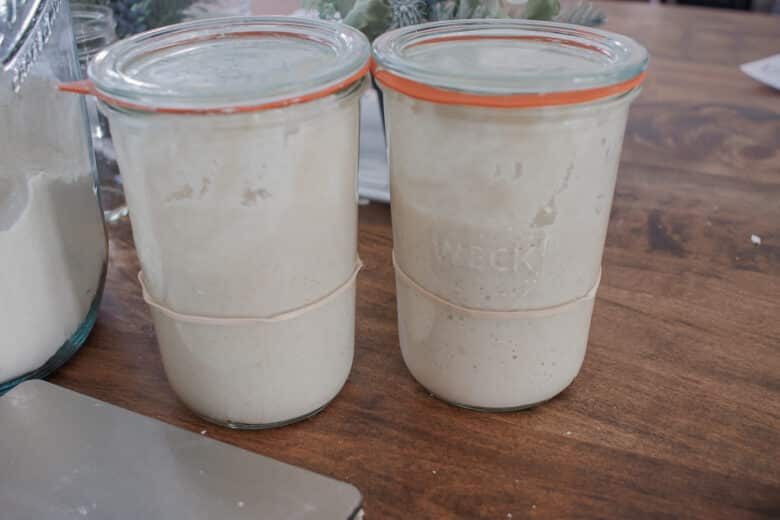
Weigh your starter, then feed at a 1:1 ratio OR 1:2. For example if the starter weighs 60 grams you can either feed 60 grams of warm water and flour OR 120 grams of water and flour. I usually do 1:1:1.
Leave starter on counter for 4-8 hours until at least doubled. In hot weather this will happen quickly. You can use a rubber band around the jar to tell when it’s double.
Mix the Sourdough Dough
Easy Sourdough recipe
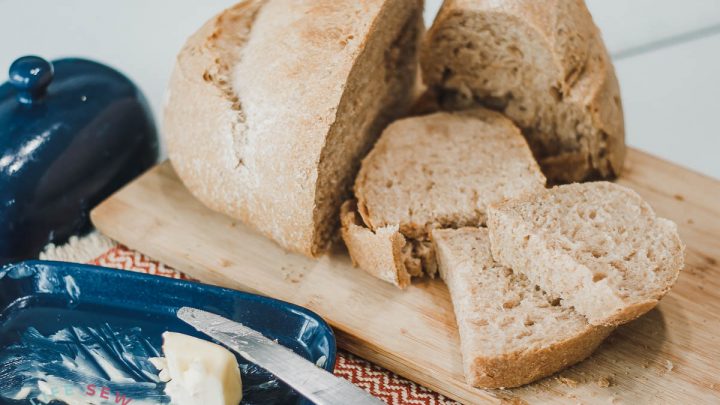
simple sourdough with a easy baking method
Ingredients
- Sourdough Starter 100 g
- Warm Water 300-340 g play around with how moise you can handle the dough
- bread flour {white, wheat or mix} 500
- sea salt 10 g
Instructions
- Feed started 4-6 hours before step 2. See notes at bottom for time stamps on my method.
- Set a mixing bowl on a scale and set back to 0.
- Pour water into bowl - set back to 0
- add starter {it should float} - set back to 0
- Add flour {I do half and half wheat and white} - set back to 0
- add salt and oil
- Mix to a rough dough in bowl. Use hands to fully mix in bowl if needed.
- Rest dough 45/60 min, fold dough over a few times {see video}
- Rest another 60 min, fold again
- place in a greased bowl, cover with wet towel or lid and rise overnight.
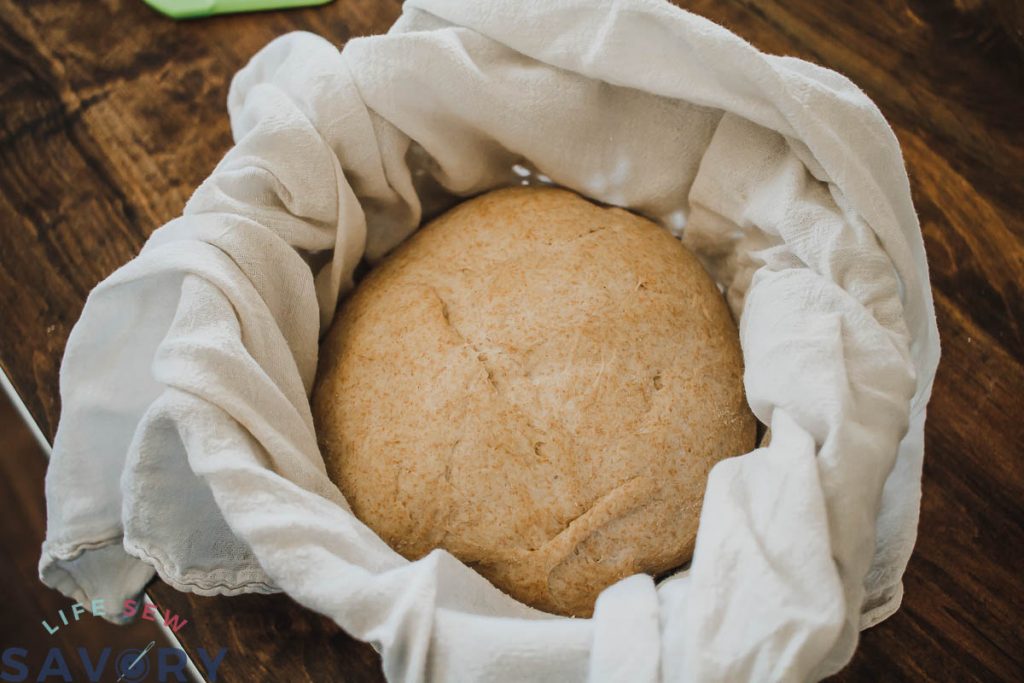
- in the morning shape into a round loaf {see video} place upside down into a colander with floured towel and rest in fridge for 4-10 hours.
- Pre-heat oven to 450 F
- Line {pre-heated} dutch oven with parchment paper, turn dough from colander over into the pot. Score top with razor blade.
- Cover and bake 25 min. For a better crust add two ice cubes to dutch oven
- Uncover and bake 20-25 min
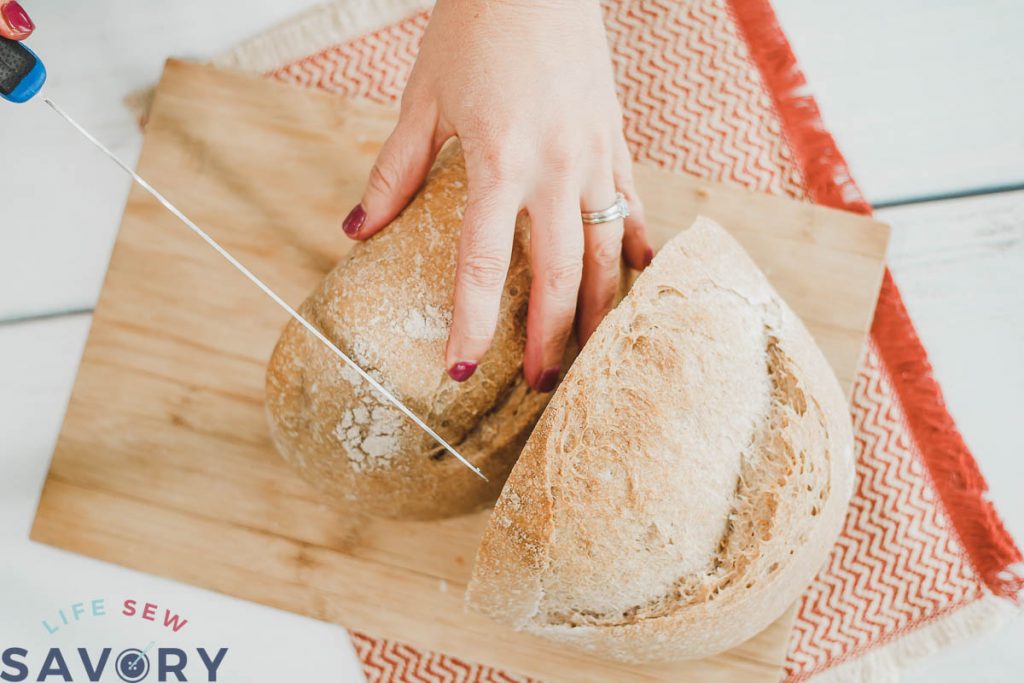
- check internal temperature, should be 190 degrees.
- Cool 1 hour before slicing
- Eat every last bite! ;o)
Notes and time stamps:
This is a two day method for baking 1/2x per week. I only feed my starter when I want to bake and keep it in the fridge the rest of the time. See video for more details.
Day 1: 8 am- remove starter from fridge and let it warm up.
12pm - feed starter 1-1-1 {equal parts starter, water, flour}
5-7pm - when starter is doubled, make recipe as detailed above. Place remaining starter back in the fridge until you want to bake again.
30 min after making recipe do first pull/stretch of dough. It should be really rough this time. I wet my hands before touching the dough.
1 hr later - stretch again, it should start to get stretchier and stronger.
repeat every 45min/1 hr 3/4 times if you can. sometimes I only have time for two stretches and it's okay too! Keep it simple! Let rest in bowl covered over night on counter.
Day 2
8am - Take out of bowl on floured counter and shape into loaf. Place in Banneton or colander, cover with a towel and put i the fridge. Leave for at least 3 hours, can go up to 24 if you don't want ot bake yet.
1 pm - pre-heat oven to 450 and also pre-heat dutch oven. Use parchment paper to line pot. Score the top of bread and place in lined-pre-heated pot. Place two ice cubes under the paper. bake with lid for 25 min, bake without lid for 20-25 min or until golden brown. ENJOY!
Storing your Starter
I only bake once a week so I store it in the fridge. See timeline below. If you have lots of started left after mixing the dough you should remove most of the extra and put in a discard jar. I used this for pancakes or muffins or other baking. There are lots of discard recipes. If I do the 1:1 mix and only bake one loaf I generally do not have much left over.
If you plan to bake twice a week I would still keep in the fridge and just pull out the morning you want to feed. You can leave out on counter, but you have to feed daily. If you feed daily you must either bake or discard daily as well.
My Sourdough timeline for baking-
This is a two day method for baking 1/2x per week. I only feed my starter when I want to bake and keep it in the fridge the rest of the time. See video for more details.
Day 1: 8 am- remove starter from fridge and let it warm up.
12pm – feed starter 1-1-1 {equal parts starter, water, flour}
5-7pm – when starter is doubled, make recipe as detailed in recipe card above. Place remaining starter back in the fridge until you want to bake again.
30 min after making recipe do first pull/stretch of dough. It should be really rough this time.
1 hr later – stretch again, it should start to get stretchier and stronger.
repeat every 45min/1 hr 3/4 times if you can. sometimes I only have time for two stretches and it’s okay too! Keep it simple! Let rest in bowl covered over night on counter.
Day 2
8am – Take out of bowl on floured counter and shape into loaf. Place in Banneton or colander, cover with a towel and put i the fridge. Leave for at least 3 hours, can go up to 24 if you don’t want ot bake yet.
1 pm – pre-heat oven to 450 and also pre-heat Dutch oven. Use parchment paper to line pot. Score the top of bread and place in lined-pre-heated pot. Place two ice cubes under the paper. bake with lid for 25 min, bake without lid for 20-25 min or until golden brown. ENJOY!
Tips for baking Sourdough Bread
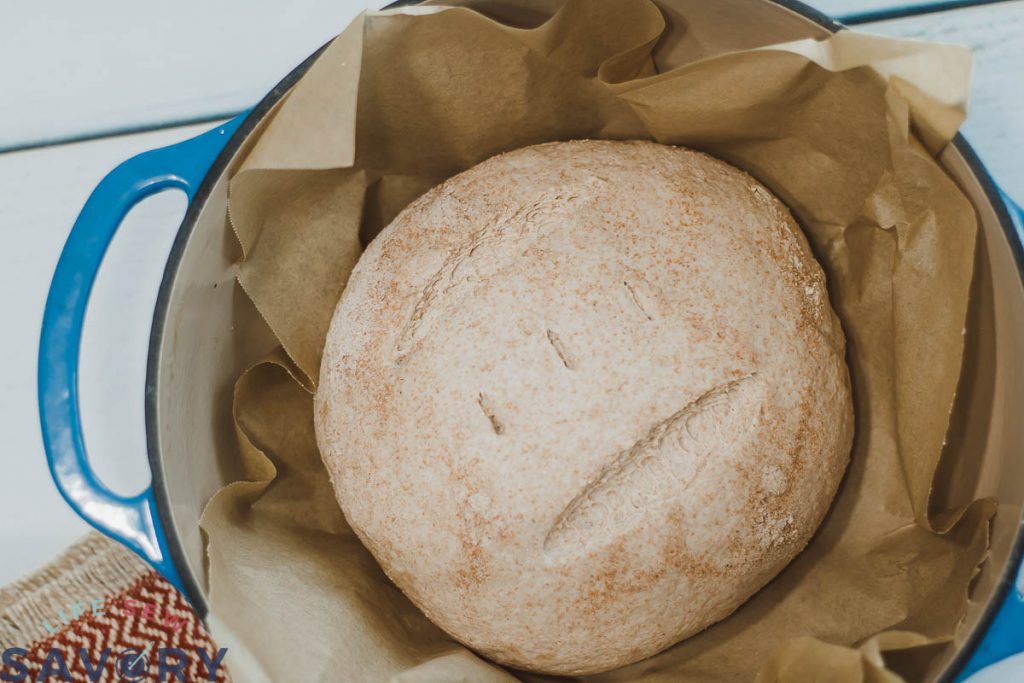
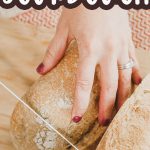
I bake in a covered casserole dish or dutch over. Tip over from colander and towel into the lined pot. {I line with parchment paper} Score the top of the loaf in a design. This will allow the loaf to grow and expand as it cooks. Score lines should be at least 1/2″ deep.
Bake at 450. 25 min covered, 20/25 min uncovered. Check internal temperature.. it should be 190 degrees and the outside should be crusty. More moisture will make it crusty. I recently began adding 2 ice cubes to my Dutch oven under the parchment and its so much better. YUM!
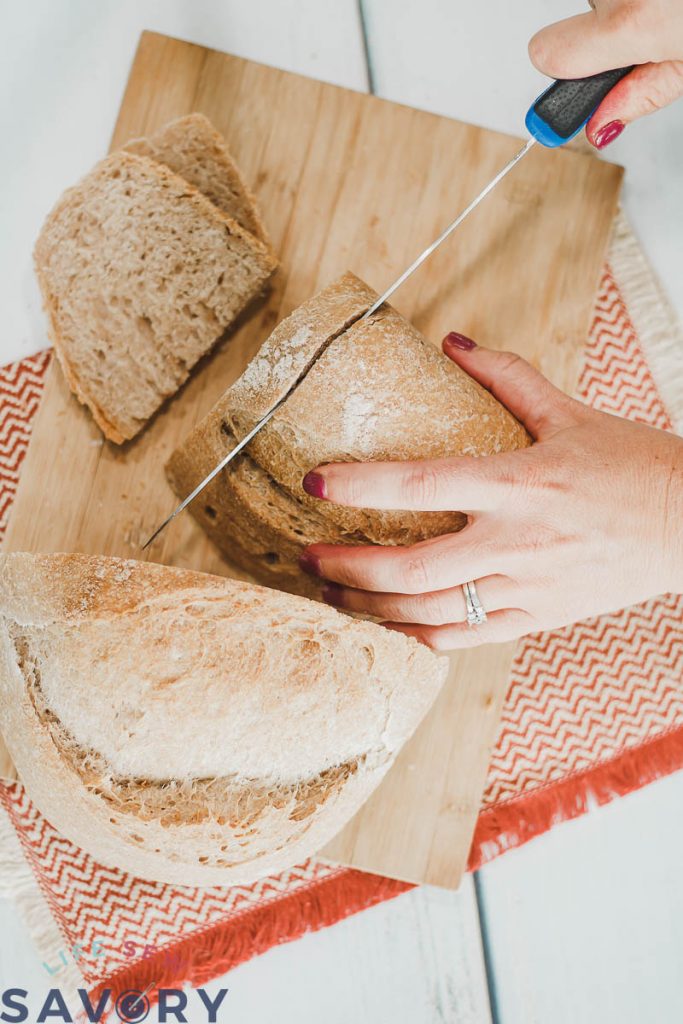
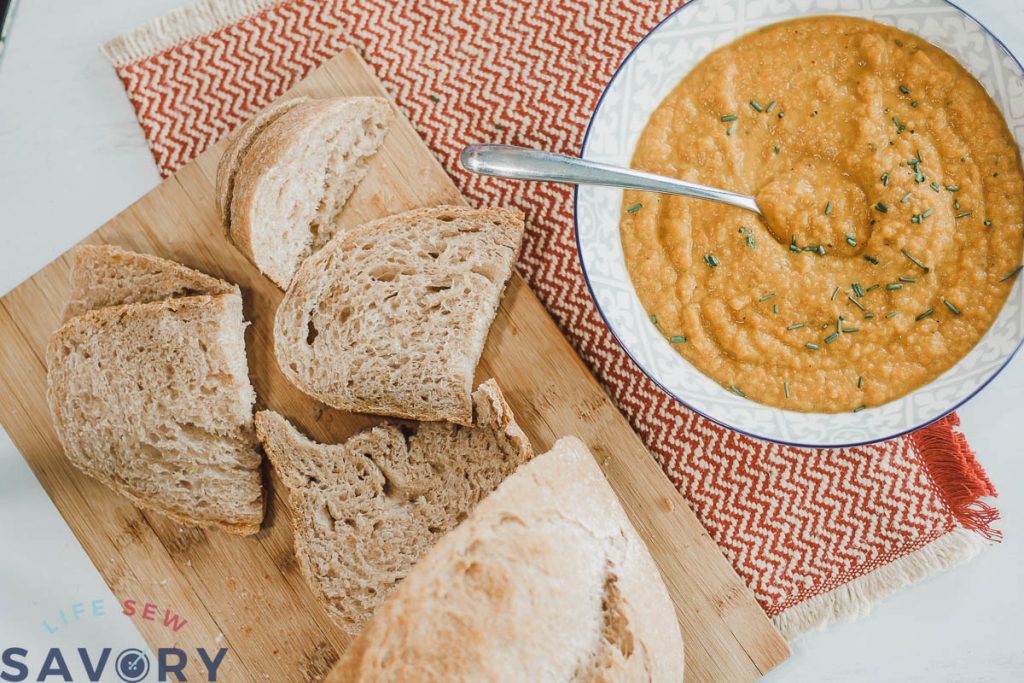
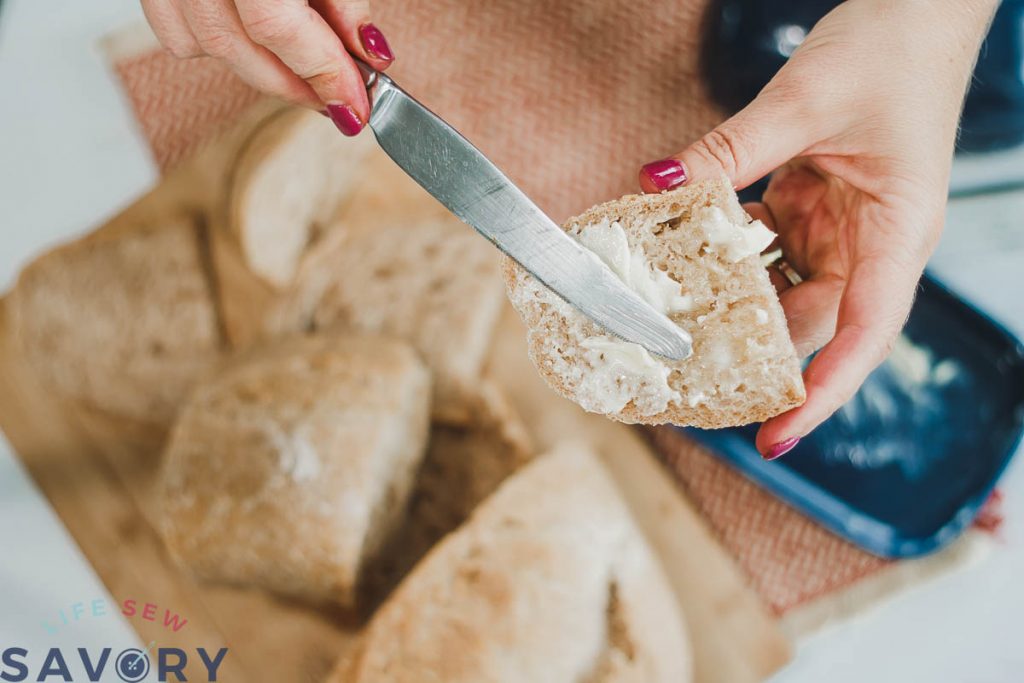
Now its time to eat!! The best part of simple sourdough making. Serve with soup, butter, or just plain for the most amazing bread ever. My family loves the loaves fresh from the oven.









Susan Pearse says
Please let me have the link for your video tutorial for the quick sourdough bread please. I am unable to find it. thank you.
Lois Erdmann says
The link for Saratoga Jack starter is not what came up for me on Amazon. I ordered the one that did. The instructions were horrible. My starter was thin and had “hooch” which I just stirred back in. I was just using my measuring cups and learned the hard way I needed more flour. My first attempt was a big fail. My bread was working fine until I dumped it out of the bowl to shape it. Yikes, it was SO sticky so I added more flour. Evidently not the best idea….my bread was so sour and dense. So I went back to my directions. The online site in the booklet was better but still left me so perplexed. I am now using a scale!!! What a difference that is making in my starter. Now i am going to follow just your instructions with this recipe. I did love all the discard recipes for waffles, bread, and even a cake i made. Thank you so much for your video along with the written recipe. I have now watched at least 5 times!! Wish me luck with my starter that is no longer runny and hoochy.