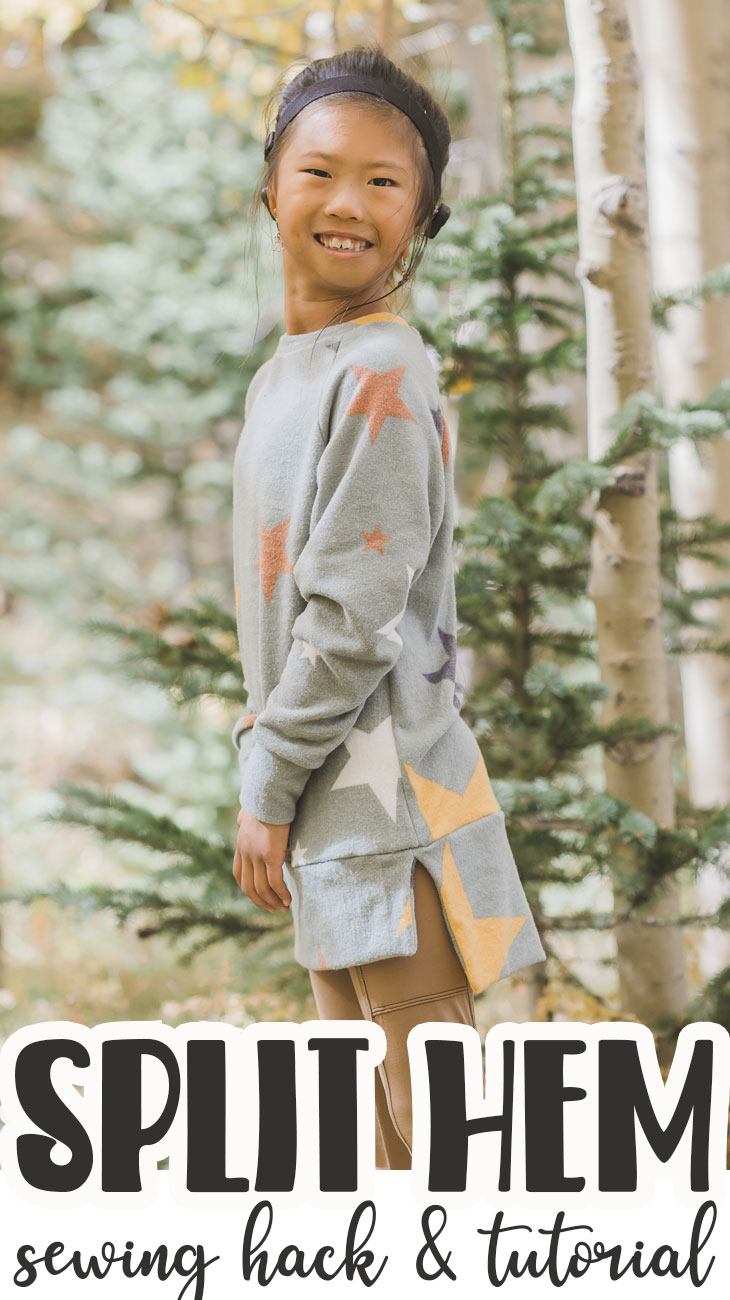
inside: Check out this fun sewing hack to create a split hem shirt. This hem sewing hack is easy to sew and creates a beautiful finish for many top styles.
You know I love a good sewing hack, reusing patterns we already have to create new looks, what a fun and easy way to sew. Save money and create new looks with this split hem tutorial. PLUS, this is such a great fall look, you will want to add a split hem to all the tops you sew this season.
Split Hem Tutorial and Sewing Hack
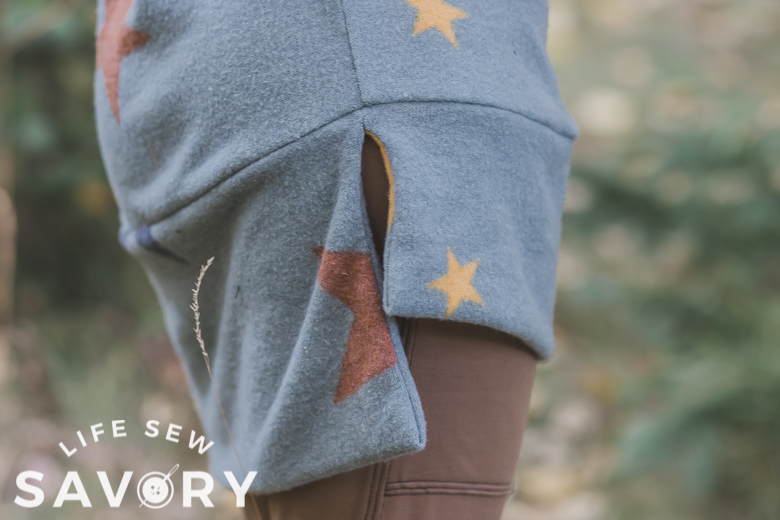
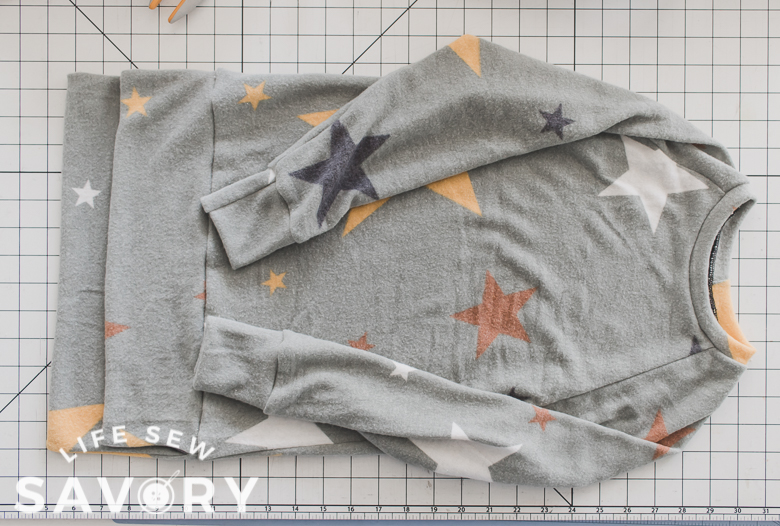
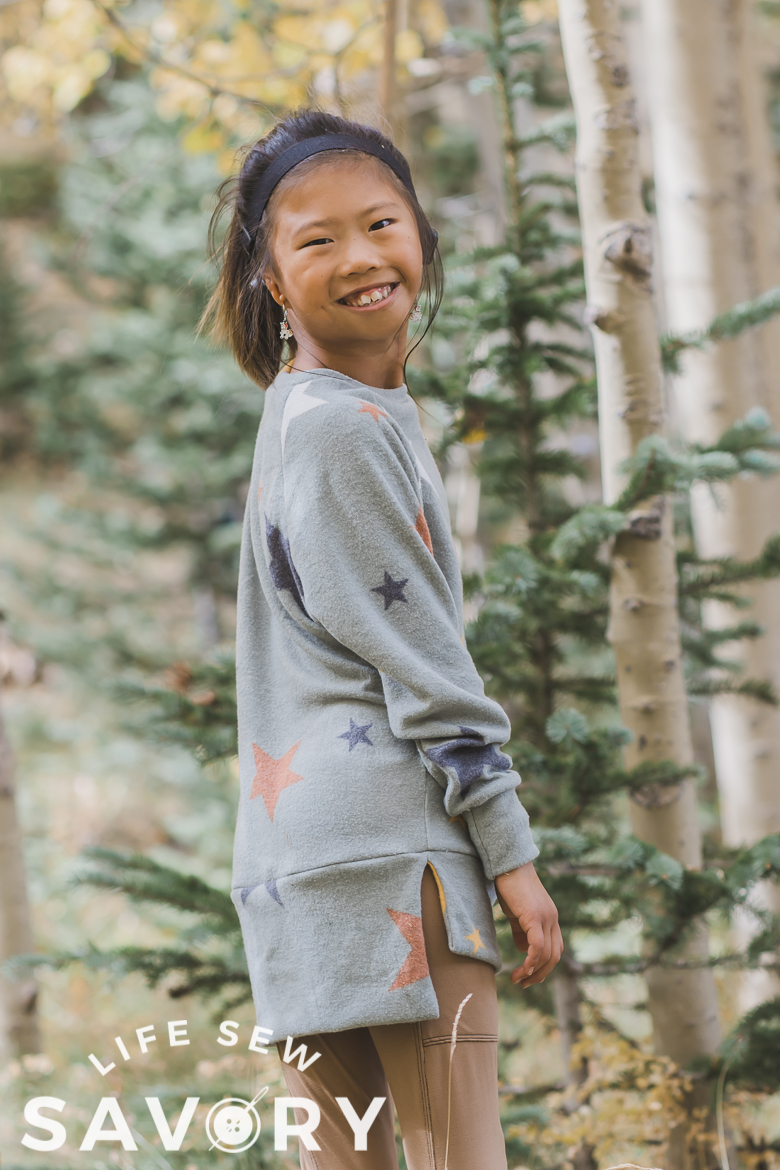
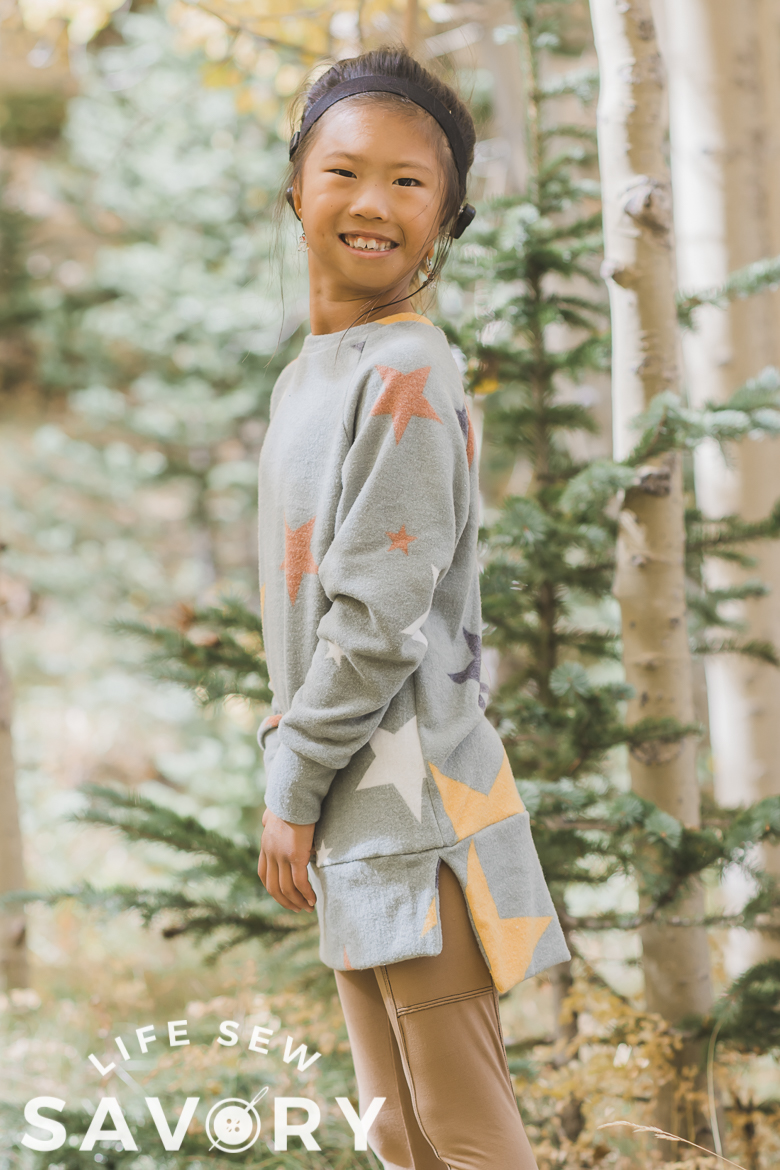
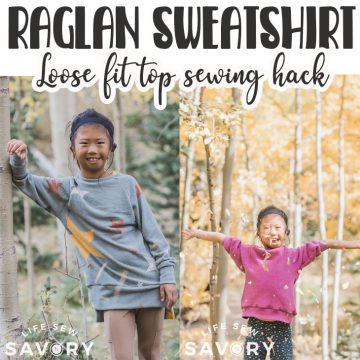
Isn’t this such a fun look for a shirt? I was able to use the kids raglan as a base for this tutorial and came out with a super fun tunic. I lengthened the top as well as loosened up the sleeves a bit, and added this fun split hem for a great new look.
You don’t have to make the split hem with a high-low look, but on a tunic I love this look. On a shorter top I may just split the front and back but make it the same length. So many fun options for future sewing!
We drove up the mountains yesterday to see the fall leaves and they did not disappoint. We were also able to get some beautiful photos. Rose loves this new top and the length is perfect to wear with leggings. The leggings seen here are my KIDS FREE LEGGINGS with the ADD A POCKET HACK.
Sewing Hacks for Hems
Want more sewing hacks for shirts? Check out this fun post with links to all my t-shirt sewing hacks. Also, you can see the first pattern I shared with a split hem here. The women’s tunic is so comfy and has a great split hem.

Adding a fun little extra detail to a shirt can make the shirt looks like an entirely new top. Small changes with big results. This split hem can make a shirt into a tunic or give a sweatshirt a fun new finish on the bottom.
Fabric seen in this post:
Sewing Hacks for Shirts
Alright, let’s sew! This is a fairly basic sewing hack and one that I think you can add to any shirt {especially a casual top}. You know I will choose to cuff anything over hemming any day, so this fits right in with my no-hem goal {haha}.
free patterns to use:
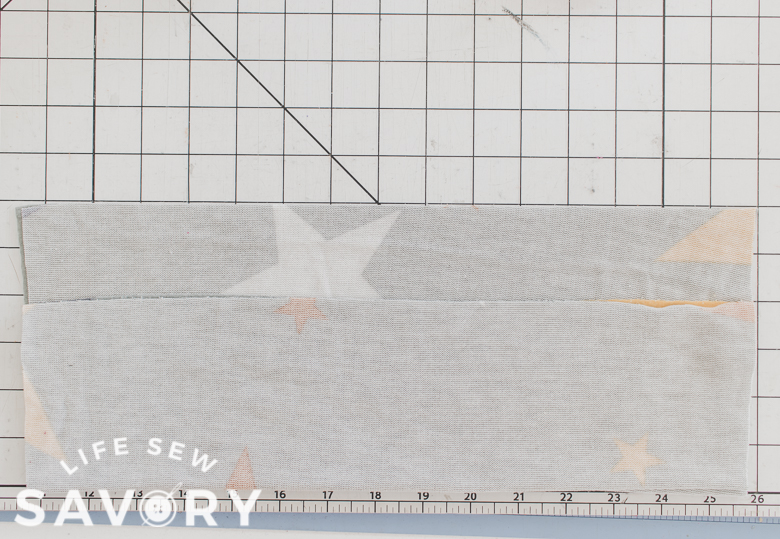
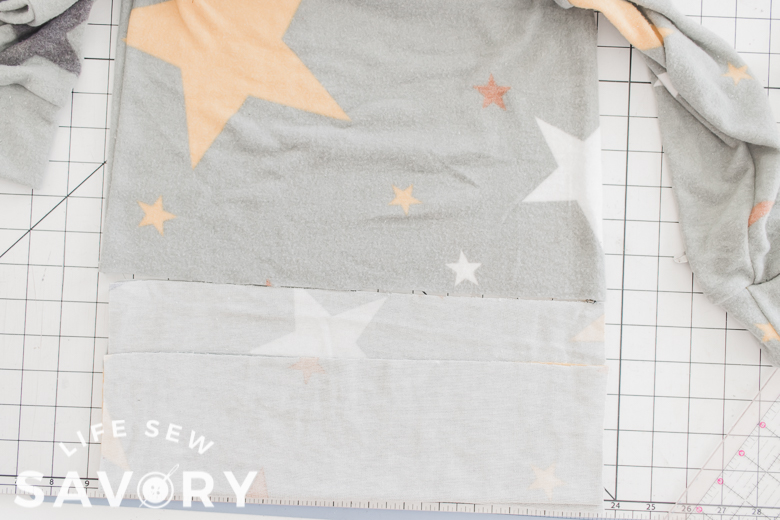
Start by sewing your shirt/top according to the directions until you get to the bottom. Measure the width of the bottom of the shirt. This is how wide we will cut out hem pieces. I chose to make the back 2″ longer than the front. The bottom is also a fold, so cut your pieces twice as tall.
My pieces are 15″ wide and one is 8″ tall {folded in half} and the other is 10″ tall {folded in half} You can create a longer or shorter split hem as desired.
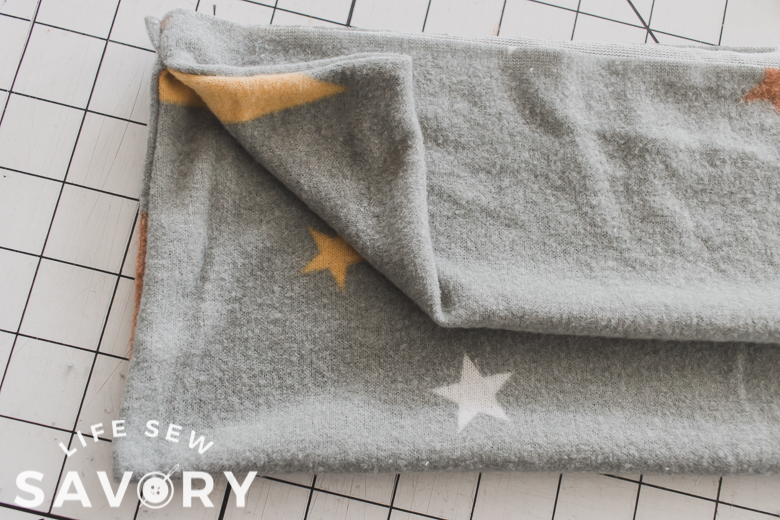
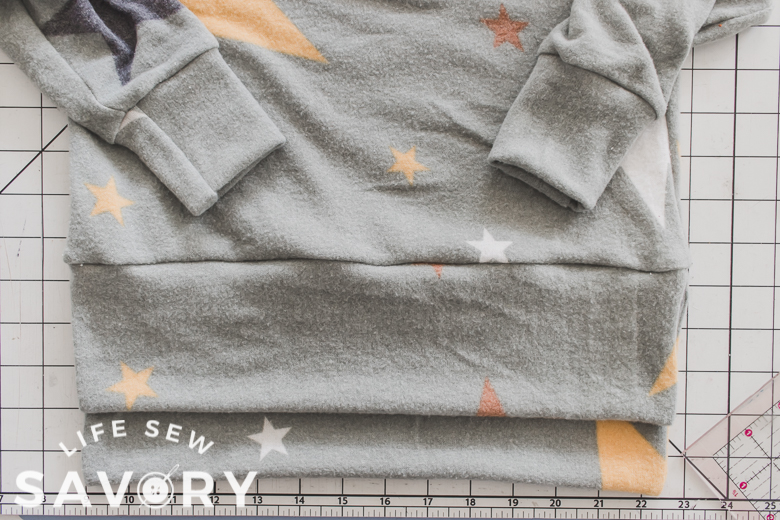
Here I laid my hem pieces out at the bottom of my shirt. You can see my hem pieces are slightly smaller than the shirt. I would rather stretch slightly than have it too wide.
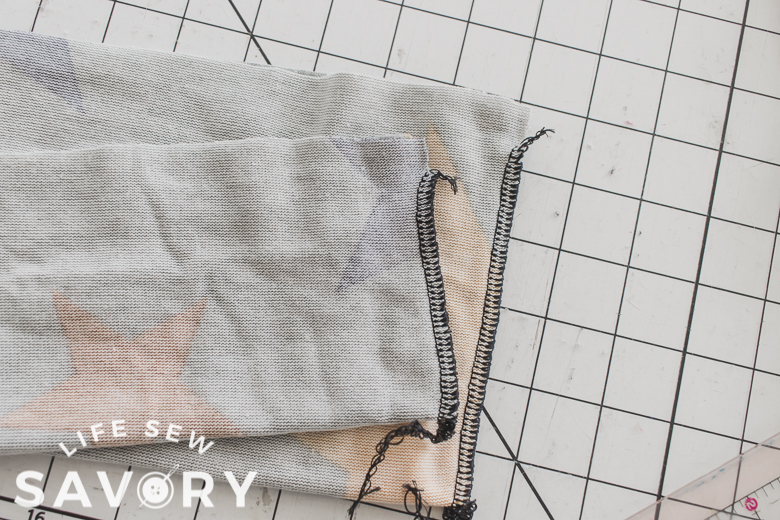
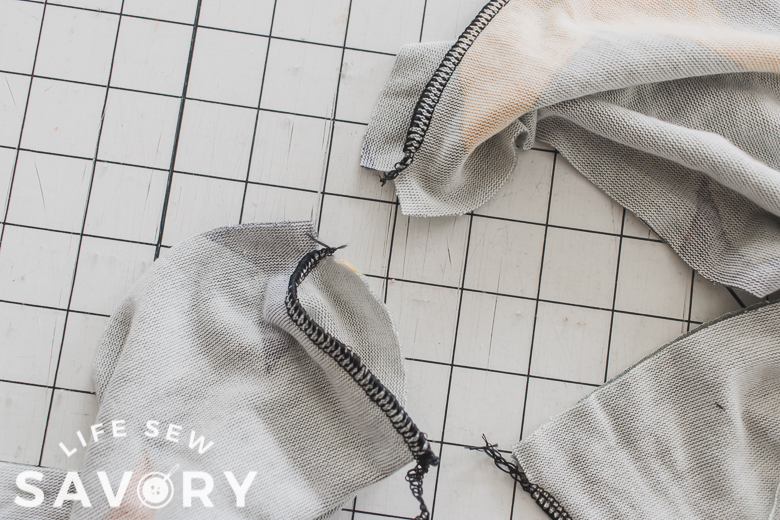
With the right sides of the fabric together, sew the small ends of the bottom cuff. Sew from the fold towards the raw edges stopping 1/2″ from the top. Open up top 1/2″. You should be matching one front side to one back side.
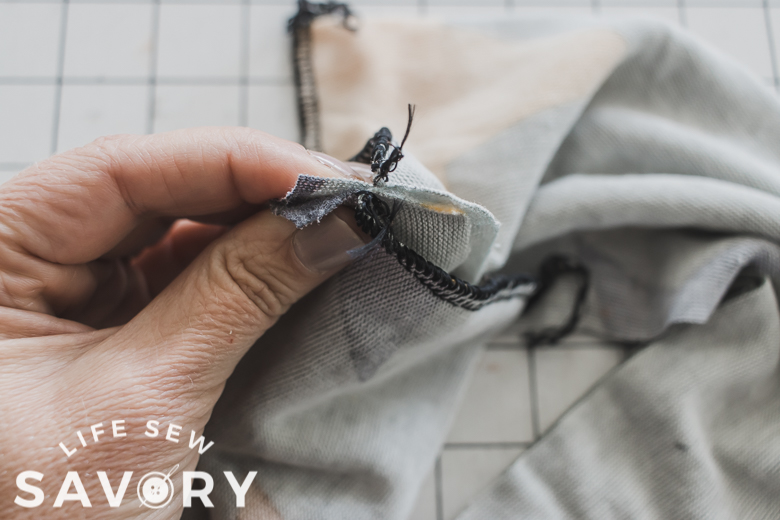
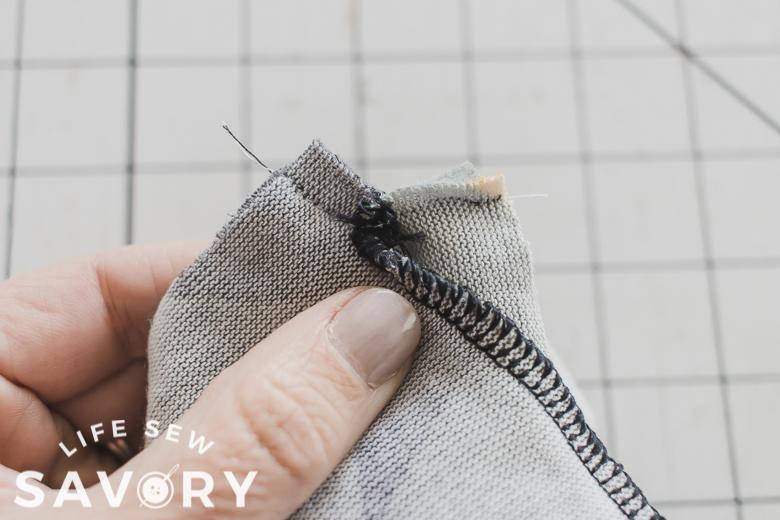
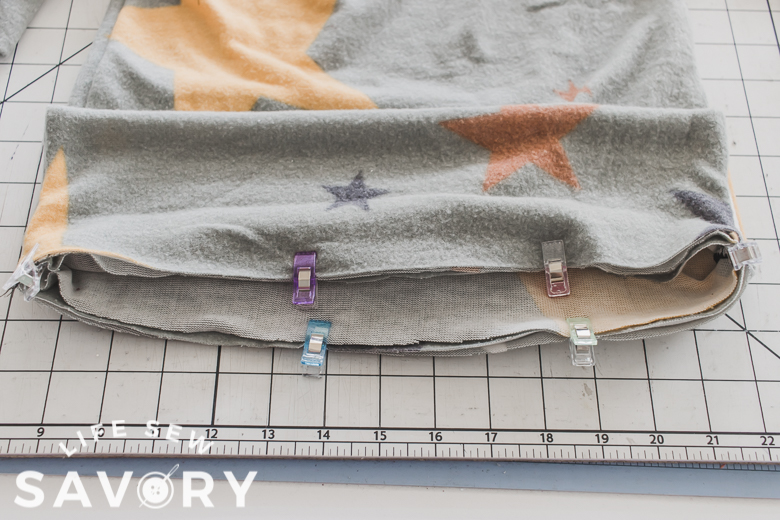
With right sides together match the top opening on one front side to one back side. Then sew this small seam. I used a narrow seam allowance to sew this. Make sure to catch both layers and the middle V as well.
Repeat with the other side of the cuff.
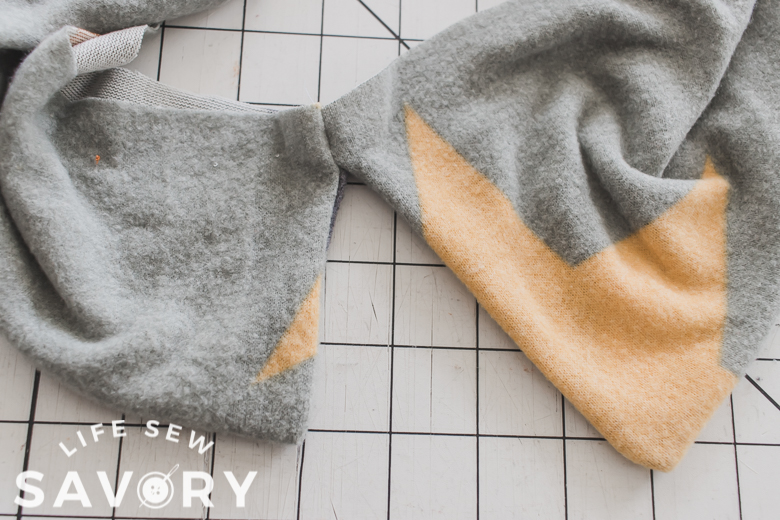
Open up and turn to the right side. You should have this super fun split hem with a small bit of fabric attached at the top. Mine is just over a 1/2″ wide of attached fabric. You can now lay out the front and the back.
Match the two raw edges of the cuff with the bottom raw edge of the shirt. Make sure to match the front to the front and back to the back – especially if you have a longer back. Sew with a stretch stitch or serger to attach the bottom to the shirt. Oh I just love the result.
And there you have it! A super cute and cozy fall tunic sewn with this fun split hem tutorial. The only thing that would have made this top better is if I would have remembered to add thumb holes in the cuff. I forgot, but my daughter loves them! Here’s my thumb cuff tutorial.







Dee Kay says
I like this look so much better than when a shirt or lightweight sweatshirt has a shirttail hem that is longer in the back. This looks more intentional and the wide band should hang better and not get a hung up on hips. Great idea!!!