inside: Learn how to add sublimation to a stainless steel tumbler for a fun and easy personalization craft. Sublimation is one of the easiest ways to personalize almost anything. These tumblers are adorable, personalized and useful.
I really want a tumbler for iced coffee. I’ve gone through four glass tumblers {even with the rubber bottom} and I can’t be trusted with glass. On a trip to Hobby Lobby this spring I saw this stainless steel tumbler with a straw and I was pretty sure this tumbler could survive. Of course I wanted to add some fun design to it though before using.
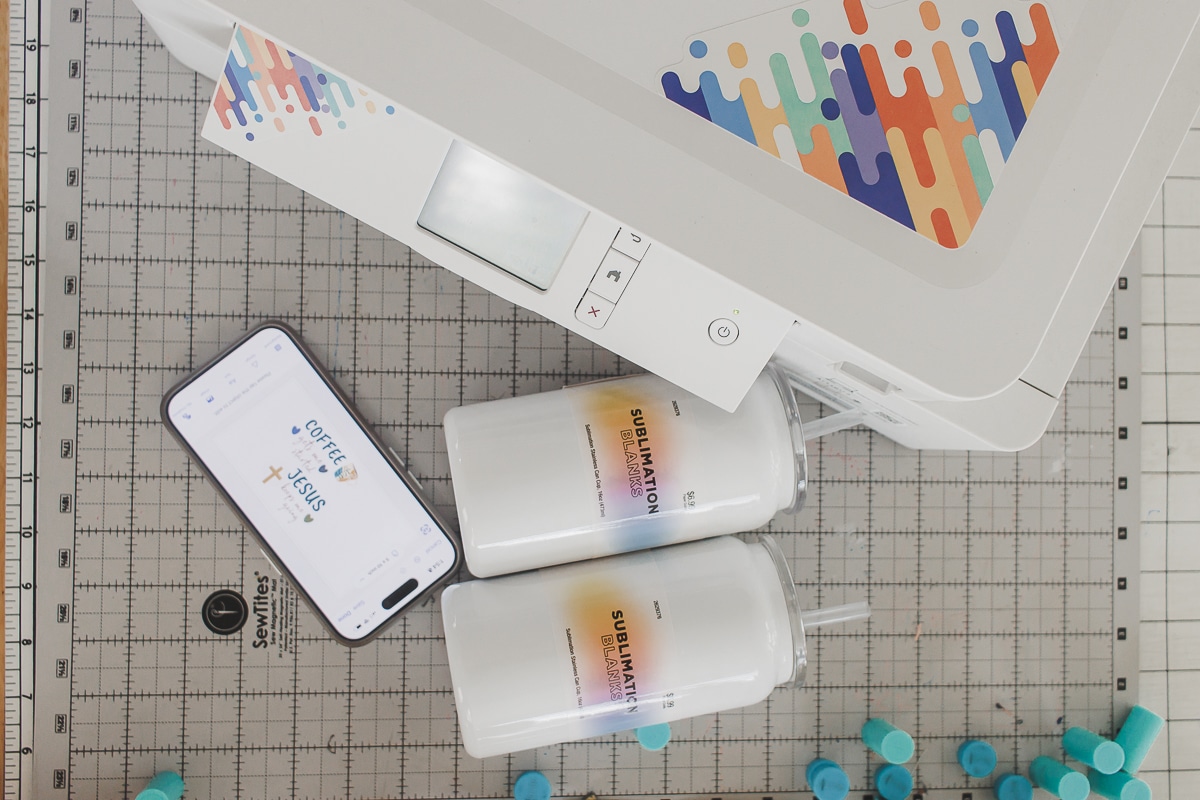
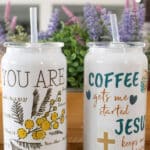
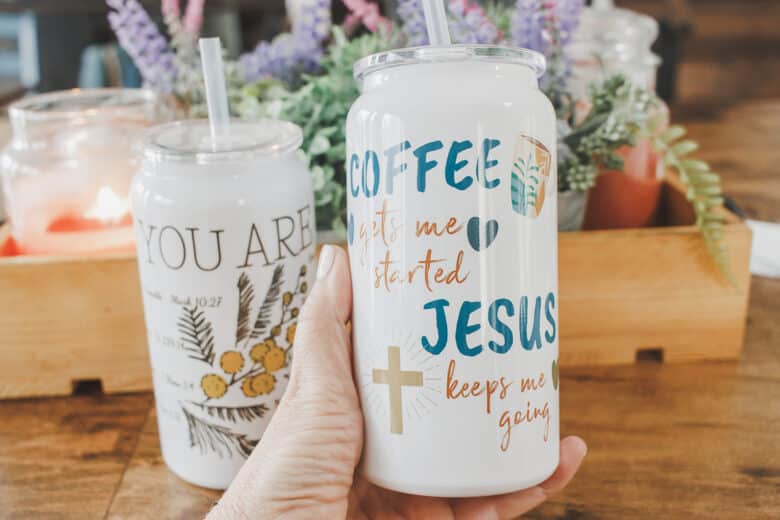
Stainless steel tumbler with sublimation
If you are like me and can’t be trusted with glass, this project is for you. All the cuteness of a glass tumbler, with the strength of stainless steel. I may replace the plastic straw these came with, but for now it has the original straw.
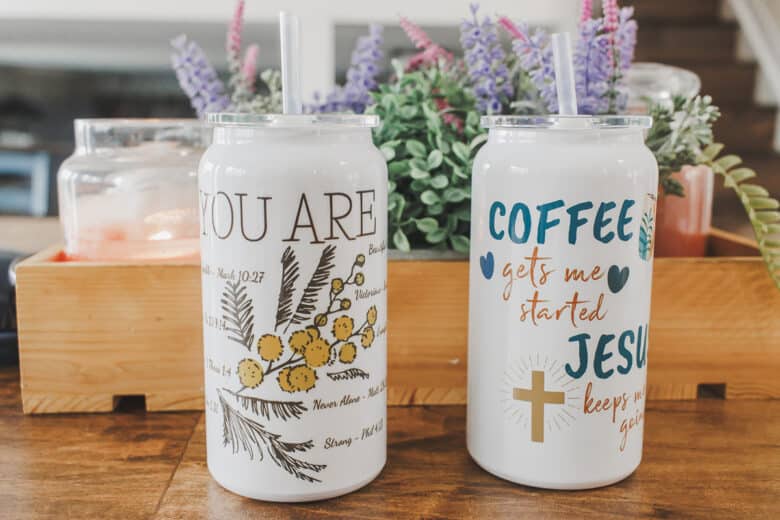
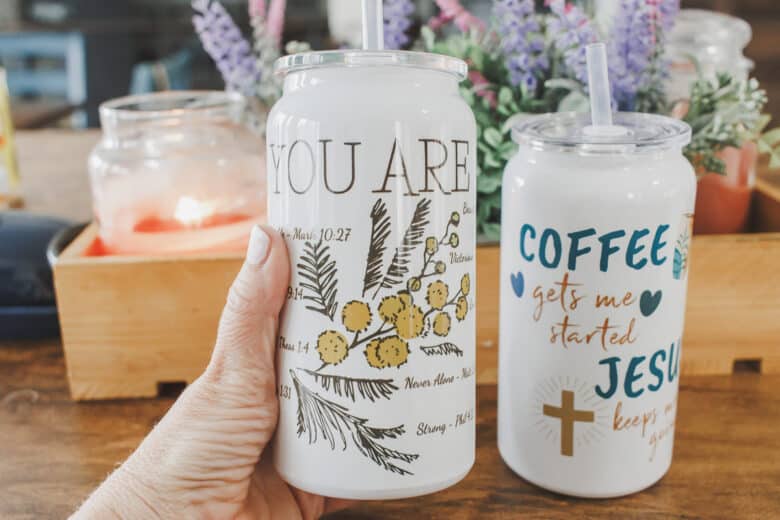
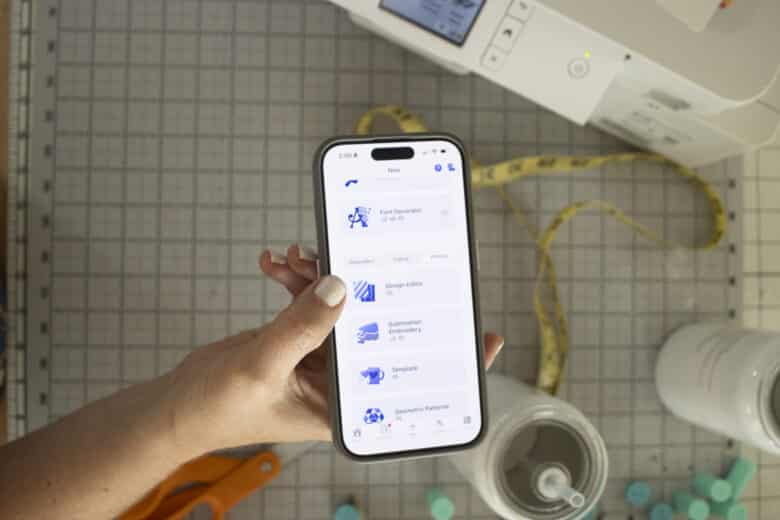
I designed the text right in the Artspira app. I love how easy it is to import your own designs AND use font and graphics from in the app. There was no cross in the app, so I imported one and it seamlessly blends with the rest of my design.. If you have any Brother craft or sewing machines the Artspira app is a great tool. This was all done just using the free version of the app.
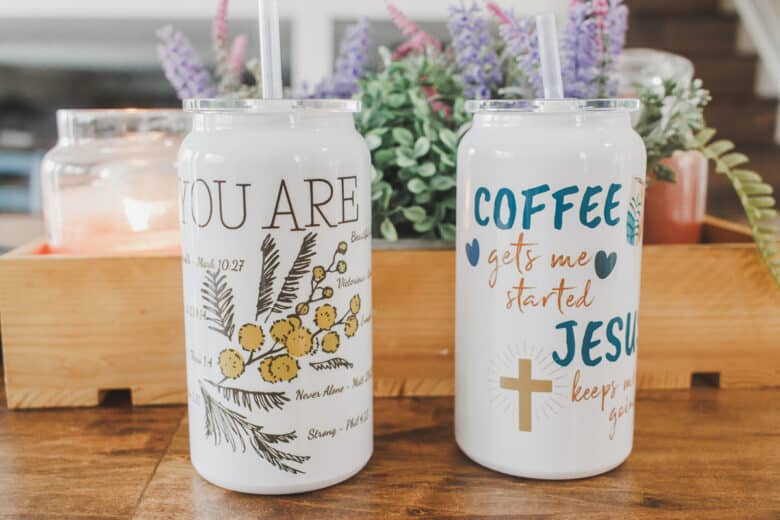
Other sublimation projects
Sublimation on Stainless Steel tumbler tutorial
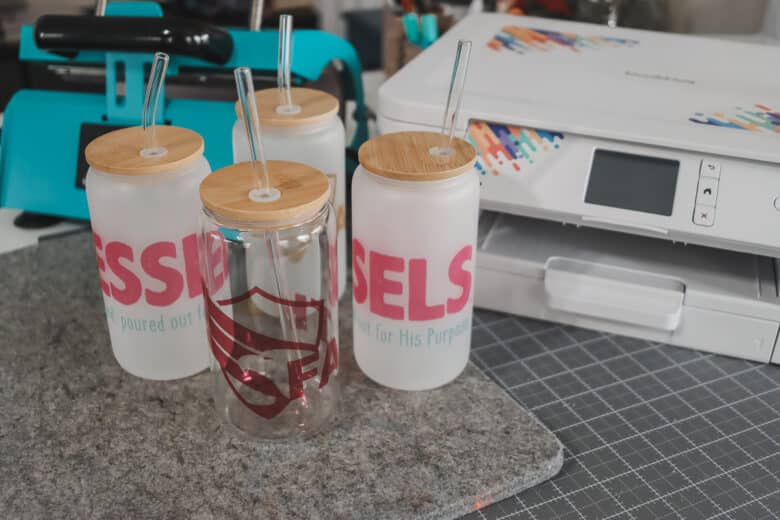
Here are the supplies needed to create your own sublimated stainless steel tumbler.
- Stainless steel tumblers. You can find on Amazon here. Or at Hobby Lobby.
- Sublimation printer
- Design – download one online or design your own.
- Tumbler Heat press – with heat gloves and heat resistant tape.
- My exact press is no longer sold, but the one linked is very similar with great reviews. I love that one press can do all shapes and sizes of tumblers and mugs.
I looked up some fun tumbler designs online and then recreated/ adapted them to the fonts/graphics I had on hand in the Artspira App.
Measure your tumbler top to bottom and around the circumference.
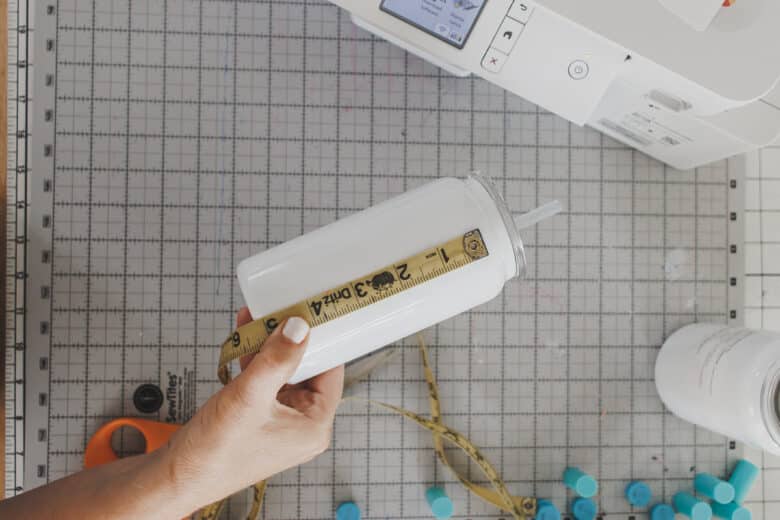
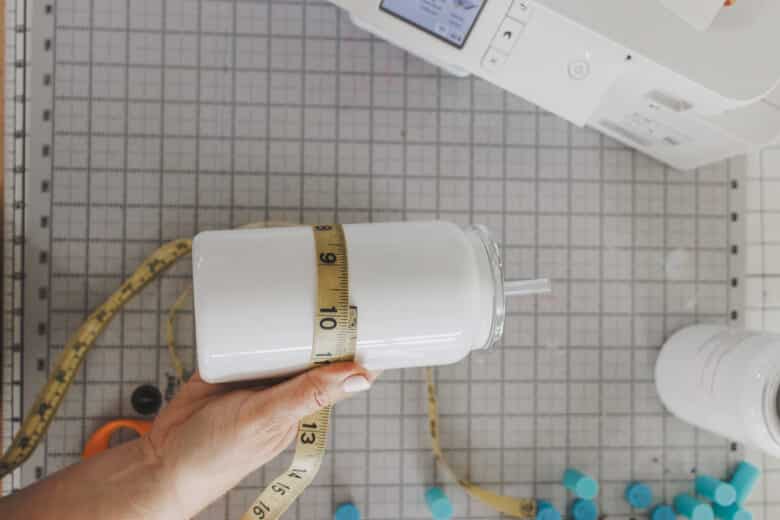
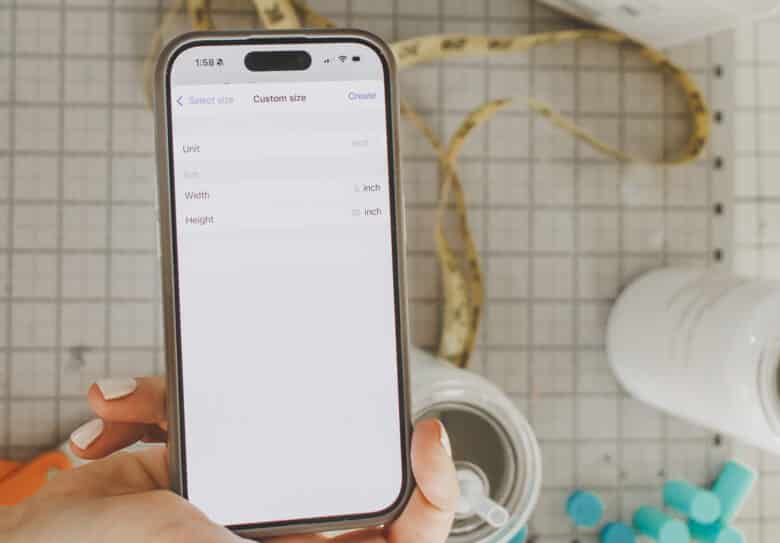
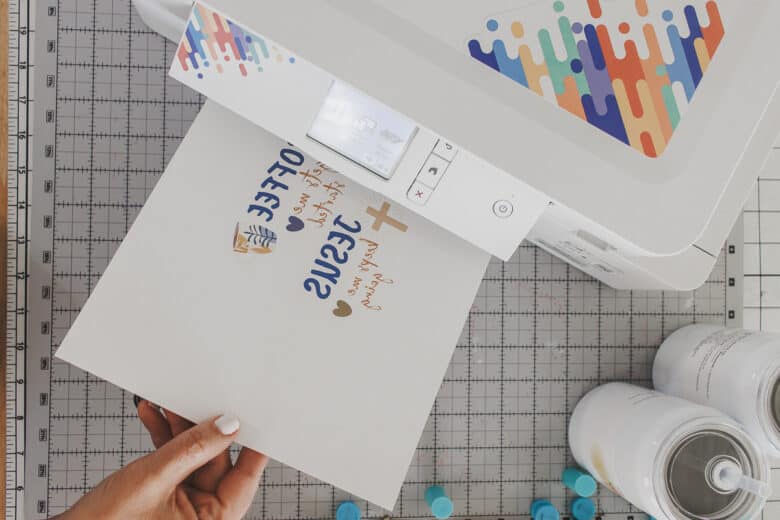
Use these dimensions to create your canvas on your design software. Then create your design. OR import a complete design you purchased online. Send to your sublimation machine and print.
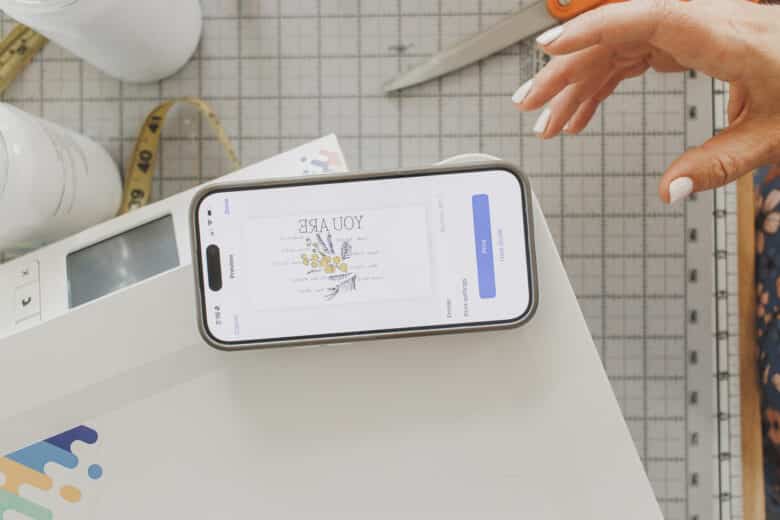
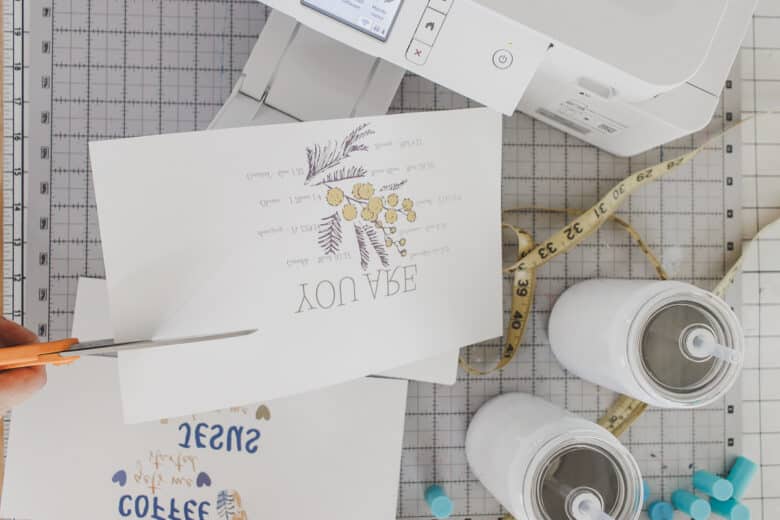
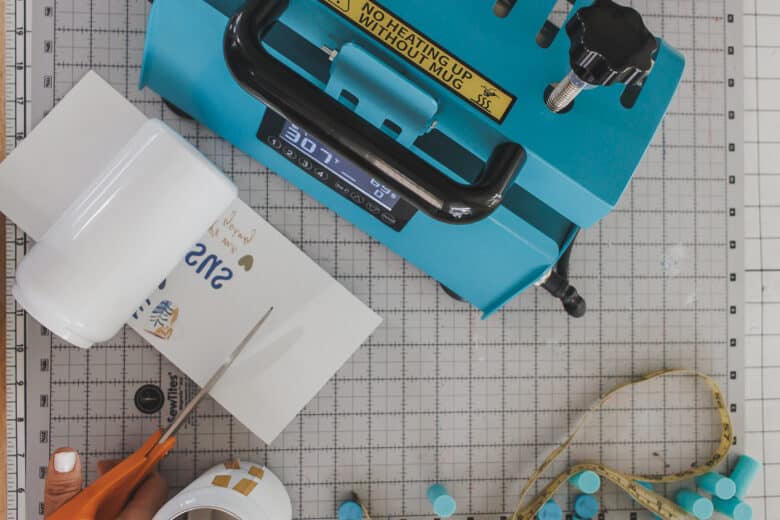
My design was the right size, but it printed on a full sheet, so I had to trim the paper down.
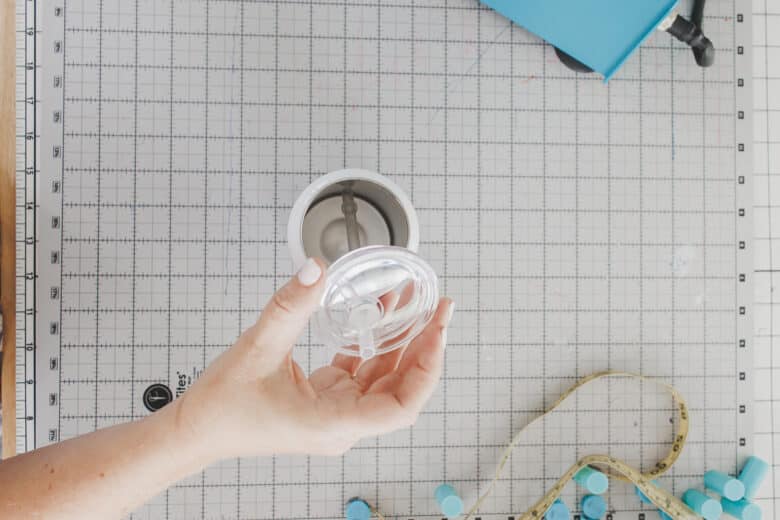
Remove the top and straw from the tumbler. Wrap the paper/design around your tumbler and secure with heat resistant tape. {my tape came with my machine and I’m still using the first roll.}
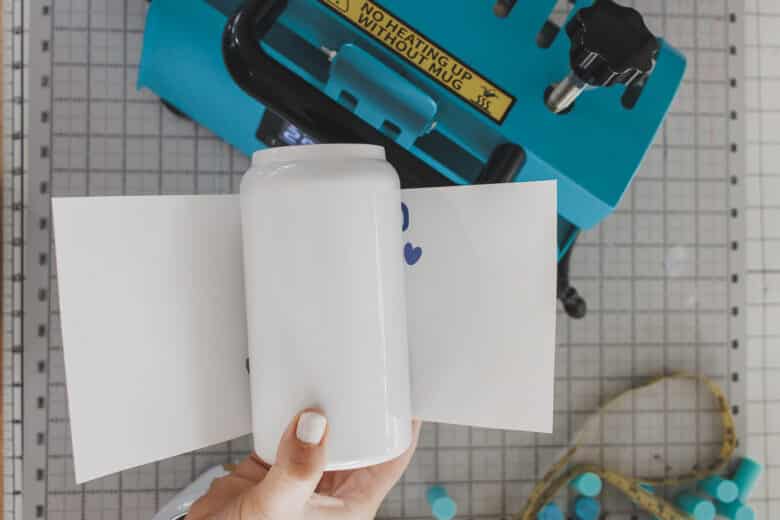
More tape is better than less to avoid slipping. My press has a small crack where the tumbler is not pressed, so make sure that a blank sport is on the area. If your design is a full 360, you will have to press your tumbler, then rotate and press again.
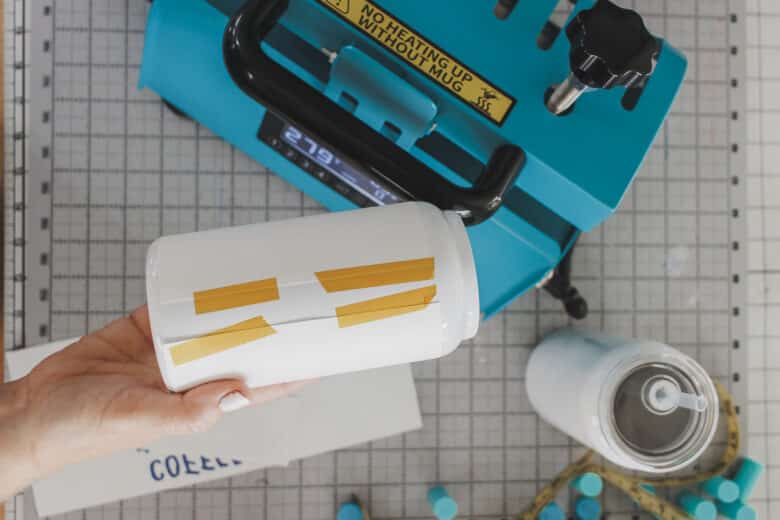
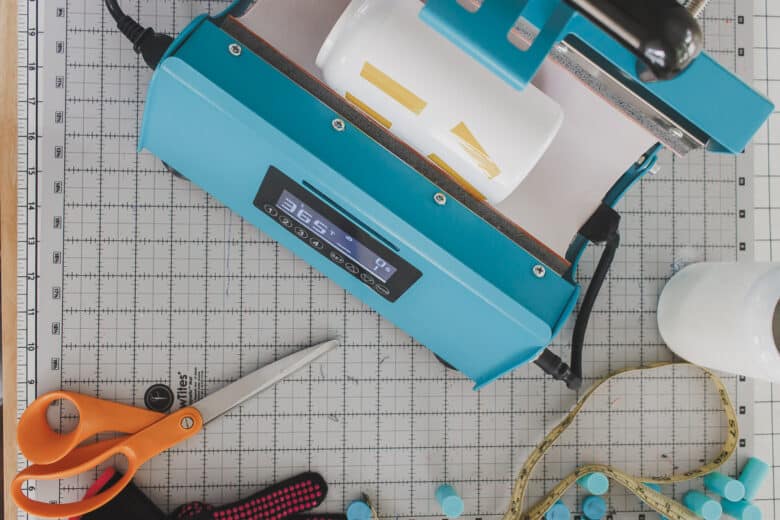
Follow the instructions on the tumbler for time and temperature. You should be able to put these settings into your heat press. While the time is ticking, I put on my heat gloves.
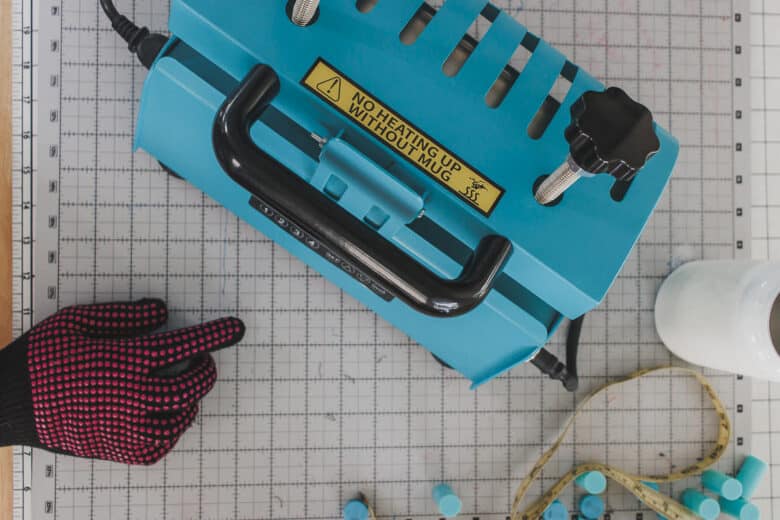
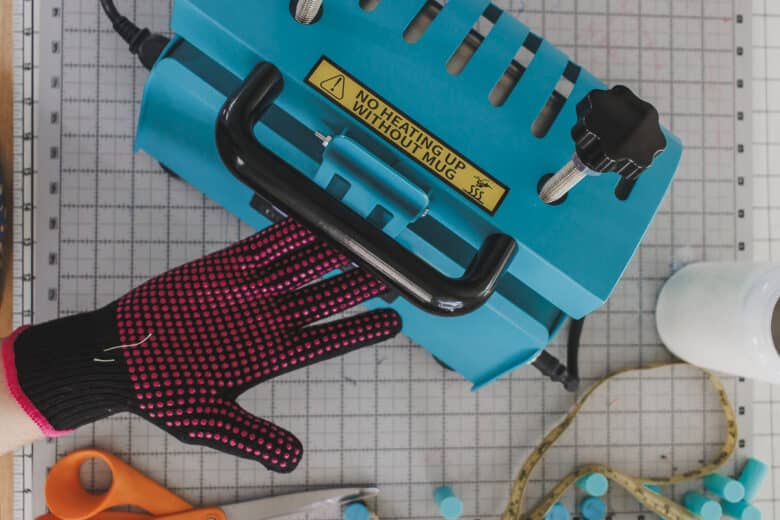
When the timer goes off, remove the tumbler from the press. Let cool for a few minutes. If you have more sides to press, rotate and press again before cooling.
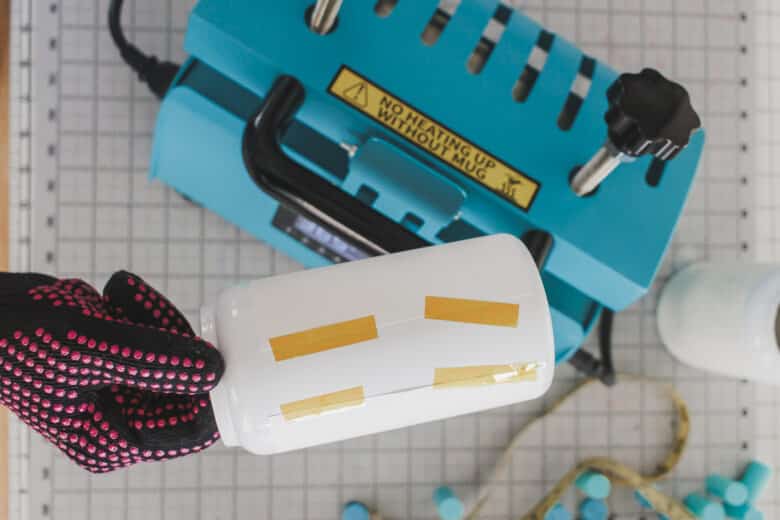
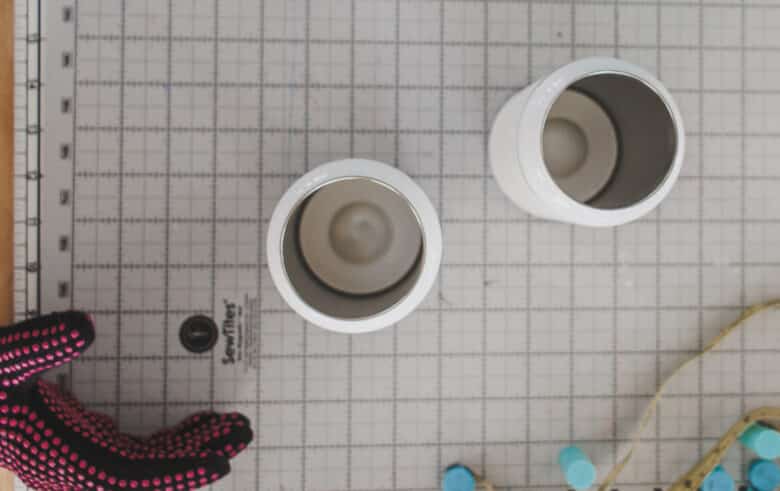
I like to try and peak at a corner of the design before removing the whole paper to make sure the color fully transferred. Remove all the paper if satisfies with the design.
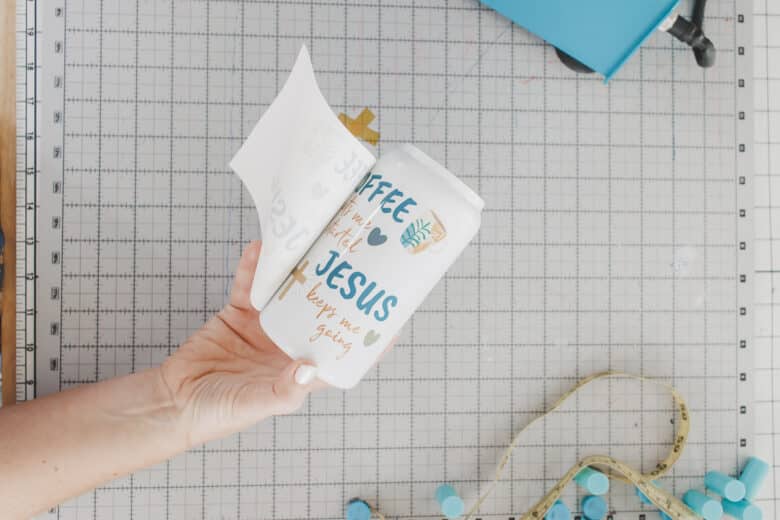
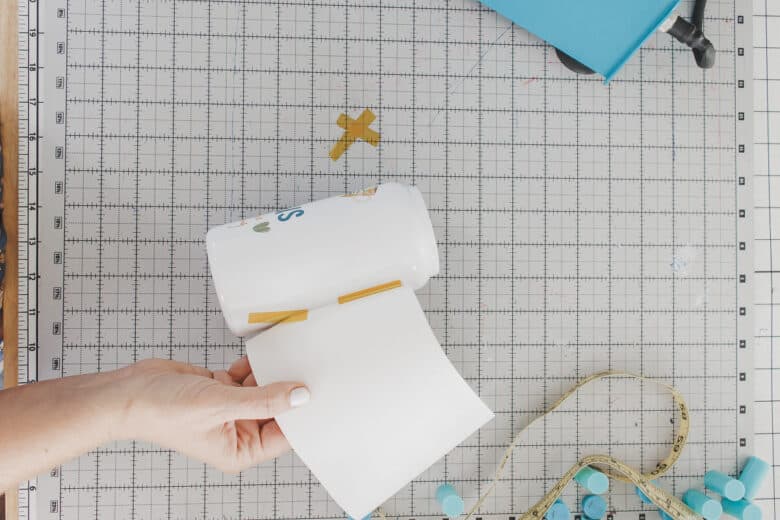
Place the top and straw back in place and enjoy!!!




Leave a Reply