I made this t-shirt dress tutorial as practice with my new Brother Coverstitch CV3550. It’s been awhile since I learned a new machine and this one has been so full of rewards to learn… it’s also kicked my sewing {bootay} and made me really practice with it. I made this t-shirt dress with lots of coverstitching detail to practice and enjoy sewing my new machine. I’m so thrilled to show off the gorgeous stitching of the double coverstitch in this cute new dress tutorial…
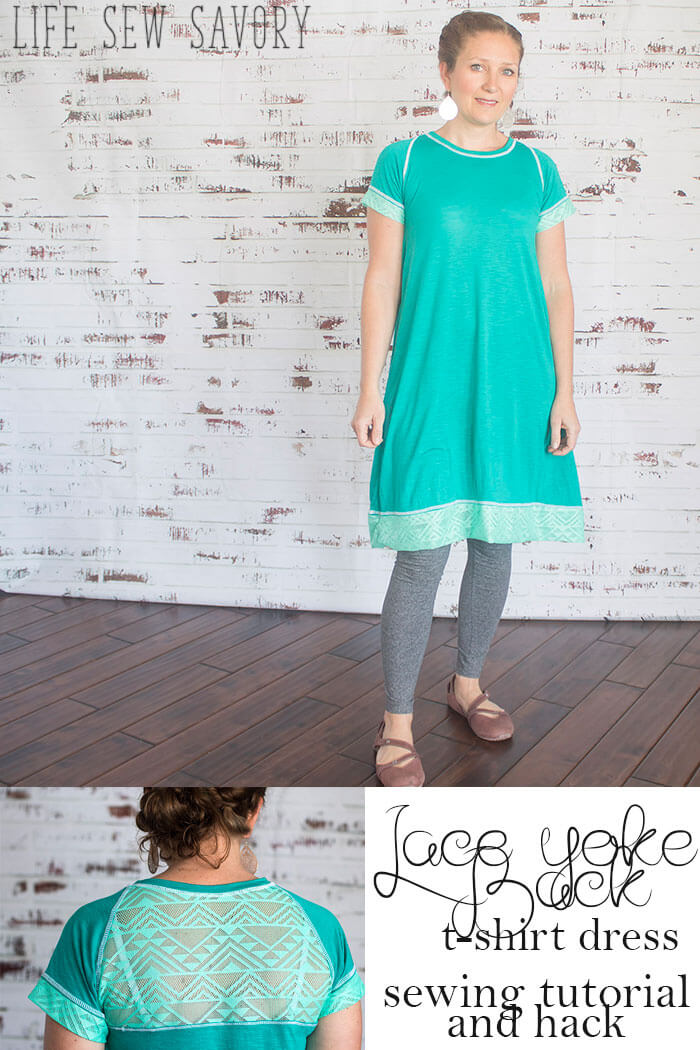
T-Shirt Dress Tutorial – sewing
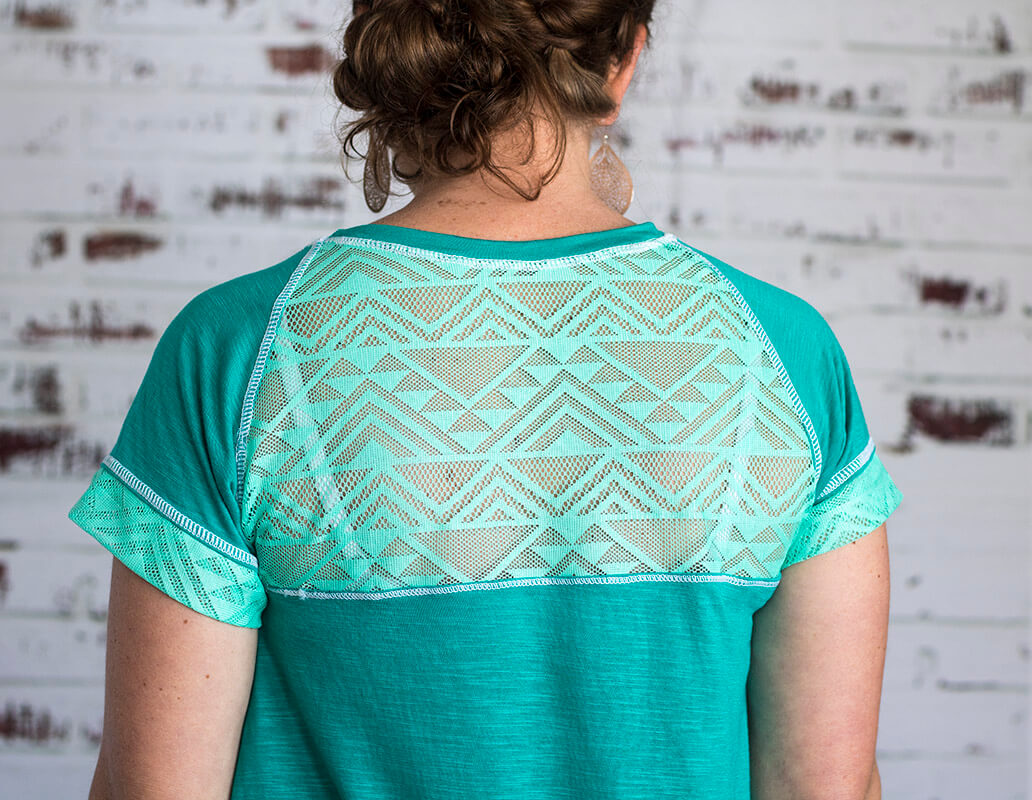
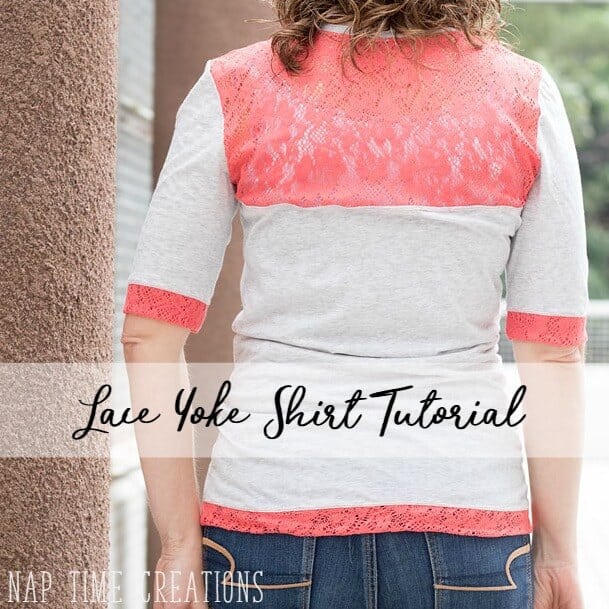
I simply used a shirt that I already had to create the pattern, then hacked the back to add the lace yoke and it’s not too hard. I’ll show you how to recreate this T-Shirt Dress Tutorial for yourself in any size. You don’t even need a coverstitch. You could do some decorative machine stitching, or leave off the top-stitching all together.

I wore it like this for much of the spring…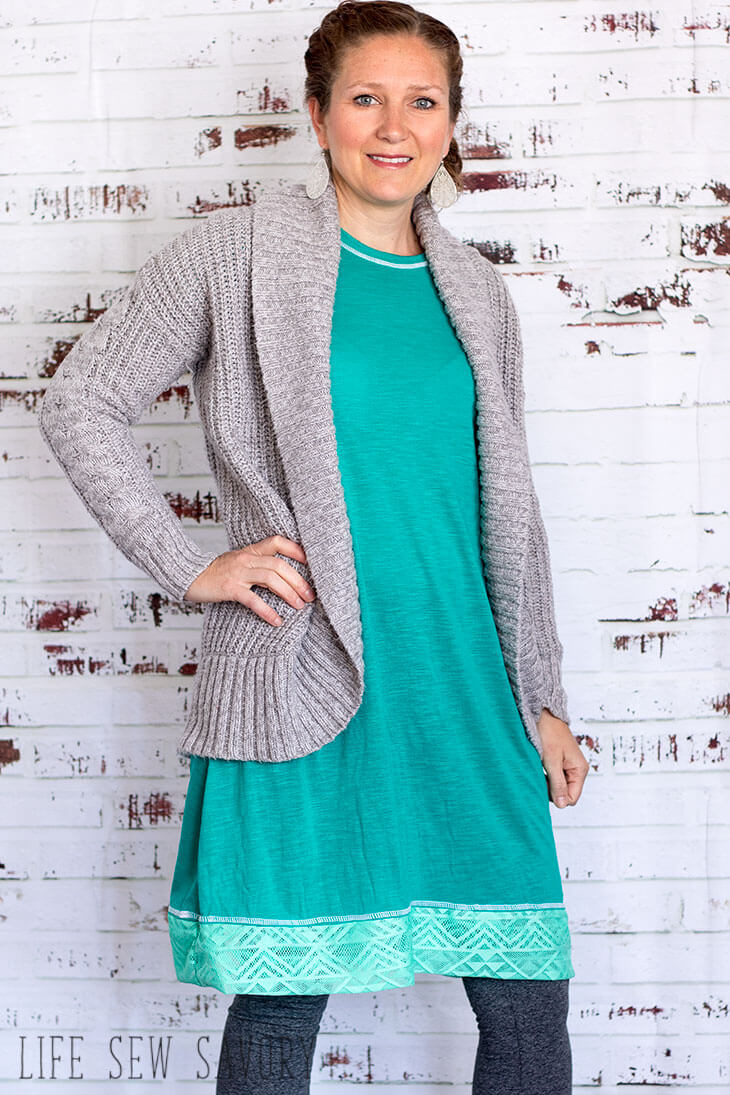
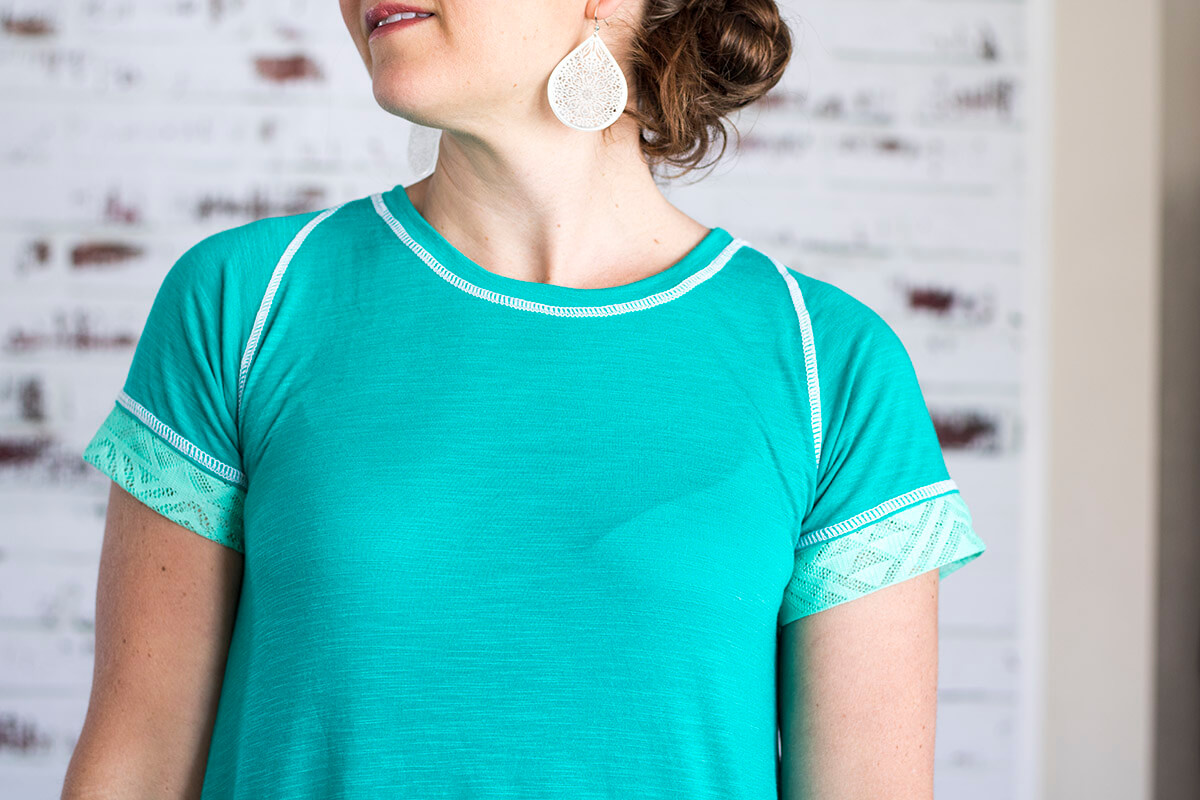
Okay, let’s get started so you can make your own. You will need a t-shirt that fits you well {loose or tight… whatever fit you want}, tissue paper and 1-2 yards of knit fabric. You will also need the Brother Coverstitch CV3550 if you want the stitching like I did.
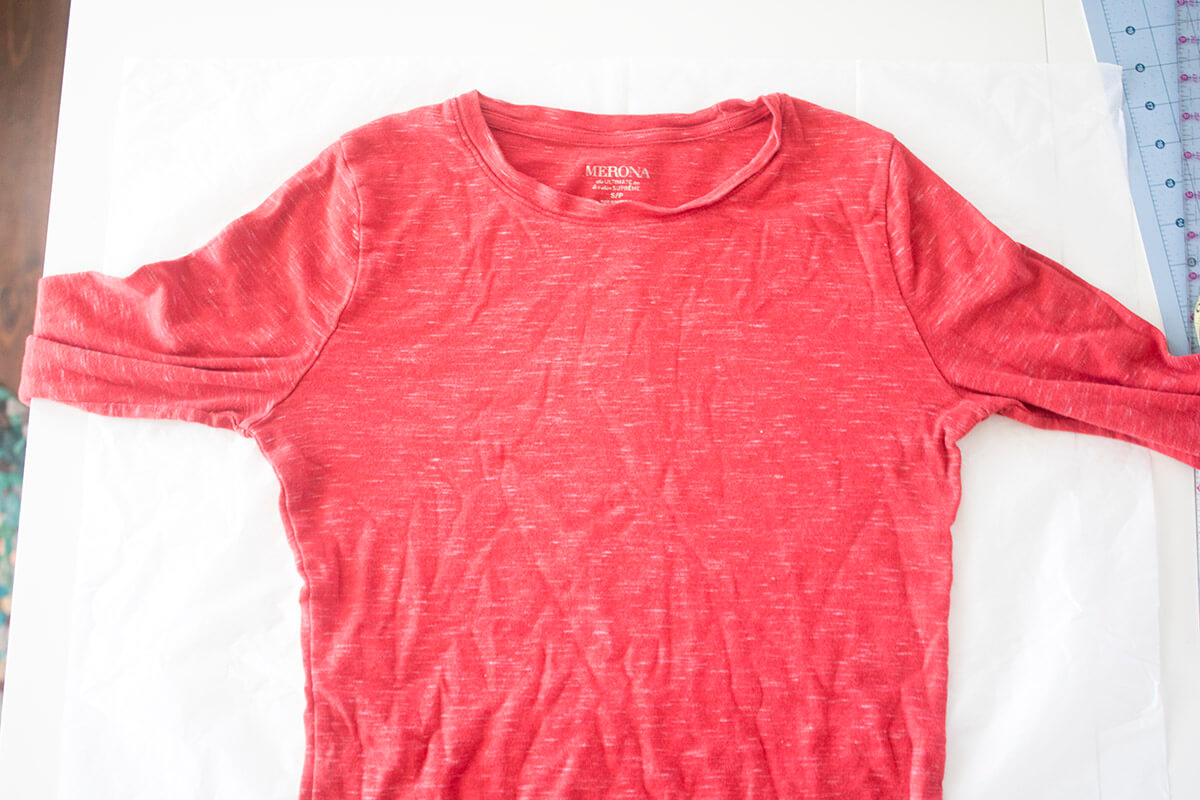
Fold the t-shirt in half and place on a piece of tissue paper. Mark under the arm sleeve seam and where the neck and shoulder meet. Place a mark about 1/2″ above and below these places.
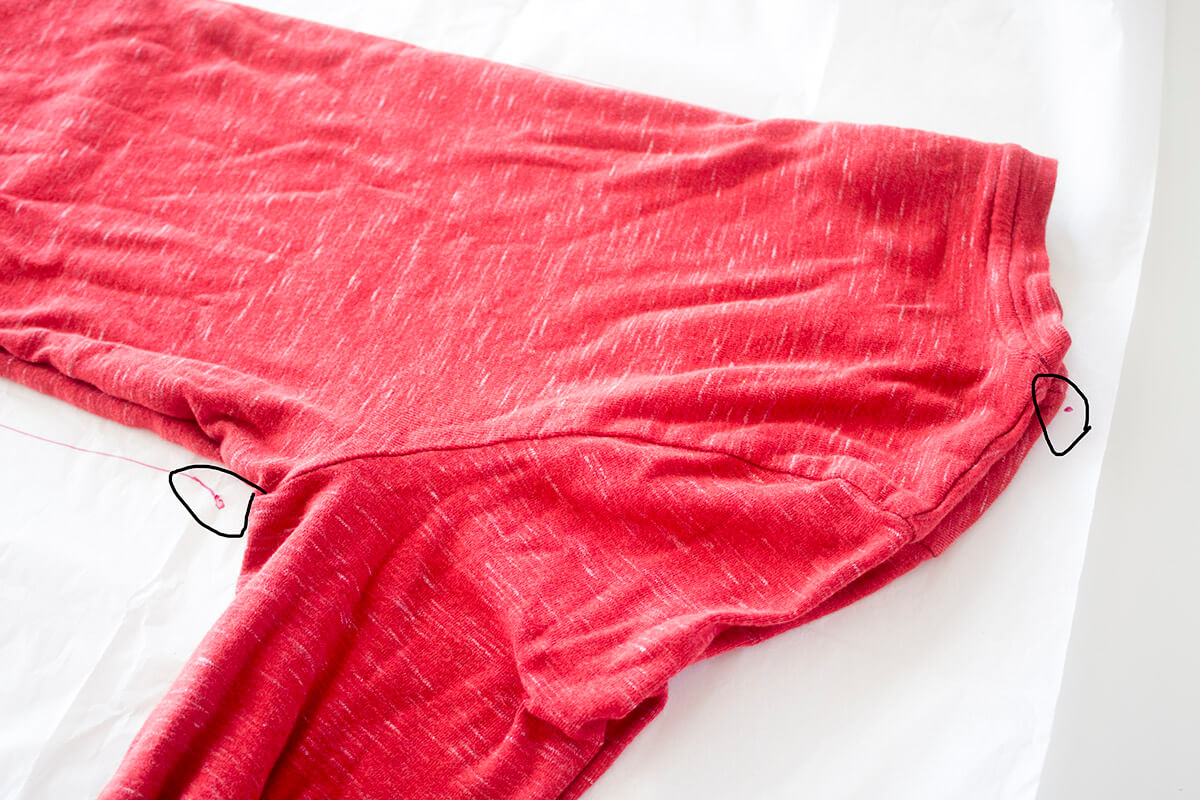
Draw a line between these two marks.
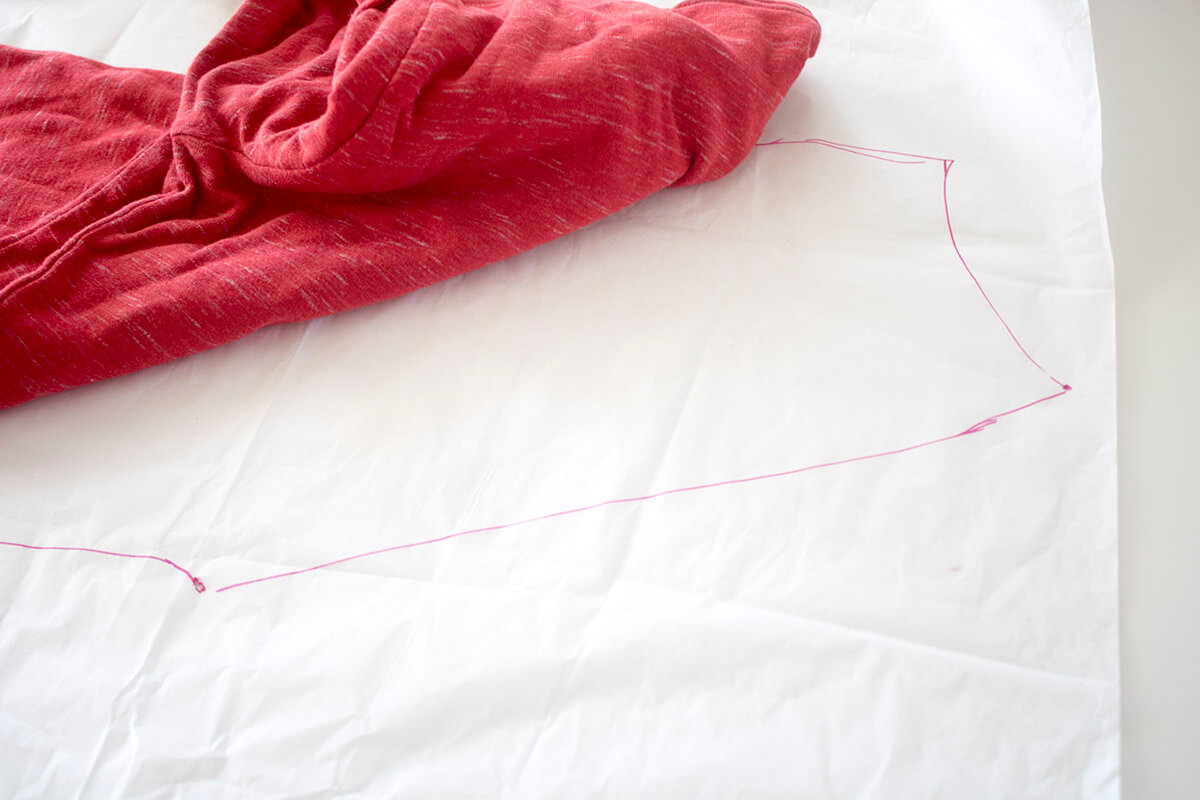
Place the sleeve back down and trace the sleeve part of the pattern. You can make long or short sleeves. I like to give a wide seam allowance on the sleeves.
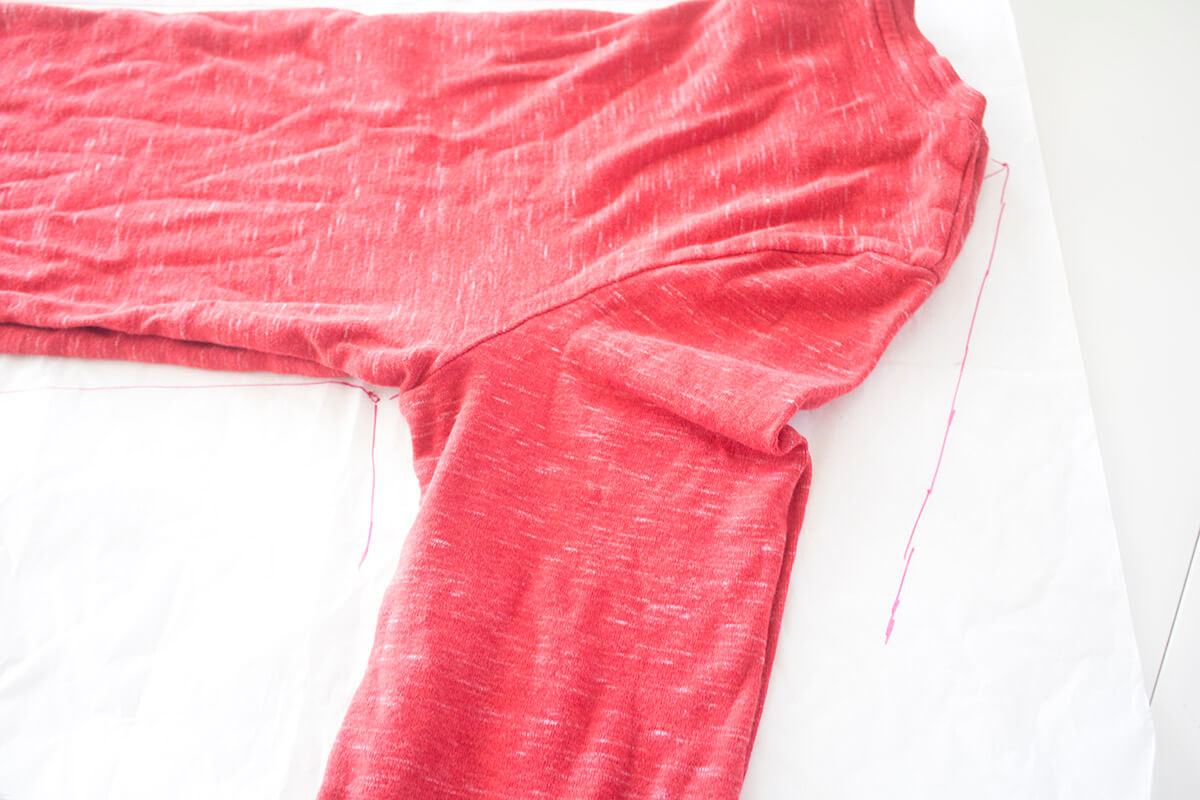
Now you have the basic pattern.
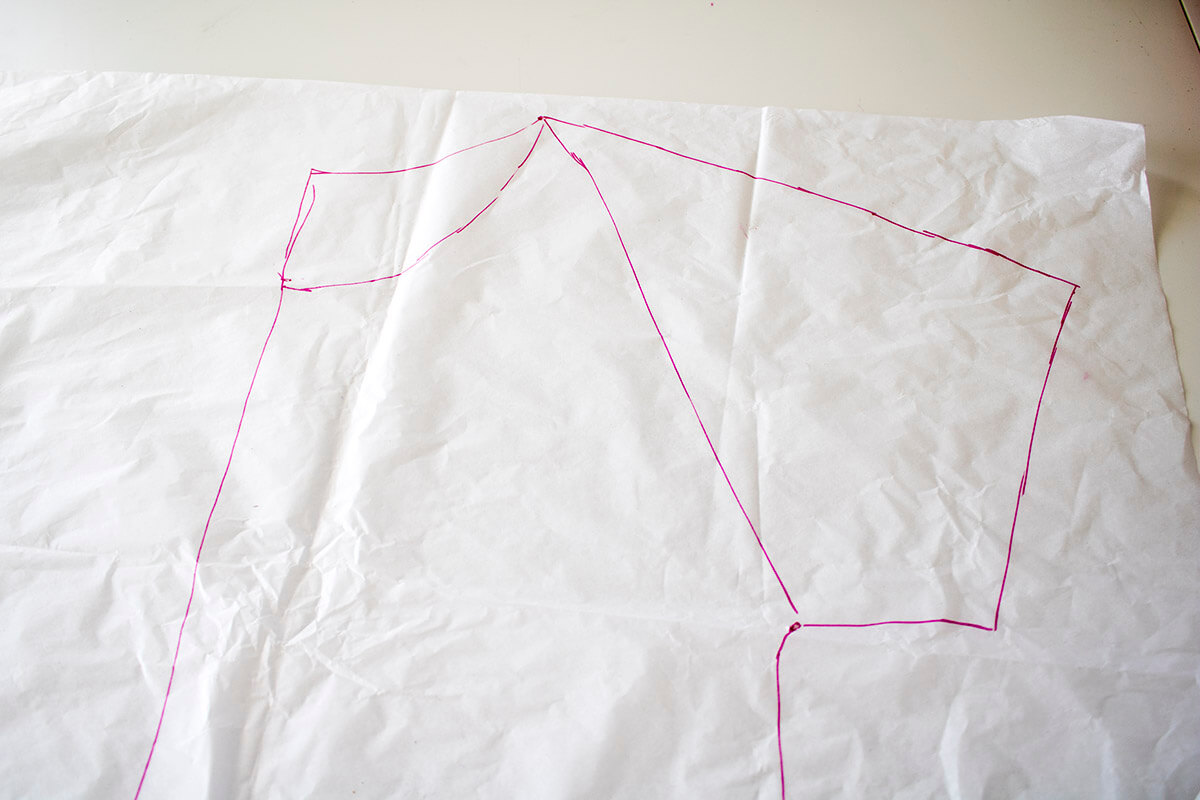
Cut out the pattern and add markings. Fold lines and on the sleeve/top connecting line you will need to add seam allowance.
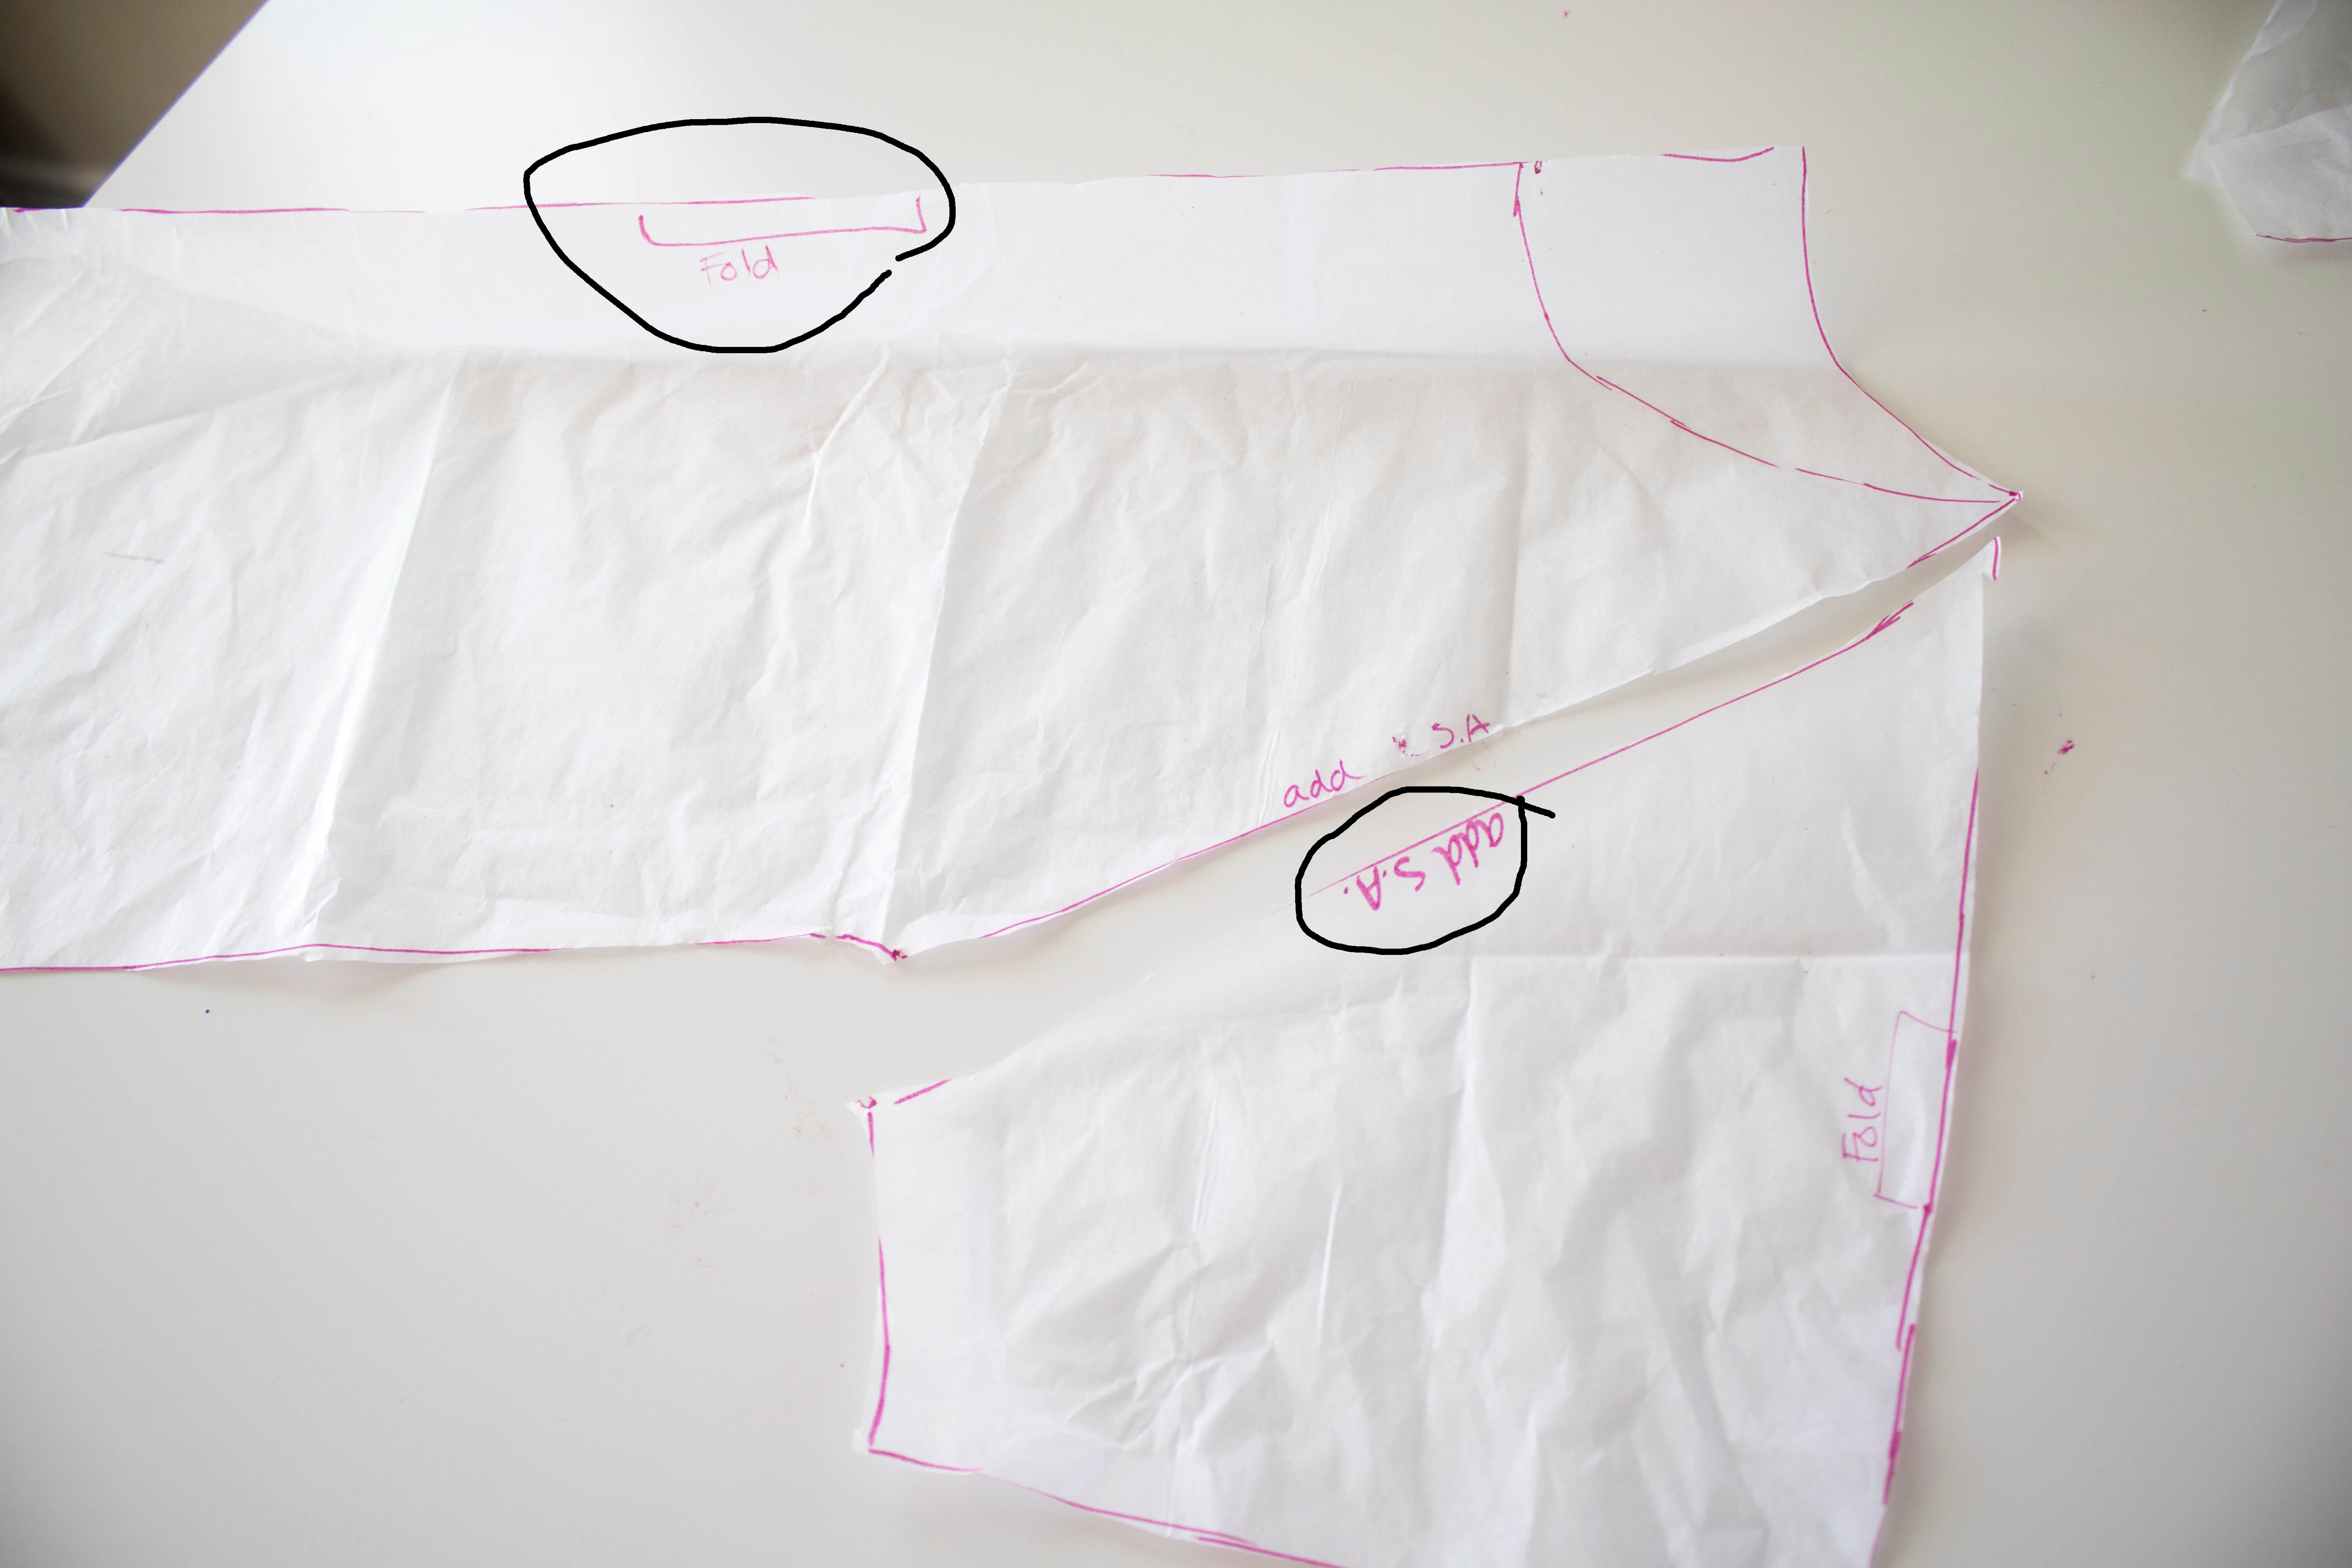
To make an A-line t-shirt dress you will want to slope out from right under the arm. The bottom hem of the dress should be two times as wide as this chest measurement. So… my pattern piece {1/4 of the actual dress} measures 7.5″, and then I flared my A-line out to 15″. Measure yourself or a dress you line to determine the length you need to cut your dress.
Here is my new little patter laid on top of an A-line dress. You can see where the flare needs to happen.
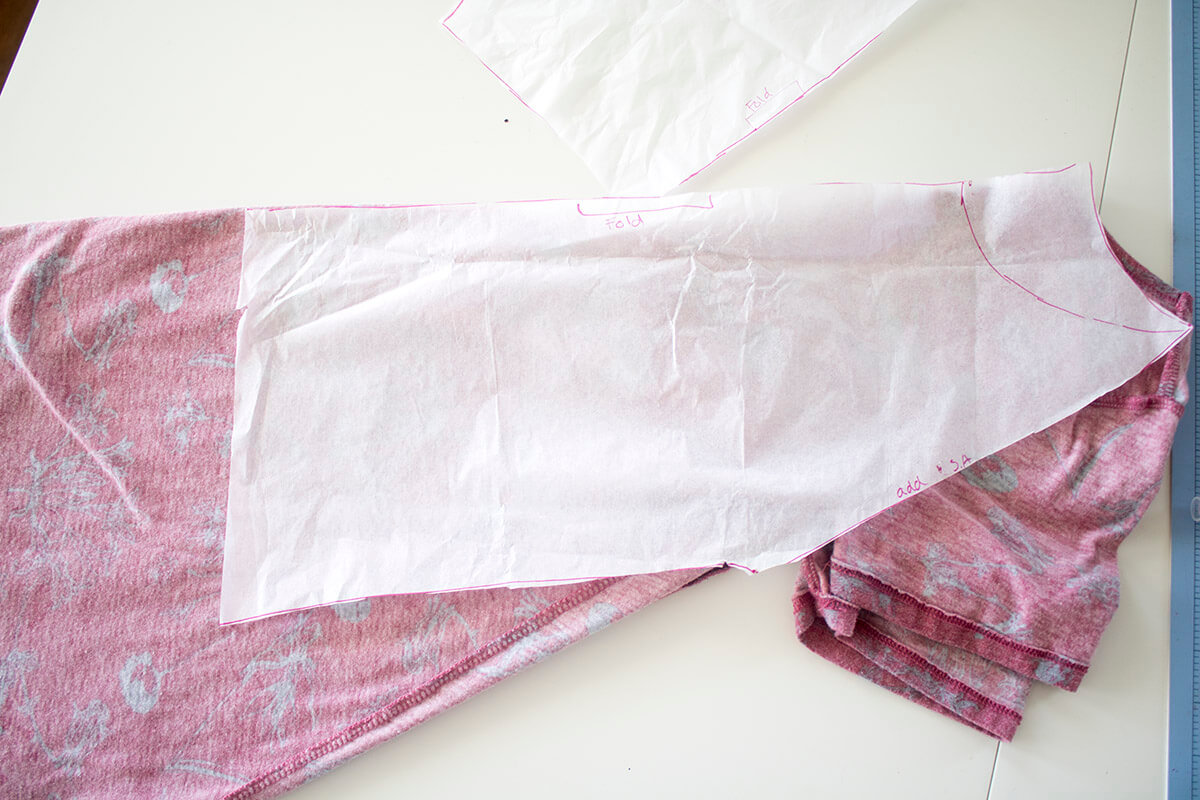
Create the flare below the arm curve and to the length you desire. If your fabric isn’t long enough you can add lace {will show below}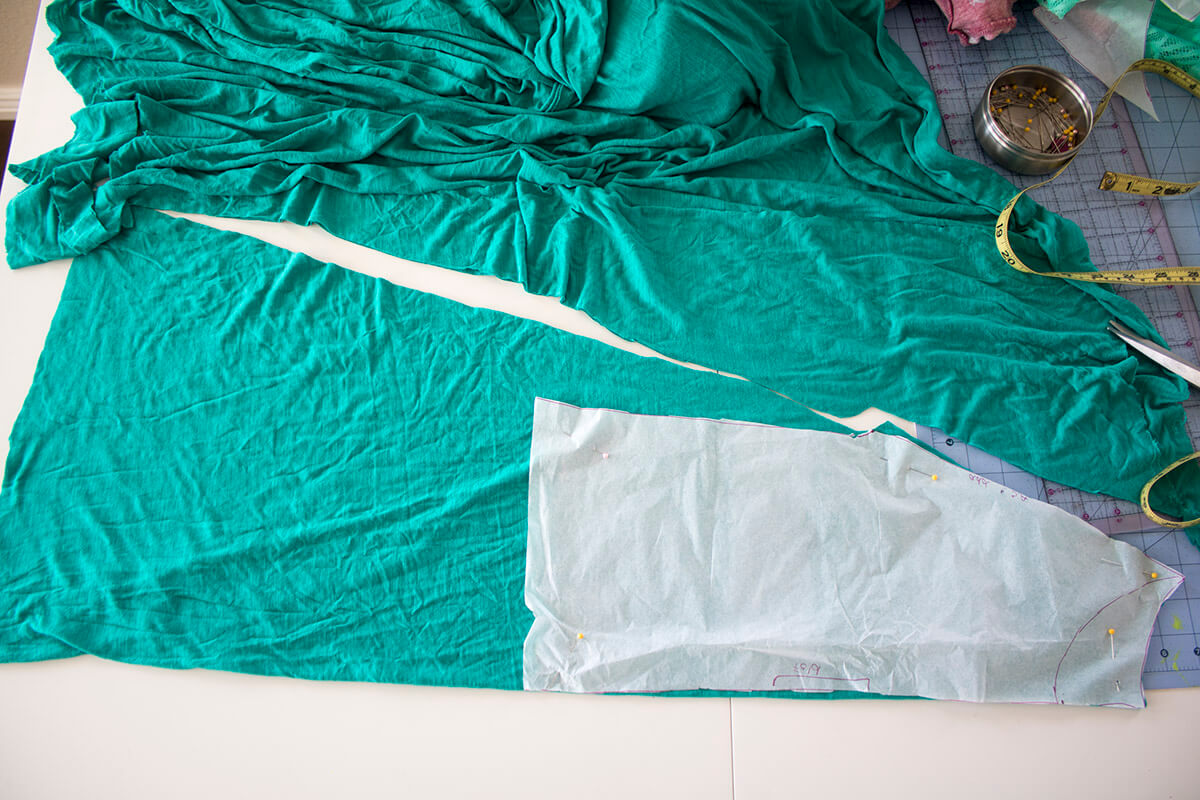
If you want a lace {or other fabric} yoke on the back, cut the pattern at the bottom of the sleeve seam line.
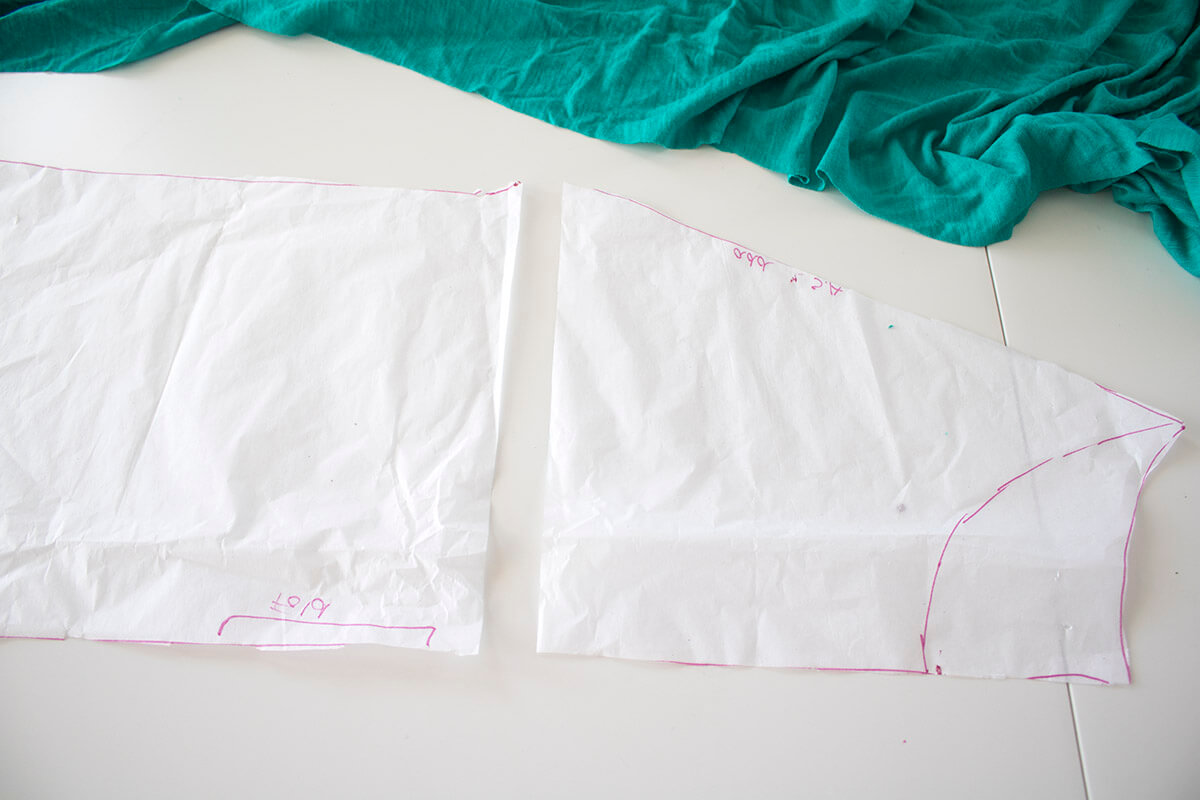
I decided I wanted to use a lace band on the sleeves and bottom of the dress instead of a hem.
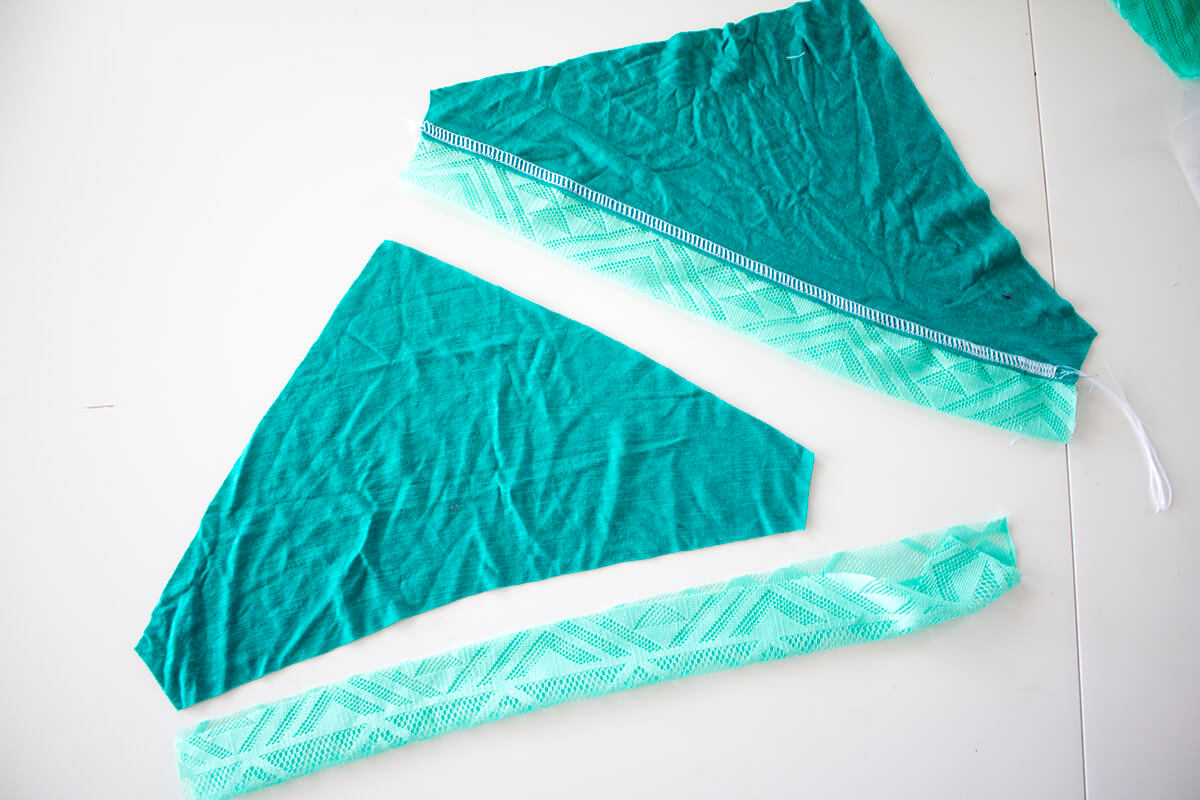
I used my coverstitch to top-stitch each seam after I sewed it. Here I am stitching the edge of the sleeve.
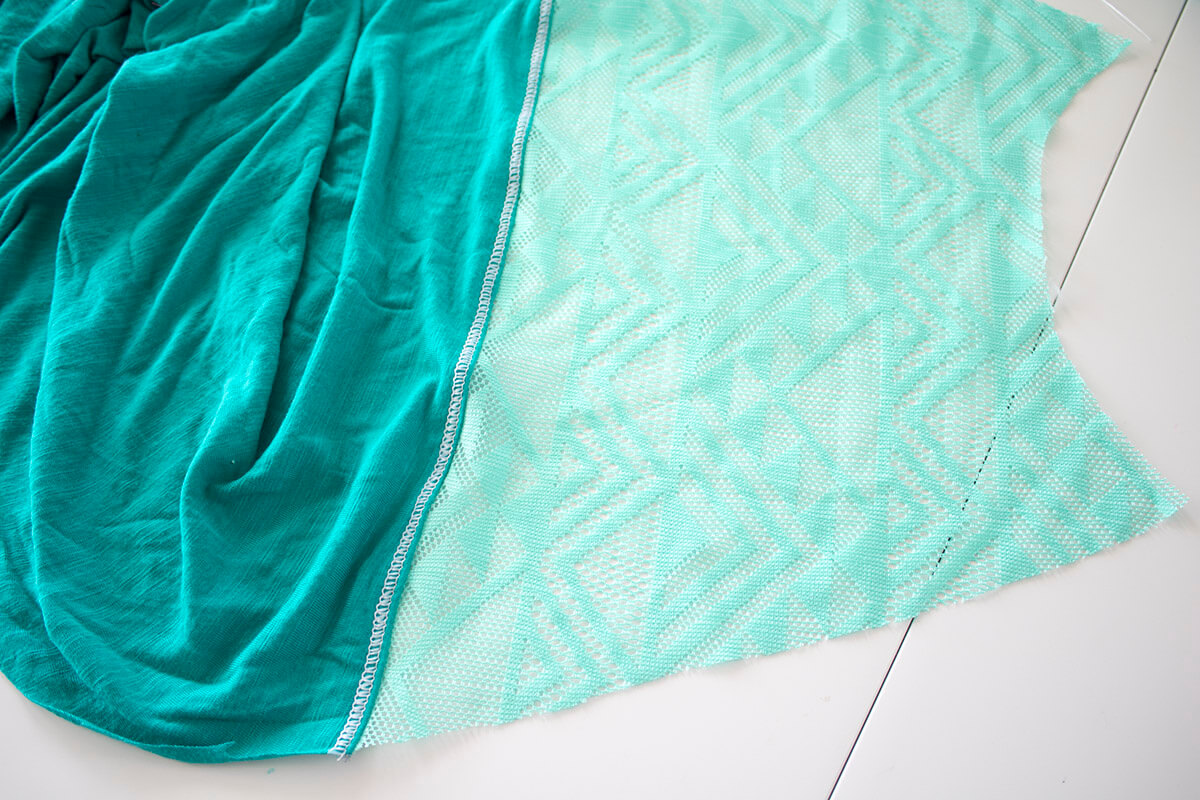
Sew the back yoke to the back bottom of the dress.
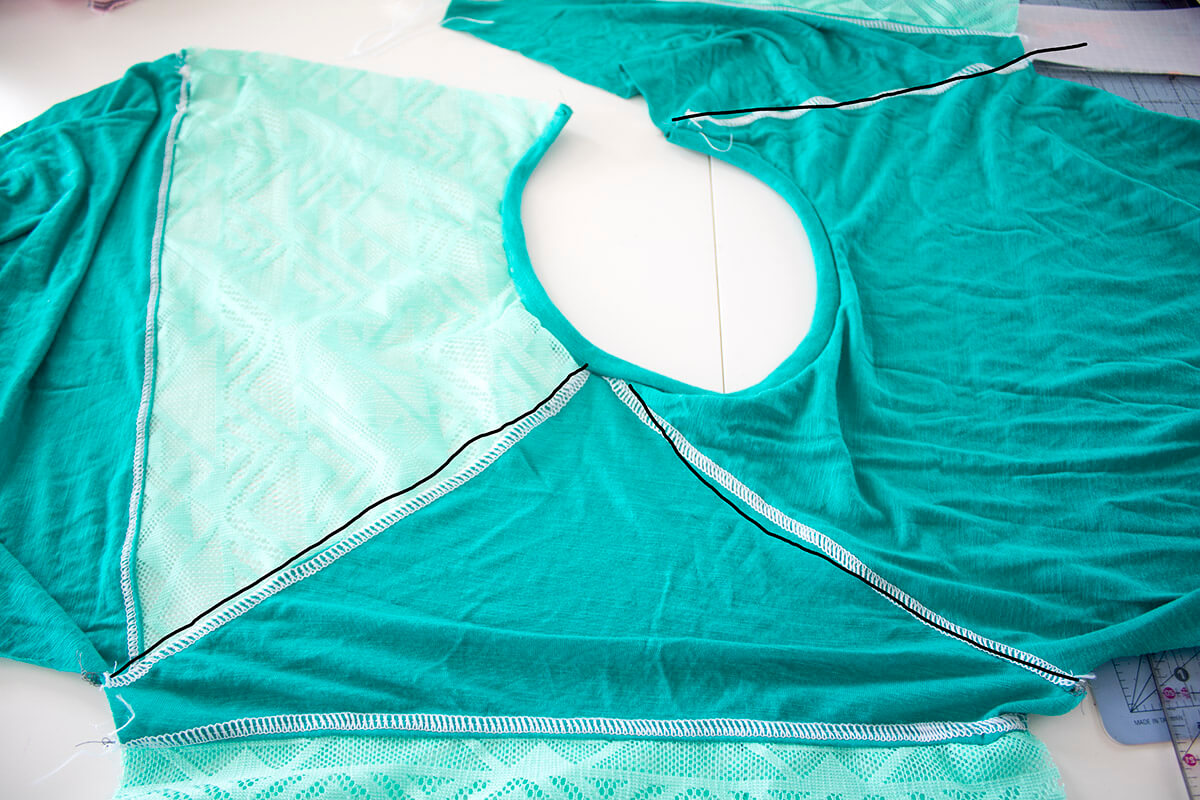
Sew the sleeve on the angled seam line to the front of the dress. Then sew one sleeve to the back. Top-stitch each of these seams. Sew on the neckband and then sew the last shoulder seam to complete the circle.
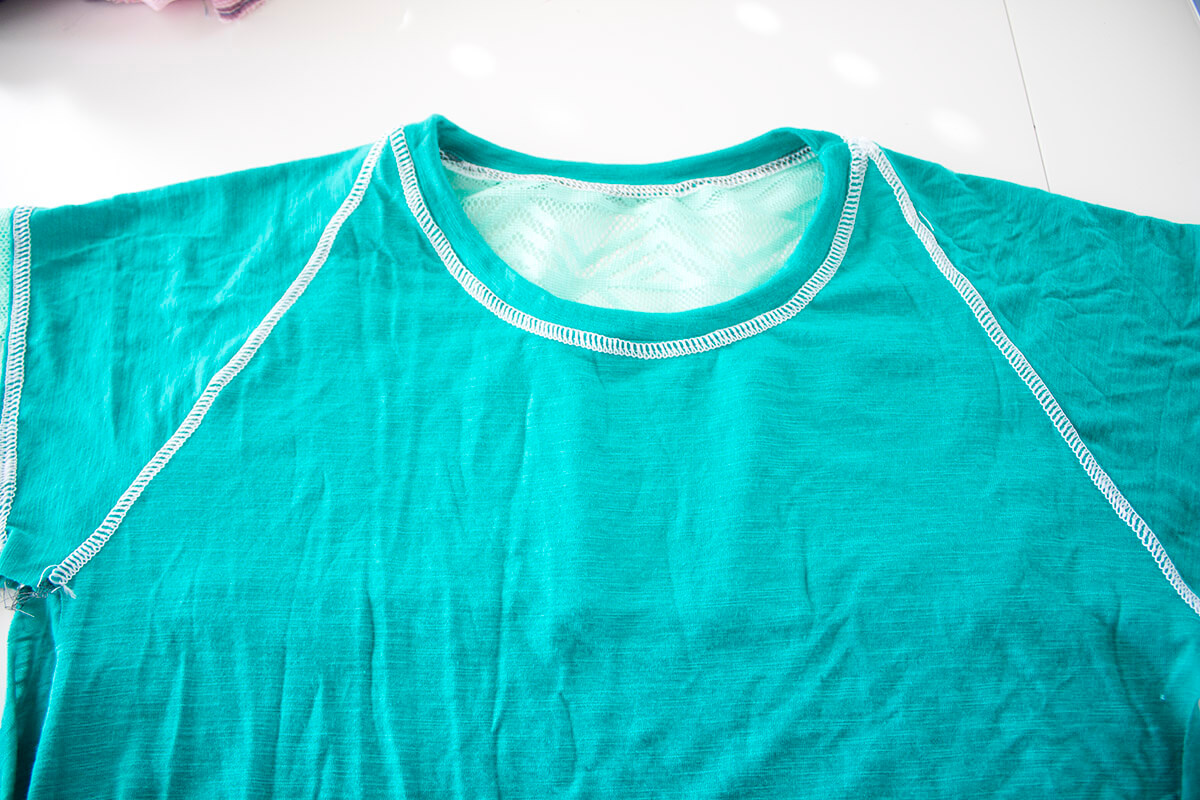
Topstitch the last shoulder seam and then around the neck.
To finish up, sew the side seams of the dress starting at the end of the sleeve down to bottom hem. Hem or add a lace band to the bottom of the dress.
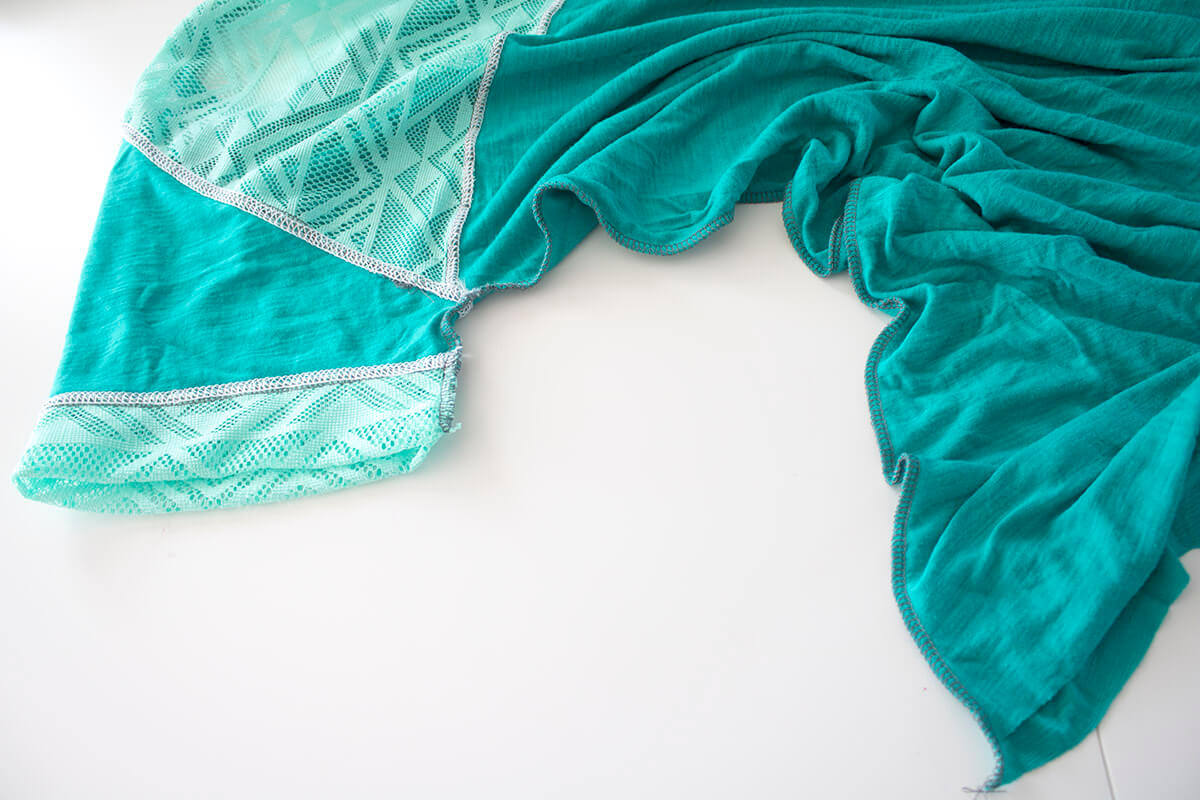
Add a band of lace to the bottom or hem your dress.
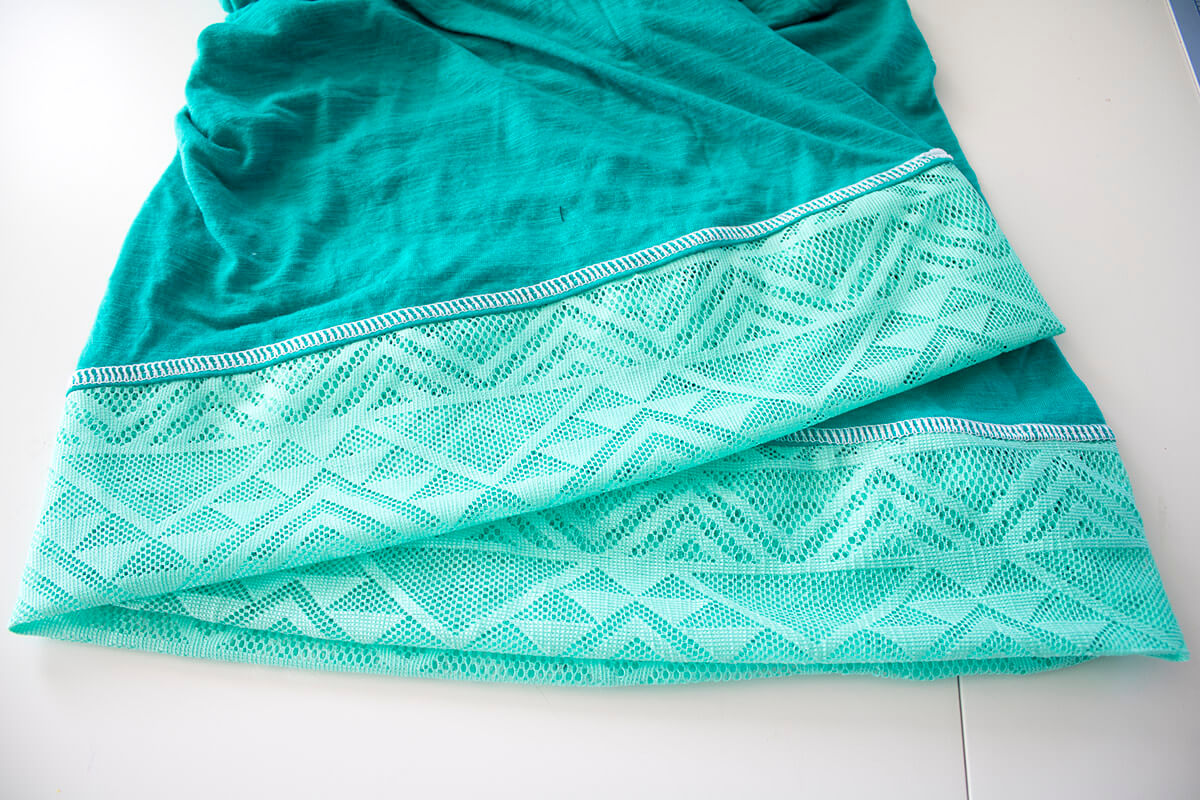
And that’s it! Now you have a new, gorgeous spring dress. Add contrasting coverstitching for a fun detail.
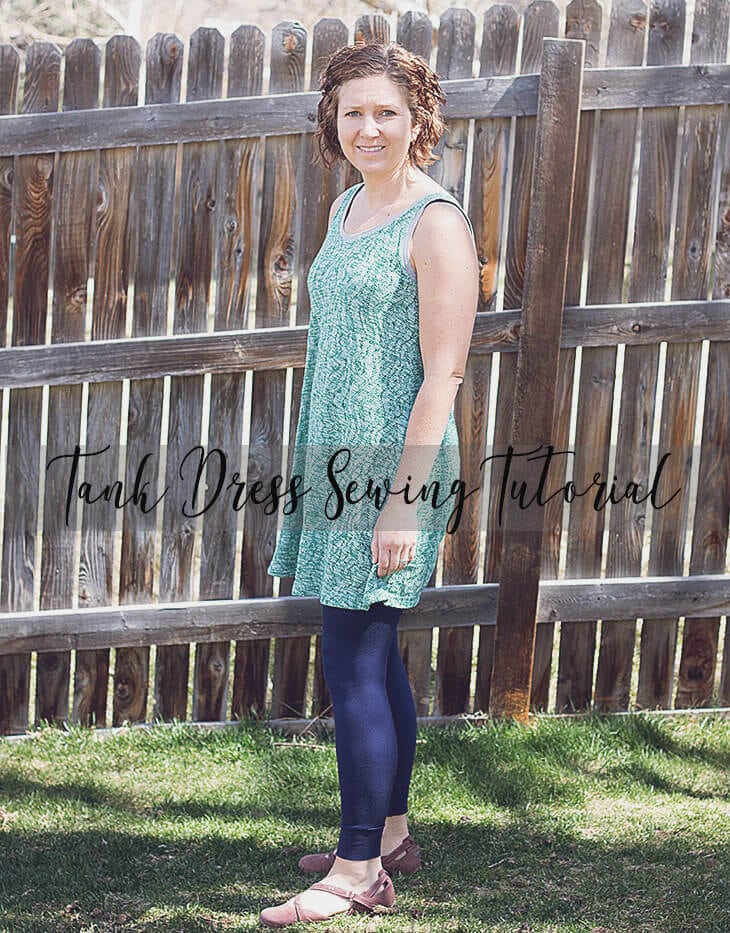
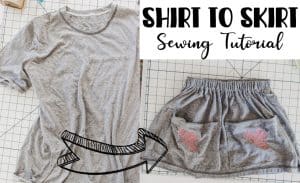
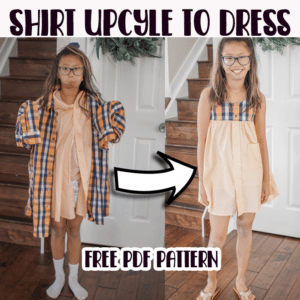
Here are a couple of other fun shirt/dress hacks…





Pat Stoughton says
This is great. I have some t’s that are too large because I lost so much weight. I was wondering how to fix them because the colors are great. Going to try this. Thx.
Amanda says
Great work! This dress seems easy to make by following your tutorial. I am going to try this. Thanks a lot for sharing.
foodle says
Really, this is fantastic. Due to my massive weight loss, I am already outgrowing a few of my t-shirts. The colours are so vibrant; I was hoping someone could tell me how to improve them.