inside: Sew this tank dress pattern with this free pdf sewing pattern and tutorial. Free pattern for woven fabric to create a fun tank dress with button closure.
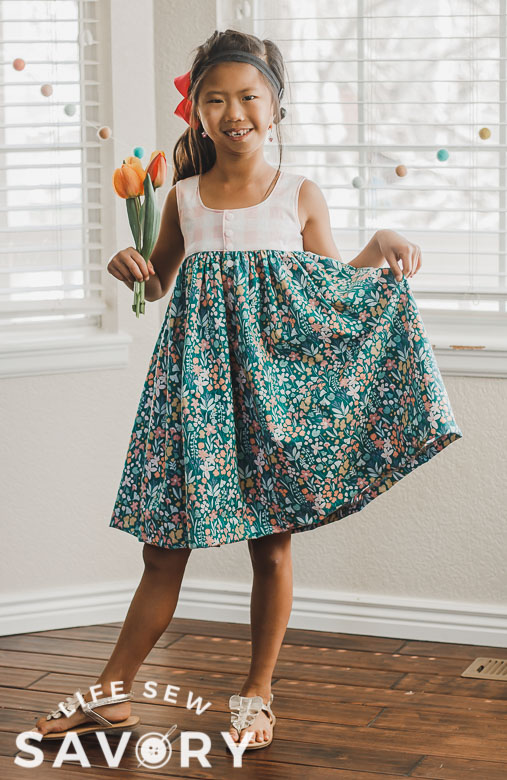
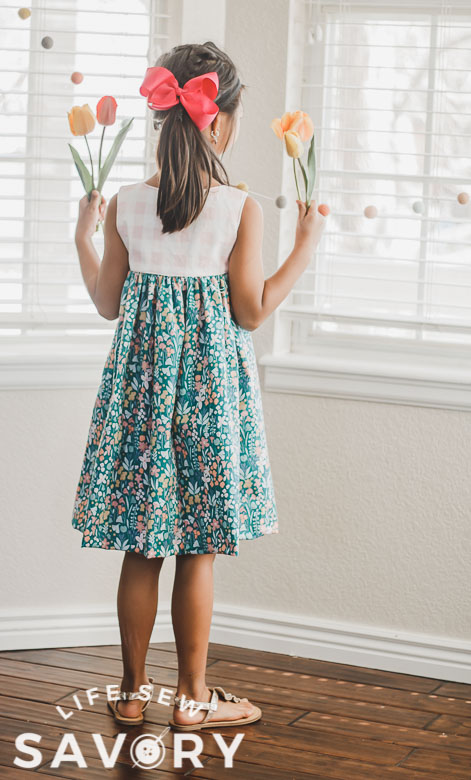
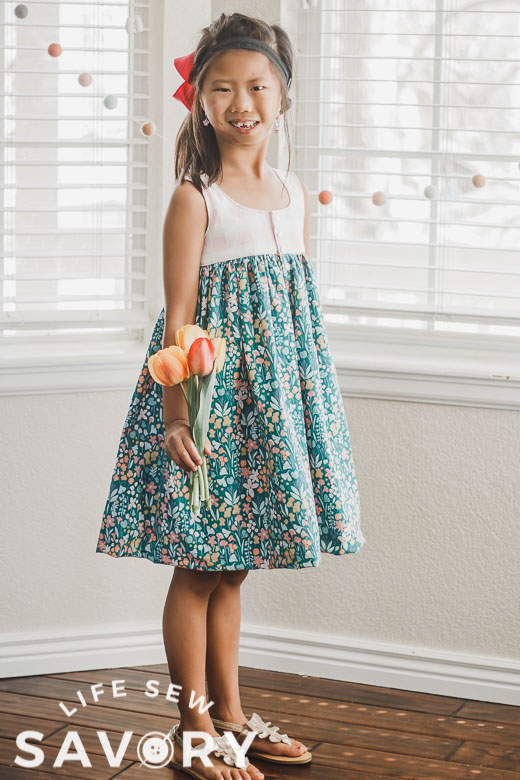
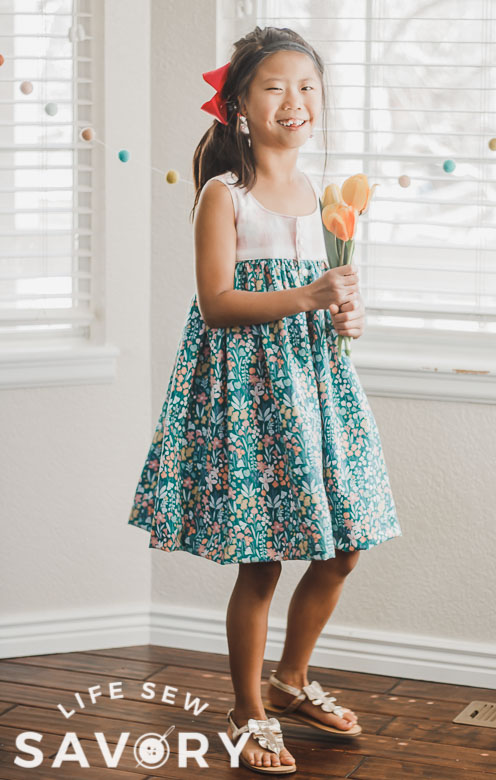
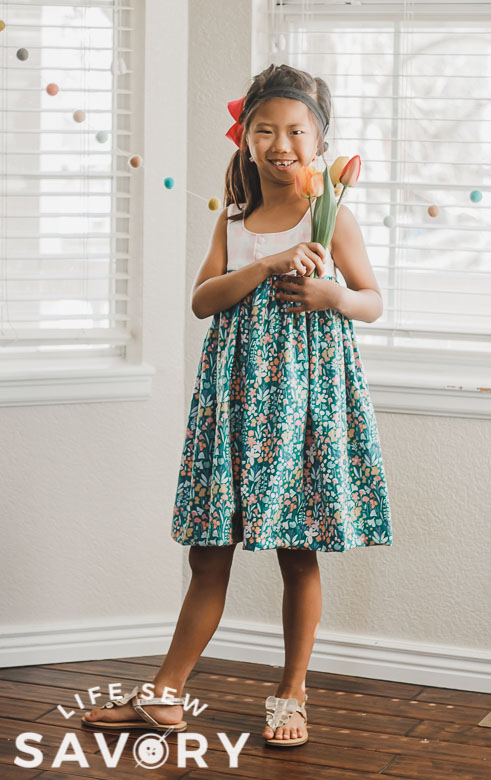
Looking for an amazing tank dress pattern? This tank dress is the one you are looking for! Created for woven fabric with a tight fitting tank top and and full gathered skirt. Buttons or snaps down the front complete the look. I don’t sew that often with woven fabric for clothing, so this was a fun dress to sew. I’m pretty pleased with how it turned out and my daughter loves it.
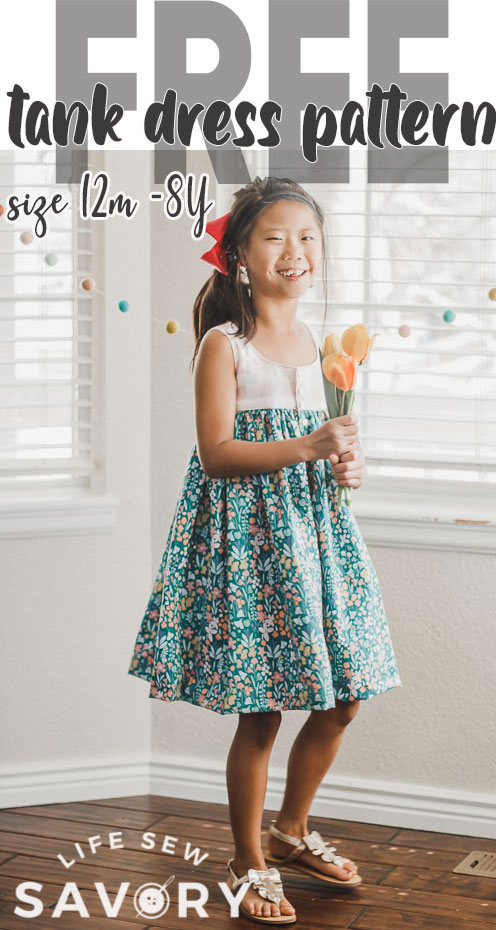
Tank Dress Pattern
Like I mentioned about I don’t really sew much with cotton woven fabric. There are so many fun combinations of fabric. The fabric here was found at Hobby Lobby, but there are so many amazing woven fabrics everywhere!
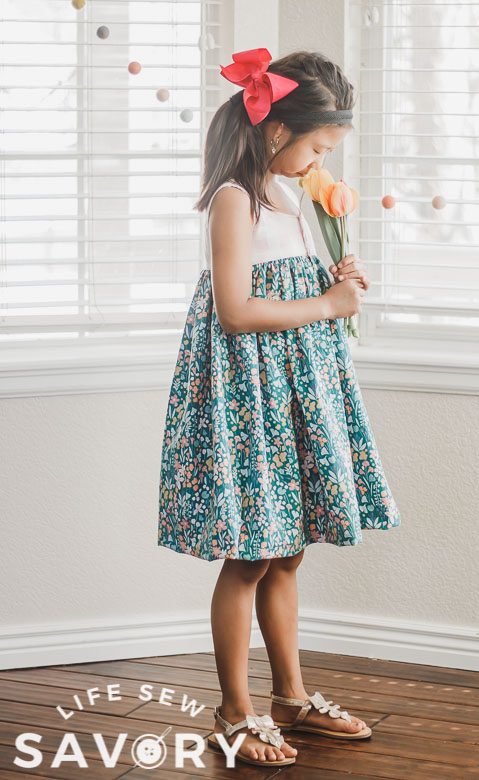
The tulips in my garden just happened to be blooming, so we made them a fun part of this photo shoot.

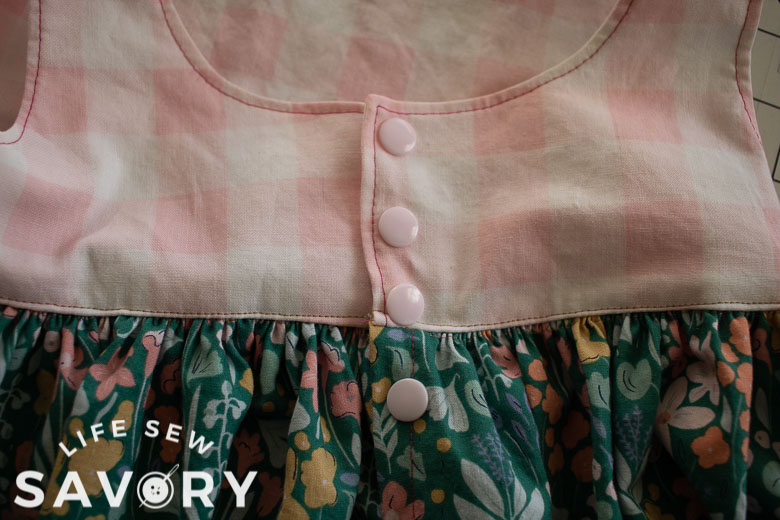
The skirt of this dress is very full {two full widths of fabric!} I do love a good full skirt. I’ve also created the pattern so you can have a full button placket down the front, or just a partial one.. as seen here. I used snaps… because buttons… not my fav! I added three on the top and then one on the skirt placket to make sure it stayed closed.
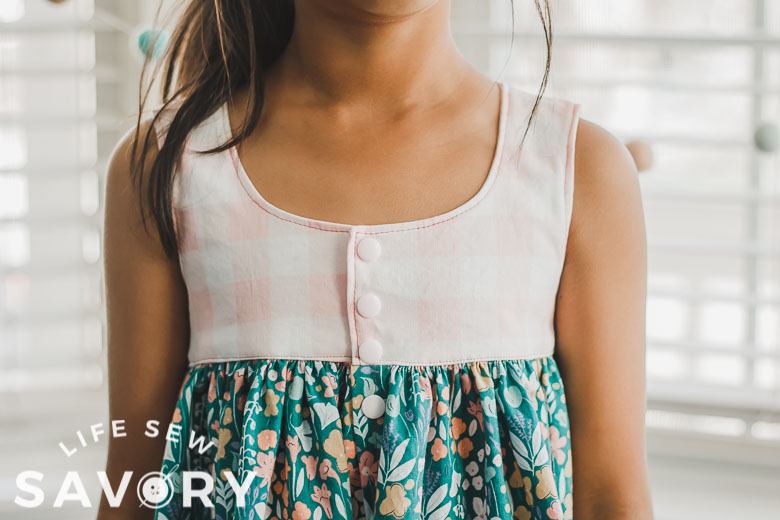
Overall, this pattern turned out just how I was planning and we both love how it turned out. You can find the free pattern to download below as well as the full instructions for sewing it up.
Supplies for Tank Dress:
- 1.5 – 2 yards of woven fabric {depending on size}
- light woven fabrics work best – cotton, lawn, poplin
- Bodice needs 1/2 yard, skirt needs 1-1.5 yards
- 3-4 snaps or buttons
- Free pattern {download by clicking button below
Use this size chart to determine the size you will sew. You may need to blend sizes for best fit. I cut my daughter the size 4 width and size 7 height of this tank pattern.

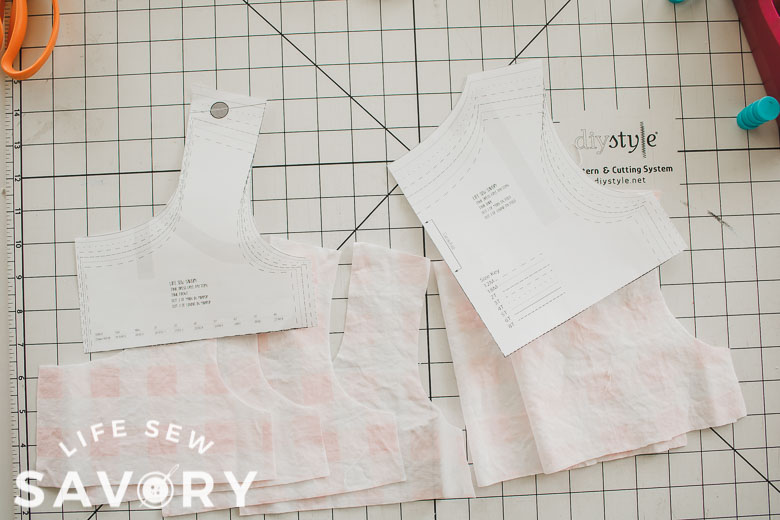
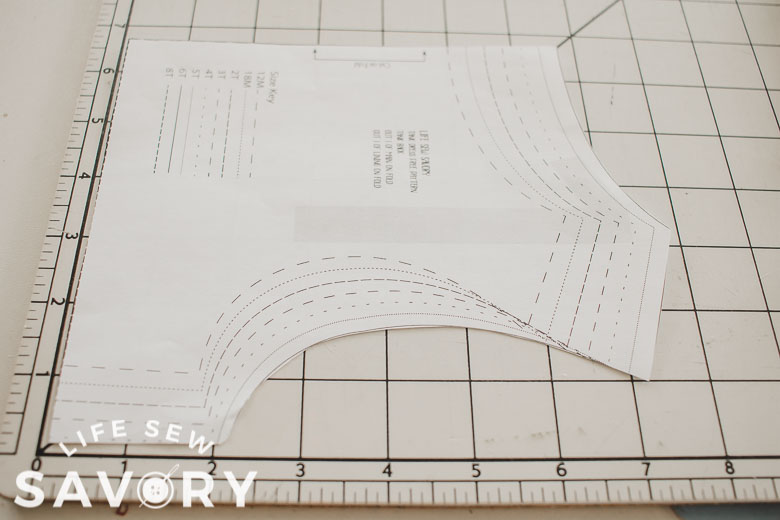
Here is what the pattern should look like when printed. It is only 2 pages {yeah!}
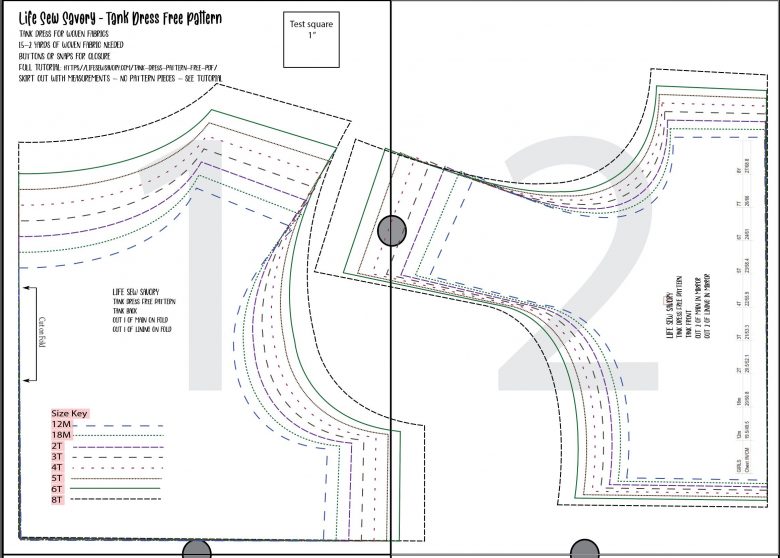
How to sew a tank dress
Gather your supplies and cut out pattern pieces as directed. You will cut out the tank {bodice} using the printable pattern pieces and then in the tutorial I will walk you through adding the skirt.
3/8″ seam allowance included for tank top.
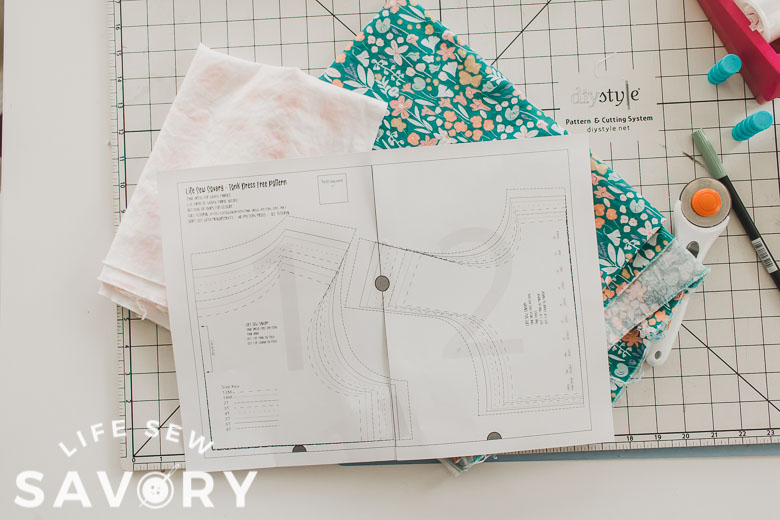
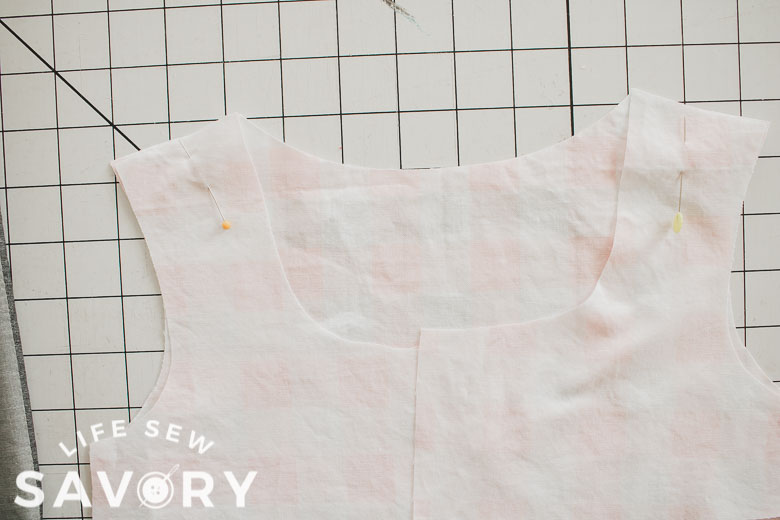
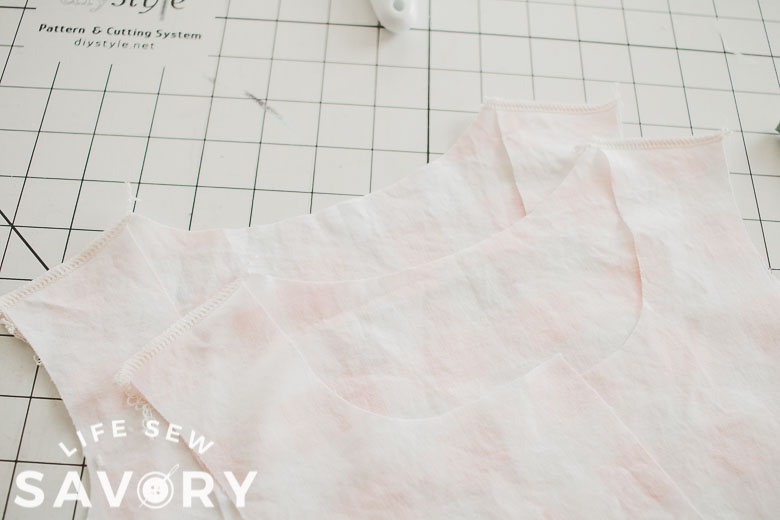
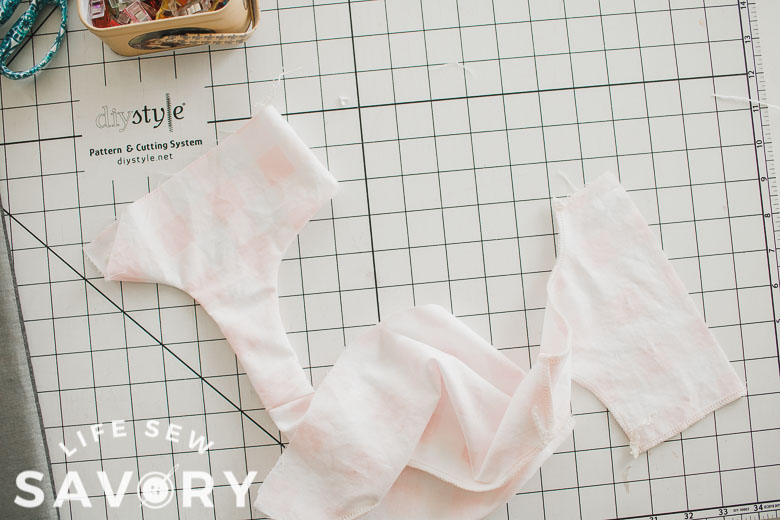
Cut out top as directed on pattern pieces. You should have four fronts and two backs cut on the fold. With right sides together sew the shoulder seams. You will create two identical tops sewn at the shoulders.
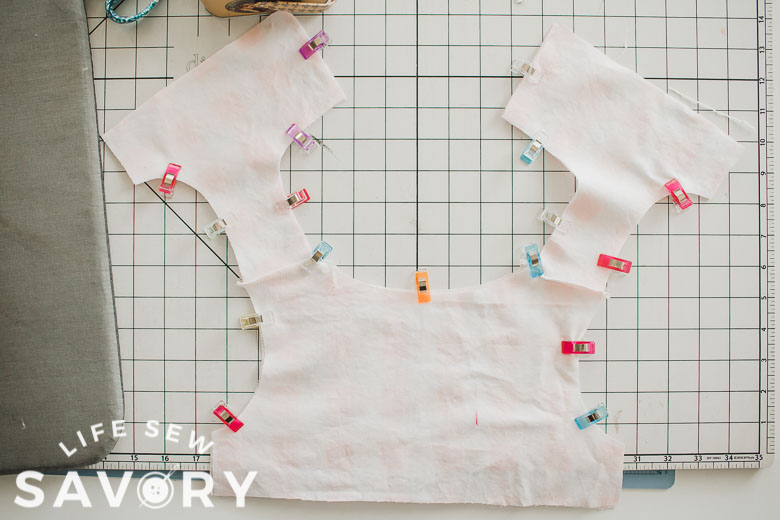
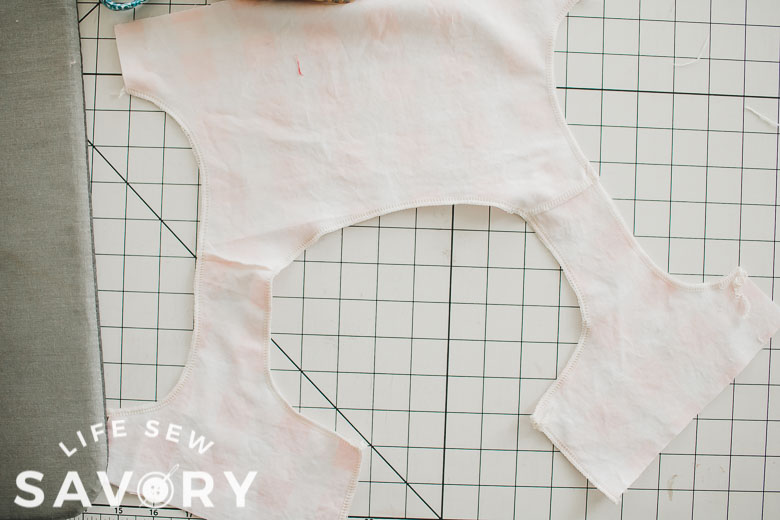
Place the two bodices together with right sides touching. You will sew the neckline and arm openings. See the clips below for edges to sew. Sew with a serger or if you use a sewing machine make sure you clip the curves before turning right side out.
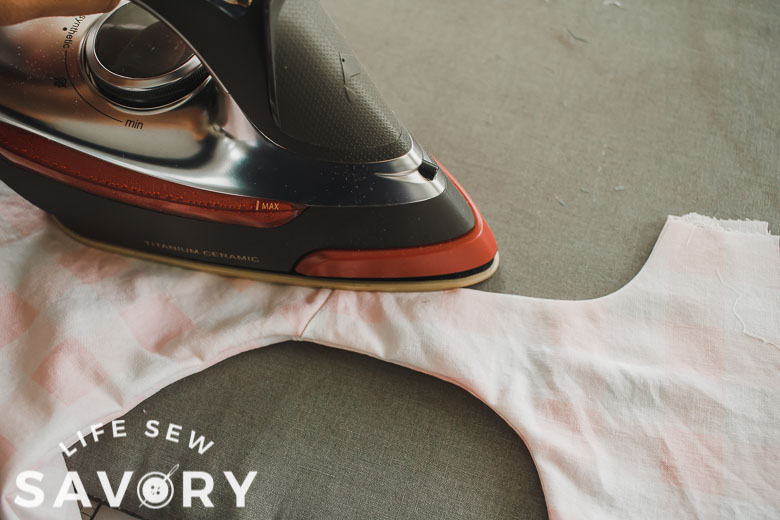
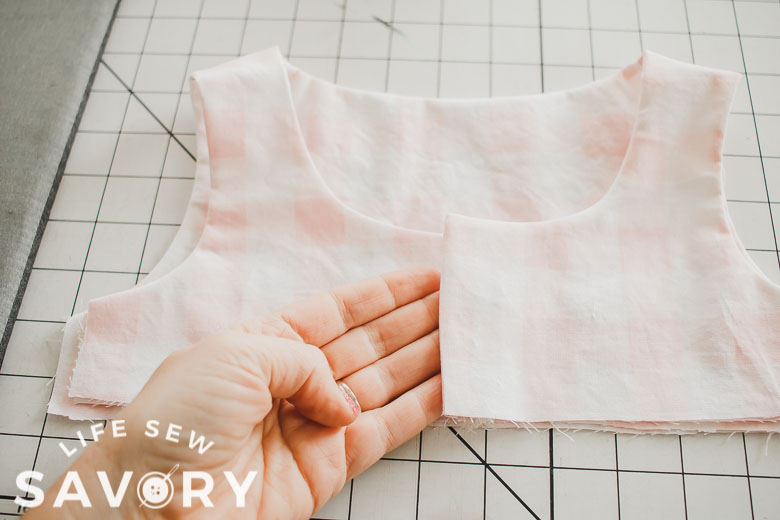
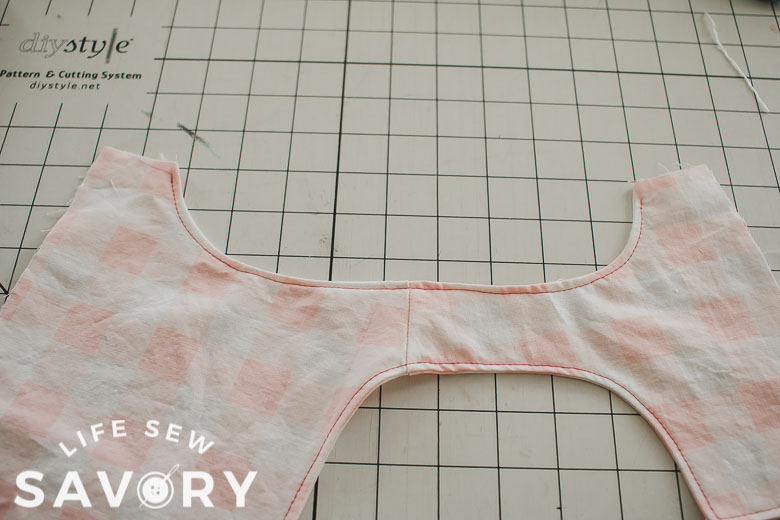
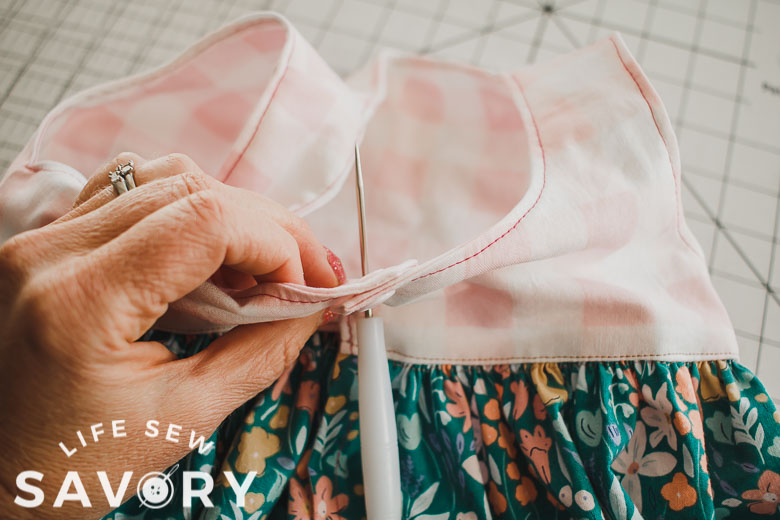
Turn each side of the front through the shoulder to turn right side out. You may need to use a small pointed object to help push through. I like to use a chop stick or knitting needle if needle. Press the top so that all the seams are flat.
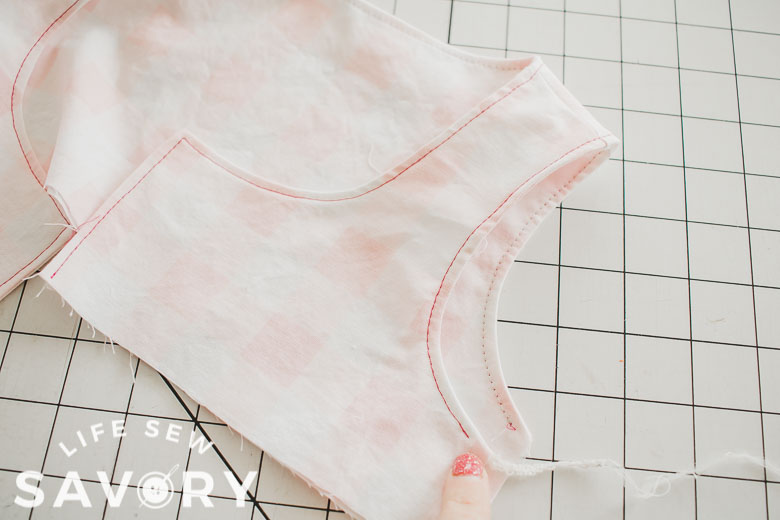
The front of the tank will overlap about 1″ Top-stitch around the neckline and arms sewing close to the edge. Leave about 1/2″ not stitched at the under arms.
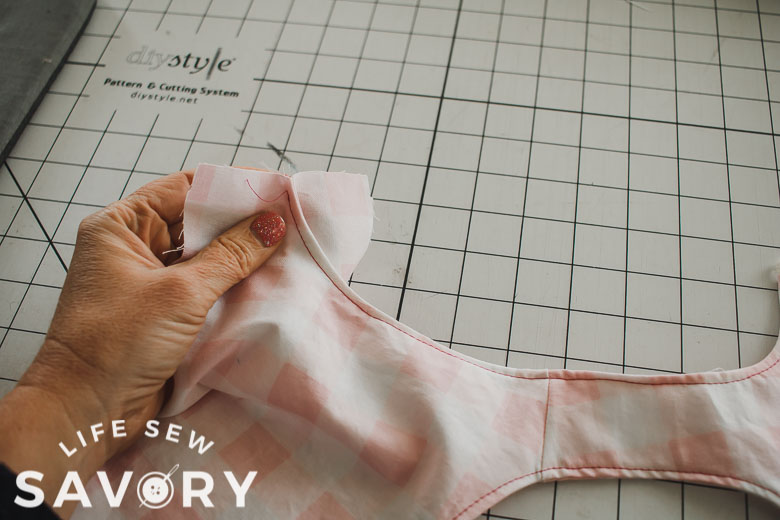
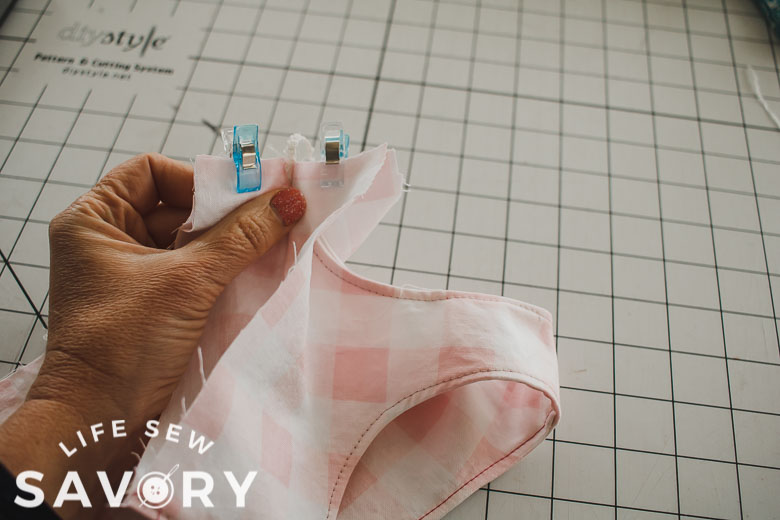
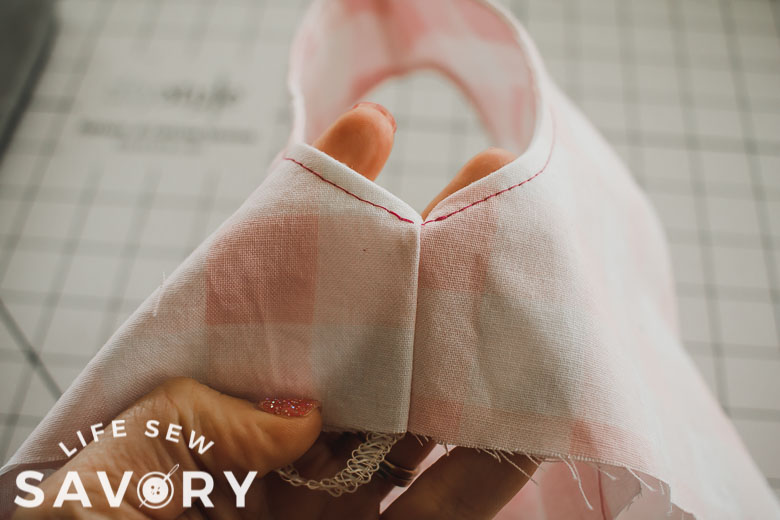
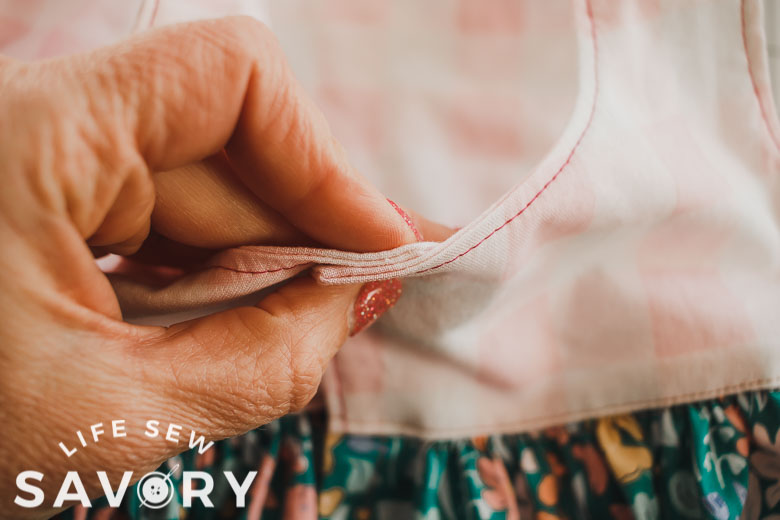
Now we will sew the side seams. Lay out one side of the top as shown. Open up the side seam in your left hand. With right sides together, take the side of the tank in your right hand and line up the side seam. Sew this edge now. Then turn the seam wrong side in to reveal the finished side seam.
Cutting and sewing the dress skirt
Now its time to create the skirt for this tank dress. Start by measure the top of the dress, the tank. You can see in the photo that this back piece is about 7.5″ tall. You will want to measure the child you are sewing for from the shoulder to where you want the bottom hem to fall. If I want my total dress length to be 28″ I will subtract 7.5″ from 28″. So I need to cut the skirt 20.5″ PLUS hem and sewing allowance, so I will add another 1.5″. My skirt will be cut 22″ long.
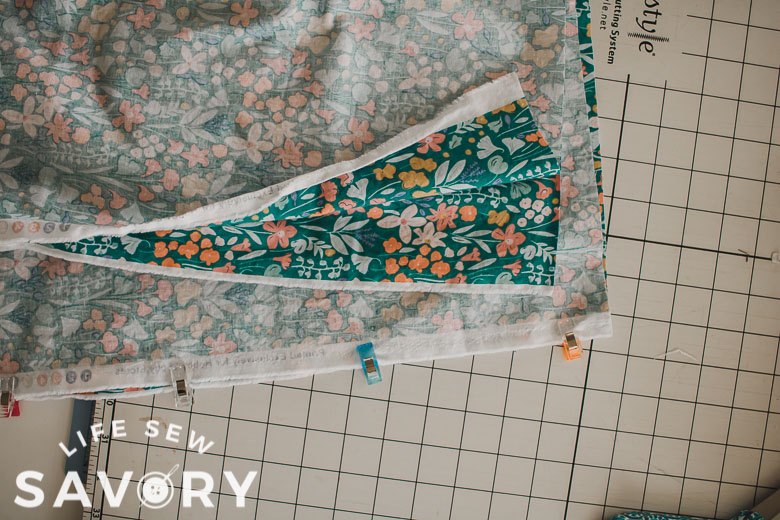
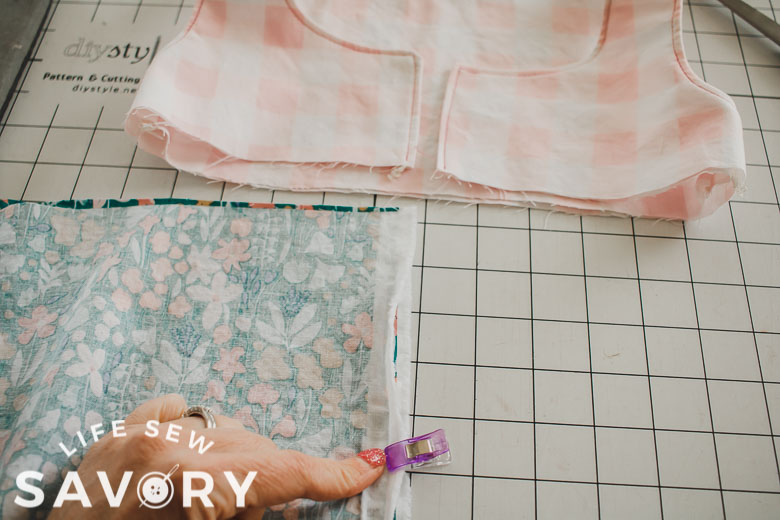
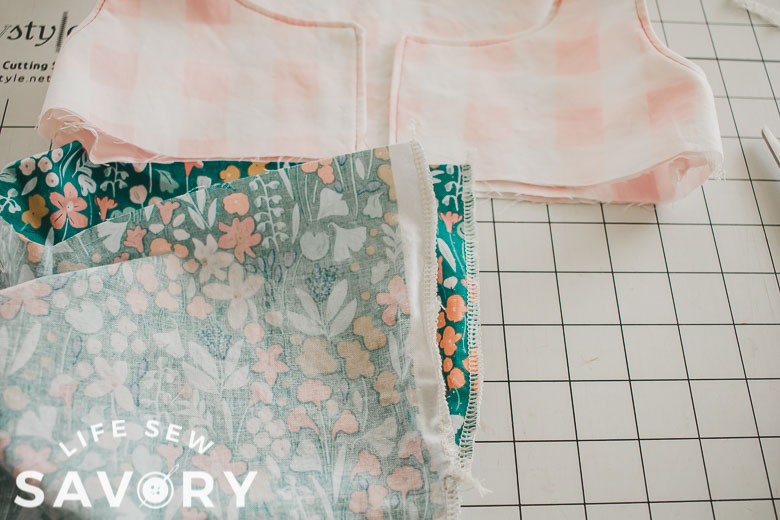
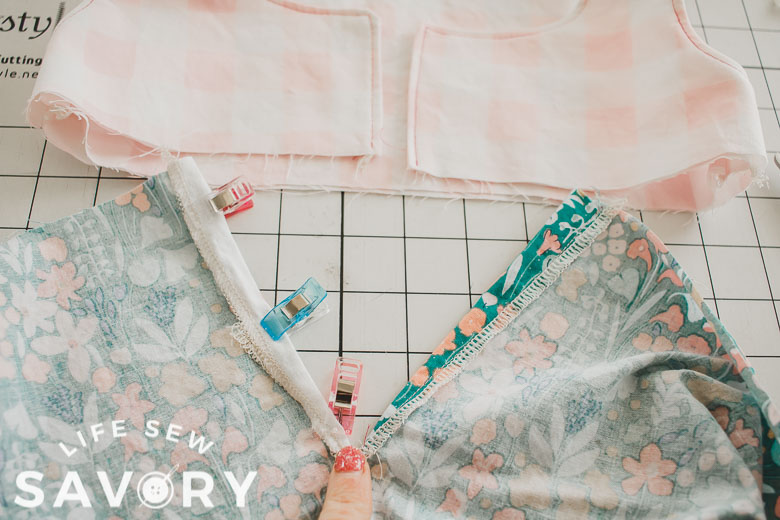
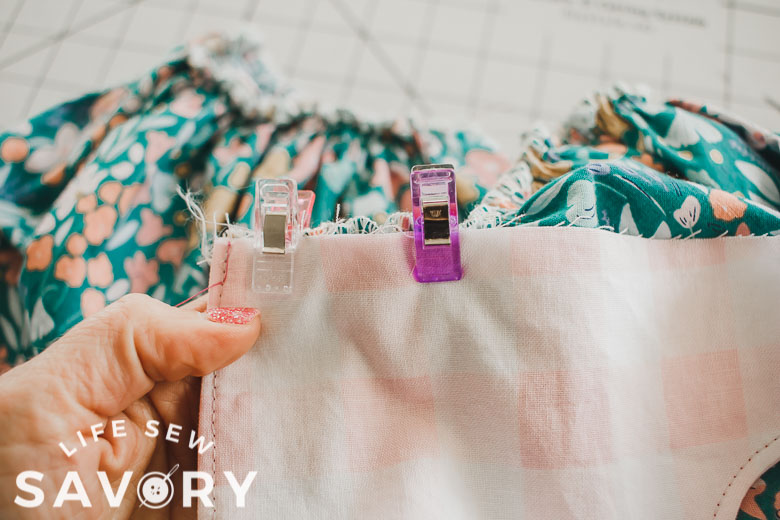
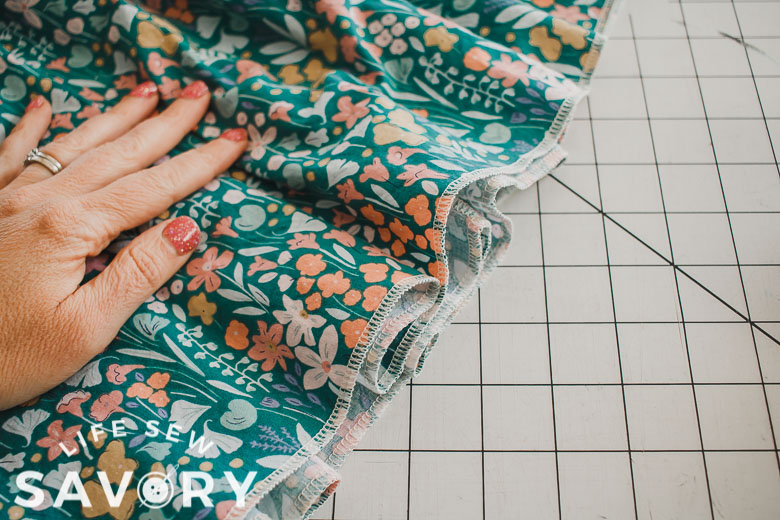
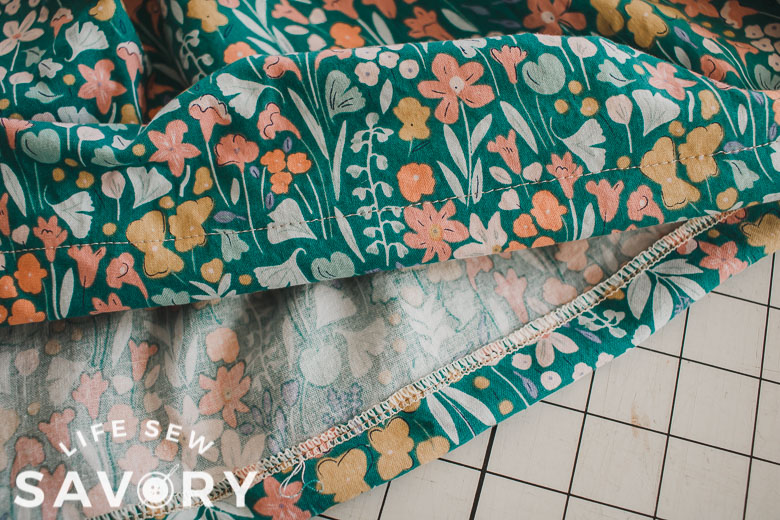
I like a really full skirt so I cut the full width of of my fabric 45ish wide-TWO times. SO you have TWO skirt panels each the width of the fabric and each the height of your skirt {mine is 22″} Line up the selvedge edges of the skirt pieces {seen in the photo} and sew ONE of the edges together. This will be the back of the skirt. {see clips below}
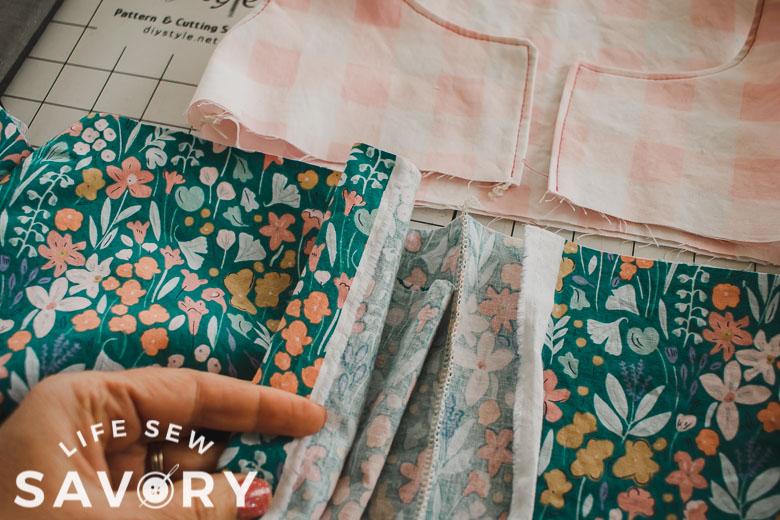
You can finish the front of the skirt two ways. 1. first picture. Fold back the selvedge edges on both side of the open side 1″ to create a button placket {sew buttons or snaps ALL THE WAY DOWN the front of the dress} 2. Mark 4″ down from the top of the skirt and sew the skirt closed from marker to bottom of skirt. This will just create a small placket at the top of the skirt to help get into the dress. Choose the option that works for you.
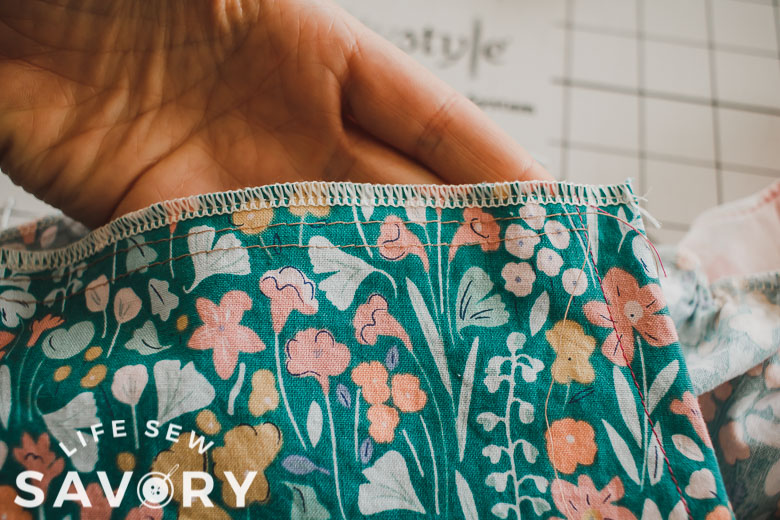
I will should the partial placket option here. Sew the front seam starting the four inches down and then finished the edges of the top four inches. Fold the top four inches over about 1/2-3/4″ and stitch to finish the sides of that part of the skirt.
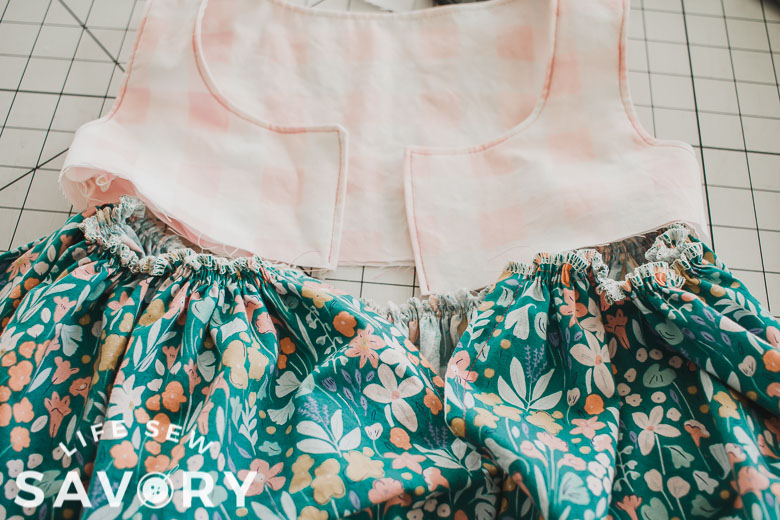
Now we will gather the top of the skirt to match the bottom edge of the tank top. Finish the top of the skirt fabric {optional}. Run a double gathering stitch at the top edge of the skirt. Need help with gathering? See this post here. Pull the bobbin threads until the skirt matched the tank top. I like to gather from both sides to the center, then adjust and even the gathers.
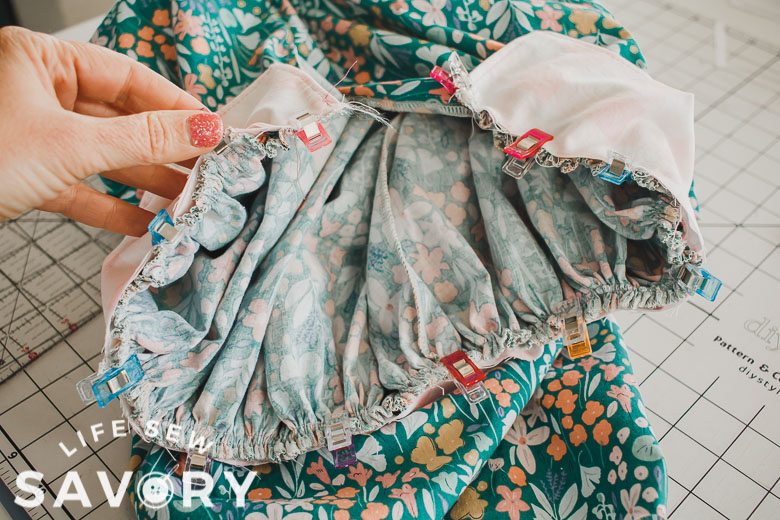
Line up the front edges of the top and skirt with right sides together and pin or clip around to the other side of the top. NOTE: if I was doing this again I would have finished the bottom of the tank before sewing on the skirt. You can finish with a serger or zig-zag on your sewing machine.
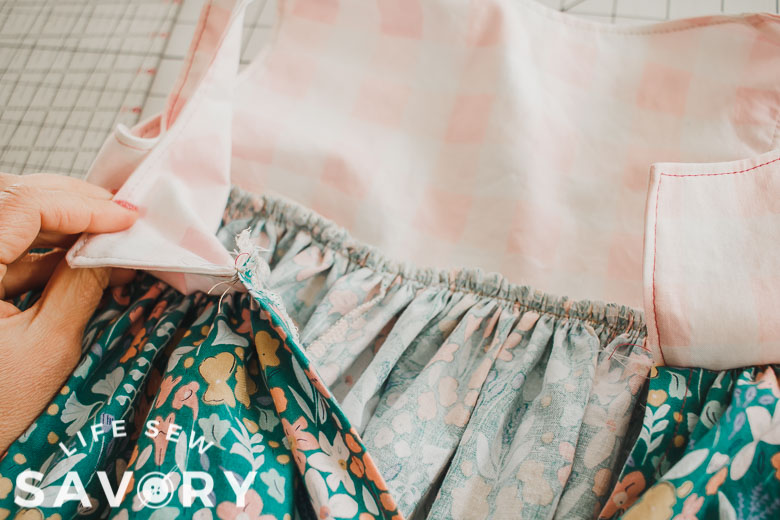
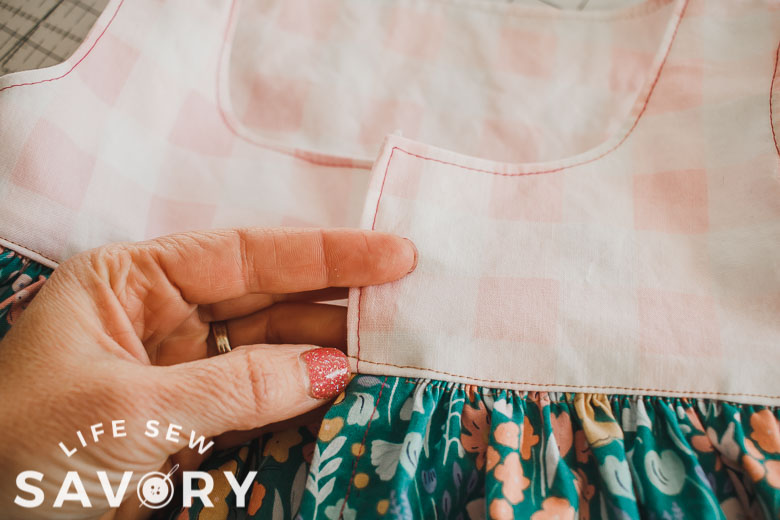
Sew with the gathered side facing you and stitch between the two gathering lines you sewed. Trim the tank seam allowance and then fold the skirt seam allowance UP towards the tank and top-stitch as seen here.
Finish the bottom of the skirt with a serger or zig-zag on your sewing machine. Then turn up a 3/4″ hem and stitch.
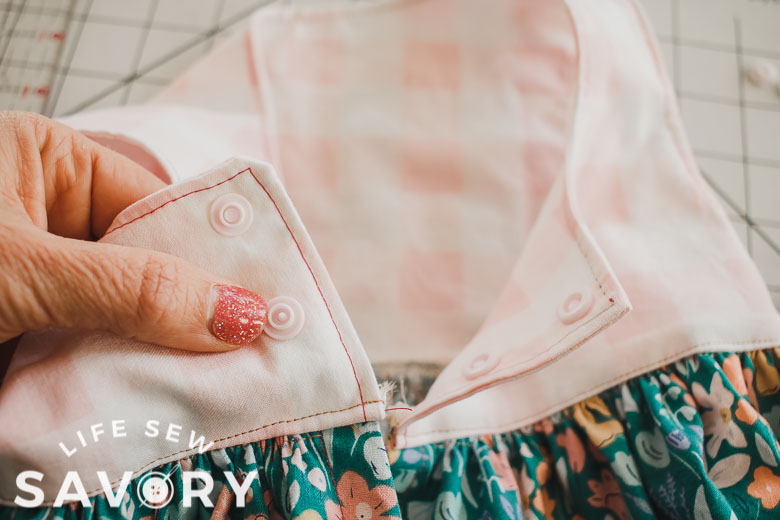
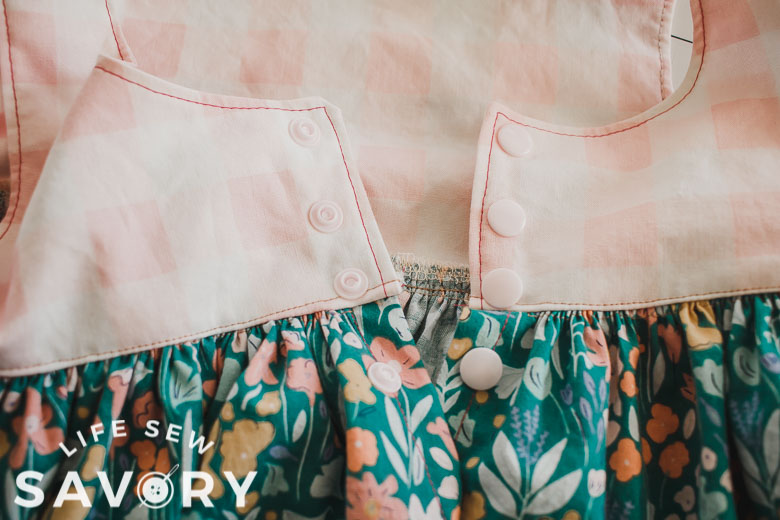
Time to add the top closure. Overlap the front edges by 1″. I’m sure there is a “proper” way to determine which side to overlap on the front, BUT I just chose which one looked nicer {haha}. I will show snaps here, but you can also add buttons. If you need help with buttons or button holes see this post. Place the first snap or button 1/2″ from the top of the tank.
I put three buttons on the top and then one on the skirt to make sure the overlap there is closed.
one more link to the free pattern – purple button below
Now you can enjoy your beautiful tank dress. There are so many beautiful fabrics to use!!




Kathy Osler says
Is there a way to print out the instructions without all the ads?
Thanks!
Sophie T says
Over the past few years, I’ve been watching your daughter grow (after reading her story) and it’s a pleasure to see how she has bloomed in your loving family. Big hugs to you all! And thank you for your inspiring patterns. My daughter is now too old and tall for them, but I just love your work, always pretty and practical!
Sheila Robson says
Lovely pattern as always, thank you Emily!
My preferred way to attach the skirt, though, is to attach it right sides together to the outside of the bodice, and then fold the lining under, and press the seam allowance up inside the bodice, before top stitching (actually I press the 3/8″ up on the lining before I sew the skirt). That makes for a much neater finish inside, and no ‘itchy’ seam.
Elizabeth says
Hi! Lovely dress, my next project!
Do you have a video tutorial for it?
Thank you 🌿💚🌸
Mary-Clare Cavanagh says
Thank you for this tutorial. I have been looking for this type of pattern for my crochet tops. I’m not a sewer and I need pictures! Also, do you have a chart of measurements from baby-8 years? I really just need a bust measurement and average length.
SO happy to have found you!
Elizabeth Maloney says
Do you by chance have a video tutorial? I’m a visual learner and I’m having difficulty understanding the skirt part.
Wendy Benton says
Ads in the way of directions. I do not like reading things to see online. I print them off, but ads are in the way and it wastes ink and money. Cute dress though.
Marla says
Can a short sleeve be added to this dress like on the Sweet Rose Dress?
My daughter loves this dress for my granddaughter but in the Midwest we can’t go sleeveless all year.
Alice Streng says
I am having difficulty printing out the “Tank Dress for Woven Fabrics Pattern from my IPhone. It seems that 8” x 11.5” paper is not long enough. Most of Page 1 prints on one page and the bottom of Page 1 prints on another page. This seems to be the 2 pages printed. This is when the printing ends. Page 2 of the pattern does not print out.
Elaine says
Good day
I am also struggling to print the pattern, click on all the downloads but the pattern do not come up.
Steph says
Where is the link to the video tutorial of the skirt?
Thanks!
Rachel Shingler says
Thank you for the dress pattern! I made 2 for my nieces. Super adorable and fun!
Ashley O'Neil says
Hello! I love this dress pattern and can’t wait to get started on it! I’m making it for a baby due to arrive in August so I can’t measure her for the skirt size. Do you have a suggestion for how big the skirt pieces should be for the 12 month top? Thank you!!
Emily says
I would double the width of the tank top. A skirt double the top/waist is always a good look.
Lydia Floren says
Where is the free pdf instructions? I only see online instructions.
Emily says
There are not pdf instructions. All my free patterns only have online tutorials
Kirsten says
I use a print edit extension with my browser and it removes the ads and I then edit out anything I don’t need before printing. I can have it print photos or not. The extension creates a PDF that I save 🙂