inside: this post will show you how to sew a simple thumb-hole cuff that can be added to any shirt pattern. There are many ways to sew a thumb-hole cuff and here is a simple sewing tutorial.
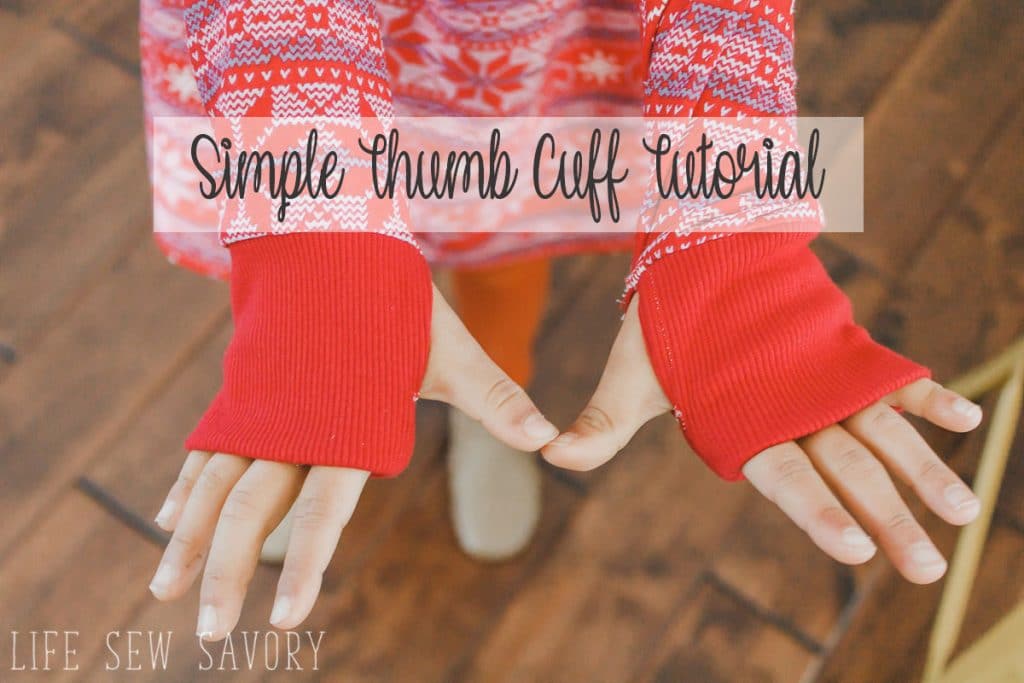
I’m not a fan, but my kids LOVE these thumb-hole cuffs. In today’s sewing tutorial I’m going to show you how to make a simple version of thumb cuffs that can be added to any shirt.
There are actually quite a few ways to make this type of cuff, but I’m keeping my tutorial simple and hopefully pretty easy to sew. My kids are going to love that I can add this to their shirts now.
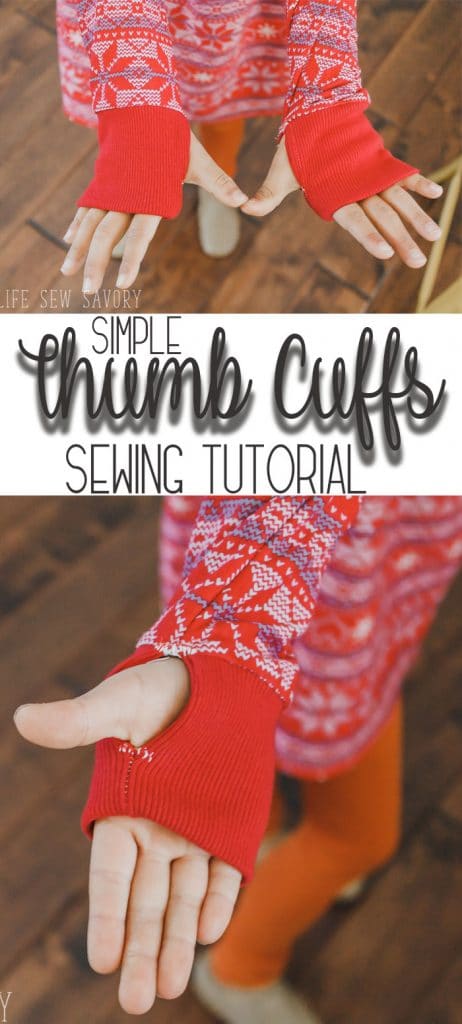
Thumb Hole Cuff sewing tutorial
I was just thinking when I was editing these photos that my poor kids never get matching thread in their clothes. I’m always using contrasting thread colors so you all can see my stitches and my kids get to wear my examples. {haha}
It’s been pointed out to me that ribbed knit can be hard to find.. Here are a few options from Fabric . Com in various colors…
SO… the white thread here is used to be able to show where to sew more clearly. Aren’t these so cute?
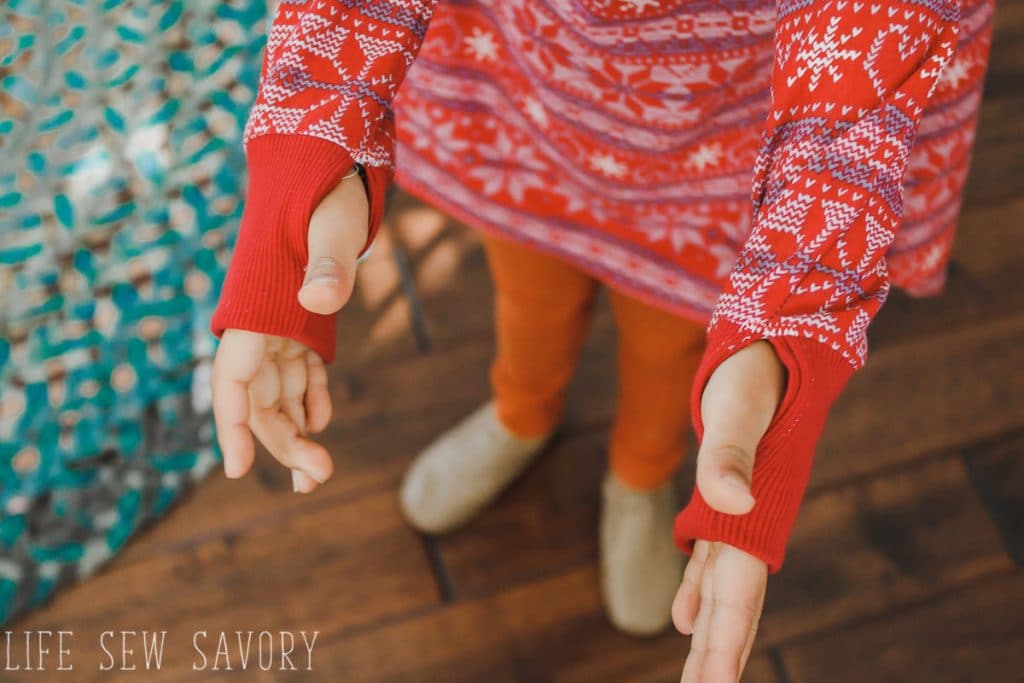
I sewed this dress from the Twirly Dress pattern on my live show a few weeks back, but didn’t finish the cuffs. I was able to create a simple thumb hole cuff tutorial and I’m sharing it here today.
Also, while I was editing I noticed that one of Rose’s cuffs was twisted and the other is fine.. The twisted cuff is on wrong… she twisted the sleeve before putting in her thumb… opps! This is not a construction issues, its a user wearing issue {haha}
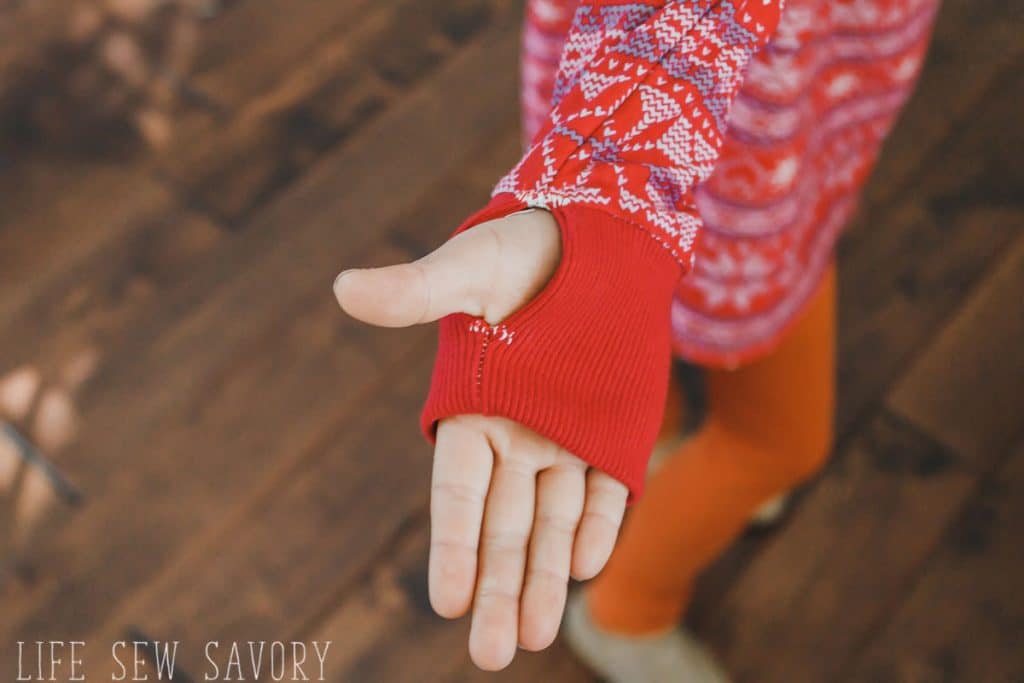
You should be able to add this tutorial to any shirt pattern you already have. I’ll share a list of my free ones at the end of this post if you are looking for shirts to sew.
How to sew a thumb hole cuff
ok! for this cuff version you will want to make sure your shirt arms are on the long side. You want the raw end of the sleeve to come all the way to the base of your hand and completely cover your wrist.
Cuff size will depend on who you are making this for… for a child I would make the cuff 5-6″ tall {the not so stretchy way} and for an adult I would make the cuff 7-9″ tall {hand size}
The width of the cuff will depend on the width of your sleeve. The cuff should be the same width or smaller than your sleeve.
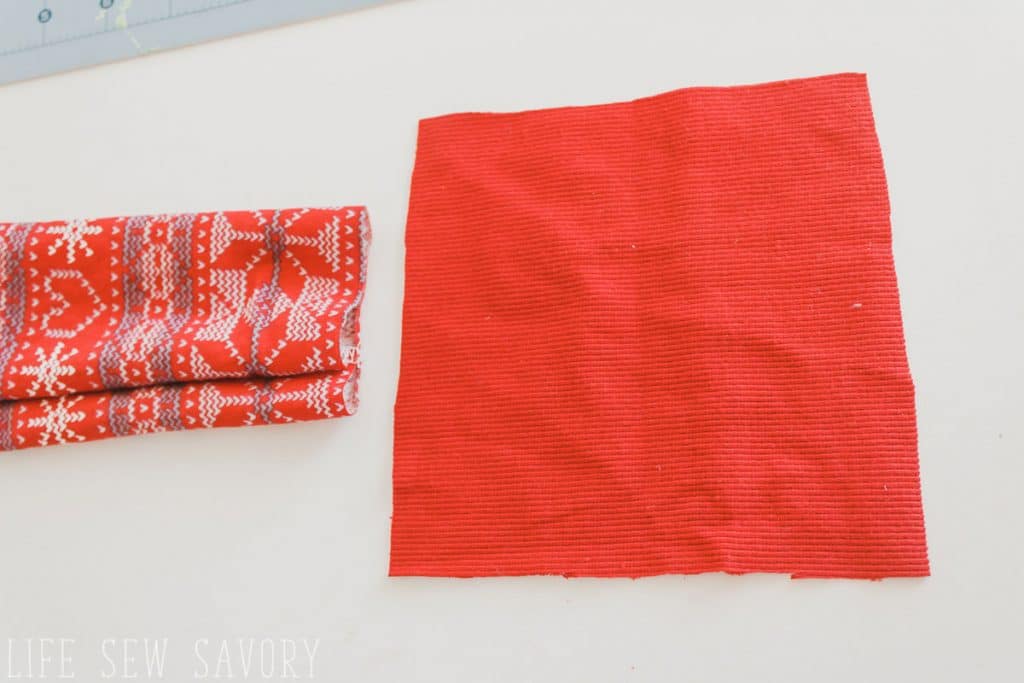
My cuff folded from top to bottom, then side to side to check sizing.
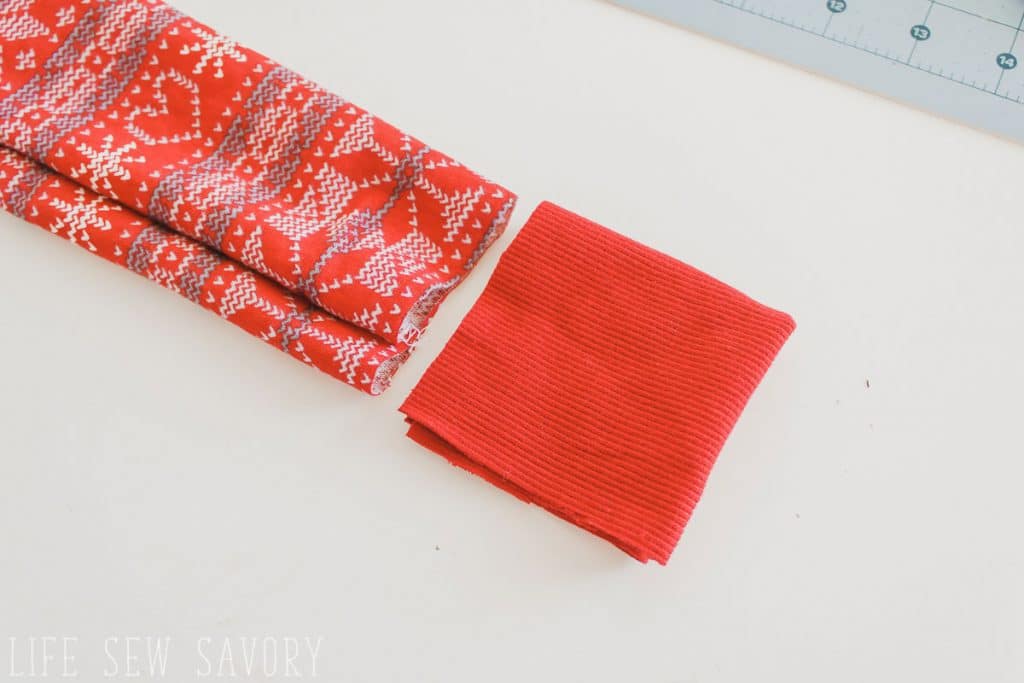
Open up the cuff and measure the height side {the not so stretchy way} Mark two inches from each side for kids and 3 inches from each side for adults. You should have a couple of inches in the middle like below.
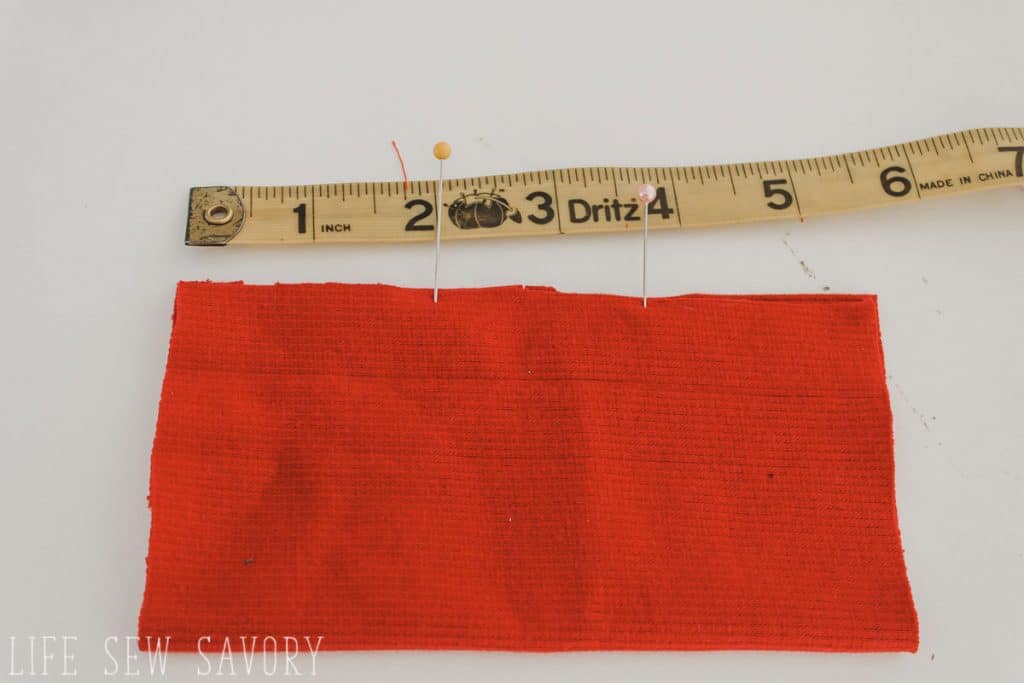
Stitch with a stretch stitch between the middle marks, the right sides of the cuffs should be inward. Now, fold over the top layer of the sides, you should see the bottom sides now.
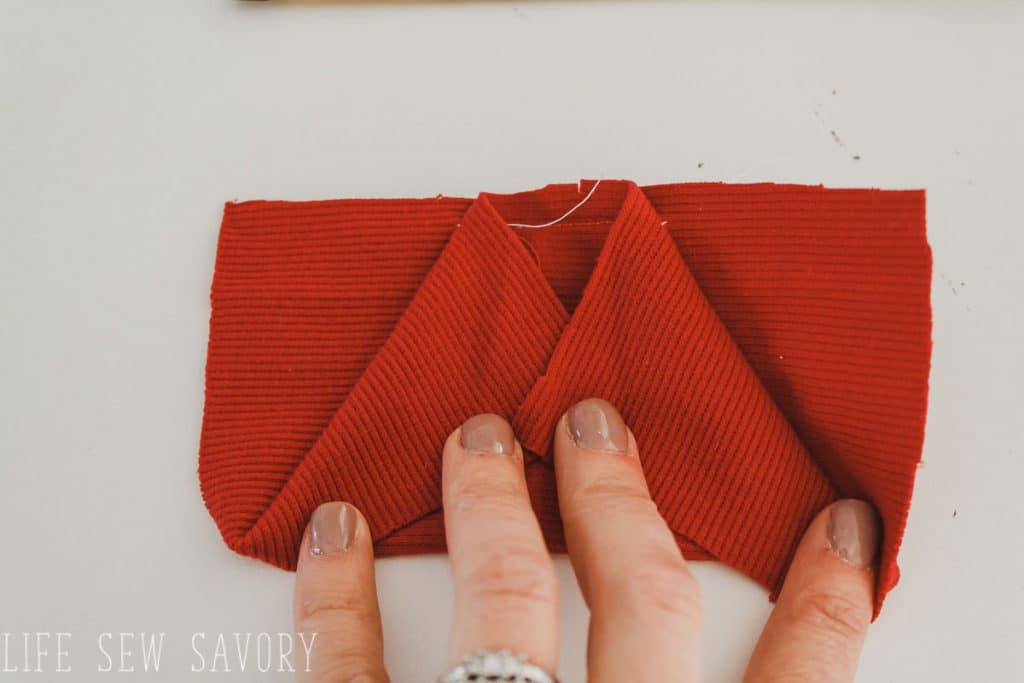
Fold those bottom layers sides together, bring the left side over to cover the right, keep the under layer out of the way.
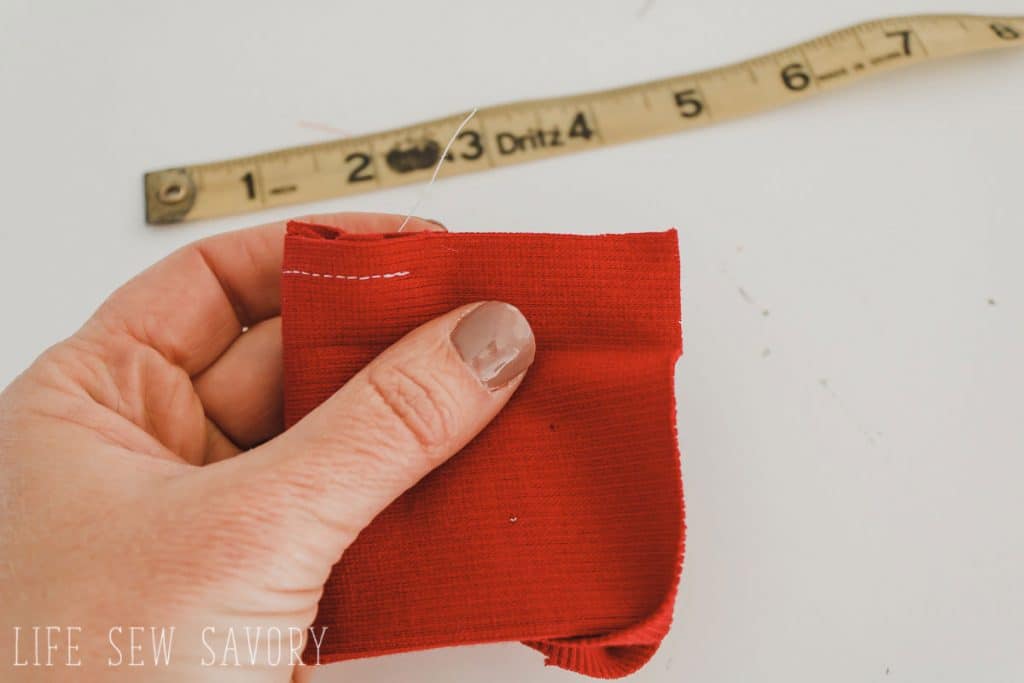
Sew from the middle stitching to the raw edges. Be sure to keep the folded inside layers away from the stitching.
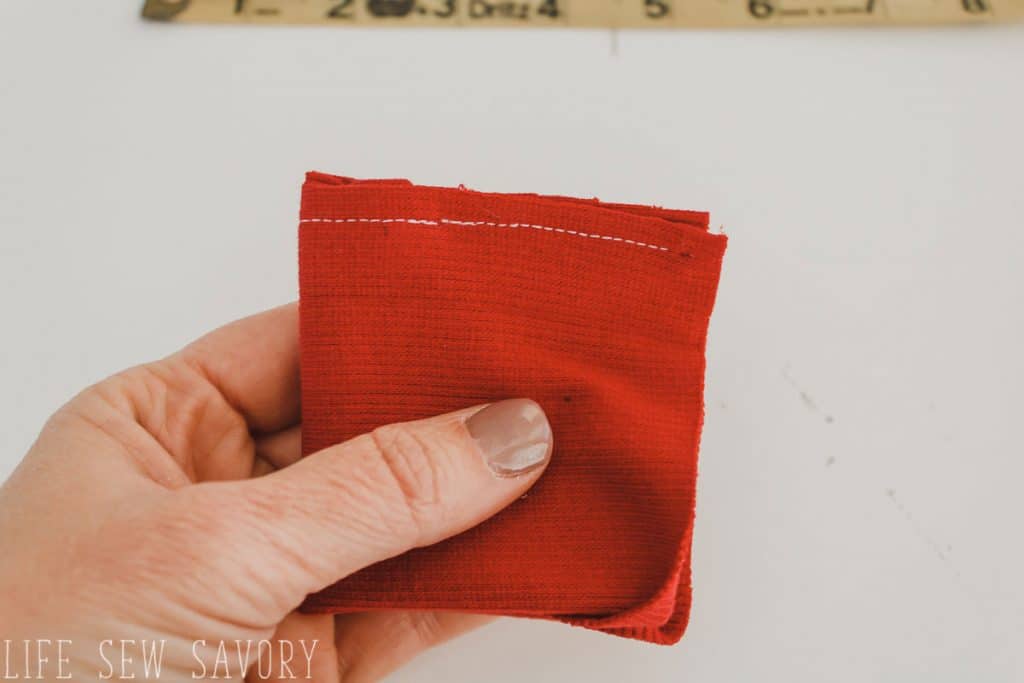
Open up the cuff and sew the other two edges together. These were the pieces you originally folded out of the way.
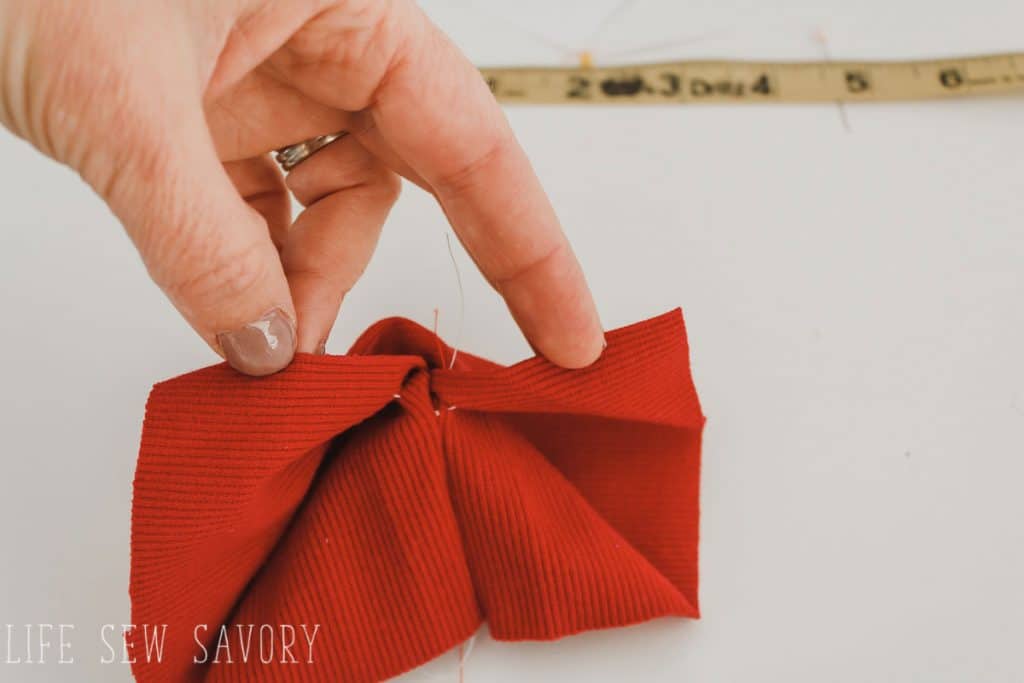
This next step was a bit confusing for me, but just keep playing.. When you are finished sewing you need to turn the cuff right side out, but it will seem a twisted and strange… just keep turning and shaping until it looks like this.
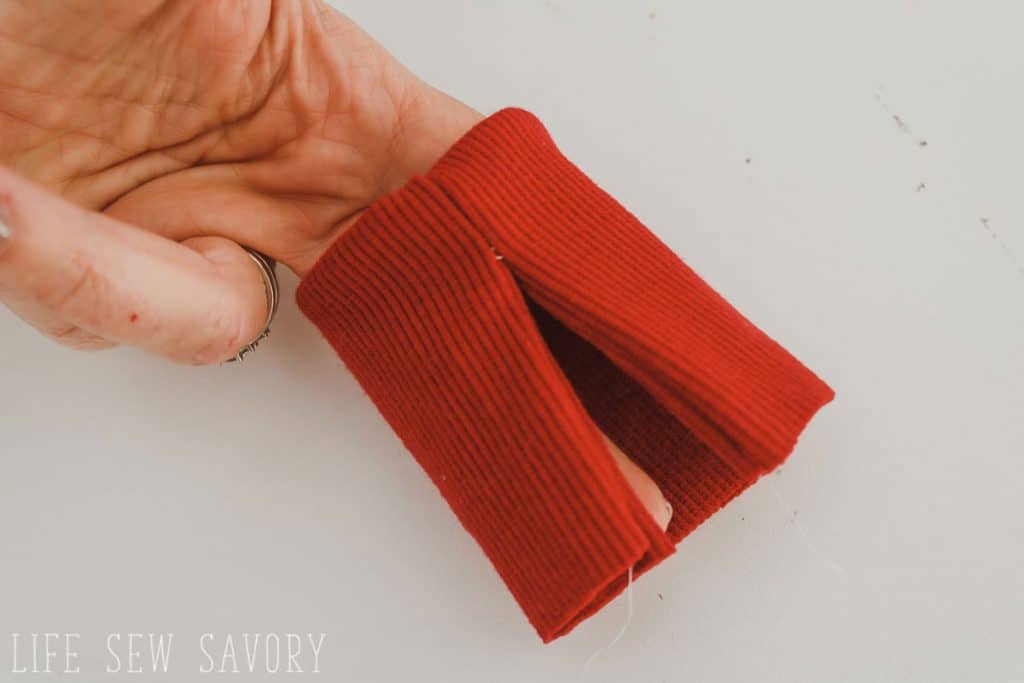
Turn your shirt inside out and then place the cuff inside the sleeve touching the right side of the shirt. The opening of the cuff should line up with the under arm seam. The two loose edges of the opening should be touching on the seam, so when sewed it is a circle all the way around.
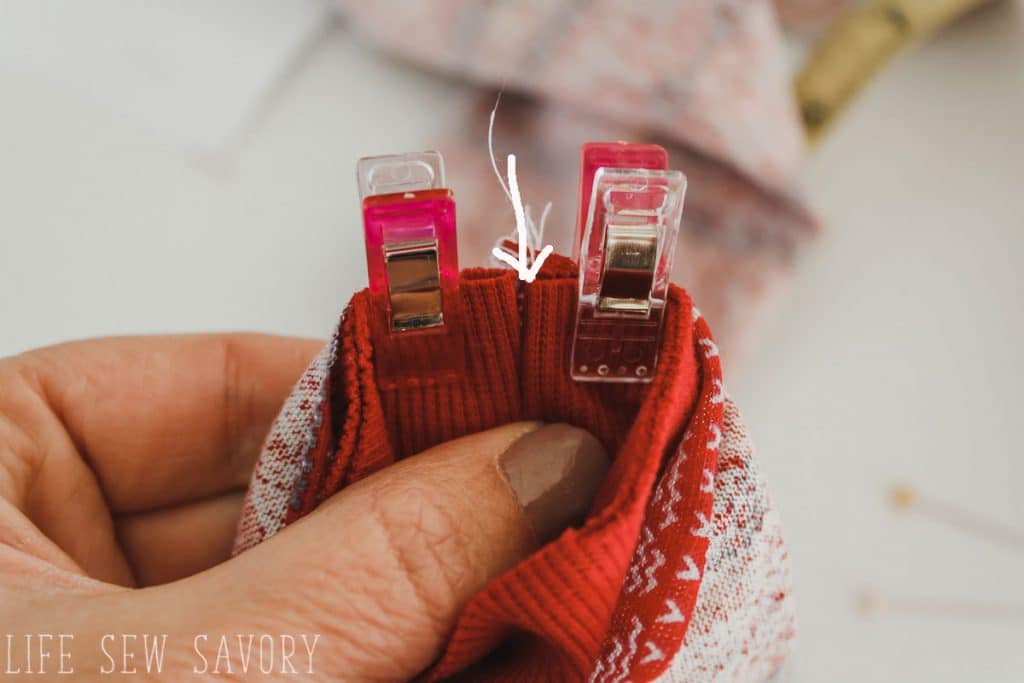
another view of the cuff lined up.
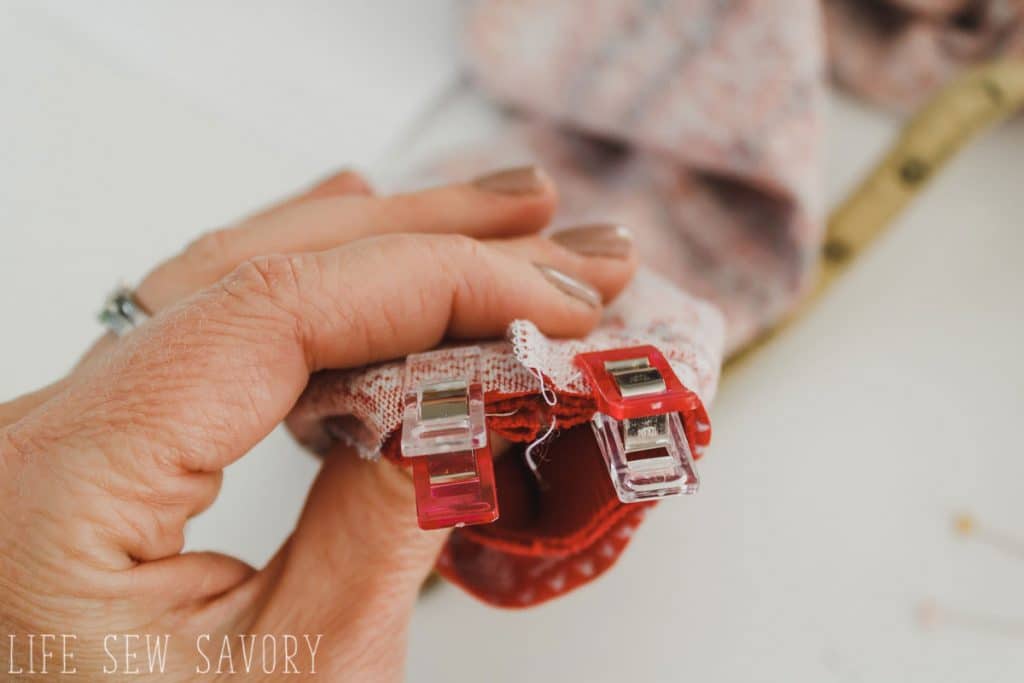
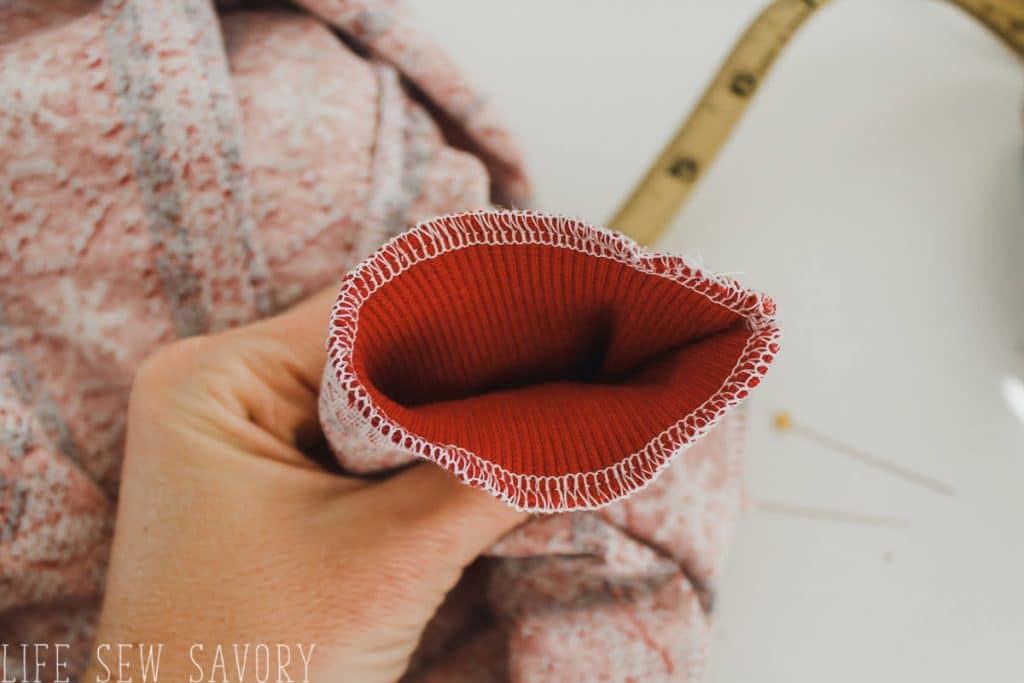
Sew around with a serger or stretch stitch and a narrow {1/4″} seam allowance.
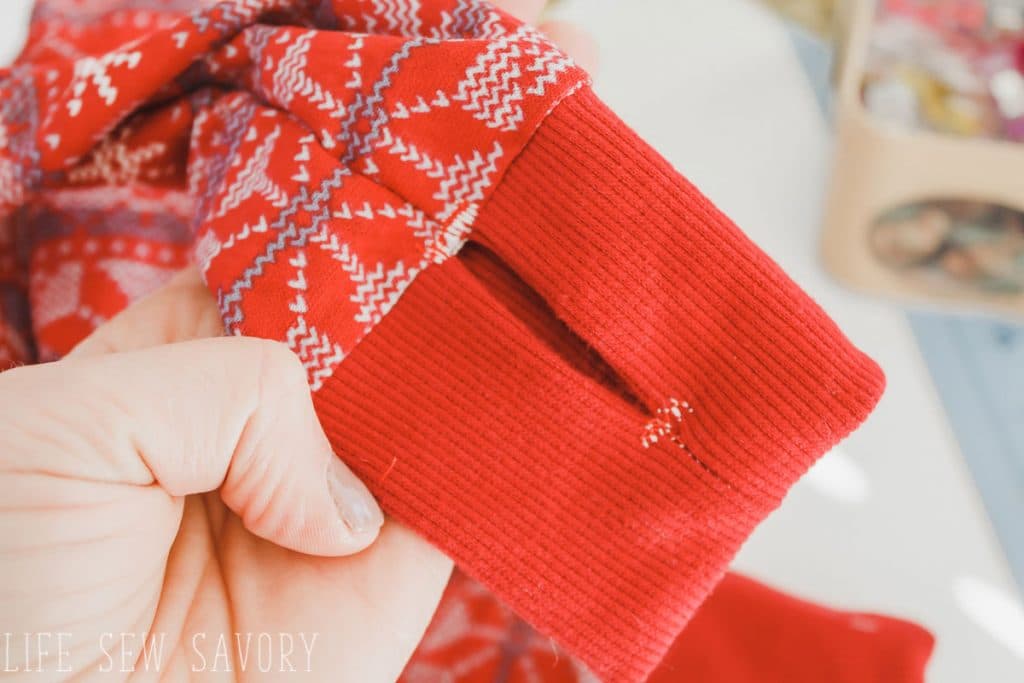
You are almost finished! Turn right side out… I did a quick zig-zag top stitch at the top and bottom of the thumb hole to keep everything in place. {you can see my white thread} Use coordinating thread so you cannot see it.


Lisa G says
Emily, Thank you so much for this tutorial! You have so much great stuff on your website. I am confused by this one, though. I see where the ultra-twisted sleeve is in the picture, but it seems like the other arm is also twisted. When I wear a long-sleeved shirt, the seam is on the pinkie-finger side of my hand. Wouldn’t that mean that the thumb cuff needed to be on the side opposite the seam?
Emily says
Most of my t-shirt patterns have the seam under the arm, which ends up by my thumb… If your seams are on the outside then of course line up the cuff opposite!!