This shop has been compensated by Collective Bias, Inc. and its advertiser. All opinions are mine alone #MyLittleRemedies #CollectiveBias
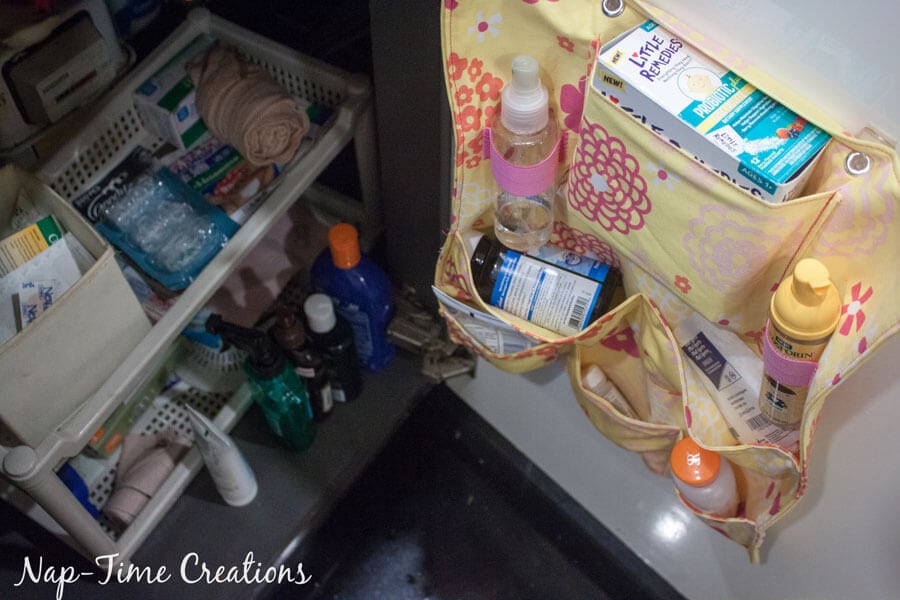
I’ve got a few fun tips to share with you today! I’ll be showing you some embarrassing before/after photos of under my sink {akkk!} With a sewing tutorial for the under sink organizer that I used to control my mess. I also want to share my experience with Little Remedies® Probiotic Plus Electrolytes, which I keep under my sink!
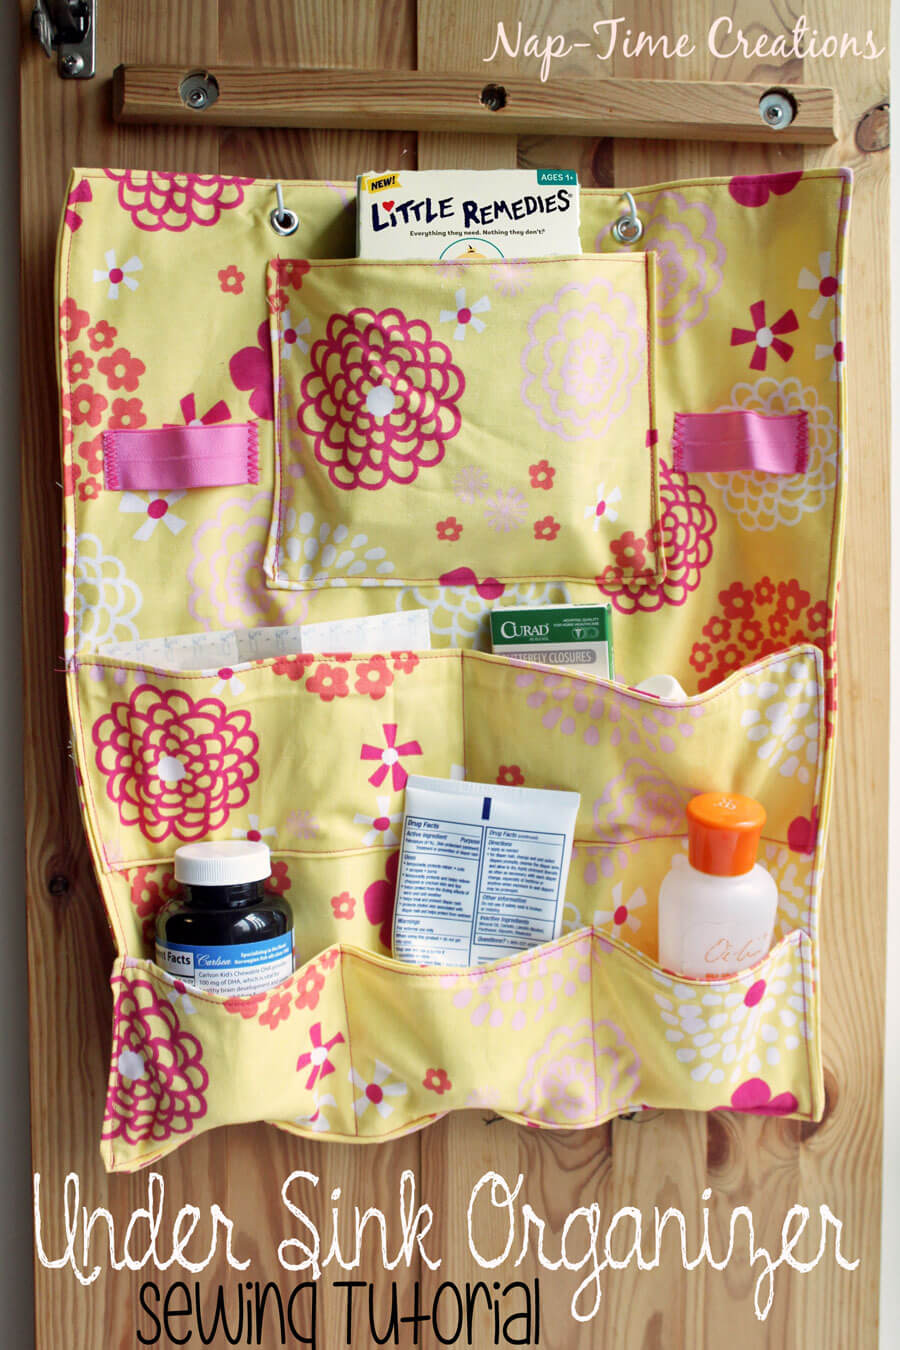
Everything looks so neat, right? Here’s the before and after.. aakkk! I do not like clutter, so the areas of my house that are hard to organize drive me a little bonkers…it’s hard to stay on top of certain places.
I’m loving my new under sink organizer, and thinking that all my sinks need one! Before we get to the sewing tutorial I want to point out one great product that I store under my sink… Little Remedies® Probiotic Plus Electrolytes. Many of you know we adopted our daughter from China last summer, and it’s been an amazing journey. We noticed soon after we got her that she seemed to have stomach issues as her diapers were a MESS! I was really nervous thinking about potty training coming… so I tried probiotics and within days we saw a huge difference. SO amazing! She ended up being our easiest kid to potty train. Little Remedies® Probiotic Plus Electrolytes contains 5 billion active cultures of the probiotic Lactobacillus rhamnosus GG, which helps keep the digestive system in balance and supports immune function* and is the only pediatric product that combines a probiotic and electrolytes in 1 convenient packet. It worked for our daughter!
*This statement has not been evaluated by the food and drug administration. This product is not intended to diagnose, treat, cure or prevent any disease.
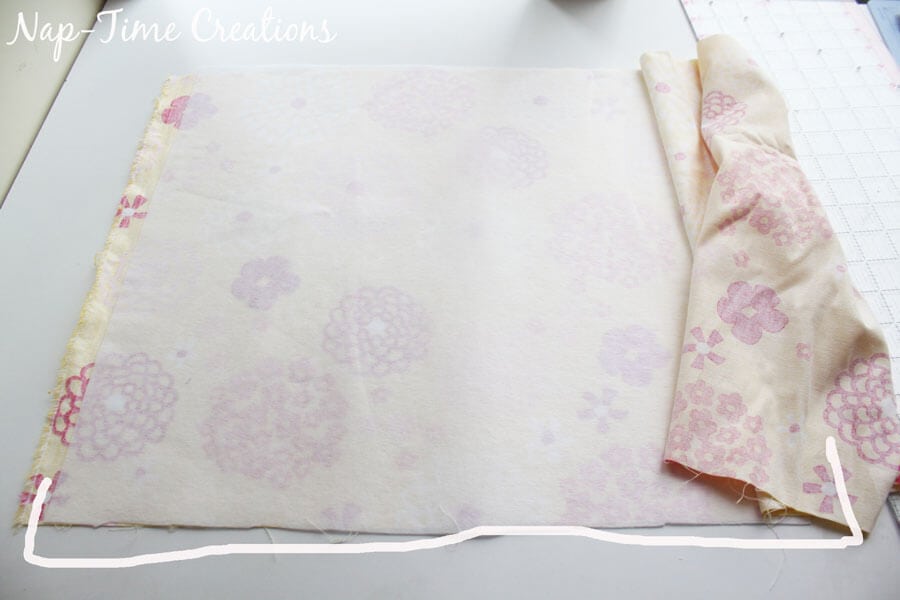
Okay.. now on to the under sink organizer tutorial! You will need 1/2 yard of fabric cut in these dimensions: {inches}1-15×34, 2-15×8, 1-8×12.
You also need a 15×17 piece of stiff interfacing. {this is 1/2 the length of the large piece.}
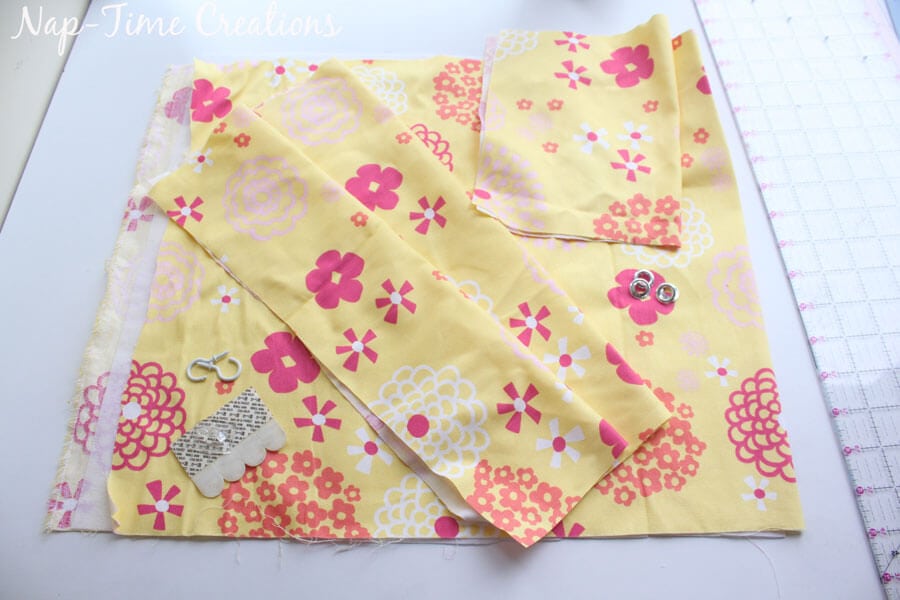
Iron the interfacing on 1/2 of the large fabric piece. This will be the main body of the organizer.
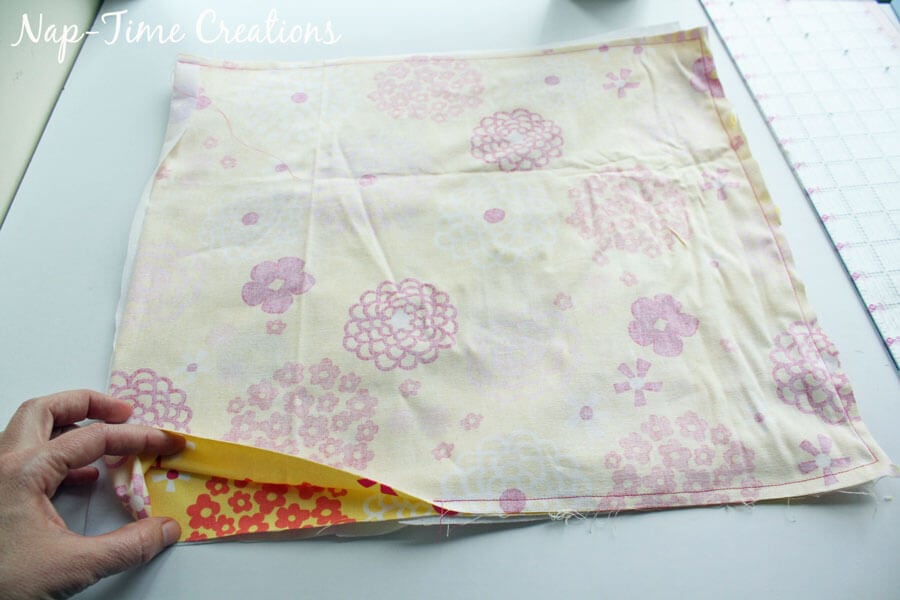
Fold this piece in half with right sides together and sew around the three open sides. Leave a 6″ opening for turning. I wasn’t really specific with my seam allowance, but probably 1/4-3/8″ ish..
Turn right side out through the hole and iron around the sides. Fold the edges of the opening under.
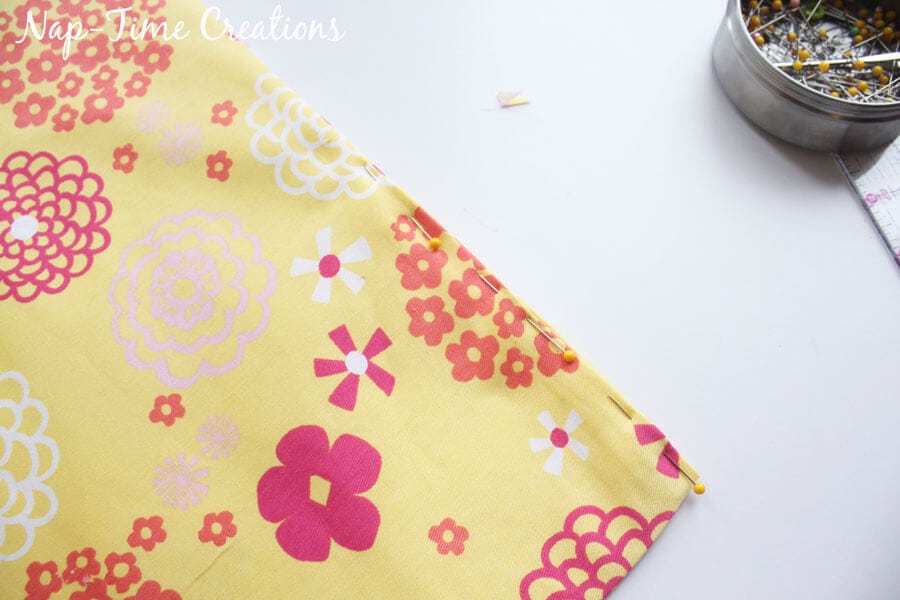
Pin to close the hole. Sew this closed and around the rest of the edges. Top-stitch all four sides.
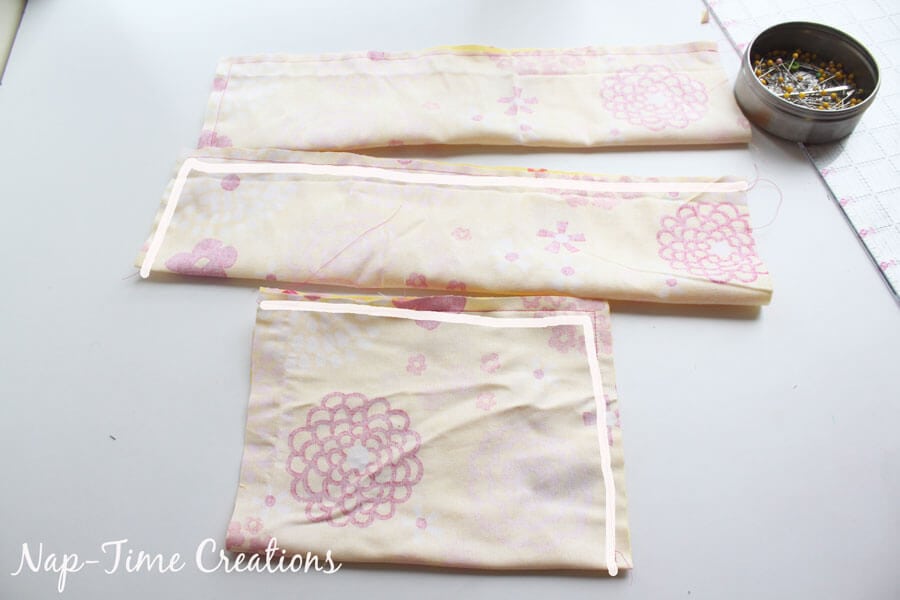
Now for the smaller pocket pieces. Sew around three sides of each one.
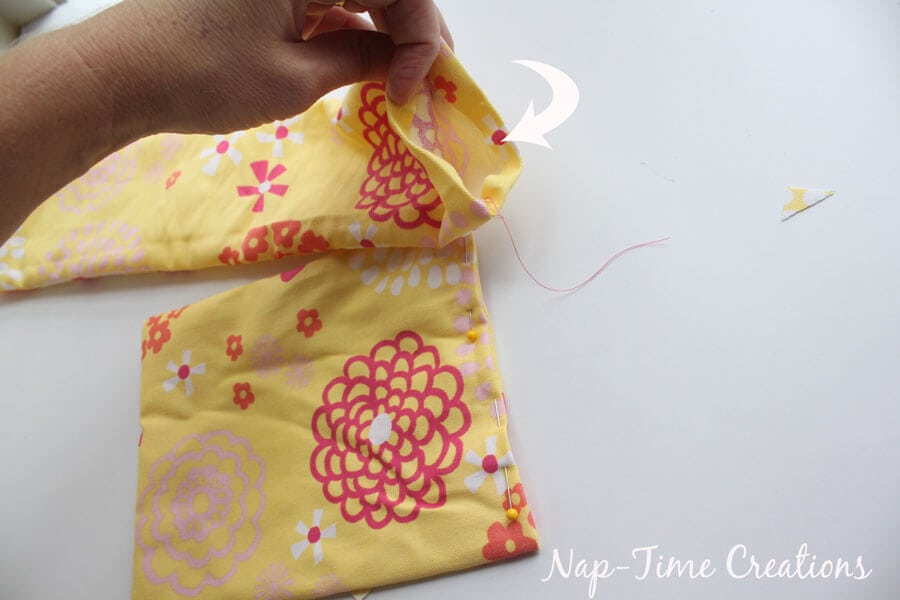
Turn right sides out and fold in the ends to finish the edge.
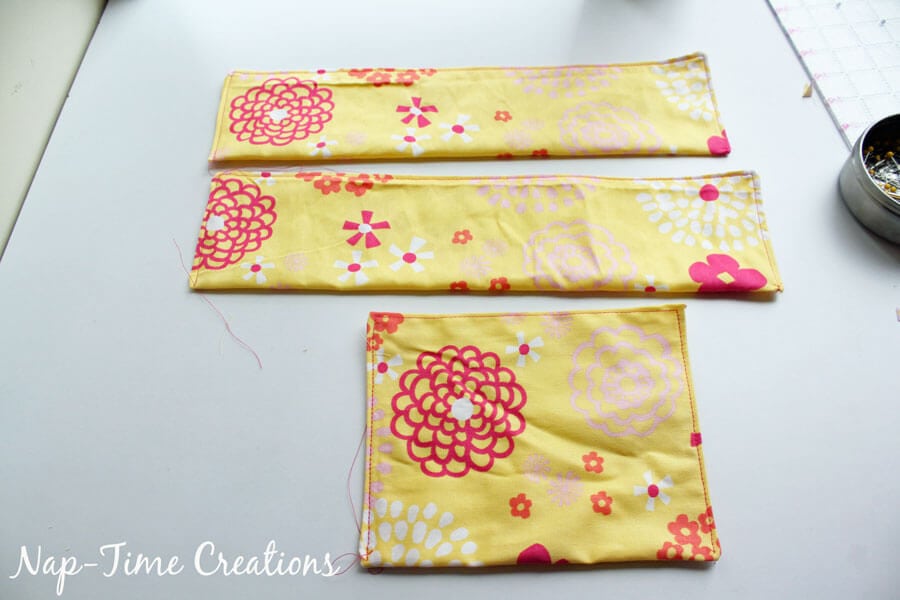
Sew the end closed and around two other sides. Leave one long end not-stitched.
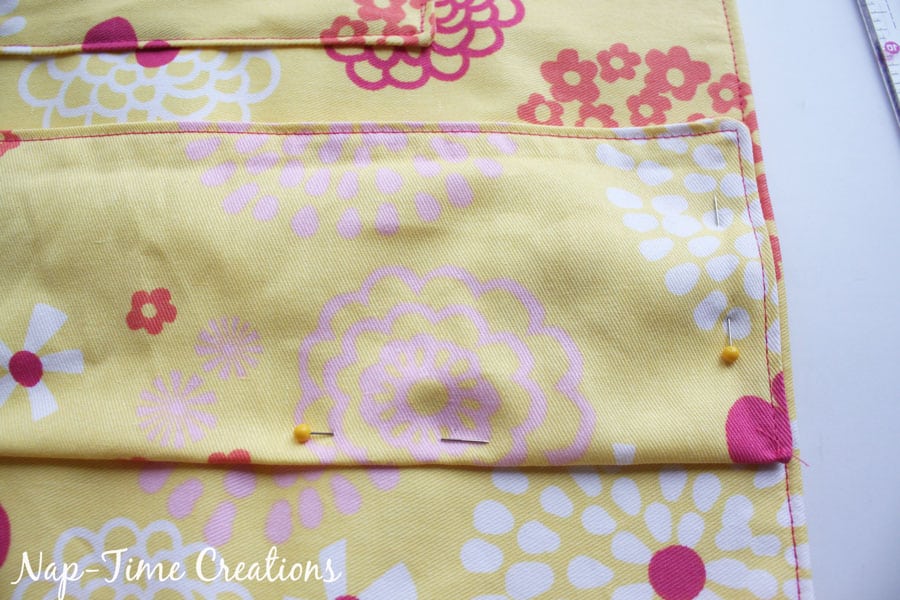
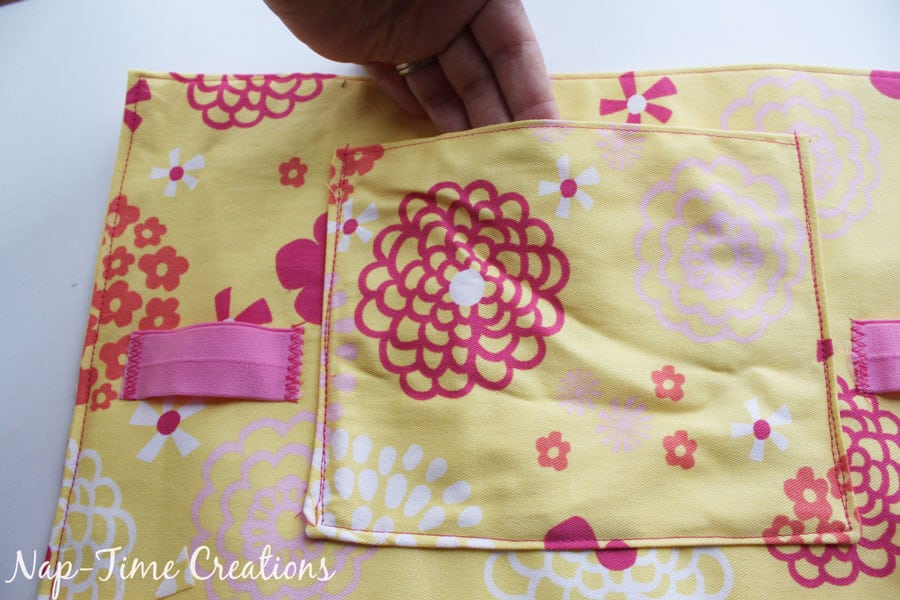
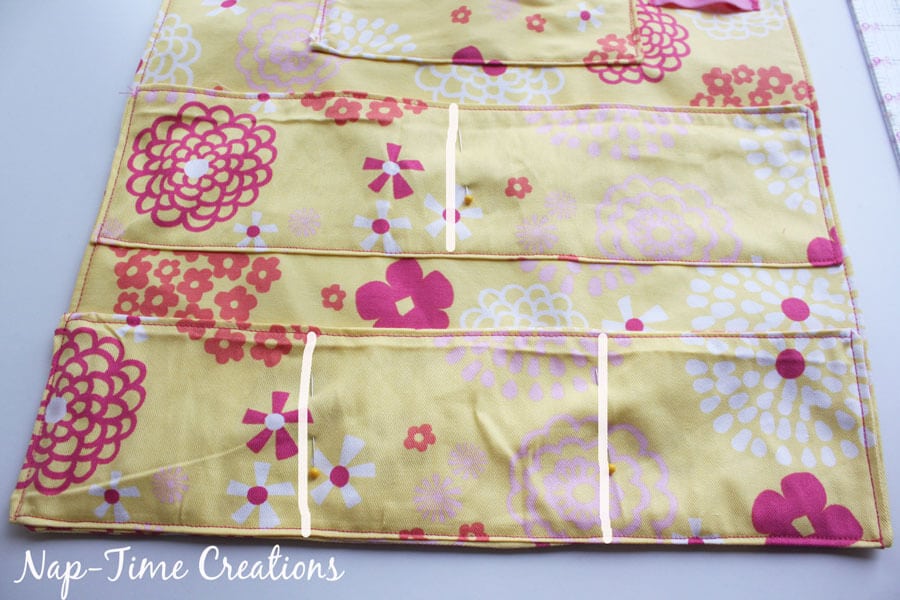
Place the pockets on the large back piece. Line up one pocket with the bottom, and then the other long pocket about 1.5 inches above that. Place the square pocket 1.5 inches above that.
Pin the pockets in place. The side that isn’t top-stitched should be the bottom of the pocket.
Sew sides and bottom of all three pockets. You can also add elastic on the sides of the top pocket for additional storage.
The larger pockets need to be divided into smaller ones. I did it like this… you can make smaller sections if you want.
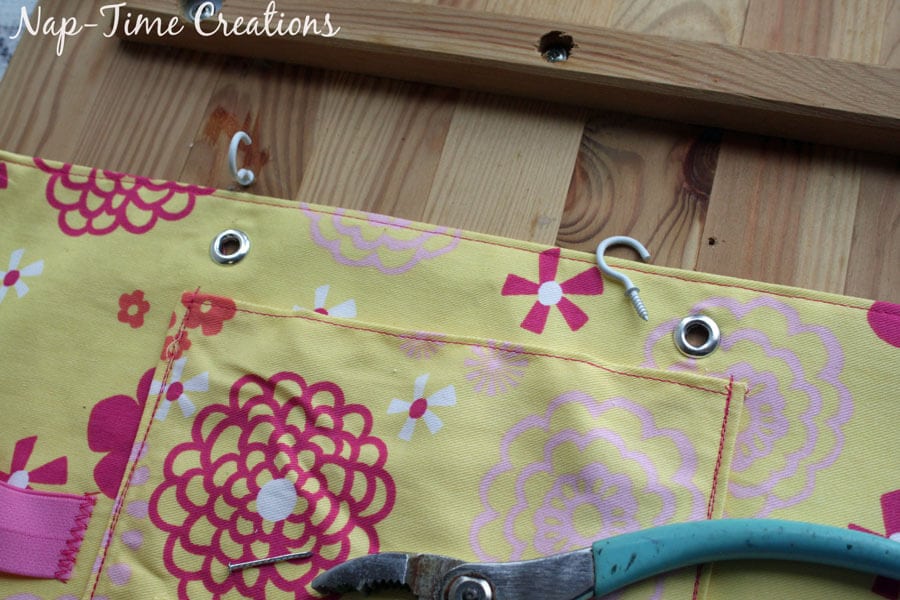
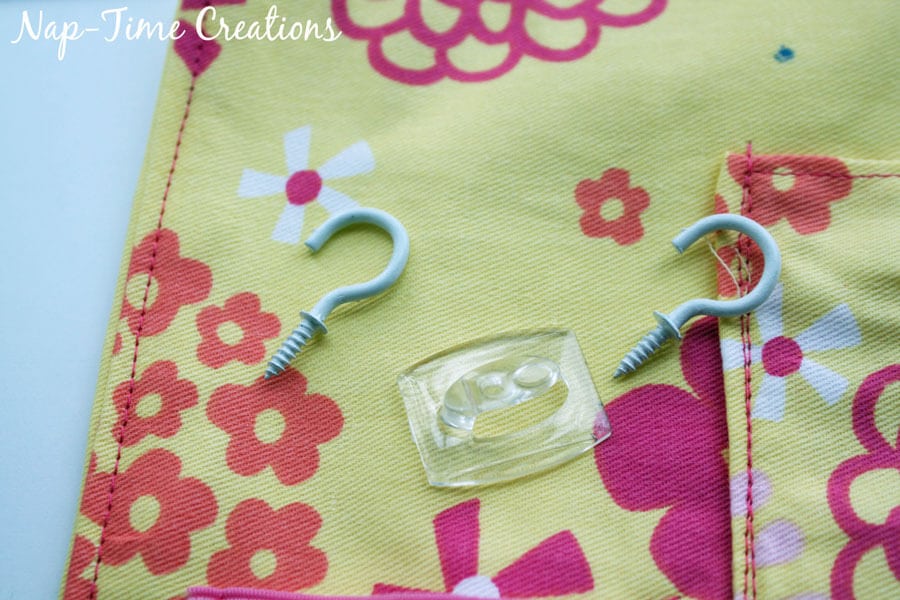
There are a few options for hanging this on your cabinet door. 1. If you have wooden doors, like my top photo, you can use hooks that go right into the wood. 2. If that’s not an option, use sticky hooks to hang it on the door.
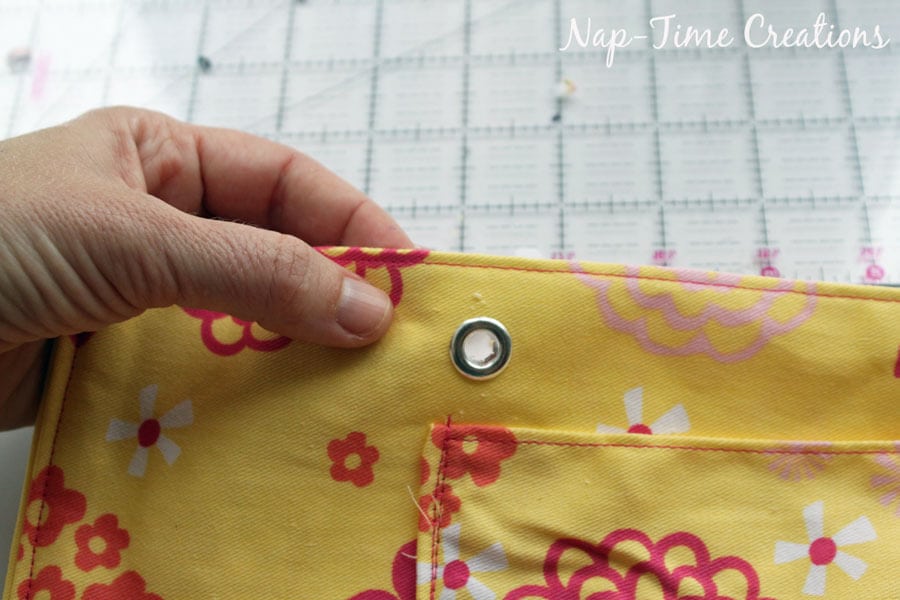
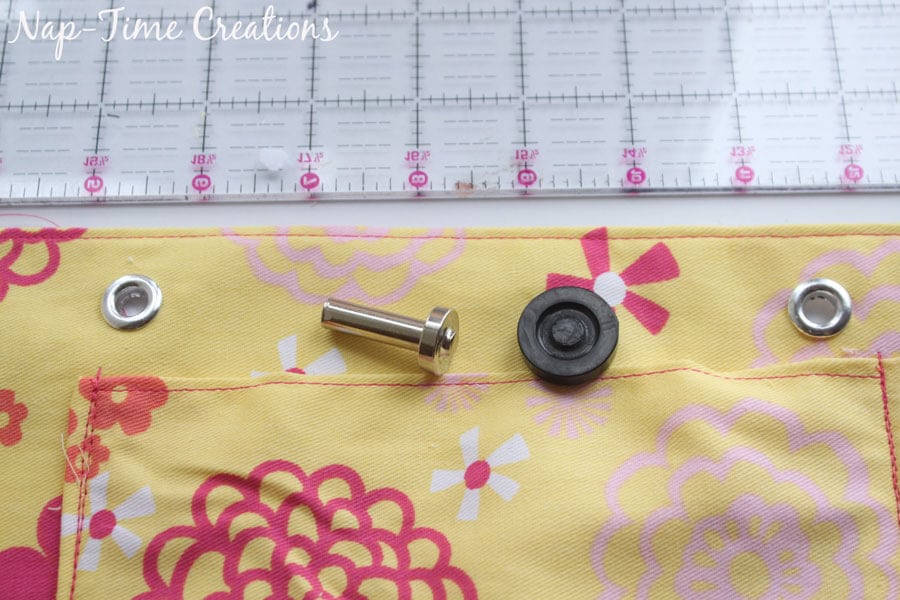
I used large rivets to hang my organizer. You can also sew button holes if you don’t have rivets. Mine are 4″ in from the side and 1″ down. If I make this again, I would put the hooks closer to the side edges.
I used the tool that came with the rivets to put them in.
Attach the hooks to your cabinet door and hang your organizer!
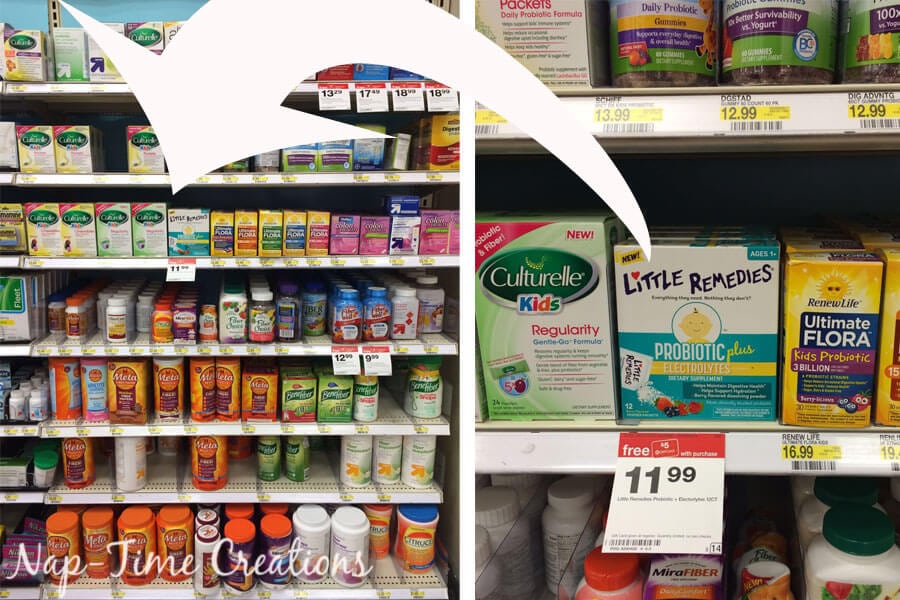
 Little Remedies® Probiotic Plus Electrolytes are available in the DIGESTIVE aisle at Target. For a limited time you can get buy 1 Little Remedies product and get a $5 Target Gift Card from 4/24 through 5/14.
Rose thinks Little Remedies® tastes great.










j88top com says
Một lần tôi đọc những trao đổi trên mạng và thấy một người đề cập đến trang web j88top com trong khi nói chuyện. Tôi quyết định mở trang đó để xem thử. Mặc dù không tìm hiểu kỹ lưỡng, nhưng tôi chỉ xem qua nhanh để xem cấu trúc và cách sắp xếp nội dung, trang web trông gọn gàng và dễ theo dõi, vì vậy tôi đọc và chuyển sang đọc các bình luận khác.
soi cầu 247 says
Thường thì trước khi công bố kết quả, tôi thường lướt qua một số trang quen để xem cách họ tổng hợp thông tin. Trong số đó có bài viết trên soi cầu 247 đưa ra nhiều dữ liệu cũ, đọc thì cảm thấy như viết lại quá trình hơn là dự đoán. Tôi đọc để hiểu cách họ phân tích, không phải để theo dõi cụ thể từng con số.
98win.com says
Khi tôi lướt qua các trao đổi trên Internet, tôi thấy một người nhắc đến trang web 98win.com trong khi cuộc trò chuyện đang diễn ra, vì vậy tôi quyết định mở trang đó để xem. Tôi không đi sâu vào, chỉ xem qua nhanh để hiểu cấu trúc và bố cục tổng thể của trang, thấy trang gọn gàng, dễ đọc nên tôi quay trở lại đọc các bình luận khác.
soi cầu 247 says
Thường thì trước giờ mở kết quả mình hay lướt qua vài trang quen để xem cách họ tổng hợp dữ liệu. Trong số đó có bài trên soi cầu 247 trình bày khá nhiều số liệu cũ, đọc cảm giác giống kiểu ghi chép lại quá trình hơn là dự đoán. Mình xem để hiểu cách họ phân tích, chứ cũng không bám theo cụ thể con nào.
xsmnxsmb.com says
Mỗi người đọc mấy trang số liệu thường có lý do riêng, với mình thì chủ yếu là xem cách họ sắp xếp thông tin. Một lần đọc bài viết trên xsmnxsmb.com, mình thấy nội dung đi theo dạng tổng hợp lại cầu và kết quả gần đây. Đọc xong cũng chỉ ghi nhớ đại khái cách trình bày, không có gì khiến mình phải quay lại ngay.