inside: Video and photos showing various materials cut with a Brother ScanNCut DX. Thin and thick materials of all kinds can be cut with this cutting machine. Learn tips, tricks and see how easy it is to cut.
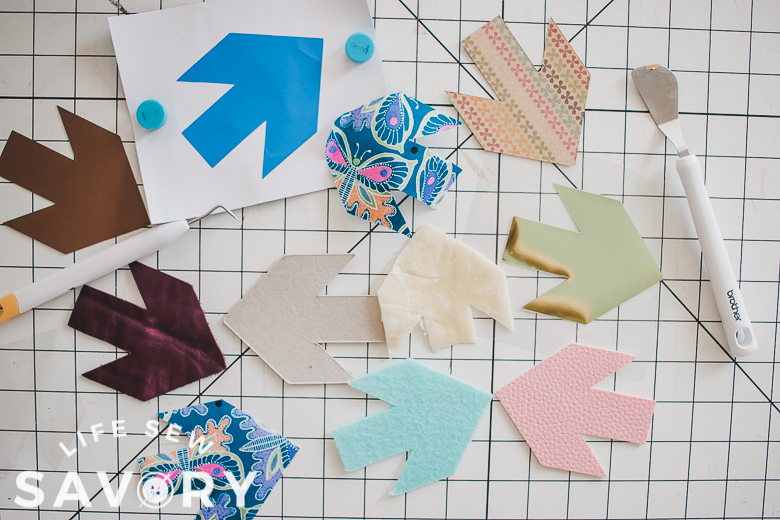
I spent today cutting all the things on my Brother ScanNCut so I could show you all the fun things you ca cut with your machine. I’ve cut all these things before, but today was the first time I cut all these materials in the same shape to be able to show all the cutting options. Most of the time I cut fabric and vinyl, but it was fun to really see all the things you can cut with a ScanNCut.
What can you cut with a Brother ScanNCut?
When I wrote this post I did not own a the rotary fabric auto blade. You can see even MORE things/fabrics you can cut in my rotary auto blade post here.
I’ve had a Brother ScanNCut for just over four years now and I love it. As a Brother Ambassador I have tried several different models of the ScanNCut and they each have been amazing. Today I’m going to focus on the variety of materials you can cut with a Brother ScanNCut DX line. This list of materials I cut is not at all exhaustive, but hopefully will give you ideas if you have not done a lot of cutting.
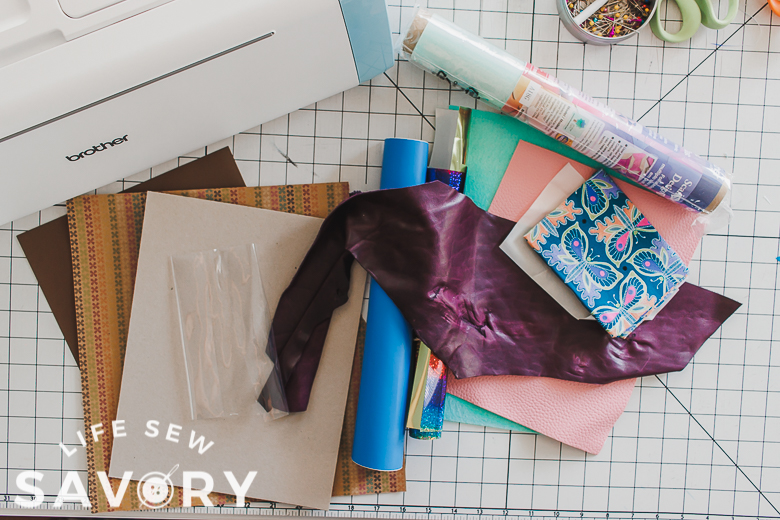
In preparing for this I thought about all the things I had cut with my machine in the past and then all the things I could cut. I gathered it all here before cutting. I had a lot of fun cutting the same design in so many materials to see how the cutting went for each.
I will note below which mat and what blade were used for each. The tortilla was just for fun {haha}
Check out all my other ScanNCut tutorials and ideas here. Including how to use the roll feeder function, how to use heat transfer vinyl and how to create custom decals with the scan feature.
Cutting supplies for ScanNCut success –
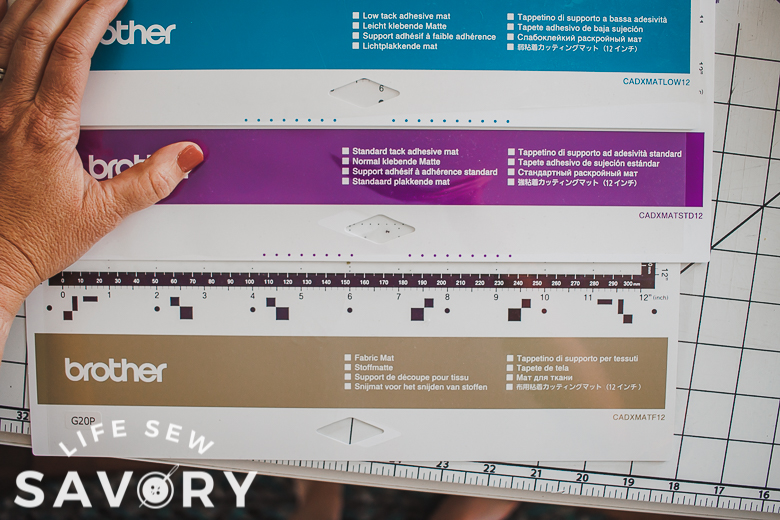
In this post I used three different kind of cutting mats. Low Tack, Standard Tack and the Fabric Mat. I will list below which mat was used for each material. I believe the official ScanNCut cutting limit is 3 mm.
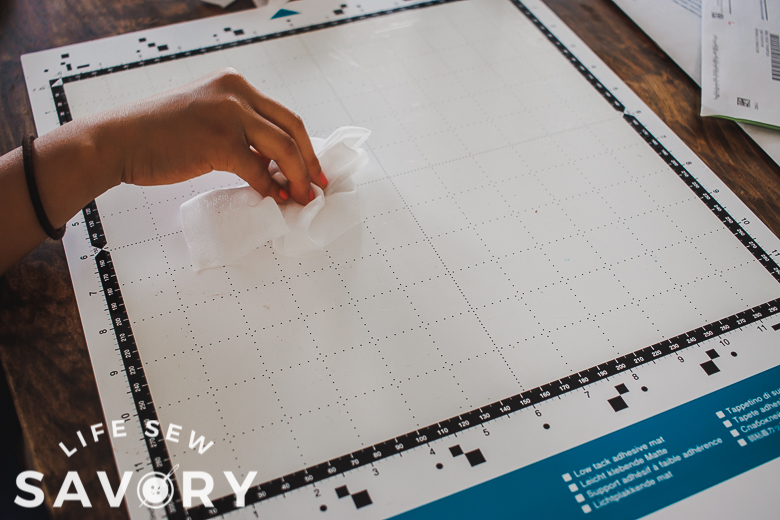
If a mat starts to lose it’s stickiness we clear ours with baby wipes. Wipe down until all the fizz and bits are gone, then let dry before replacing the dust cover or using.
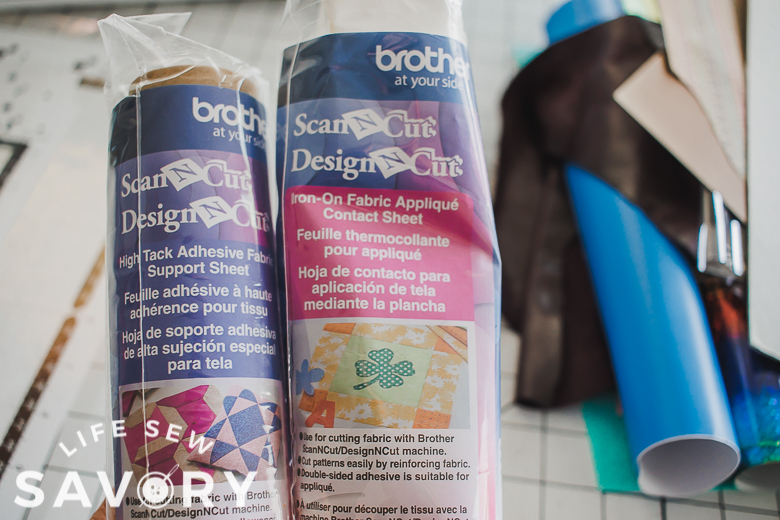
I also use these two products often when cutting fabric. If you are only cutting vinyl and paper you will not need these extras, but I find they make things much easier with fabric. 1. a high tack sheet you can add to your standard mat to make it extra sticky {you wouldn’t need the fabric mat if you have these sheets} 2. An iron on backing that allows the fabric to be cut with super clean lines.
I cut fabric both with and without the backing below so you can see the difference.
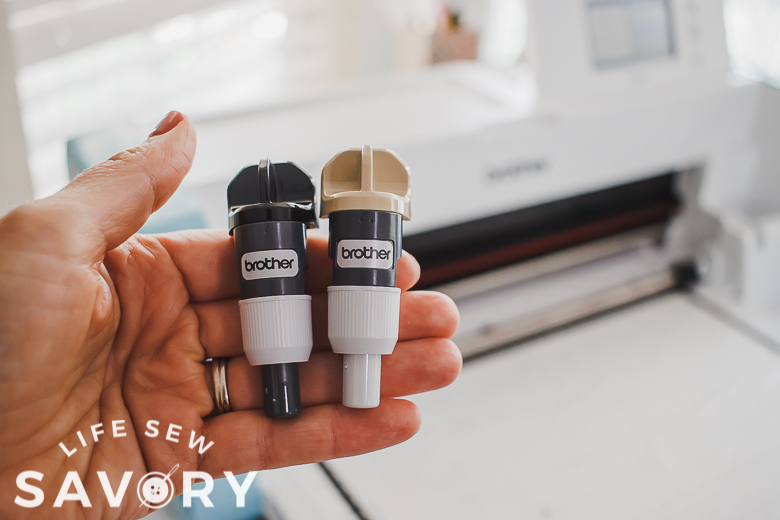
In addition to the mats and adhesive, I use two different blades. For the thin fabric cutting I switch out to the thin fabric blade. It cuts fabric so well. I tried cutting the felt with it, but the machine told me it was to thick for the blade… So you can always try….There is also an auto vinyl blade, but I have never used it and I cut a lot of vinyl.
What I cut on my ScanNCut –
ok… so here is the summary and you can scroll through for photos and any details I have to add for each material.
- paper
- cardstock
- cardboard
- clear vinyl
- sticky vinyl
- heat transfer vinyl
- regular fabric
- fabric with backing
- pleather
- leather
- felt
- craft foam {didn’t have, but cuts great too!}
- What else would you add to this list??
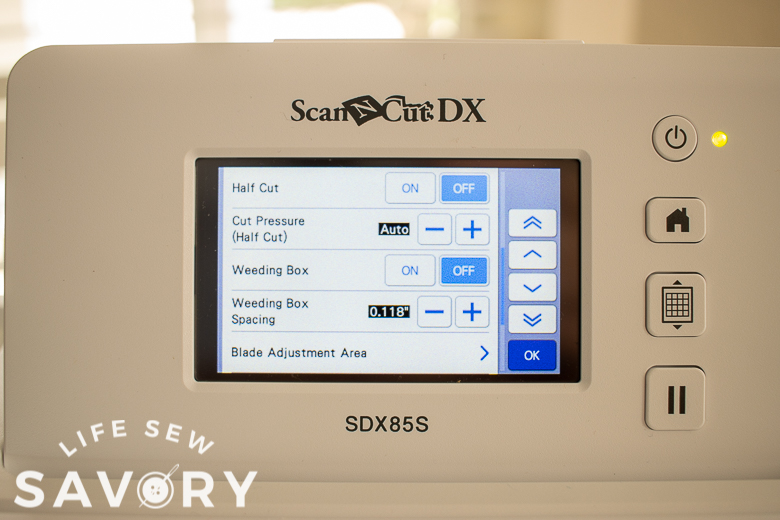
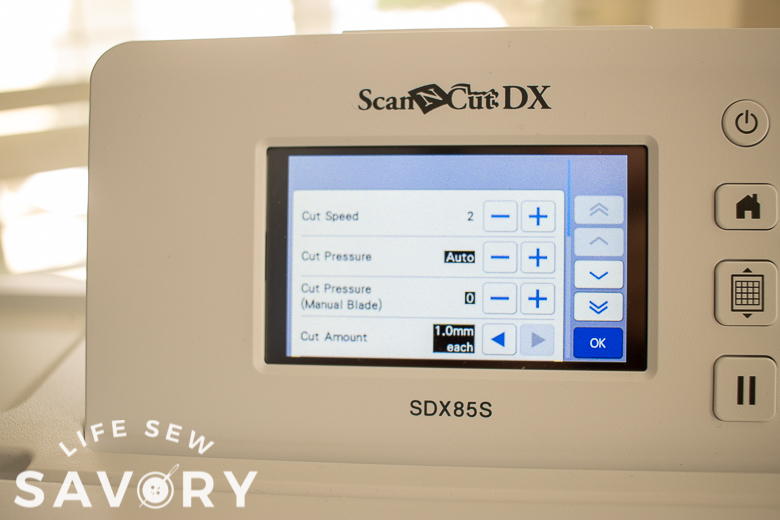
Ok! Let’s take a closer look at each of theses materials that I cut. I will note the cutting mat and blade details. For basic cutting information the only adjustments I made were to slow the speed for thicker items and to turn ON the HALF CUT for the vinyl. Vinyl has a protective layer {heat transfer} or stick guard {sticky vinyl} in order to NOT cut these layers we HALF CUT on vinyl. All other materials I used the full cut.
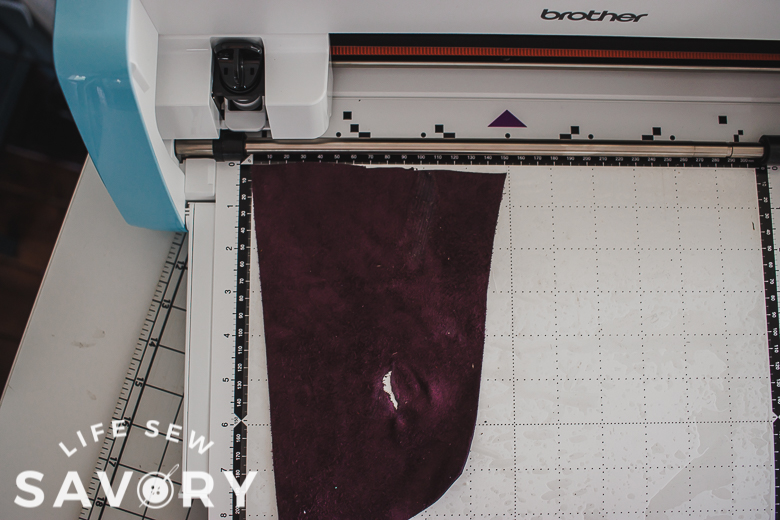
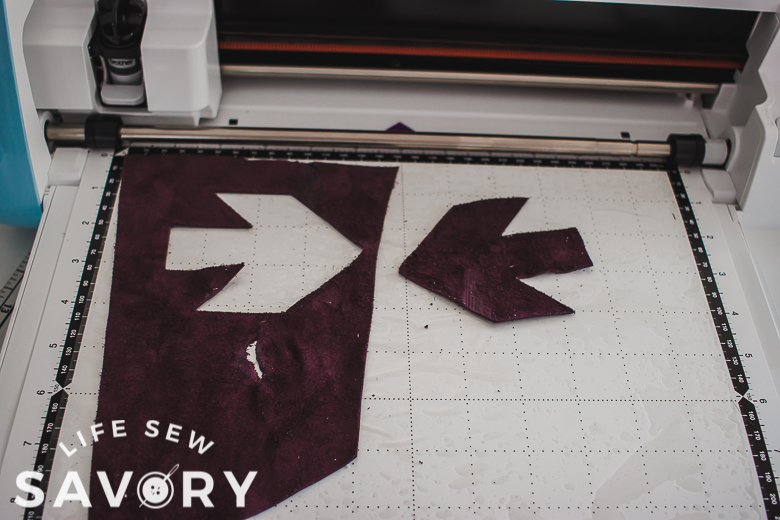
For cutting leather I used the standard tack mat and the auto blade. Place the smooth side of the leather down on the mat and the rough side up.
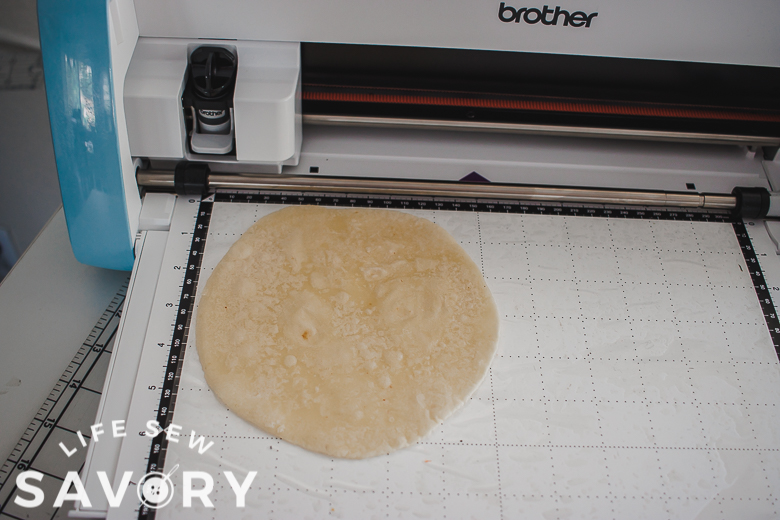
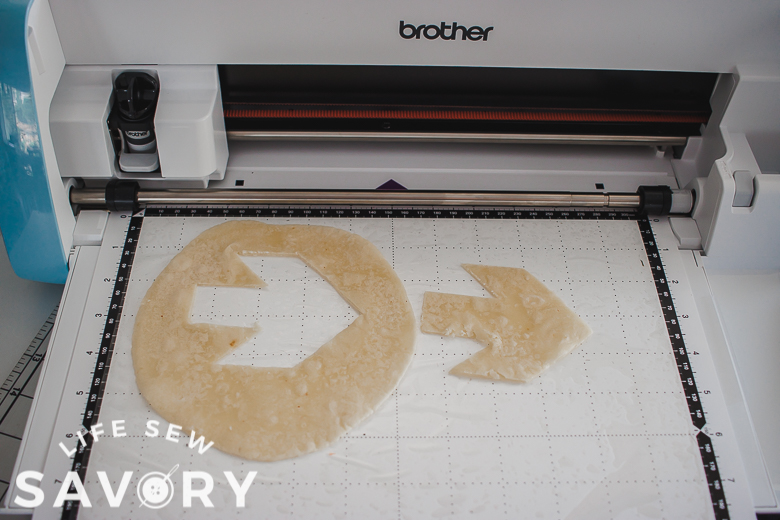
For the tortilla experiment I used a high tack mat on a standard tack mat and the auto blade. I also used my hand to hold the tortilla a bit since it didn’t really stick down very well.
Clear vinyl is easy to cut and I use it for sewing projects. Use a standard tack or fabric mat and the auto blade.
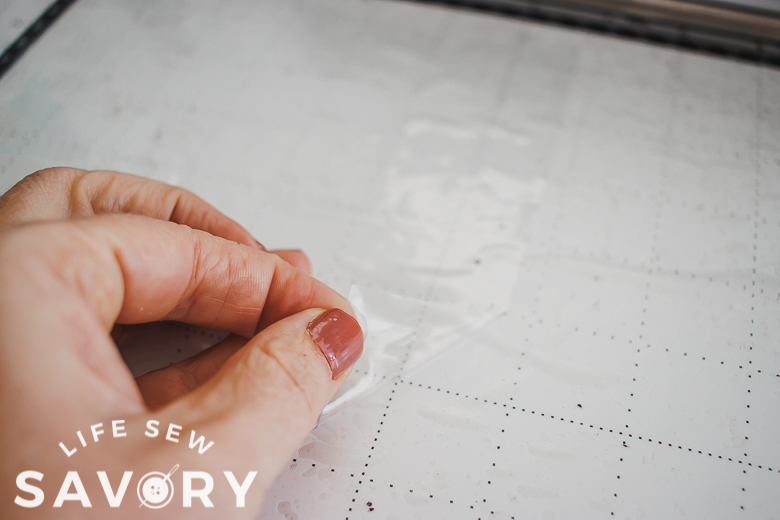
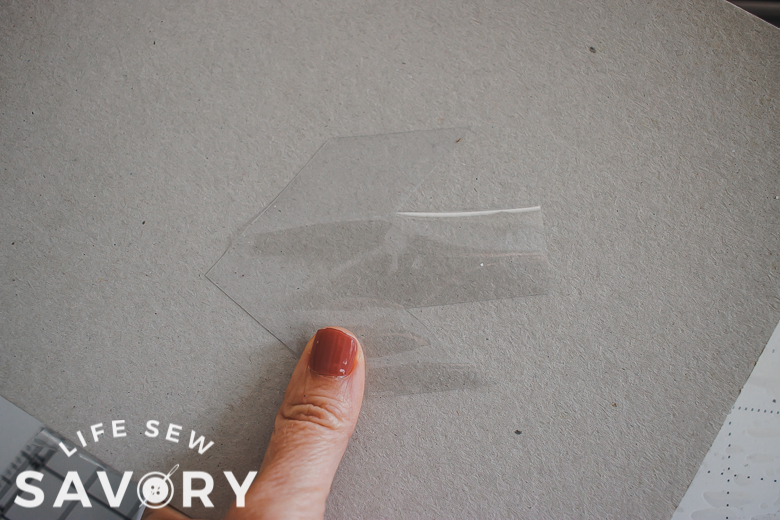
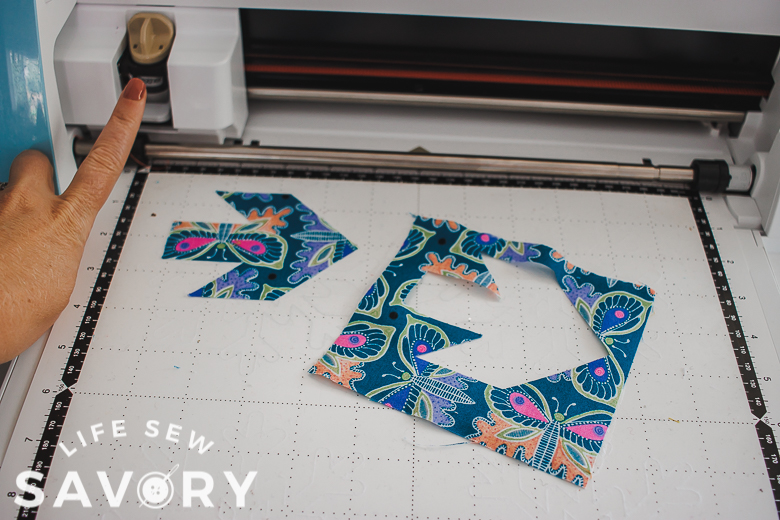
You can cut fabric a few different ways. Use the thin fabric auto blade and either the fabric mat OR the standard mat with a high tack sheet.
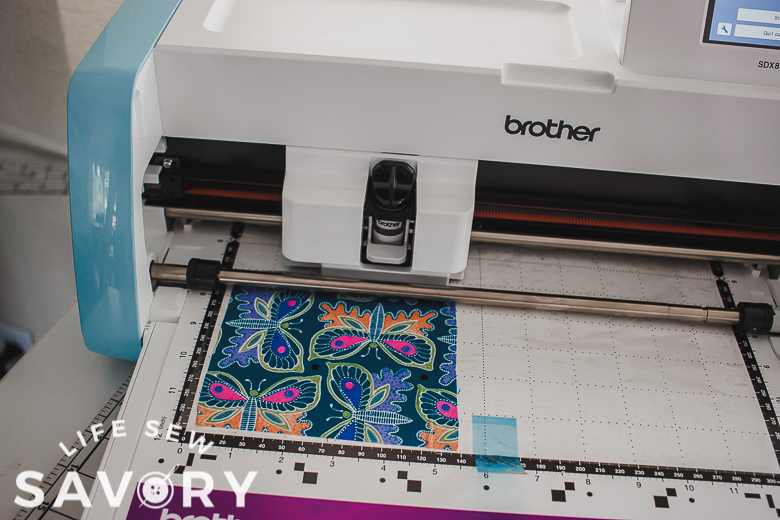
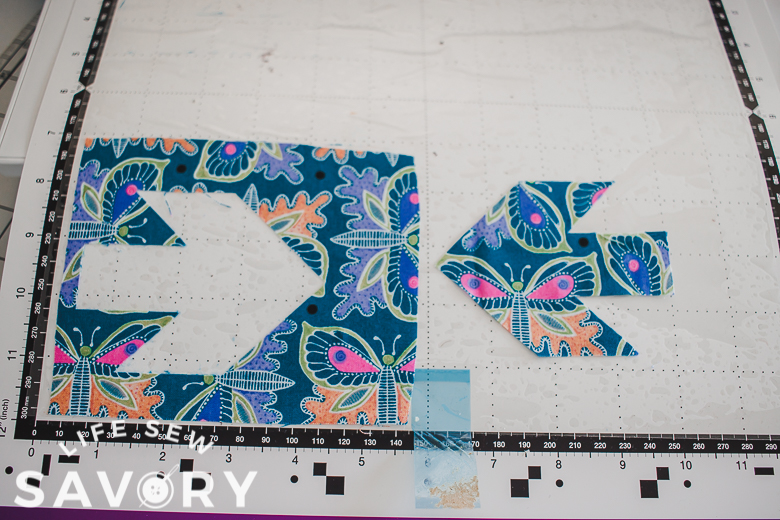
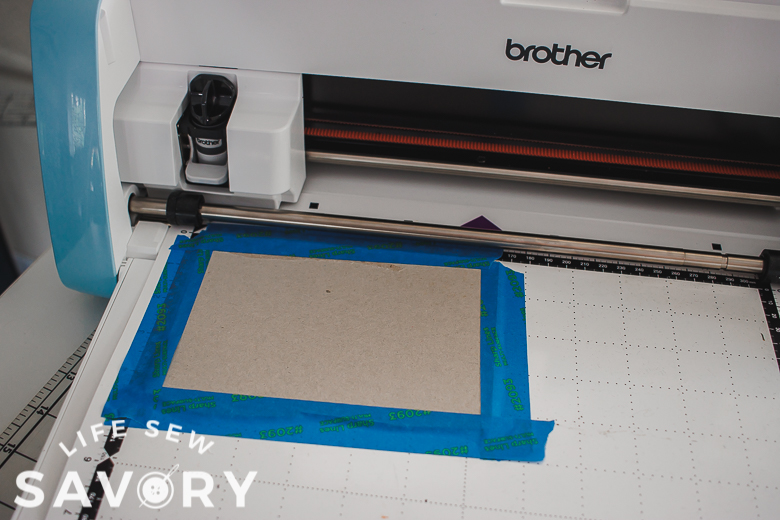
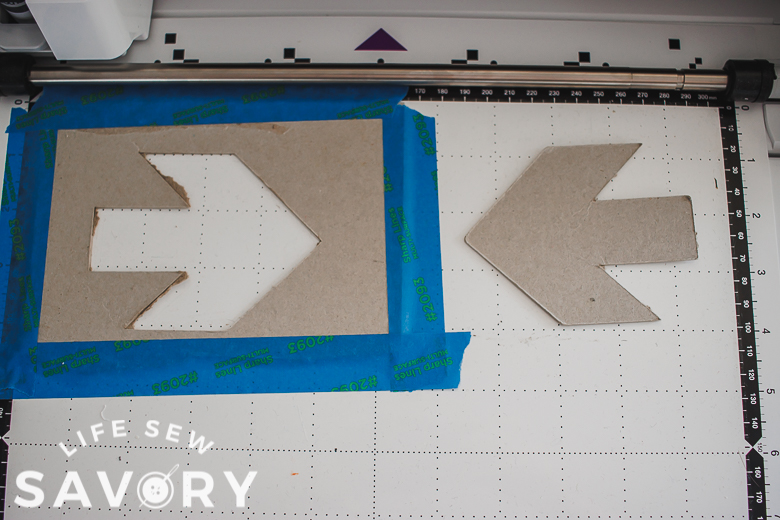
With some really thick or hard to stick items you may need to use tape to help hold to the material to the mat. I used this for the cardboard. Once I taped it to the mat it cut perfectly. Use masking or painting tape when taping to the mat. I used the standard tack mat and auto blade.
Sticky vinyl is easy to cut with a standard mat and auto blade. Make sure to switch to the half cut setting.
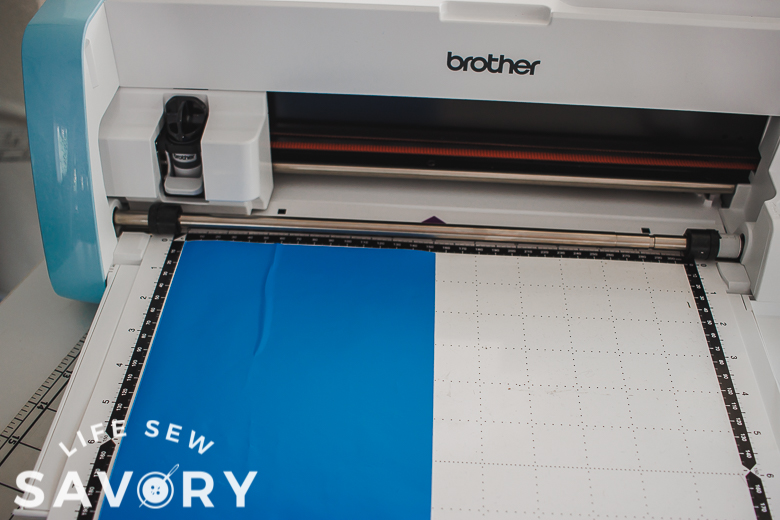
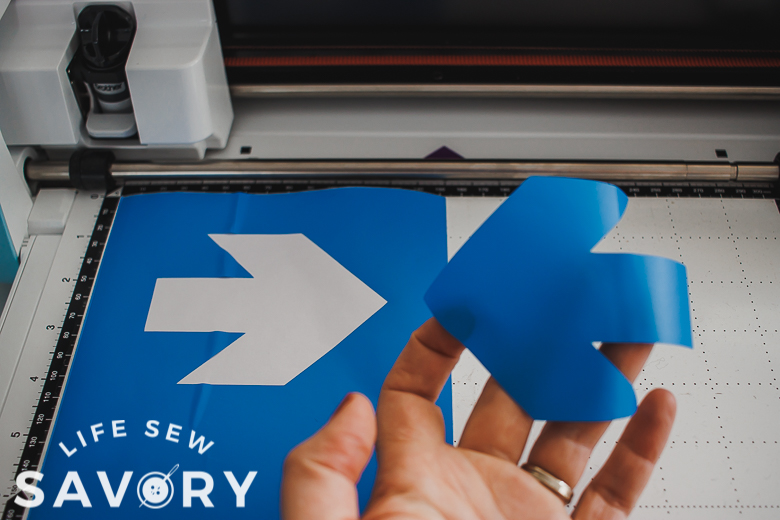
Heat transfer vinyl is cut the same as sticky vinyl. Standard mat and auto blade with half cut. Also, if you are cutting text make sure to reverse before cutting since we are cutting on the back side.
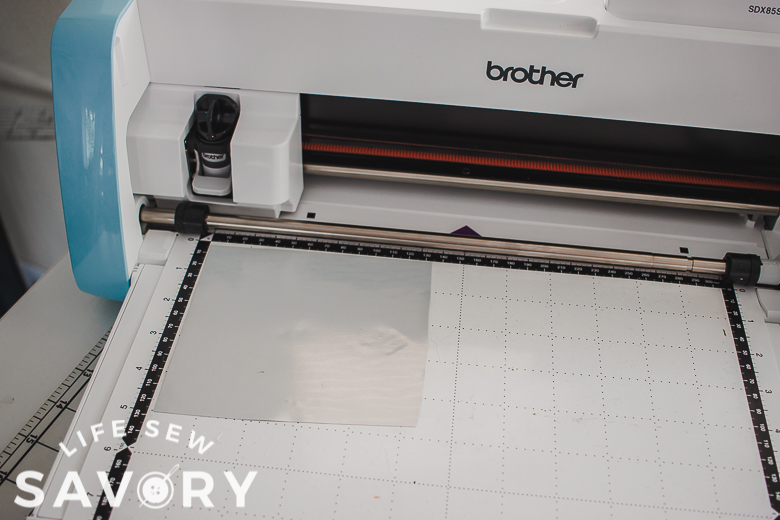
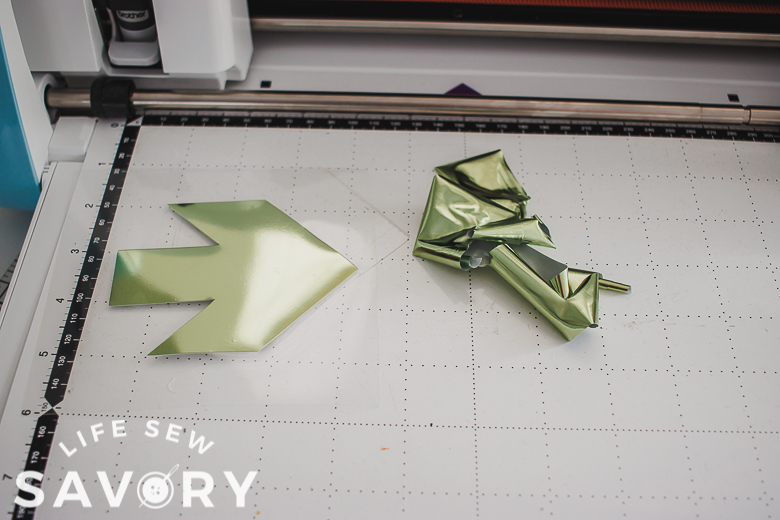
Cut paper with with the low tack mat and standard blade.
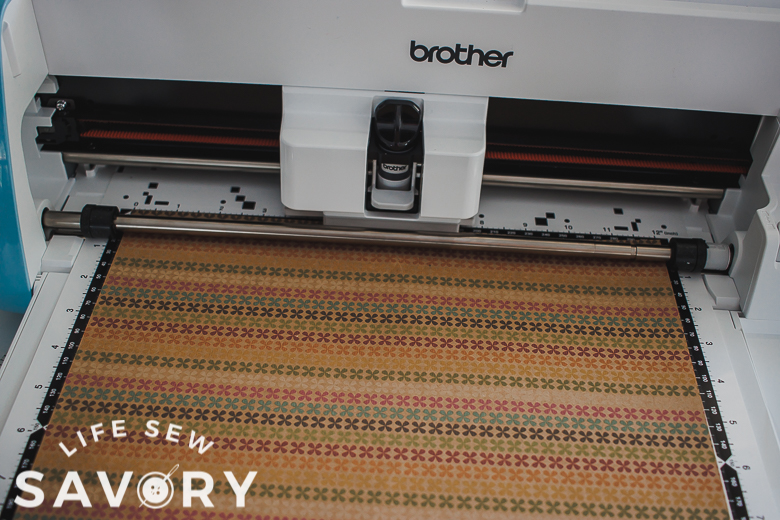
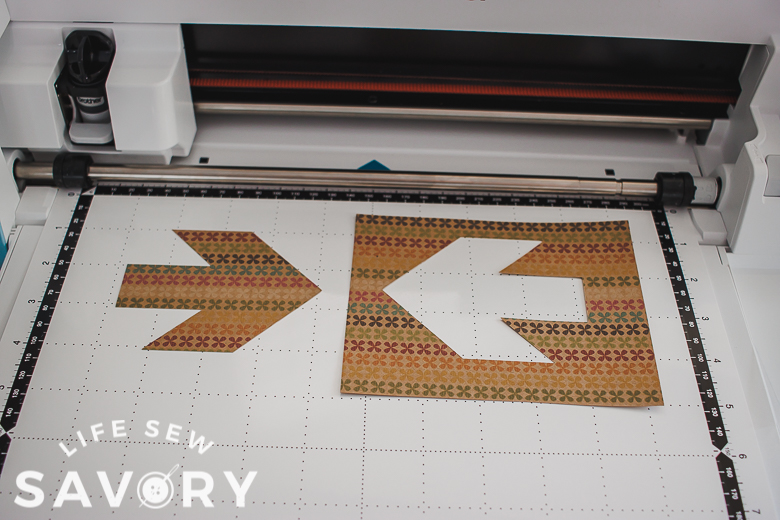
Pleather can be cut with the smoother side down on a standard mat and auto blade.
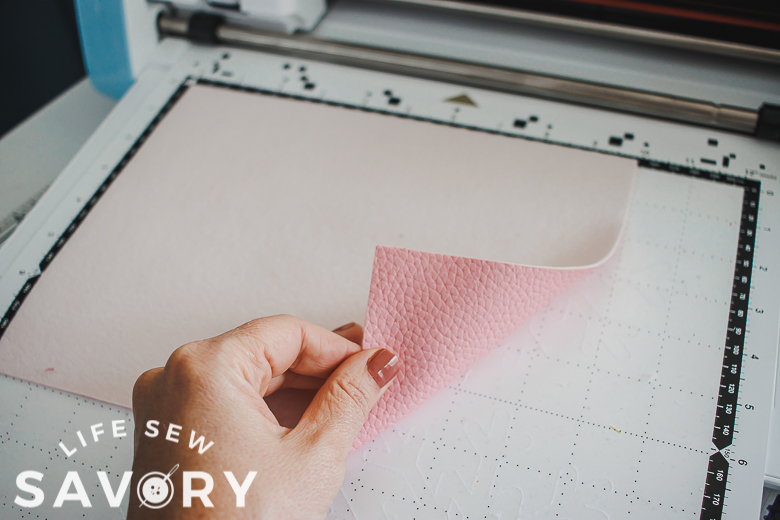
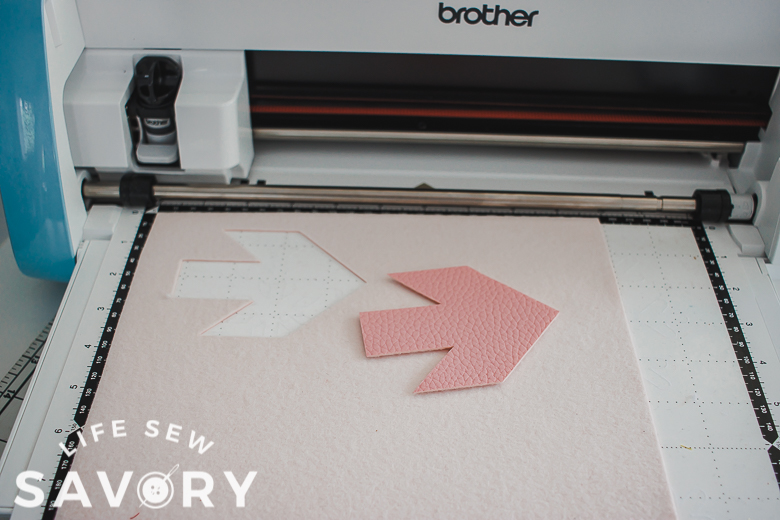
Felt is best cut with a high tack sheet OR the fabric mat and regular auto blade.
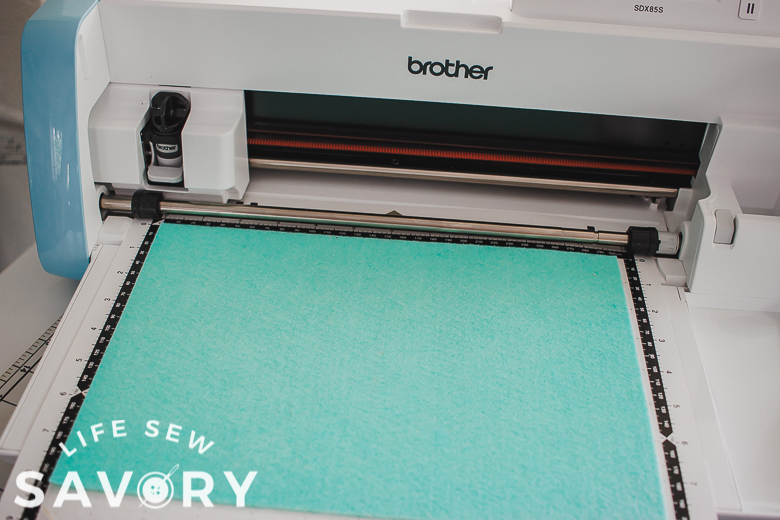
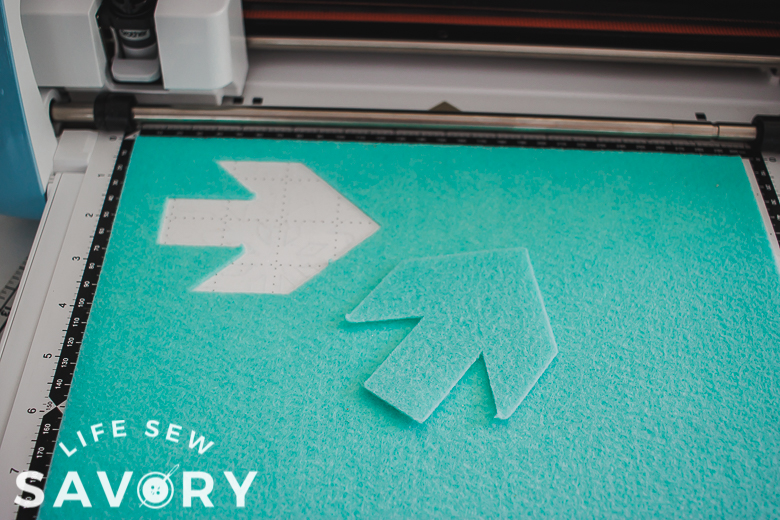
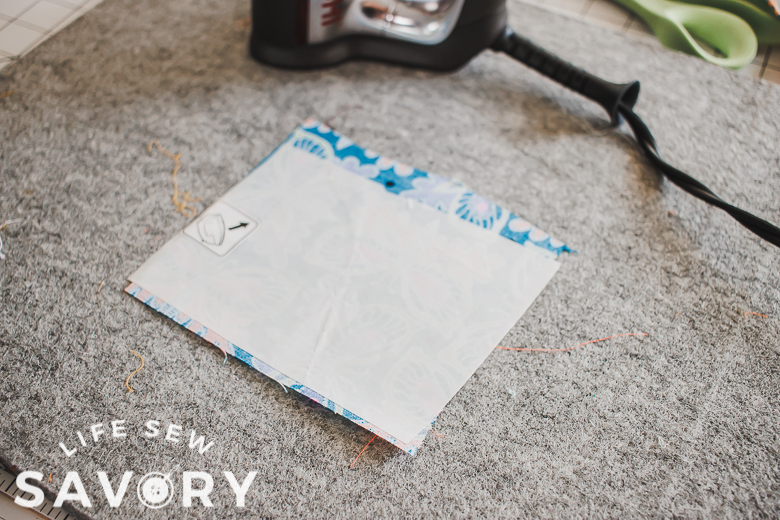
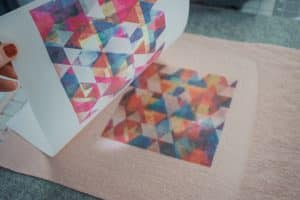
The iron on fabric sheets make cutting fabric smooth as butter. Iron it on the back of the fabric and then cut with the fabric blade and fabric mat. This iron on backing is perfect for appliques and fabric that will not be sewn in a seam as it keeps the edges from fraying.
ok! That was my fun for the day! What have you cut with your ScanNCut? There are so many fun and amazing projects to make.





diane says
Very helpful, thanks! I bought my scan and cut second hand, and have no clue how to use it. Company directions are not very helpful.
Lu K says
Has anyone tried cutting Matt board for picture framing. Wondering what mat and blade, but i don’t want to ruin my machine.