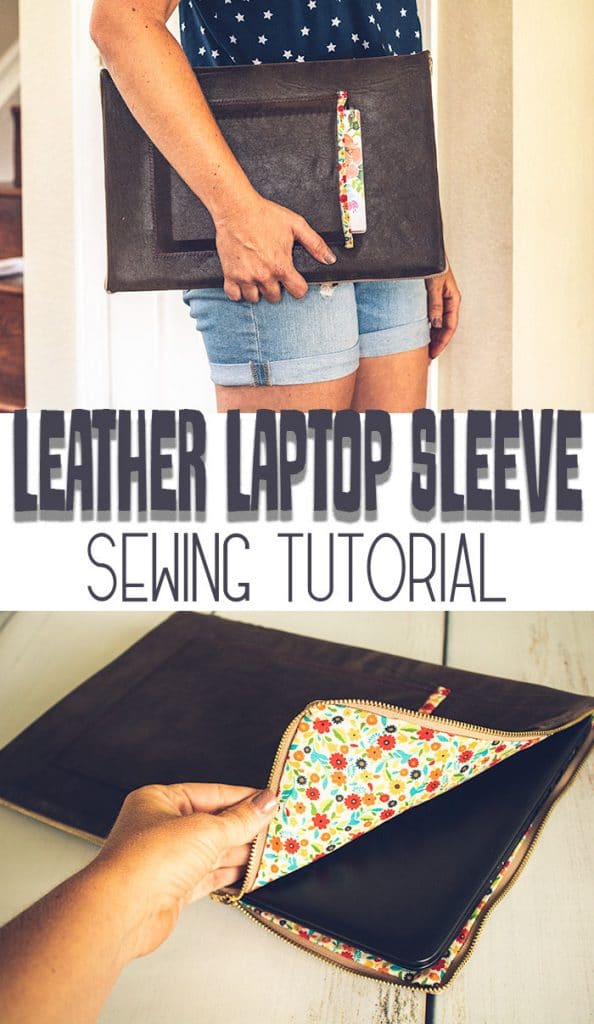
inside: learn how to sew a zippered laptop/tablet case with this sewing tutorial. Make a padded case in any size to hold and protect your electronic devices.
I recently got a new computer… this time I went for smaller and lighter with the hope that I will get to travel again soon! Anyway, a new device means I need a new case and today I’m going to show you how to sew a zippered laptop case with this sewing tutorial. I also made a case for my kindle, so you will be able to create a zippered padded case in any size.
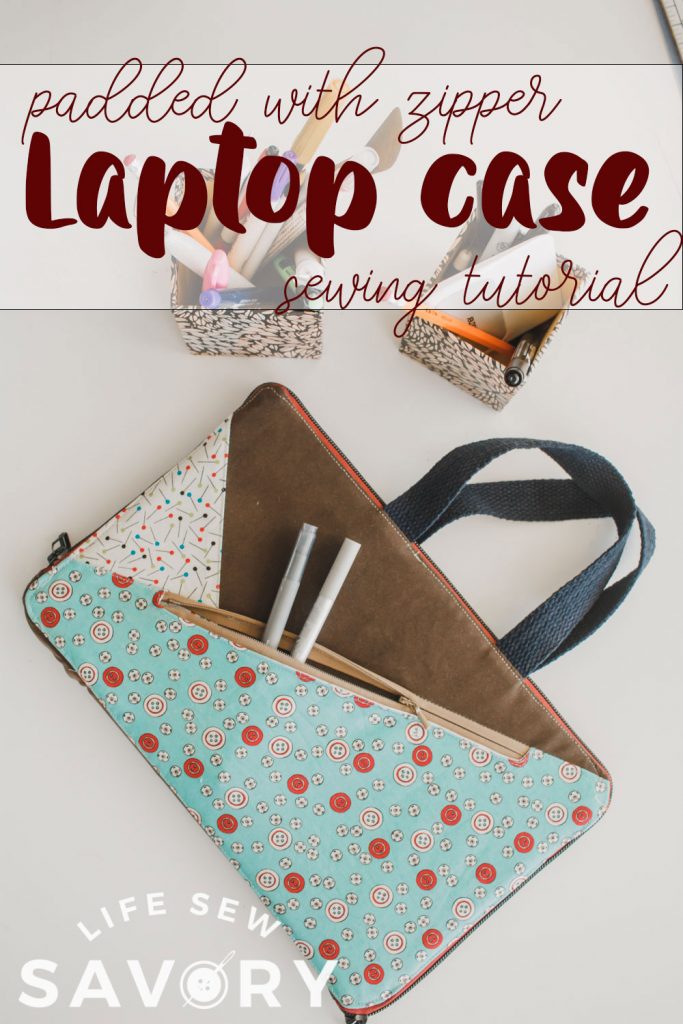
Laptop or table sewing tutorial
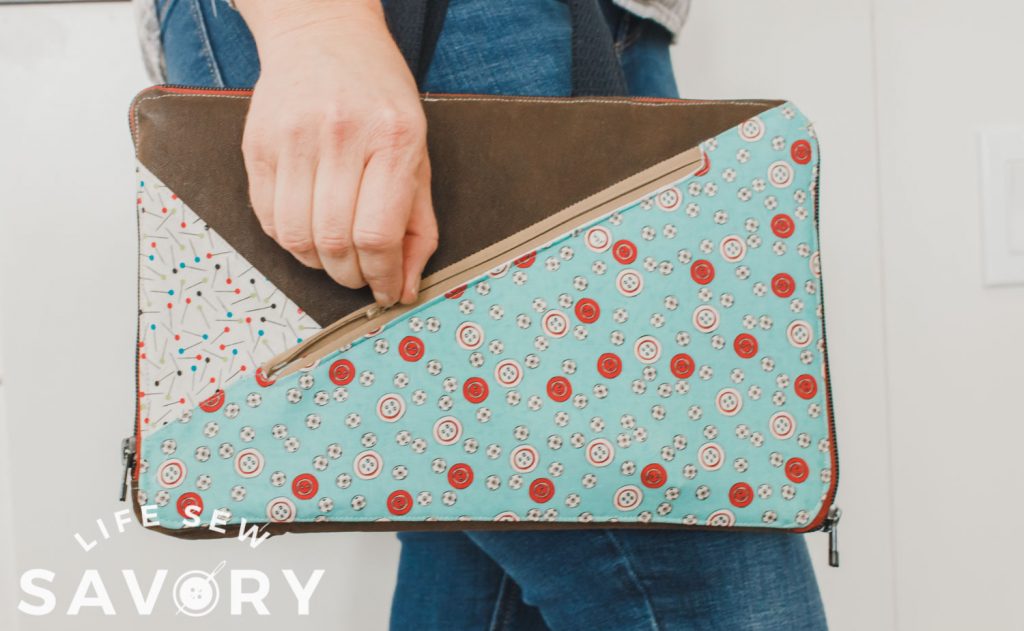
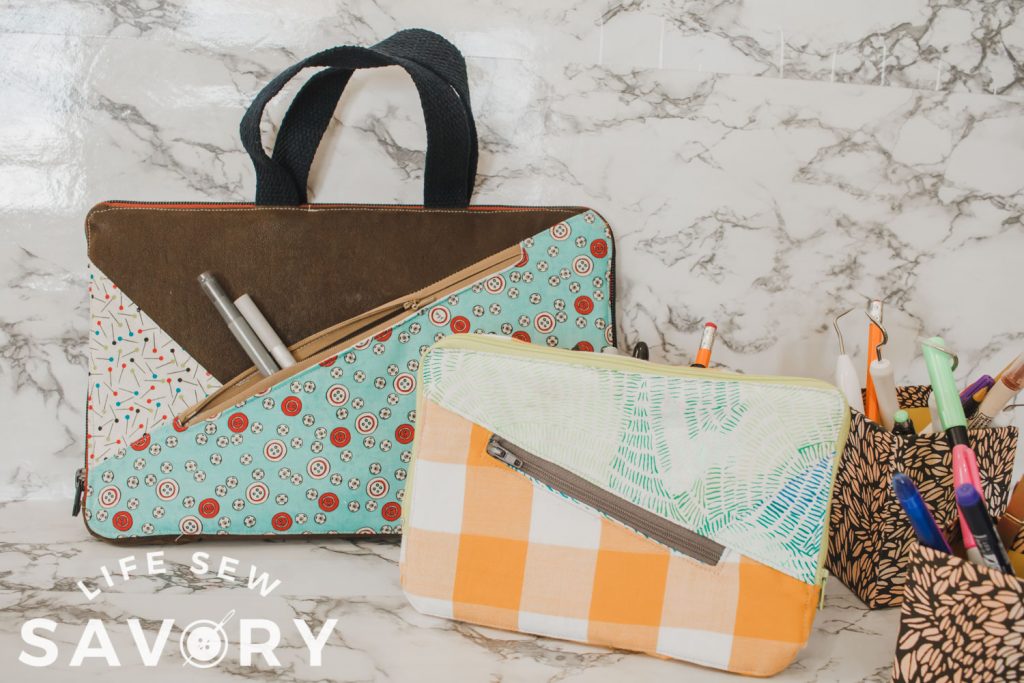
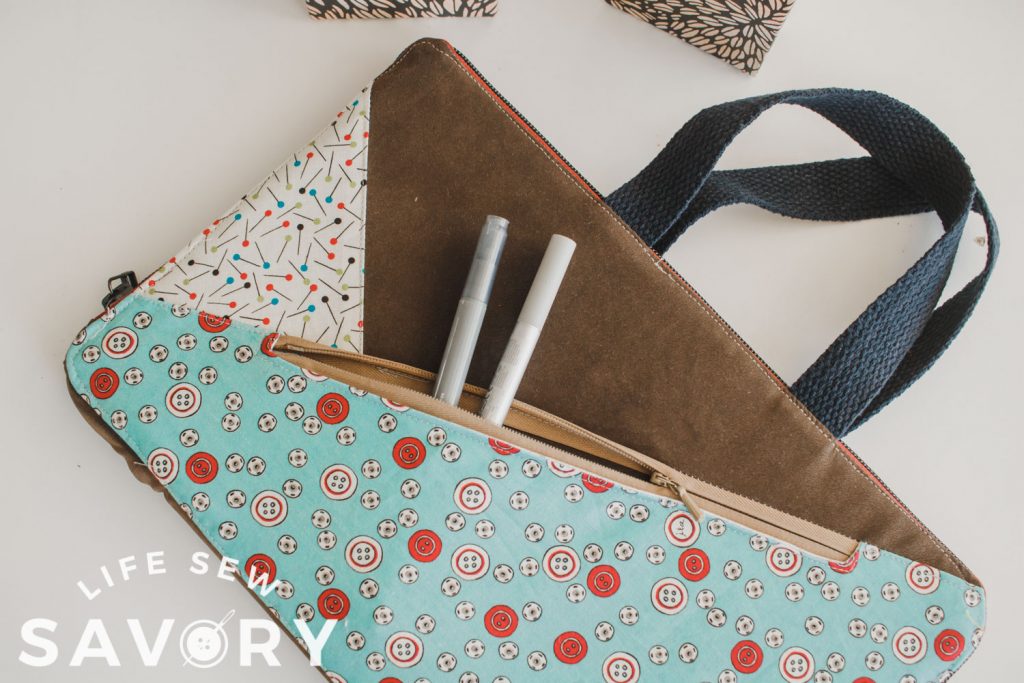
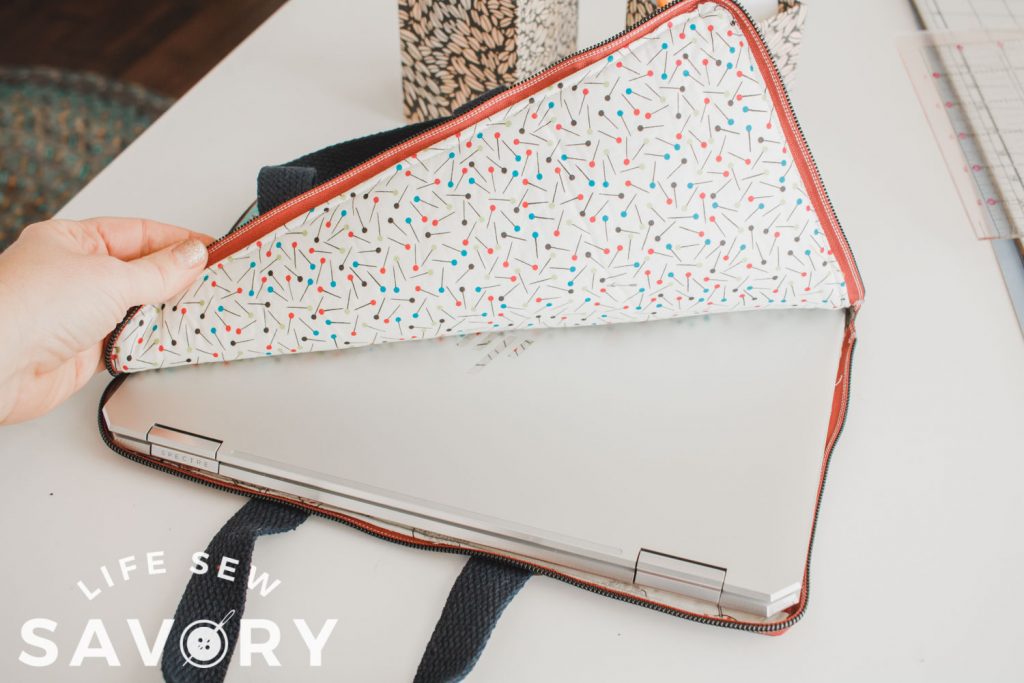
I love my new padded case! It has a fun pocket on the outside and a long zipper around the outside. This case is cute and functional and just what I was looking for.
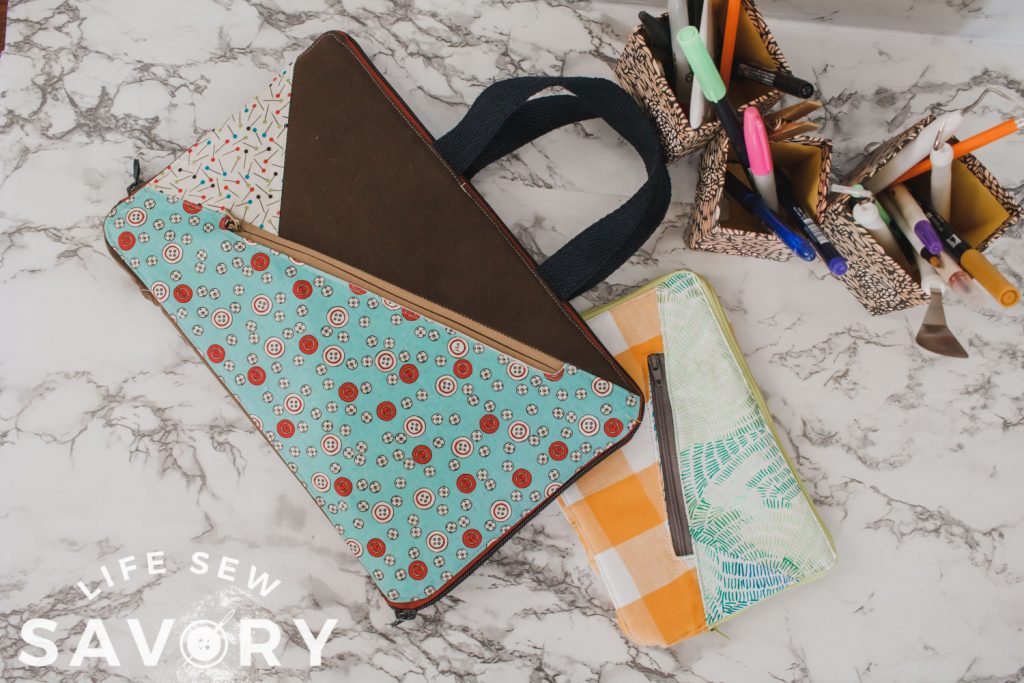
I made two different size cases for this tutorial and both turned out so cute. I was able to make some improvements between the first and the second and I’m excited to share the the best methods with you today.
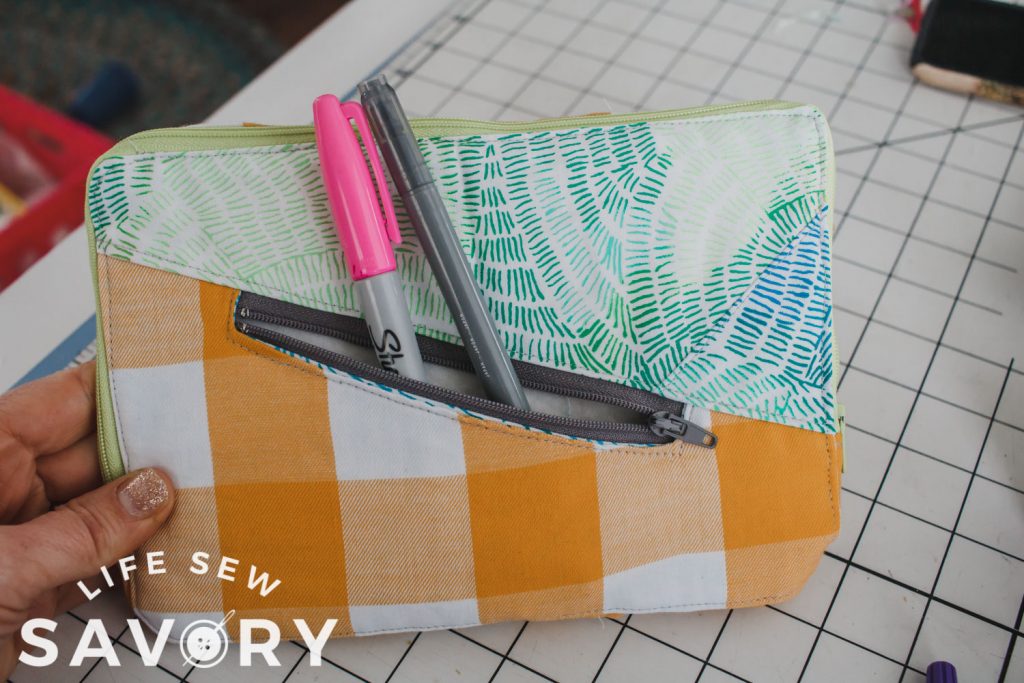
I adore the angled zipper pocket on the front as well. This little detail as well as the piece front adds a fun detail that you can sew to fit your style .
You can also add handles or not… I’ll show you both ways to sew this case.
Grab some fun fabric and a long zipper and let’s get sewing.
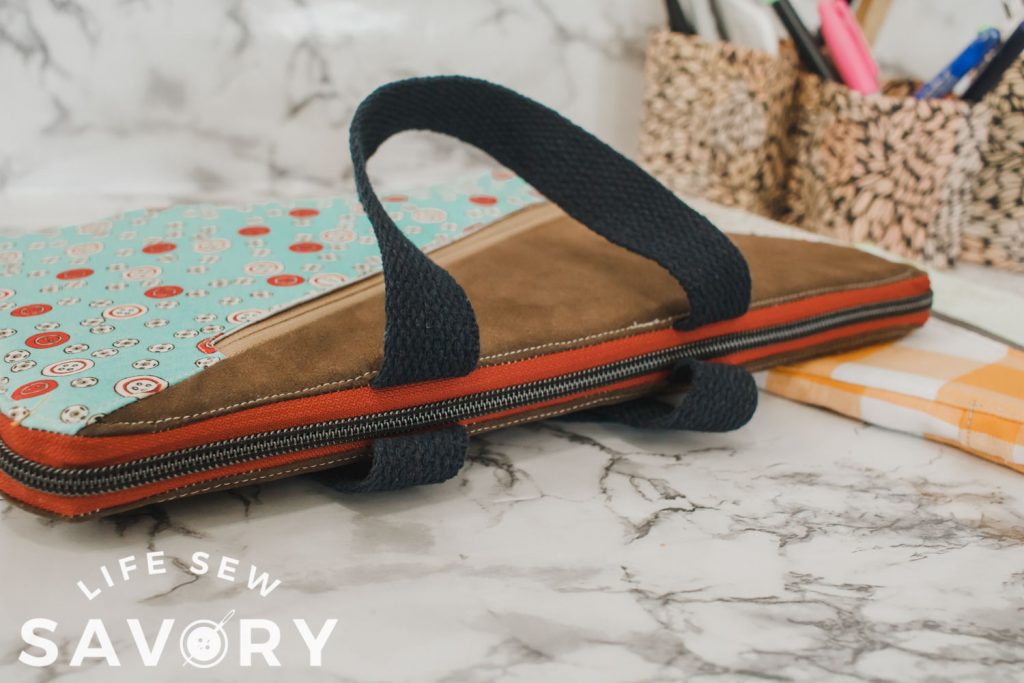
Padded electronic case sewing tutorial
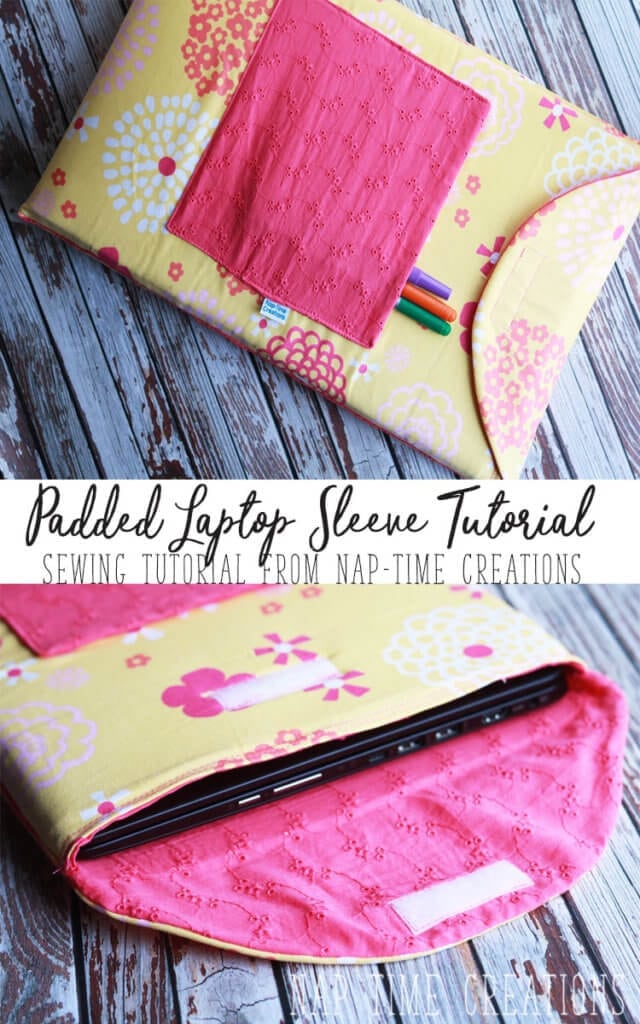
Here are a few other electronic and computer case sewing tutorials I’ve offered in the past. Each is a bit different so check out which version of laptop case you want to sew. All of these are tutorials that you can customize the size you need.

Laptop cover tutorial 

Sew a zippered laptop case
Let’s use this zippered laptop/tablet case sewing tutorial to create something amazing!!
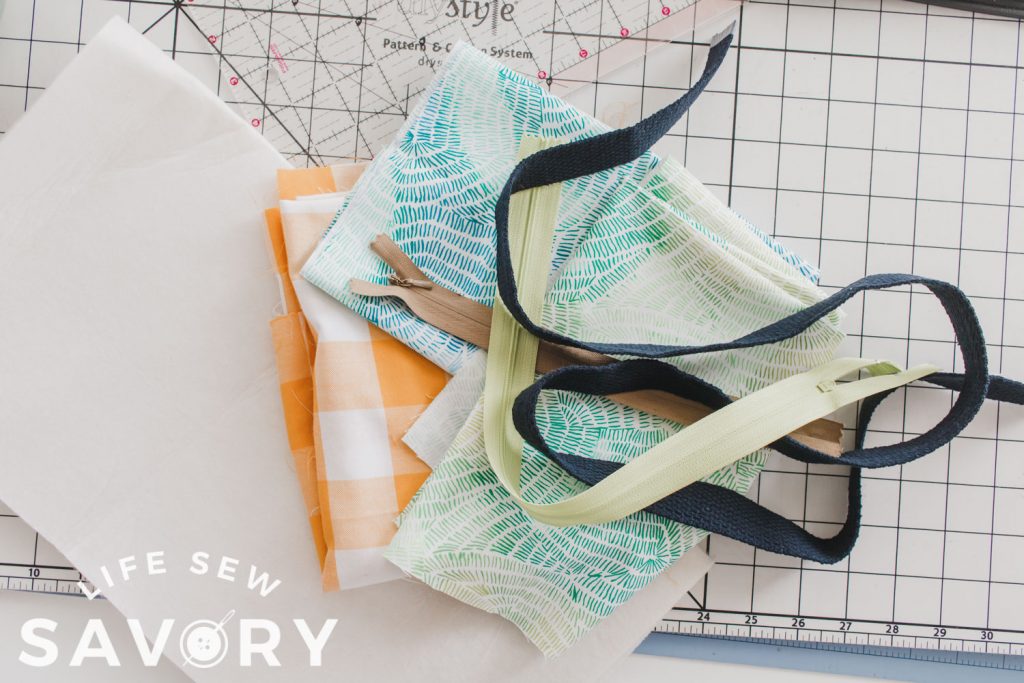
Supplies Needed for this Laptop Case –
- Long Zipper 18″ {for tablet} 30/36″ {computer size}
- fabric 1 yard OR 1/2 yard and 2 fat quarters
- I like the variety, so I would go with more colors/patterns
- Fusible Foam
- 8-12″ zipper for outside pocket
- optional strapping
Begin by measuring your device. You also want to measure the zipper.. I like to just eye it up by placing the zipper around like this as well as taking measurements. The zipper should go around 3 sides of the device.
The actual measurement of the kindle is 6.5″ x 4.5″ We will use those measurements when creating the zippered case with padding.
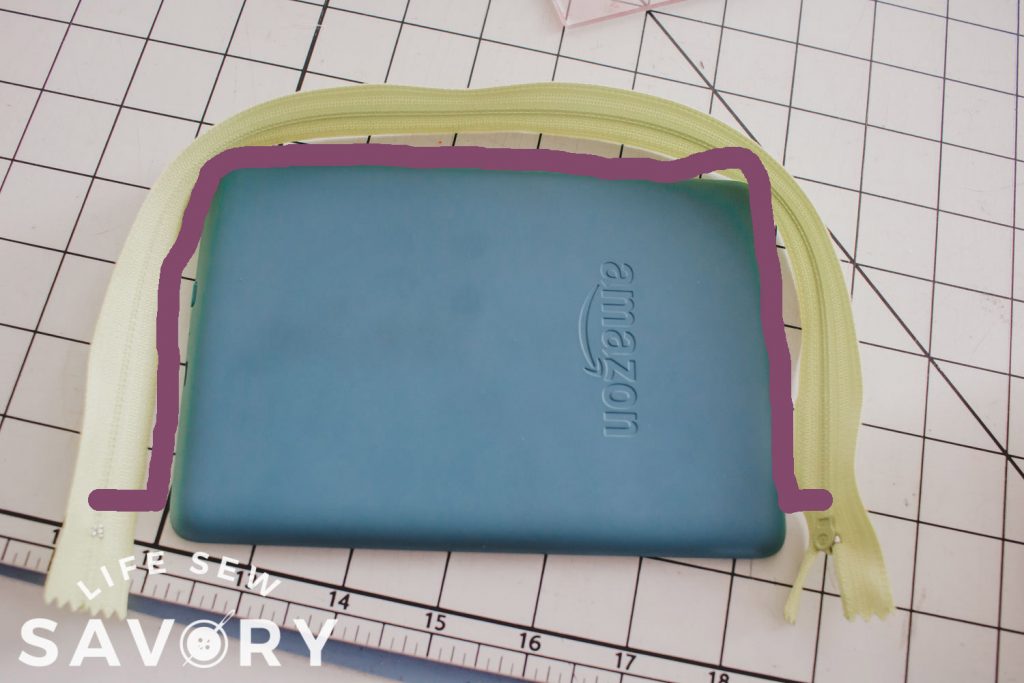
You will take the actual measurement and add 1″ seam allowance if you want a tight fitting case or 1.5″ seam allowance if you want it a bit looser. I will be using the measurements of 6″ x 8″ for the kindle case.
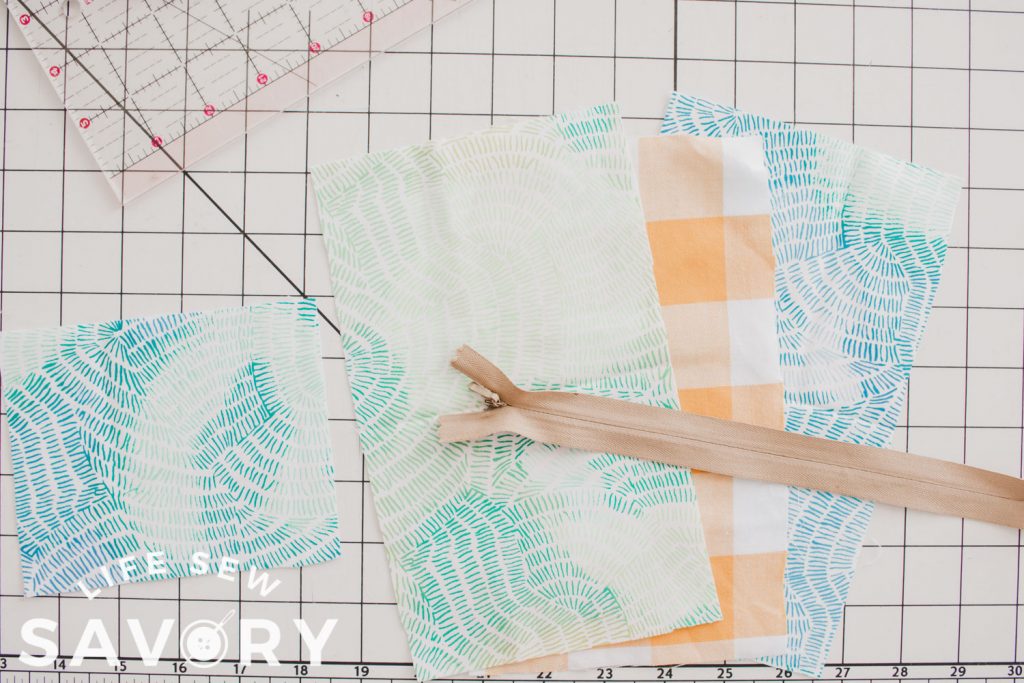
We will start by creating the front of the case with the angled zipper. Cut 3 pieces of fabric for the zippered front side and cut all of them with the measurement we created above. 6″ x 8″ cut three for front… also cut 1 more that is half of this 6″ x 4″.
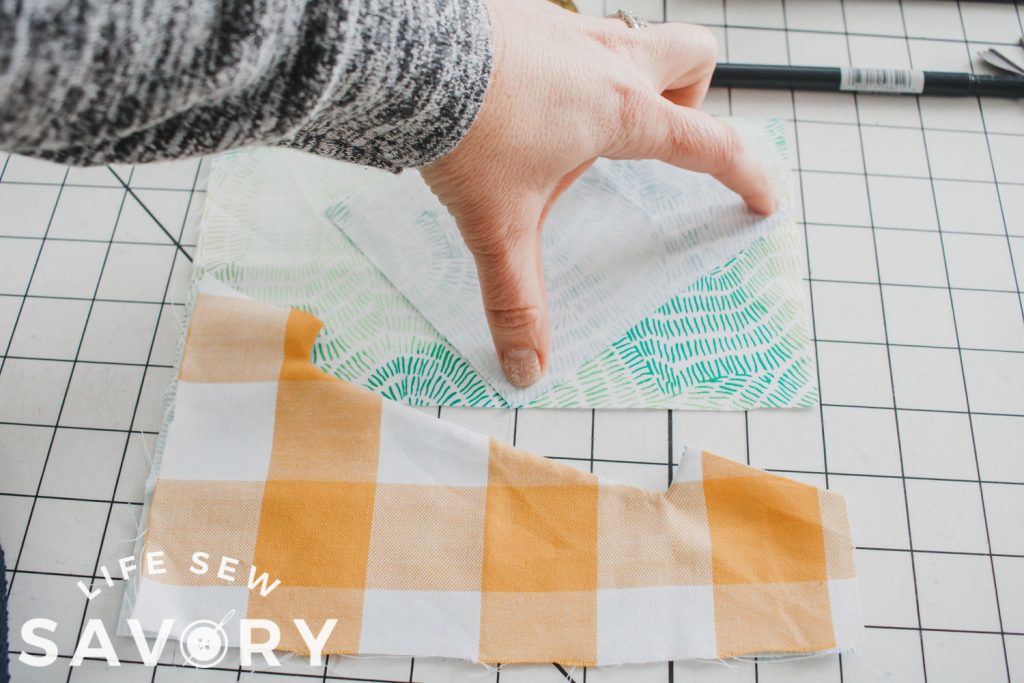
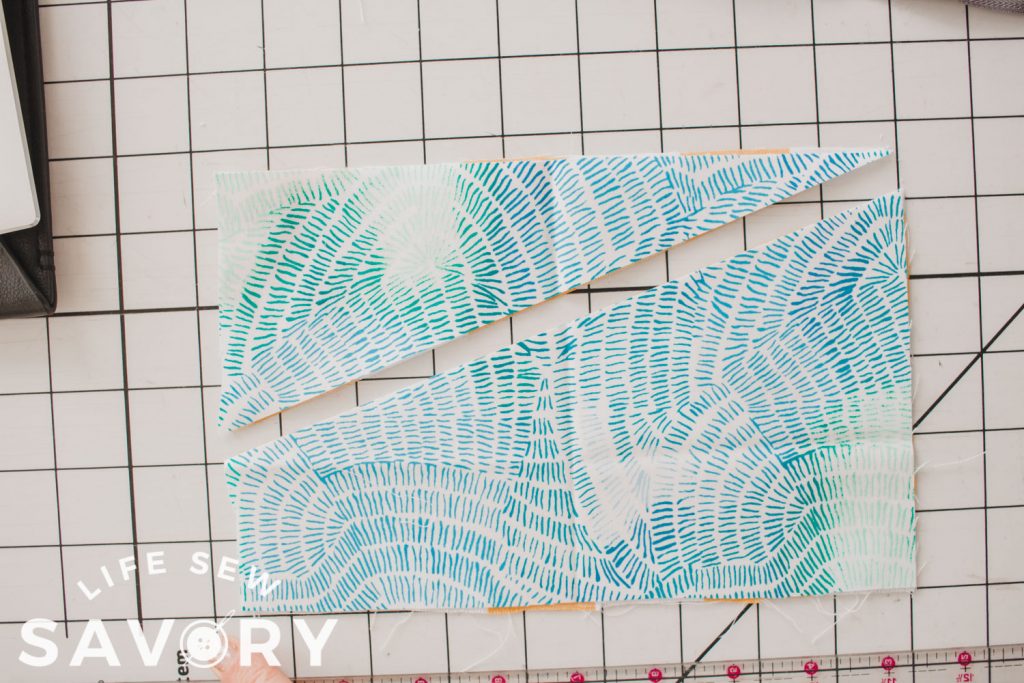
Take you front zipper {mine is 8″} Find the fabric you want for your bottom front {photo right} Measure up 2″ from either the left or right bottom and then angle up to the opposite top corner. See photo for example. Cut another piece of fabric to match with the angle.
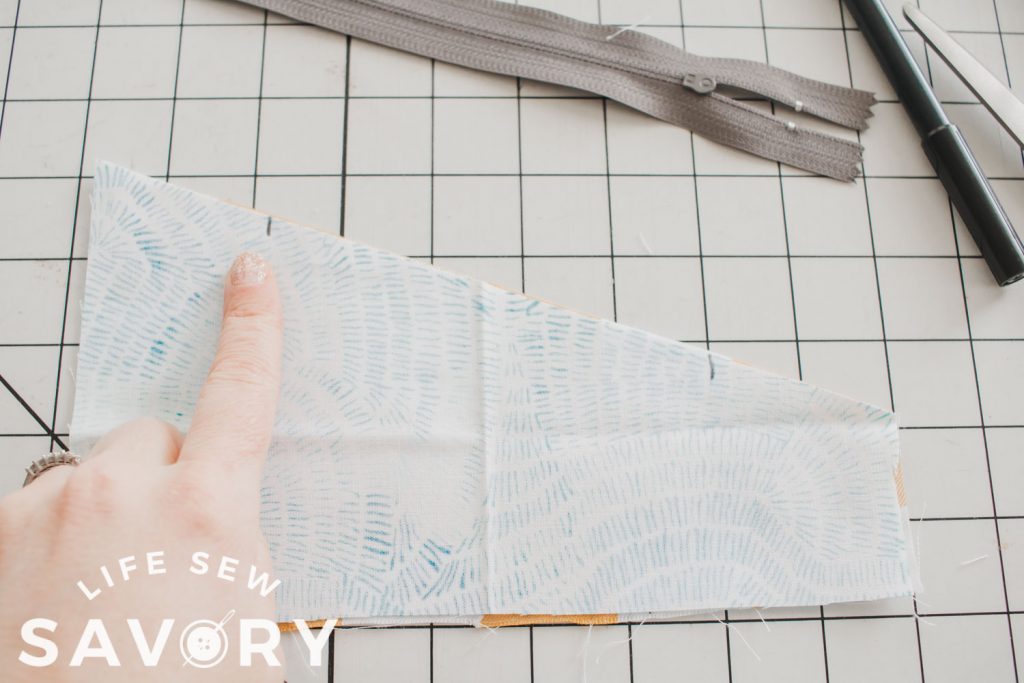
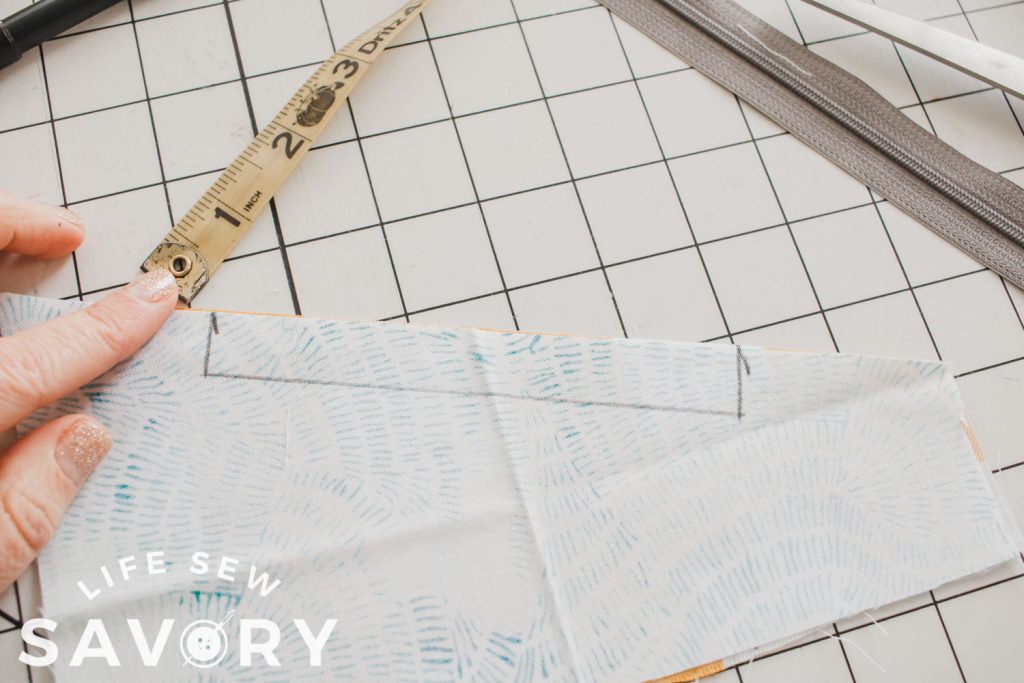
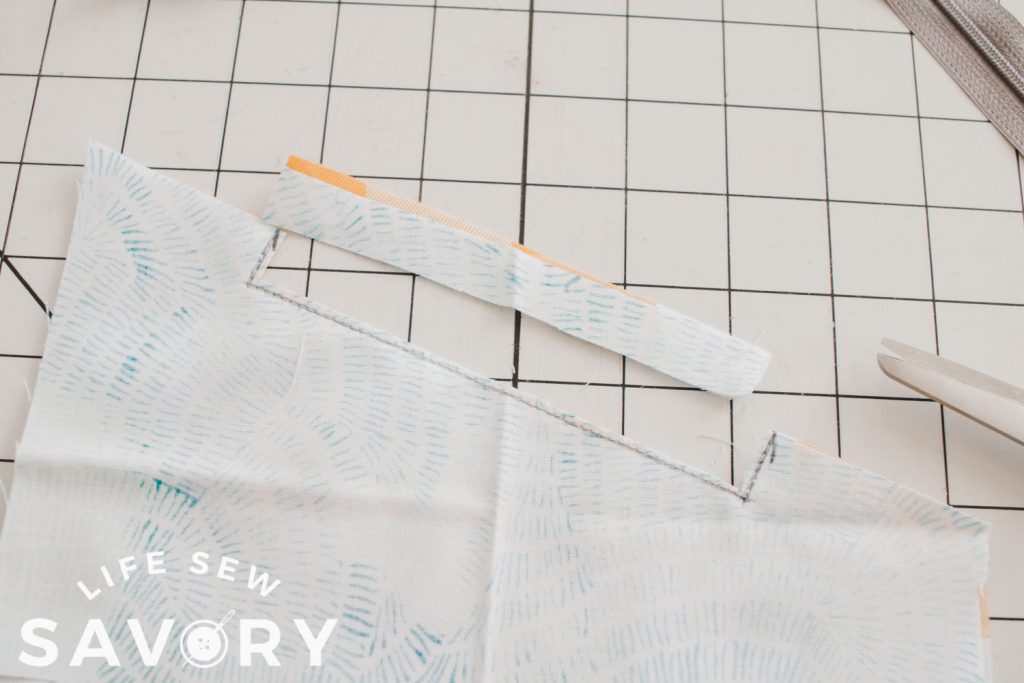
Place these two angled pieces right sides together {top left photo}. Mark 2″ from either side of the angled edge. At a right angle mark 3/4″ down from the edge, then draw a line parallel to the angled edge. I used a fabric pen to mark.
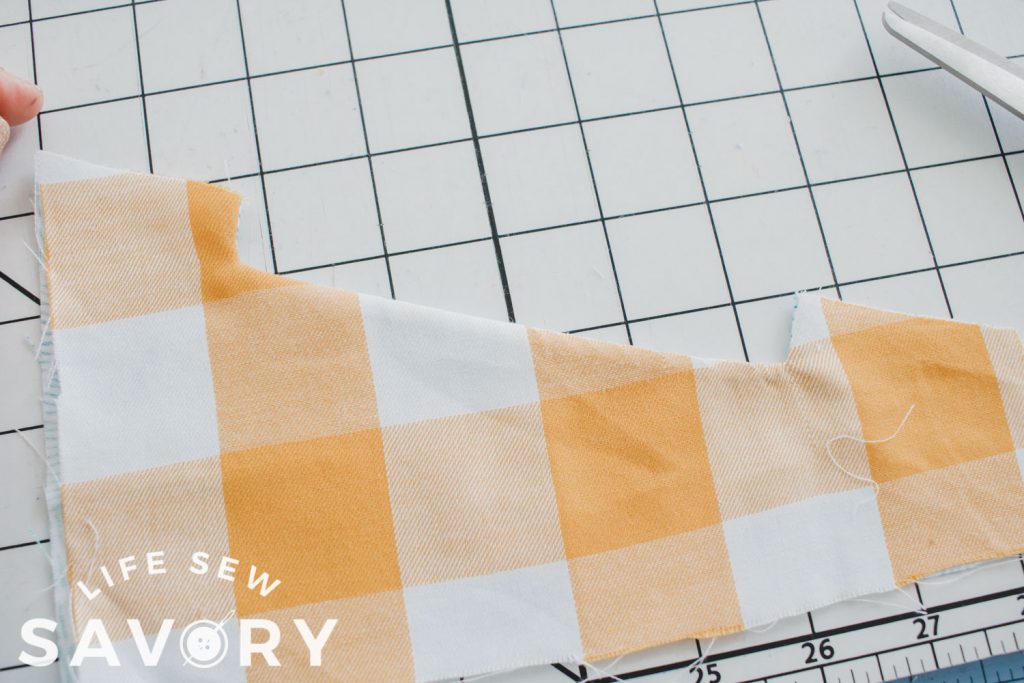
Sew on the lines you drew on the fabric. Then cut out this piece and turn fabric right side out and press.
Take another one of the full front and the half piece. With right sides together place the half piece on the front so that when it’s flipped over it will create the triangle piece above the zipper.
You may need to play around with this placement. Scroll down for more pictures of this. Sew the half piece onto the full front and then turn over and top-stitch.
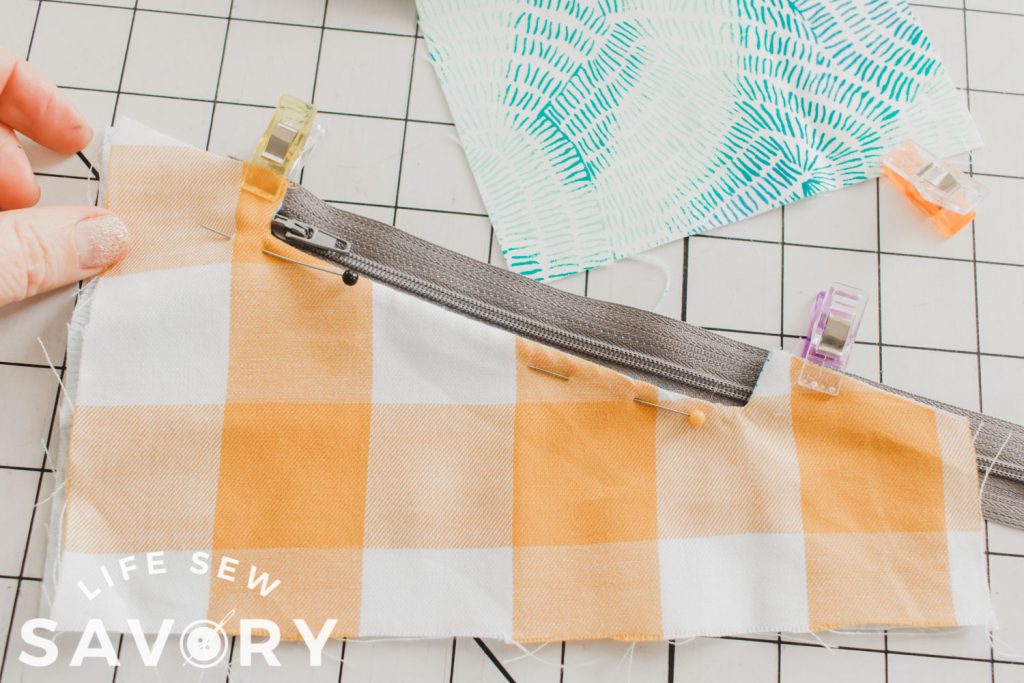
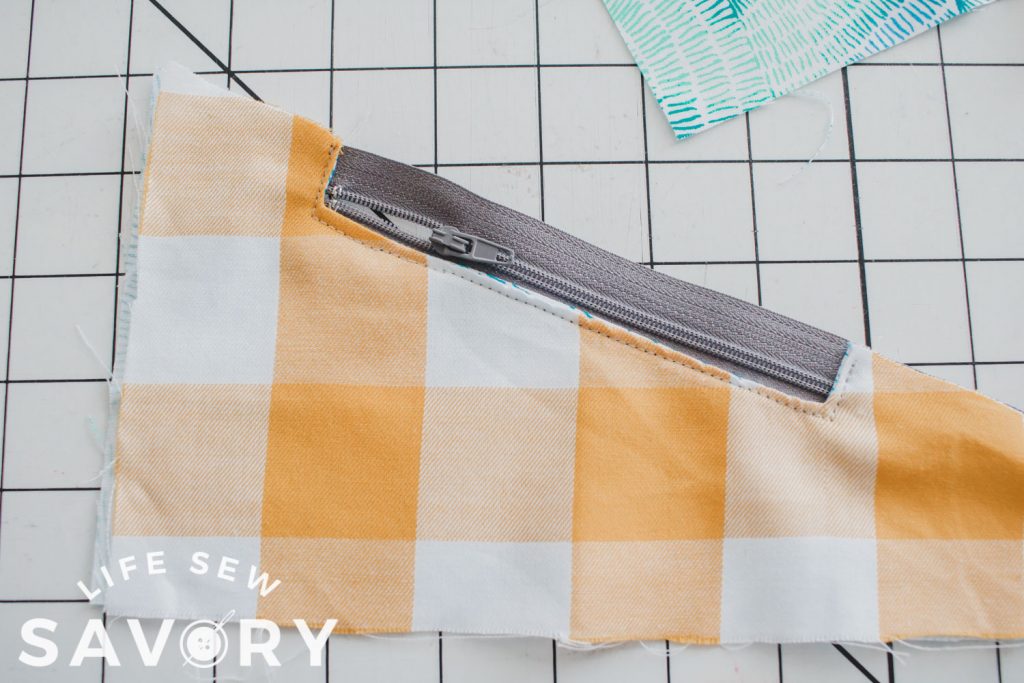
With the front and the zipper right side up place the zipper inside the hole you created earlier. Place the pull tab at the top of the opening. Pin and sew the zipper in place with a zipper foot. {top photos}
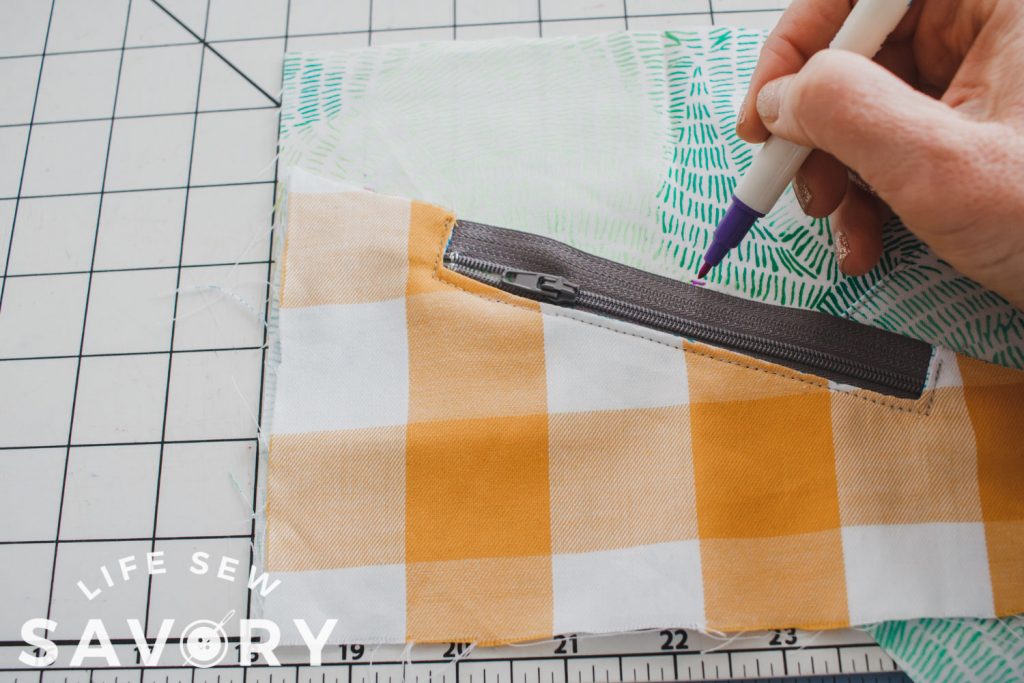
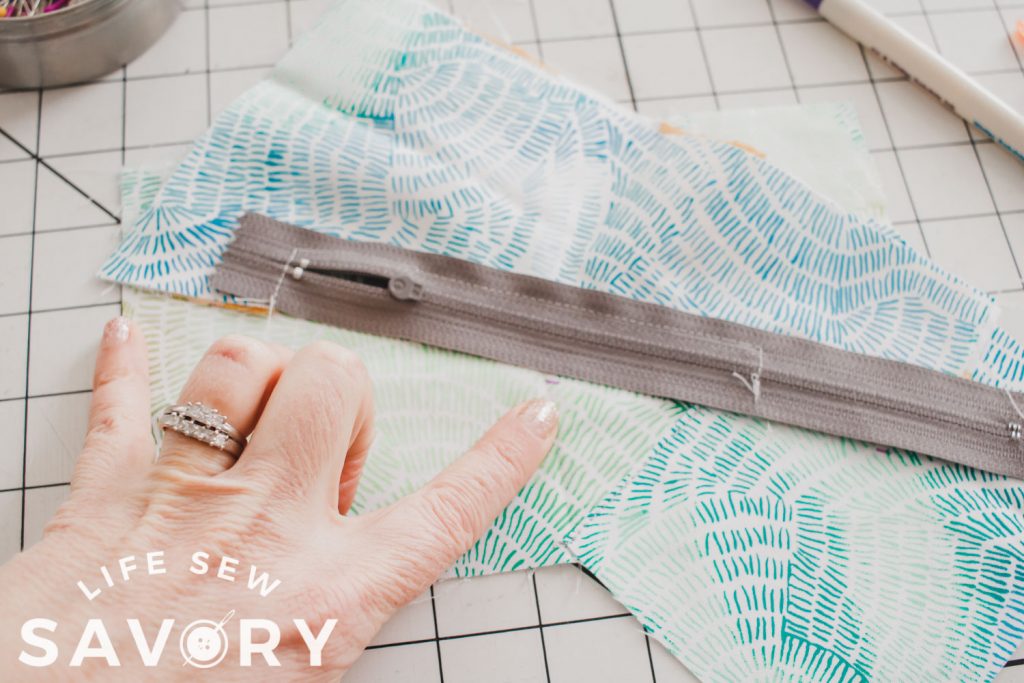
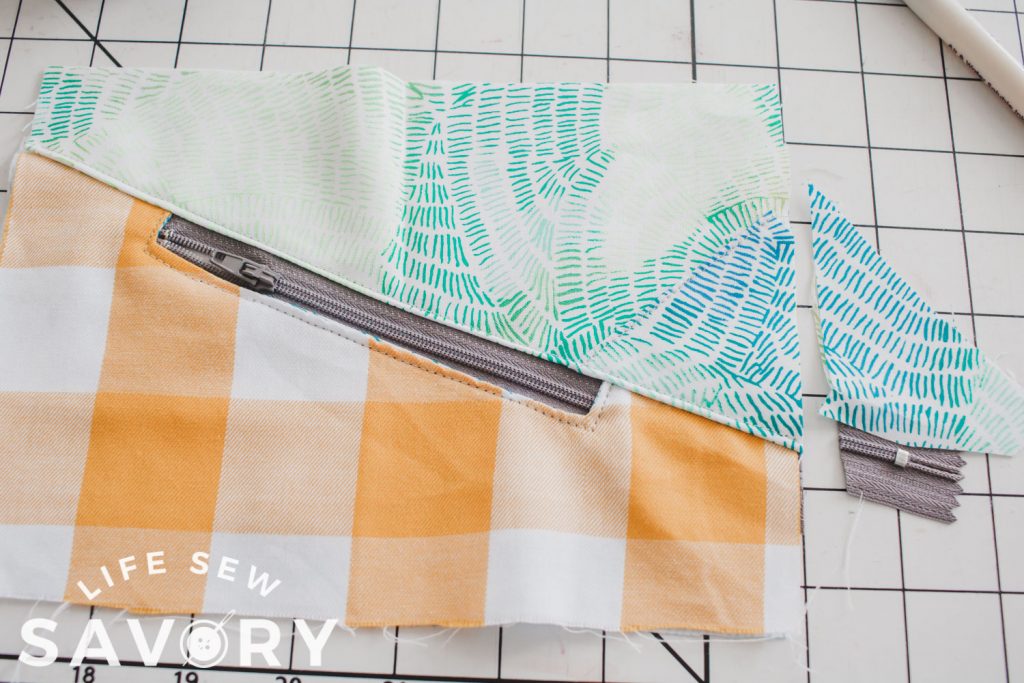
Line up the sides and bottom of the zipper piece with the other full front piece {the one you added the 1/2 piece to}. With right sides facing up on all pieces mark along the top of the zipper with a fabric pen. Flip the zipper piece up and line up marks, then sew with a zipper foot.
Flip the front back to the right side and top the 2″ on either side of the zipper along the seam. Under the zipper pocket should be the full front piece.
Now, cut two more pieces to the size of your fronts. {mine are 6″ x 8″} and fusible foam to go with them. These are the inside pieces of the case. The fusible foam should be cut smaller {cut off a 1/2 on all sides}.
Also cut the bottom pieces. The bottom pieces should be a wide as your zipper {usually 1 or 1.5″} and 2″ longer than the long side… so mine is 1.5″ x 10″. You also need foam for this bottom piece as well. Cut a this strip. Fuse the foam to the sides, but NOT the bottom {yet}
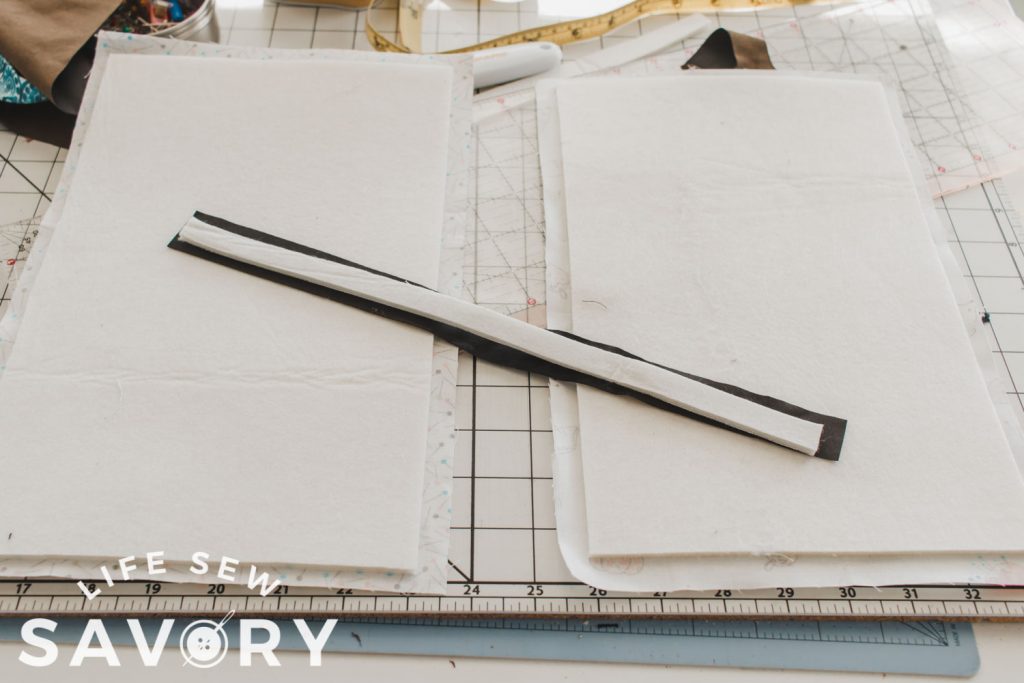
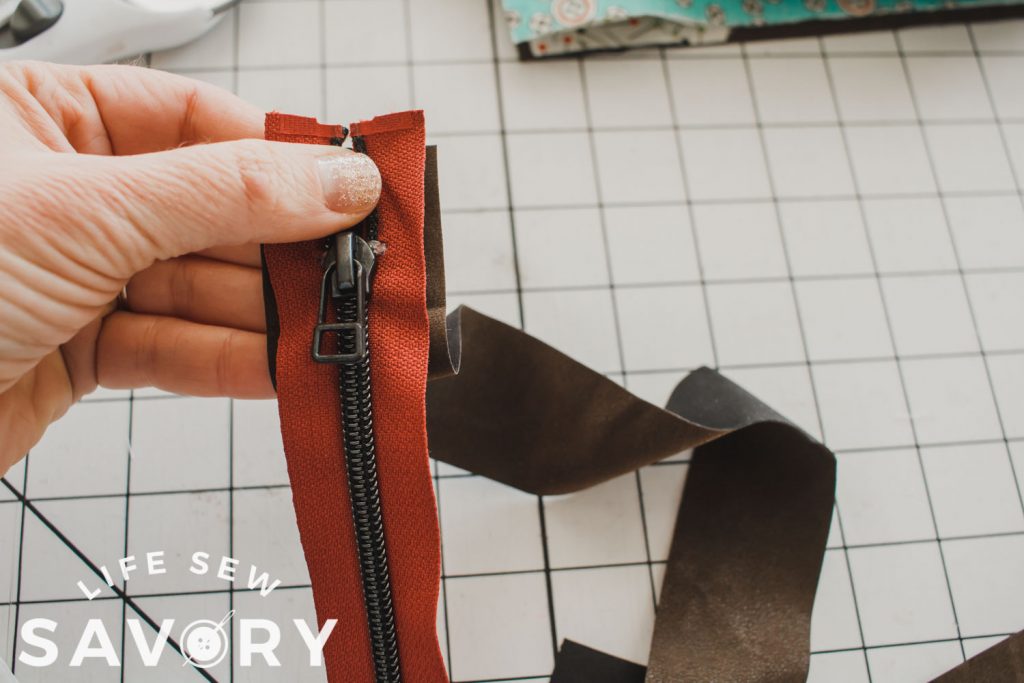
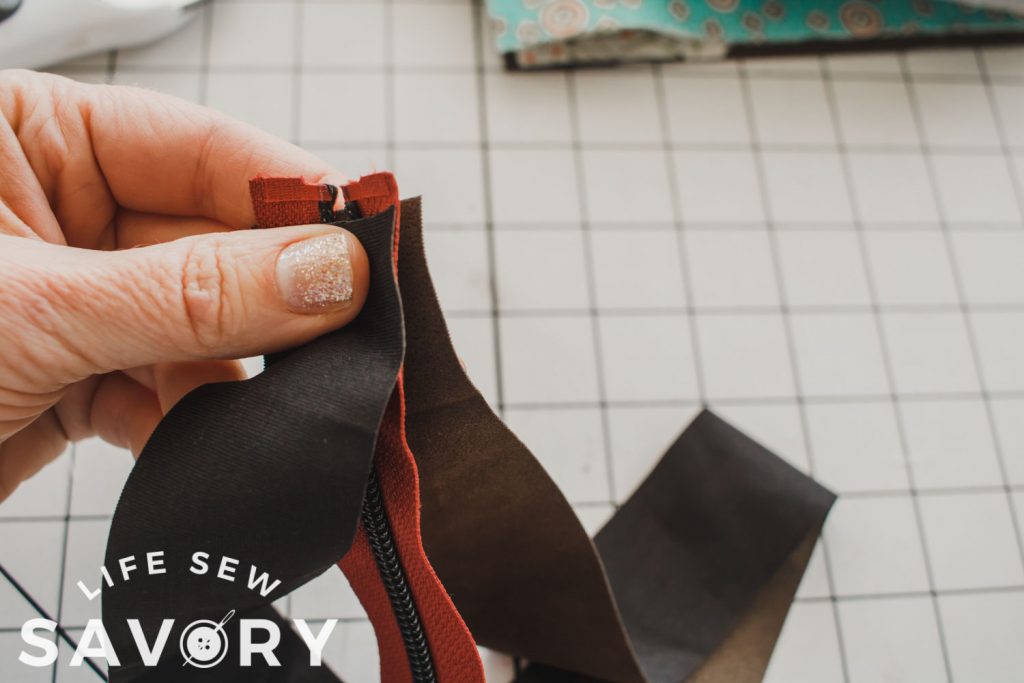
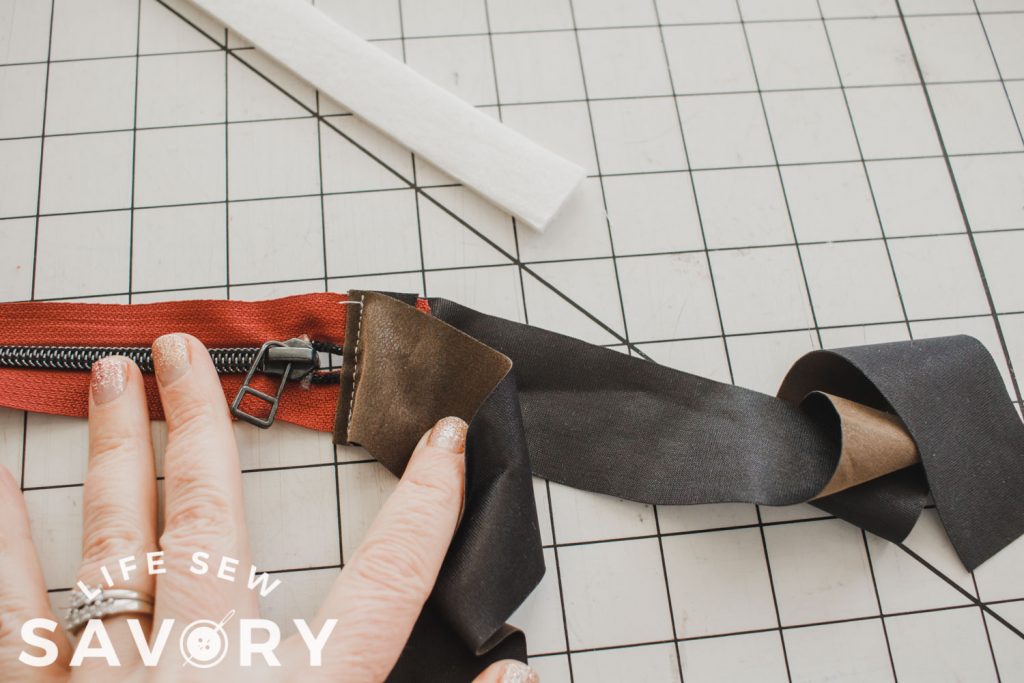
Take the two bottom stripes and the zipper. With right sides of the fabric facing the zipper. Place both pieces of the bottom stripes on either side of the zipper {make a sandwich}. Sew the three layers, then flip the fabric over and top-stitch.
Sew to one side of the zipper only. Now measure the zipper and bottom around the front panel. {scroll down to the very bottom to see my tip about the zipper placement}. The bottom fabric should cover one of the long sides and around each of the corners. Trim the zipper and fabric to match the length around the front.
Sew the fabric to the other end of the zipper just like we did on the other end of the zipper. Trim the foam to the length of the bottom now. Fuse to one side of the bottom. {I used pleather for the bottom, so had to place fabric over it while fusing…. don’t melt the fabric! {haha}
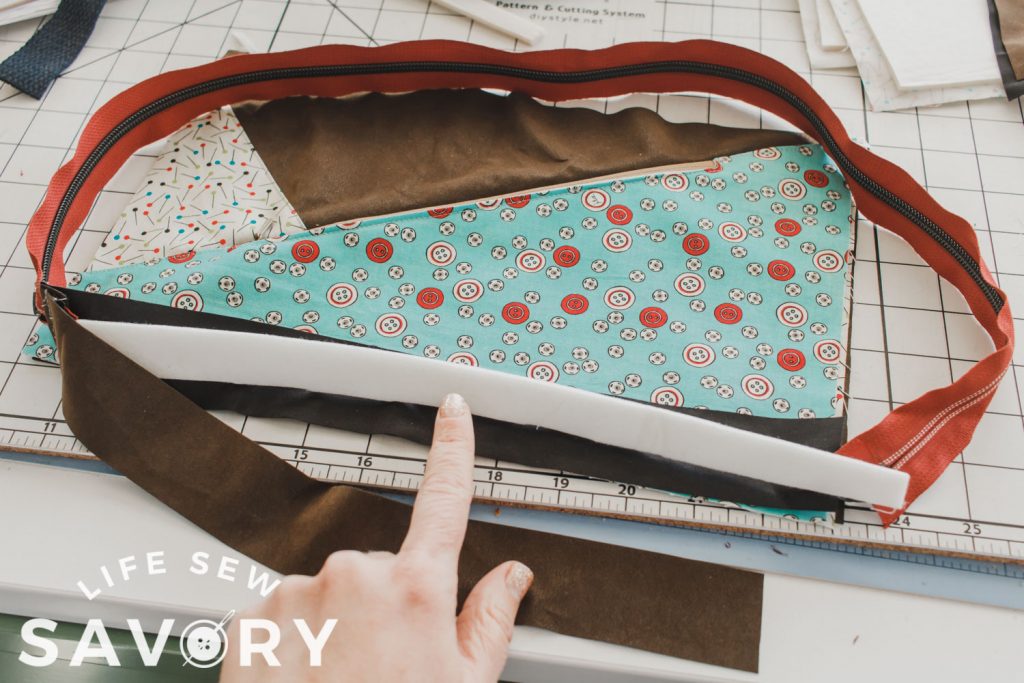
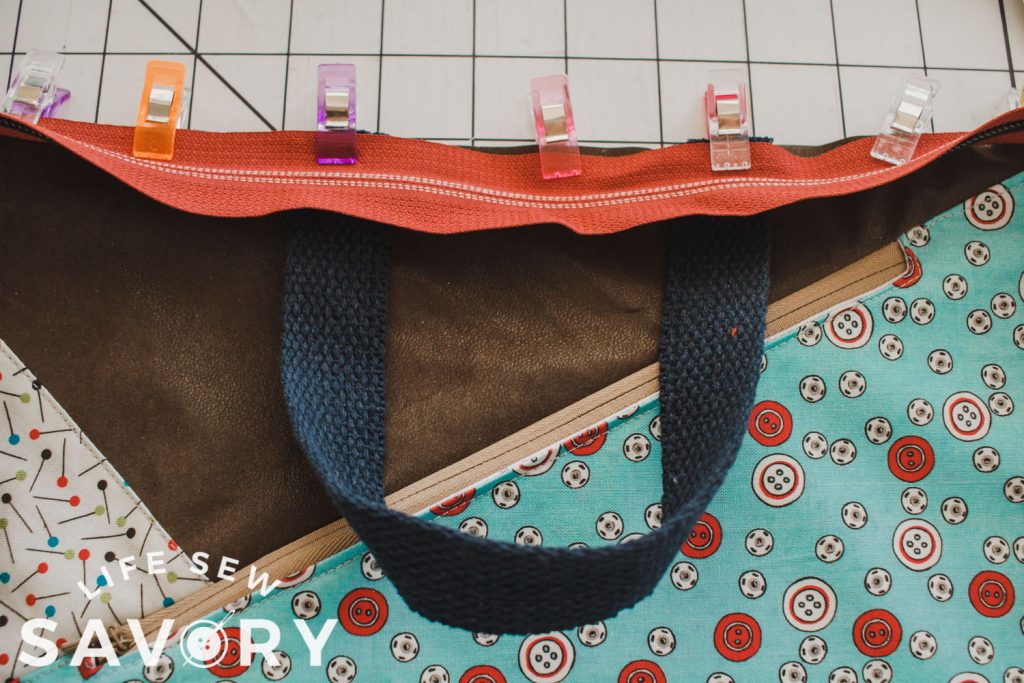
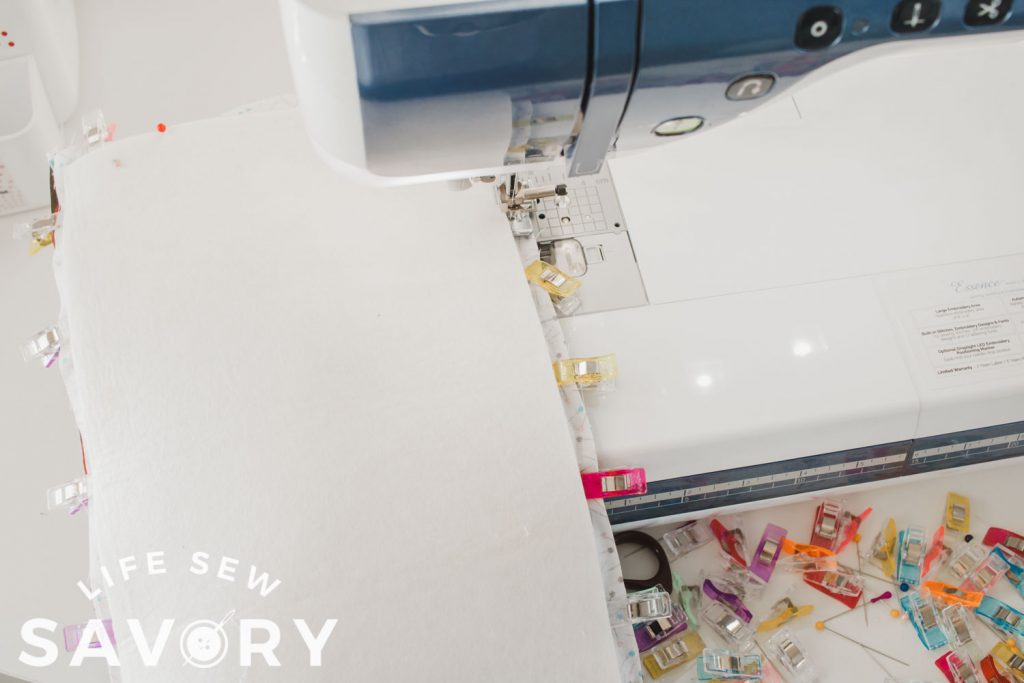
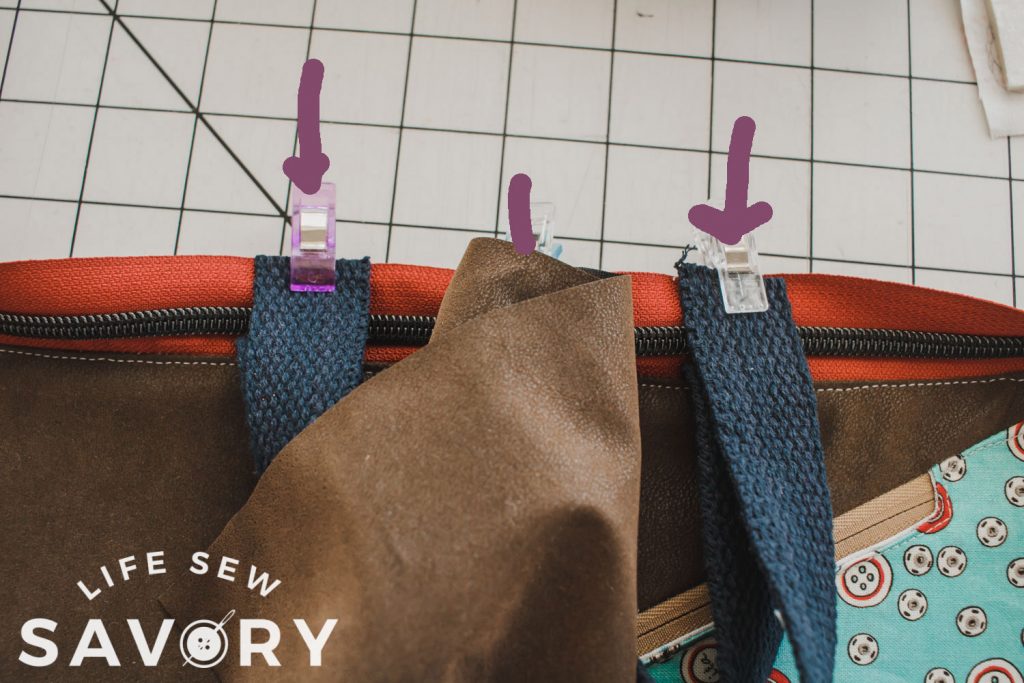
Find the center of the zipper and the opposite center of the bottom fabric. Then find the top and bottom center of the case front. Clip at those points, then work around towards each other, curve the corners with the zipper. If you want to add a handle, place a 12″ piece of strapping at the top center.
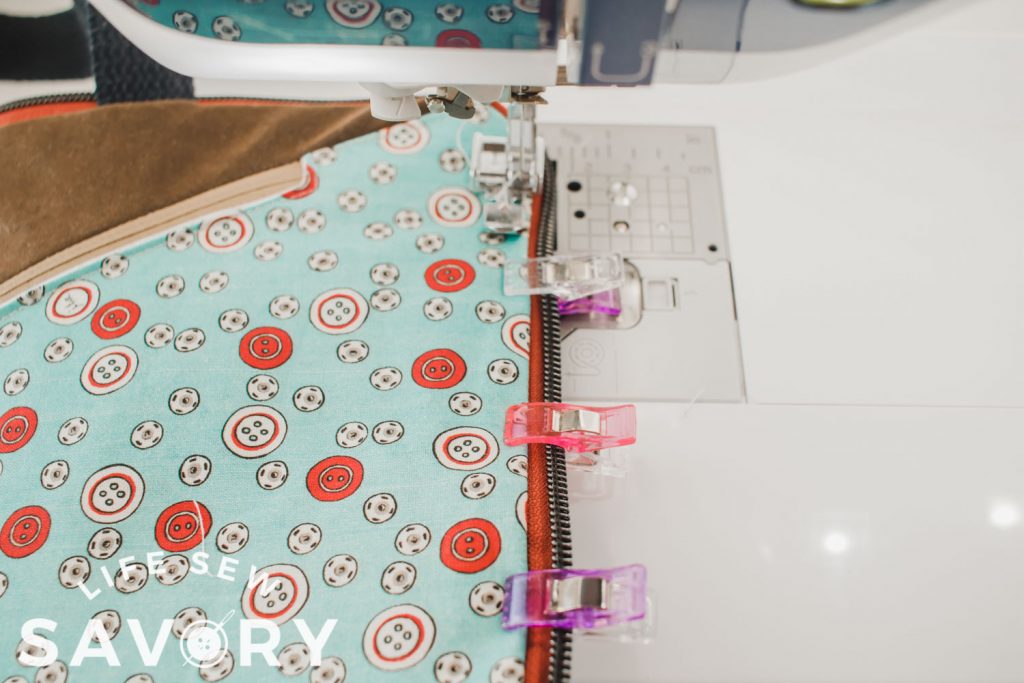
Sew with a zipper foot and 3/8 seam allowance {or within a 1/4″ of zipper teeth. Ease zipper around the corners. Part one done!
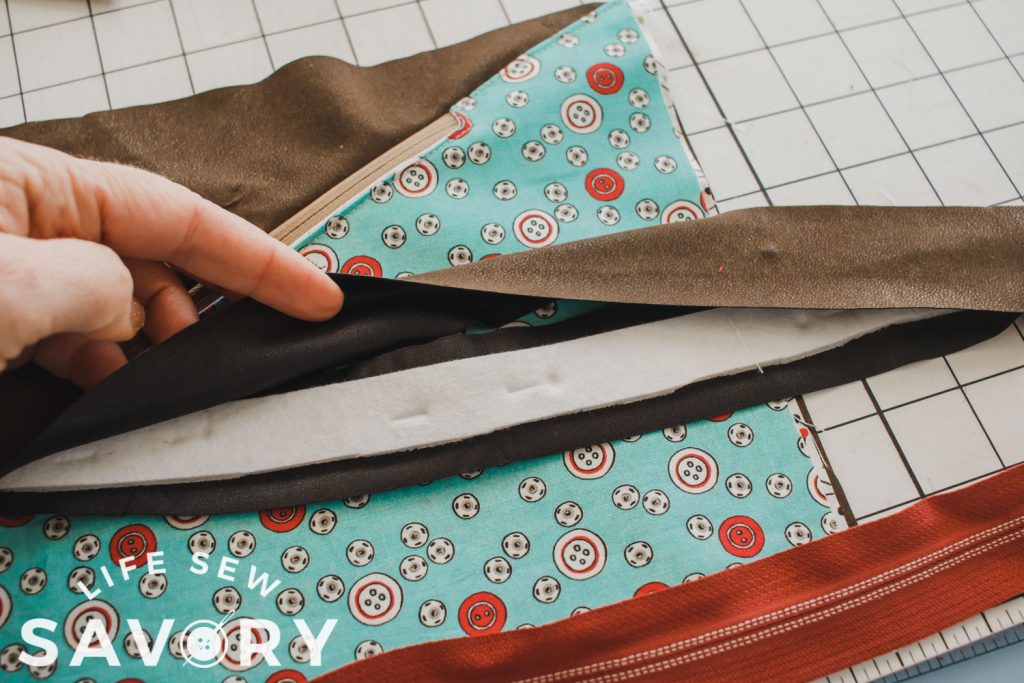
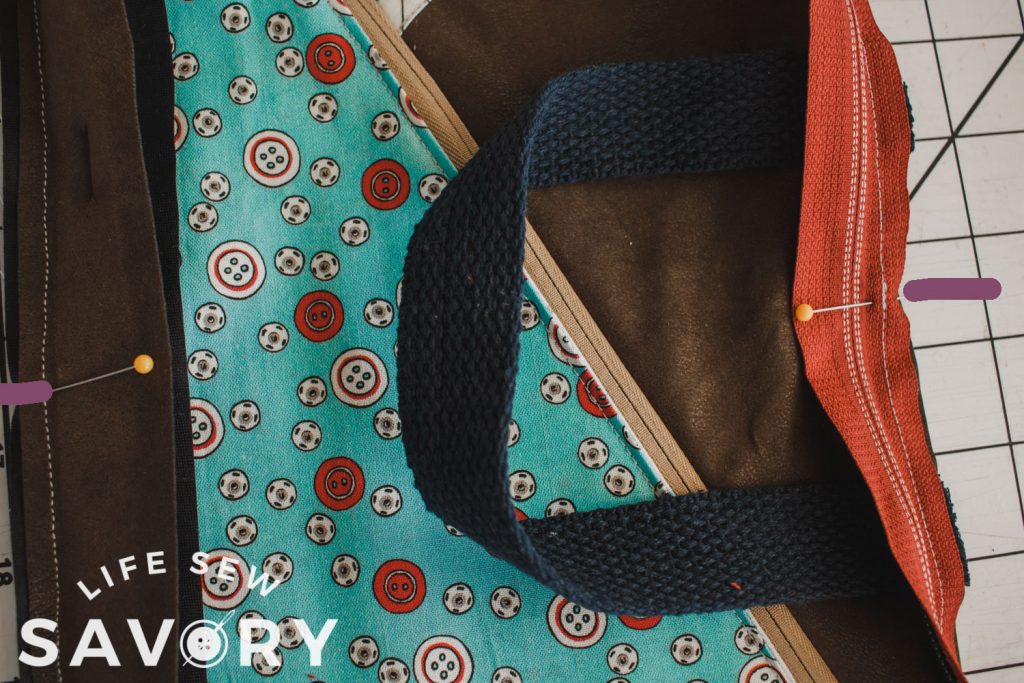
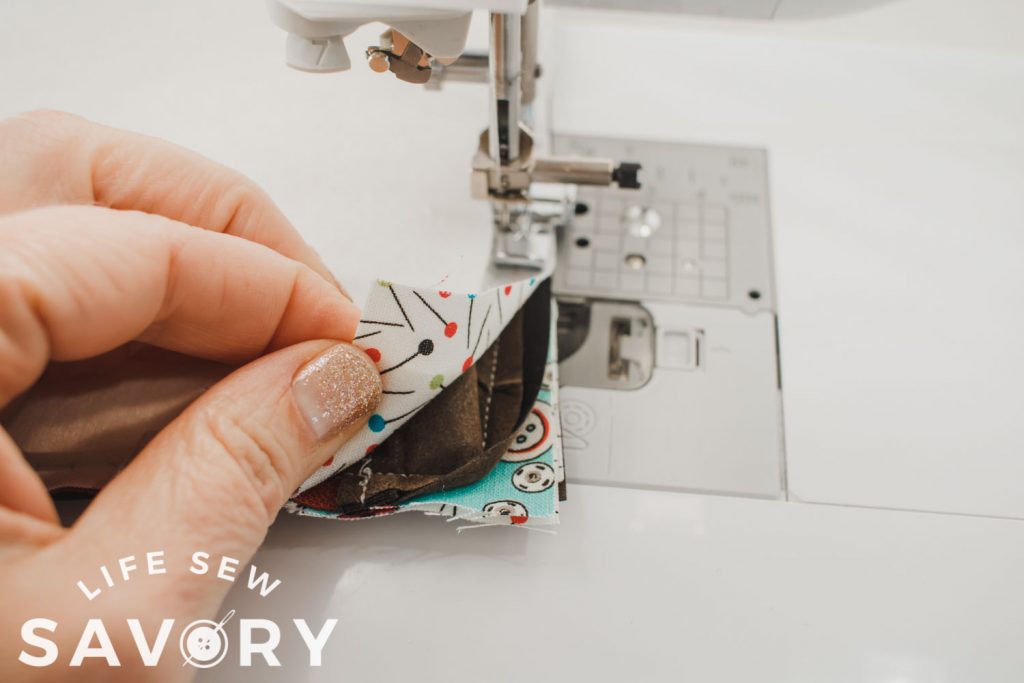
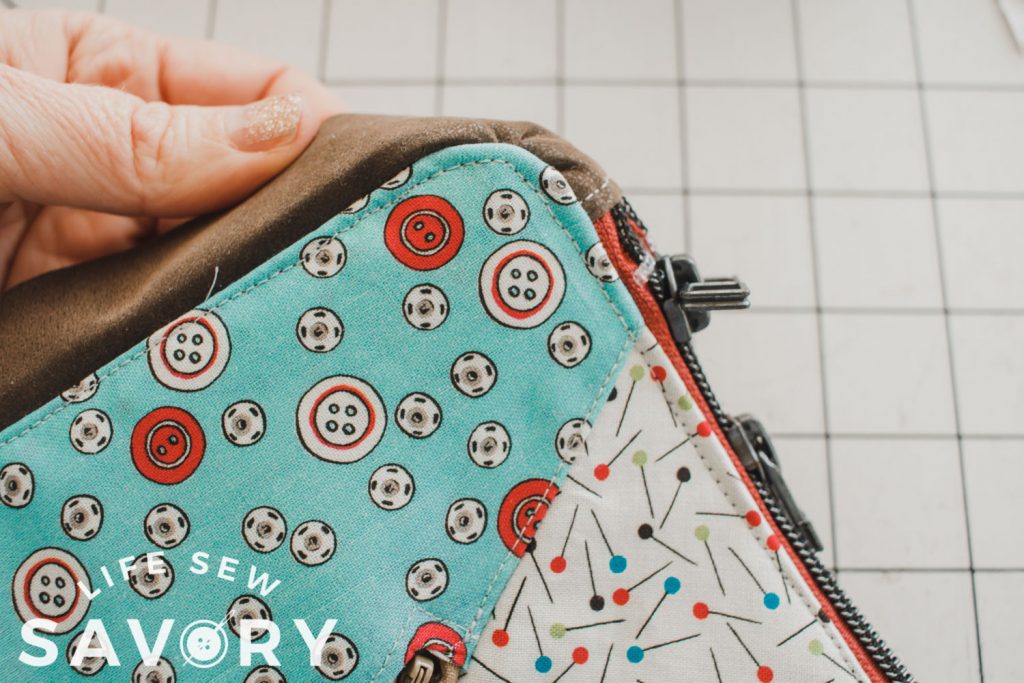
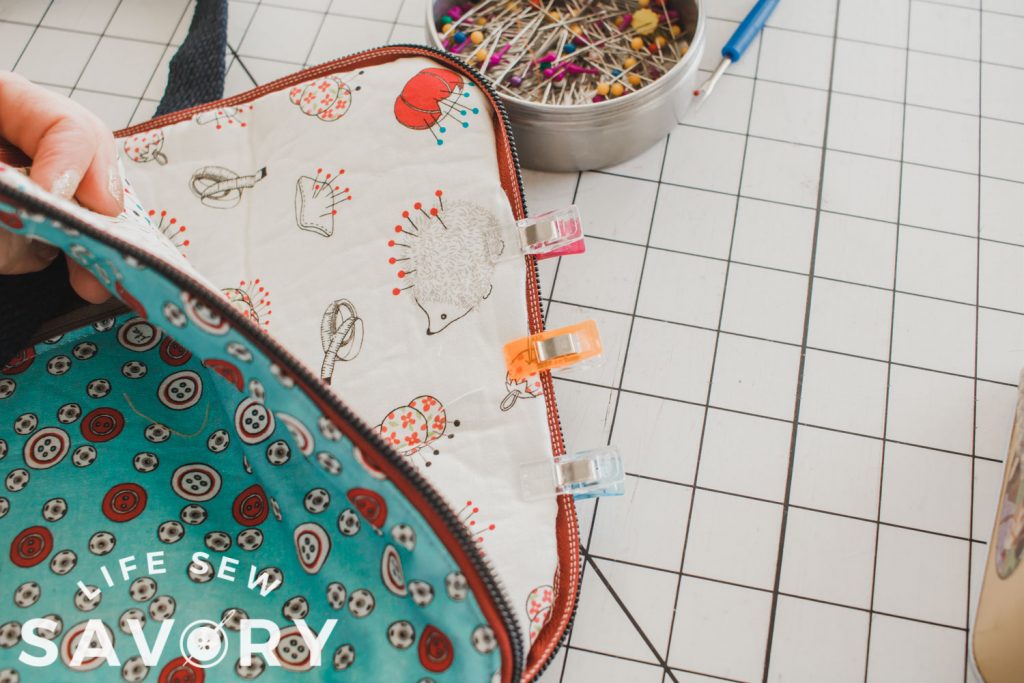
Mark the top and bottom center of the front again. Find the center top and bottom of one of the padded inside pieces. Match these and then work around the sides sandwiching the zipper between the front and inside. The fabrics should be right side together. Sew around again with zipper foot. Easer around the corners {you may have to un-clip and peek as shown in the photo. Leave a 4″ opening on one of the short sides for turning.
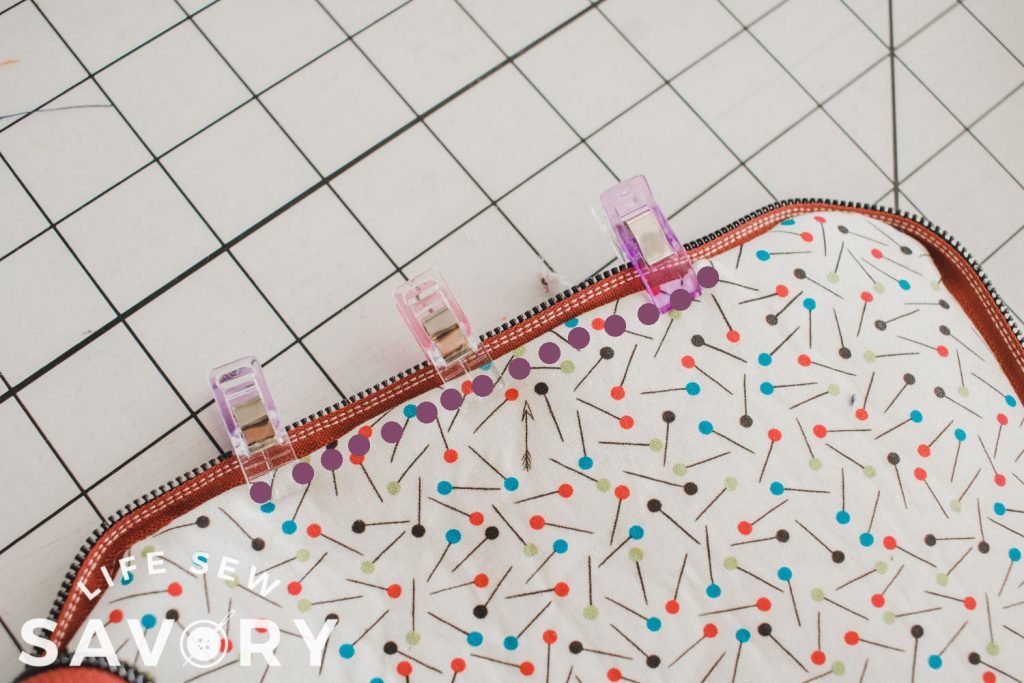
Turn right side out. Fold under the seam allowance from turning and then top-stitch that hole plus around the outside of the bag front. I stitch on the front so it’s neat and tidy.
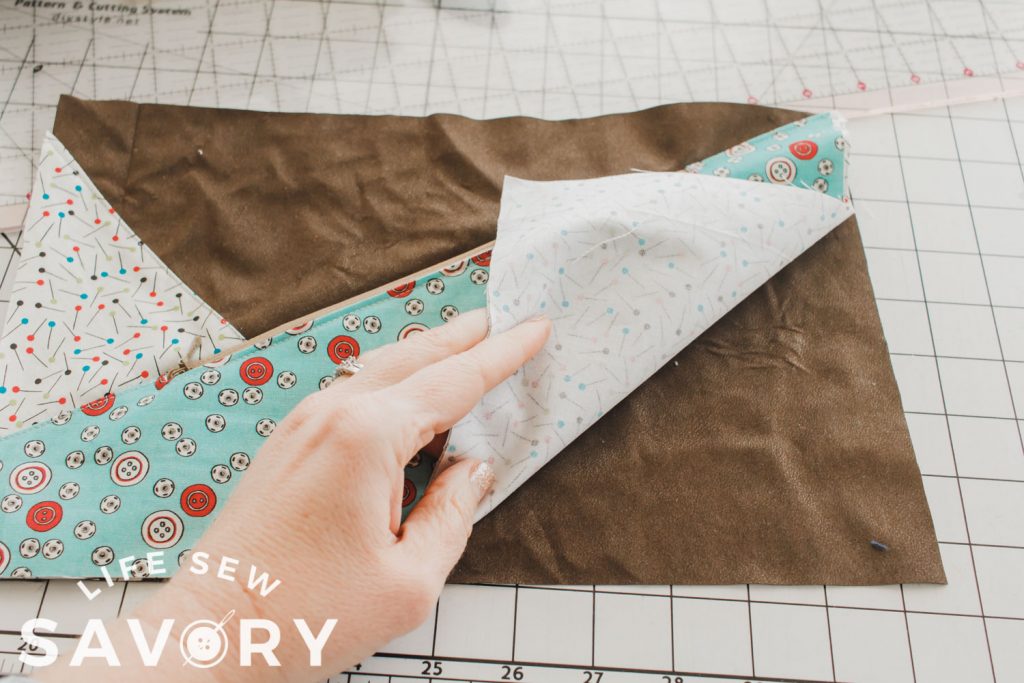
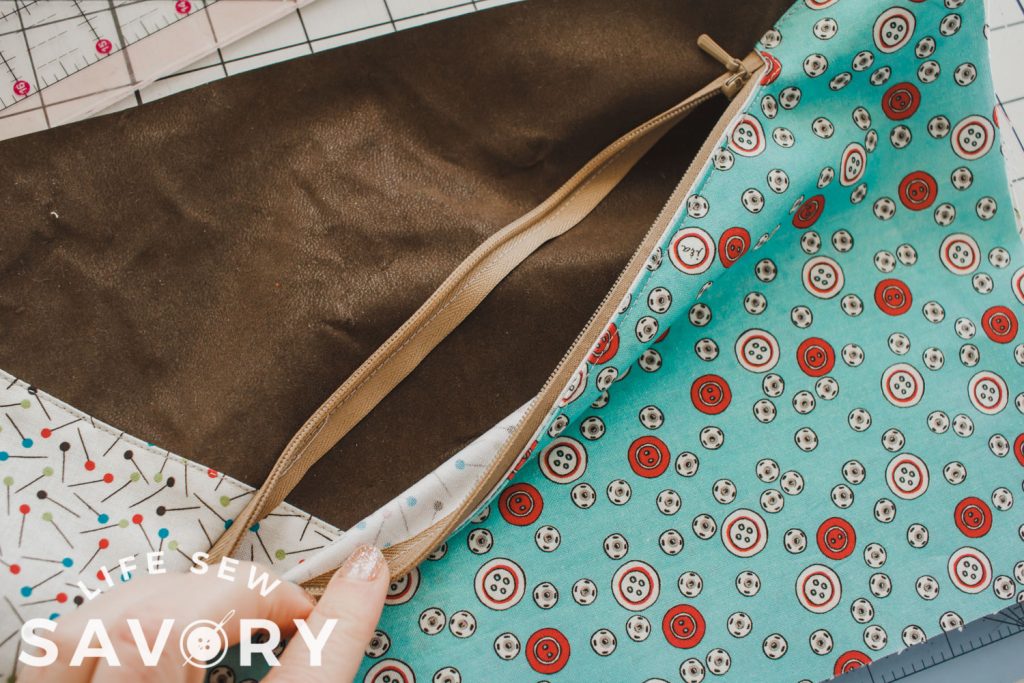
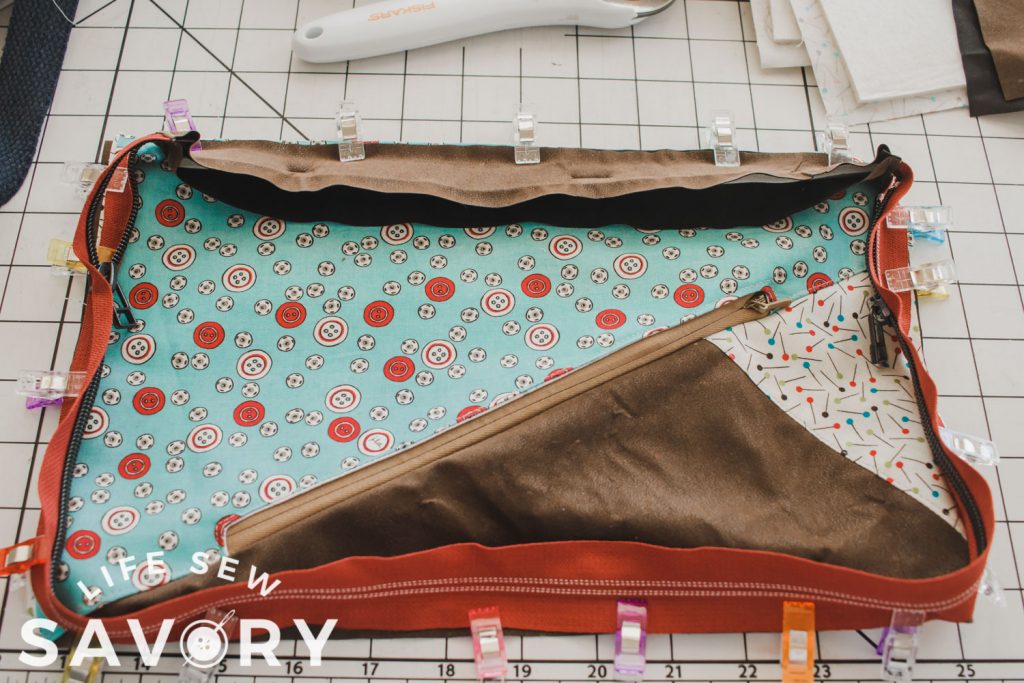
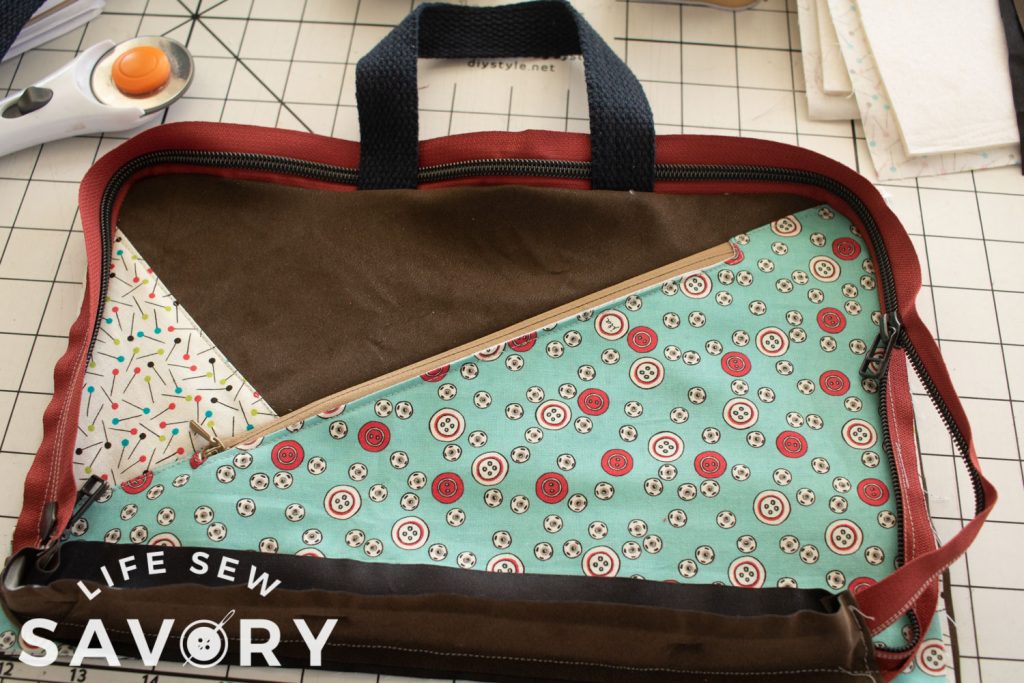
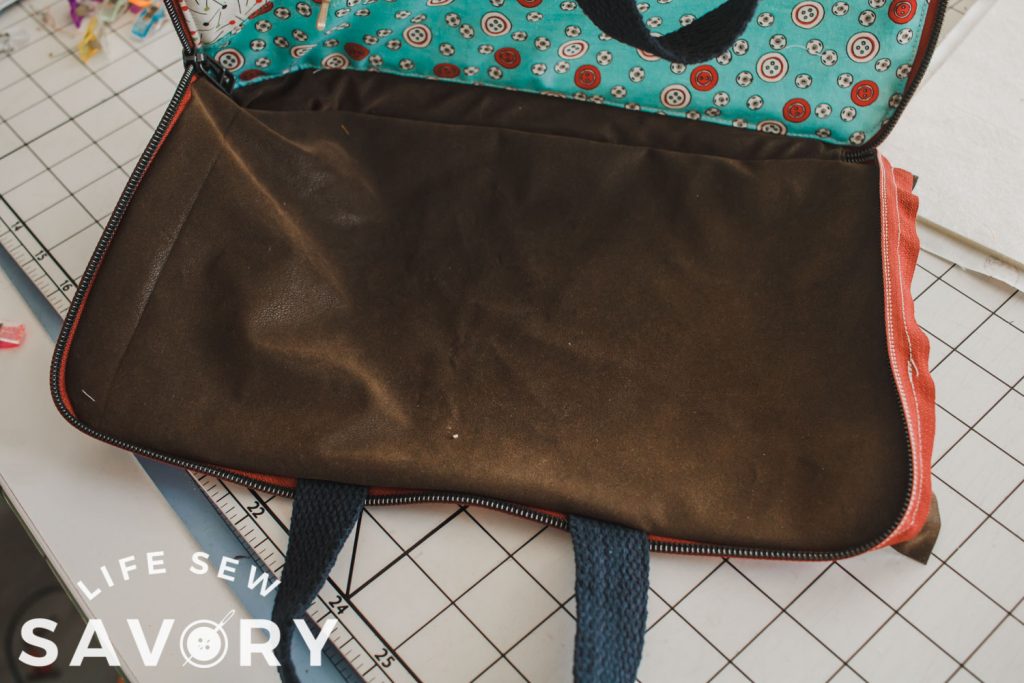
One side done! One to go! Find the center top again and clip the top center of the outside back piece {the brown fabric below} Match the strap distance and clip to the other side of the zipper. Cover with the fabric and clip. Work the back fabric around with right sides of the back to the right side of the zipper. Make sure the ZIPPER IS OPEN at least 4″ for turning. Stitch with a zipper foot same as the front.
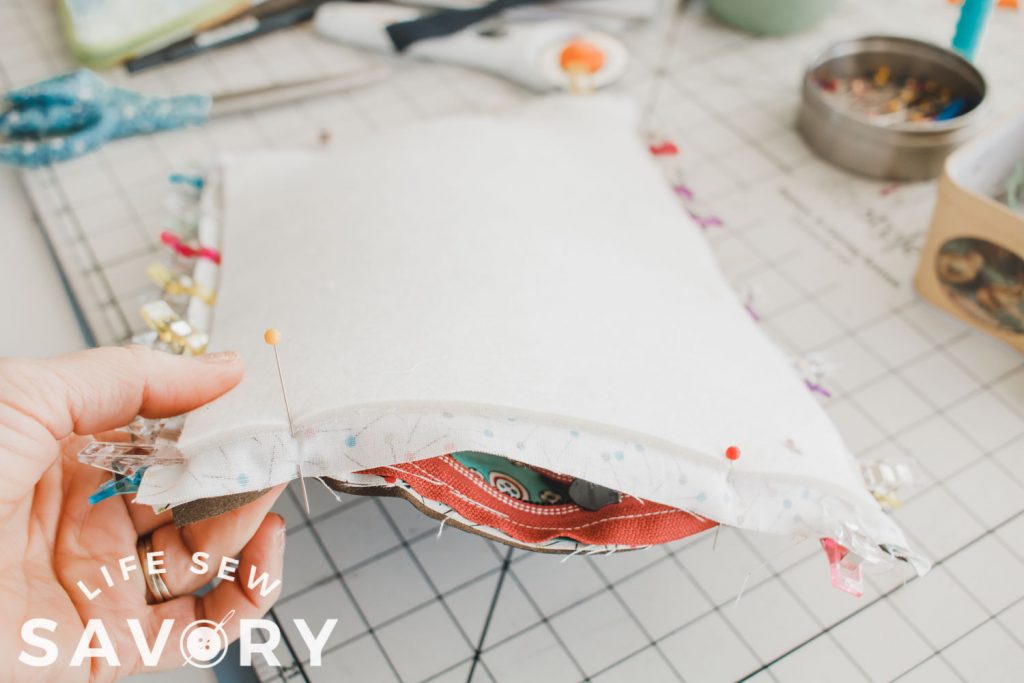
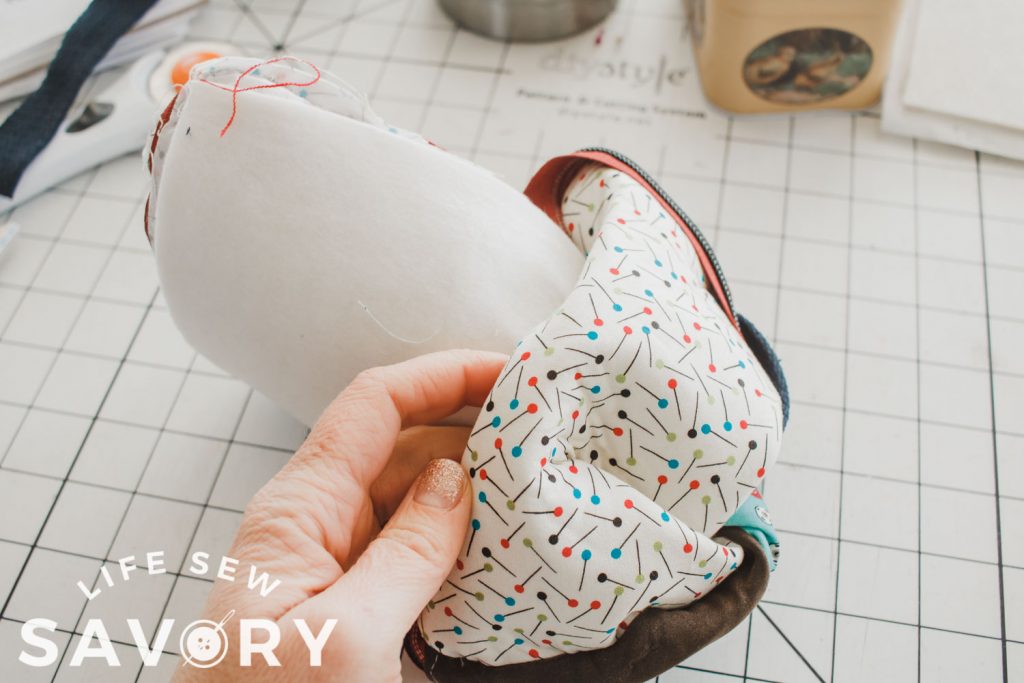
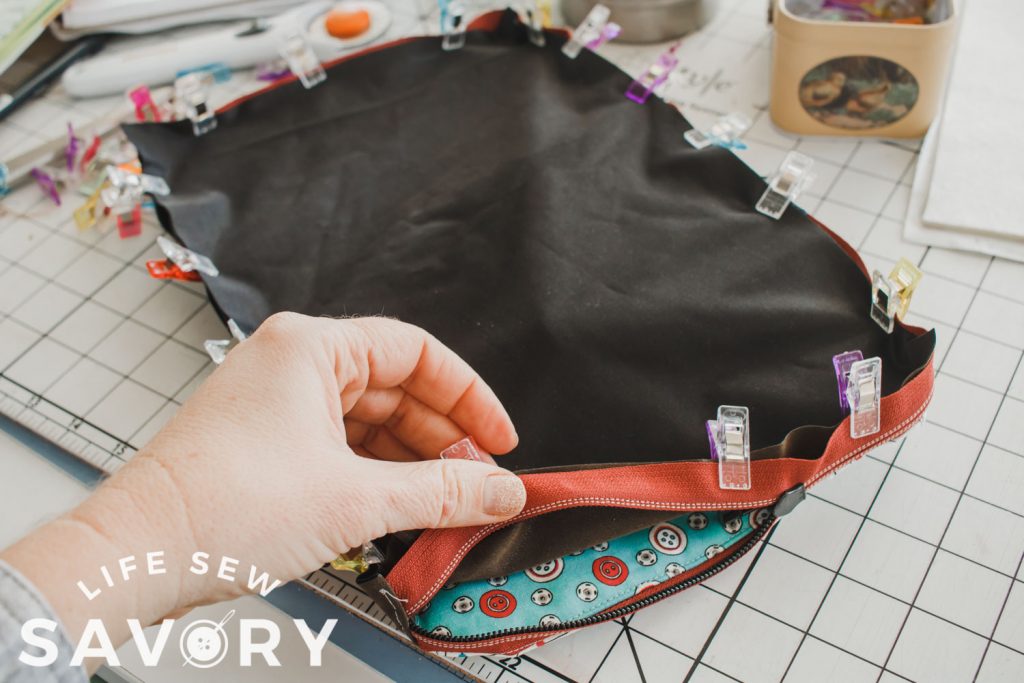
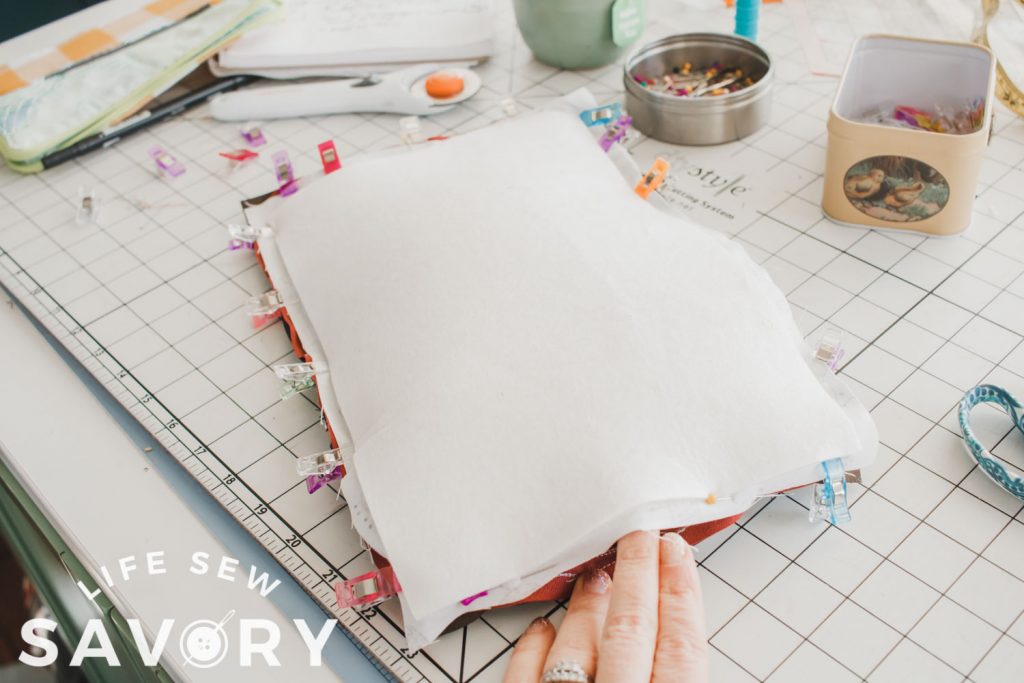
Ok… this is the final and worst part of the whole project… We have to place the final piece on the case, but also squeeze the other side in between. At this point you should be great and finding the centers and easing around, but this time when you do that keep the finished part of the case squished inside the layer and out of the way while you do it.
With right sides of the fabric together pin the padded inside piece to the same side of the zipper that you just sewed the back to. Remember to leave that 4″ opening for turning. After you turn it right side out fold the seam allowance in and top stitch around the case life the front.
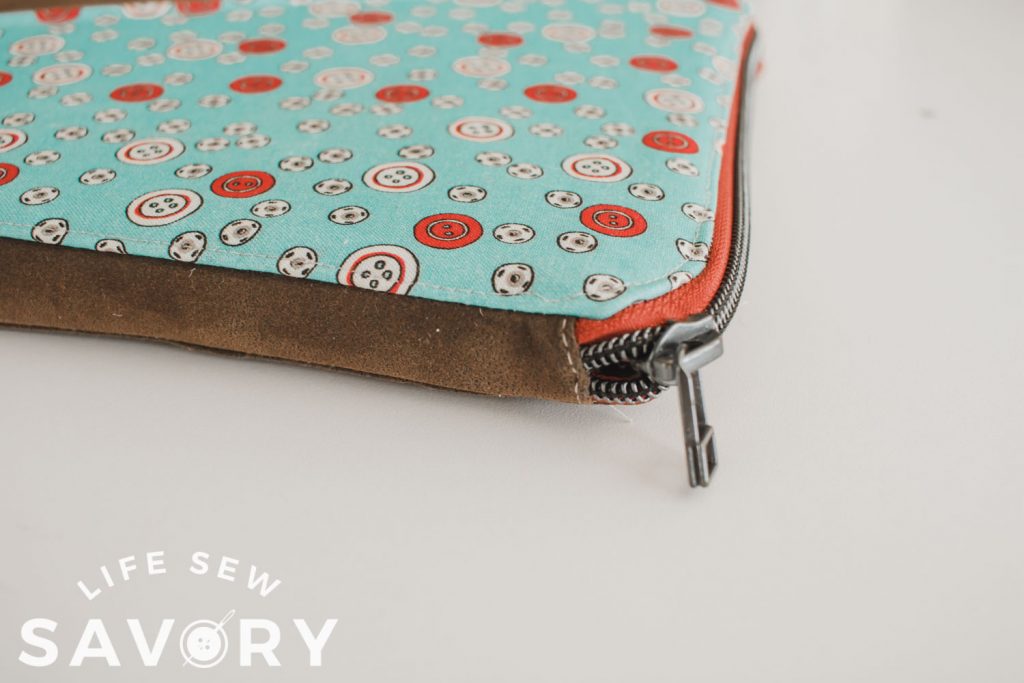
You did it!! Now enjoy your new {and amazing} Zippered laptop case with padding… {or table/kindle cover} TIP: try not to have the zipper end right at the corner… it’s hard to zip the final inch with this placement. I wish I had shortened the zipper another inch. What will you create with this zippered laptop case sewing tutorial?







Leave a Reply