inside: grab this free leggings pattern for women and make yourself some super fabulous leggings in any length. Multiple waist options as well.
I love leggings! You can’t have too many – that’s my philosophy… but I also like saving money…{and not spending all my money on leggings} I’ve created a free leggings pattern for women so that I can make my own leggings. I’ve even found fabric that feel pretty much like the buttery soft LLR leggings, so I’m a happy girl! So today, I’m going to share my new free leggings pattern AND how to make leggings that are super soft and wearable for everyday and exercising.
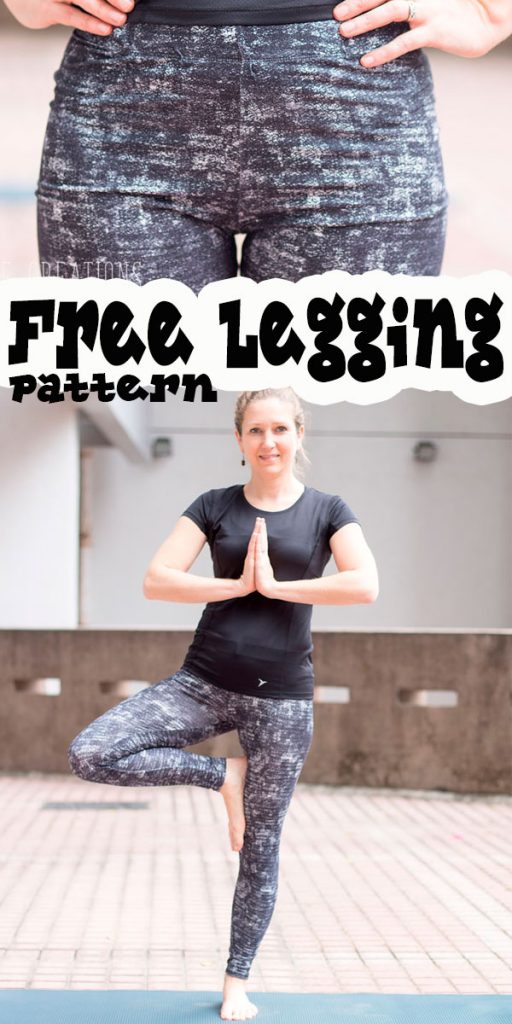
Free Leggings Pattern for Women
This leggings pattern can be made with three different waistband options and two leg lengths. AND they fit and feel amazing! The great thing about making your own is that you can customize them to your own body type.. especially if you have some stranger proportions… also, the brushed poly fabric that I used here is VERY stretchy, so it’s forgiving on sizing and makes fitting easy! Ready to get started? I’ll talk about some basics on this page, then you can click through to the second page for the full tutorial and link to the free pattern.
It seems like my FB feed is full of my friends selling LLR these days… and I’ve bought some! But I also figured I can make leggings, right? They can’t be hard.. I’d heard talk that double brushed poly fabric was soft and buttery like the LLR leggings… AND it’s true!! These leggings feel amazing! I will say the the prints aren’t quite as wild and fun, but I’m hoping fabric makers will catch on soon!!
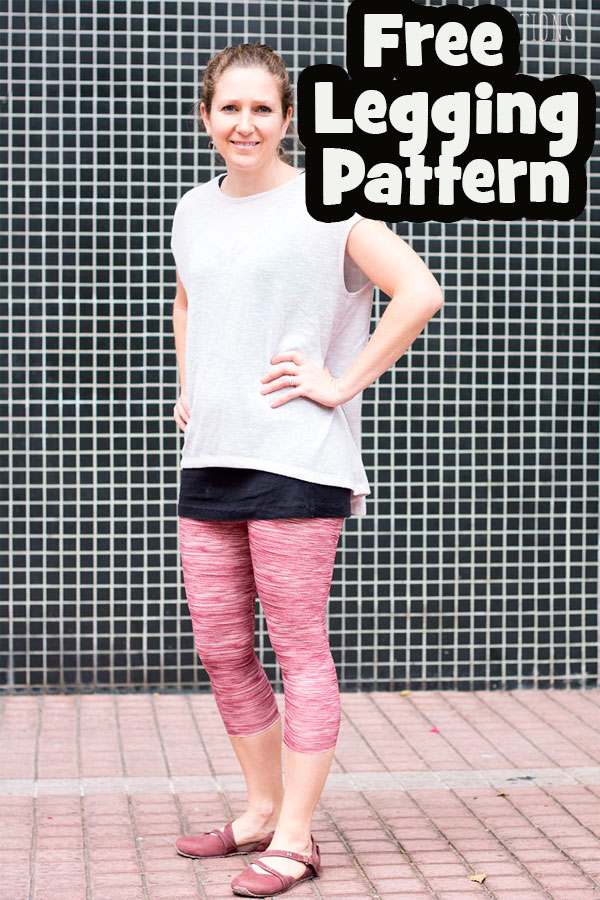
My favorite place to shop for DTY Double Brushed Poly fabric is Fabric Wholesale Direct. Be sure to check out their entire collection of Double Brushed Poly fabric, including prints, here! Double Brushed Poly fabric is sold by the yard at wholesale prices!
Okay, so please do not critique my yoga poses here.. but I just wanted to show you that this free leggings pattern can also be used to make athletic leggings… they stretch and move with me in all the right ways… I had no problem moving in these leggings, and they felt great.
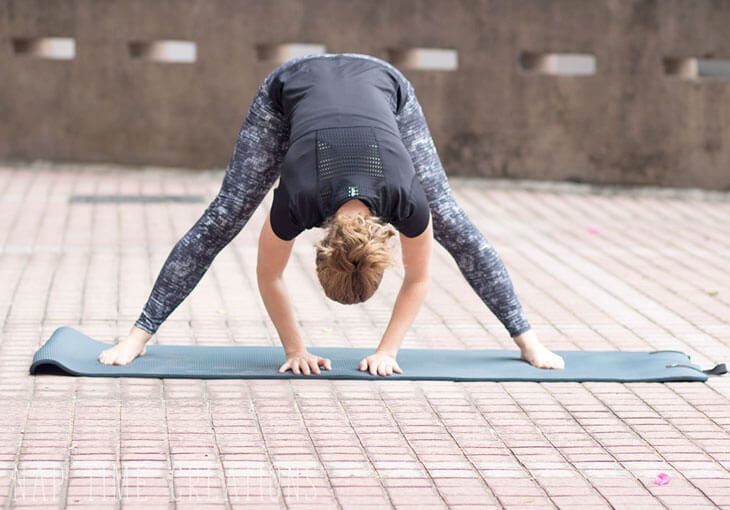
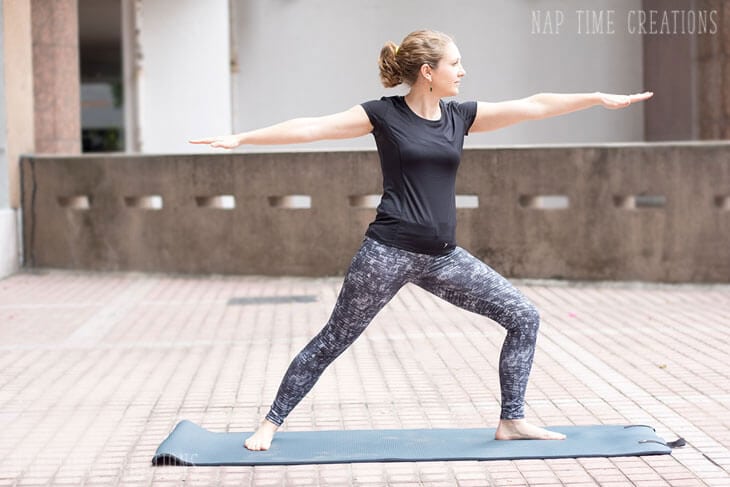
How to Make Leggings – It’s Easy!
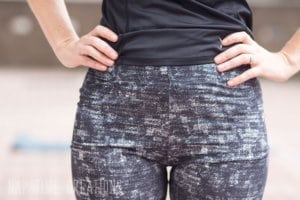
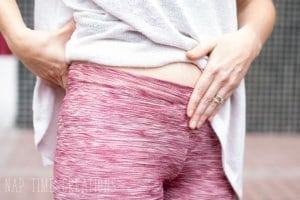
Here are the two of the waistband options. The black ones are just folded over with elastic and the maroon ones have an added waistband with clear elastic. The added waistband with elastic is not show here… All these options will be described in detail in the full tutorial.
I recently created a full post on how to make a contoured waistband and you can see that here.
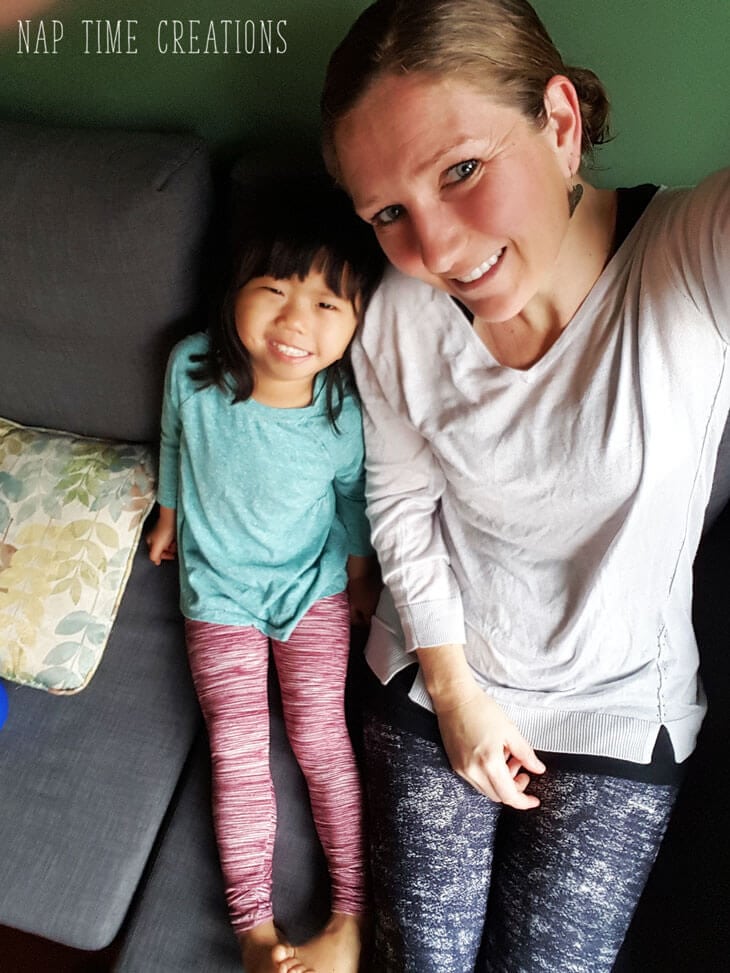
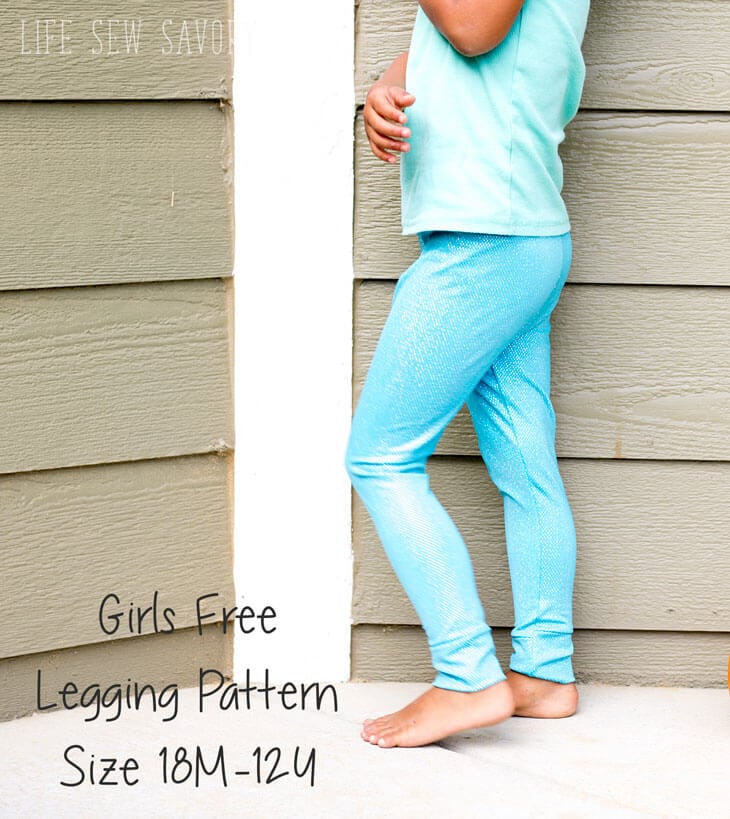
I used my kids free legging pattern to make these for Rose… Size DOWN when using brushed poly with the kids pattern.. It’s not graded for the stretch! Mom and Rose matching super soft leggings…
How to sew leggings –
The link to download the free leggings pattern is below…
In this second part of the women’s free legging pattern
I’ll walk you through getting the free pattern, taping together, fitting, and sewing it all up. First, print the 16 page, it should looks something like this. If you want to make the cropped length cut 6-8″ off the bottom off the pattern before cutting your fabric.
Also, I am 5’5″ so if you are taller than this you may need to add length.
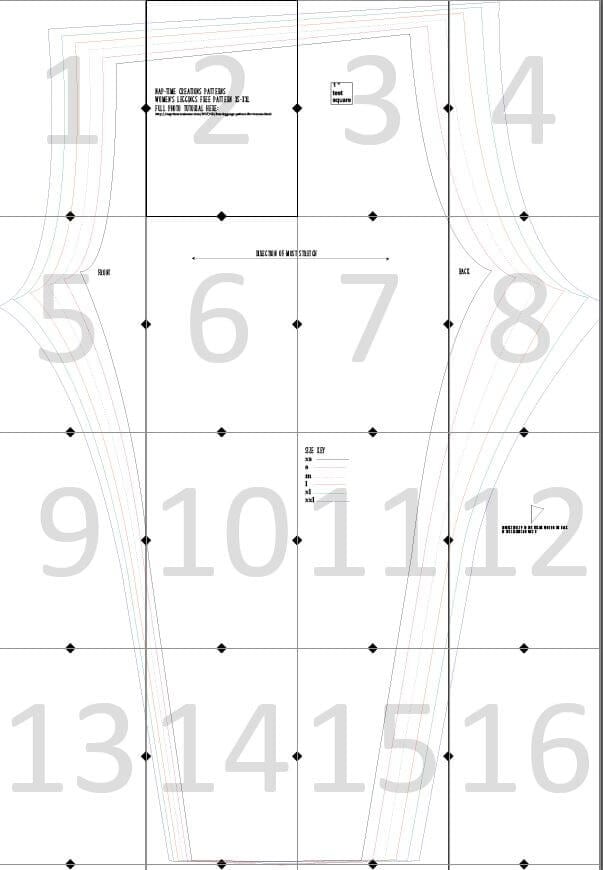
Next, decide your size based on this chart… I think you can go with your ready to wear size, and then make adjustments if needed.

The pattern is graded to account for the STRETCH in brushed poly fabric.. if using other knit fabric you MAY want to size up… Again.. here is my favorite spot for getting legging fabric: FWD.com. Remember this type of fabric runs between $6-7 dollars a yards and ALL sizes need 1.25 yards… so that’s UNDER $10 per pair of leggings!!!
If your body measurements are WAY off the size chart you can adjust as needed. Below I’ve show how to combine sizes. On the left is a wide hip to a smaller leg.. and on the right is a narrow hip to a wide leg.. The pattern may LOOK SMALL…. each area is 1-2 inches smaller than your measurements.. that’s how stretchy the fabric is.
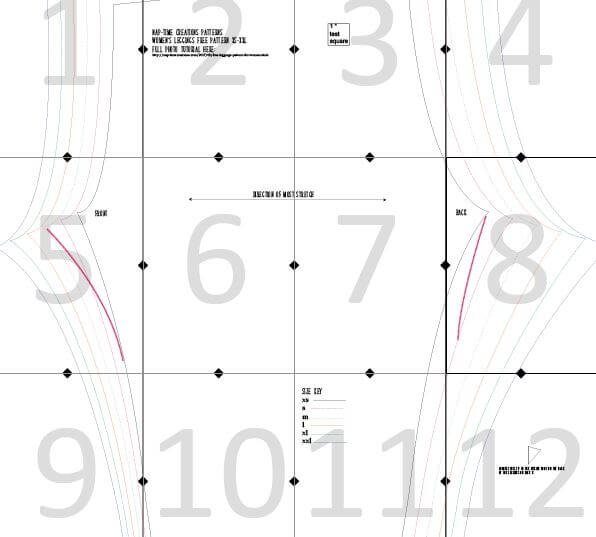
Okay, as mentioned before… all the sizes can be made with 1.25 yards of 60″ wide stretch fabric.. must be 4 way stretch. Again, this pattern is graded for brushed poly spandex fabric.
Okay, so you need to cut 2 of the pattern piece. I like to fold the fabric in half with the salvage edges together and cut both pieces at the same time. You also will need 1.5″ elastic or 3/8cm clear elastic.. I’ll explain the waistband options later on. Seam allowance is 3/8″ or 1 cm.
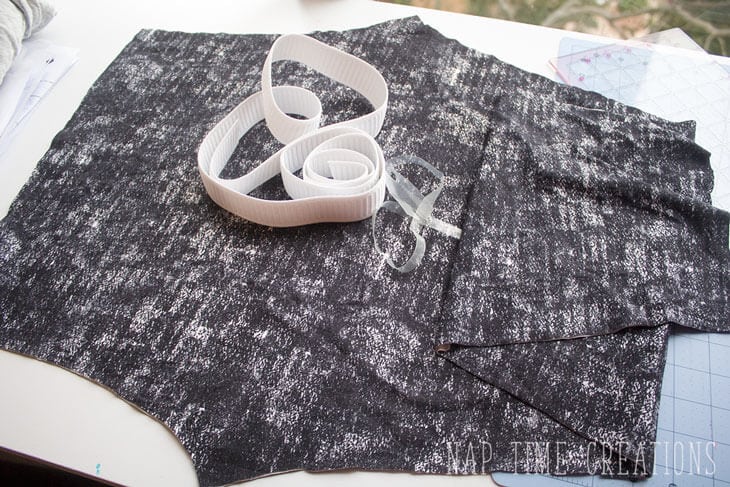
Fold each leg over on its self and sew the inseam from crotch to ankle. If you don’t have a serger/overlocker you need to sew with the lightening knit stretch stitch on your sewing machine. Repeat with other leg.
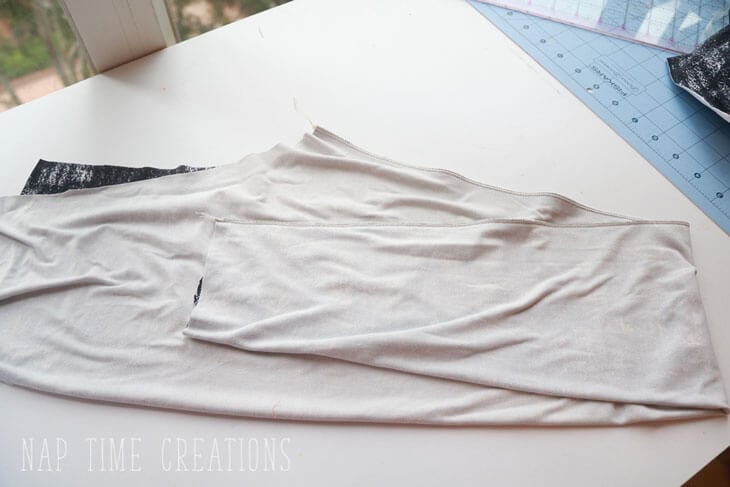
Place the two legs one inside the other with right sides together. 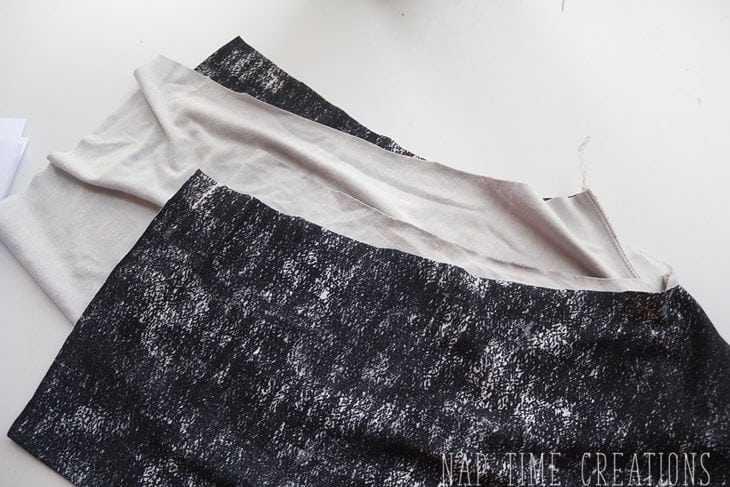
Pin and sew the curved back and front of leggings together. 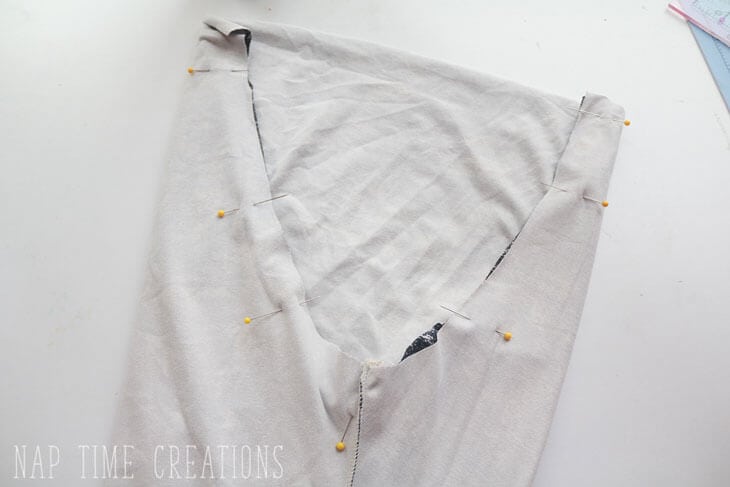
At this point you need to decide what type of waistband you will do. I like to use 1.5″ elastic. 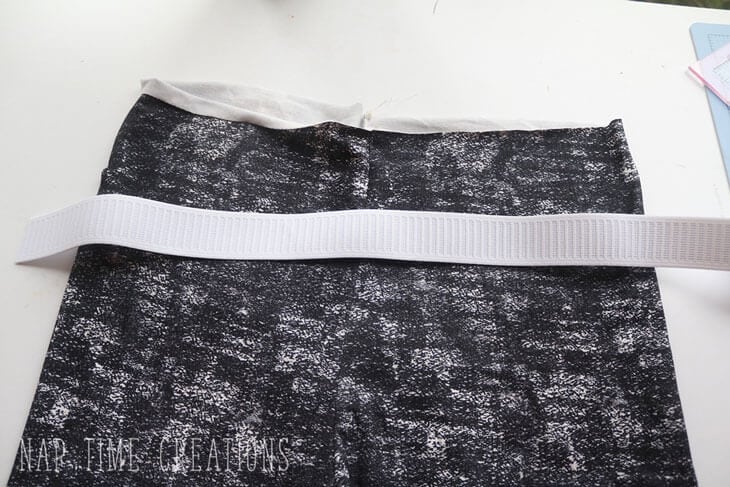
Put on your leggings to test fit and to see about the waist height. At this point if the leggings are TOO LOW you will want to add a waistband to raise the waist height. 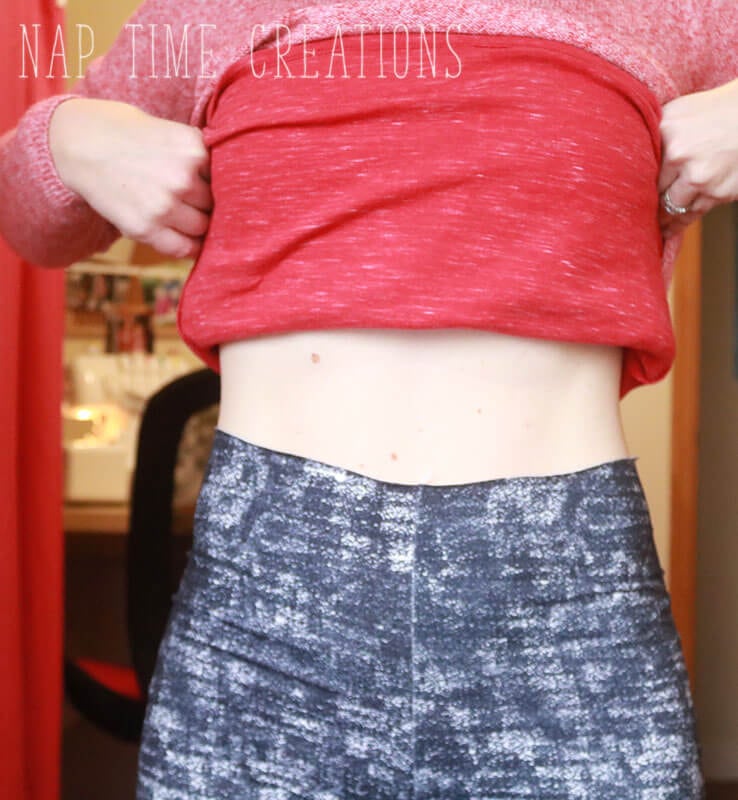
When I folded over the legging top 1.5″. I liked the height of these leggings. So I just decided to use the fold over elastic method. 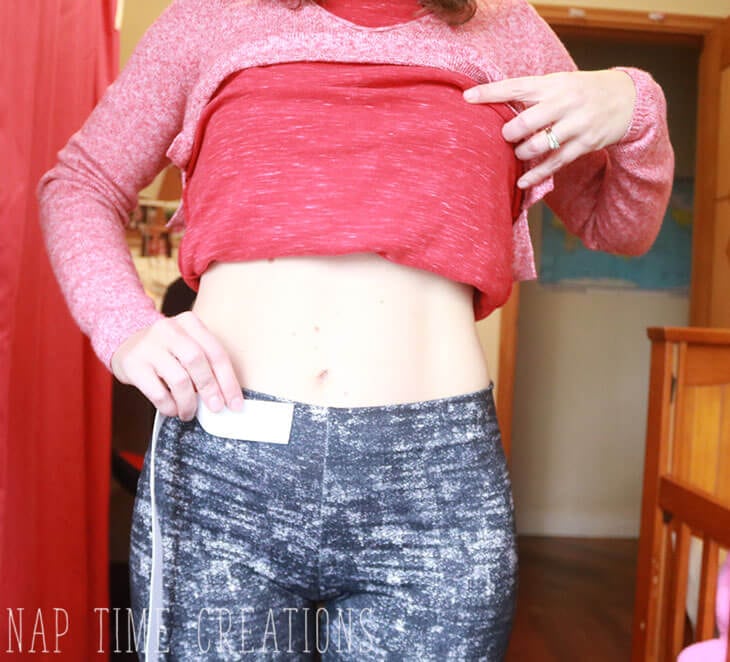
You can put in the elastic waistband two ways.. Here’s my favorite way without a casing, but if you want the classic casing method – see this elastic waistband post.
Measure and cut your elastic so it will be snug around your waist. {or where ever the top of your leggings sit} Mark the quarters on your elastic. 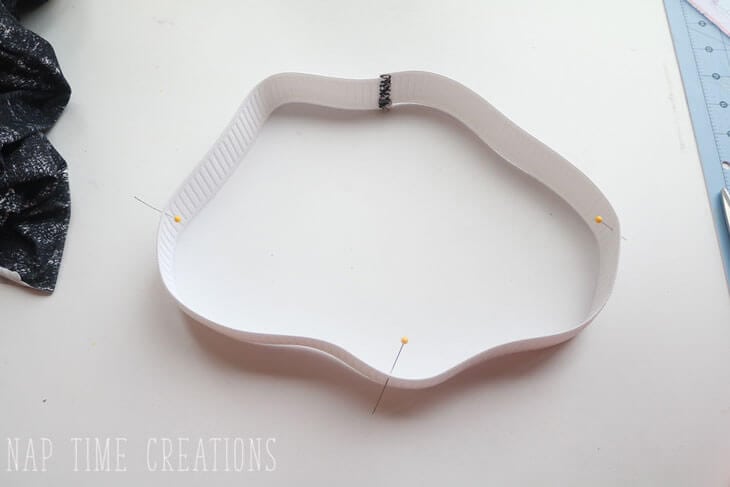
Match the 4 quarters of the leggings with the elastic. You won’t have to stretch the leggings much to fit. Line up the edge of the elastic with the top of the leggings. 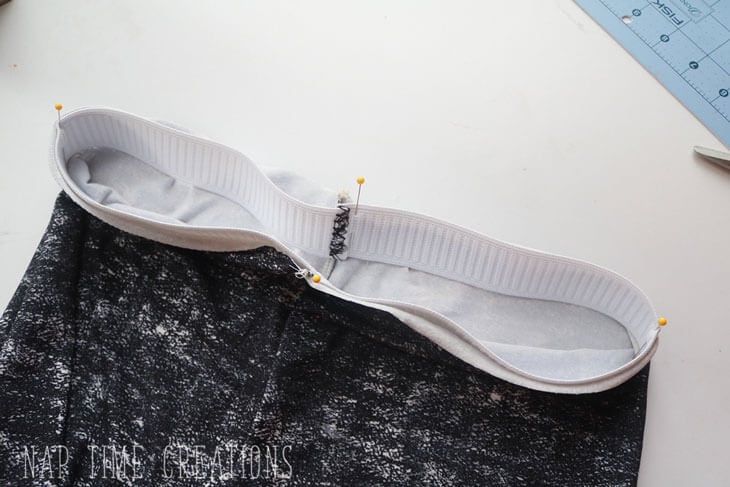
Sew around the top of the leggings with a zig zag stitch or serger.
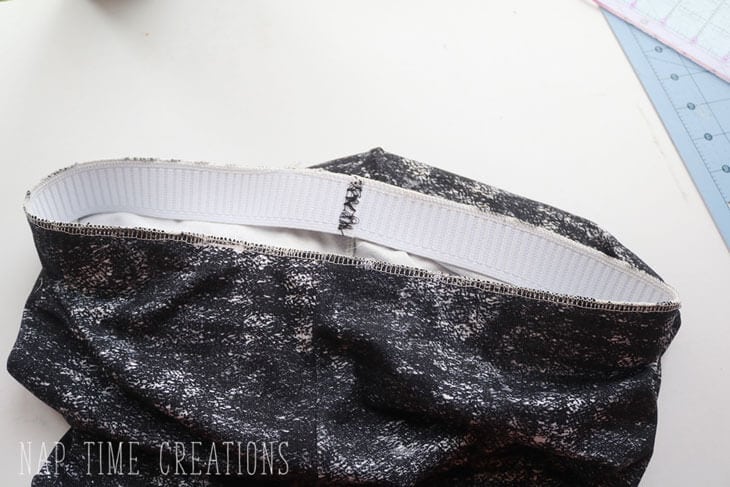
Then just fold it over and pin. This will enclose the elastic. 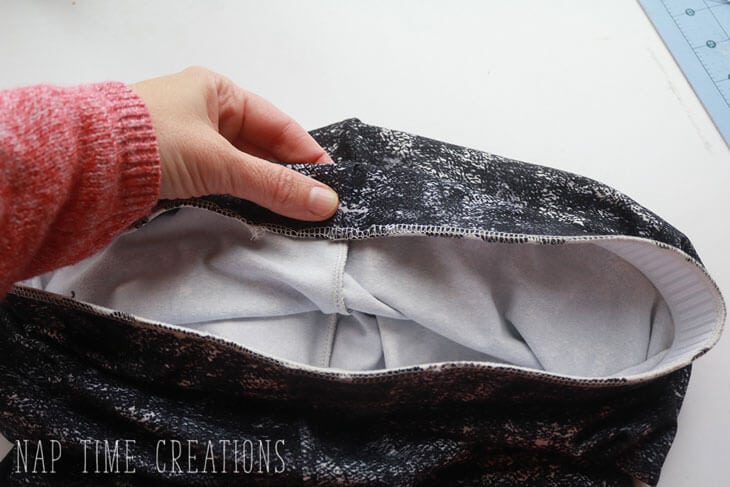
Top-stitch on the bottom edge of the elastic. I like to sew on the right side of the fabric to make sure it’s all straight on the outside. I use a double needle. See tips for that here. 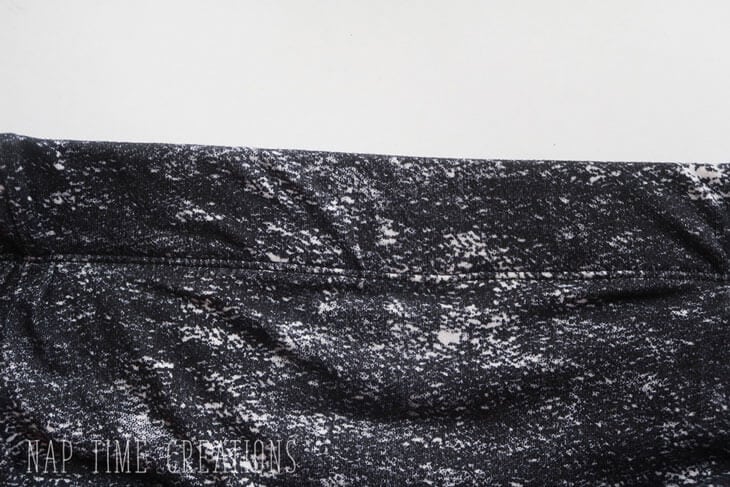 Hem the bottom of the leggings. I also use a double needle for the hem.
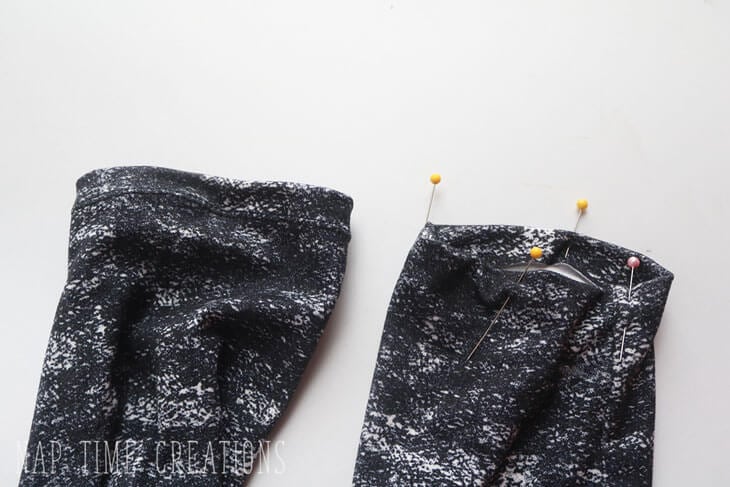
Okay… so if you want to raise the waist height of the leggings or you like a separate waistband… here’s how to do that. Measure around the top of your leggings, you want to make the waistband the same length as this. The height of the waist band is 3.5″. 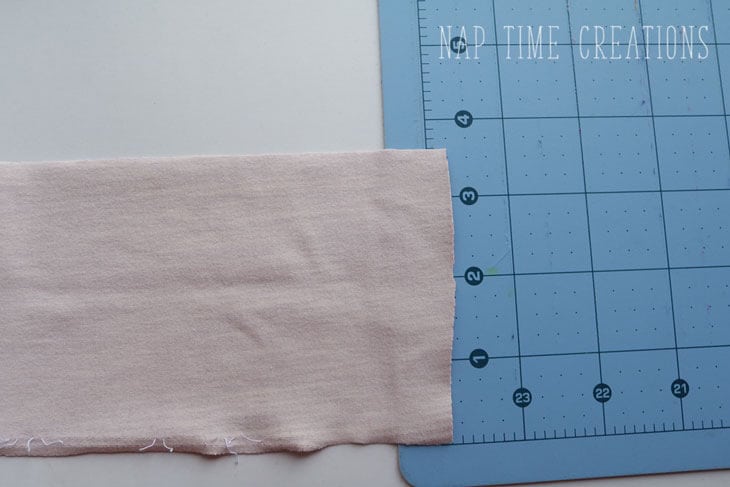
Sew the short ends of the band together and then fold in half. Sew to the top of the leggings and leave an opening to thread the elastic. Measure the elastic around your waist and cut. Thread through the waistband and then sew the ends together. Close the hole. 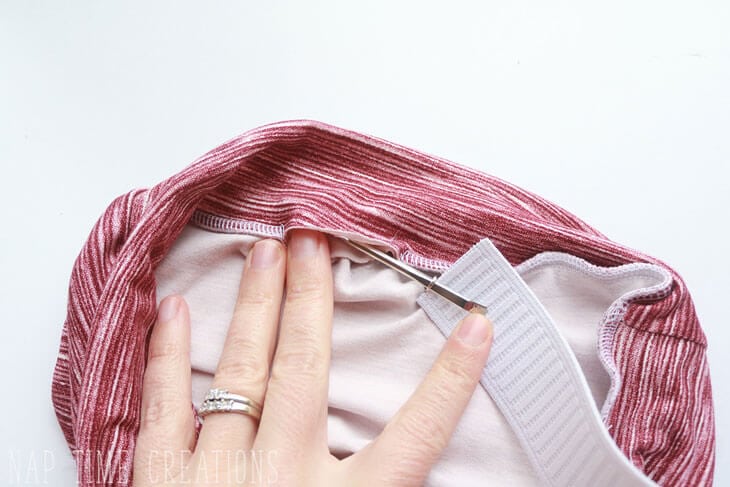
The final option is for a band of fabric with no elastic. I use some clear elastic for a bit of stability. Cut your waistband 3.5″ x 2″ shorter than the leggings top. Cut the clear elastic bu measuring around your waist. 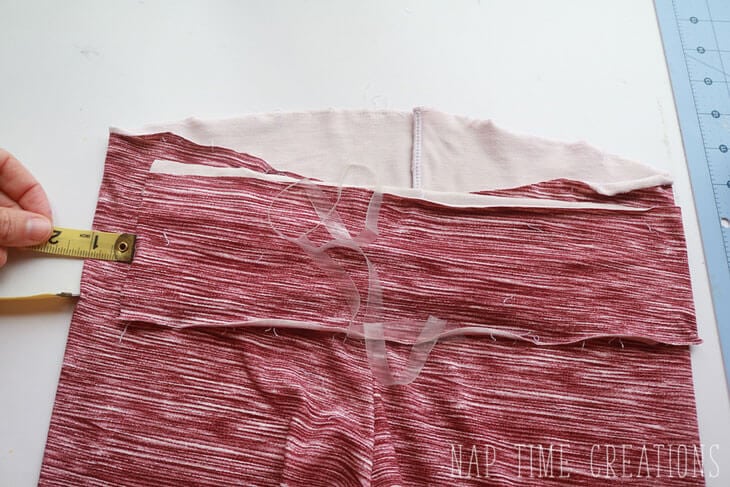
Sew the short ends of the waistband together. With right sides together – pin the waistband and leggings together. Sandwich the clear elastic between the 2 layers of waistband.
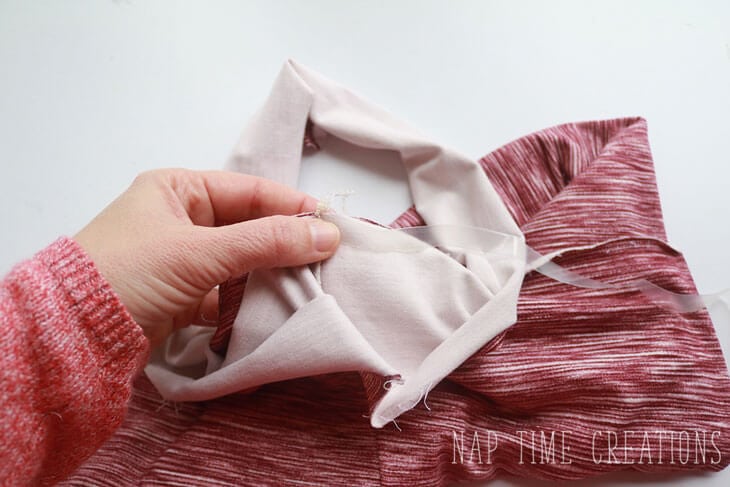
Pin all the way around, stretching the elastic to fit around. 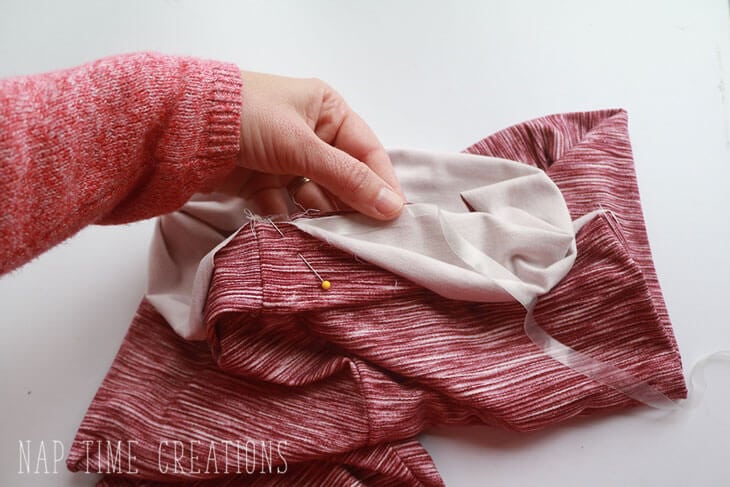
Sew. Catch the leggings, two layers of band and the clear elastic all together. 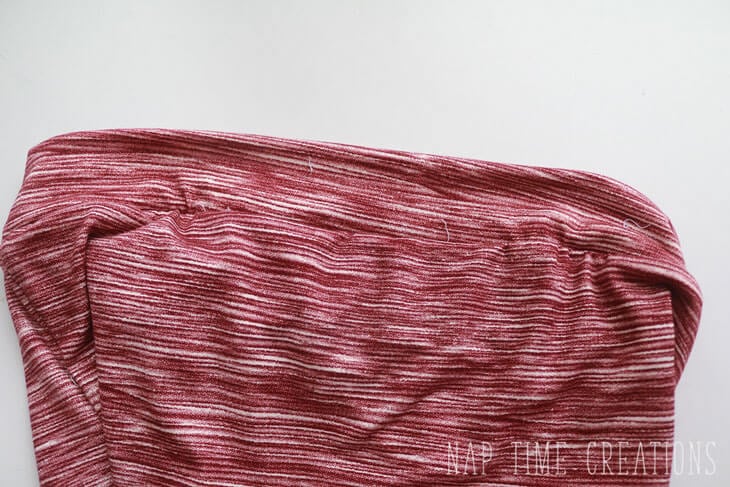
Here are the two versions I made… one with the added band and one with the folded over elastic…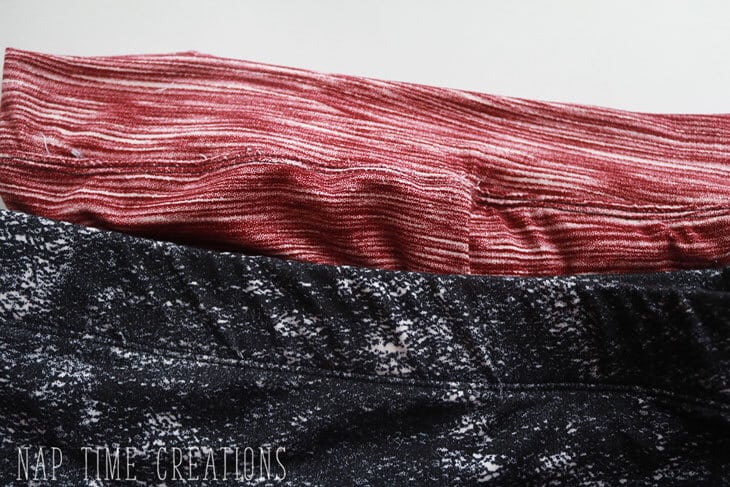
Okay.. here’s one more link to go grab the free pattern.
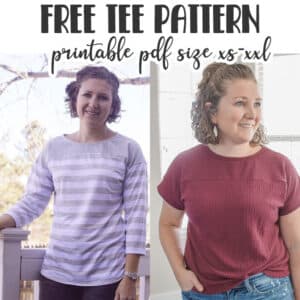
These leggings would look great with the follow top patterns –
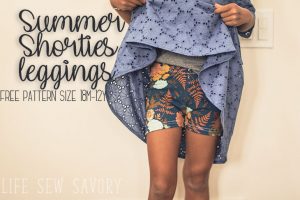
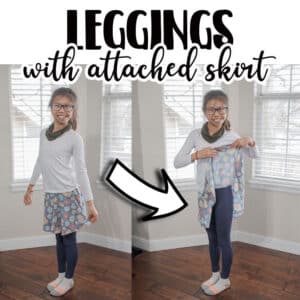
Love leggings? Try these versions for little ones –
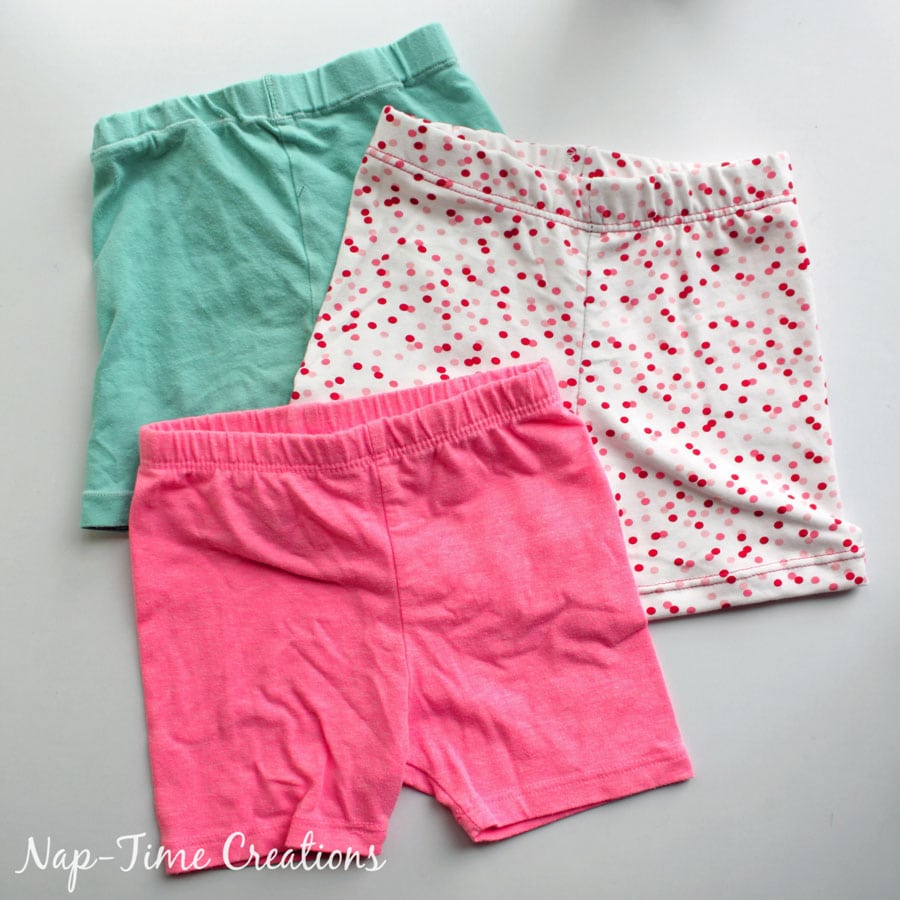
Girls/boys free leggings 18m – 12y




Stephanie says
I’d appreciate advice on how to cut knits along a straight “grain”. You mention folding the fabric selvedge to selvedge in your instructions, but I’ve had the unhappy experience of getting rib knits from an JoAnn online that were still in tube form. The only way I could figure out to cut them is to stretch the ribbing with one hand, cut on the area between ribs with the other, and somehow keep the material underneath a bright light while doing so, but ye gods, is this ever tedious! I was so disgusted I returned one length, but kept two I really, really wanted, mostly for trim on sweatshirt remodelings (are you familiar with Mary Mulari’s books? She’s got some great ideas for upscaling sweatshirts, new or old), and one came already cut (the first one, which led me to believe they all would be cut).
Erin Marsee says
I only sew with knits. Salvage to salvage is the greatest stretch and should go across the leggings not up and down. The grain line should run up and down. Look for fabric with at least 50-75% 4 way stretch or more for added comfort.
I use a quilting ruler and most patterns I use mark the grain line on the pattern and this is what you want to keep straight with the grain of the fabric. I never cut my knits on the fold because I want to be sure I don’t cut across grain and get twisting. There are plenty of great online videos and tutorials on how to do this. Check them out.
Eva says
Thank you for sharing this lovely pattern – I’ve just made a pair of polka dot leggings for myself and they look great! Greetings from Slovenia.
Luise Helfrich says
Is the seamallowance included in the pattern?
Michele Canady Morrill says
Where can I get this leggings pattern? I followed the link to blueprint, but it’s no longer available.
Emily says
hi! All my patterns are now in my personal shop! Lifesewsavory.com/shop. I’m working on updating all the links as well!!
SHARON M FOLKESTAD says
Hi: I want to make the Womens Legging Pattern and the Girls legging pattern. I am wondering if the hem and seam allowances are all included in your patterns and what the hem (Waist & Leg) are and the seam allowances are in your patters. Thanks…..
Sylvia Tijink says
Thank you so much for sharing the pattern and the tutorial. I’ve got little experience sewing, but the result was perfect!
Christine Joseph says
I’m excited to make these leggings for women but can’t find the pattern .. please help 🤗
Michaela Calvert says
Thank you, this pattern is awesome and so easy 🙂
Version XI says
Thanks a lot for sharing the pattern. Was looking for it for quite some time, surely will try it now.
Michelle W says
Thanks for this great free pattern. I have a question – I managed to buy 58″ fabric and need a size XL. Do you think I’ll be able to make it work? I haven’t laundered the fabric yet so I can still return it.
Also, when I do the serging am I trying to stretch the fabric as I go, or am I relying on the 4-thread overlock seam to give me the stretch the seams will need?
Thanks again!
Michelle W says
Answered my own question today by cutting an XL on the 58″ fabric – it wasn’t a problem. I’m a fairly new seamstress with a new-to-me machine that has a lot of bells and whistles. I was able to cut, seam, assemble and adjust these leggings in just under 3 hours, including taking time to thoroughly read the tut and to drink coffee. The next pair will be that much better now that I understand where I can make adjustments to the fit.
Thanks again for a great free pattern and the accompanying tutorial!
Michelle W says
I’ve now made 5 leggings using this pattern, with tweaks to numbers 2-5. I think the back of the leggings is low, while the front is too high. For #5 I combined the size L front and the size XL back, also raised the back 2″ and dropped the front 1.5″. After overcasting elastic to the wrong side of the raw waist, folding it down and zigzagging to secure I think I’ve got an excellent fit.
Be sure to mark the fronts of your pattern pieces. This will help ensure you put the legs together correctly if you’re using fabric with no obvious right and wrong sides. We won’t discuss the “why” behind this suggestion…
Karyla Parrish says
Is there a pdf of the tutorial that can be printed? Thank you
knapp lisa says
The print preview looks correct but the pattern does not print out as shown. The pages do not all line up and there are some strange angles instead of curves. It is set to print at 100%.
Any suggestions?
Emily says
This has never happened to me before, but I’m guessing something strange with the download or printer. Are you printing from a phone? Using Adobe acrobat.. not the web version? All these things can cause issues.
Erin Marsee says
Do you have an HP printer? HP printers are notorious for doing things like that. There are solutions but you will have to Google them.
Erin Marsee says
Amanda’s Bundles has some awesome Peached Performance fabric that has fun patterns. It’s so soft and stretchy and is the same as Lulumon fabric. It’s reasonably priced too. I love using it.
Sally Heath-Stubbs says
Thanks for this great free pattern, much appreciated. I would like to make the leggings a bit wider. In your tutorial, on the pattern layout, you show how to make a wide hip to a smaller leg ON THE LEFT, and a narrow hip to a wide leg ON THE RIGHT. Please advise if I should widen the pattern on both the front and the back pieces of the pattern, or only on the left/back crotch as shown in your tutorial. Many thanks for your help. I’ve never made trousers/leggings cut on the mirror before, so that’s why I’m not too sure of how to do the adjustments.