inside: make a swimsuit cover up pattern free with this post. If you plan to spend time in the water this summer you need to make this free sewing pattern.
I knew I would be spending a ton of time this summer in my swim suit and wanted a new cover up to wear. This swim cover up tutorial will give you the freedom to chase kids, be comfortable, and look great around water this summer.
I created this womens swim cover free pattern in size xs-xxl for myself and to share with you all! I love the way it’s loose and roomy. The dolman sleeves are easy and the fit is just loose enough, but not too baggy. You can add a tie at the waist or not, either way fits great. I’m loving how it turned out.
Join the Life Sew Savory Pattern Group for support on this pattern!
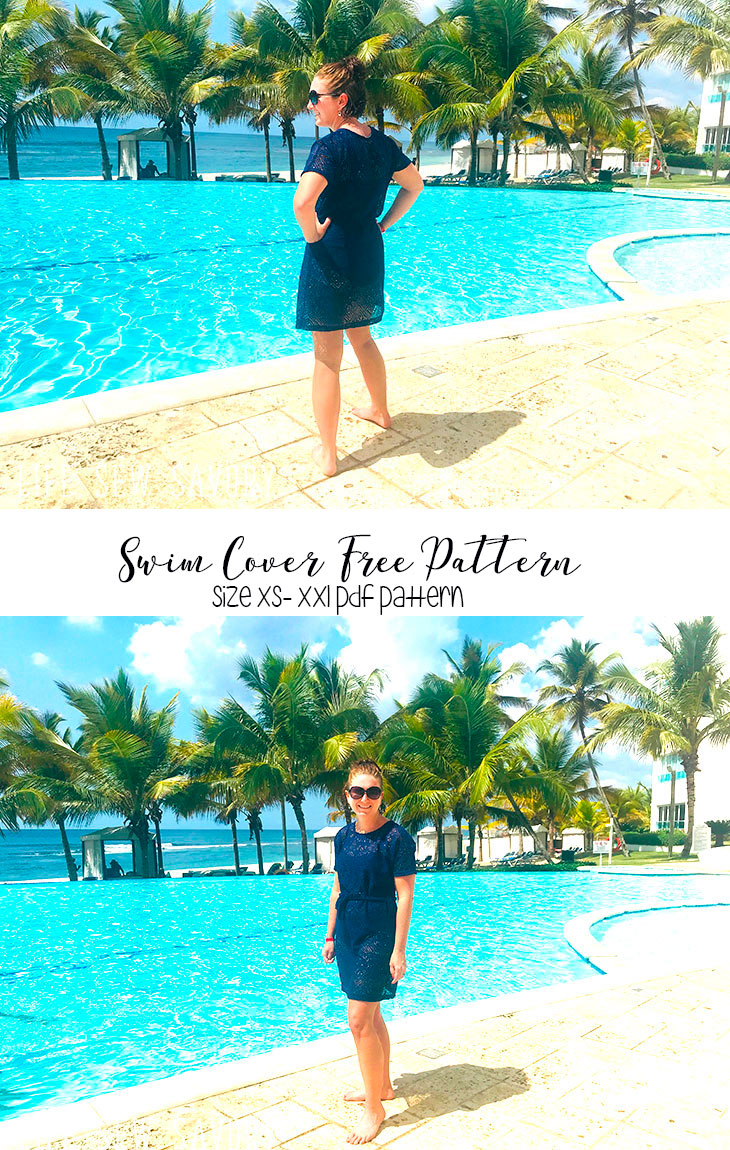
swimsuit cover up pattern free –
I sewed up the original orange version many years ago and decided to make a new one for our decent trip to the Dominican Republic. I do love the stretch lace I used for this new version. I used the same fabric for the waist tie, but a ribbon would also be a great way to add the waistband as well.
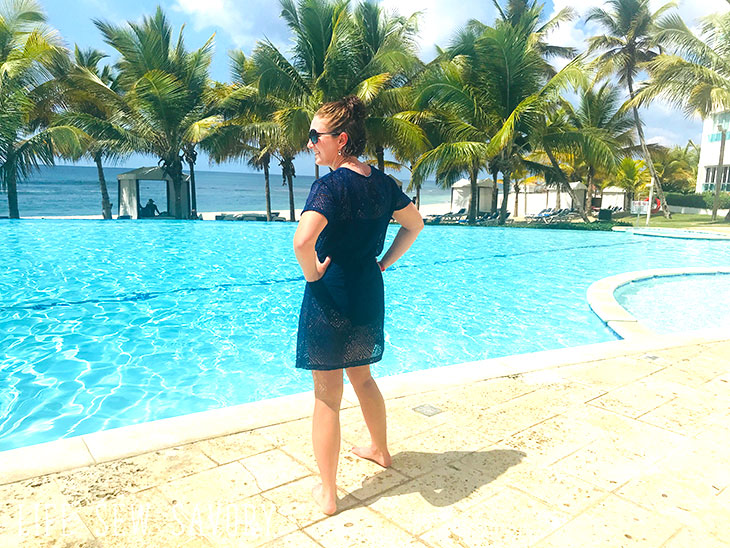
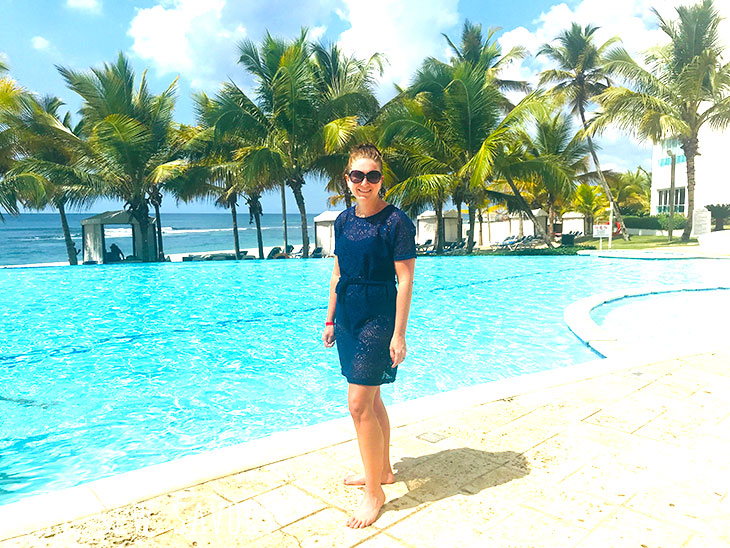
see through swim cover up –
You could make this with solid fabric, but I do like the look of a little see through fabric. My swim suit happens to be blue as well, I can’t decide
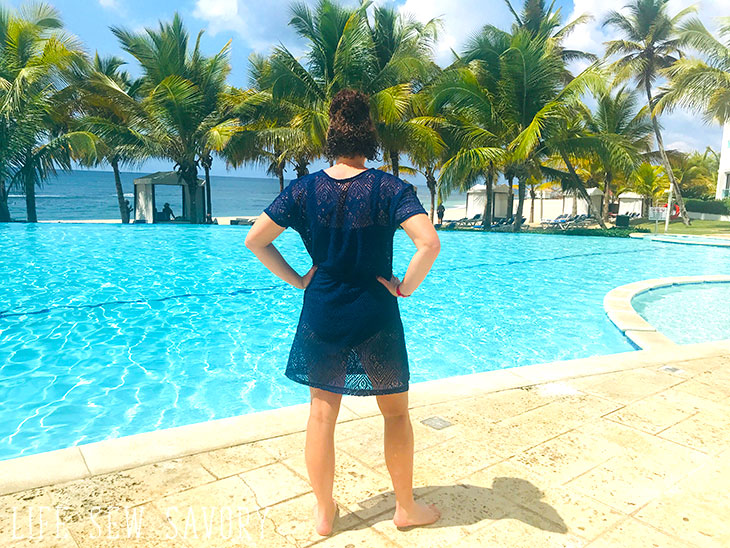
beach cover pattern –
No matter if your plans are beach or pool this summer a cover up is the perfect way to look great and be comfortable. If you are looking for a tank dress cover up pattern you can check out for summer sewing.
I got the fabric from Fabric.com on clearance and when it came it was more see-through than I was thinking it would be. It ended up to be perfect for the swim cover though, so it all worked out! I would recommend any light knit or stretch lace for this cover up for the perfect see through swim cover up.

Swim Cover Up Tutorial
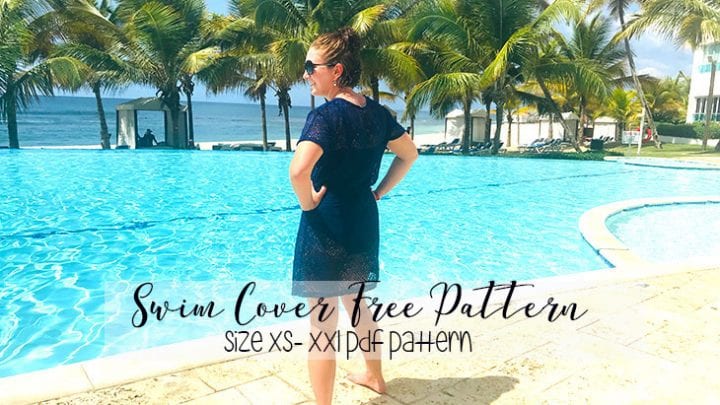
A swimsuit cover up pattern free
Materials
Tools
Instructions
The link has been updated.. it no longer takes you to craftsy/bluprint it now goes to my own shop for you to download the free patterns.
You can go print the free pattern free pattern HERE
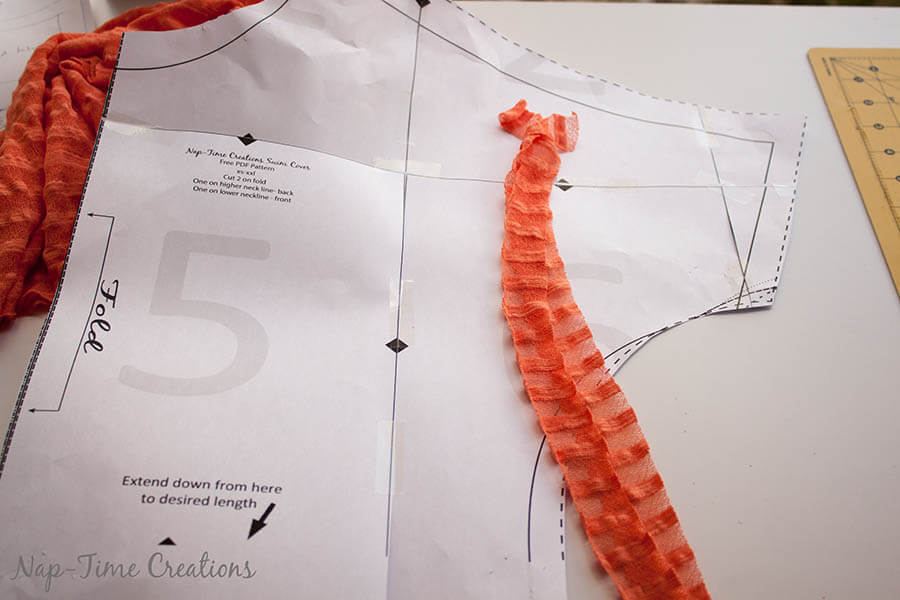
The two neck lines are one for the front piece and the higher for the back neckline. You will also need to extend the pattern to your desired length. Measure from your shoulder to knee {or higher/lower} then extend the pattern to that length. You can cut it straight down or flare our slightly if you are more full in the hips. Add one inch for the hem allowance. You will need 1.5 yards for size XS-S and 2 yards for M-XXL. My fabric was 60" wide. A 3/8 seam allowance is included in the pattern.
Please note there is no page four in the pattern, this is on purpose, it is not needed. When taped together your layout should look like this:
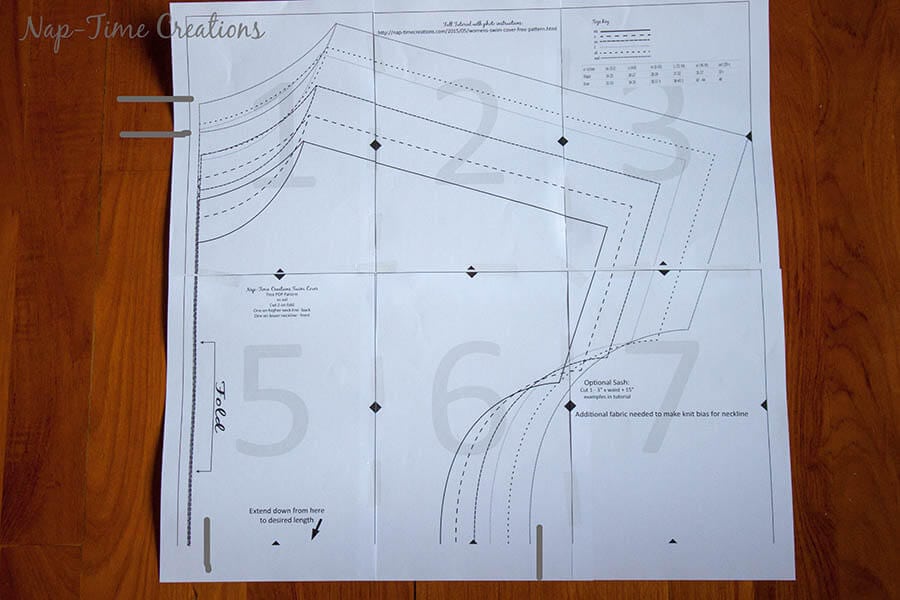
- Cut out a front and back on the fold, extending to the desired length. Cut a 1" x width of fabric for the neck binding. Cut the optional sash as directed on the printed pattern.

2. With right sides together, sew one shoulder seam.
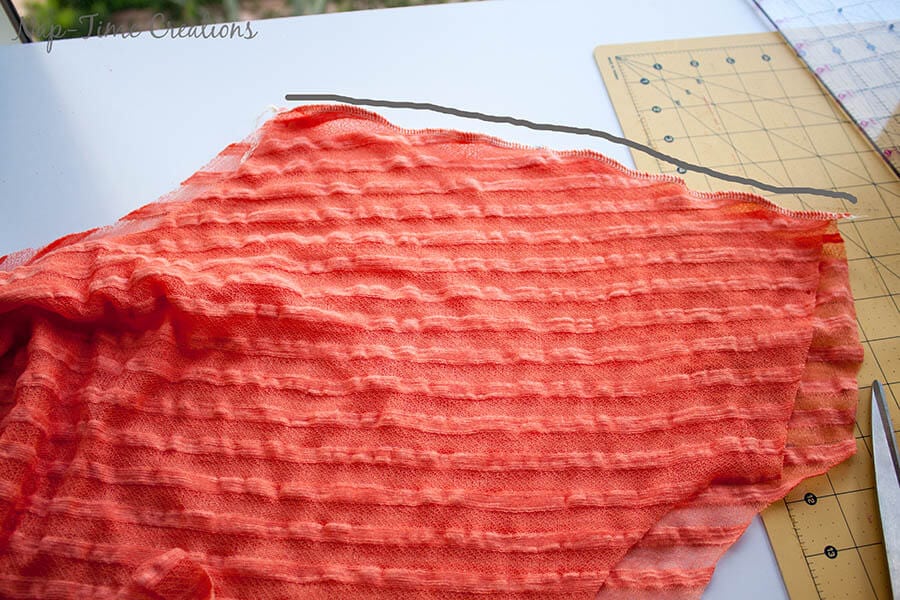
3.Starting at one of the open shoulder sides, put neck binding right sides together with the cover up body and sew.
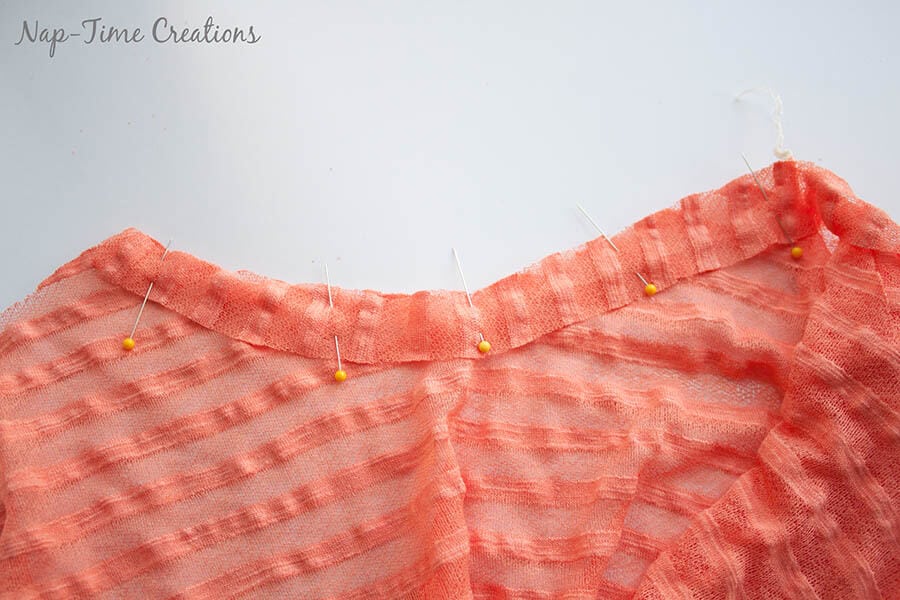
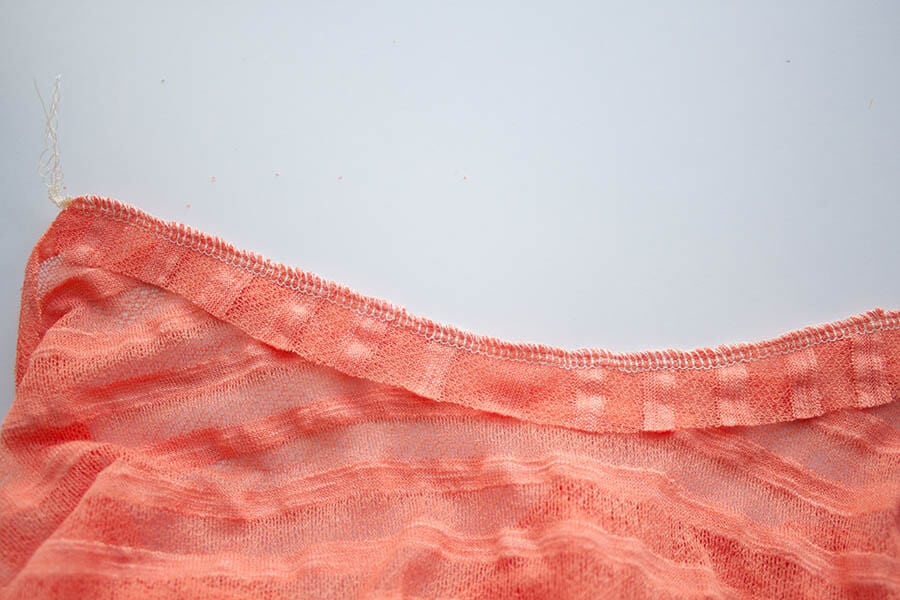
4.It now should look like this. You can just use a zig zag if you don't have a serger.
5.With the right side of the cover up facing you, flip the neck binding over to the back side and pin on the front.
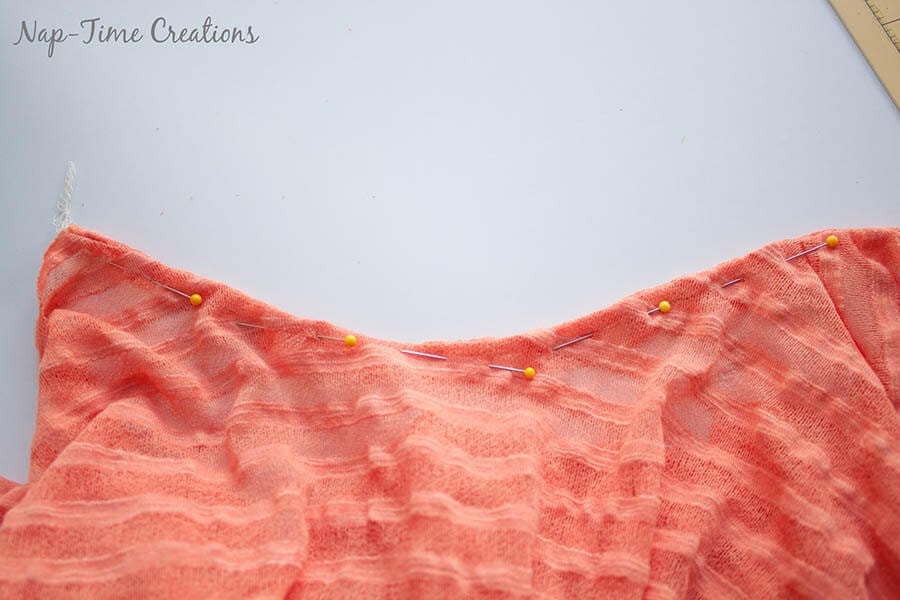
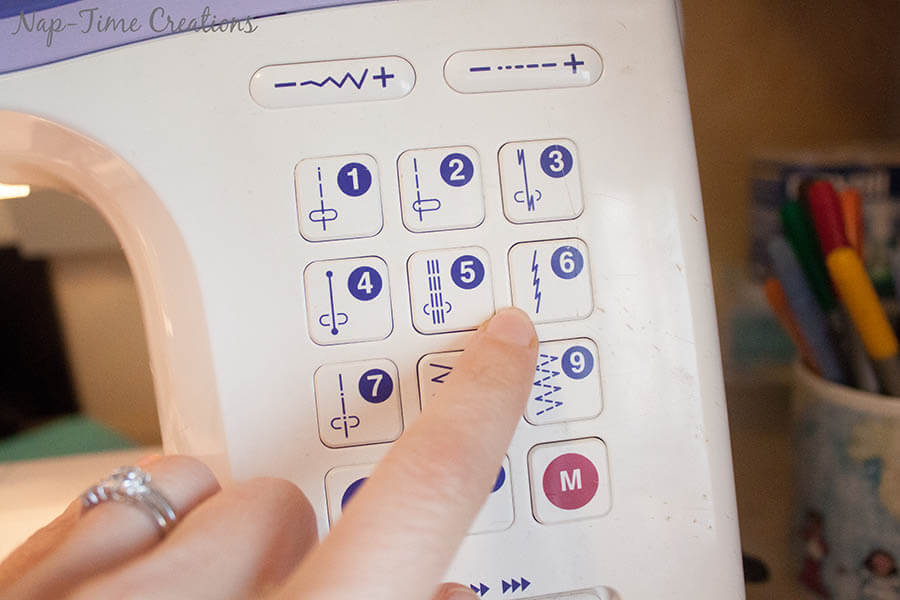
6.My tips for sewing with knits.. use woolly nylon Thread and set you sewing machine to the knit stitch. Check out this full tutorial for sewing and hemming knit fabrics.
7.Top-stitch 5/8" from the edge to hold the binding in place.
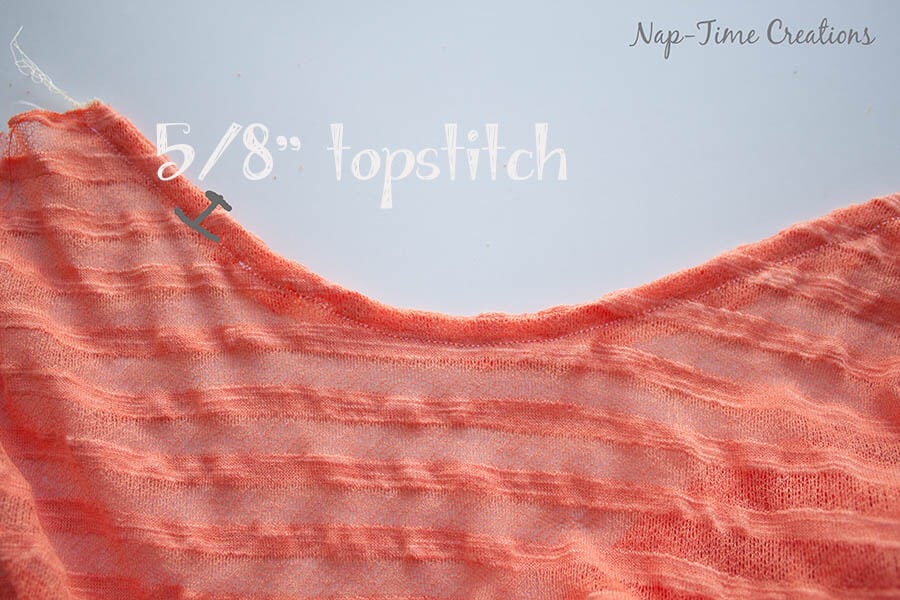
8.Flip over to the backside and trim the seam allowance if it's too wide. Sew the other shoulder seam.
9.With right sides together sew the side seams from arm to hem.
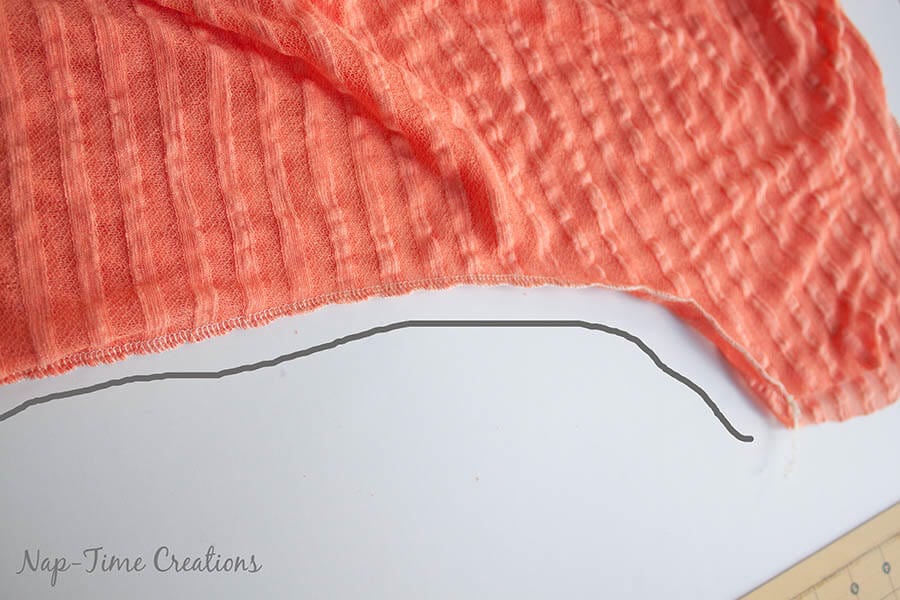
10.Sew the sash piece with right sides together along the long side.
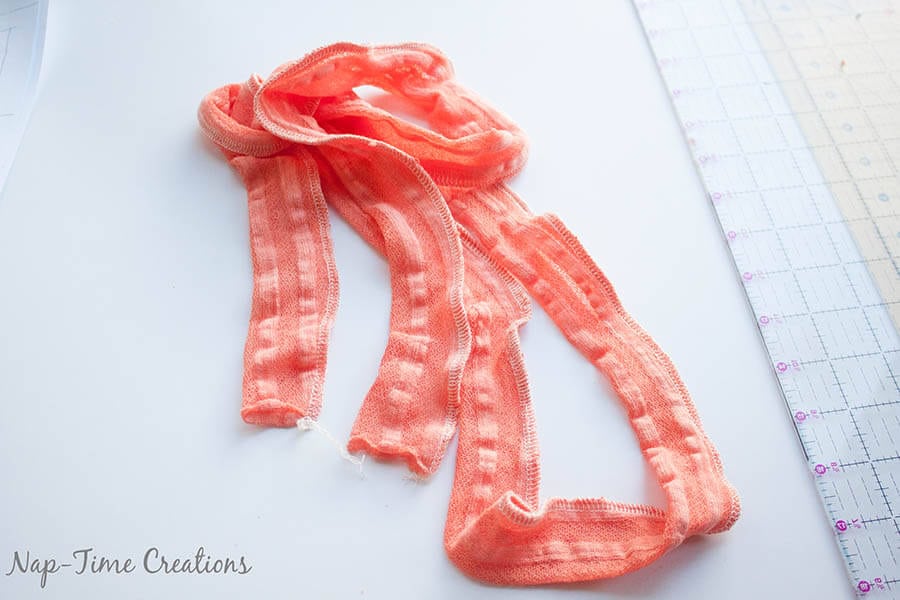
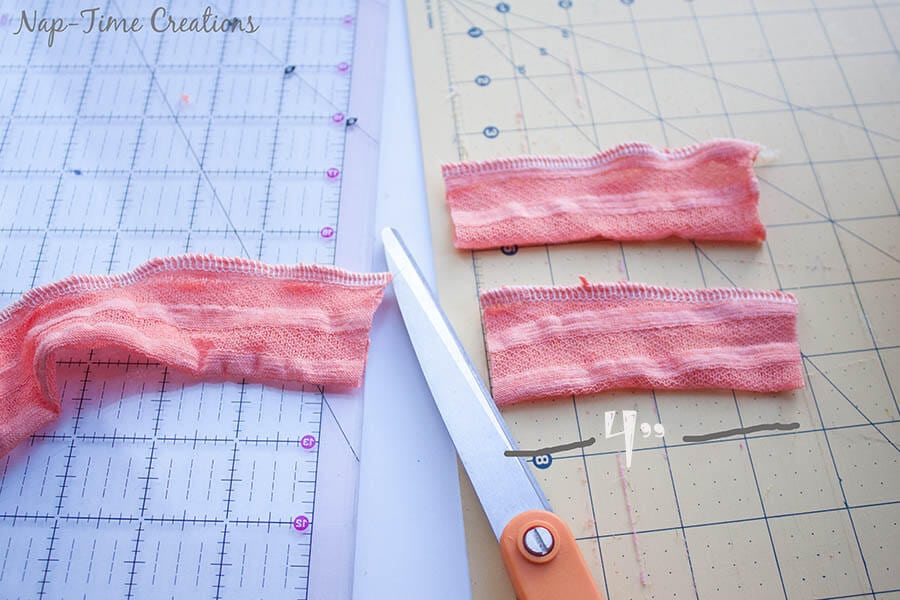
11.Cut off two 4" pieces for the belt loops. Turn the loops and the sash right side out.
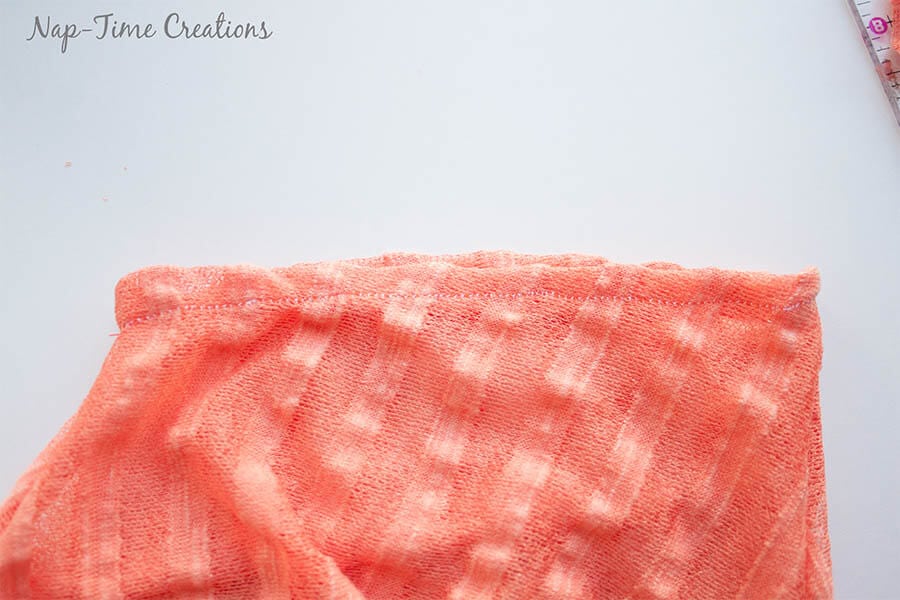
12.Hem with a 1" hem.

13.Turn under and sew 1/2 for the sleeve finish.
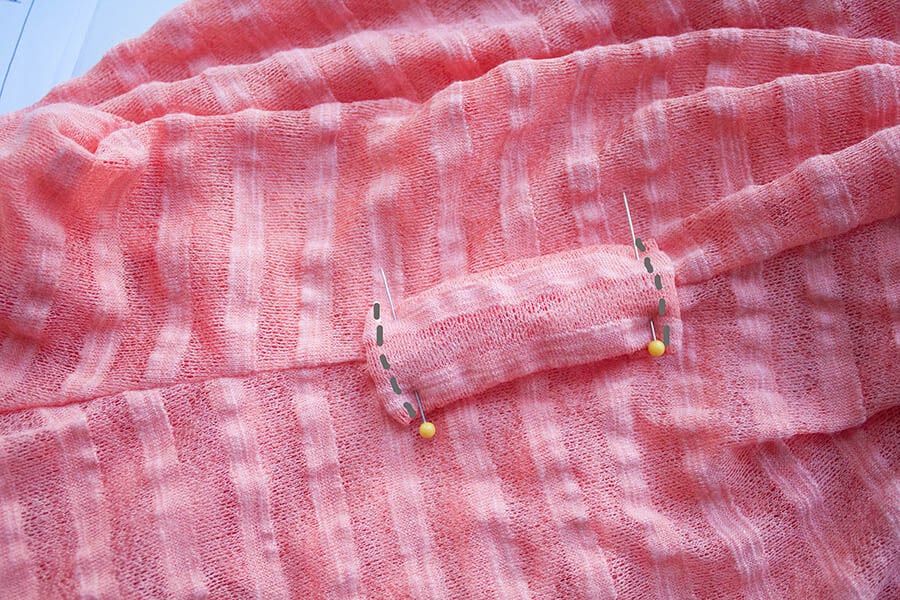
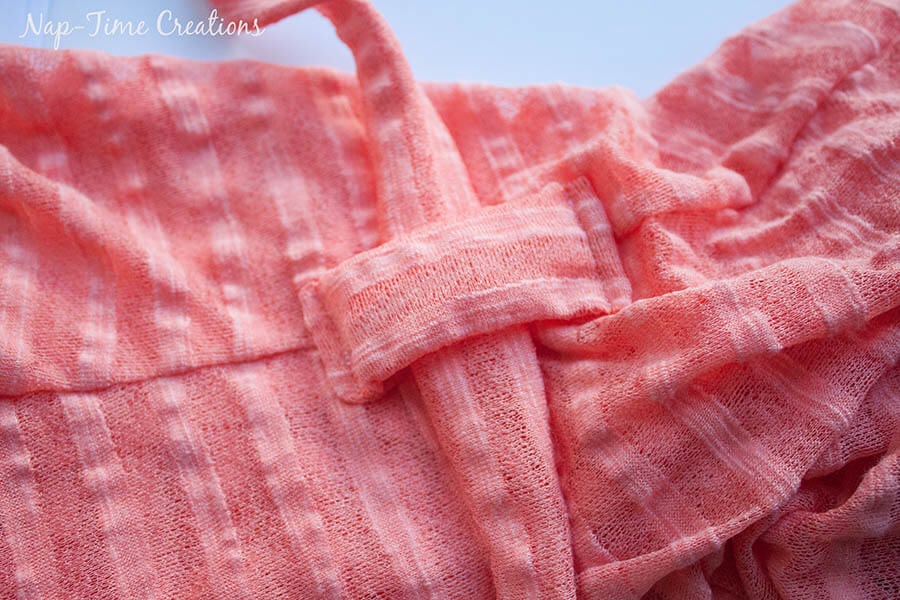
14.Place the belt loops on the side seams right at your natural waist height. Turn each end under to finish, then sew.
Here are some other great free sewing patterns for women you may enjoy







Arianne W says
I made this yesterday (well, haven’t quite finished it) and the neckline ended up really big. I normally wear XS clothing, and this looked huge on me. To be fair, I haven’t attached the sash yet, so maybe that will make a difference.