This shop has been compensated by Collective Bias, Inc. and its advertiser. All opinions are mine alone. #Clean2TheCore #CollectiveBias
Summer is all about letting kids be kids… and my boys are BOYS! We spend the summer in the pool, dirt and sports fields… and I love it… after a tough year in school for my son, summer is just the breath of fresh air he needed. I also feel like laundry is a never-ending part of summer. My boys get DIRTY with all their summer fun. Thankfully I’ve discovered all® POWERCORE™ Pacs OXI, and the kids clothes come clean every load. I’ve also been trying to do more kids crafts with the boys this summer, so today I’m sharing an easy t-shirt stencil tutorial using fabric paint and freezer paper. The boys had a blast because they got to choose the design for their shirt and paint it. 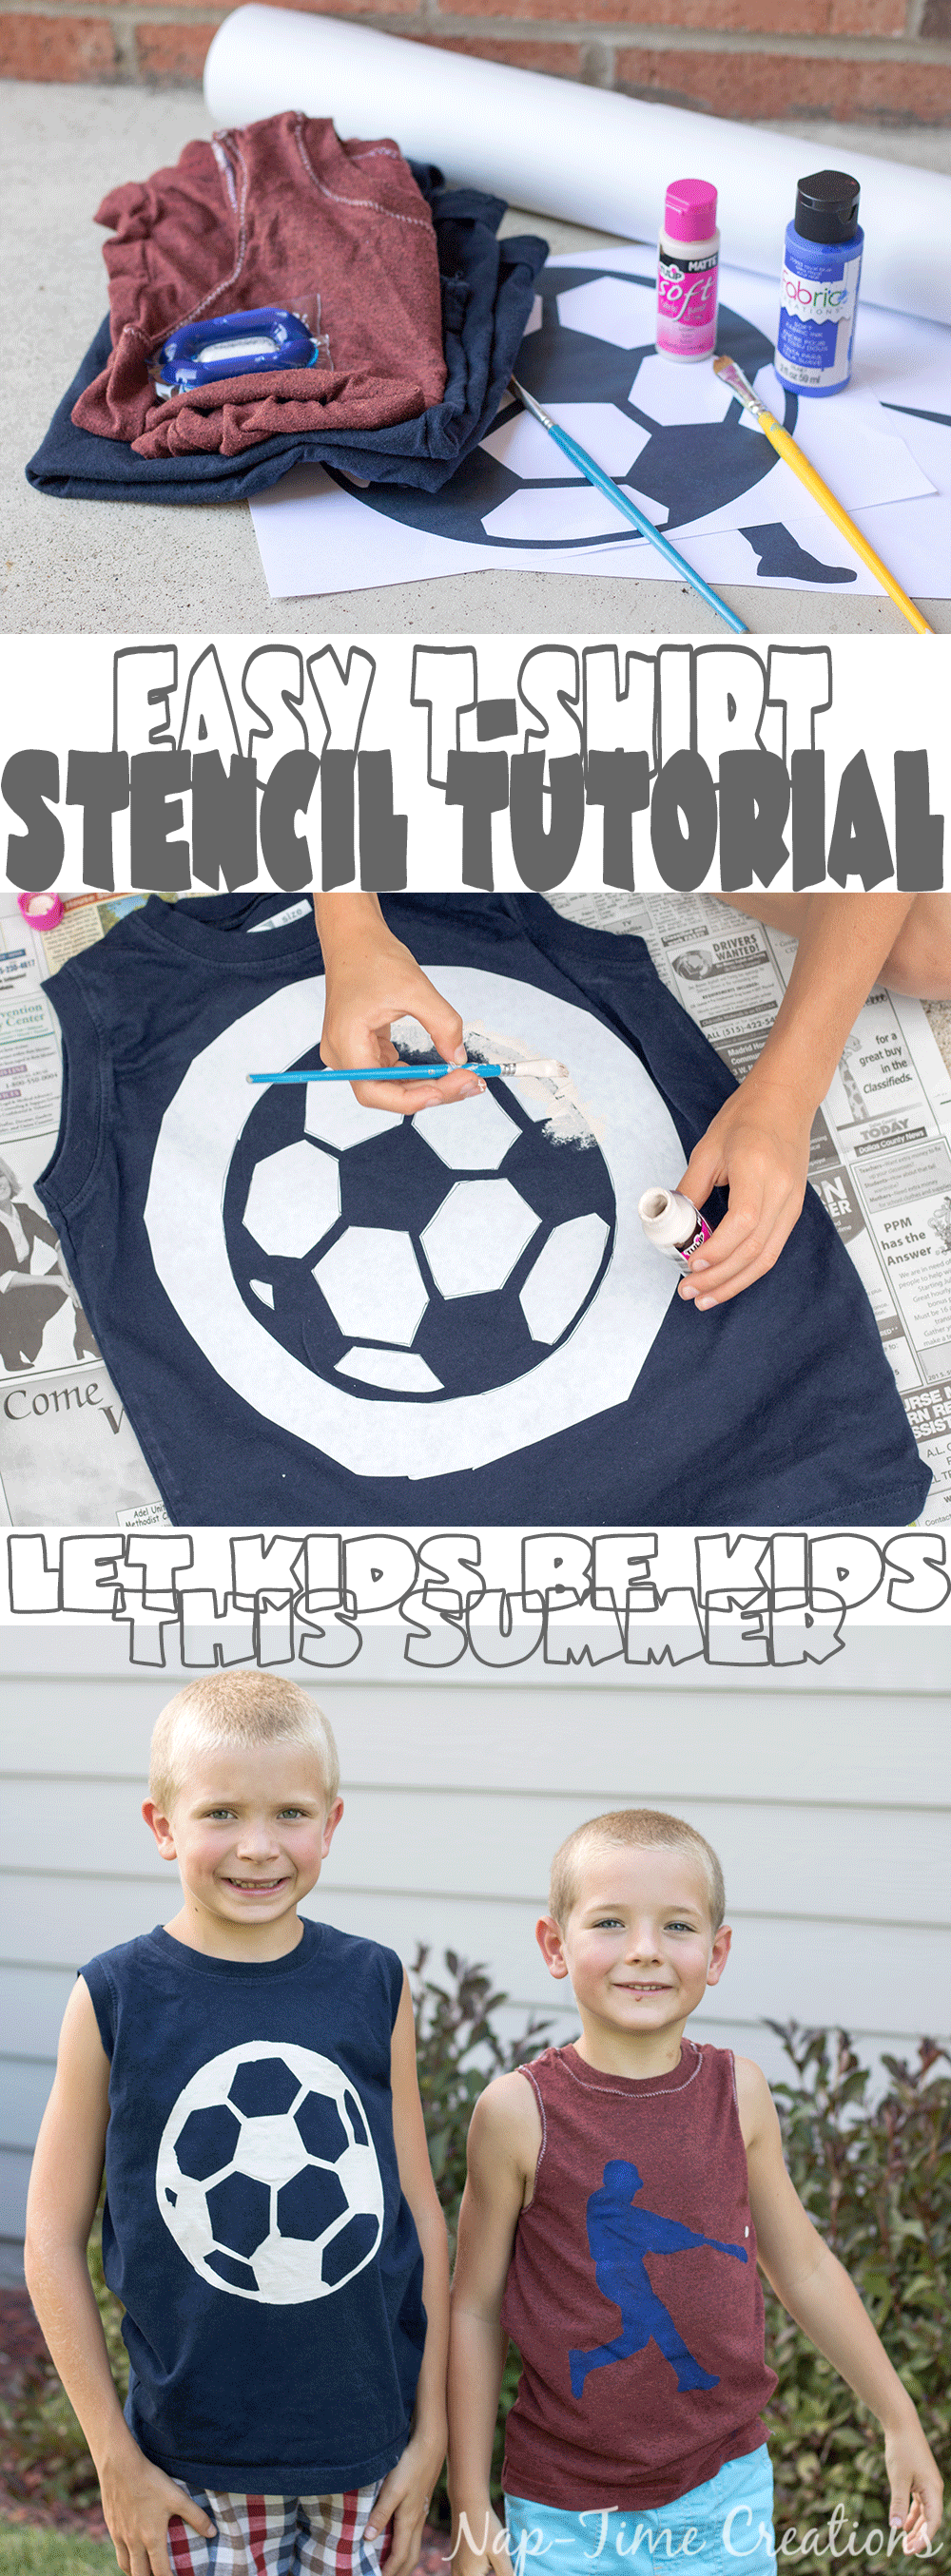 We’ve spent a bit of time this summer at grandma’s house in the country, where my boys have enjoyed her pool, cousins, fort building and being outside. Most days they end up looking something like this!
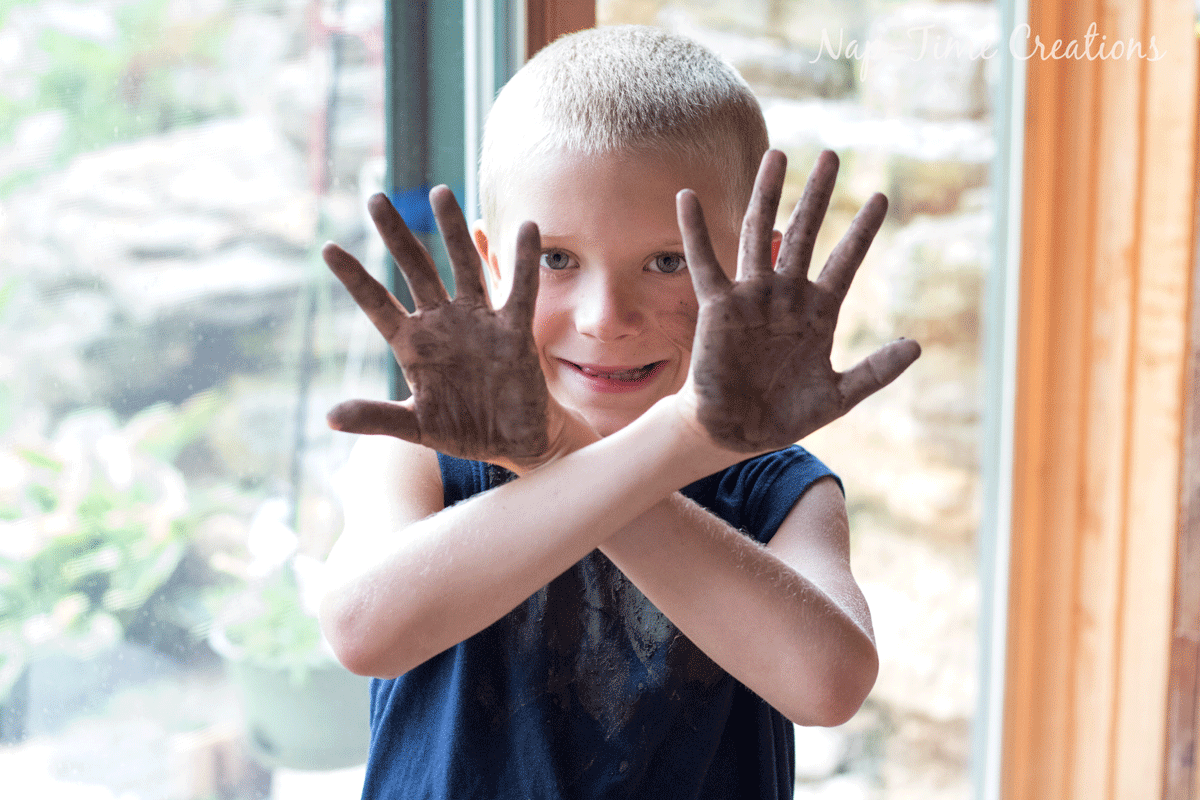
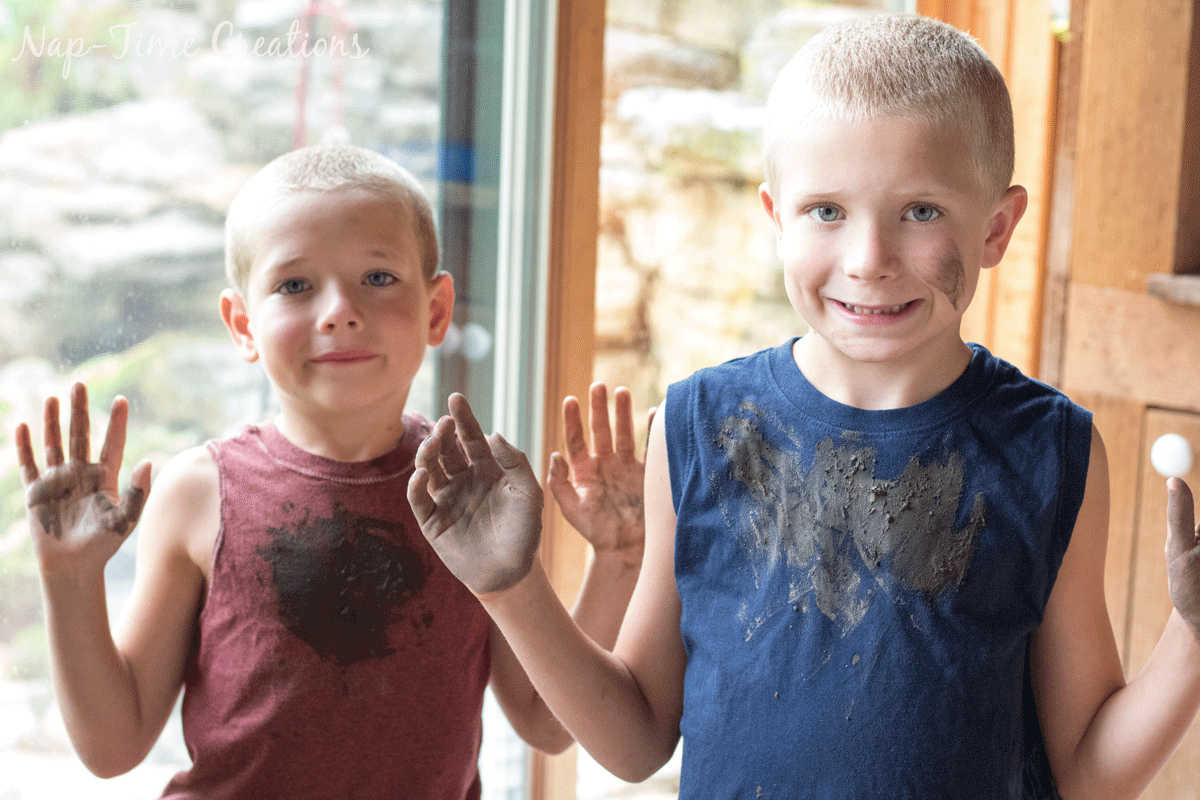
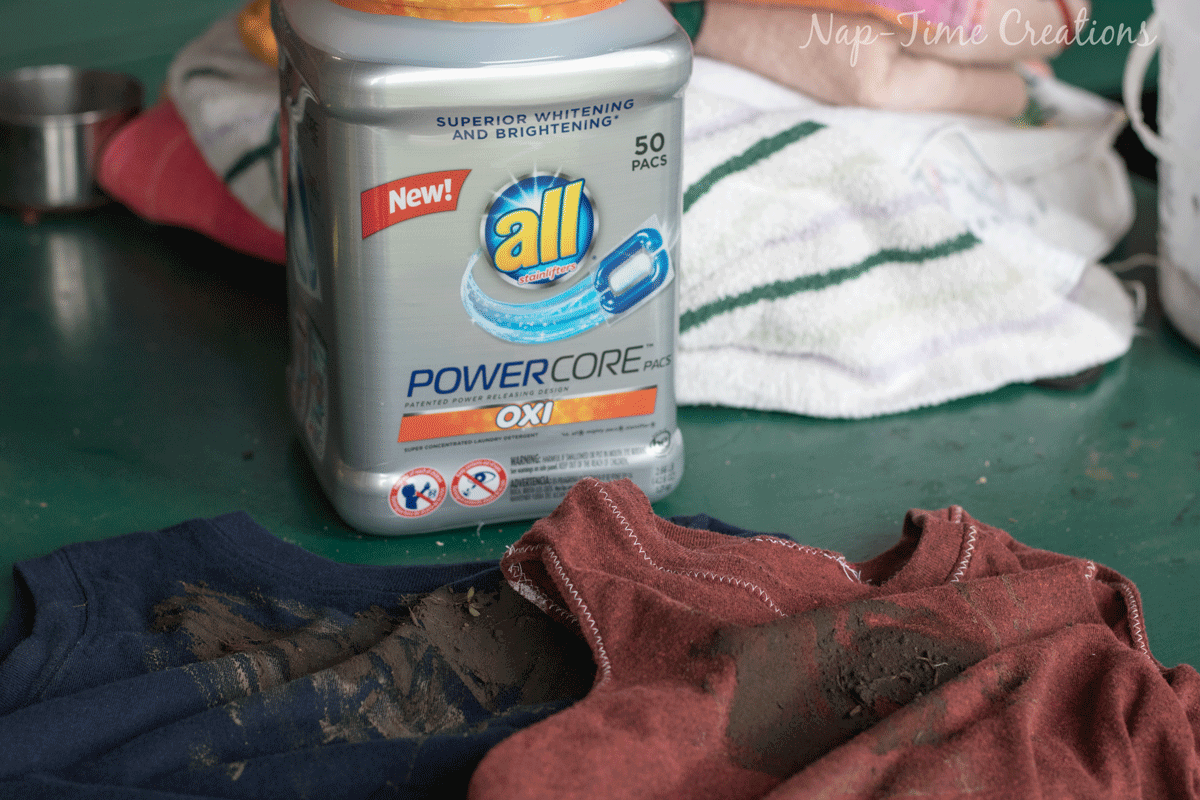
When I saw the boys wearing these shirts the other day I thought they would be great one to let them decorate. It’s been years since I used freezer paper for a stencil, but I thought we would try it again this summer. It’s such an easy t-shirt stencil and kids can paint it with help. First I needed to get all the mud and odors out, then we could add a design to them. I threw a load of laundry in with my all® POWERCORE™ Pacs OXI got all the mud out, and asked the boys what they wanted on their shirts. Be sure to follow the directions on the package exactly to acheive the best results.
Okay, for this easy t-shirt stencil project you will need:
- pictures printed or taken from a magazine {simple outlines work best}
- fabric paint/brushes
- t-shirt
Freezer paper { I got mine at Walmart when I was there picking up my new all® POWERCORE™ Pacs OXI }
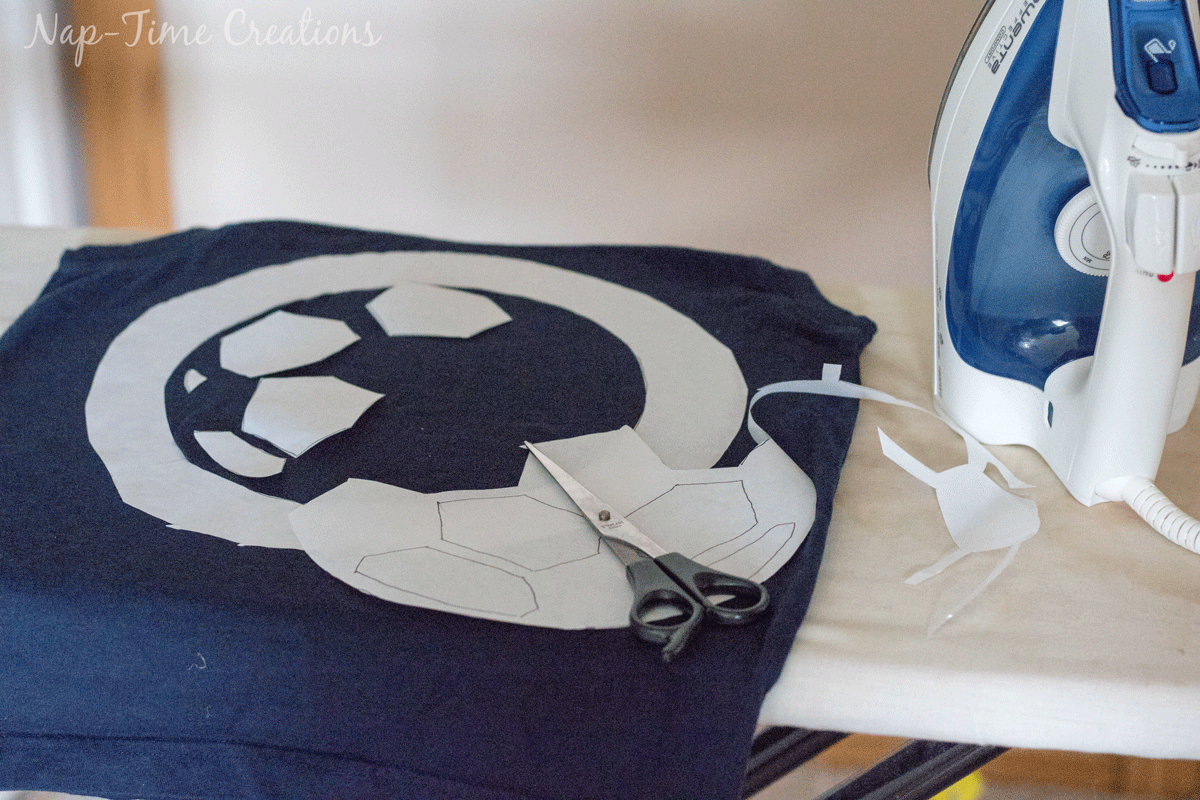
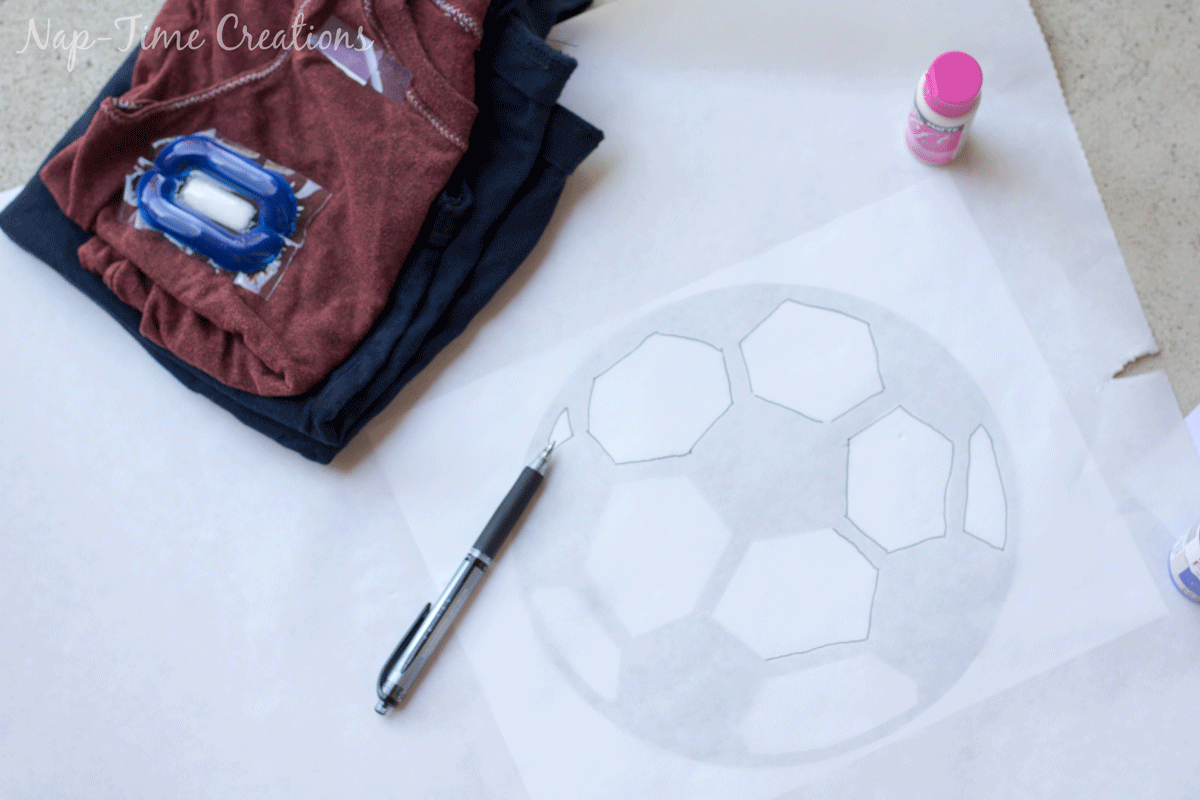 Trace the chosen design onto the paper. Then trim around and place freezer paper shiny side down on the shirt. The baseball man was easy, he was just one cut out. The soccer ball was a bit trickier. First, I cut out the outside, then on spot at a time, so I could iron in the right place. Use a hot iron without steam to stick in place. The back of the paper will adhear to the shirt making a great stencil that you can paint over and not worry about the paint going where you don’t want it.
After I had the shirts ready, we took this project outside. The boys were able to paint the shirts, and with the easy t-shirt stencil on, you can’t really mess it up!
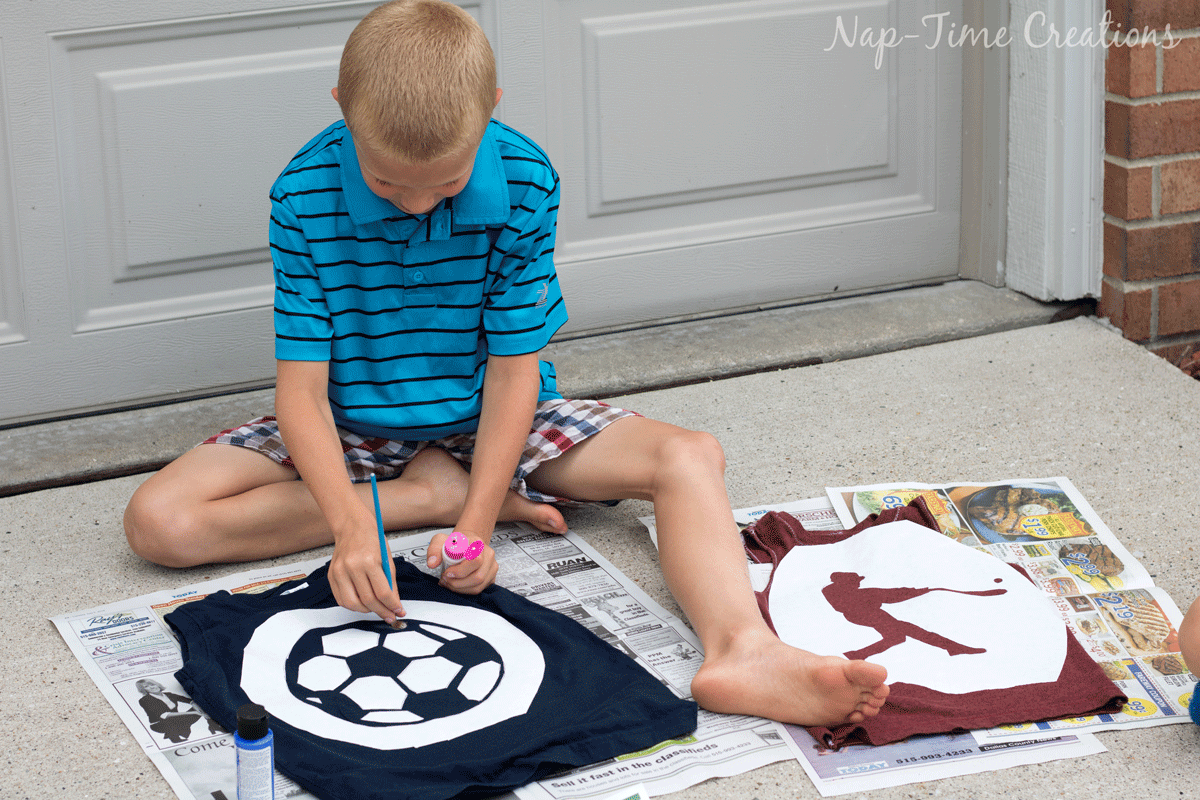
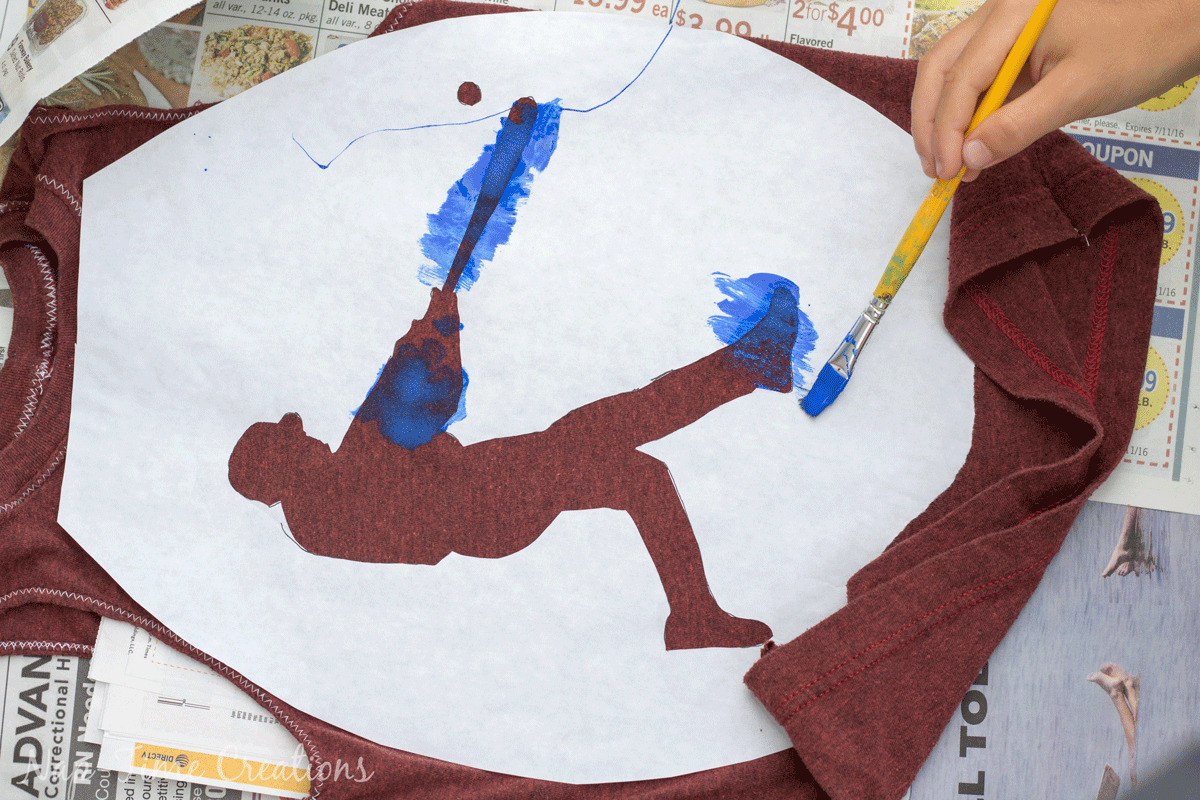 After the first coat of paint…. I added a second coat about an hour later…
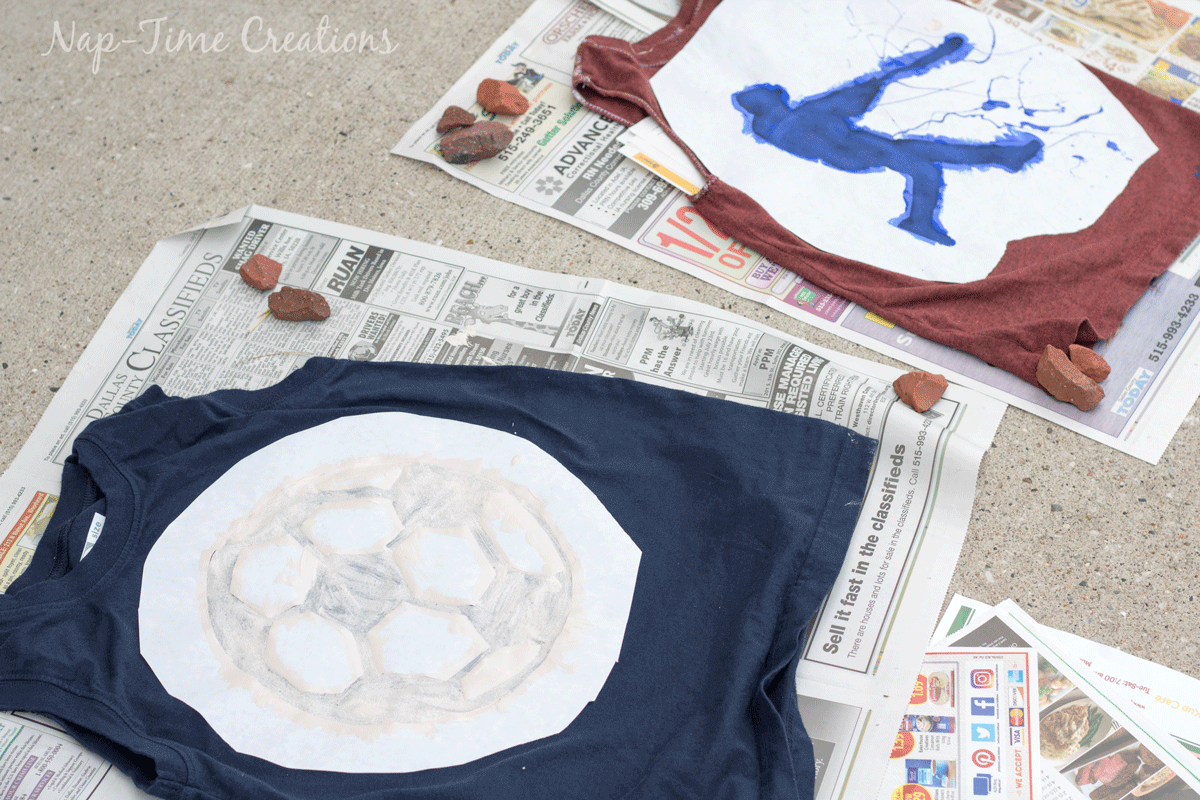
Let dry according to paint directions. Mine said 4 hours. After the second coat we waited, then carefully peel off the paper. 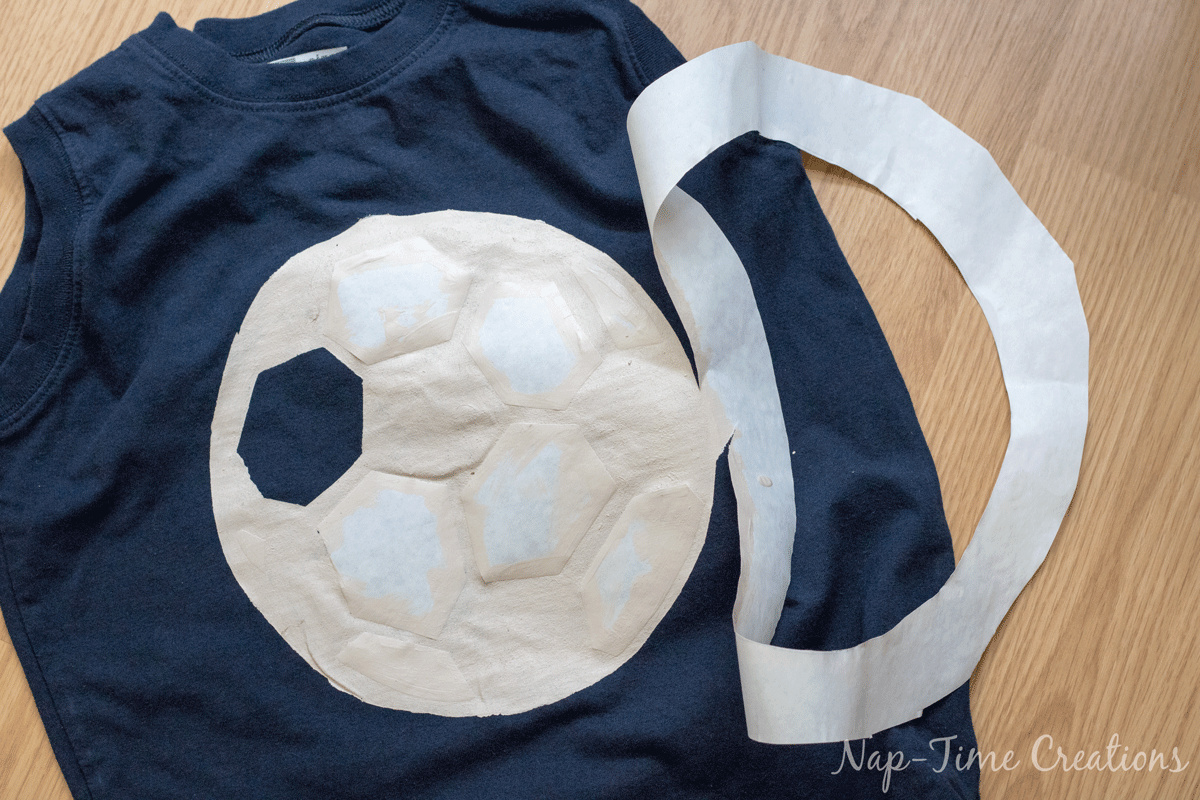
Your edges should be nice and crisp because the paper was stuck to the shirt.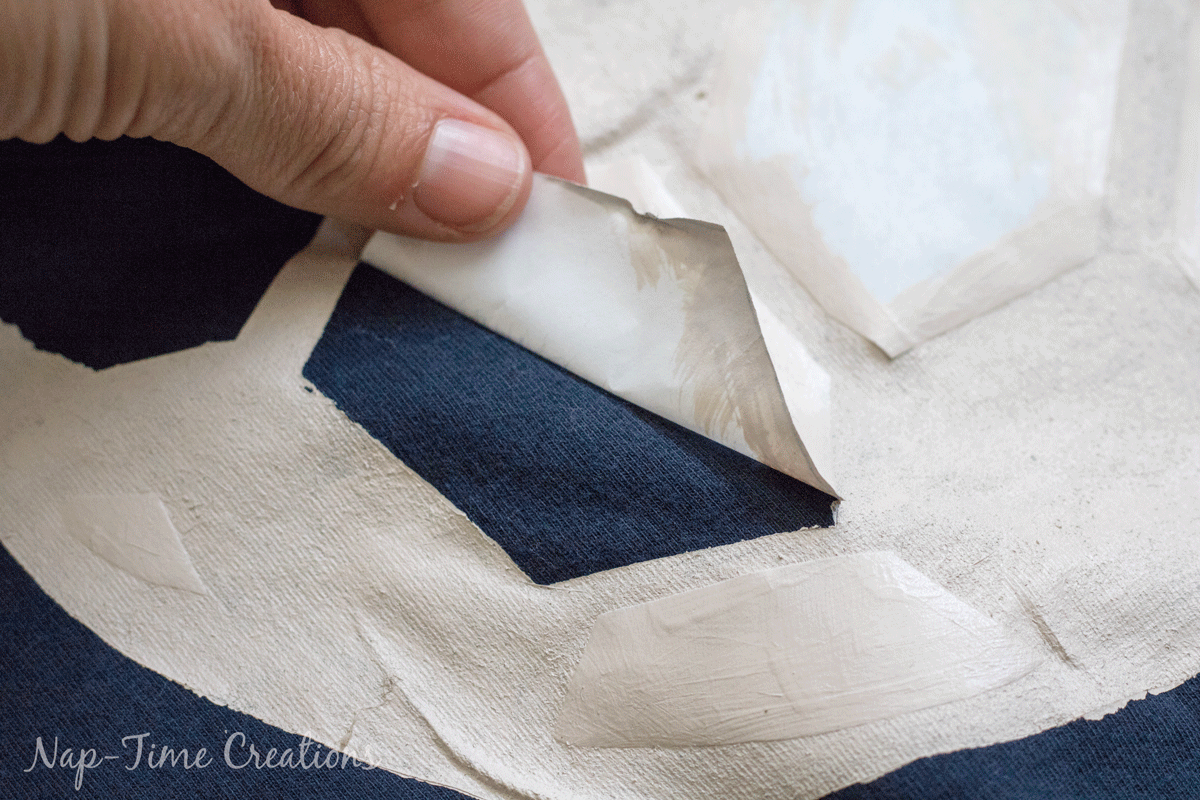
Here are my two happy boys with their fun new shirts! I’m sure they won’t stay this clean for long!! {haha} The tank on the right is from my free tank tutorial if you are looking for a tank top pattern…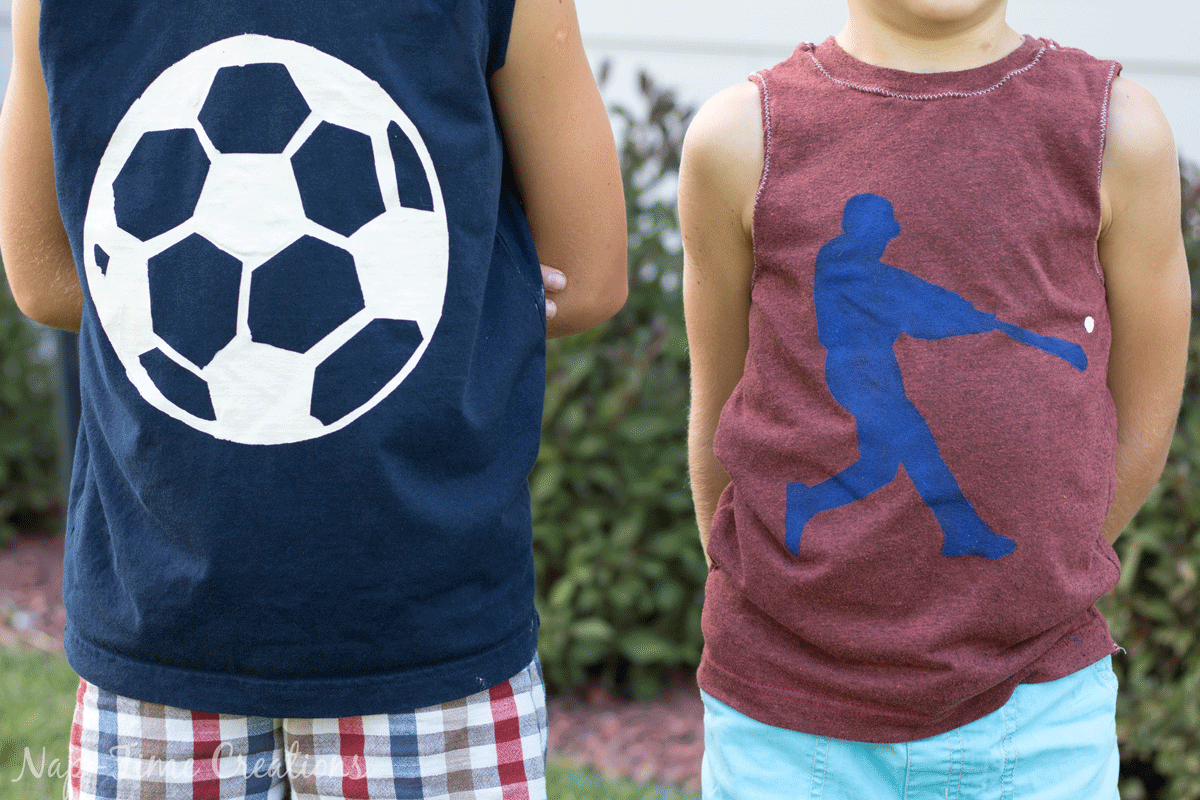
You can grab the all® POWERCORE™ Pacs OXI at walmart on your next trip. 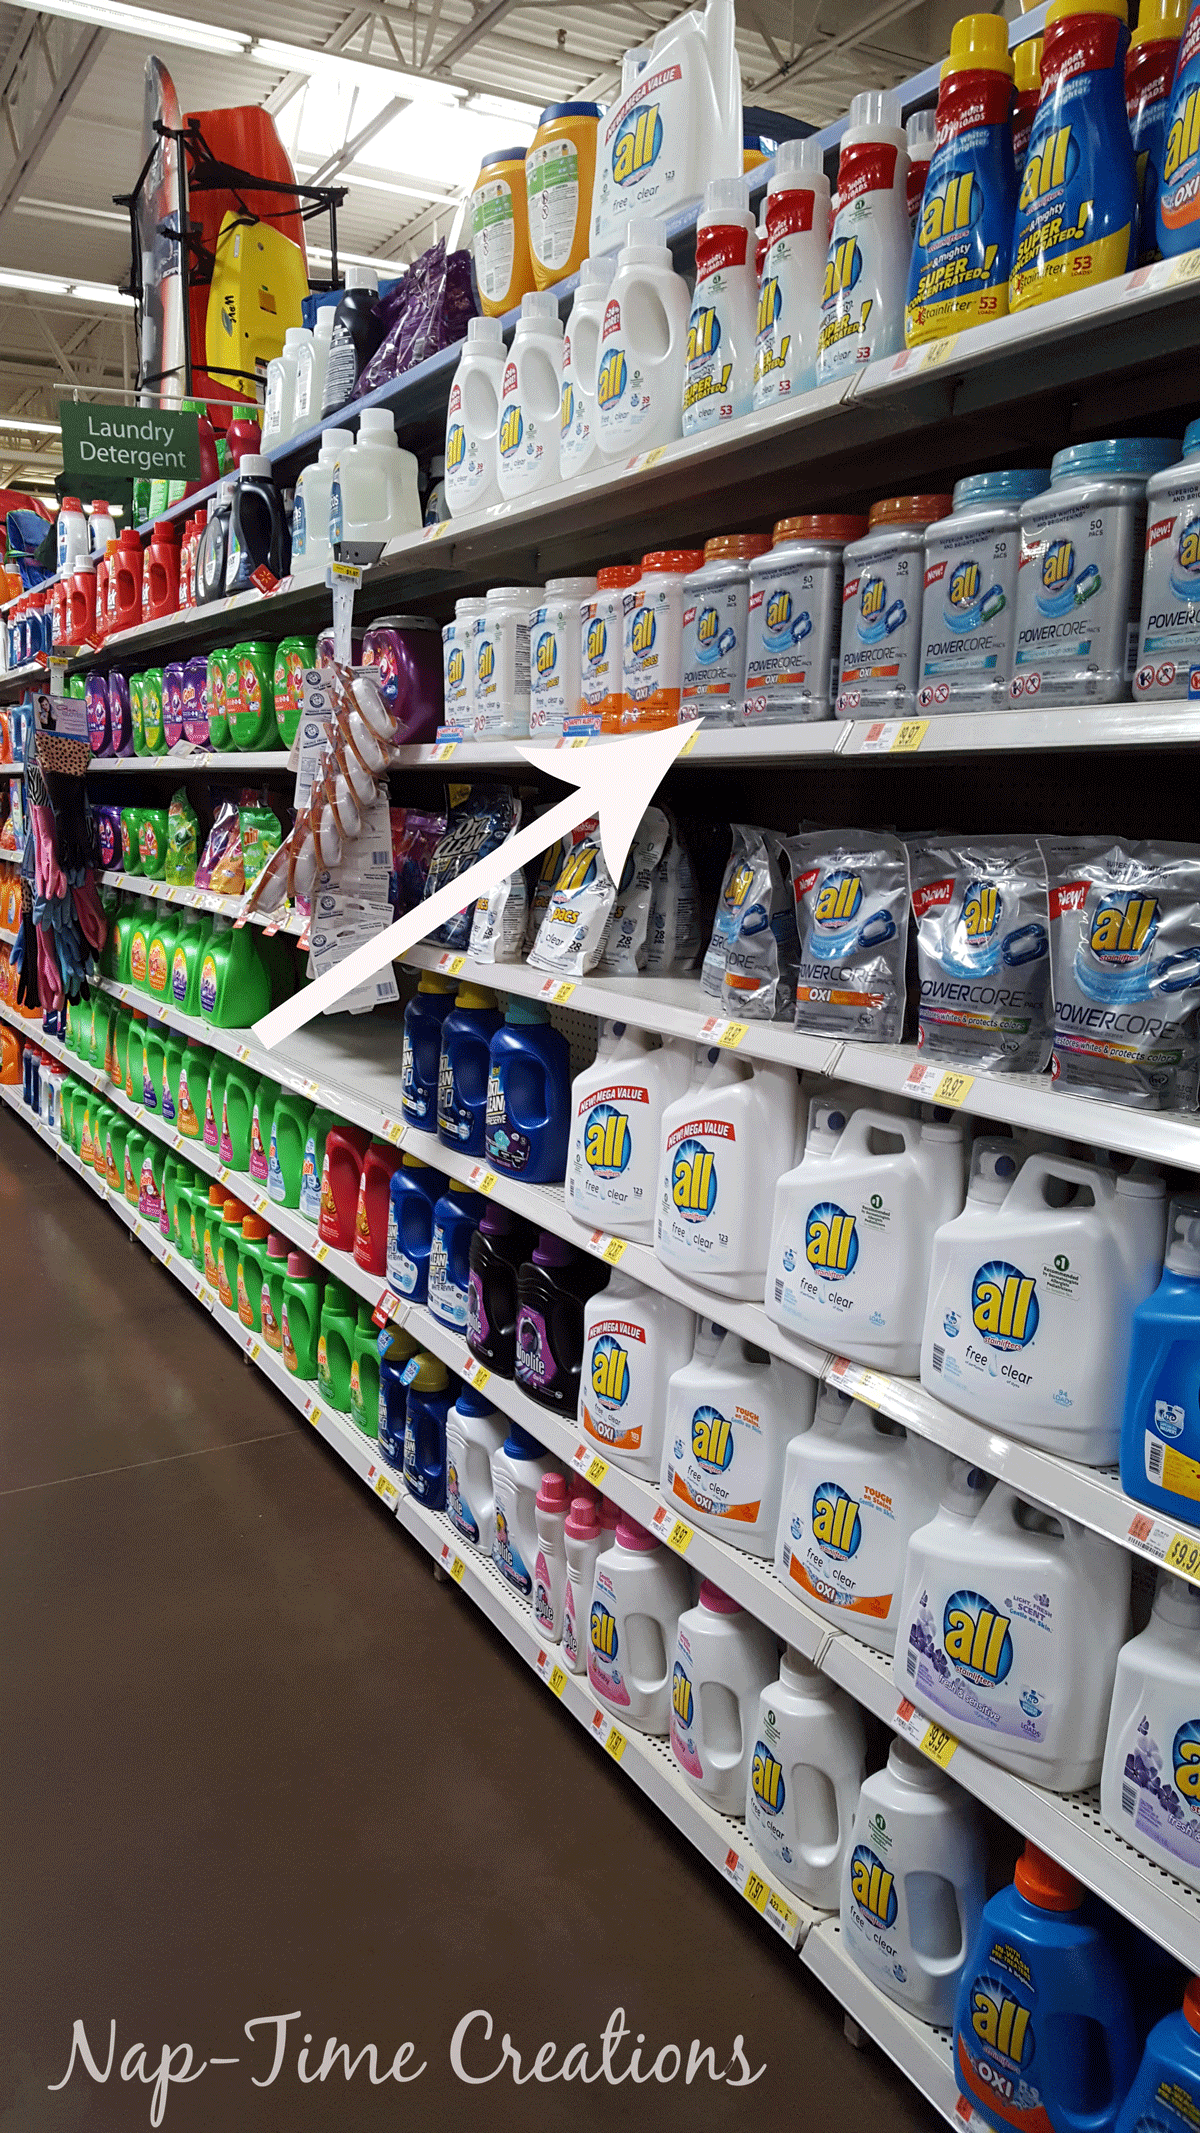
And just for fun a few “out-takes” from our photo shoot. Just in case you thought my boys just stood nicely for photos… ummm this is more normal.. kids are kids!!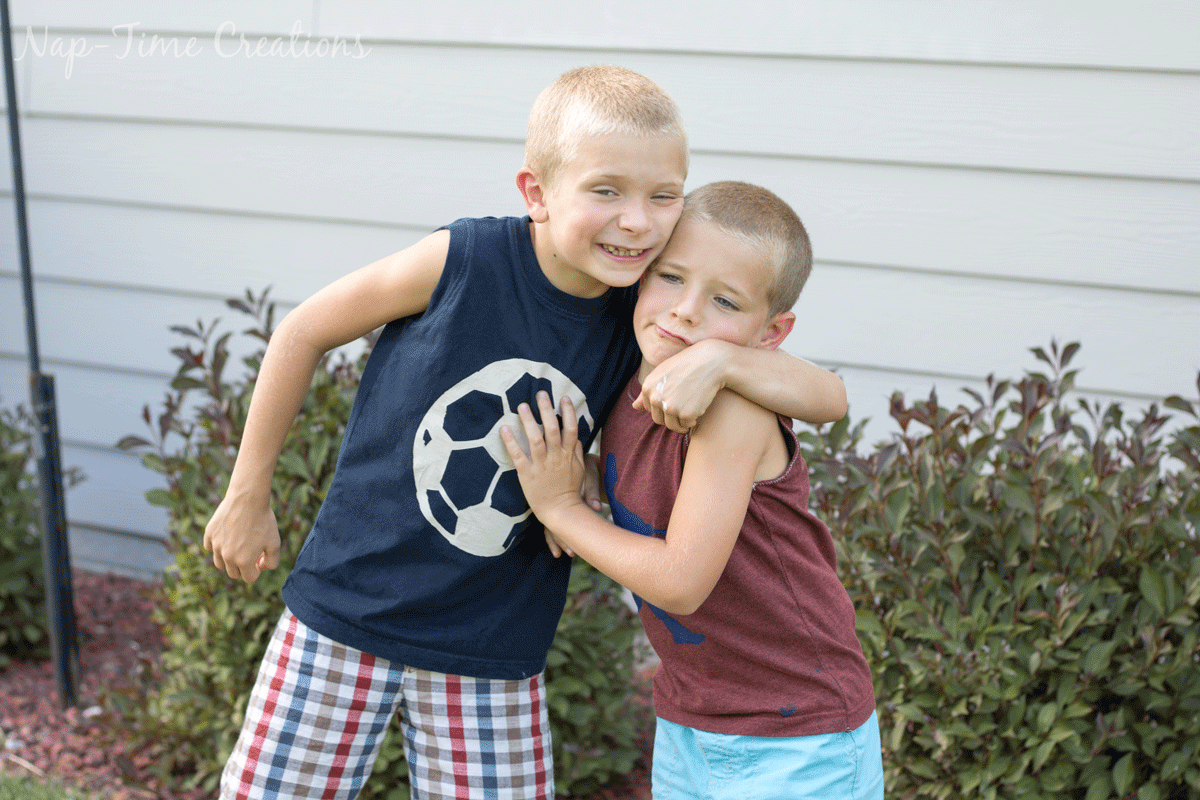
I caught him going in for the pinch!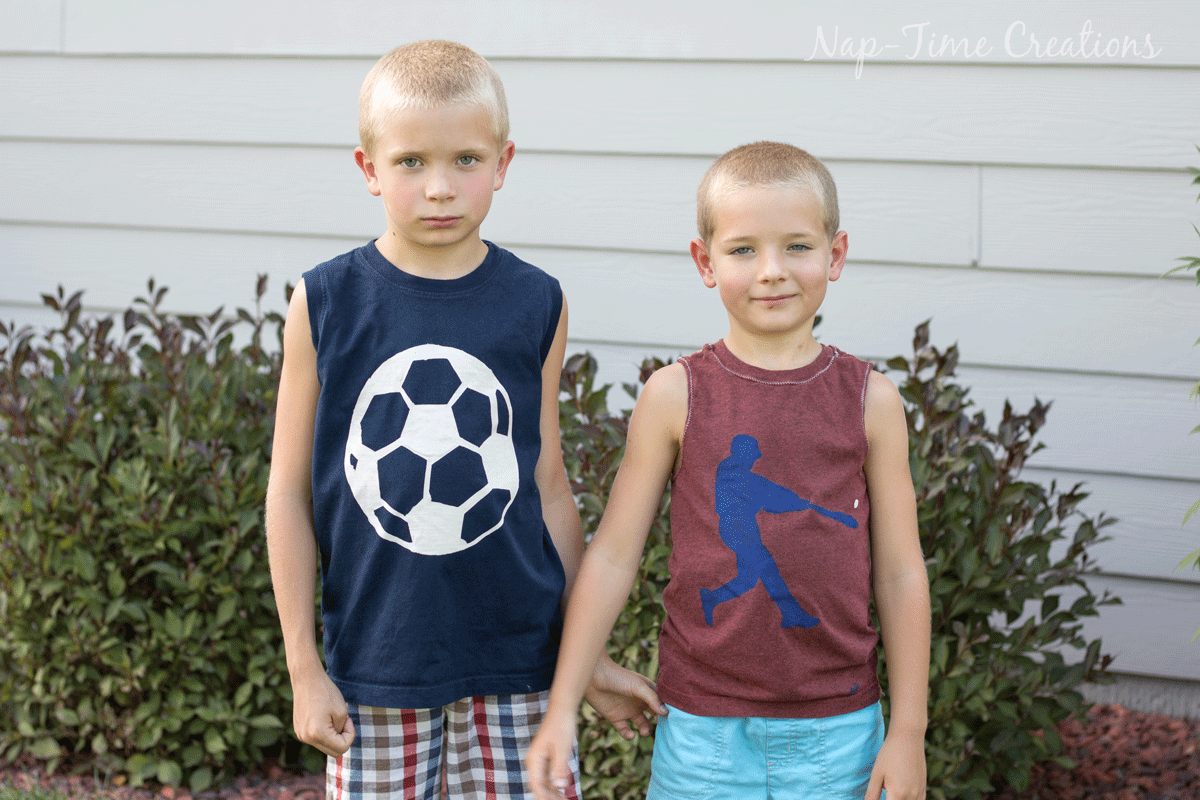
Okay! there you have it! My boys are pretty pleased with their new shirts and I hope you will use this easy t-shirt stencil tutorial to make a fun shirt for your kids this summer too!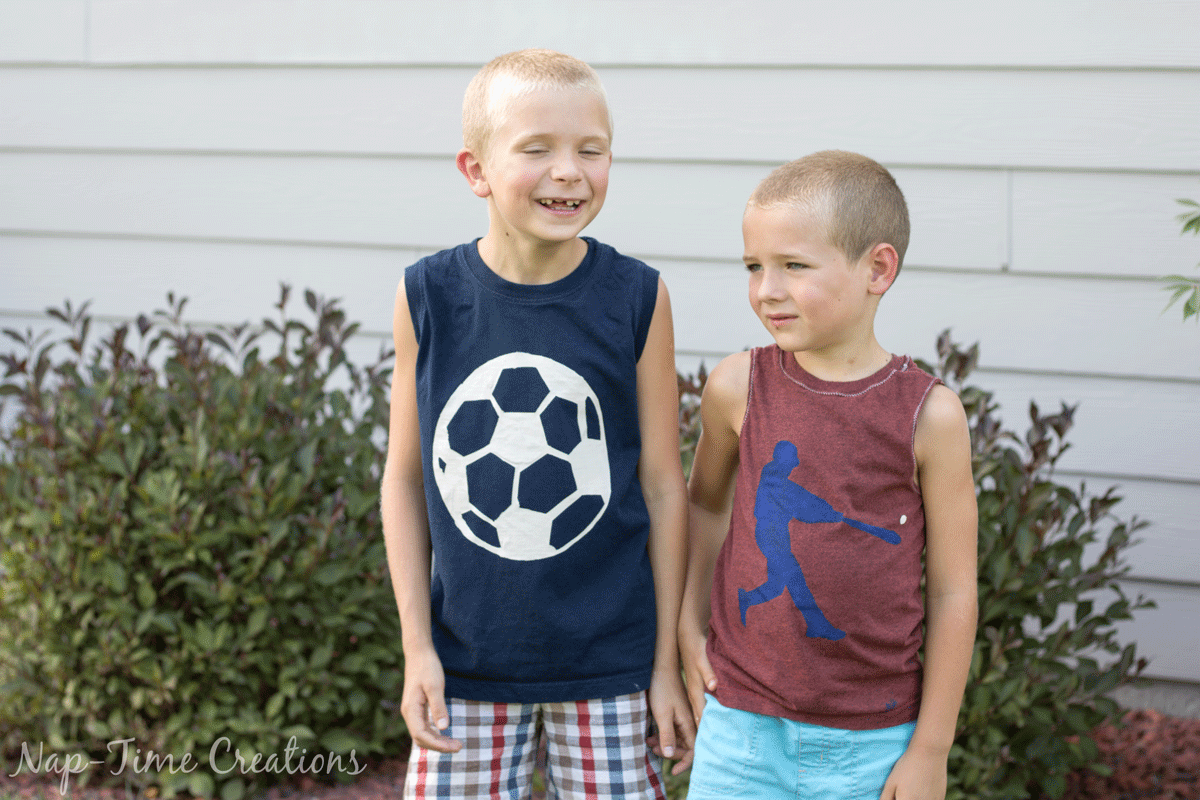
Keep your kids clean with all® POWERCORE™ Pacs OXI or all® POWERCORE™ Pacs Pacs Plus Removes Tough Odors {Where to buy}







Emily says
What a fun idea! I bet they had a blast making their own shirts! Adding this activity to our summer bucket list for sure! #client
creativejewishmom/sara says
Great t-shirt project and love that the kids got involved! thanks so much for sharing on craft schooling Sunday.
Mother of 3 says
What a great & fun craft idea to do with the kids this summer! I love this. Pinned. 🙂
Cristina at Ava's Alphabet says
These shirts turned out so cute! I love the idea of using the freezer paper. Thank you for linking up to Family Joy Blog Link-Up Party this week.
Morgan says
These are so cute! I love these designs and the colors you went with. It looks like the boys were a fan, too! Nice work! Thanks for sharing the idea and pointers!
Christina says
Your decision to take the shirts outside at a certain point was a smart one. The boys look especially happy in the photos.
Grant Williams says
Hi Emily this was pretty neat. I always wondered how to do this at home and you made it look pretty easy and straightforward.
Thanks!