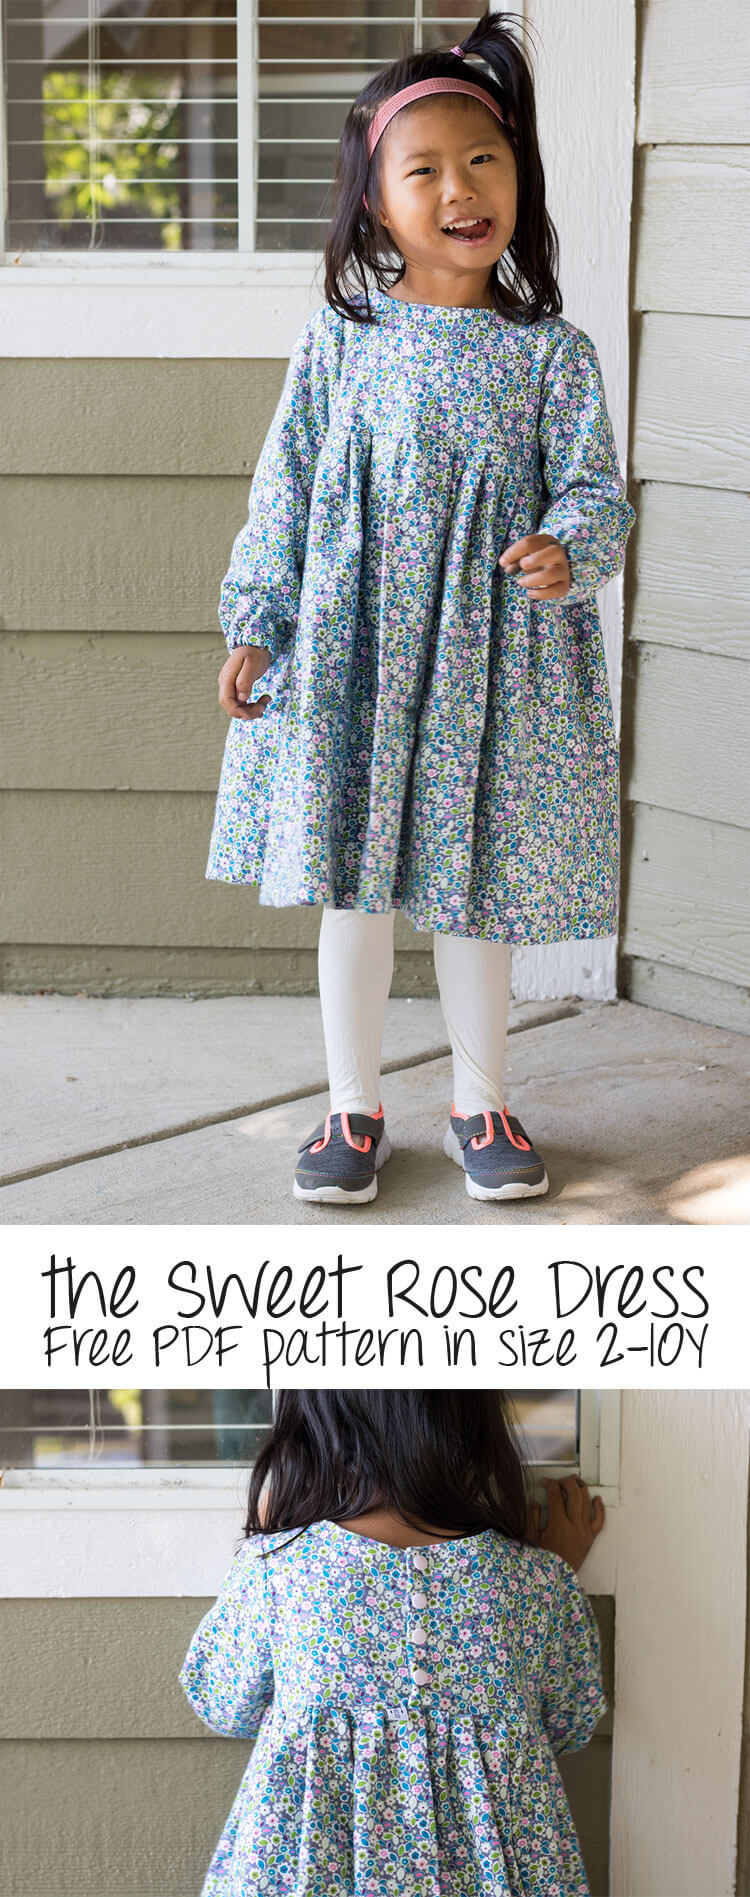
I just can’t stop with the free sewing patterns – adding this free dress pattern to the mix.. Introducing the Sweet Rose Dress for girls in size 2-10Y. I love this gorgeous little dress and in flannel it’s just divine! I keep making patterns because I keep getting ideas for clothes, then after I make a pattern for Rose, I just make more sizes to share… SO.. enjoy this free dress pattern… Share your finished photos and questions along the way in our FB group HERE.
 Free Dress Pattern – The Sweet Rose Dress
You can make this dress in any woven fabric – but I just LOVE it in this flannel… adorable and SO cozy. Rose is pretty happy with the outcome as well.
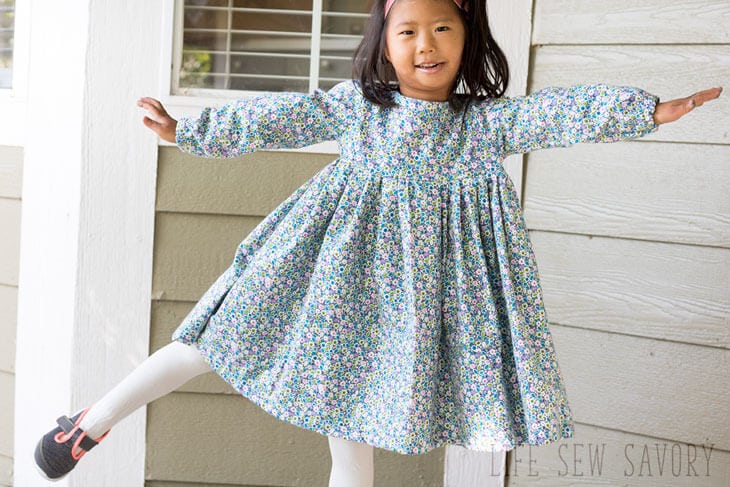
With gathered wrists and a gathered full skirt, this sweet little dress is just perfect for fall/winter. The smallest size takes 1 yard and the largest 2… everything else between.
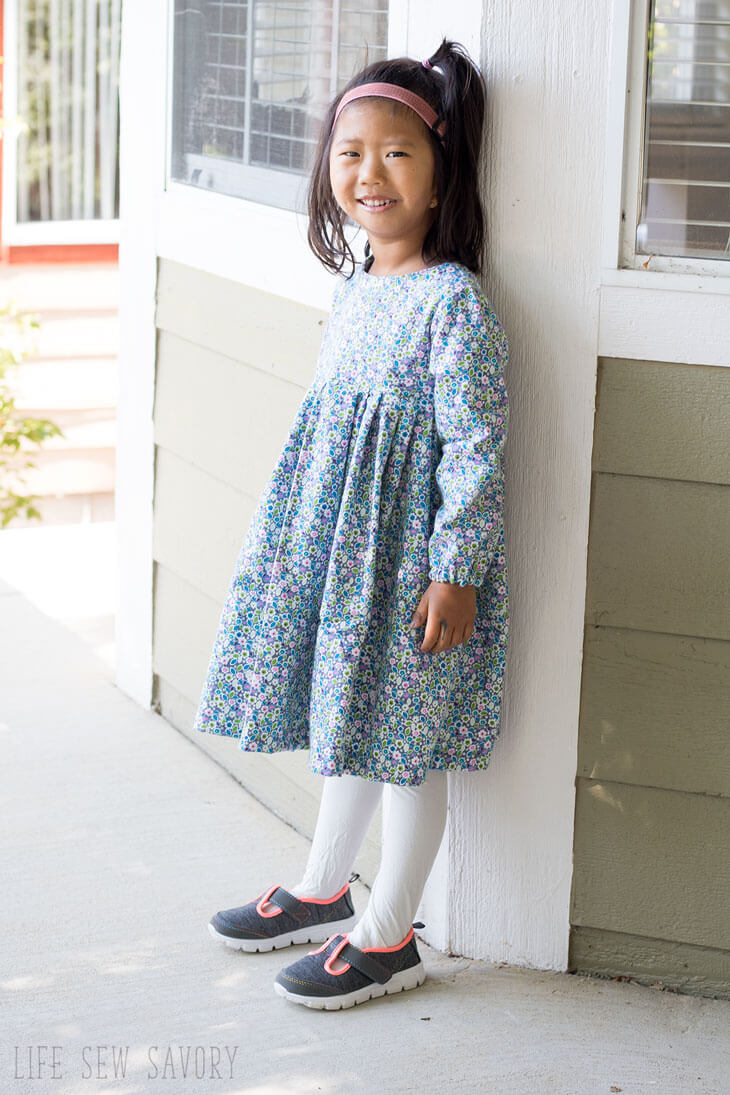
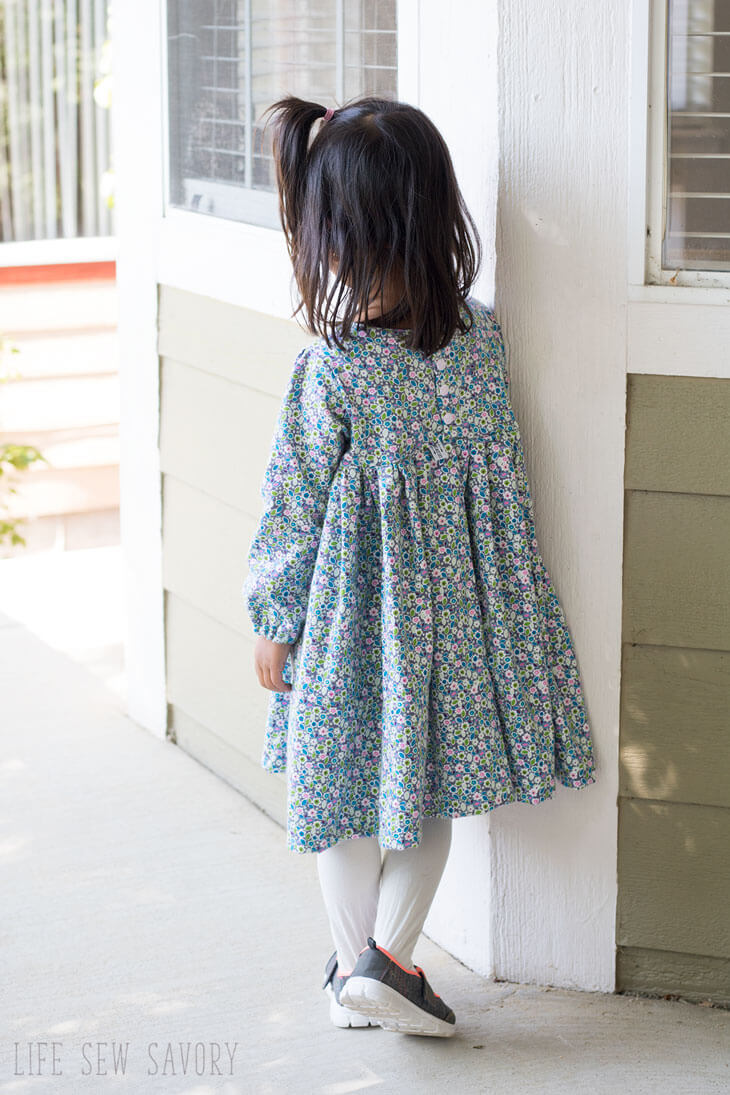
An back opening allows for the dress to be put on and it closes with three snaps of buttons. I love how easy KAM snaps are, hard to ever take the time for buttons anymore.. although my new machine makes dreamy buttonholes.
I made this skirt very full. And the directions are for the same. The width of the fabric twice.. for a front and back of the skirt, gathered to fit. On the larger sizes you will have to gather it less, but on the smaller sizes it makes a full skirt. You can adjust if needed. 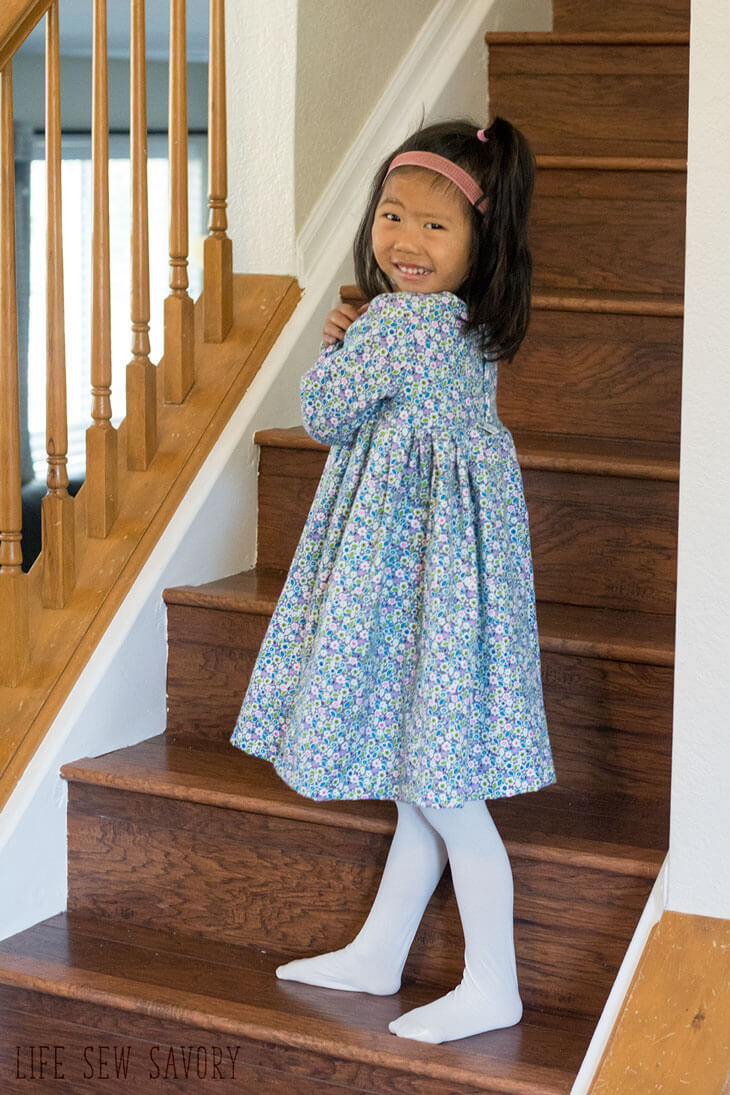
OK.. want to make one? You can click through on the image below to head over to the second page with the download link AND full photo tutorial for sewing… ENJOY! Don’t forget to check out the page with all my free sewing patterns.
Free Printable Dress Pattern –
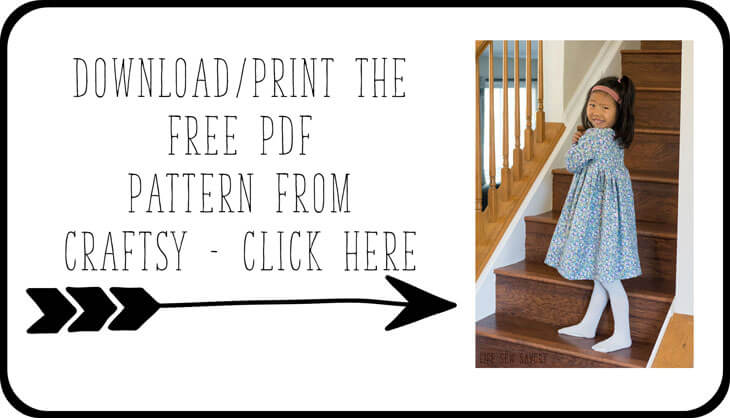
Let’s sew a Sweet Rose Dress! You will need 1-2 yards of fabric and the free pattern which you can download by clicking the image below – All my free patterns are now available in my shop. Click the image below to download from my site shop. {link has been updated from Craftsy}
Print at 100% or actual size and tape together. It should look something this when all taped together. You can use this pattern with any woven fabric. I made mine with flannel to make a winter dress, but I also tried one in just light cotton… both are lovely.
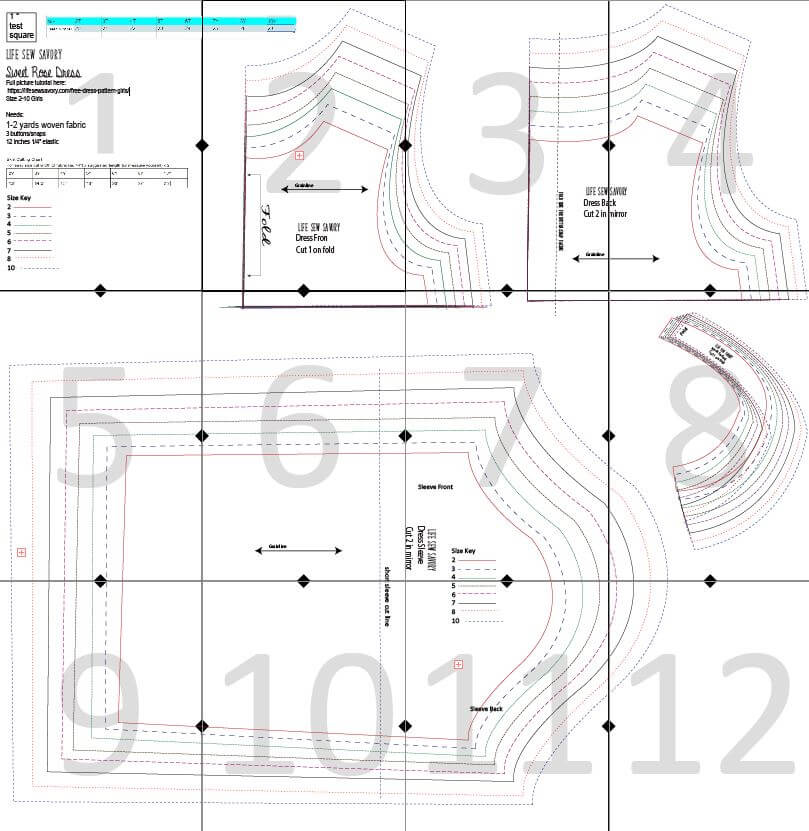
Dress Sewing Tutorial and Pattern –
The seam allowance of 3/8″ is included on the pattern pieces, so cut it out and get ready to sew! Start by sewing the shoulder seams together. Right sides of the fabric touching.
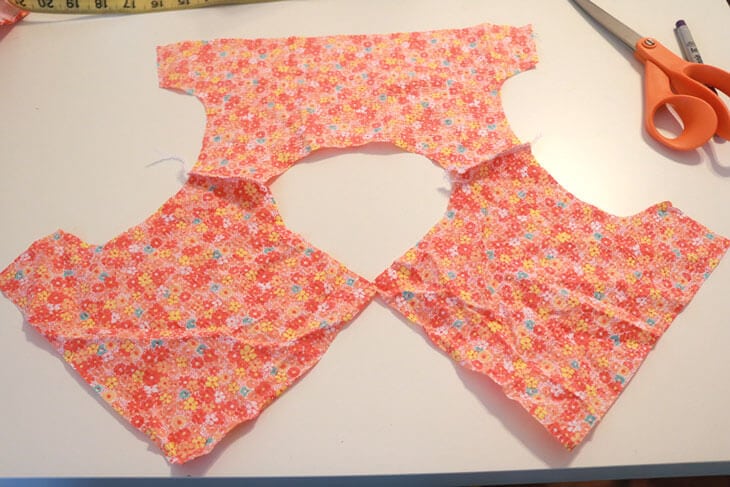
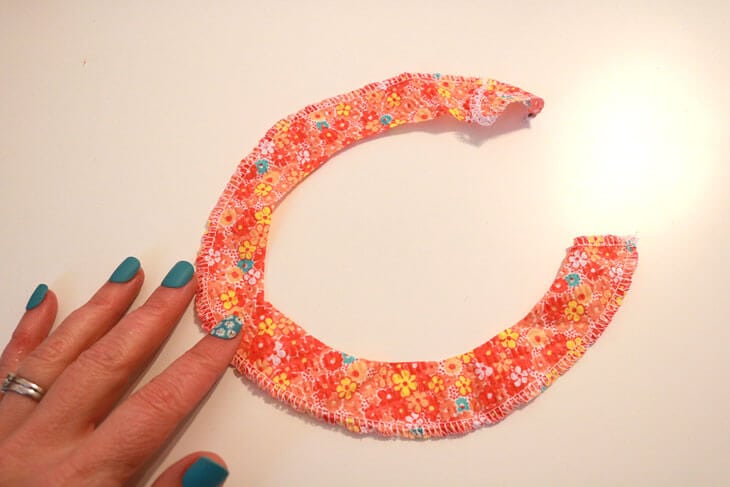
Finish the outer edge of the neck facing with a zig-zag or serger. Also finish the two short ends.
Pin the 1″ facing on the back of the dress. You will pin it to the RIGHT side of the dress.
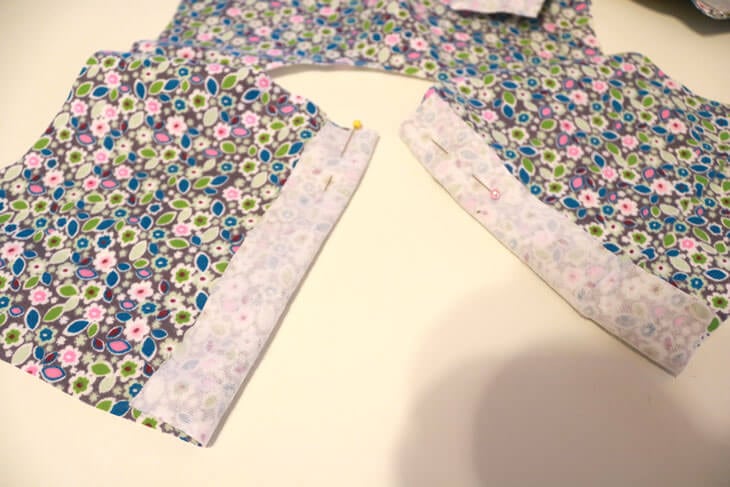
Place the neck facing on top of the dress neckline. It will overlap the back facing. Trim if too long. Sew around the neckline. If you don’t use a serger, clip the seam allowance before you turn.
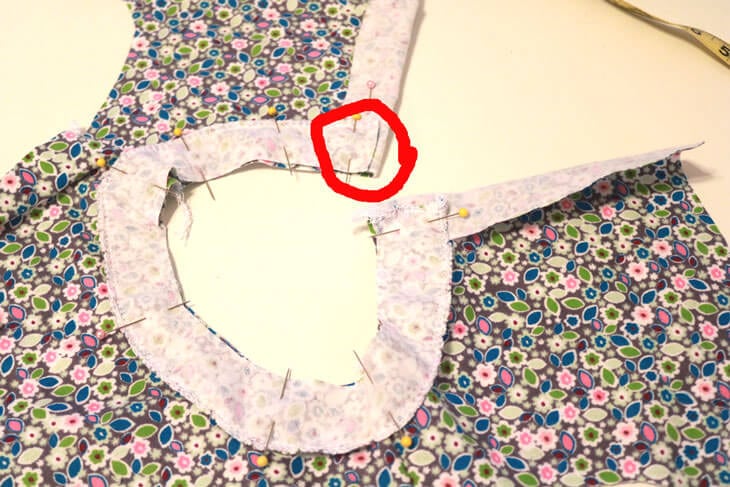
Turn the facings to the back side of the dress and press. Top stitch around the neckline and down the back sides. You can stitch right on the edge or out on the edge of the facing.
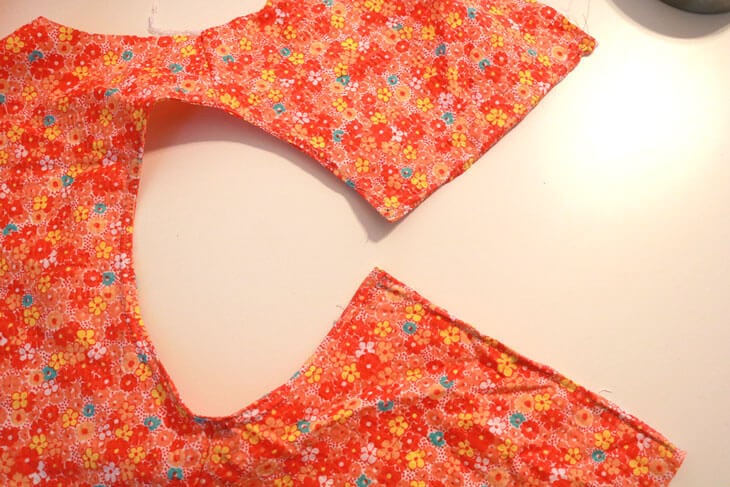
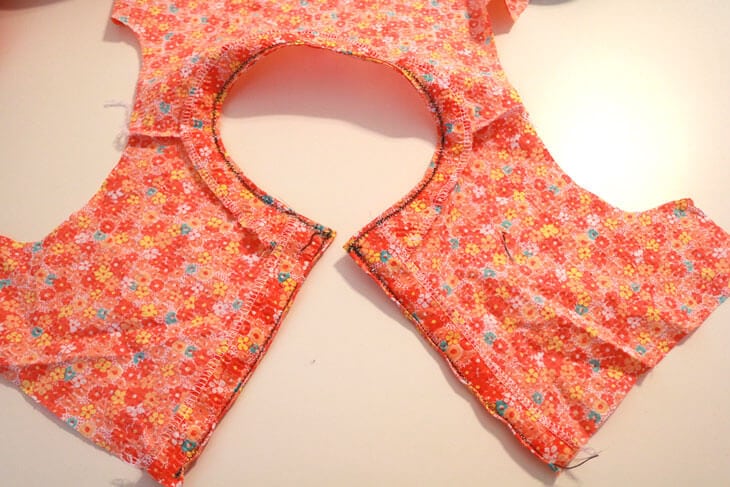
Finish the ends of the sleeve with a serger or zig-zag stitch.
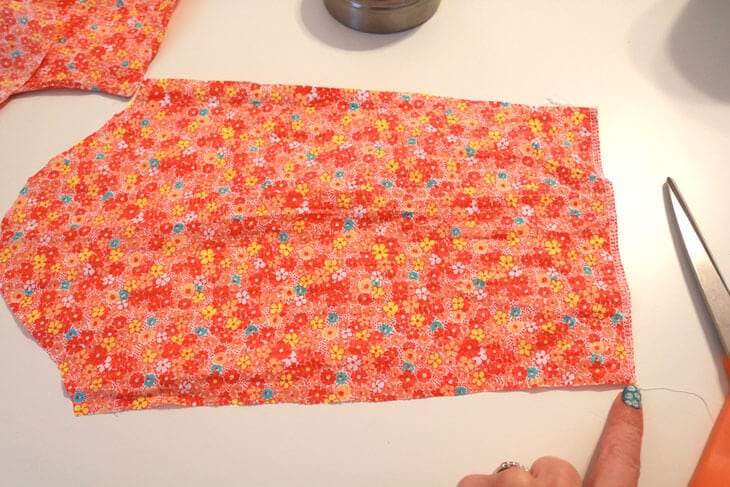 Pin the sleeve with right sides together to the shoulder opening of the dress. Match the front of the sleeve with the front of the dress. Pin both outer edges of the sleeve then work into the center. You should have a small pleat in the center of the sleeve.
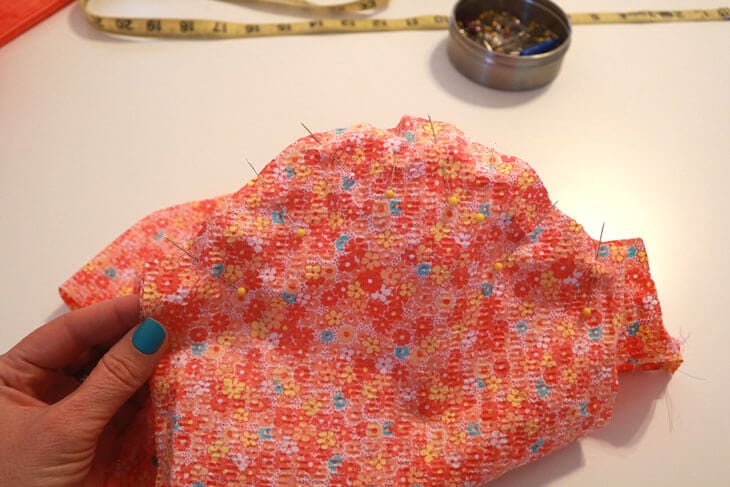
I pin the pleat right on the shoulder seam.
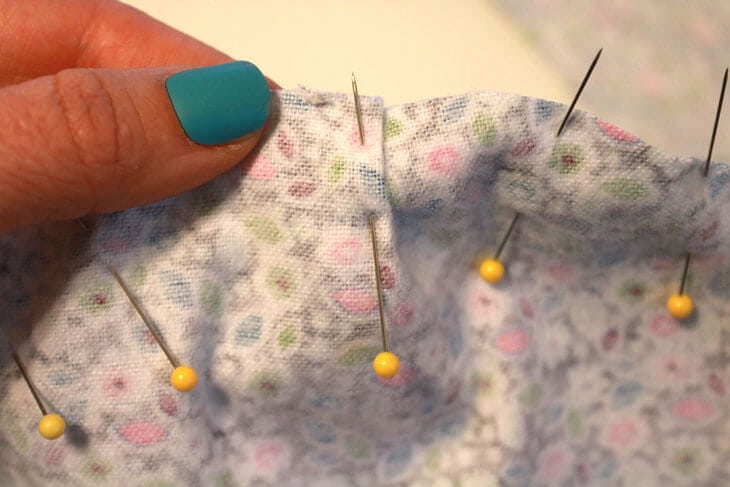
Sew both sleeves to the dress.
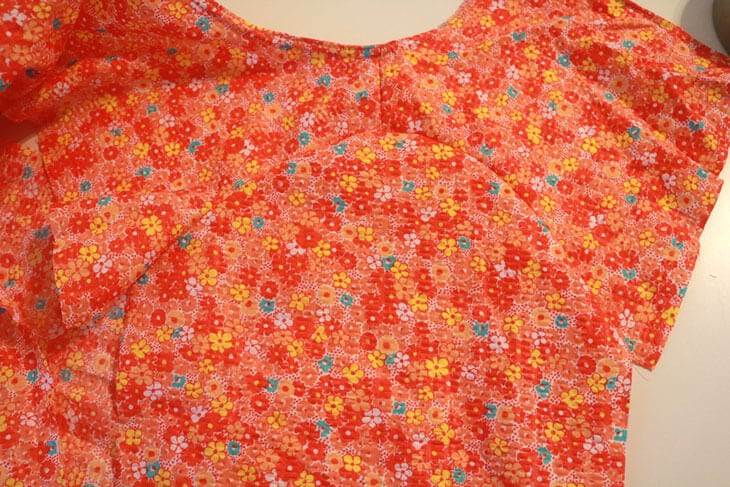
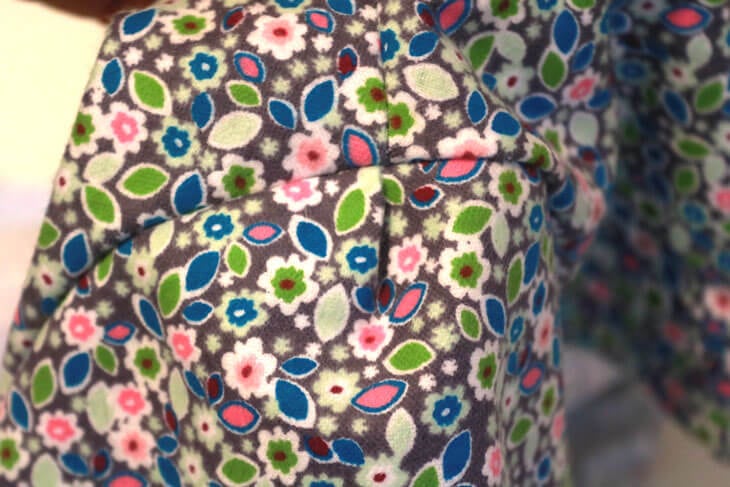
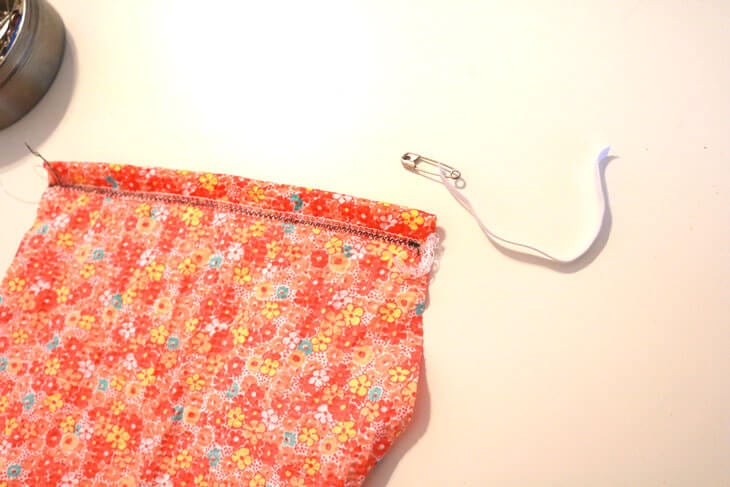
Fold back 1/2″ on the end of both sleeves. Stitch on edge to create elastic casing. Measure around your childs wrist for the elastic length. Thread the elastic through both sleeve. Pin on both sides.
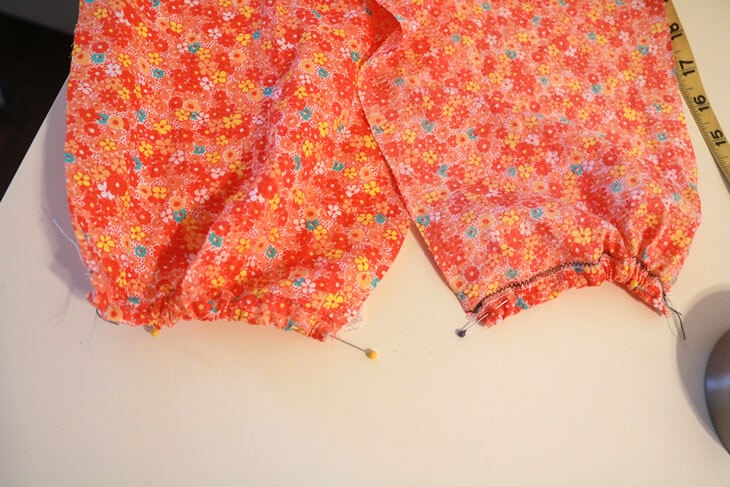
Fold the sleeve edges together with right sides together. Sew from the elastic edge down the sleeve, then down the dress side. Make sure to catch both ends of the elastic in your seam.
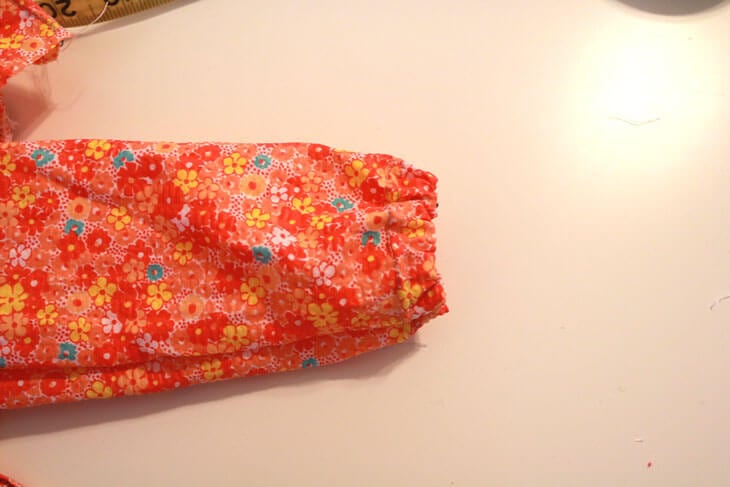
You now have a finished dress top.
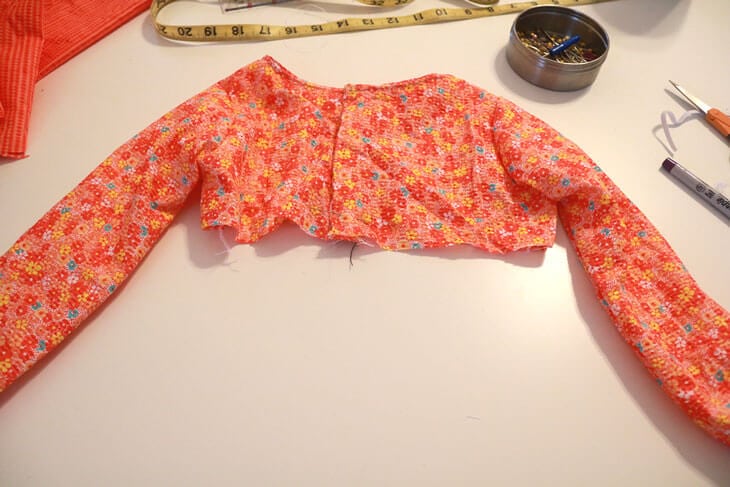
Cut your skirt pieces as according to the pattern chart. I use the entire width of fabric {44″} and then cute the length according to size. You can also put on the dress bodice and measure. Make sure to add 1.5″ for seam and hem allowance. {if you measure} these are included on the pattern chart. If you want a less full skirt do not use the full width of fabric. Place the 2 skirt pieces together and sew the side seams. Hem the bottom with a 1/4″ fold, then 1/2″ fold.
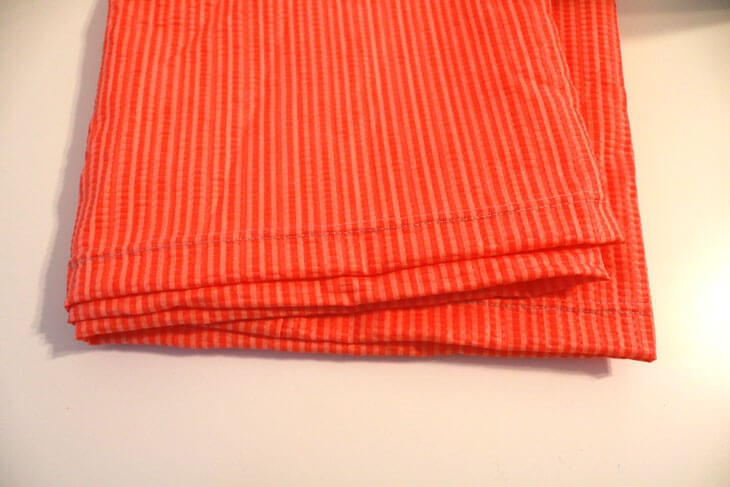
Gather the top edge of the skirt to match the top. {tips for gathering here} Make sure to overlap the back placket when you measure to match the skirt.
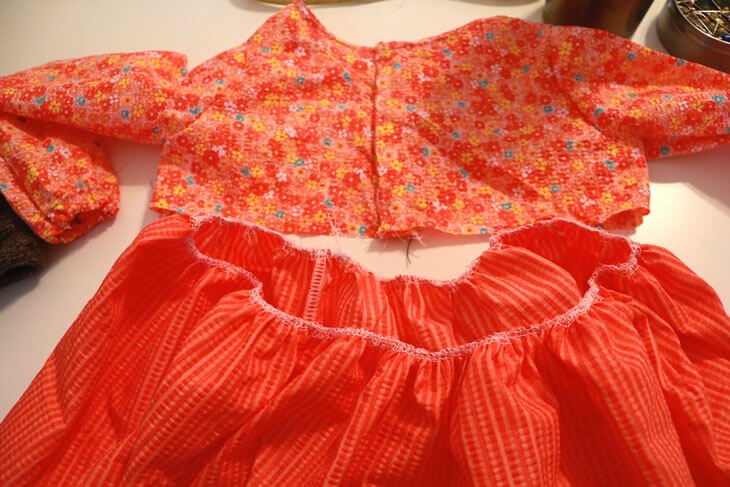
Pin the skirt to the dress top with right sides together. The back placket should be fully overlapped when you pin it all together.
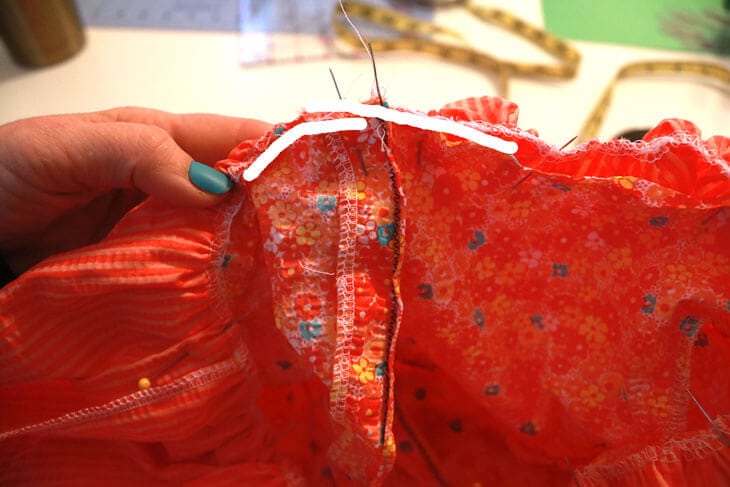
Sew around to secure the dress together. Add three small buttons or snaps to the back of the dress.
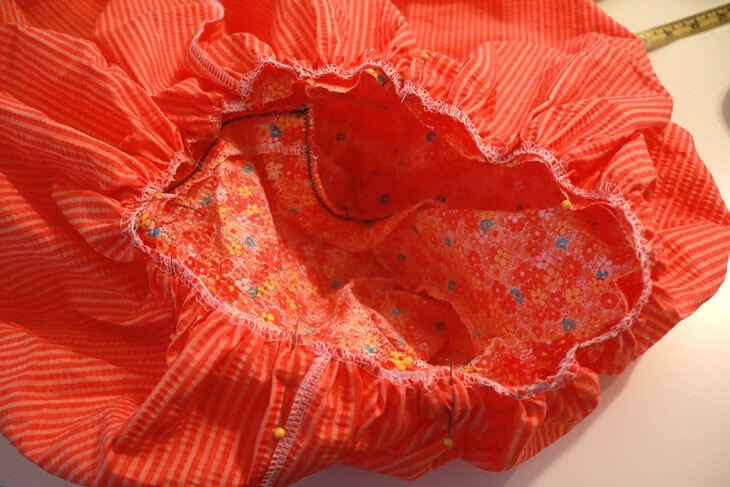
There you have it!! All finished! Remember to share photos in our Facebook group so we can all oooh and ahhh!!

Here’s one final link to download the free dress pattern:
Here are some other free dress patterns you may enjoy –




shelley says
Thanks so much for sharing at #Over the Moon. We look forward to seeing what you’ll share with us next week.
Vanessa says
What a lovely sweet dress. Thank you for sharing at Dishing it and Digging it link party. Your sweet dress is this Sunday’s feature. Thank you again.
Janese says
Thank you so much for your generosity! You are appreciated and your daughter is beautiful!
Emily says
you are welcome!!
Mary says
Thanks so much for posting this pattern and directions. I’m planning to make a few for my granddaughter. My question is about the sizing. I see that the chest measurement for a size 2 is 20″. Is this the measurement of the pattern or the child’s measurement?
Thanks in advance for answering!
Emily says
this should be the chest measurement of your child
Annie says
Love this dress! I have so many cute pieces of flannel! This is perfect for that and the winter months for my dress loving girlies! Been looking for a dress pattern appropriate for fall and winter. So glad I found this on pinterest!
Lorna St. John says
Hi. Thank you for the pattern. I made it twice and the bodice came out wide both times and didn’t look quite right. I used the recommended seam allowance and cut the fabric with the seam allowance included. Any tips on what I might be doing wrong? Thank you!
Sheila Robson says
Hi Emily, thank you for the fantastic pattern, I’ll leave a picture of the first one in size 3 that I made, on your Facebook page (as Mary Jones). I am now embarking on the second. The first was fully lined, so I didn’t use the neck facing piece. Now I come to use it this time, I believe that the ‘fold’ is marked on the wrong end. I traced the size 6 very carefully, and the pattern piece (still attached to the folded fabric) fits much better with the fold end to the back and the open end to the front. I’m going to recut it with the fold on the other end and I think it will work much better. A minor thing on such a lovely pattern, but you might want to check it – and if I’m right, tell your readers! Thank you again. Sheila Mary Robson Jones
Hina says
Hi,
The pattern is no longer available to download. Can you send it to me? or Can someone else send it to me? I would really apprecaite it!
Thank you,
Hina
siddiquih2@gmail.com
Emily says
hi! All my patterns are now in my personal shop! Lifesewsavory.com/shop. I’m working on updating all the links as well!!
Christina Tedesco says
Hello!
I am dying to try out this dress, but I’m making it as a gift for a 12 month old. Does anyone have any suggestions on how I can size it down?! I’ve searched the internet for days for patterns I love and this one is by far my favorite.
Isabel Spooner-Harvey says
This dress is so cute! Is there any reason I couldn’t line the bodice and make a sleeveless version?
Emily says
no reason at all!
Michelle says
Hi
Are the sleeve instructions the same if you do the short version?
Do you still need to put elastic in and I guess measure the upper arm?
Thanks
Michelle
Mary Jane Celie Catalon says
Good Day
May I ask if the cut-out is empire level or waistline level?
Looking forward to your keen response. Thank You
Brenda says
Hello
I do not have the child to measure the wrist. Please how much elastic do I cut out for size 6yrs.??
“Fold back 1/2″ on the end of both sleeves. Stitch on edge to create elastic casing. Measure around your childs wrist for the elastic length. Thread the elastic through both sleeve. Pin on both sides.”
The Sweet Rose Dress
Thank you B.
Shirley Tarves says
Never mind. I am a ditz. I followed the instructions and VOILA! it worked!
Charlotte Stewart says
Hi!
I’m confused about the fold line for the facing on the back bodice. Should there be a separate 1 inch facing that gets stitched onto the back or do you just fold it over as marked on the pattern piece?
Thanks
Calisson says
I found the instructions to be less than clear, and you did things when you sewed your orange dress that were not in the instructions. E.g. you serged the outside edges of the placket, but I don’t think you suggested we do that, and by the time I realized this it was too late to finish the edges on mine. I only realized this by looking super closely at the photos. Plus the arms were way too big for the shoulder openings. I had to cut the sleeve edges and still had to make two pleats (and yes, both pieces were size 10). So to be honest sewing this dress was kind of frustrating.
Calisson says
PS Also the dress has a short sleeved option, but there are no instructions for how to finish the short sleeves (I just winged it)… Honestly I think these instructions need to be tweaked!
Hilary Torn says
I got totally lost on the skirt part. I wish it was clearer. I think I did it backwards.
Can you just say the size of the skirt? Is it 44” + skirt length in chart?
Overall happy first dress ever sewn and while this one can’t be warm, I should know what to do for #2 if I can figure out the skirt.
Ben duck says
Thnaks you spmuch for sharing.https://www.beautyplus.com/ai-hairstyle