Hi All! With this DIY Halloween Decor – Spider Pillow sewing tutorial I’m kicking off the holiday season. This simple sewing tutorial can be made with any fabric and makes a fun scrappy pillow cover no matter what fabric you use. I’ve sewn pillows like this with various colors or holiday theme fabric before and they always turn out amazing. This DIY Halloween Decor – Spider Pillow sewing tutorial is just a simple variation on my scrappy potholder tutorial.
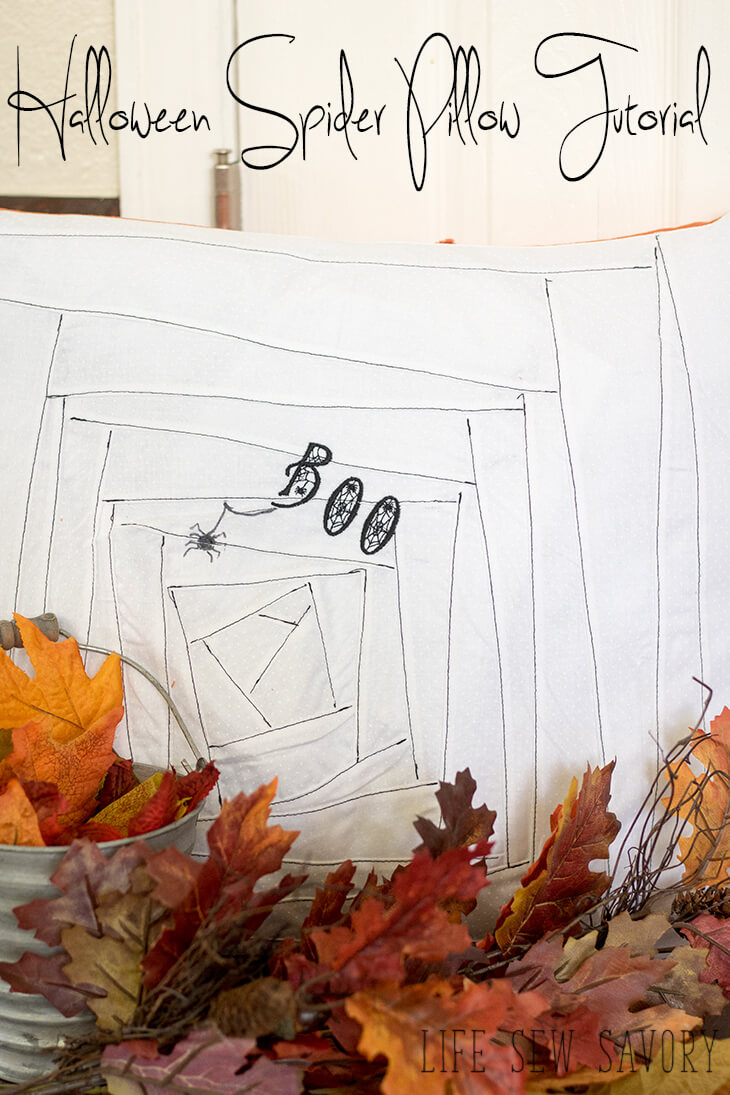
DIY Halloween Decor – Spider Pillow sewing tutorial
Today I’m joining a fun Halloween sewing series hosted by Coral and Co. You can find out more HERE and scroll to the bottom of this tutorial to see all the other great sewing ideas.
Okay, let’s sew! For this Spider Pillow You will need a white or off white fabric for the front, black thread for stitching and a fabric for the back of the pillow. You will also need a pillow form. Mine is a 16″ x 16″ form that I use and re-use for different holiday pillow cases throughout the year.
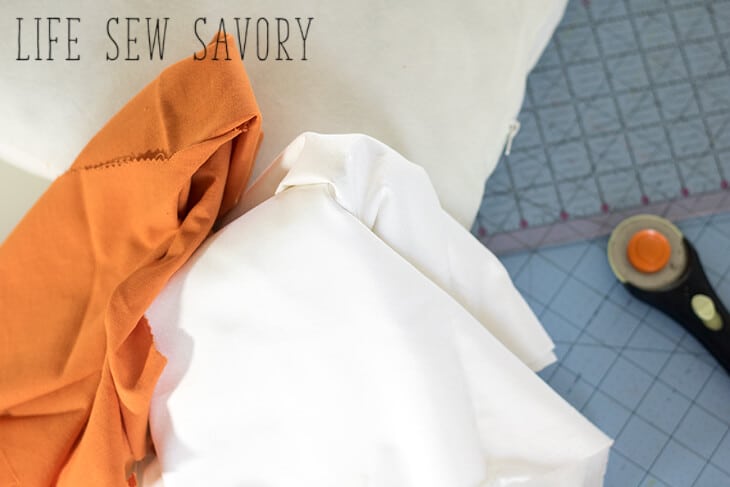
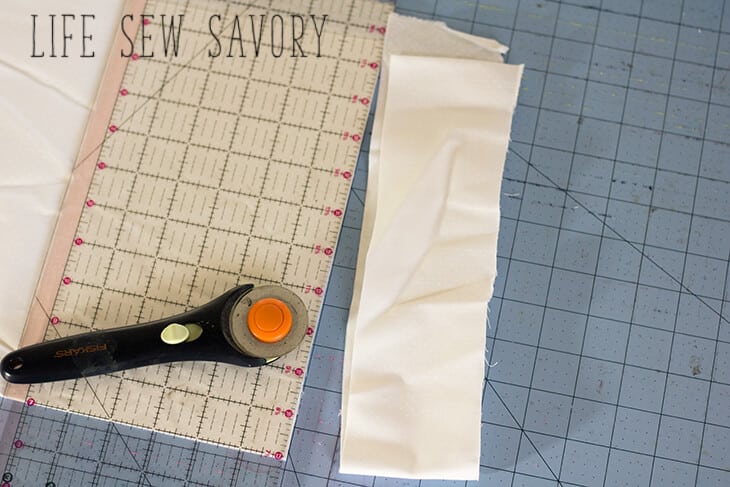
Start by cutting varying widths of the white fabric. I cut some as narrow as 1.5″ and some as wide as about 3″. It doesn’t really matter and each piece can be different.
Start by placing two 2″ pieces of fabric together and sewing the edges at an angle {no straight edge sewing on this pillow!} Place a third fabric piece at an angle on the other two and stitch again. {I use the full strips of fabric and just sew and trim, but you can also cut before you sew – see the video for this method}. Continue working in a circle with varying angles for the fabric lines.
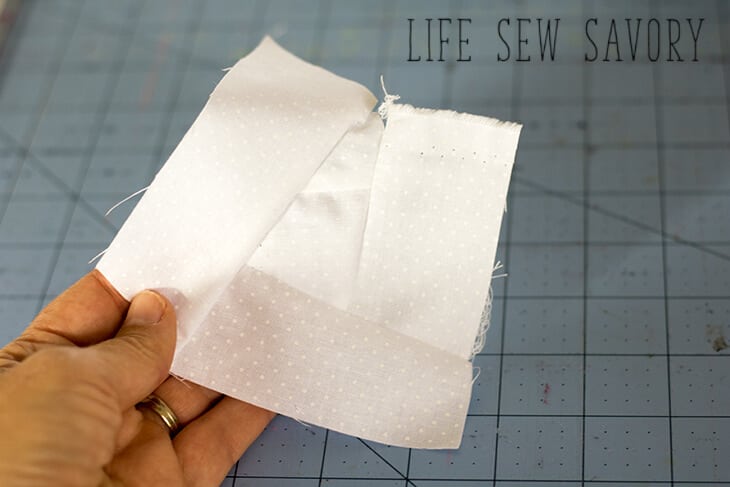
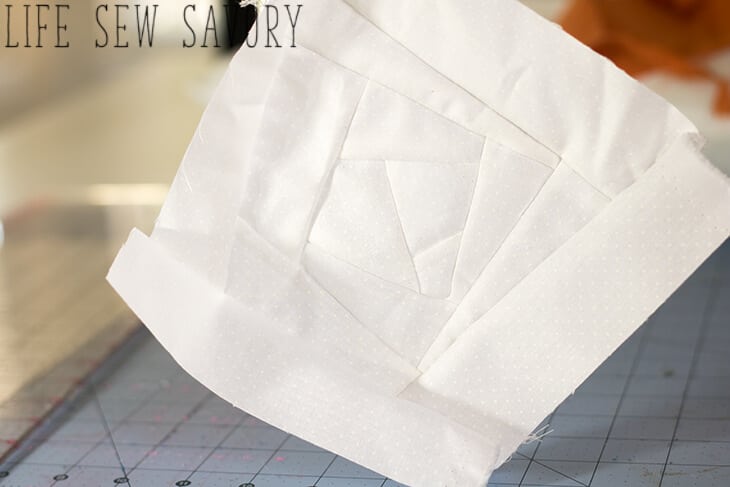
Work in a square until your front is the size for your pillow form. I tried to make my center off center. But you can keep it right in the middle as well. Press the pillow to flatten seams and the fabric before top-stitching.
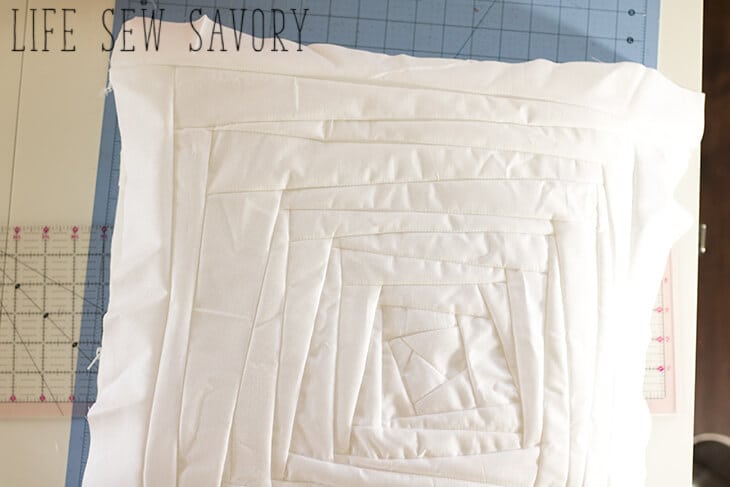
Top-stitch on every seam line. I stitch very close to the edge of the seam. Use black or dark brown thread to represent the spider web. Trim all the threads and square up the shape of pillow front.
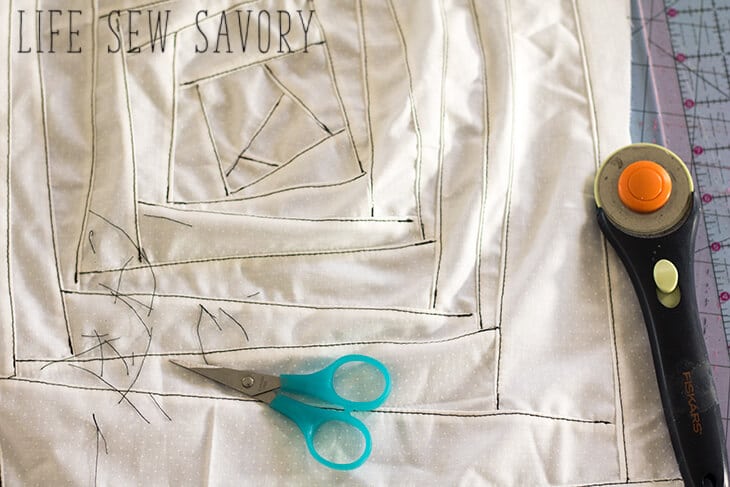
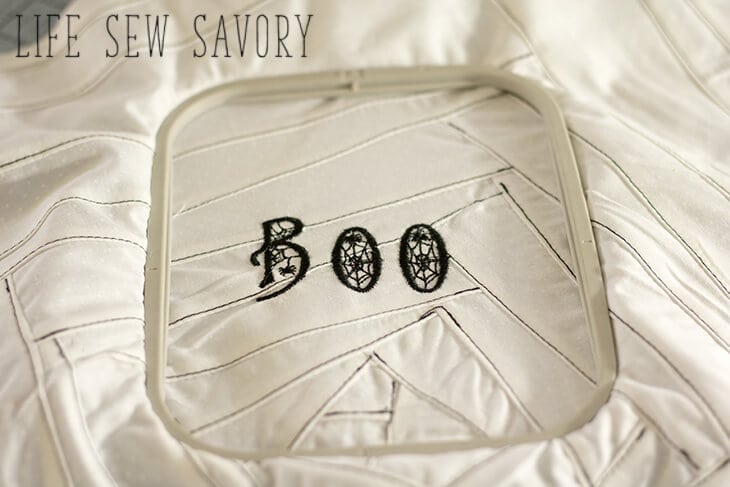
You can add details with an embroidery machine or fabric marker.
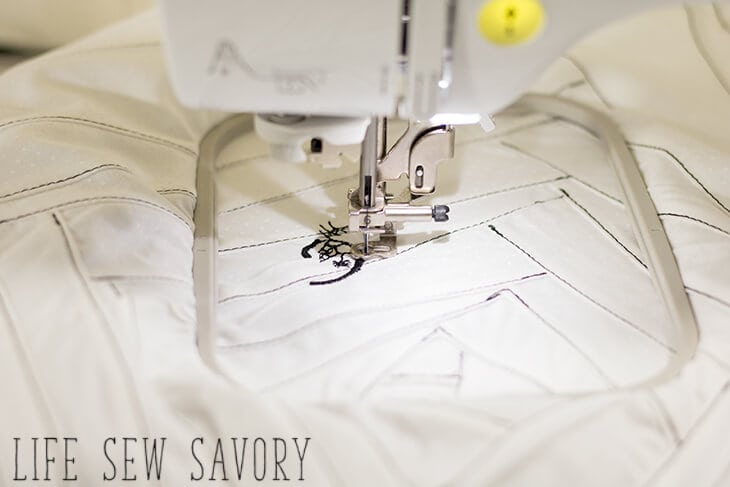
Here is my embroidery.. I wished I had made the letters a bit bigger! I added the little spider with a sharpie marker.
For the back of the pillow just make a envelope style case. Cut two halves that overlap at least 6″. Fold the center edges back to finish. With right sides together lay one side of the back on the front, then lay the other one on top. Pin or clip overlap in place and around the edges.
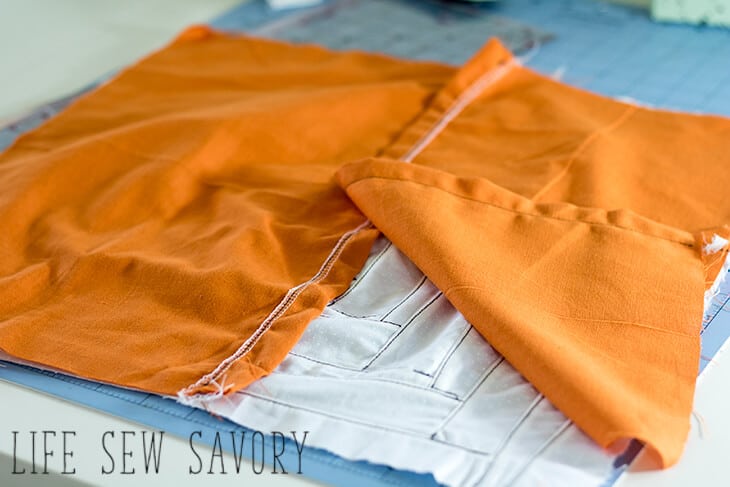
Sew around the outside of the pillow. Turn right side out and insert the pillow form.

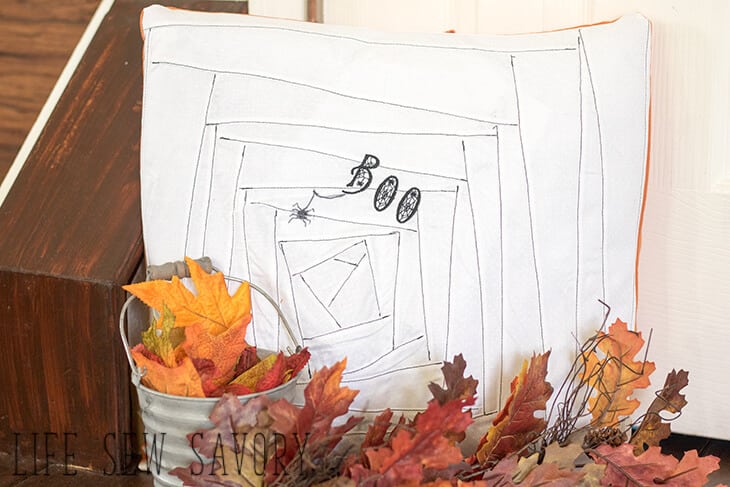
Now you have a super cute Hallow decoration to add to your home.
Halloween Sewing and Craft Party
Check out all the fun Halloween Inspired Tutorials everyone is making!
9/3 Sweet Red Poppy | Apple Green Cottage
9/4 Housewife Eclectic | Life Sew Savory | Heather Handmade | The Seasoned Homemaker
9/5 Flamingo Toes | GYCT Designs
9/6 SoOkEe Designs | Pattern Revolution | Coral + Co.
9/7 Paisley Roots | Swoodson Says
Here are a few other cute Halloween Ideas….
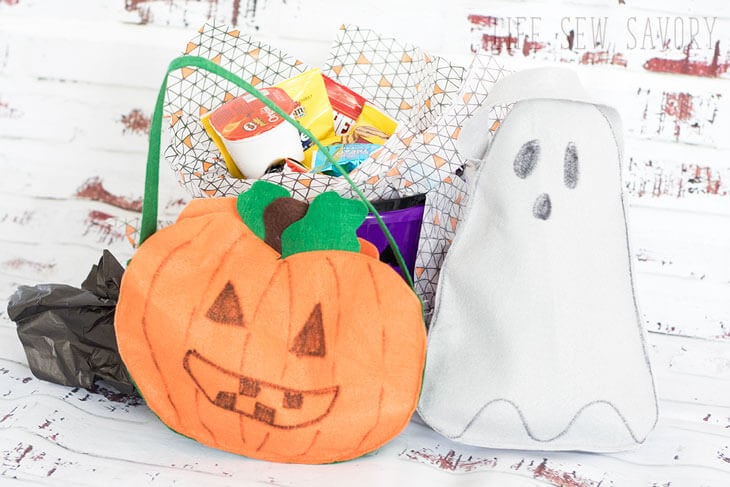
Trick or Treat Bags





Shelly Morgan says
I love how this turned out!!!
Malisha Mishel says
It’s a great DIY idea! The Halloween decor is looking pretty! Hope I got it and will do perfectly like yours for the next Halloween! Thanks, Emily for sharing such a wonderful idea with us! 🙂