I’ve offered several free purse sewing patterns in the past and today I’ve got another free purse sewing pattern for you to enjoy.. This wool bag pattern is a fun winter purse sewing pattern that you can download and make up this weekend! I’ve got the free pdf download for you here as well as a full photo tutorial to put it all together. I used a double zipper on mine for a fun closure details, but any zipper will work. Check out this post for all the free purse sewing pattern details, tips and and a sewing tutorial.
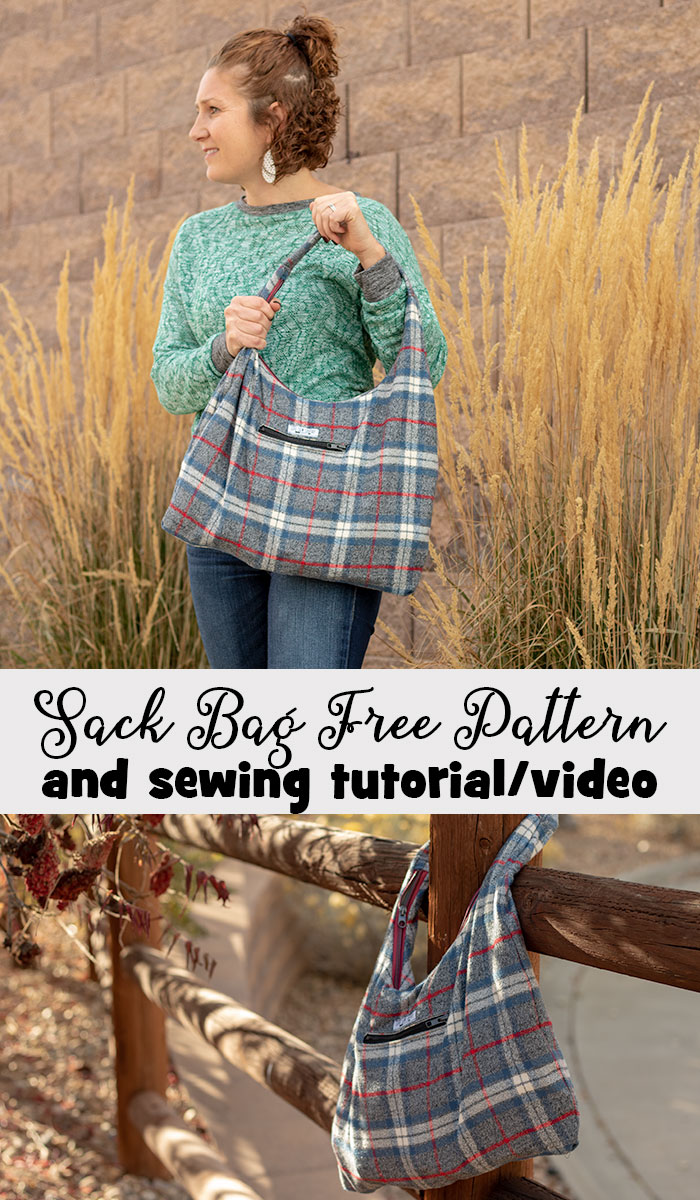
Free Purse Sewing Pattern – Wool Bag
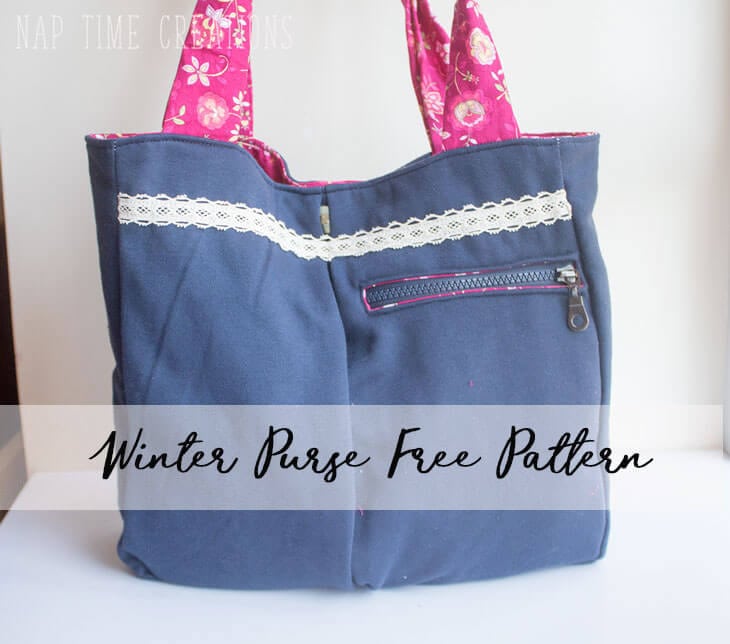
Ok, let’s take a look a at few photos of this fun sack wool bag before we get sewing… I love bag patterns and this is another great one… I’ve made a couple now with a few variations and I love them both.. I gifted one and am using the other this fall for my everyday bag!.
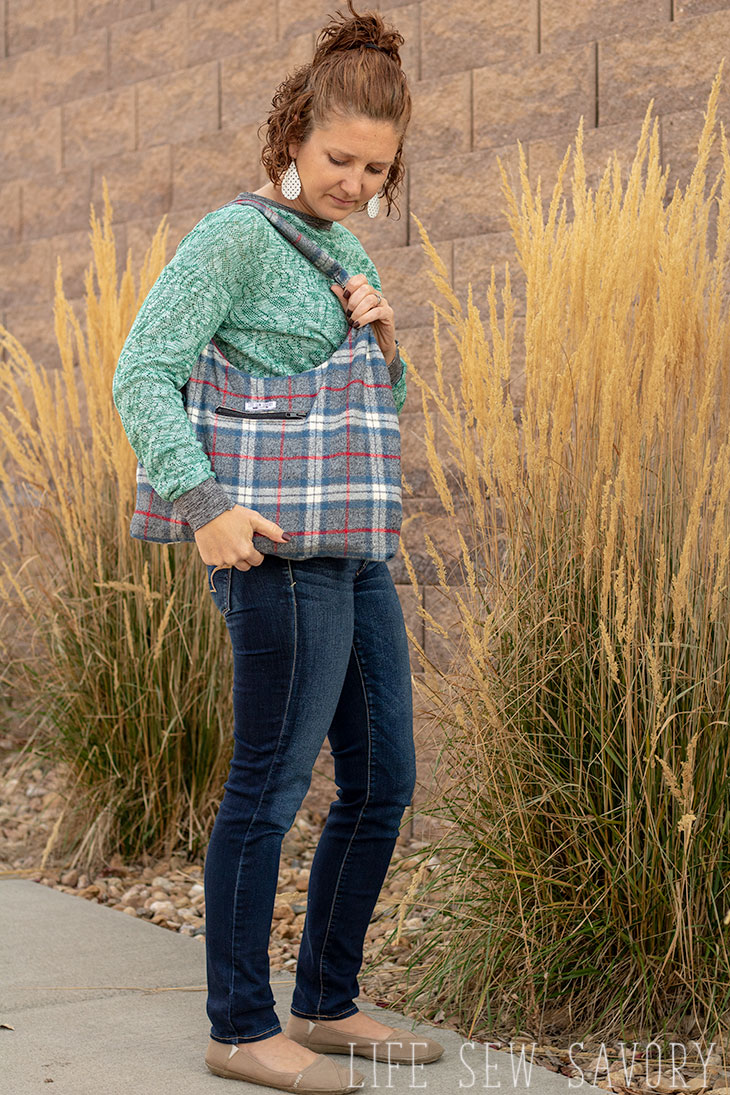
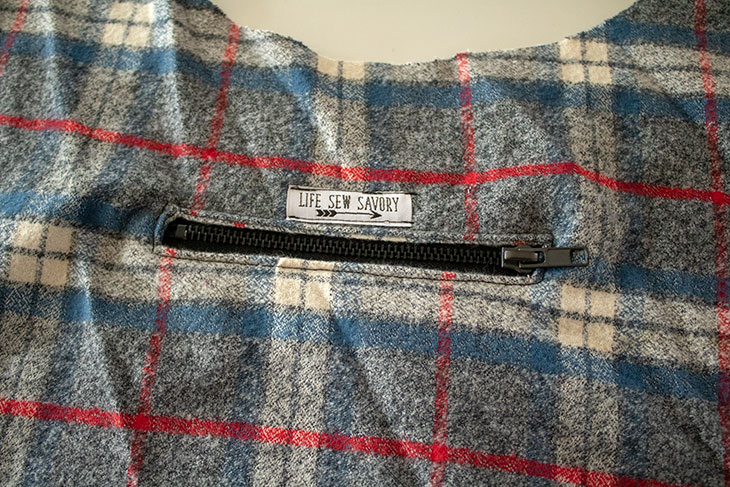
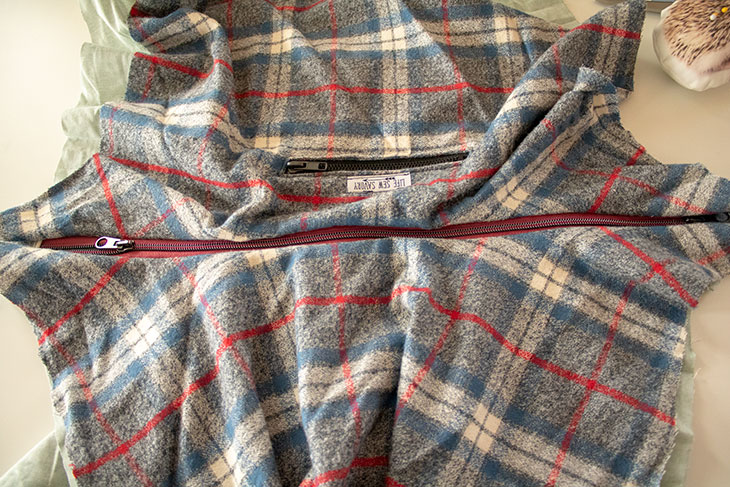
This version I tucked in the corners for a more rounded bottom.. and put the zipper pocket on the inside. 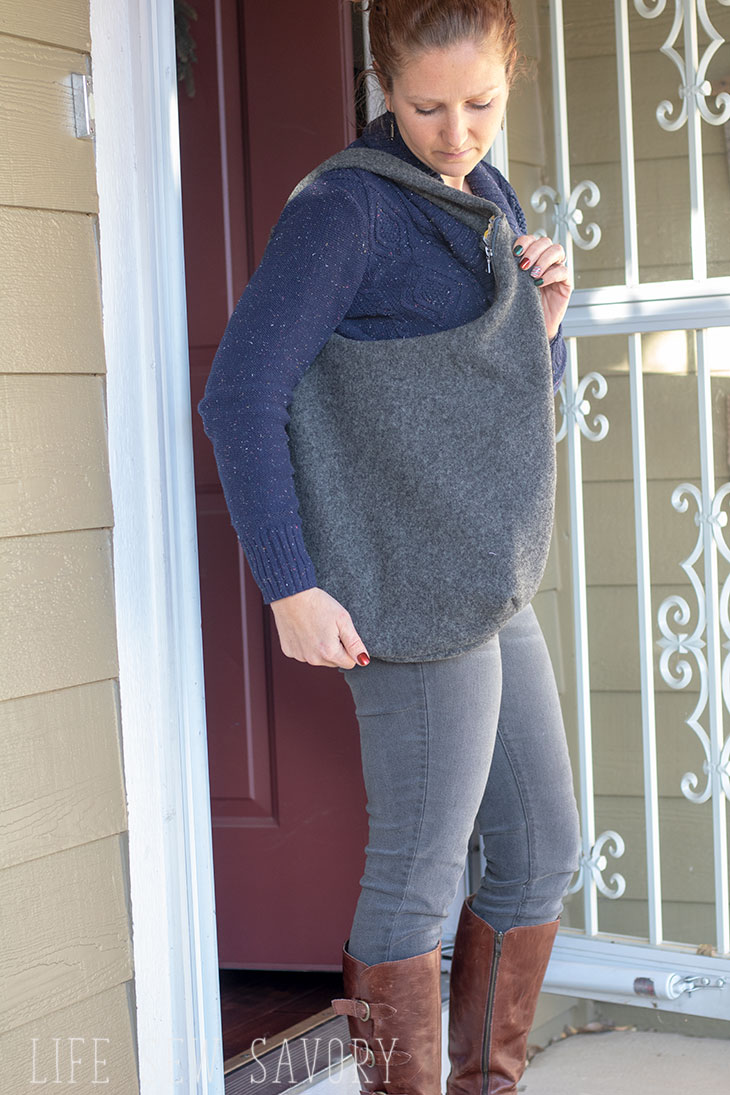 Zipper pocket on the outside {see video in this post for all the details on inserting the zipper pocket!!} Please note if you have an AD blocker on you will not be able to view the video.
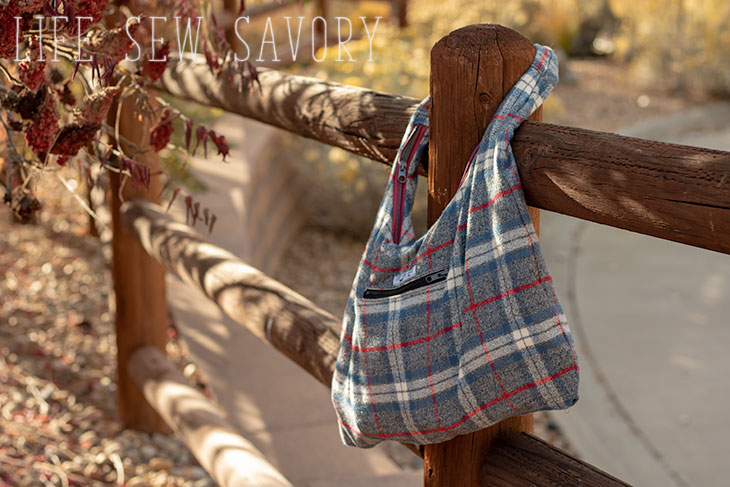
Zipper pocket on the inside of the bag. 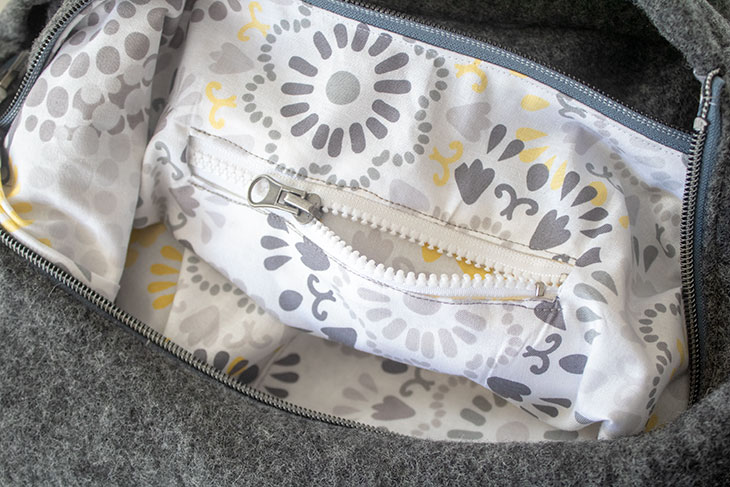
free printable purse pattern
First start by printing the free printable purse pattern by clicking the link below…
you will need:
1 yard of each outer and lining fabric. If your outer fabric is thin you will also need interfacing as well. I suggest a wool or canvas for the outer of the bag and something thin {like quilting cotton} for the inside.
2 zippers… 1 20″ long and 1 6-7″ long.
Print and assemble the 4 page pattern. Cut the fabric according to the details on page 1. It tells you what to cut, how many and some additional rectangle pieces to cut as well. When you get all organized you should have your bag pieces like this.
2x bag main
2x bag lining
2 zippers
2 pockets {these can be from lining fabric, main fabric or one of each.
1 strap
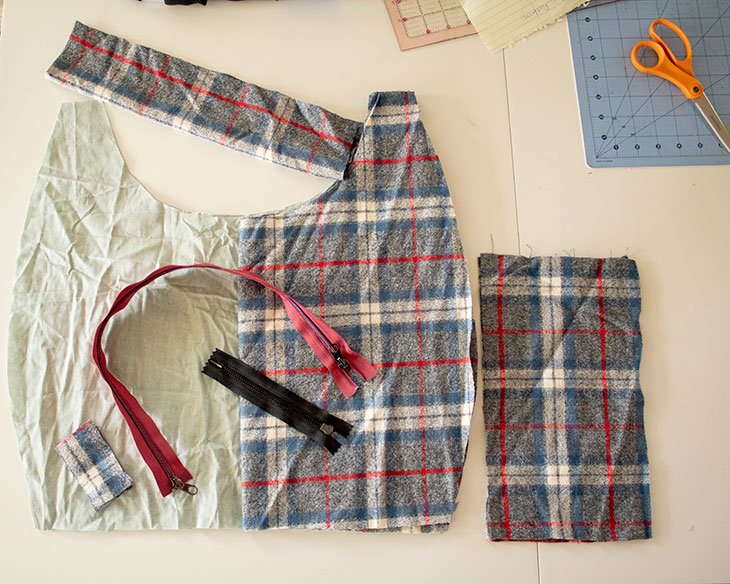
free purse sewing pattern instructions
Start by adding the zipper pocket to either one side of bag main or bag lining fabric. The video below will walk you through the whole process. If you are having trouble with the sound try in a browser other than Chrome… {I have issues with video and chrome} If you cannot see the video turn off any AD blockers that are running.
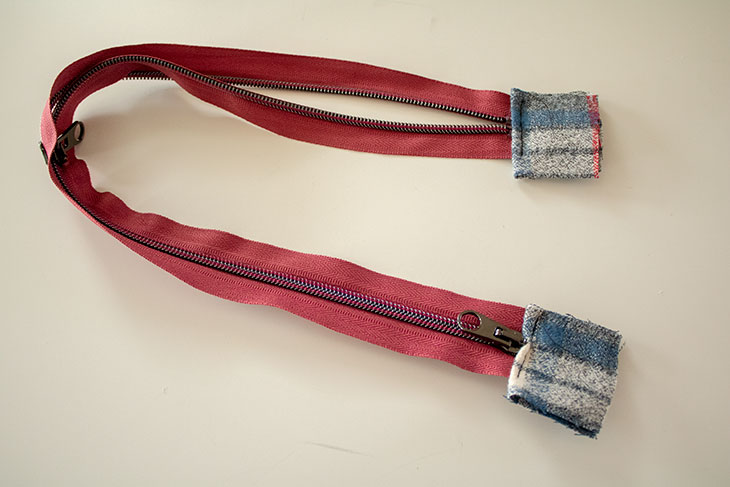
Use a couple of fabric scraps to make zipper tabs for the ends of the long zipper. I usually cut the fabric 1.5″ x 4″ and then fold it so the short ends are together. Sew the fold right near the end of the zipper. If your zipper is longer than 20″, compare it to the curve on the purse before you shorten.
With right sides together place the zipper on one side of the bag main. The zipper tabs should be at or extend past the top of the bag. You can sew along the edge of the zipper now, OR add the next layer of fabric before you sew {see next photo}
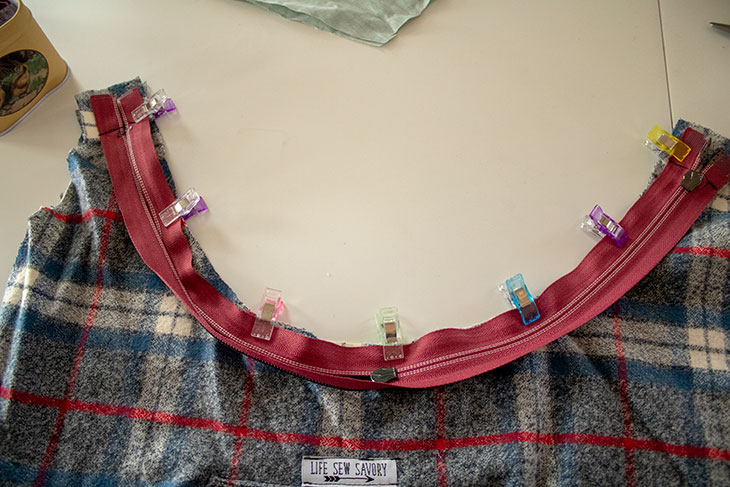
You can create a zipper sandwich before you sew. Add the lining with right side down and sew all three layers.
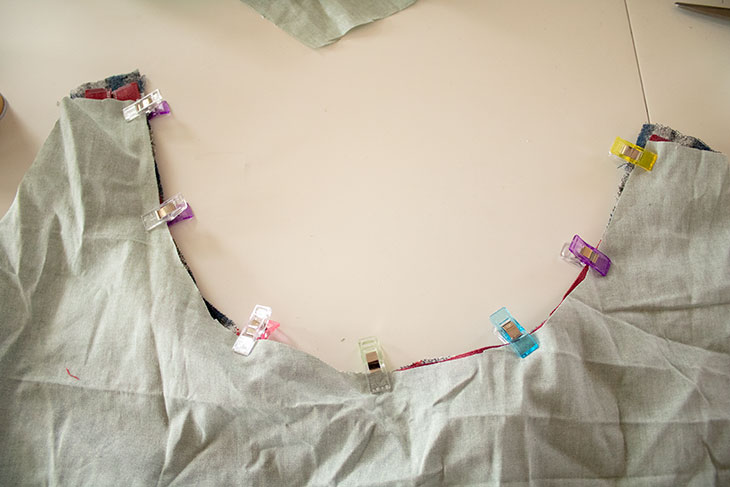
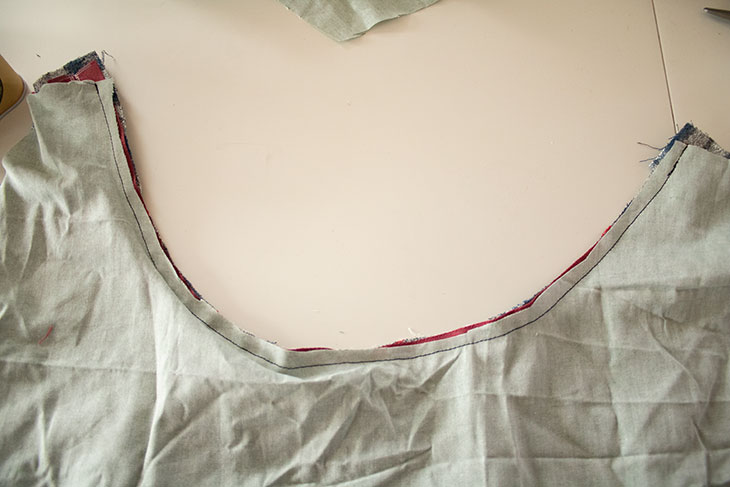
Open up and you now have one side of the zipper enclosed in the bag.
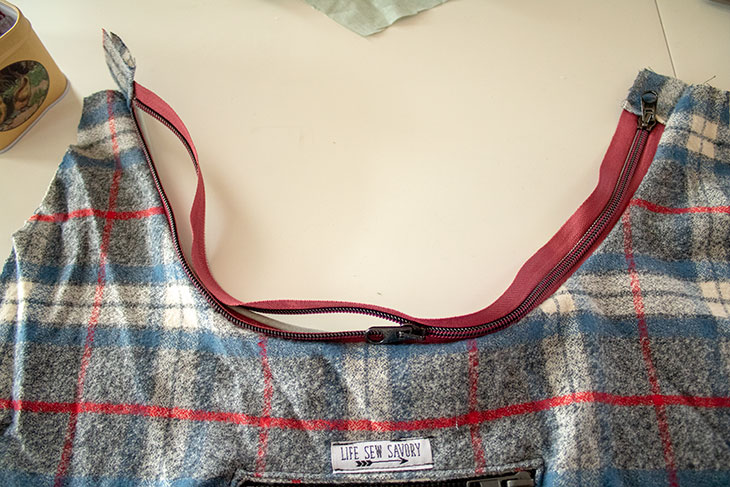
repeat with the other side of the zipper. Right side of main bag to right side of zipper, then sandwich in the zipper and sew.
If you are adding a second pocket {without a zipper} take the second pocket piece and fold in half. Sew all the sides, but leave a 2″ opening to turn.
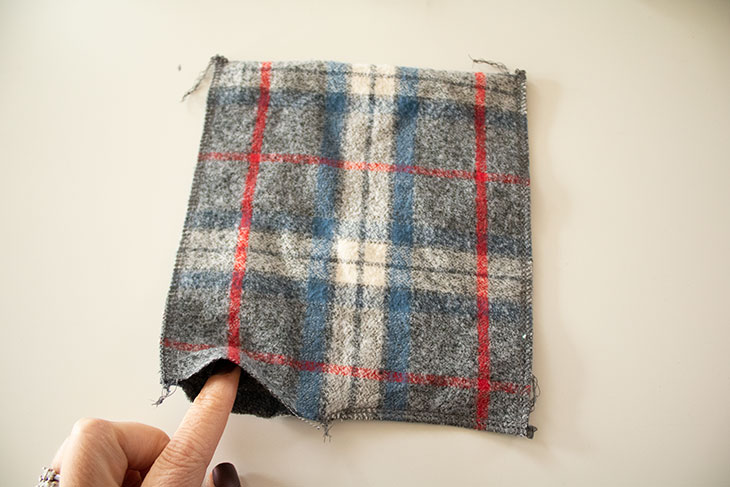
Turn right side out and fold in the seam allowance of the opening. Top-stitch the top and close the opening.
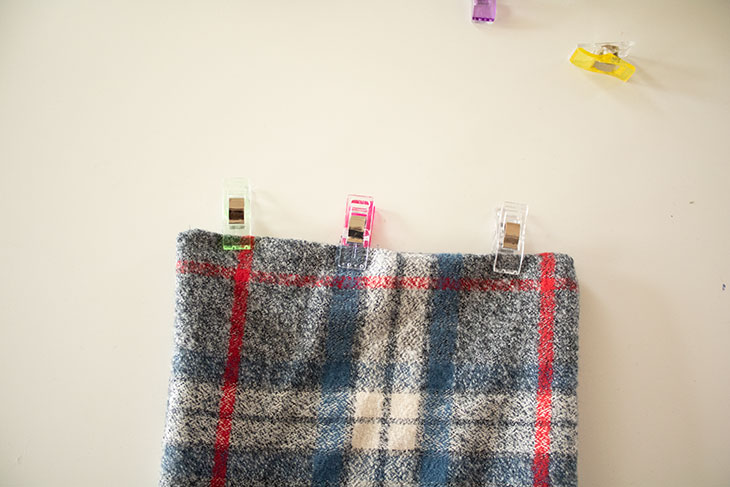
Pin to one side of the bag lining and sew the three sides.
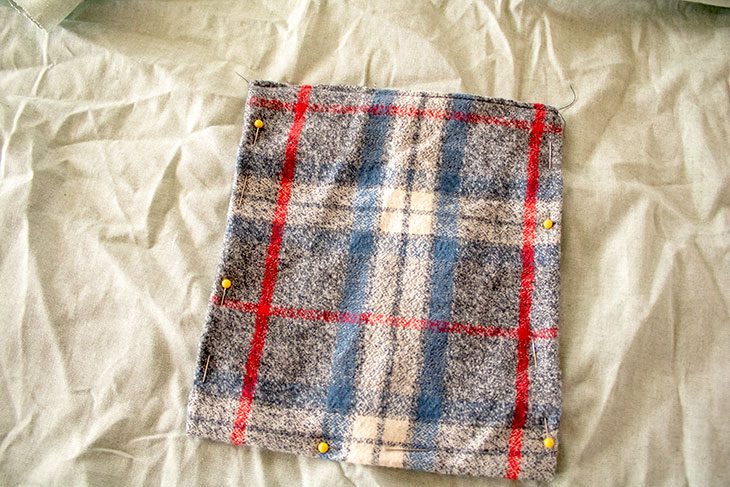
Prep the bag strap by folding and sewing the long sides together. Turn right side out.
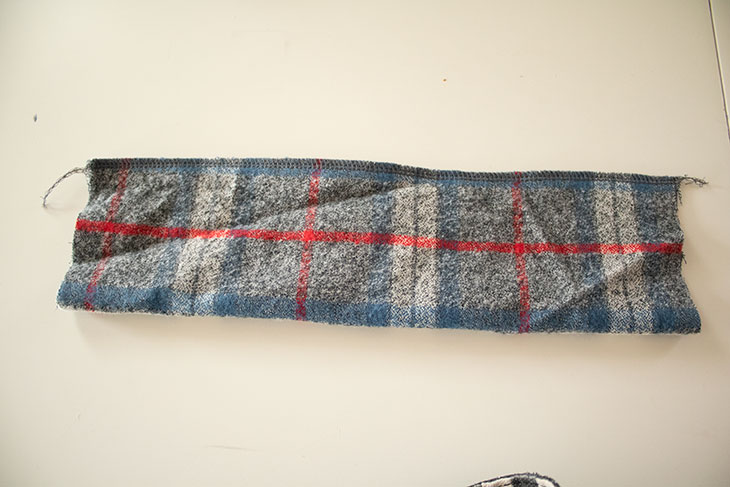
Hold up the bag pieces. Open up so you see the main bag side with the zipper in the middle.
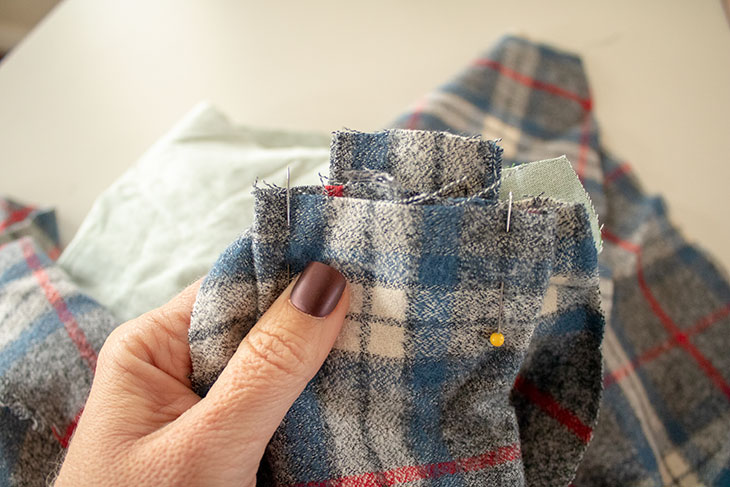
Pin the strap to both sides of the bag… pin to the bag outside at the top of the zipper on both sides.
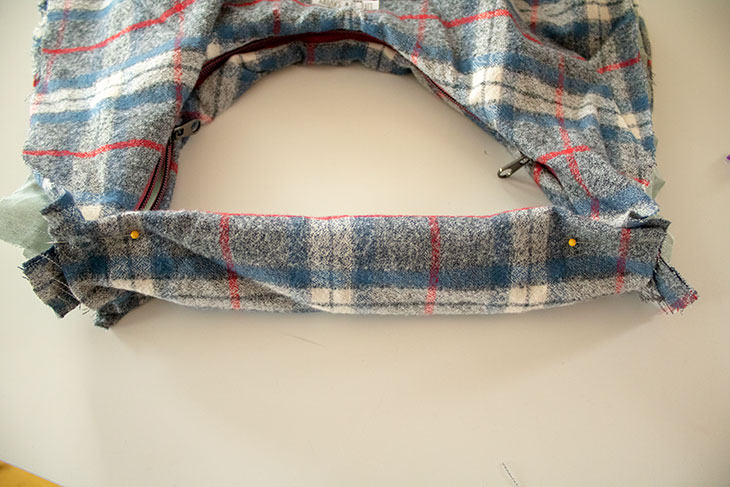
Sew ONLY to the bag outside fabric… You will have to fold back the lining. Trim the extra fabric.
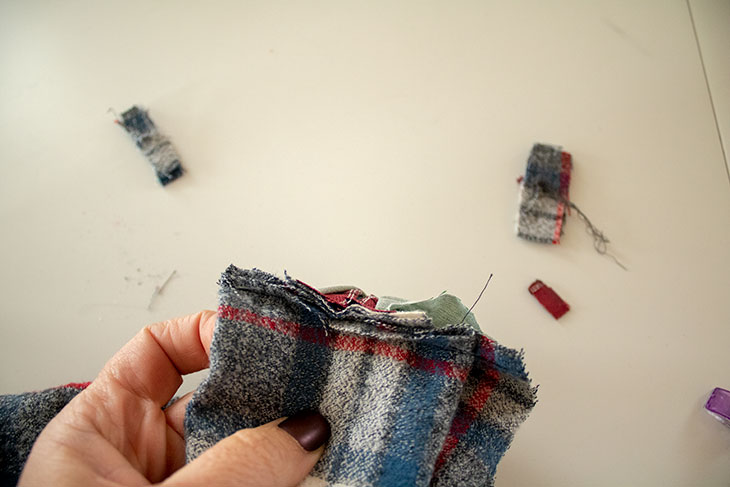
Fold open the bag. place the outer bag pieces together with right sides touching. Pin around the entire edge and sew. At the top near the zipper you will fold the edges together and sew together.
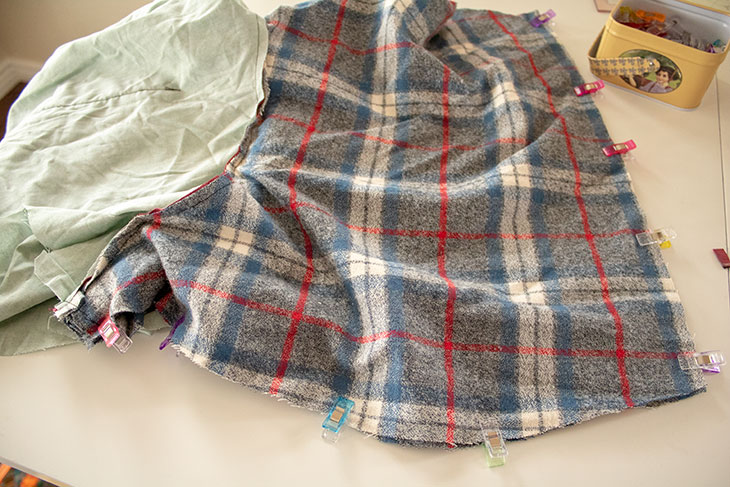
Fold the lining together in the same way.
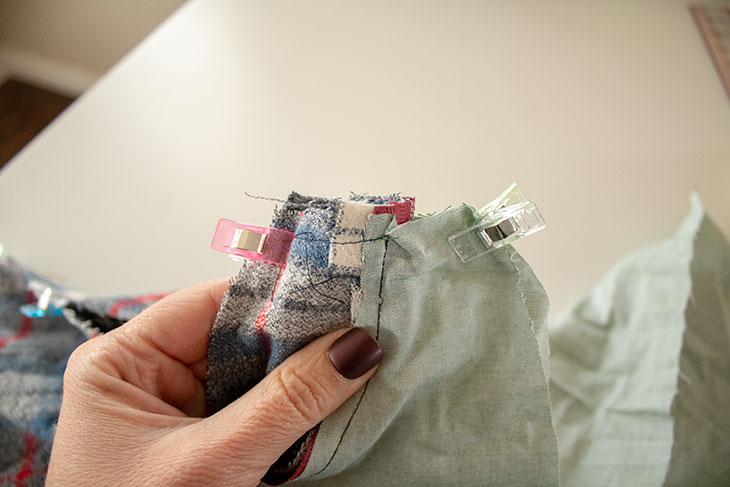
Pin around the outside of the lining, but leave a 8″ opening along the bottom to turn right side out. Also make sure the zipper is open or partially open before you sew. Sew the bag main and the lining around the edges.
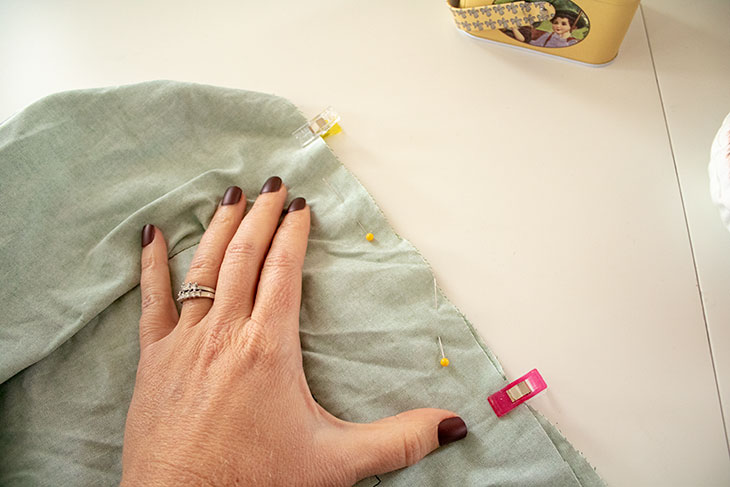
Turn the bag through the opening and the open zipper. Tuck the lining inside the bag with wool on outside.
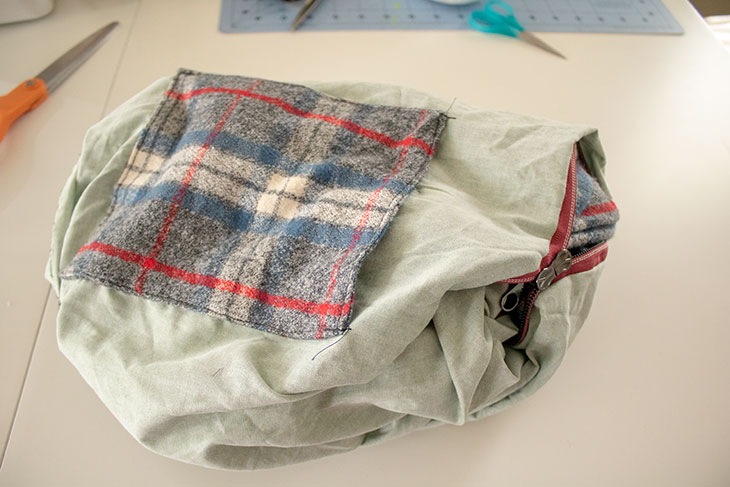
After you have the bag all turned right side out, pull the lining out and close the opening. Tuck in the seam allowance on the opening and pin closed, stitch close to the edge to close the turning hole.
The top of the bag and the bottom of the strap will still have a small opening. Fold flat and top-stitch along top of bag.
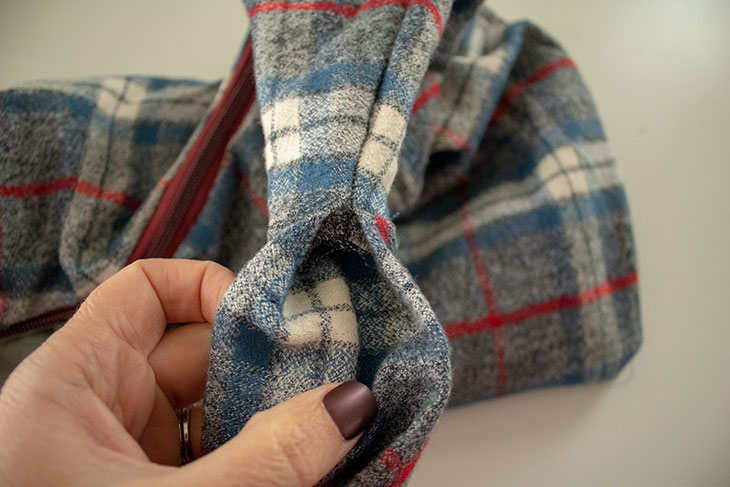
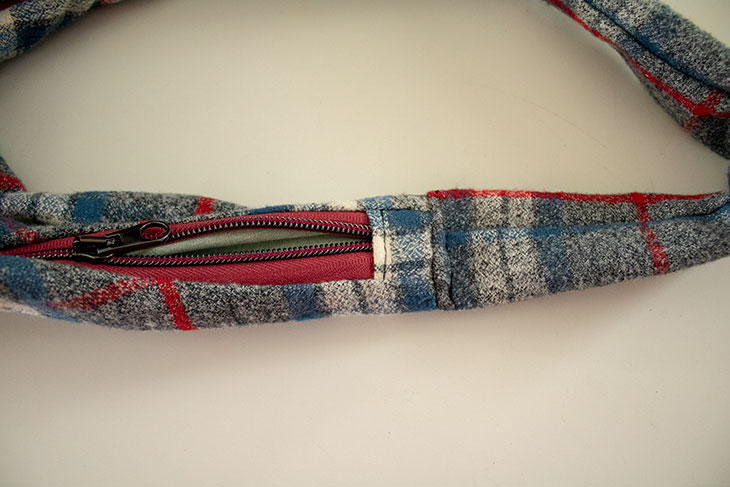
I used a double zipper, but a single zipper is perfect too. You can add all kinds of small design details… please share photos of bags you make in my Facebook group here.
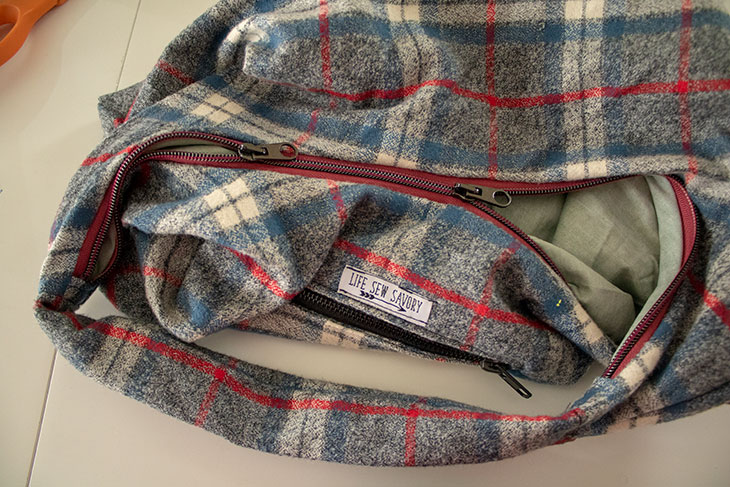
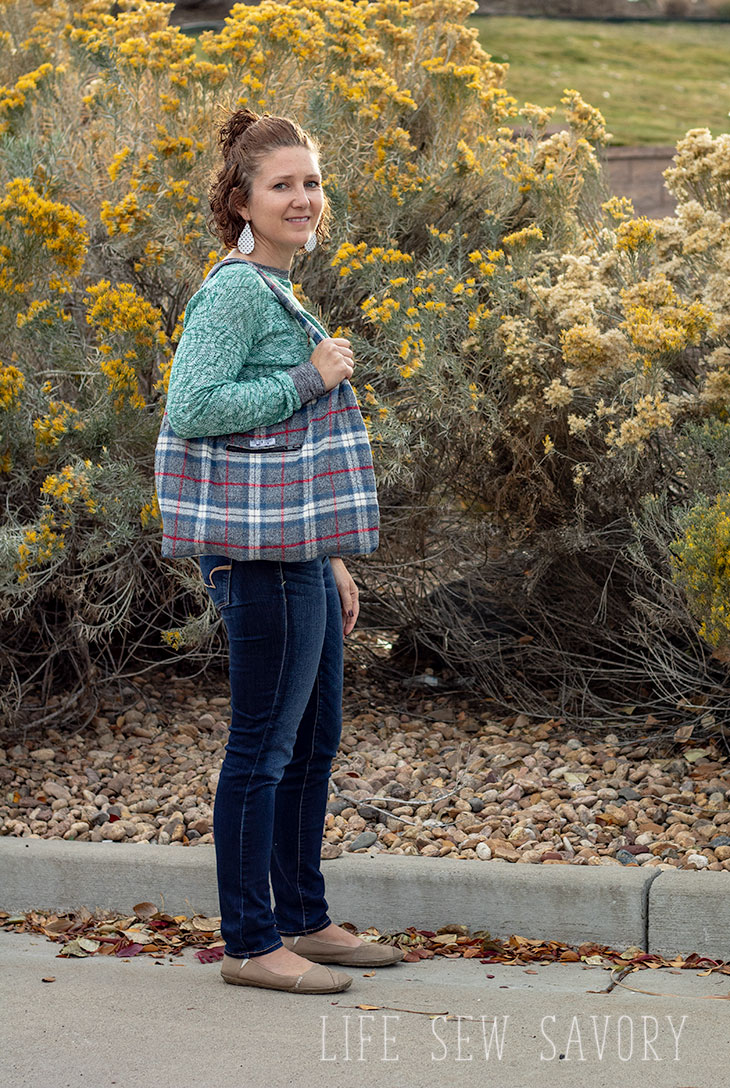
I’ve been using this bag every day for a couple of weeks now and I LOVE it.. It’s the perfect size for all my “mom” stuff and light enough to grab and go everywhere. Also, If you like my sweatshirt as much as I do you can grab the pattern here.
and another link to download the pattern –
Other bag patterns/tutorials you may enjoy:
Free printable purse pattern {great for sweatshirt fabric or wool}


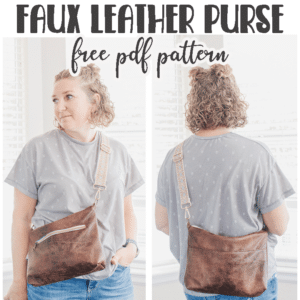
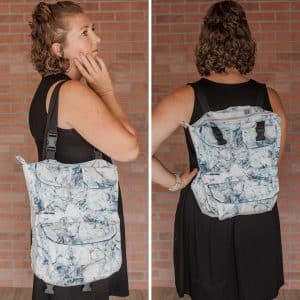
Winter Wool Purse




Joi says
Love this pattern! Be great to carry all my extras on days I work.
Cathi says
Well, you’ve convinced me that I need to add this to my to-do list. Thanks for the great tutorial. Do you have an updated link for the pattern? The current link to Bluprint is broken. 🙂
Emily says
this one works https://lifesewsavory.com/pattern/wool-sack-bag-pattern/
M says
This looks great! Do you need a heavy duty needle or anything special to get through the different layers?
Emily says
I usually use a jean needle when needed..
Laura Mills says
Hello, thank you for posting this pattern, ut looks perfect for what I need! I have git everything ready sbd now I can’t actually find the link to the video tutorial on your page! Please could you sned me the link, I am not confident with zip pockets! 😂 Many thanks, Laura