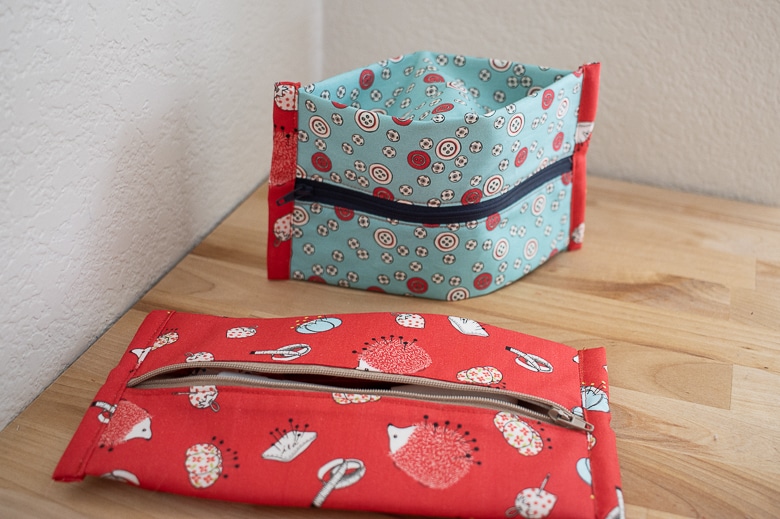
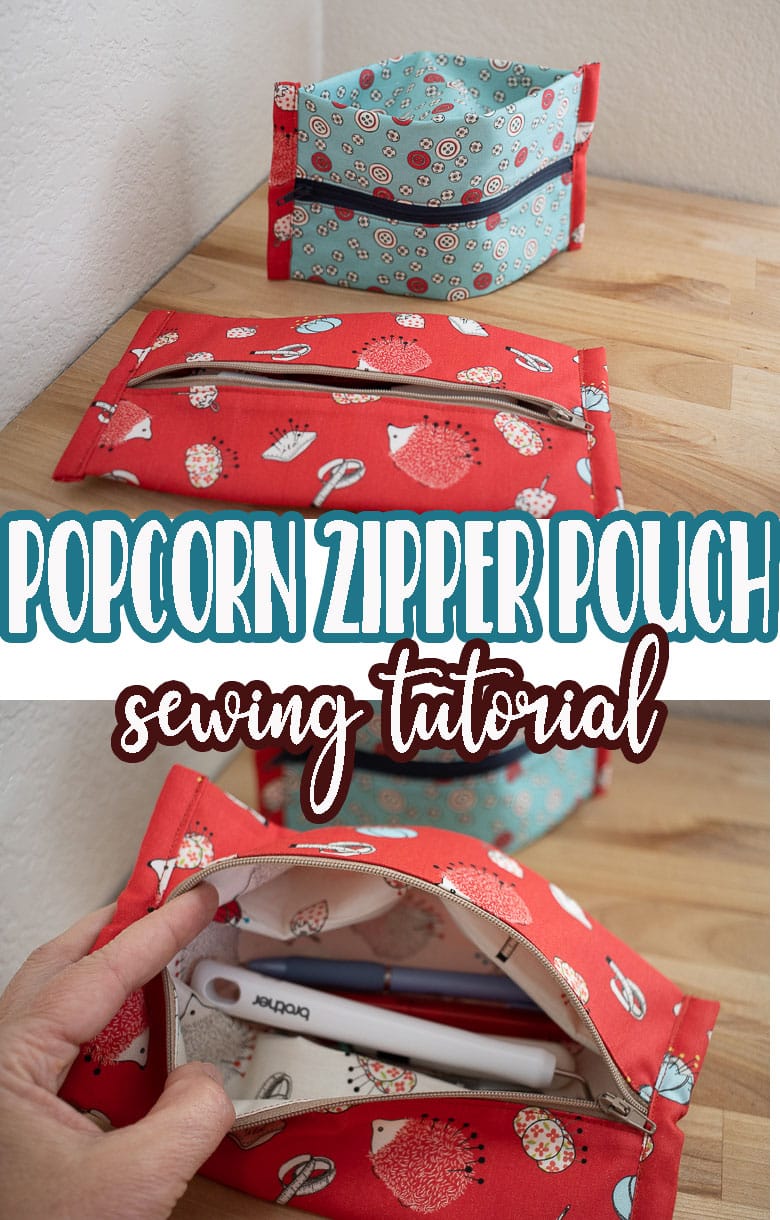
inside: Learn how to sew an expandable popcorn zipper pouch with this tutorial. A fun and useful zipper pouch style that expands like a popcorn bag.
I saw a cute pouch like this in a store a few months ago and I thought it would be a fun one to sew. It’s actually a super easy zipper pouch version to sew, so I hope you will try it soon. These cute little expandable popcorn zipper pouches have tons of room and can be sewn in any size!!
Popcorn style zipper pouch tutorial
This post includes a quick video tutorial for this expandable zipper pouch. If you don’t see the video or have trouble playing it, try disabling your ad blocker or use a different browser.
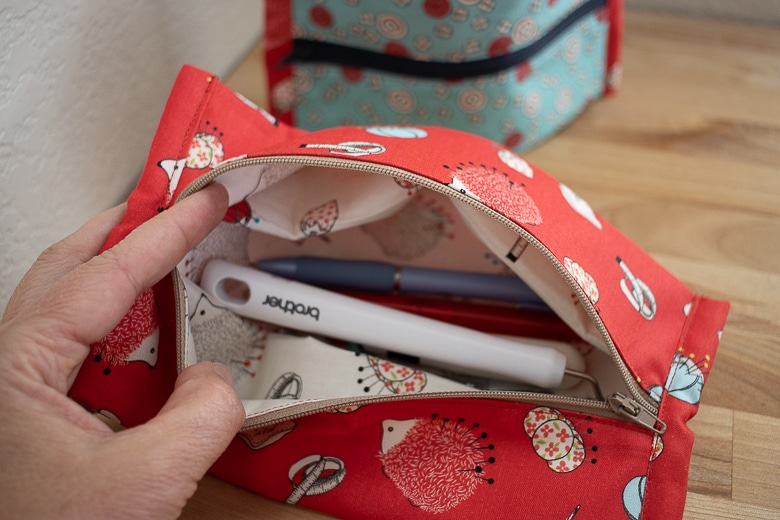
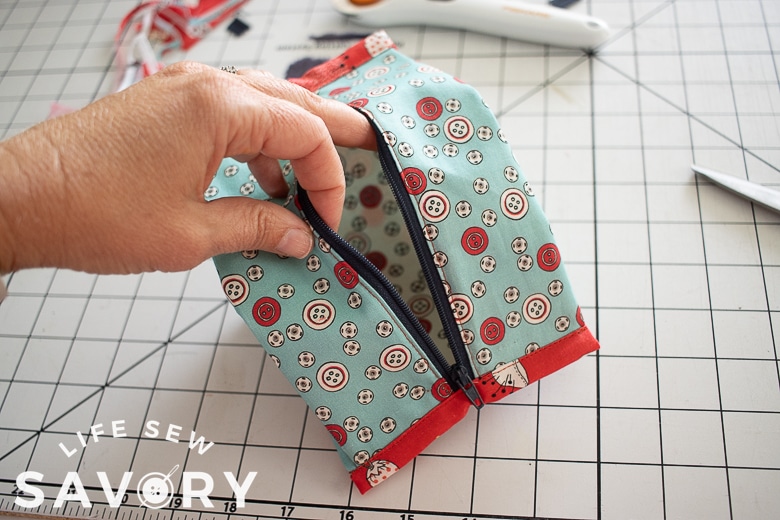
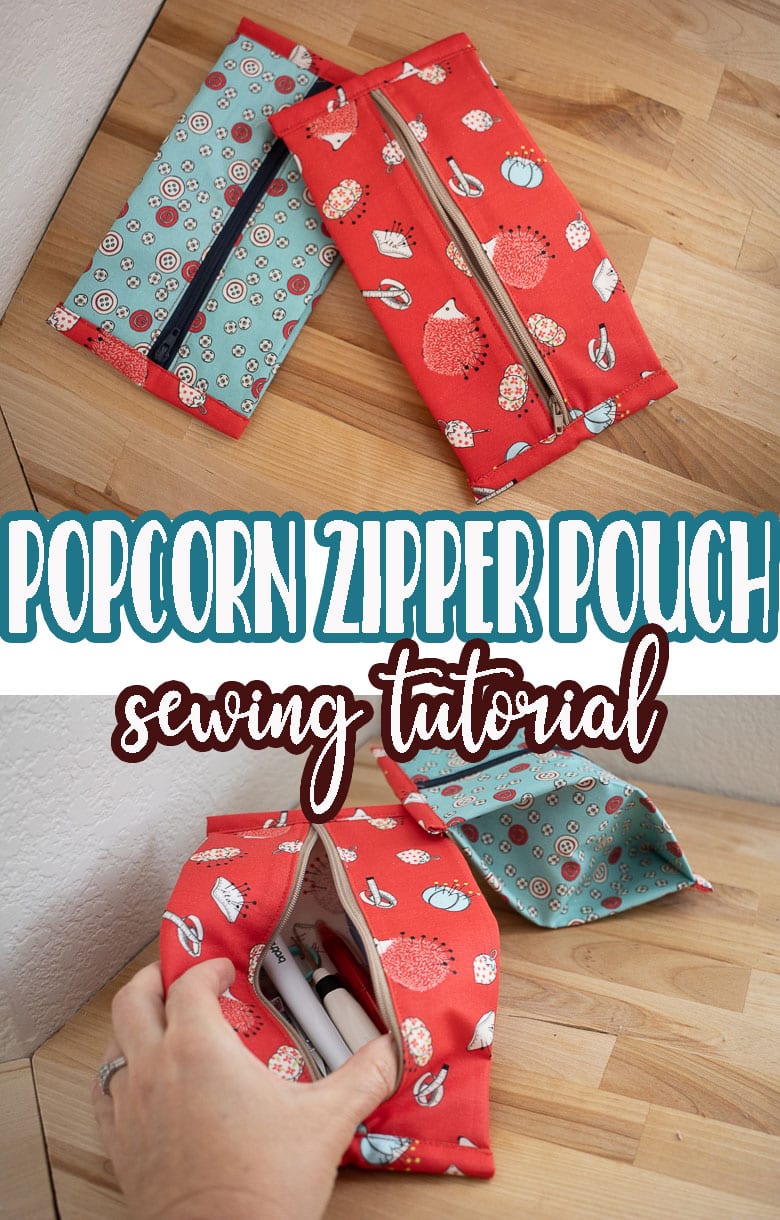
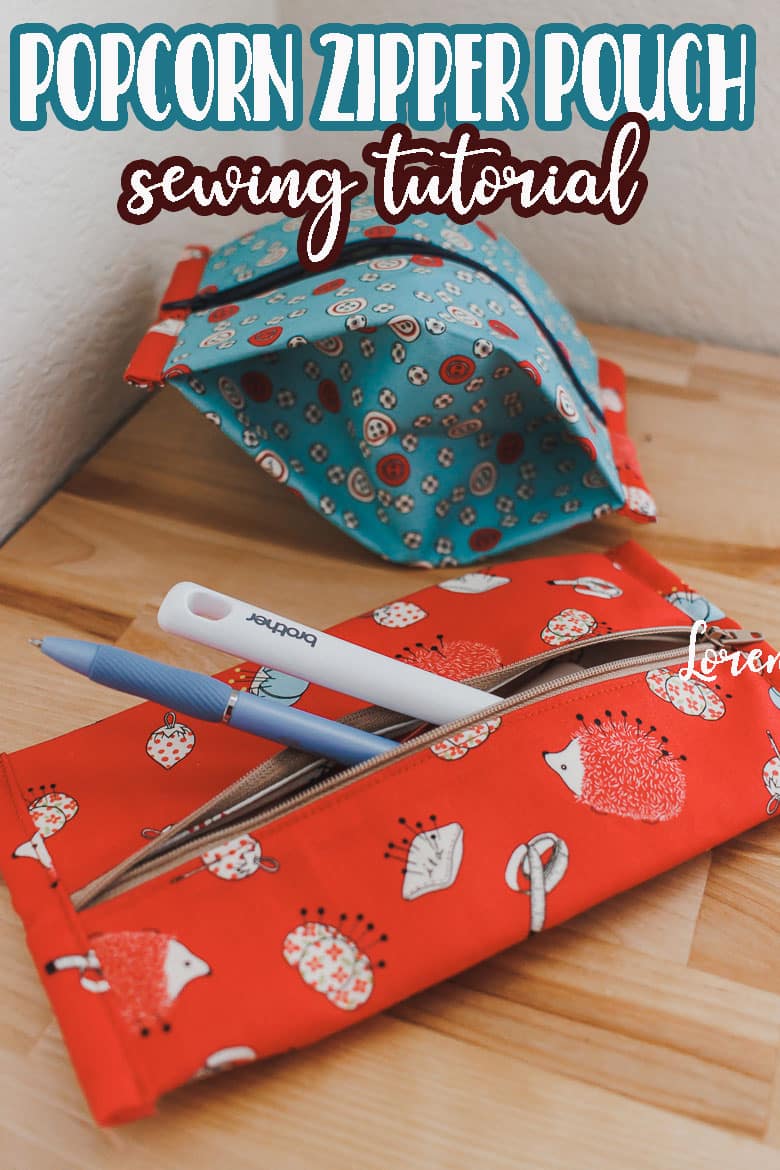
Isn’t this zipper pouch so cute?? I love how the sides expand like a microwave popcorn bag {thus the reason for the name!} This gives the pouch the ability to have a big storage space, yet still collapse small and flat for storage.
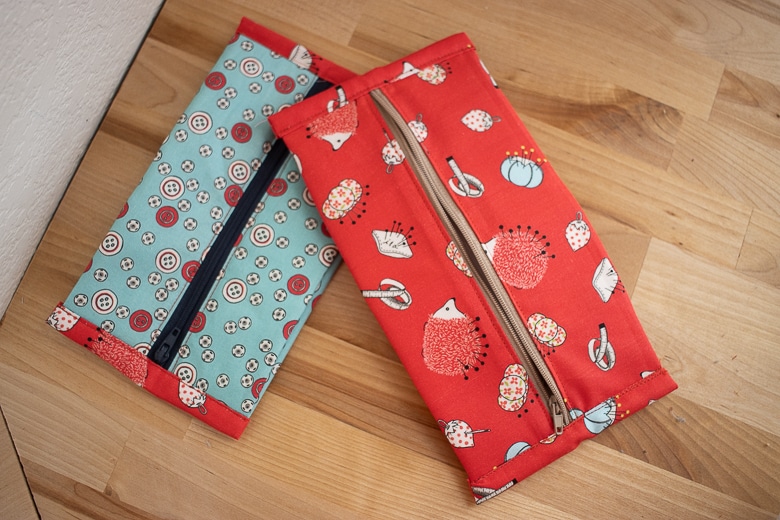
Do you notice anything strange about the red pouch? I did a not smart sewing thing when sewing the pouch and I’m wondering if it stands out to you? Read the tutorial below to find out the mistake I made and how to avoid making it yourself when sewing this project.
I’ve had this cute fabric for a very long time. I love using it for sewing projects and for sewing storage items. This collection was from Ink and Arrow on QT fabrics, but I don’t think you can buy it anymore.
Other cute zipper pouches to sew:
How to sew an expandable zipper pouch
And now it’s time to sew!! Gather your supplies
- Fat quarters of fabric cut into rectangles
- Need TWO rectangles cut at a 1:2 proportions {ex: 8 x 16″ or 9 x 18″}
- Cut fusible interfacing the same size as your rectangles
- Cut two end pieces 8 x 2″
- Zipper {at least 1″ longer than your fabric short end}
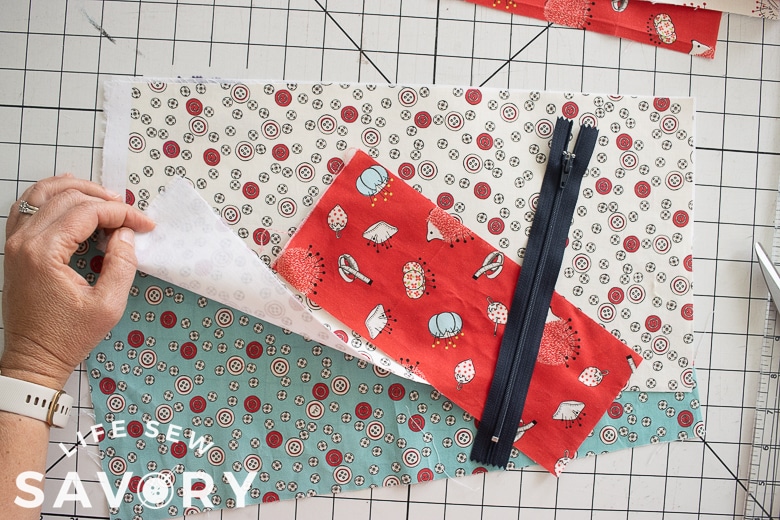
Start by fusing the interfacing to the back of one fabric. I fused it to the lining layer, but it really doesn’t matter.
Place the zipper right side down on the fabric you want to be the outside of the pouch. Place the lining fabric on top of the outside fabric and zipper. Create a sandwich with the zipper and the fabrics right sides together. Pin or clip.
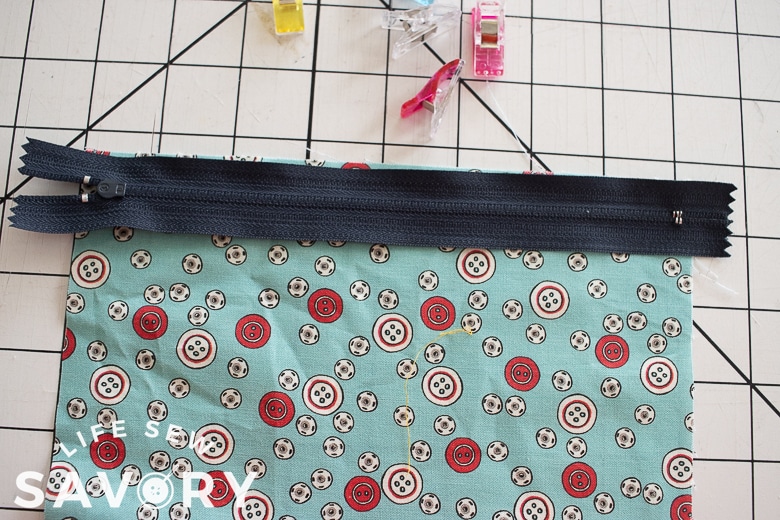
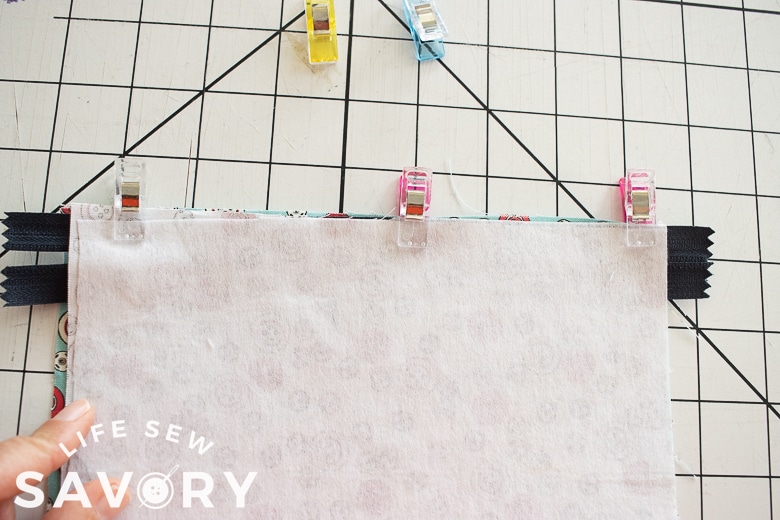
Sew the three layers together with a zipper foot on your sewing machine. Open up the fabric and top-stitch the fabric open.
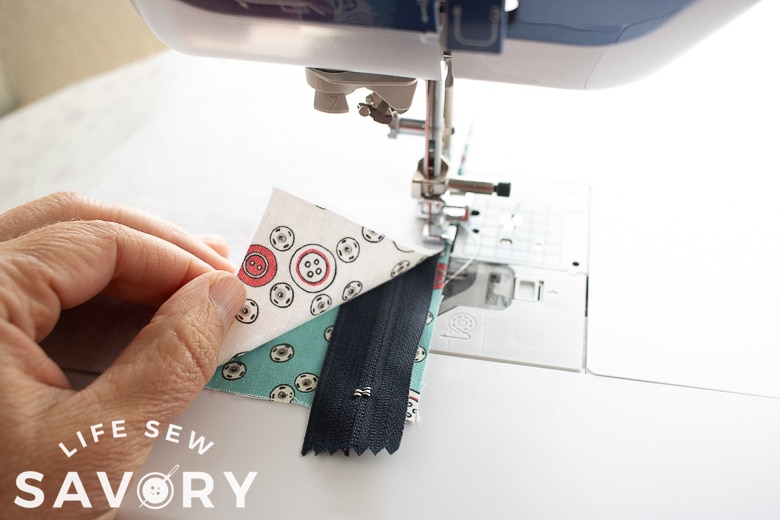
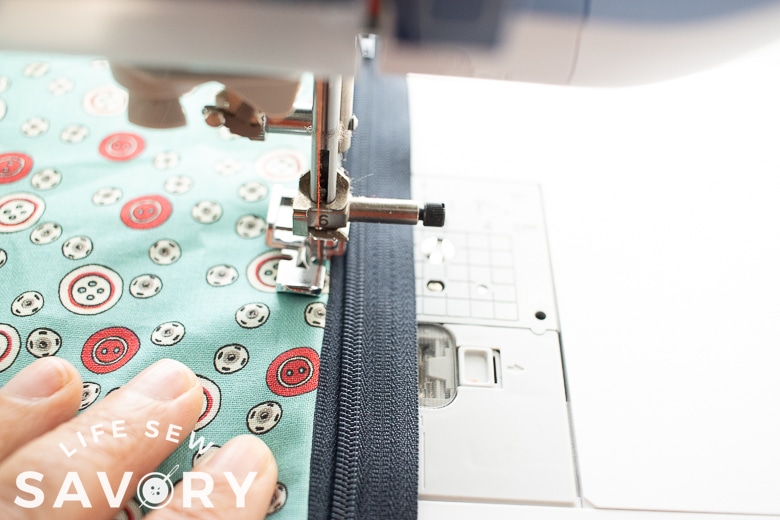
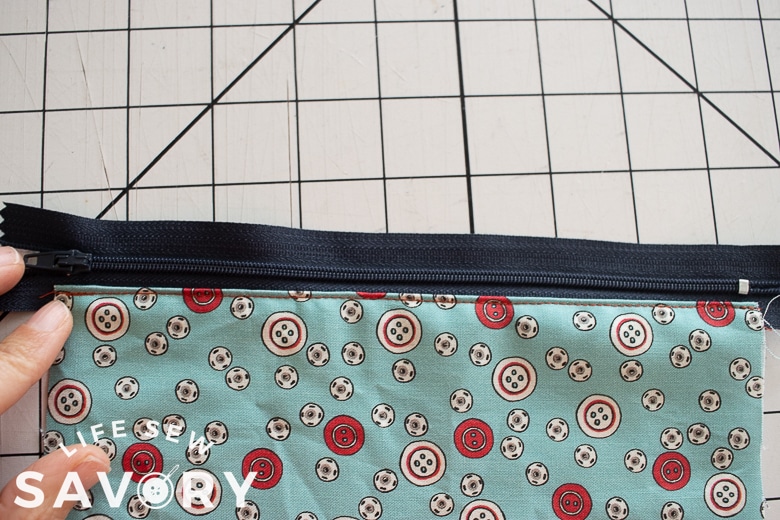
Fold the outside fabric other and back over to the other side of the zipper. On the other side, fold the lining fabric back over on itself to the zipper as well. You should have another zipper sandwich with the right sides of the fabric together, both touching the zipper. Sew these three layer with a zipper foot.
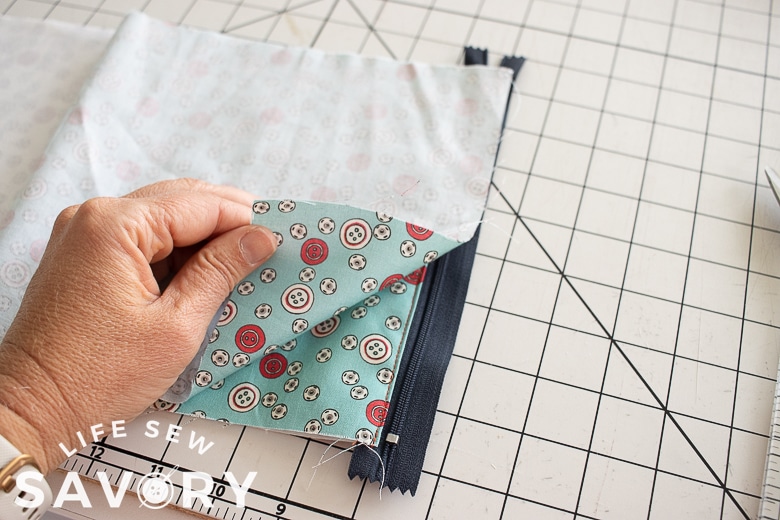
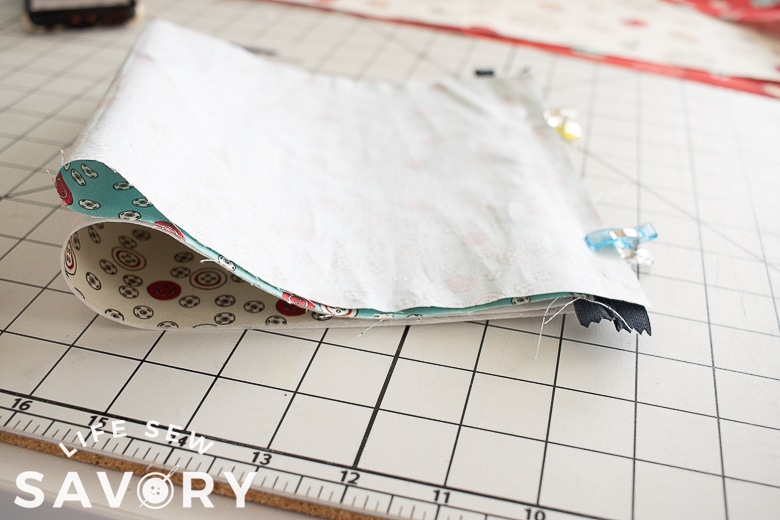
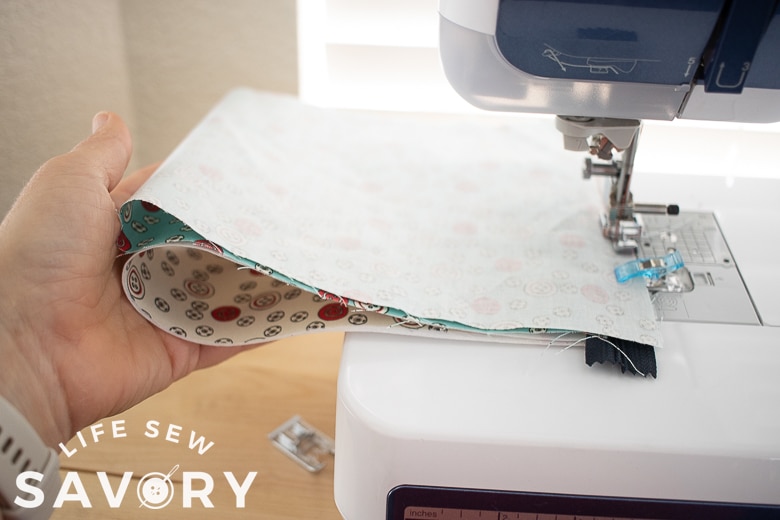
Turn the fabric right side out and unzip the zipper and top-stitch the other side of the zipper. This side will be a bit tricky, but just maneuver the fabric to sew down the zipper.
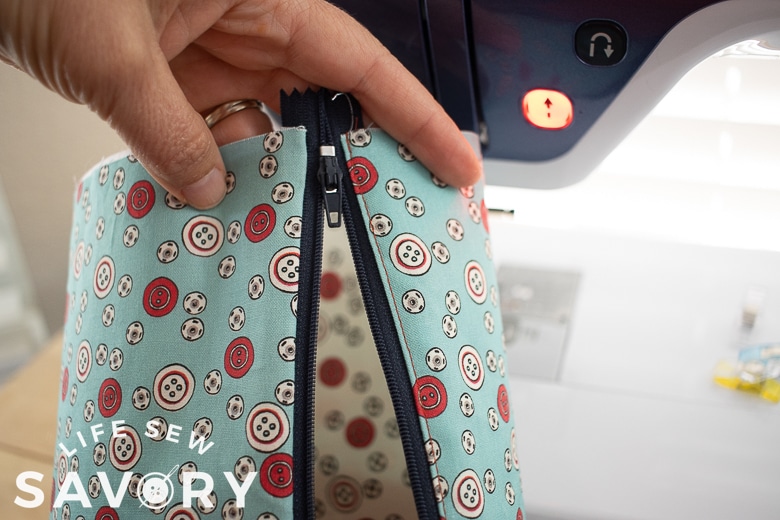
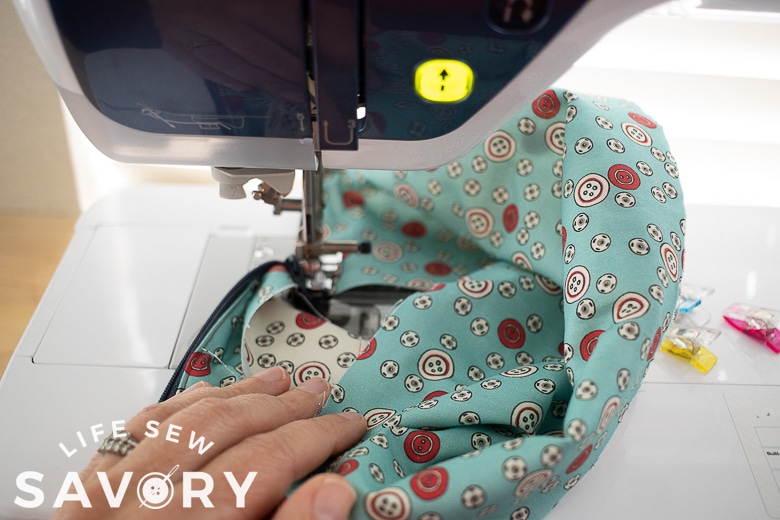
Now it’s time to press the folds. Lay the pouch flat with the zipper in the middle of the fabric. Press these two sides to flatten.
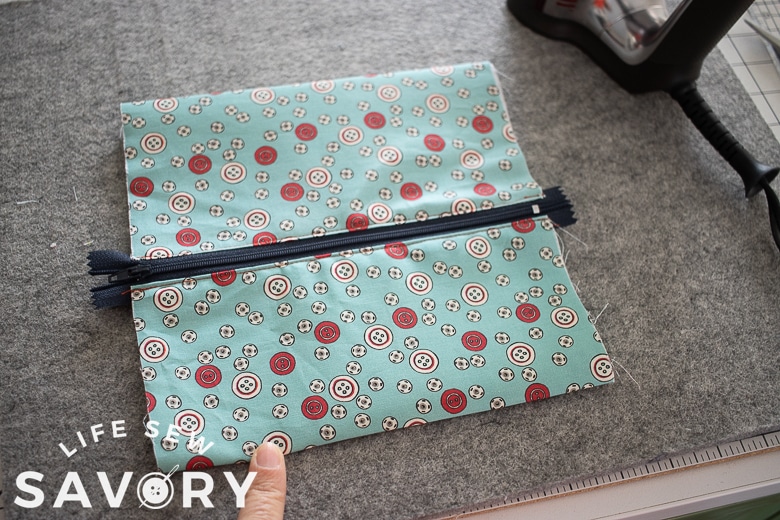
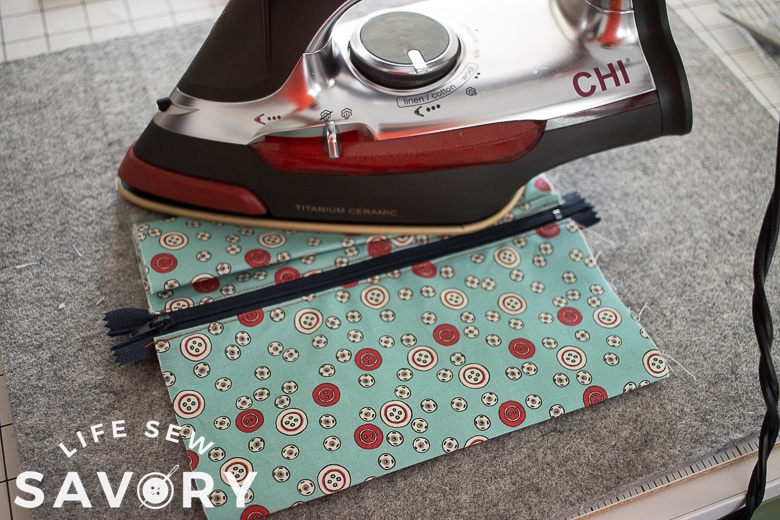
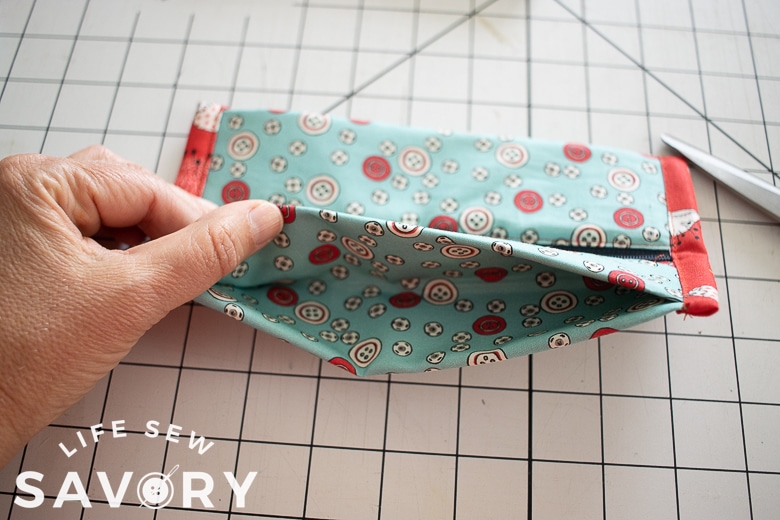
Now we will create the pleats. Fold the side edge in, almost to the zipper, then press that new fold. Repeat with the other side.
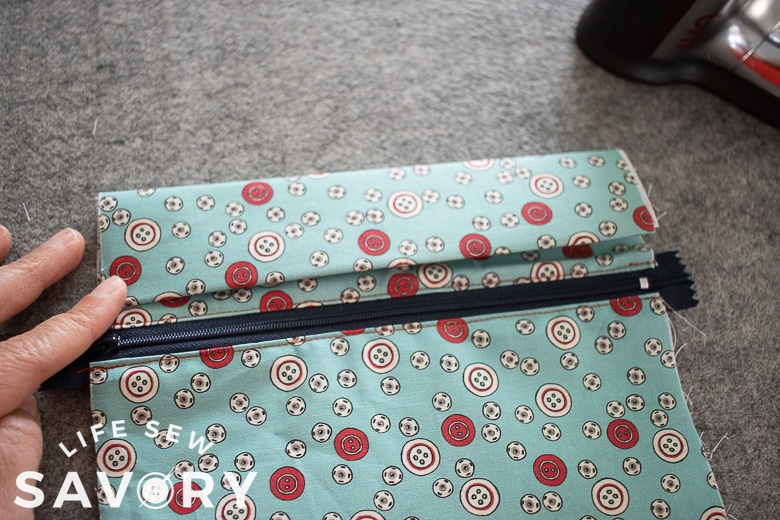
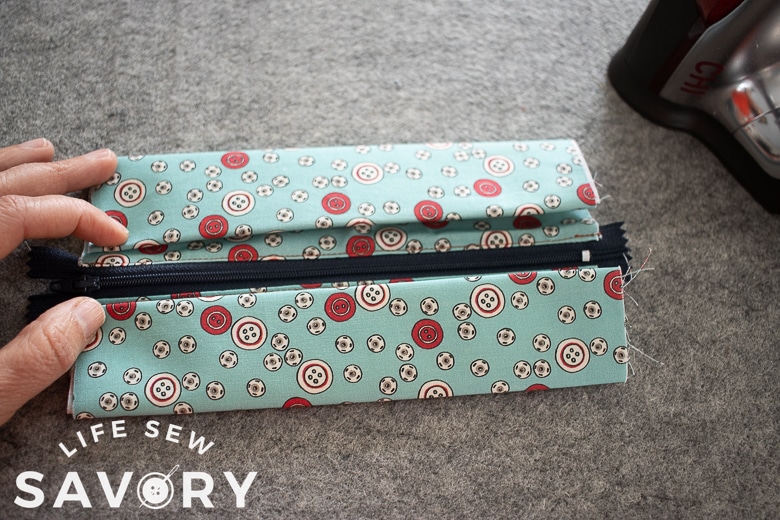
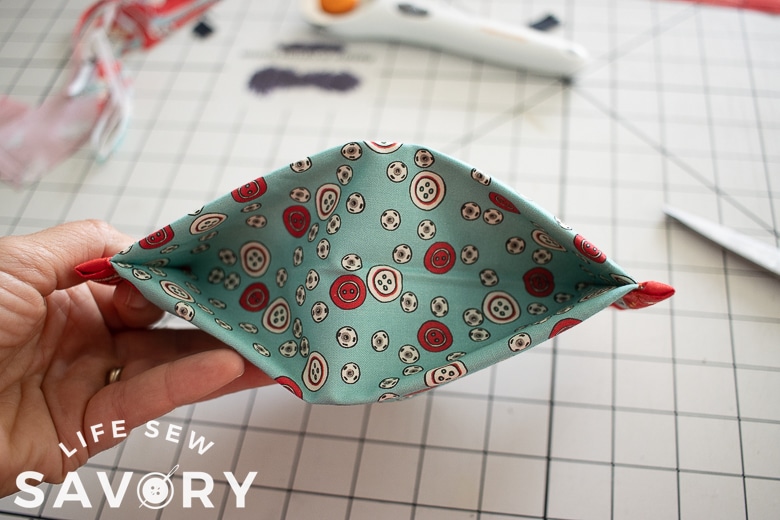
Refold the sides so the pleat faces IN, and not up towards the zipper. You will have to open up the folds and invert them to create this side fold. Press again to secure the fold and repeat on the other side.
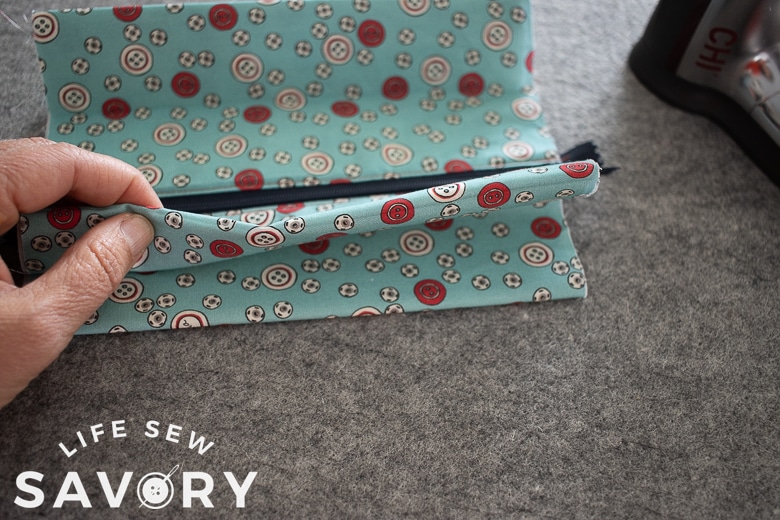
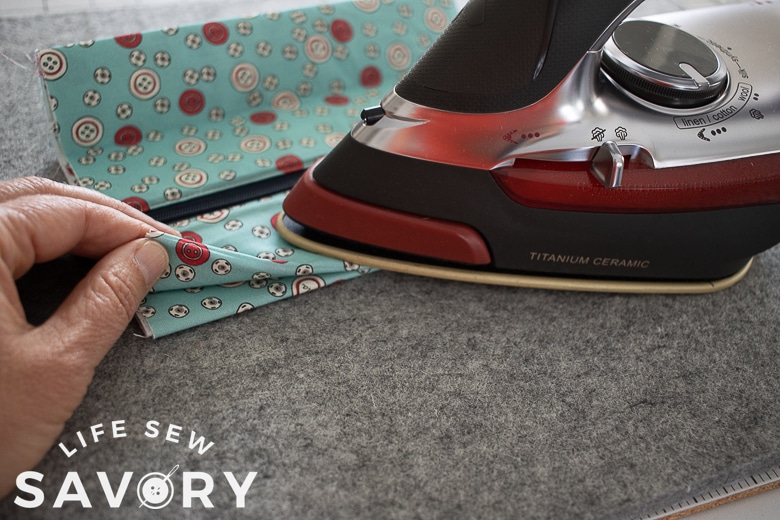
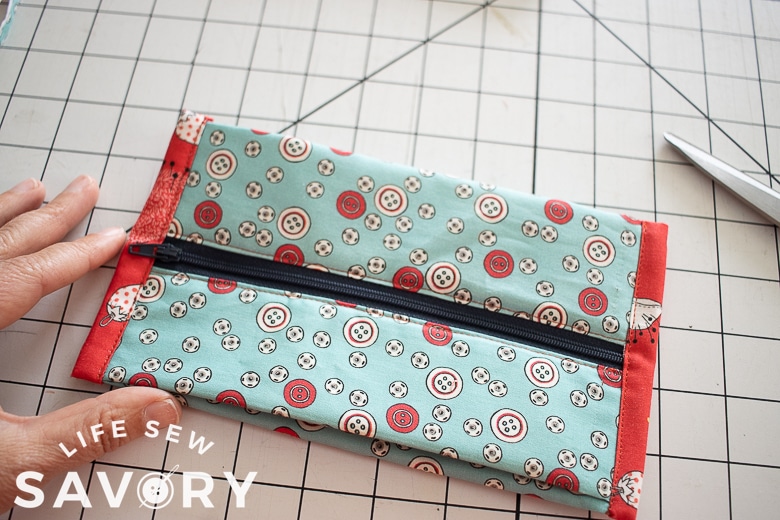
Now your pouch should look like this.
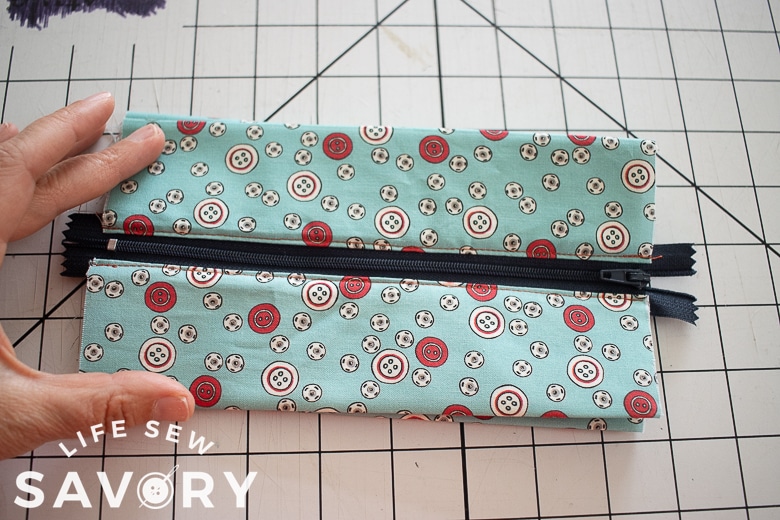
Trim off the extra zipper on bother sides. THIS was my mistake on the red pouch… I cut off the zipper tab!! {wooops!} SO… make sure you pull the zipper tab INSIDE the edge of the fabric before trimming the excess zipper. You will want the tab, trust me {haha}
Place the 2″ wide end piece on the side edge of your pouch. The fabric should extend past both sides. The raw edges of the fabric should all line up.
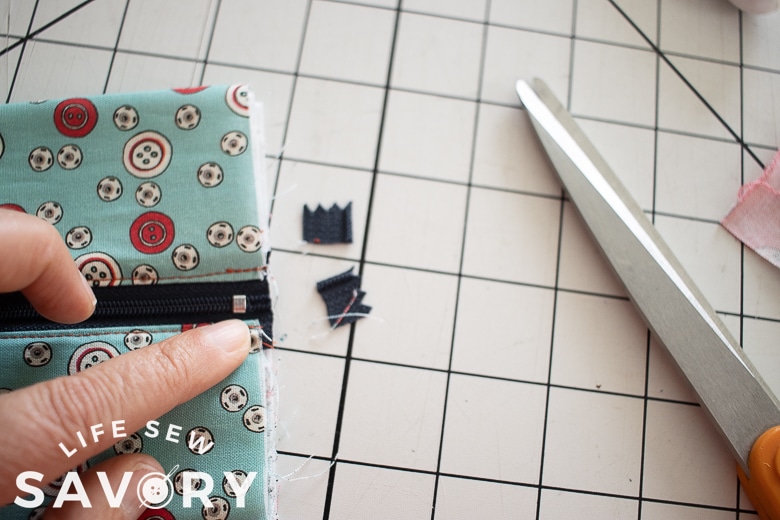
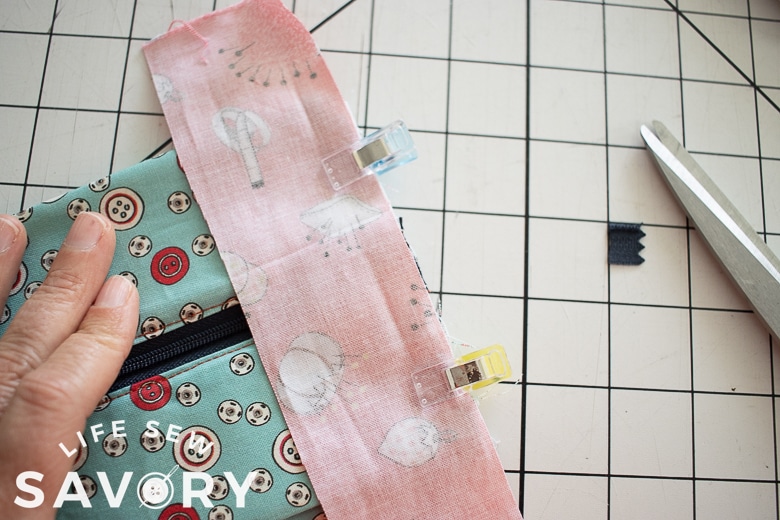
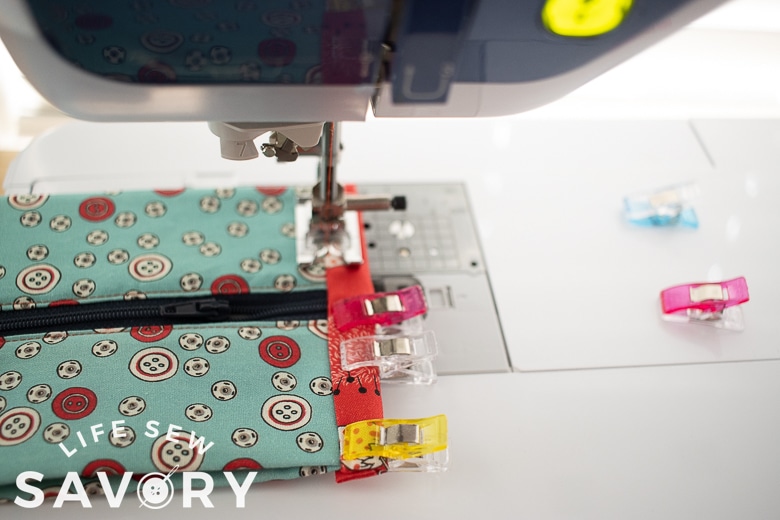
Turn the pouch over and trim the ends of binding so that 1/2″ wraps around the back. Pin or clip in place. Sew with your sewing machine on the right side of the pouch. Go slowly over the zipper teeth and make sure the metal stopper isn’t in your way. I used the side of my pressure foot as a guide.
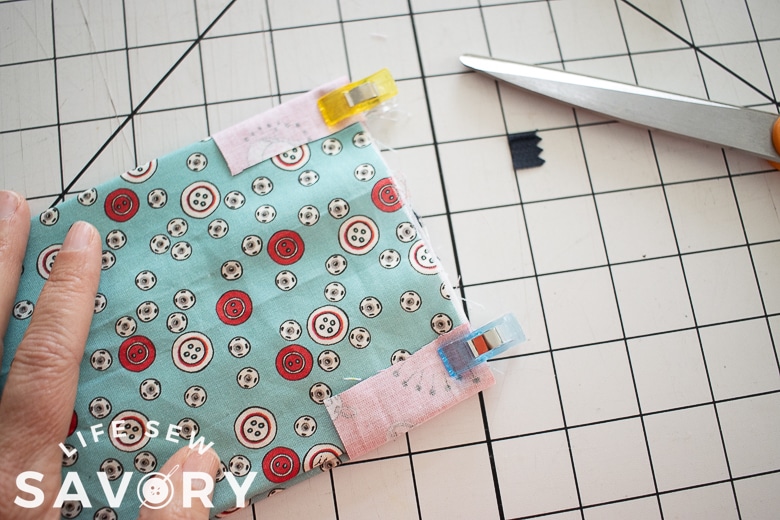
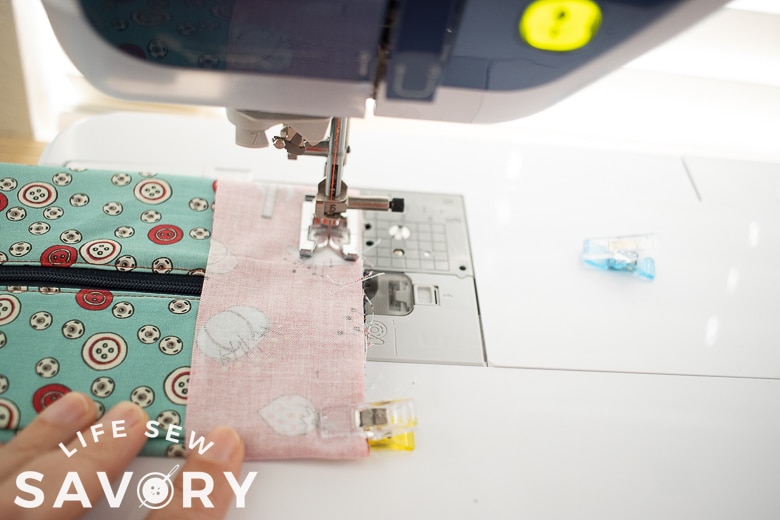
Now the end cap is attached. Flip the pouch over to the back. Fold in the ends {you can press if you want}
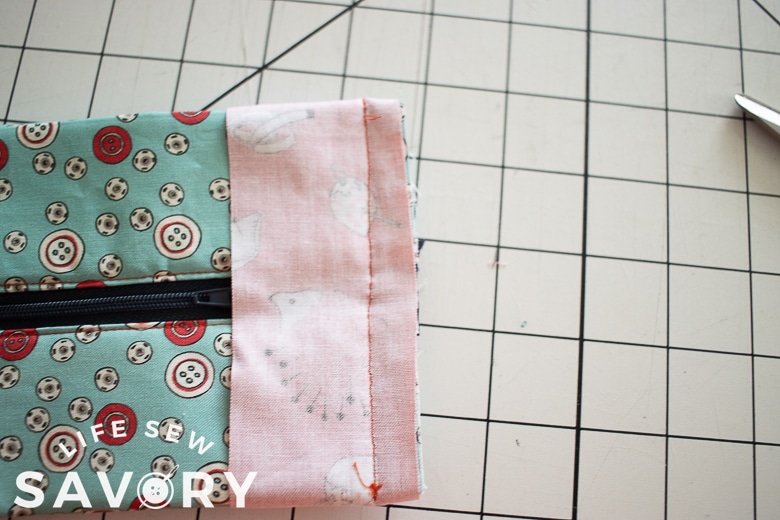
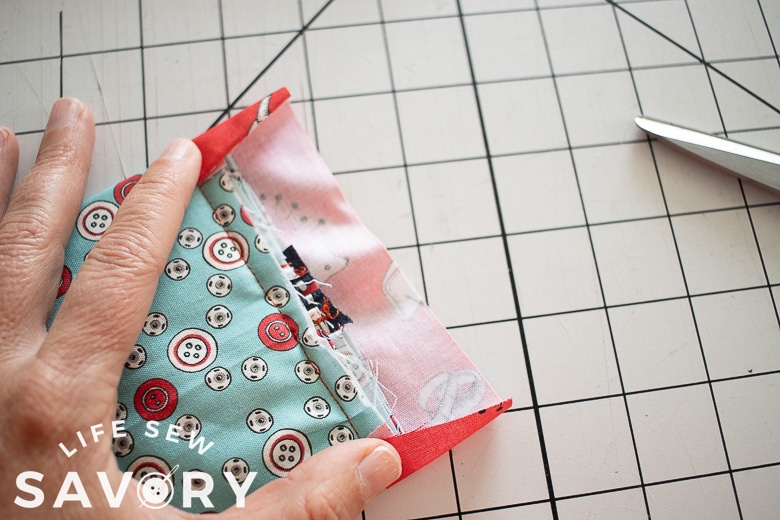
Fold the raw end in to meet the pouch raw edge, then fold over again and clip.
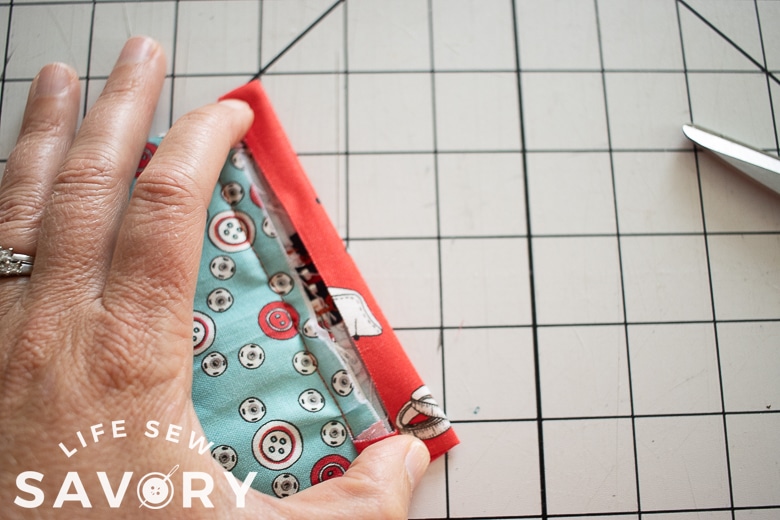
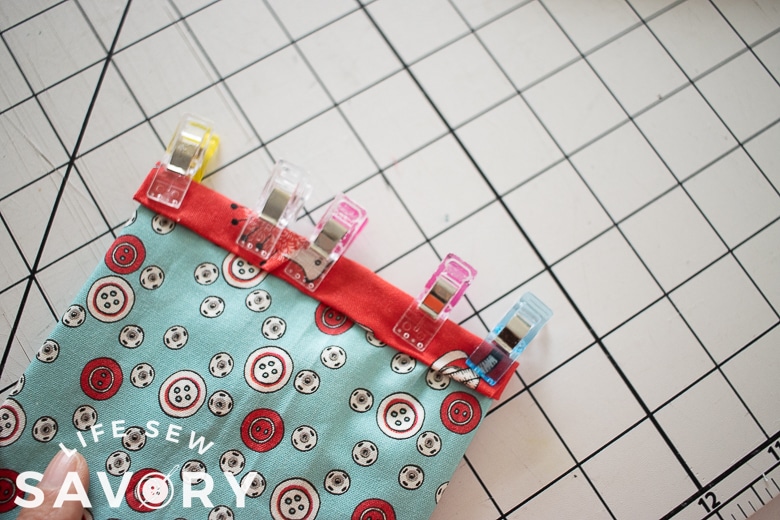
Sew on the right side of the pouch, top-stitch along the edge to secure both folded edges. Repeat with the other end of the pouch.
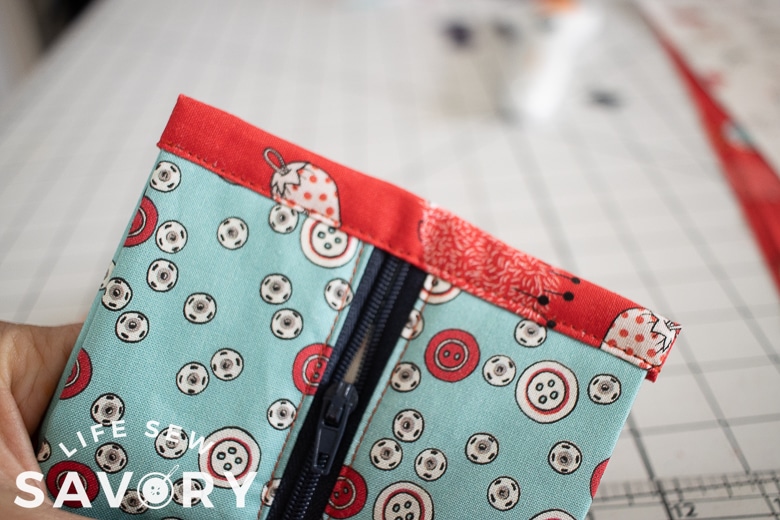
Now your expandable popcorn style zipper pouch is ready! So cute right? I really love the expanding sides!!





Rita Rhodabarger says
Thank you so much for this wonderful tutorial! I made one tonight in about 2 hours. I kept getting distracted. I do tend to see ‘squirrel’ projects that take my attention elsewhere!🤣🤦🏻♀️
The pouch turned out fantastic thanks to you! It is going to be part of a zippered pouch swap my quilt group is doing. I have the only guy in our group.
Again, thank you very much!
Rita