Inside: Sew this DIY water bottle holder from the included free pdf pattern. In addition to a perfect water bottle holder, this carrier also has a zip pocket for your phone or other valuables. Perfect sewing project for travel or adventuring.
My husband and I are celebrating 20 years of marriage this summer and we have been planning a trip for several years to celebrate. We’ve always dreamed of a Mediterranean cruise and said we would do it for our 20th. Well, that was this summer… and it was amazing. Before we left I sewed myself this fun DIY water bottle holder and it was perfect!! Today I’m sharing this water bottle holder sewing pattern with you and I hope it works as well for you as it did for me.
DIY water bottle holder {with phone pocket}
Ok… I love sewing for travel. I’ve sewn so many things that have gone on trips with us over the years! You can see all my sewing for travel tutorials together here, or just check out my favorites… like this mesh beach bag {I still use every trip/summer} and my padded glasses case.
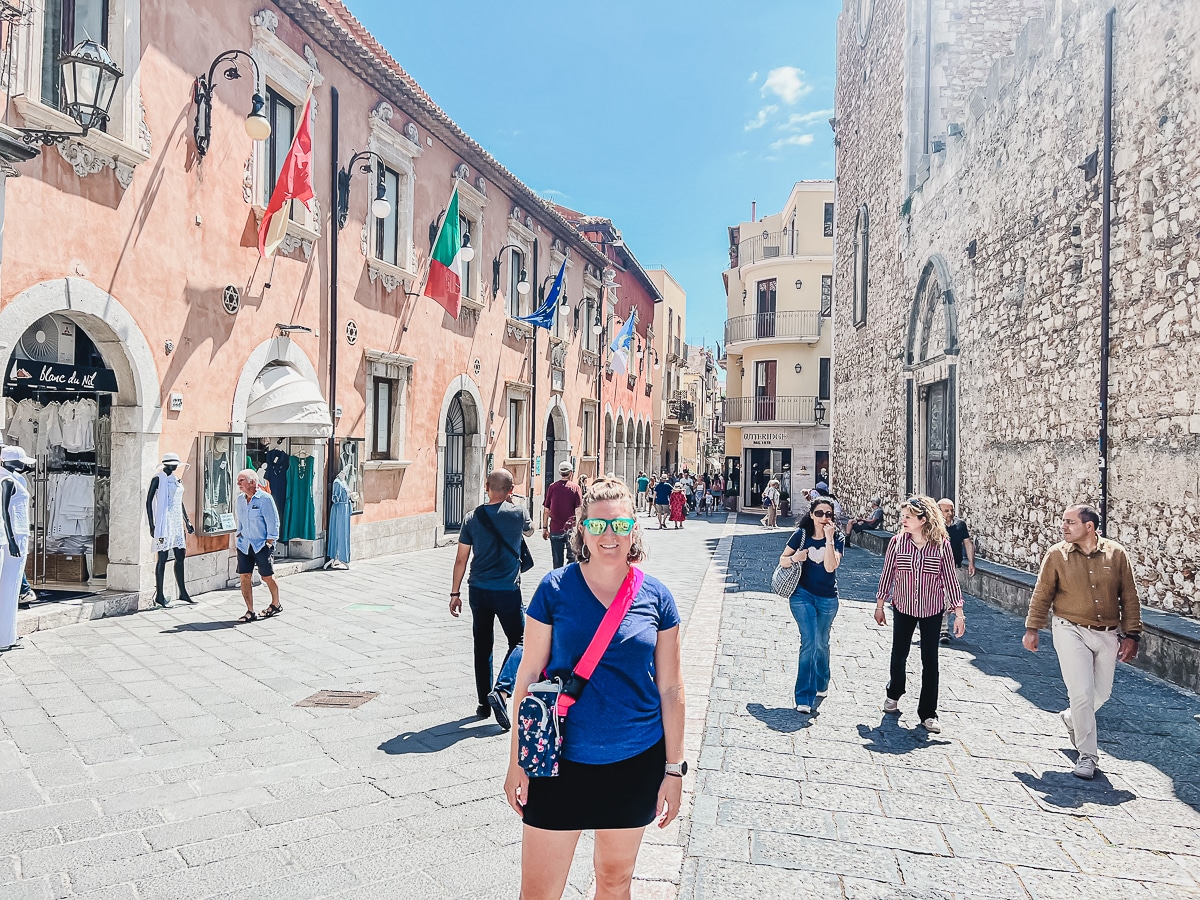
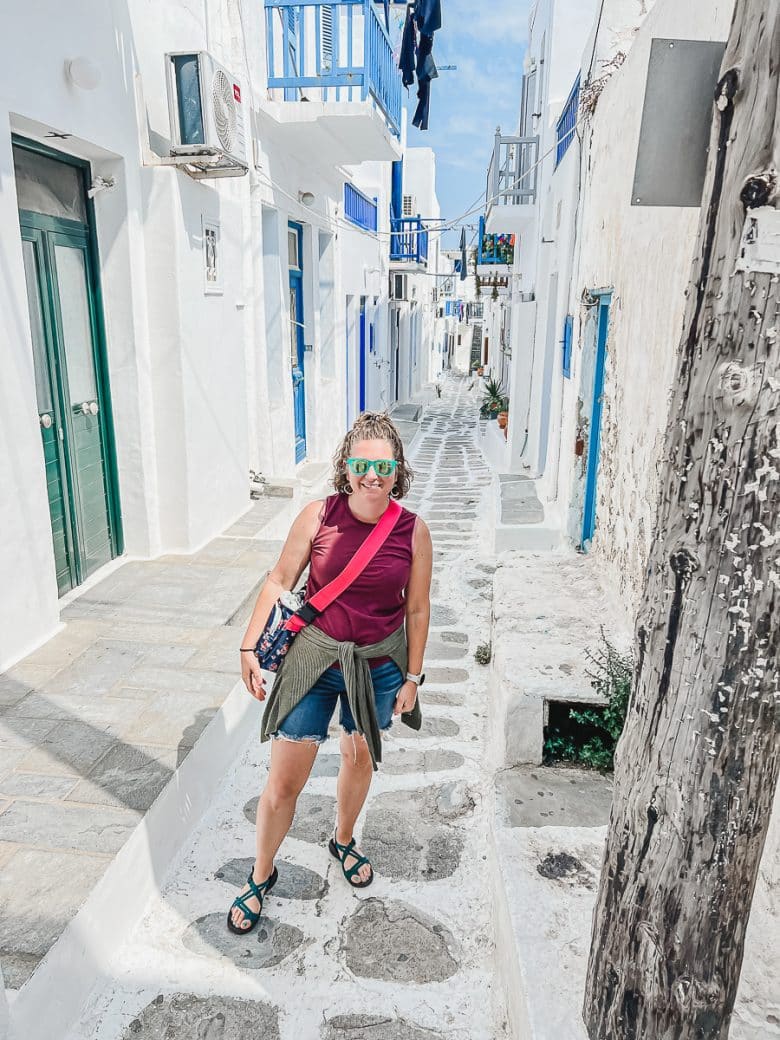
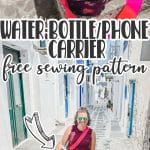
Today you are going to get to check out my fabulous water bottle holder, plus see a few photos of our trip. My pink strap the the carrier can be seen in almost every photos from our whole 2 week trip {Haha} I didn’t think that through when I made the strap bright pink! Even out selfies with just shoulders and heads you can see the strap across my shoulder.
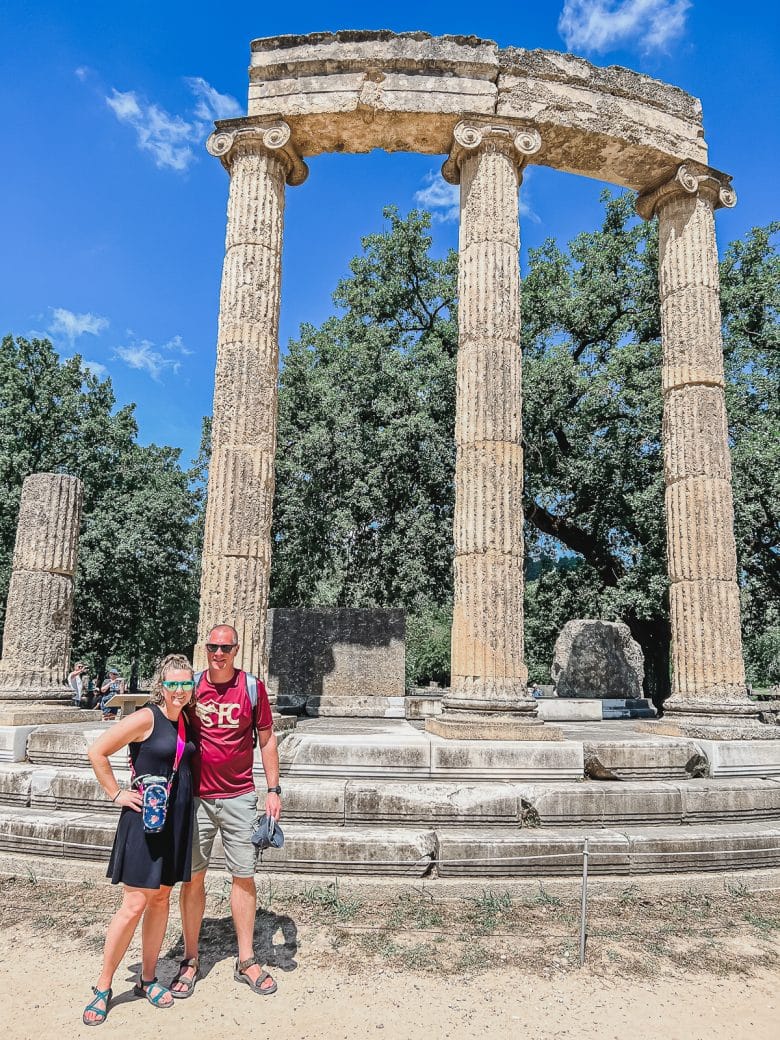
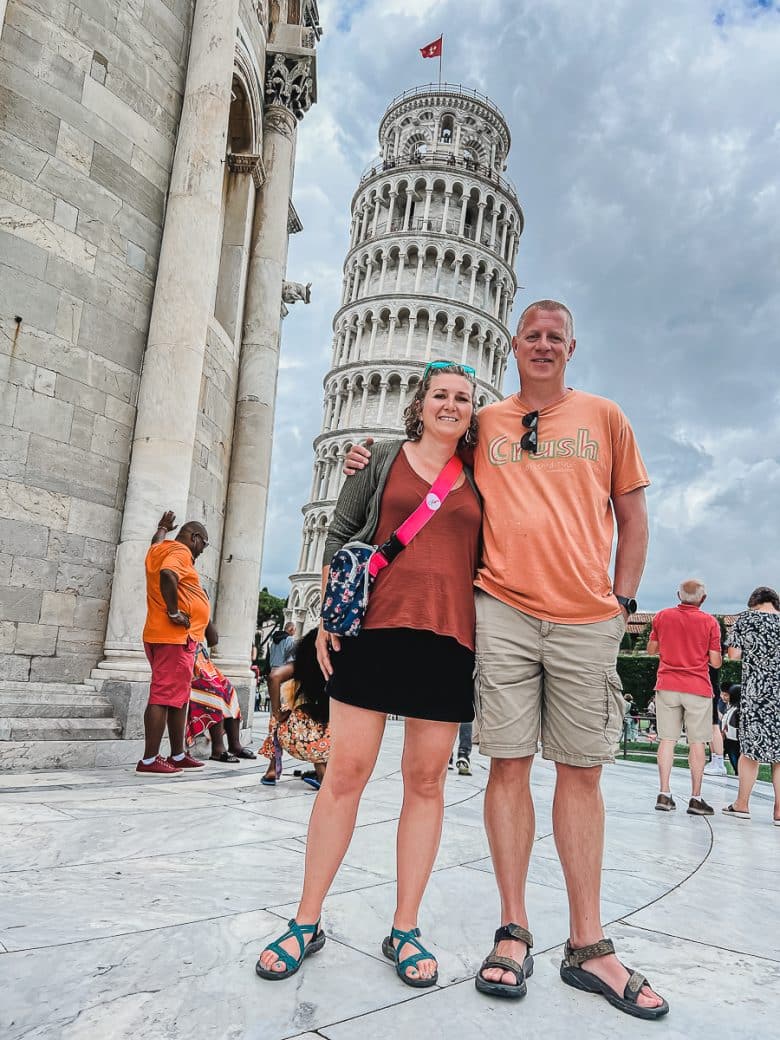
This post really isn’t about our trip, but since my since I have to show off how well my DIY water bottle holder worked, I’ll also show you some trip photos.
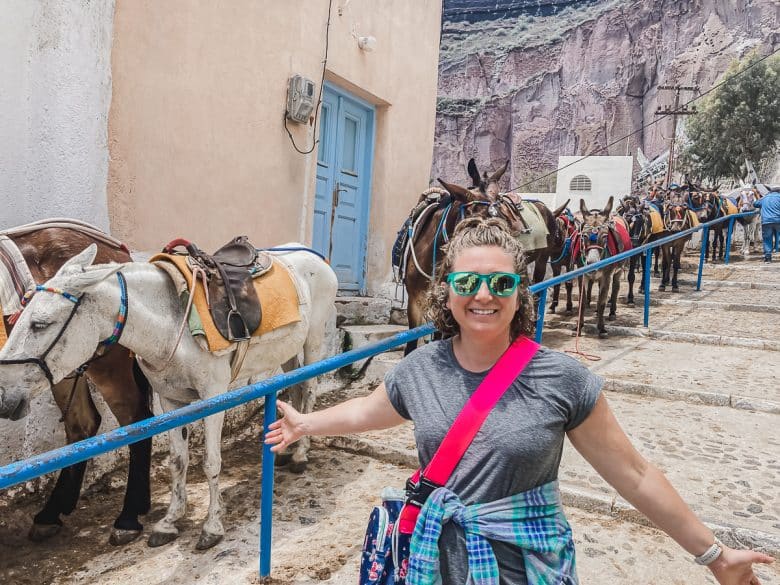
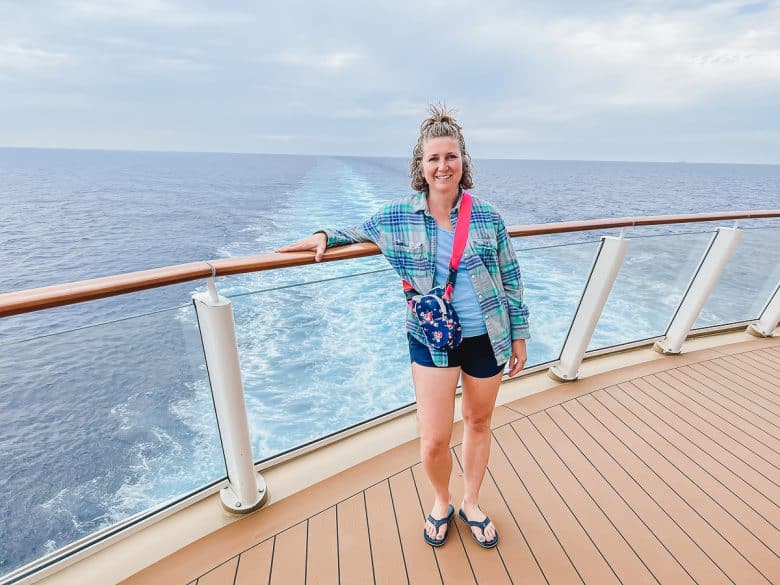
We spent two days in Rome before our trip and then did a nine day Mediterranean cruise. We did three stops in Italy, three stops in Greece and a stop at Malta. As you can see it was all just beautiful and we had an amazing time.
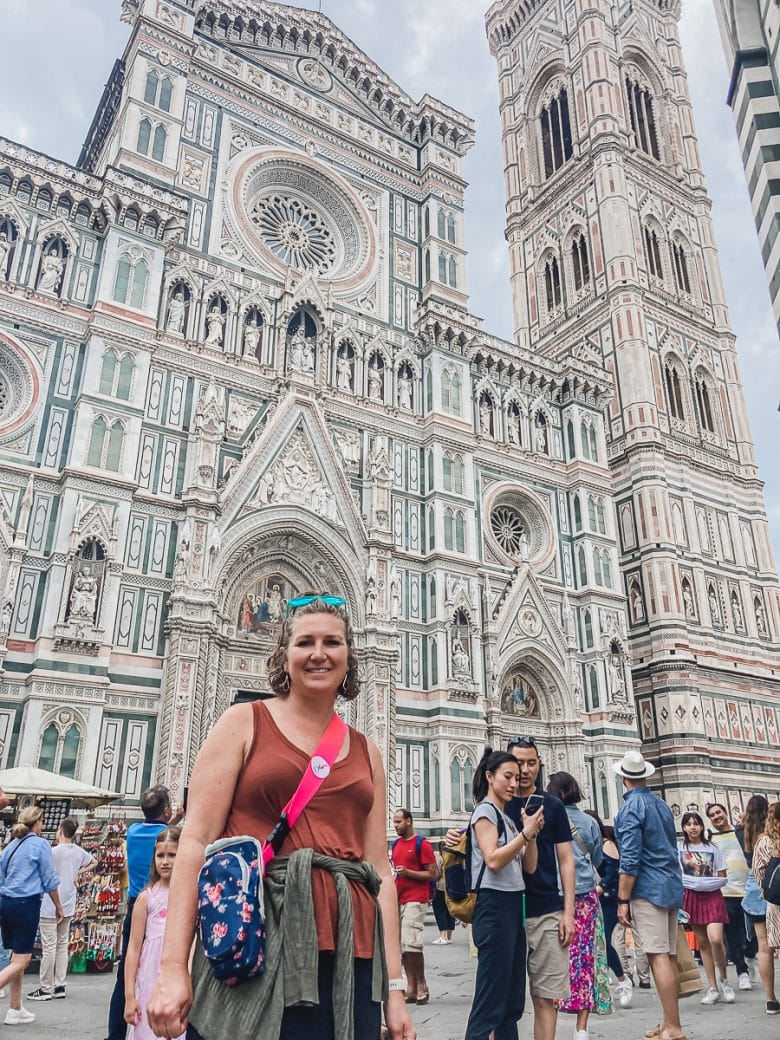
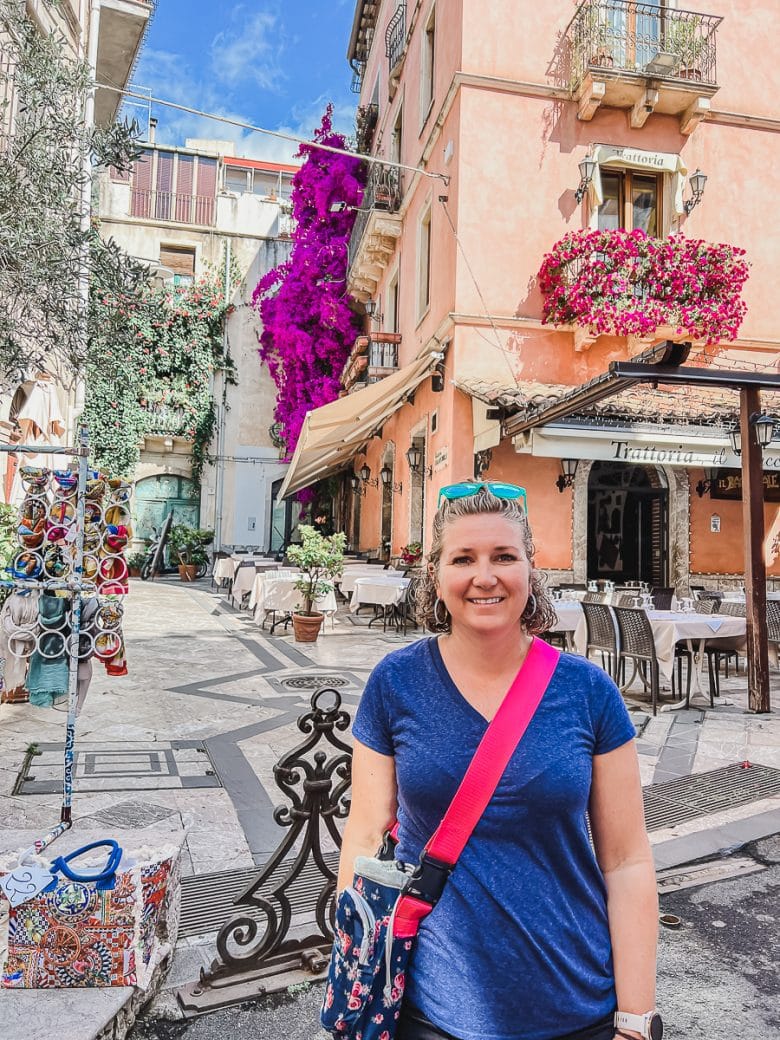
My husband works very very long hours so this time away with him was really a gift.
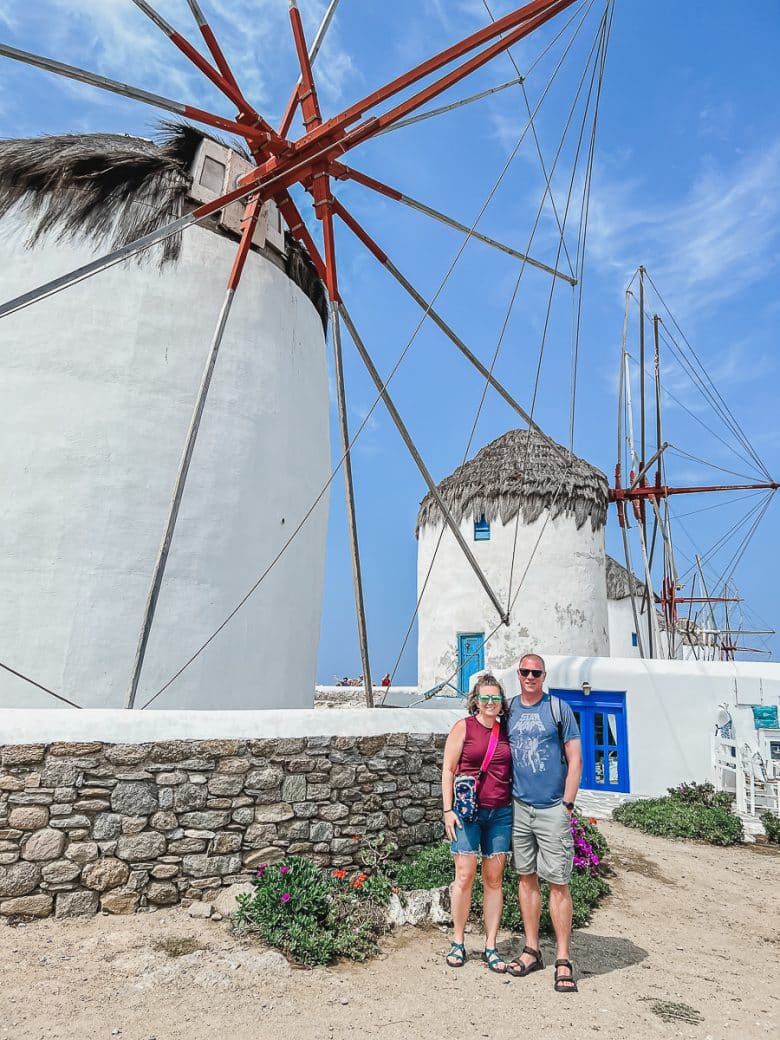
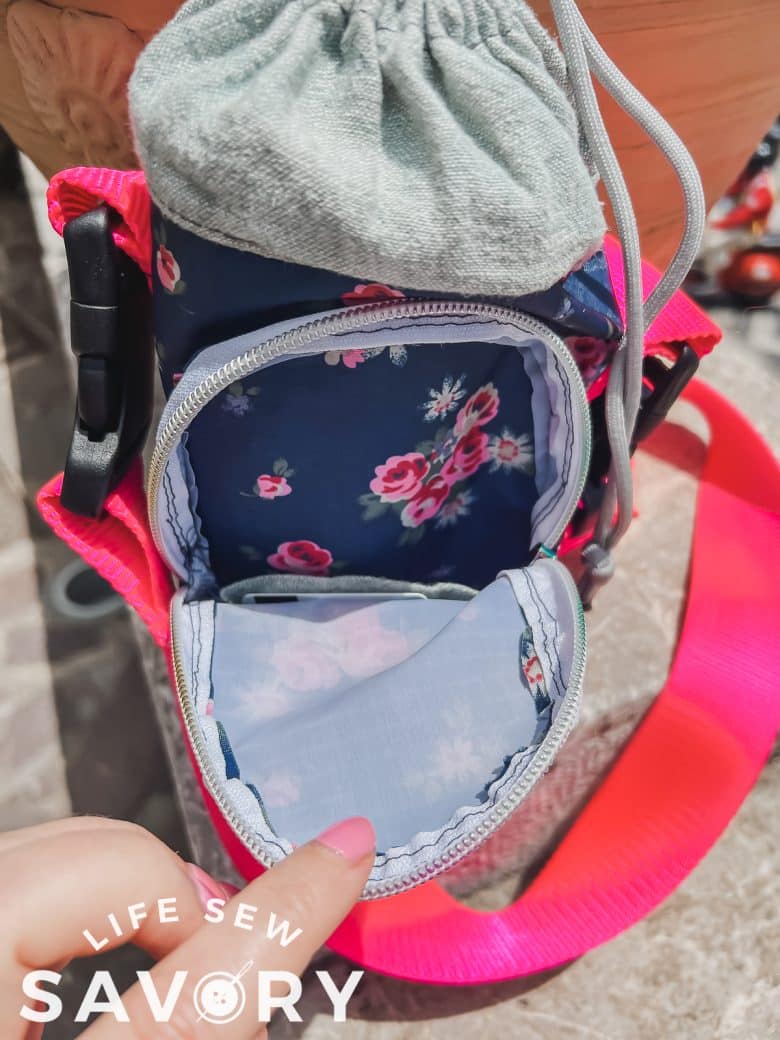
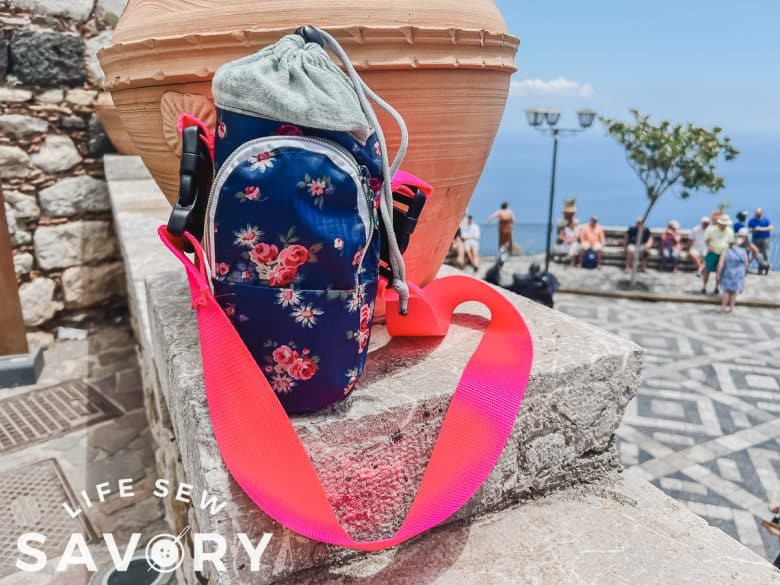
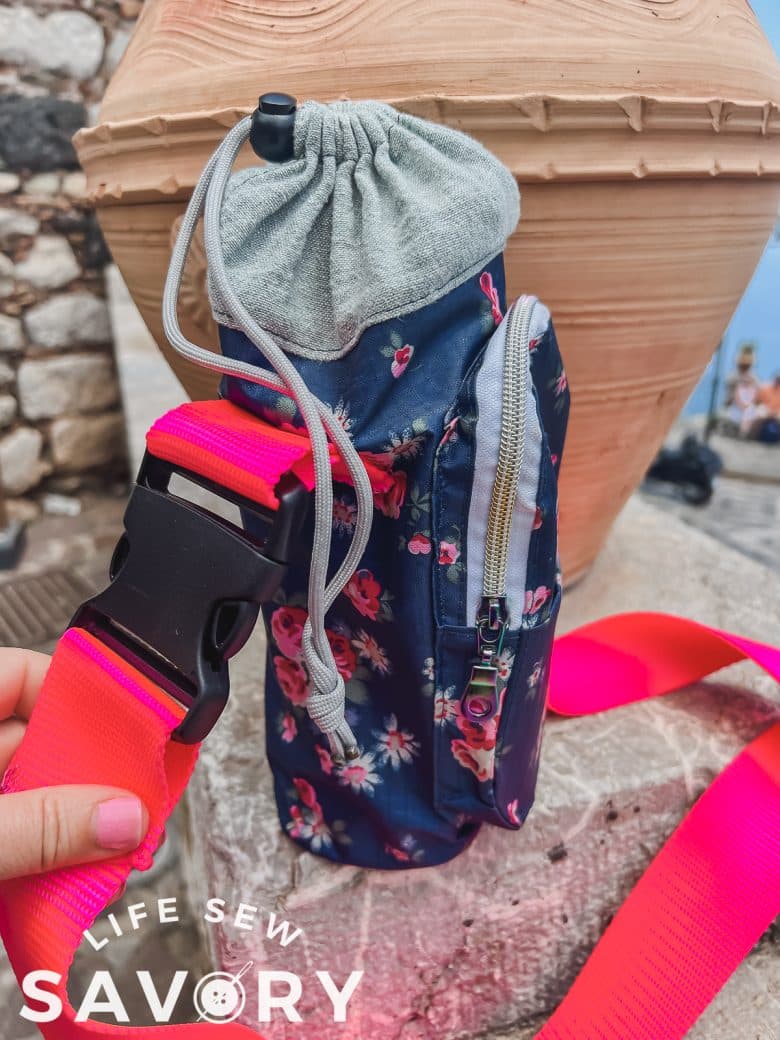
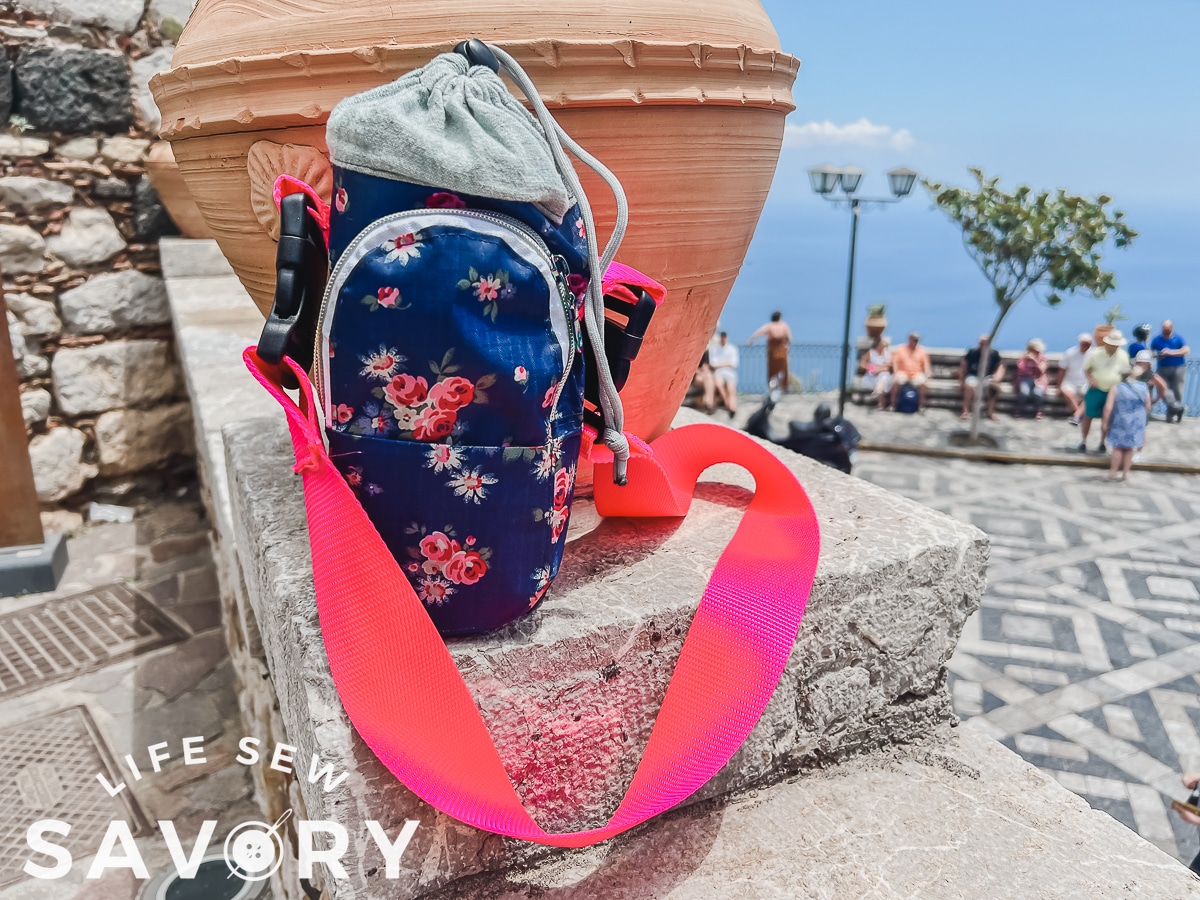
Now that you can see how well I wore it, here are some close ups of just the water bottle/phone carrier. I put a phone pocket with a zipper on the front of the water bottle holder. It had a small slide pocket on the inside for my ID, and a small pocket on the outside for papers or tickets.
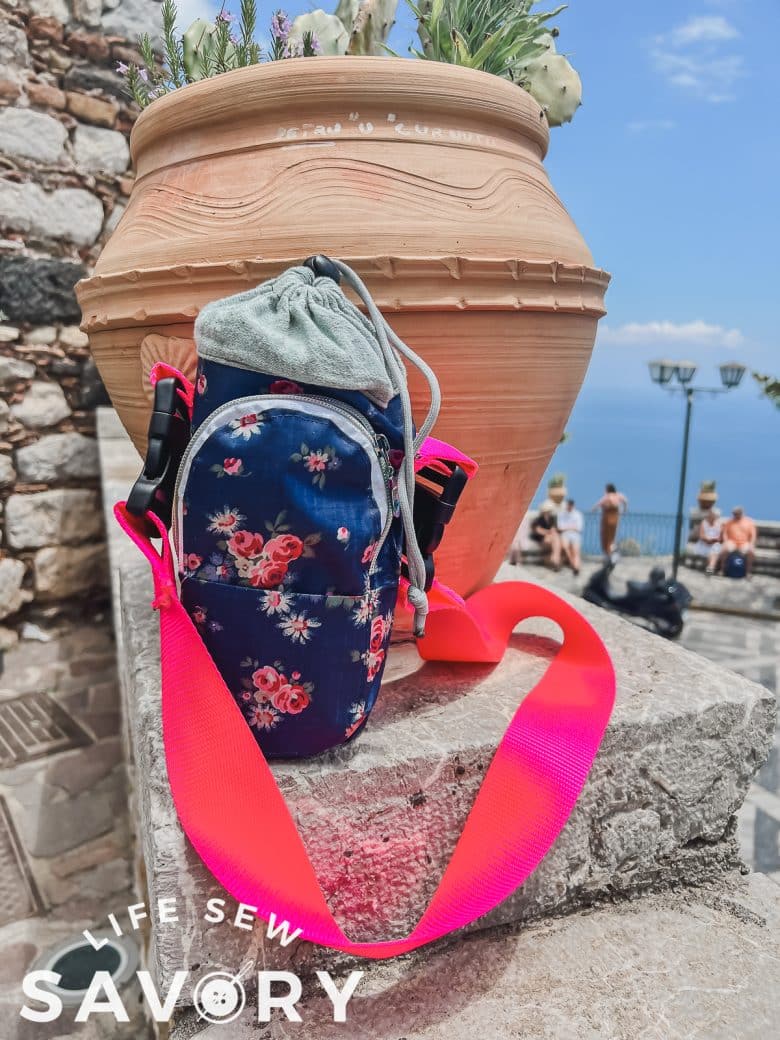
The water bottle pocket is huge! Not too big, but big enough to hold my bottle with straw at home, and these 33oz {1 L} bottles they gave us on the cruise. I also tried out a few other bottles that we have here and they all fit. I’m not going to guarantee everything, but I think most will fit. The top of this pocket closes with a simple toggle and cinch.
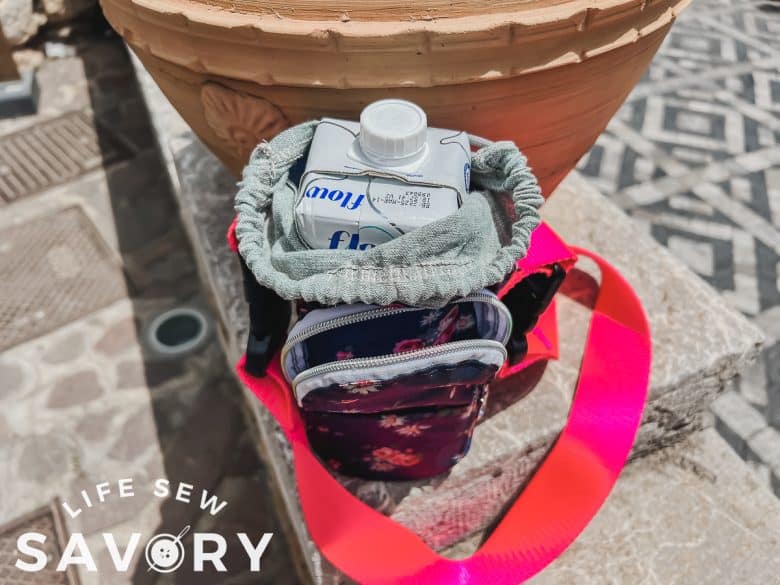
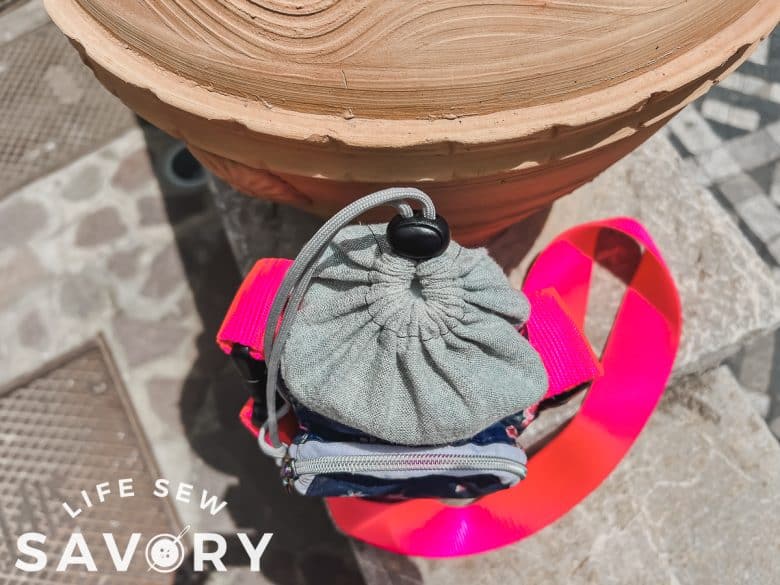
The strap can be adapted for your liking. I had this wide pink strapping on had, so I ordered large buckles and used it. The wide strapping was comfy on my shoulder and because of the buckles I can change out this strap anytime. I may want to sew a shorter on to just carry in my hand for more local adventures. I’ll list all supplies below.
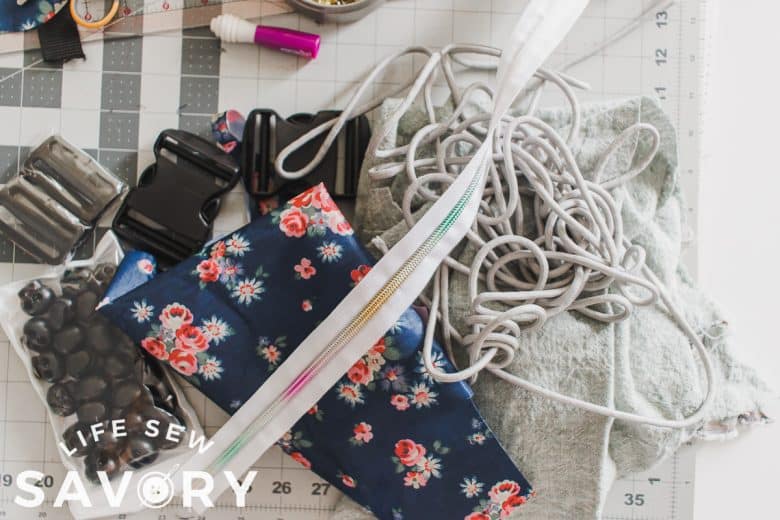
water bottle holder sewing pattern supplies-
- 1/3 yard of fabric with structure. {canvas, waxed rip stop (what I used), light vinyl, etc}
- can also use scraps of other fabric to coordinate.
- 12″ Zipper {I’ve been buying by the yard lately}
- Buckles {use same width as your strapping}
- Strapping 1-2 yards
- Toggle for closing the top
- Cord or shoelace for top tie.
Download the free pdf pattern using the button here:
, How to make a water bottle holder with phone pocket
Let’s Sew! Gather your supplies as listed above and print and cut out the PDF pattern. It only 6 pages and easy to put together. Cut out the fabric as directed on the pattern pieces. I used two different fabrics, but you can also use the main fabric for everything. If you are using a longer zipper or zipper by the yard, cut it to 12″.
All seams 1/4″ unless otherwise stated.
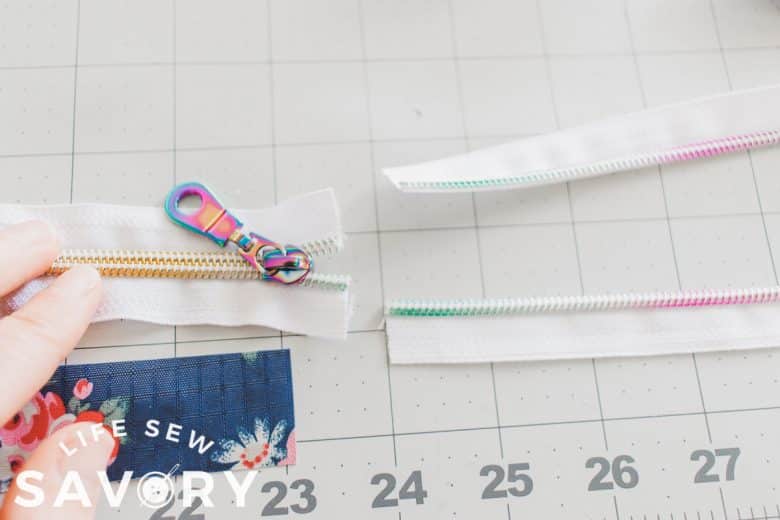
Sew the zipper facing/guard to one side of the zipper. Flip the fabric open and topstitch.
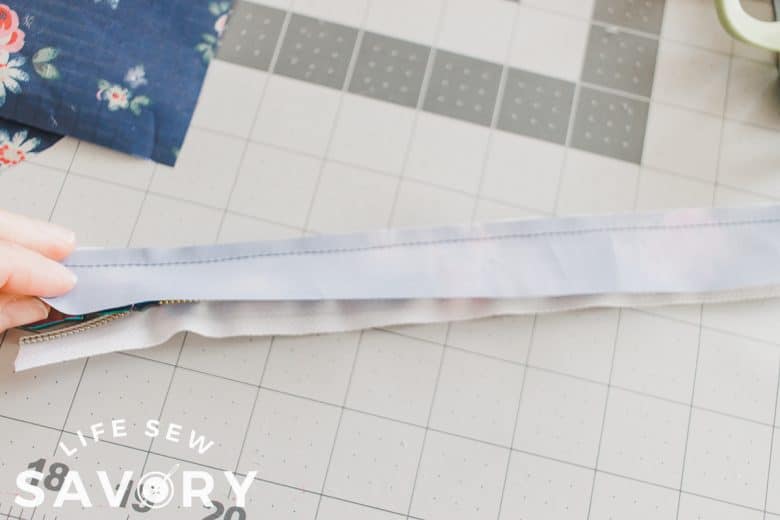
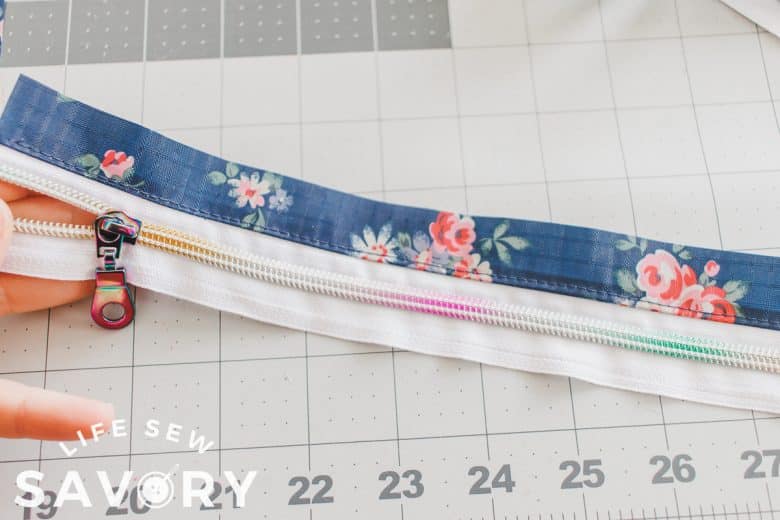
Now sew the pocket bottom to both sides of the zipper/facing piece. You should create a circle. Fold open the seams and topstitch.
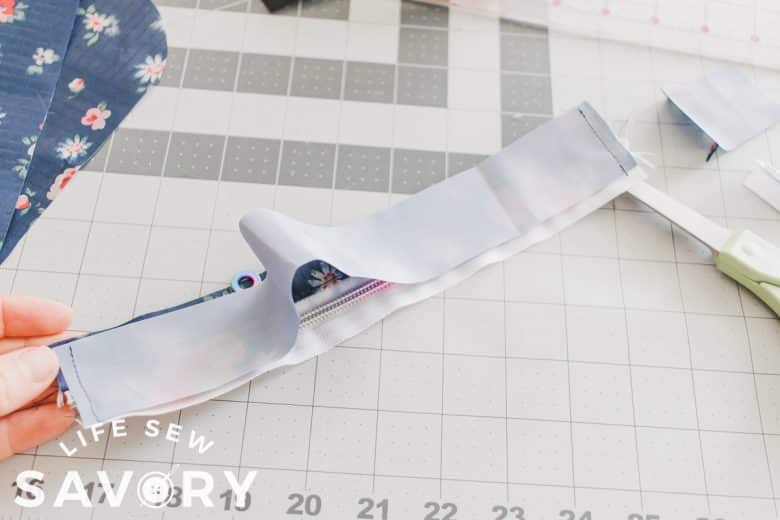
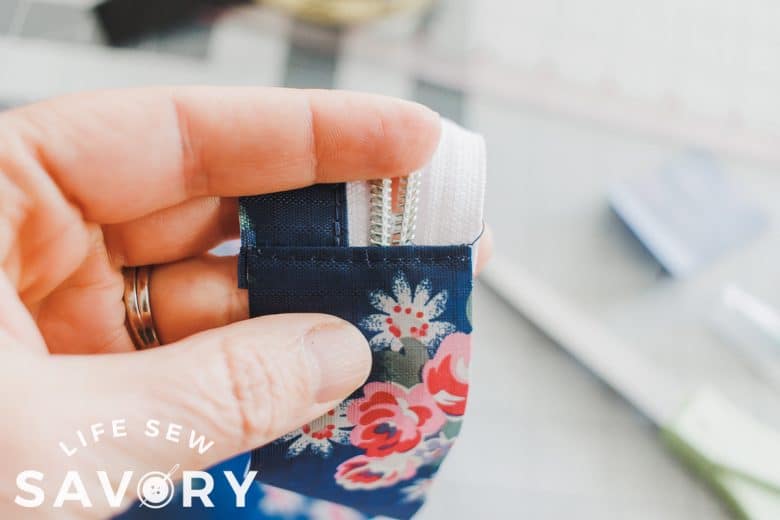
Prep the outside pocket by taking one of the ovals of main fabric and fold it in half.
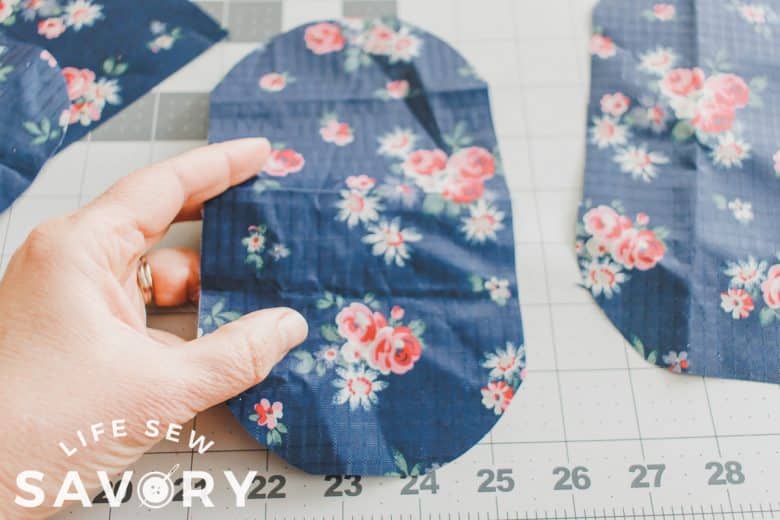
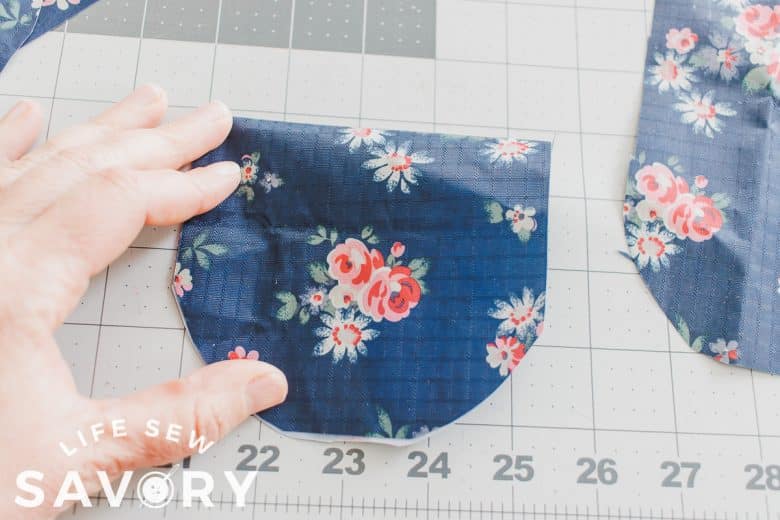
Place along the bottom edge of the other main pocket piece and baste in place. The top of the pocket should be the fabric fold.
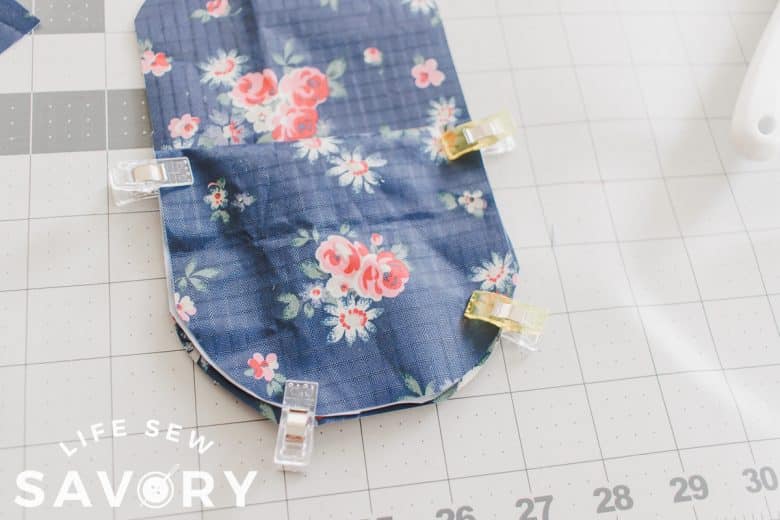
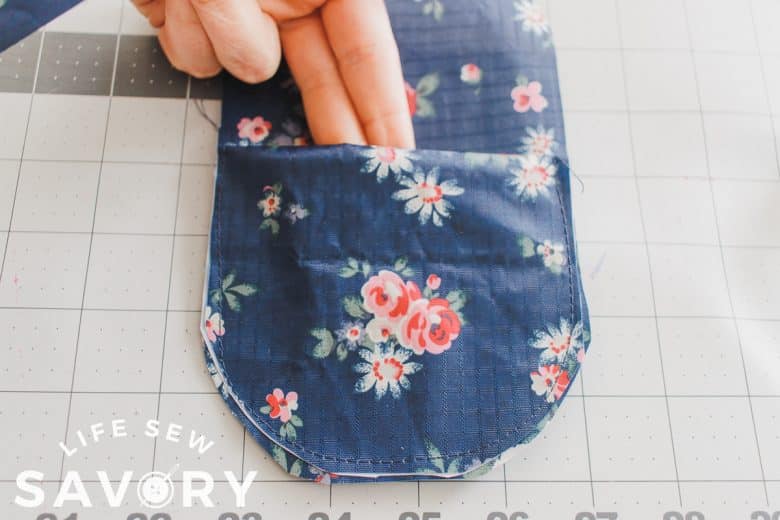
If you want an inside pocket, fold the third pocket piece {I used a lighter fabric} and baste to the backside of the main pocket piece.
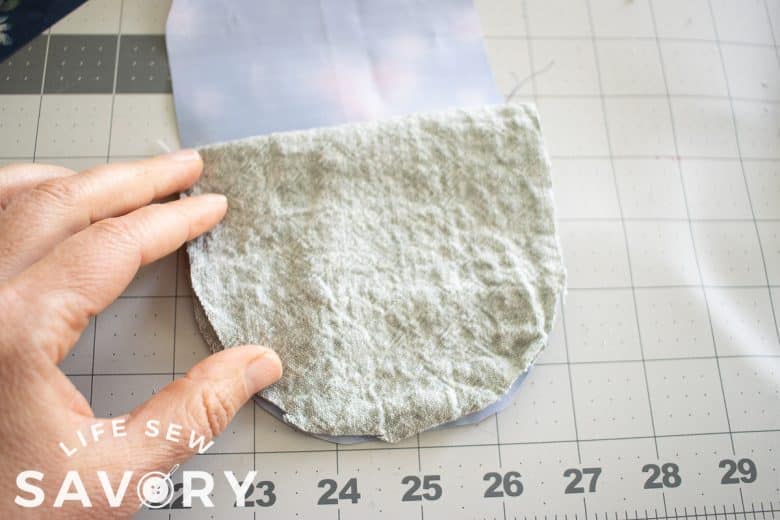
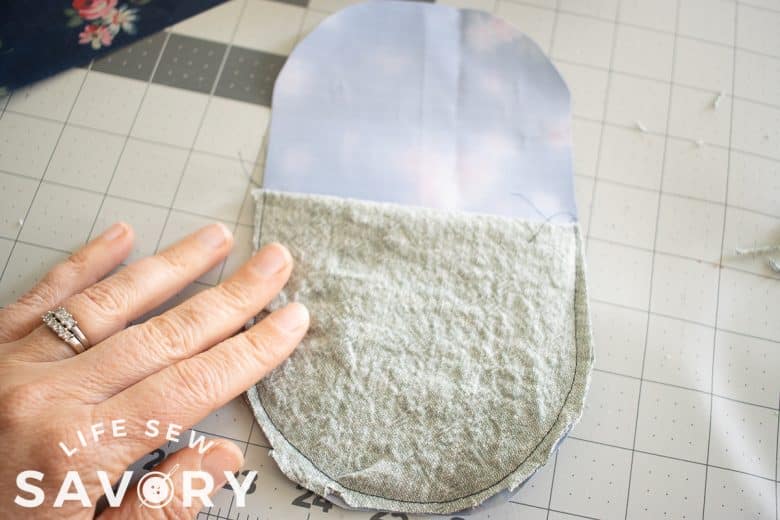
Line up the ends of the zipper, then find the center of the pocket bottom and the center of the zipper, mark. Fold the pocket like a hot dog bun and mark the top and bottom center as well.
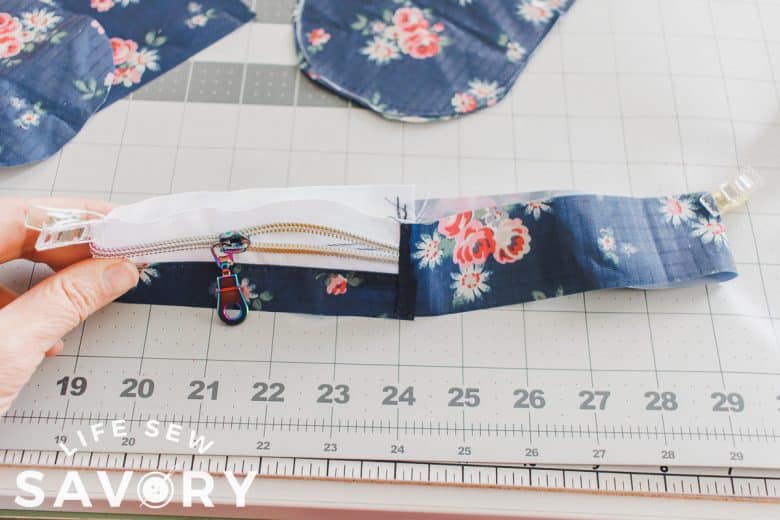
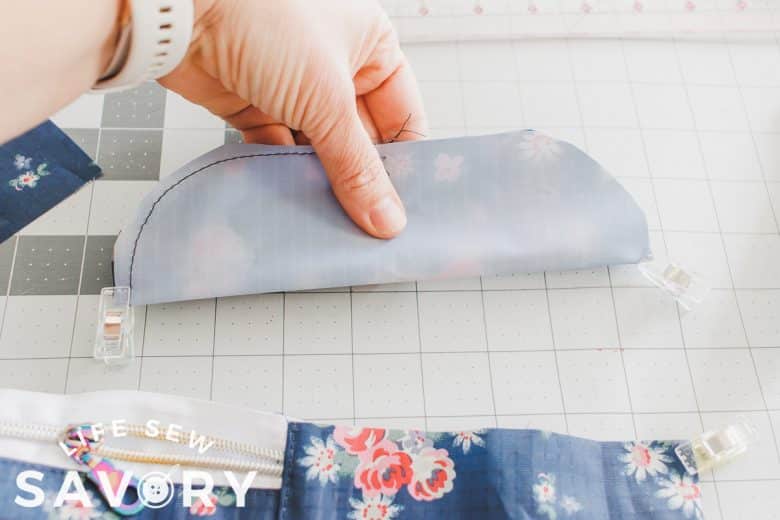
Match the center of the zipper and the center of the pocket and pin/clip your way around.
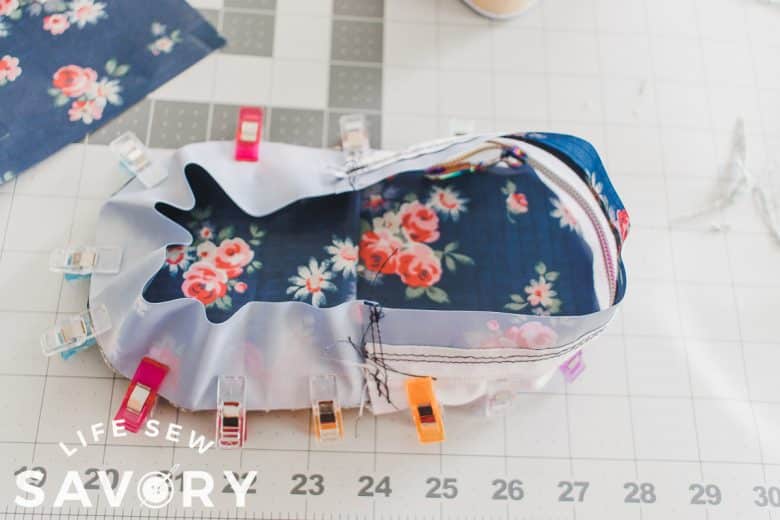
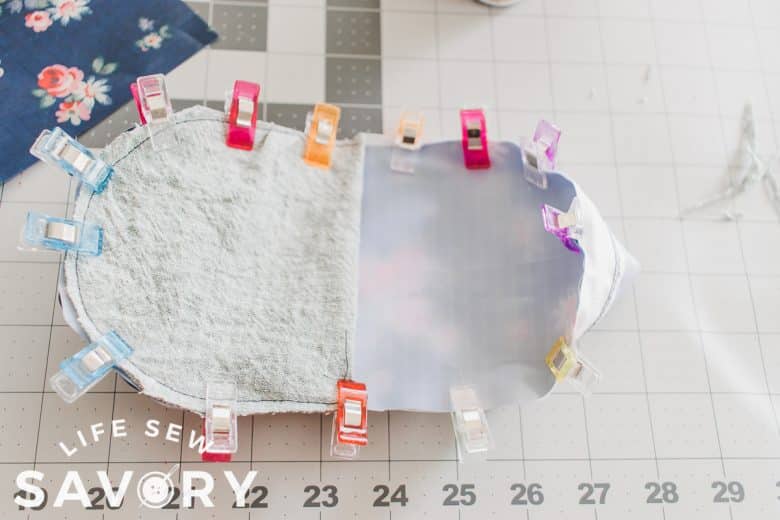
Sew all the way around easing the corners and curves. Turn right side out and press the seam allowance towards the pocket front.
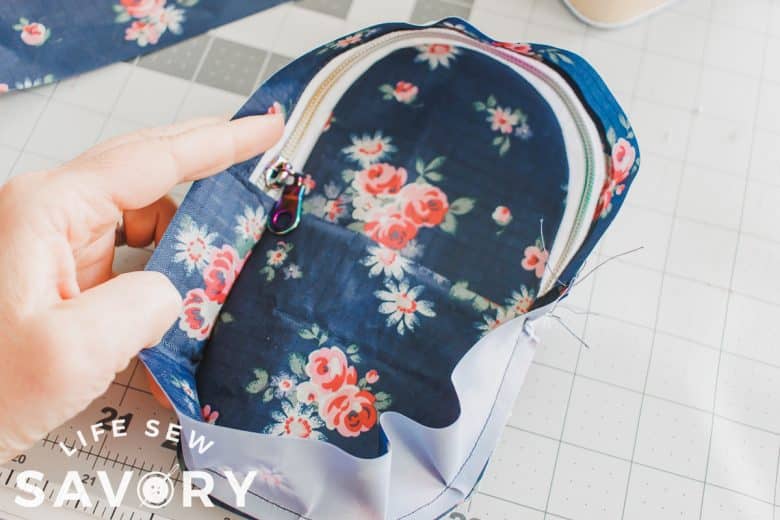
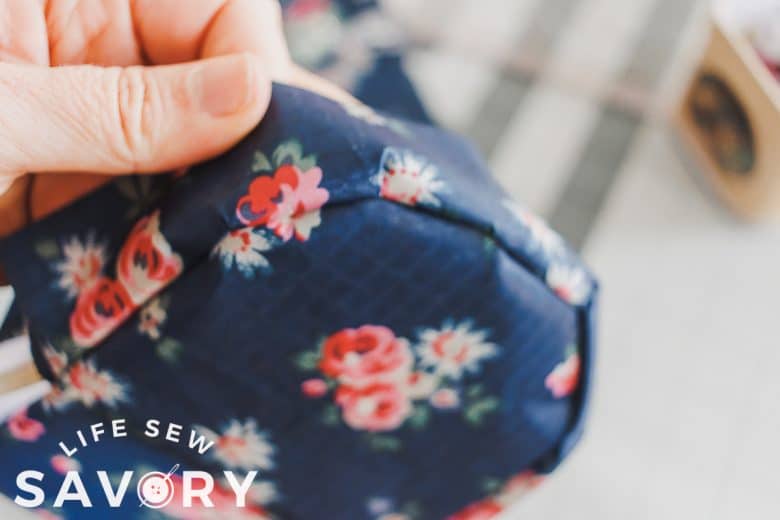
Optional: topstitch the seam allowance to the front of the pocket.
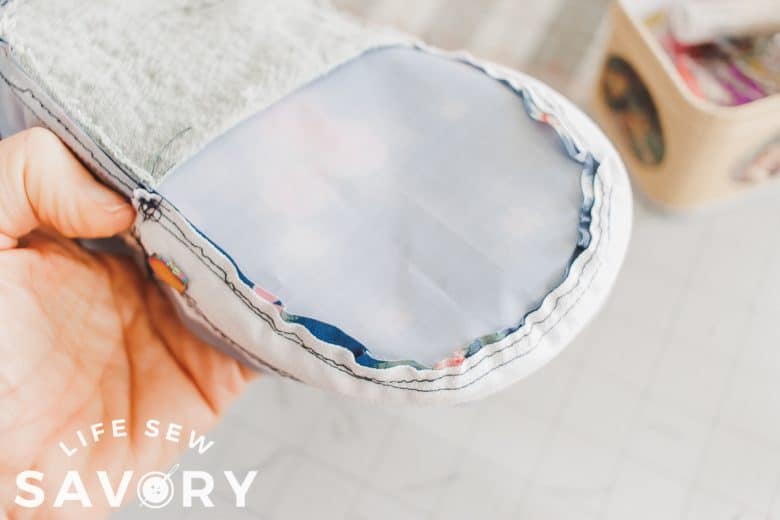
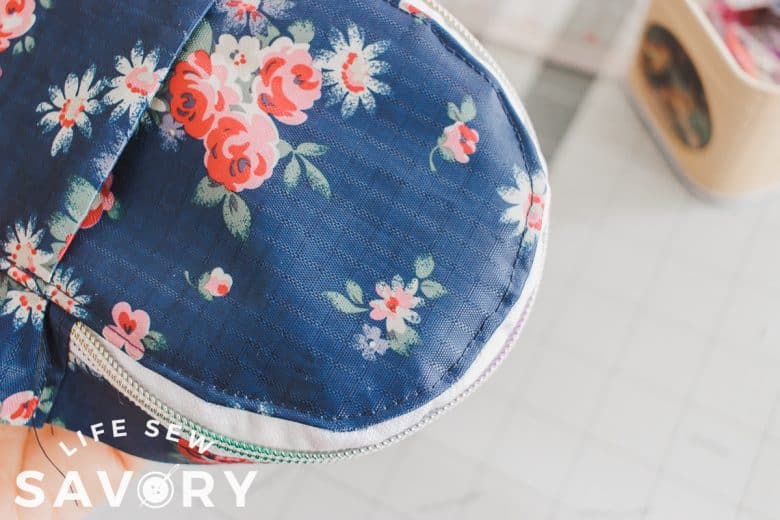
If the fabric you are using for the cinch top is one that can fray, finish all four sides with a serger or zig zag. Fold in the two short sides about 1/2″ and press or pin.
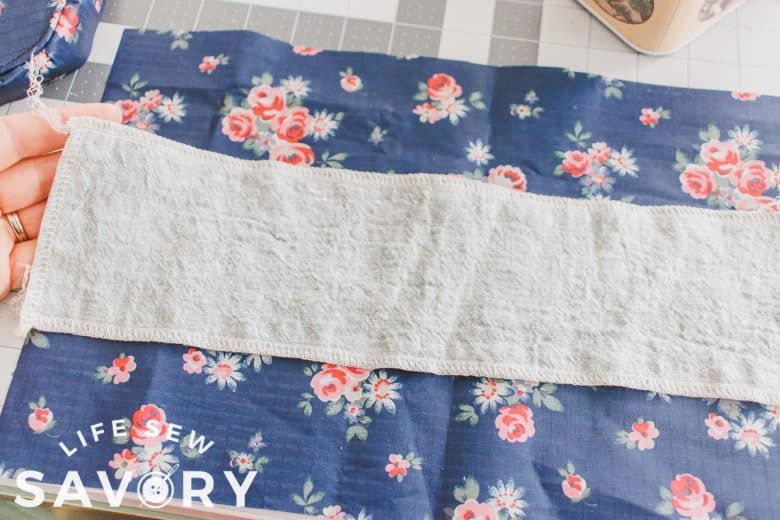
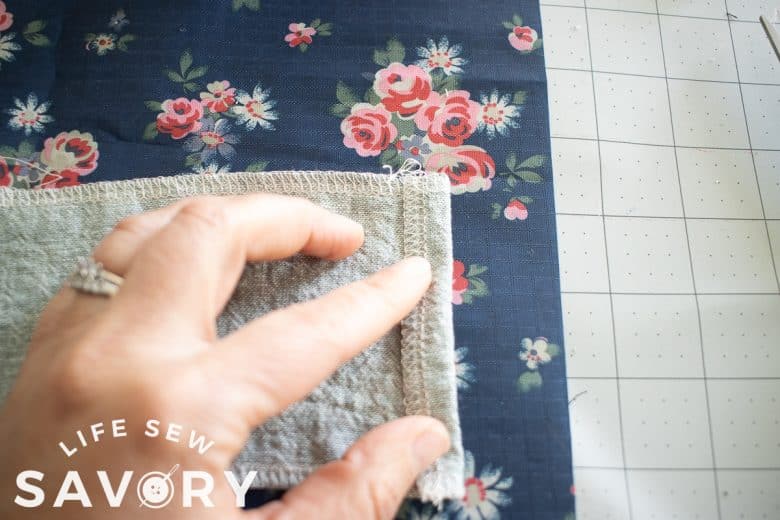
Fold over the top of the rectangle {this will be the cord casing}. Fold it over about 3/4″ and pin or clip. Sew on the edge of the fabric farthest from the fold to create the casing. Make sure the short end folds remain.
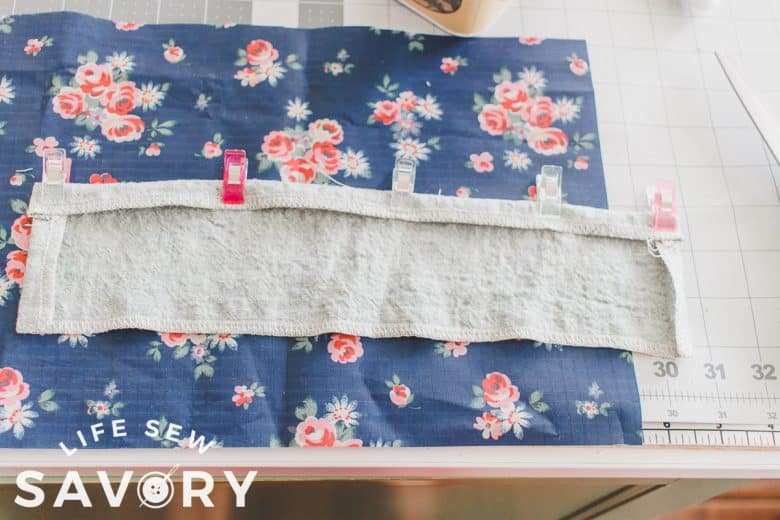
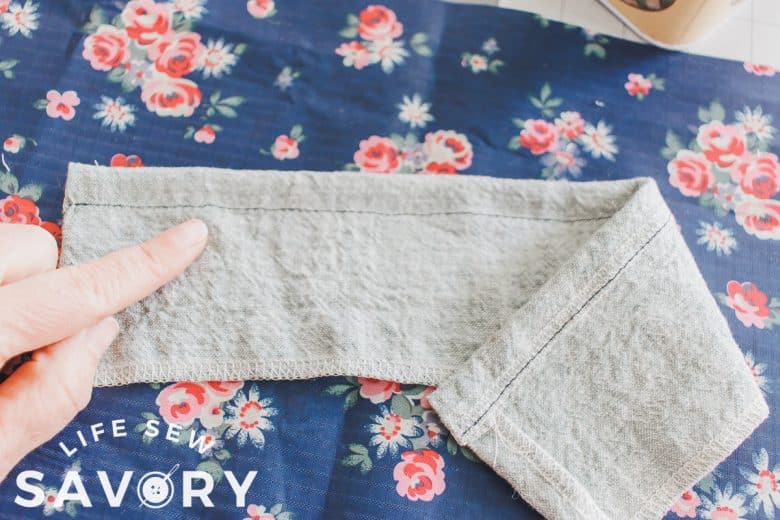
Start at the bottom of the casing and sew down the short side fold on the cinch top. Place the other long side on the top of the water bottle holder. Center the cinch top {there should about 1/2″ on either side open}.
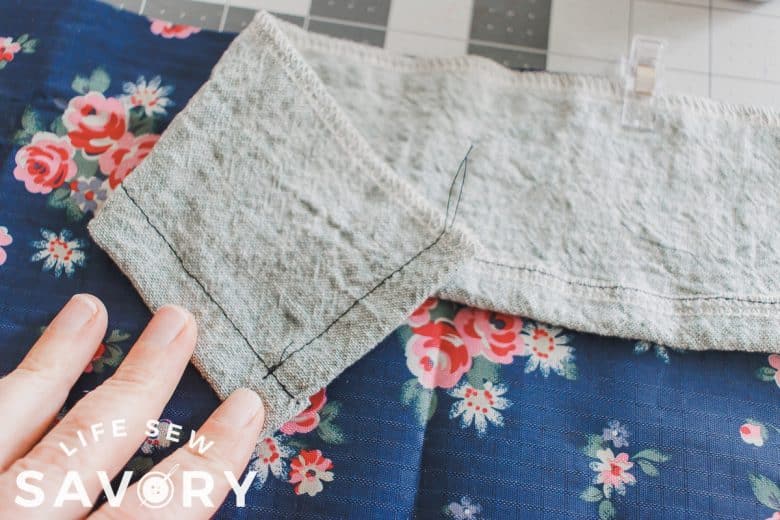
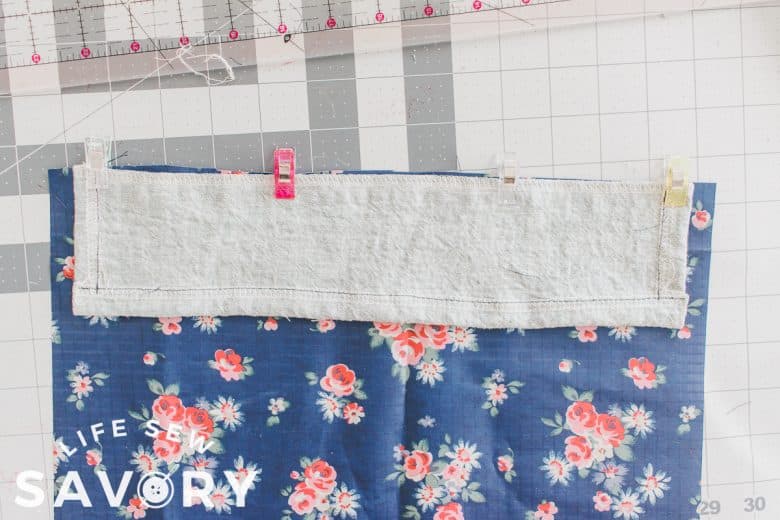
Sew the top of the bottle holder, then fold open and topstitch.
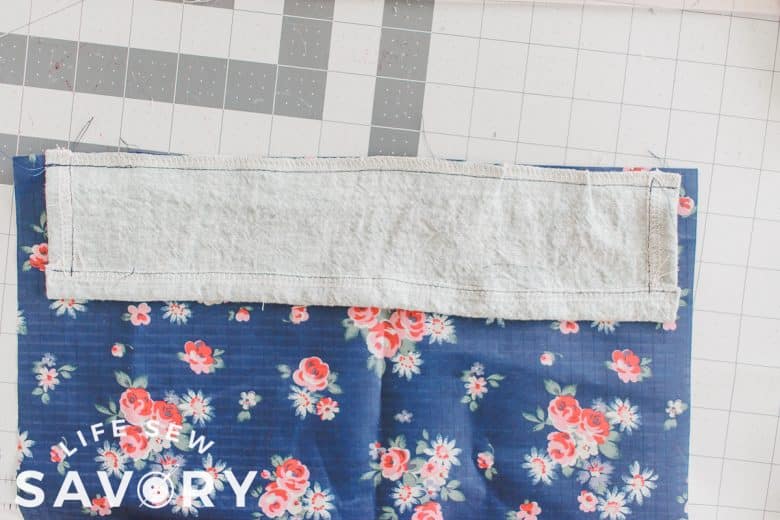
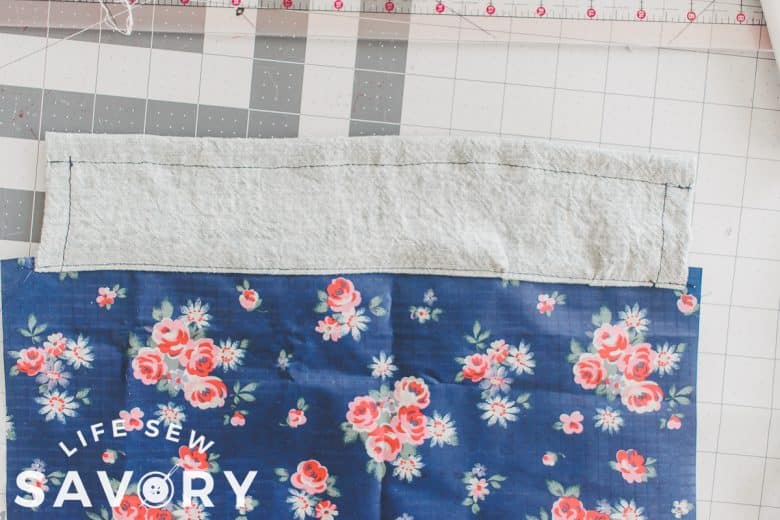
Find the center of the water bottle holder.
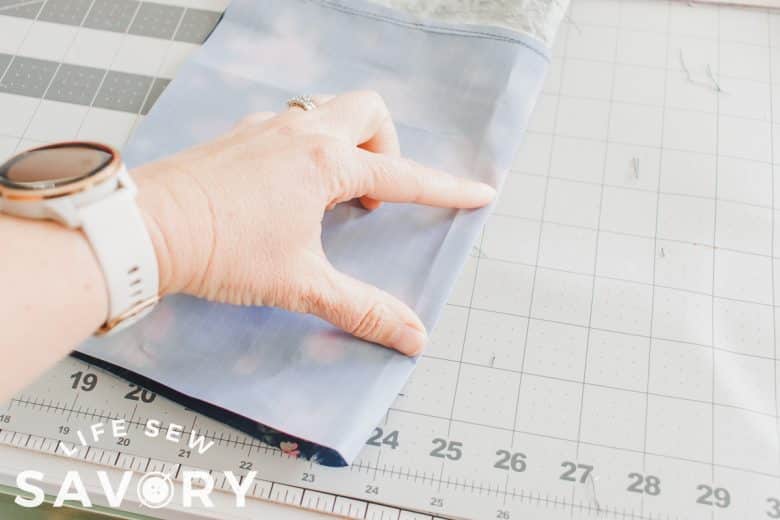
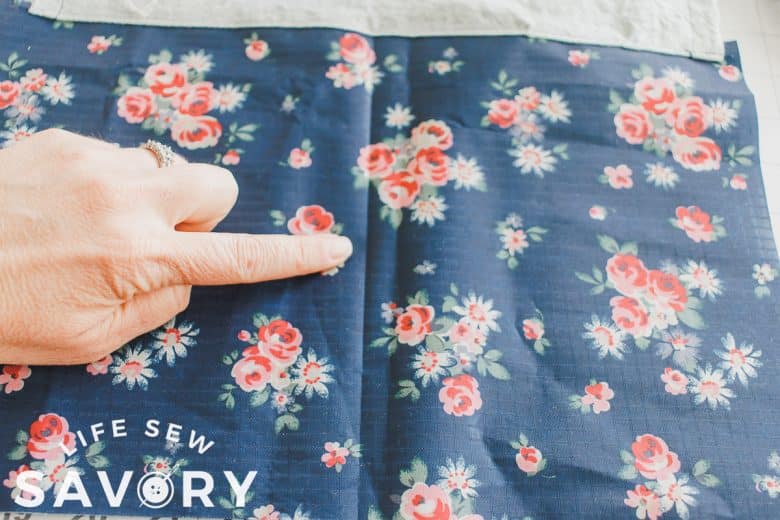
Place the phone pocket on the center marking. Keep at least an inch of fabric at the bottom of the main fabric open. We will be folding under edge of the pocket and pinning it to the main fabric. If you want to add an inside key holder, don’t pin yet.
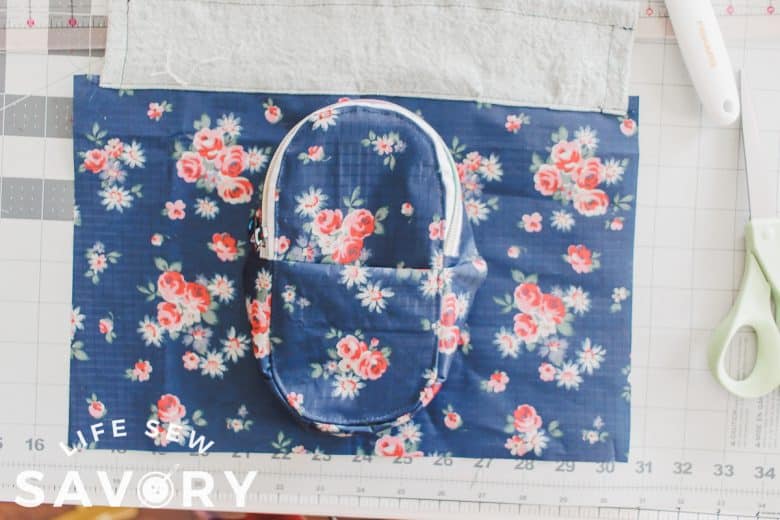
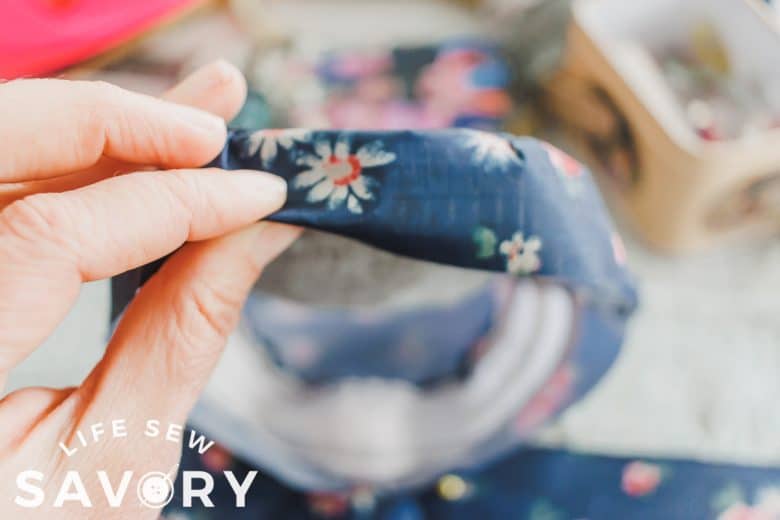
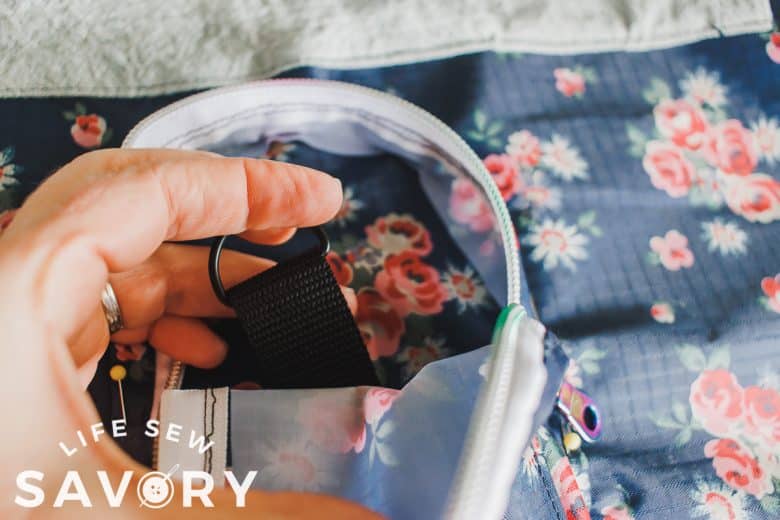
Mark where the bottom of the pocket will be, then take 1″ strapping 10″ long and a D ringn through the center. Place the cut ends inside where the pocket will cover.
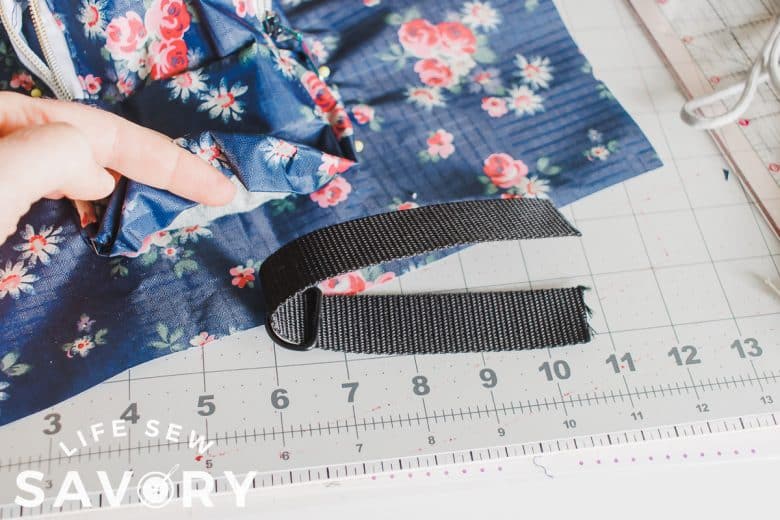
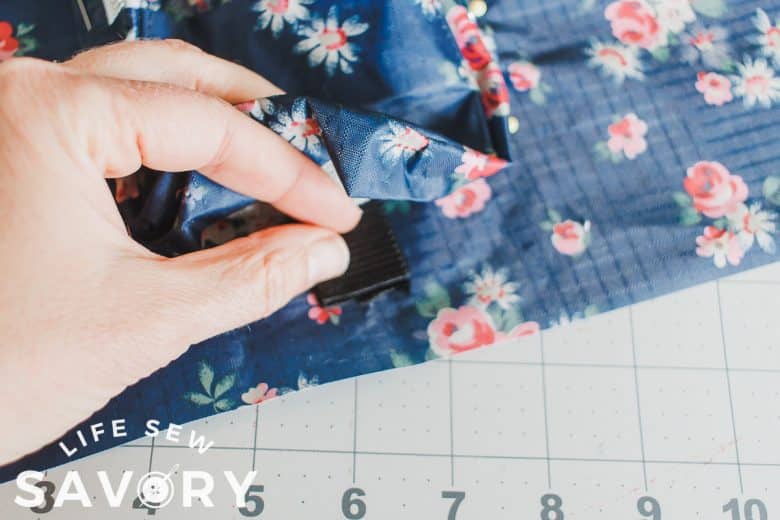
Sew with a zig zag back and forth over the ends of the strap to secure. When the pocket is sewn on this will be covered and you will have a place to clip in keys or other items you want to secure with a clip.
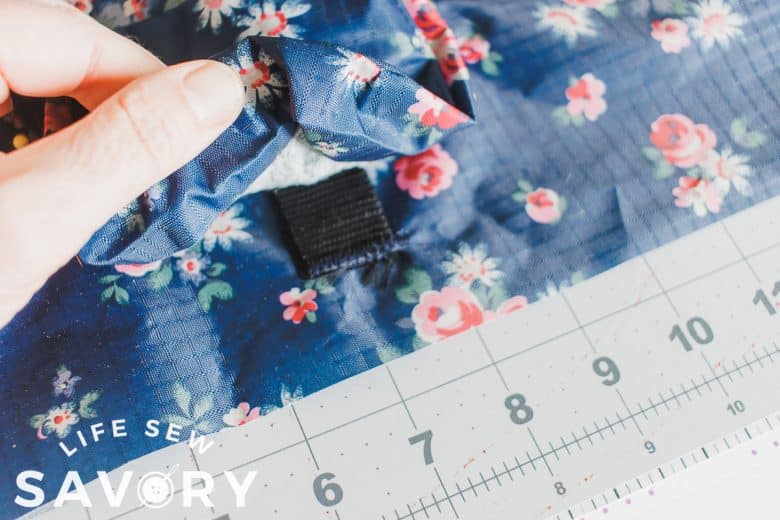
Fold under about 3/8″ and pine all the way around the side of the pocket to the main fabric. Ease in the corners and curves.
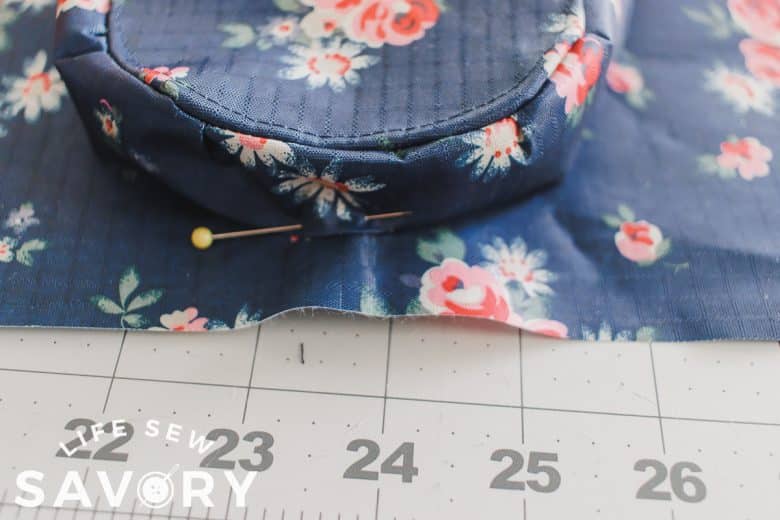
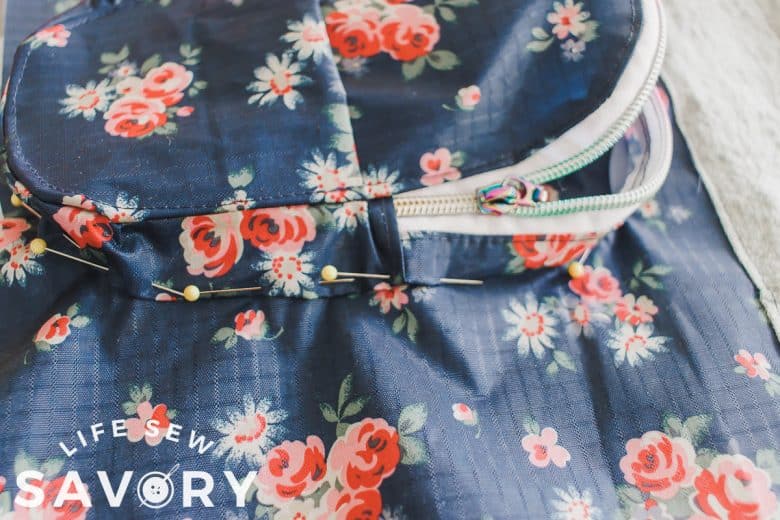
Pin the edges to the backing going straight down. It’s easy for these edges to flare out, but try to keep the shape of the pocket. It’s a little tricky with all the fabric, but flatten the pocket and slid one edge into your machine. Sew slowly on the right side of the pocket edge to secure it to the back main fabric.
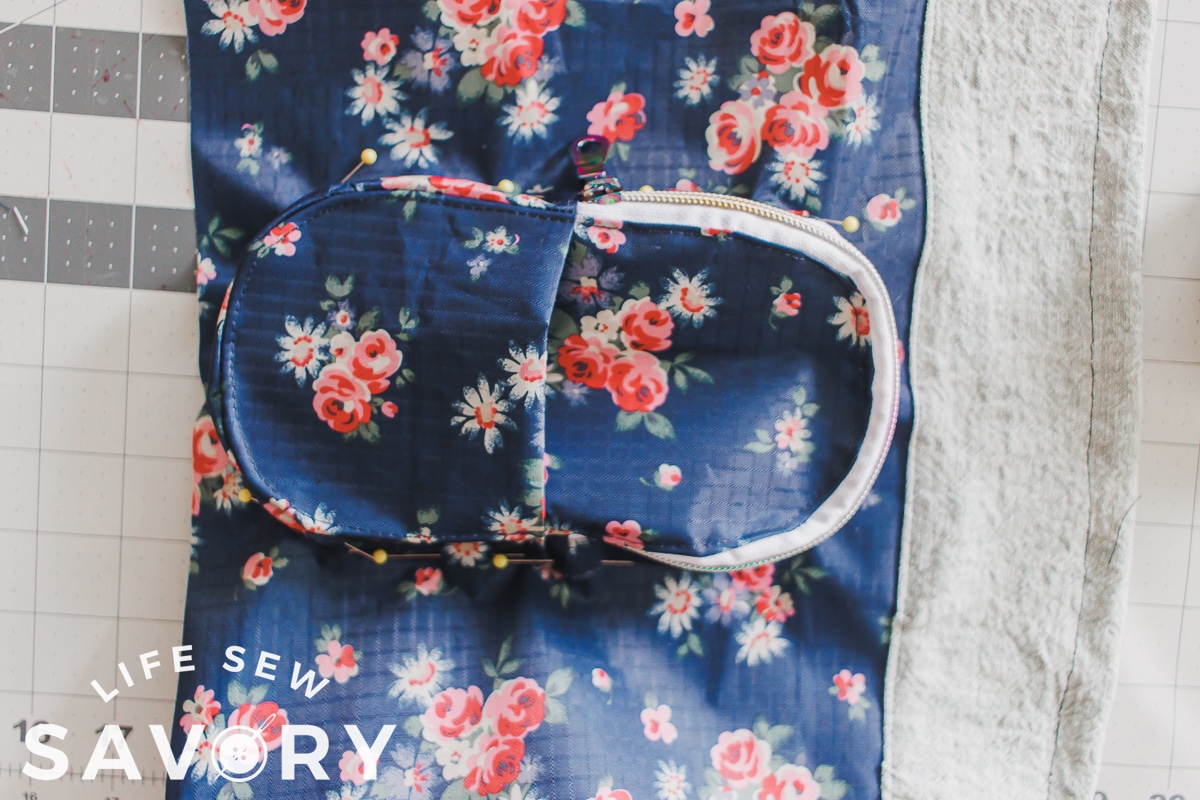
After the pocket is sewn on, fold with right sides together {pocket on the inside} and pin or clip the back seam. Sew to create a circle. Now we will add the bottom of the water pocket.
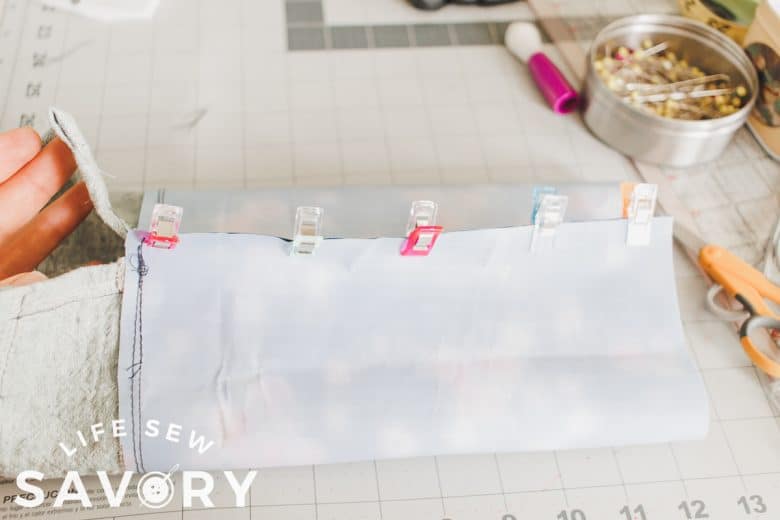
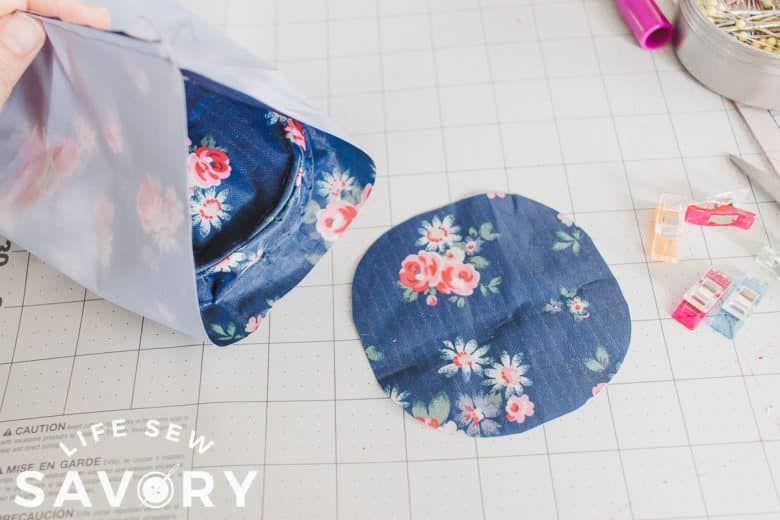
Carefully pin or clip in the bottom circle. Ease around the curve, make small puckers if necessary to pieces together. I sewed with a straight stitch, then over that with a zig-zag to reinforce.
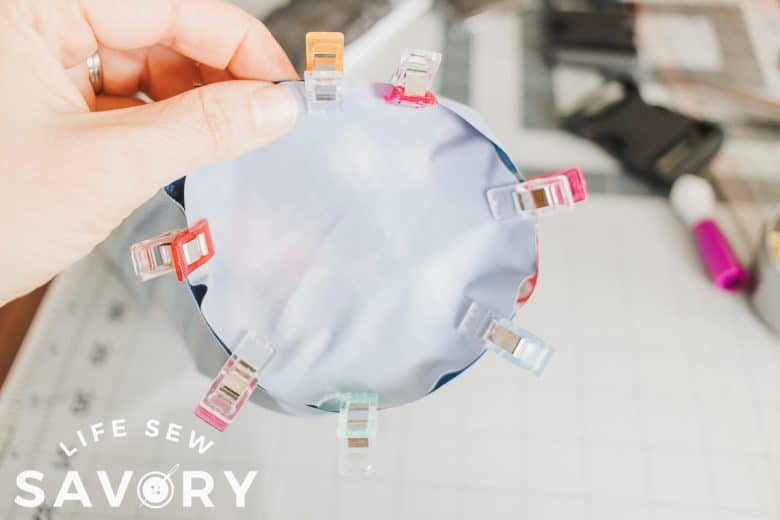
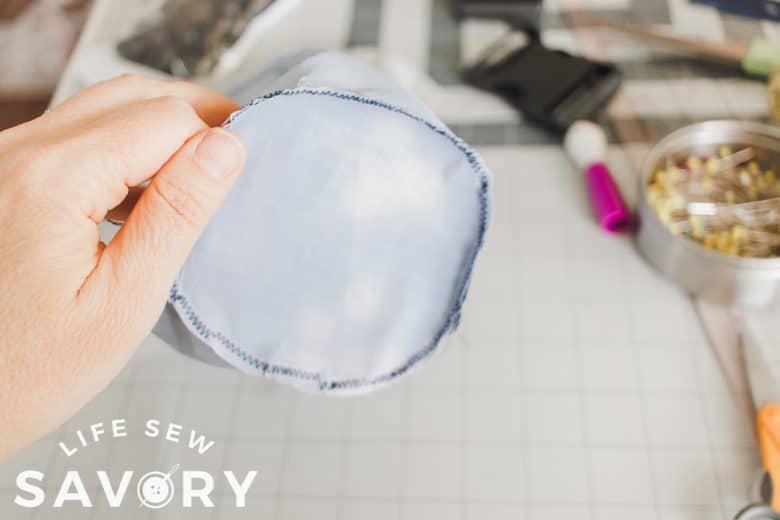
I had already measured our water bottles {a few types} but at this point I did a quick check to make sure my favorite fit!
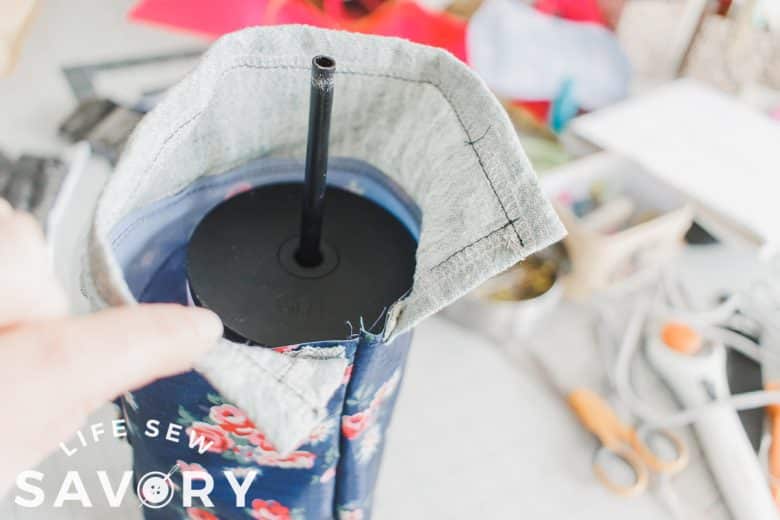
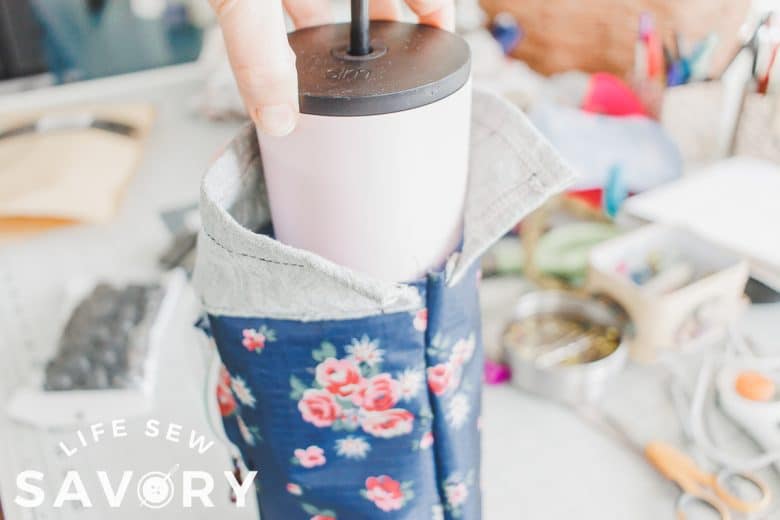
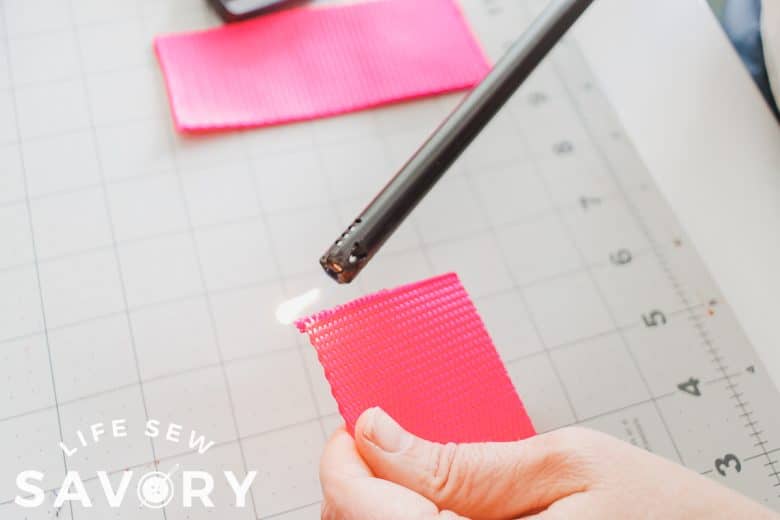
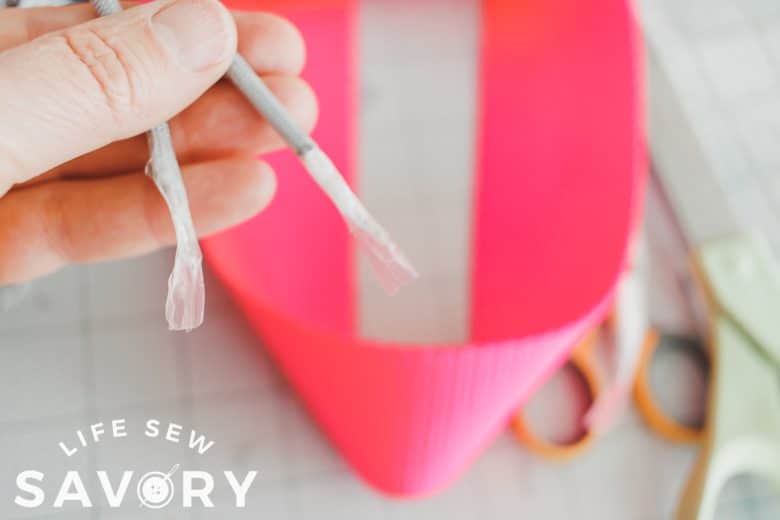
Cut 2 – 5″ long pieces of strapping. Use the same strapping you will use for your shoulder strap. After cutting I like to burn the edges to finish. Match up the cut ends with a buckle in the middle.
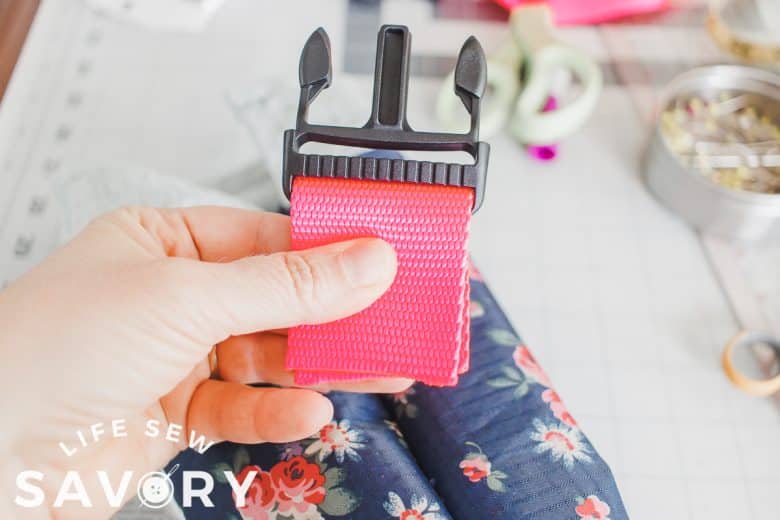
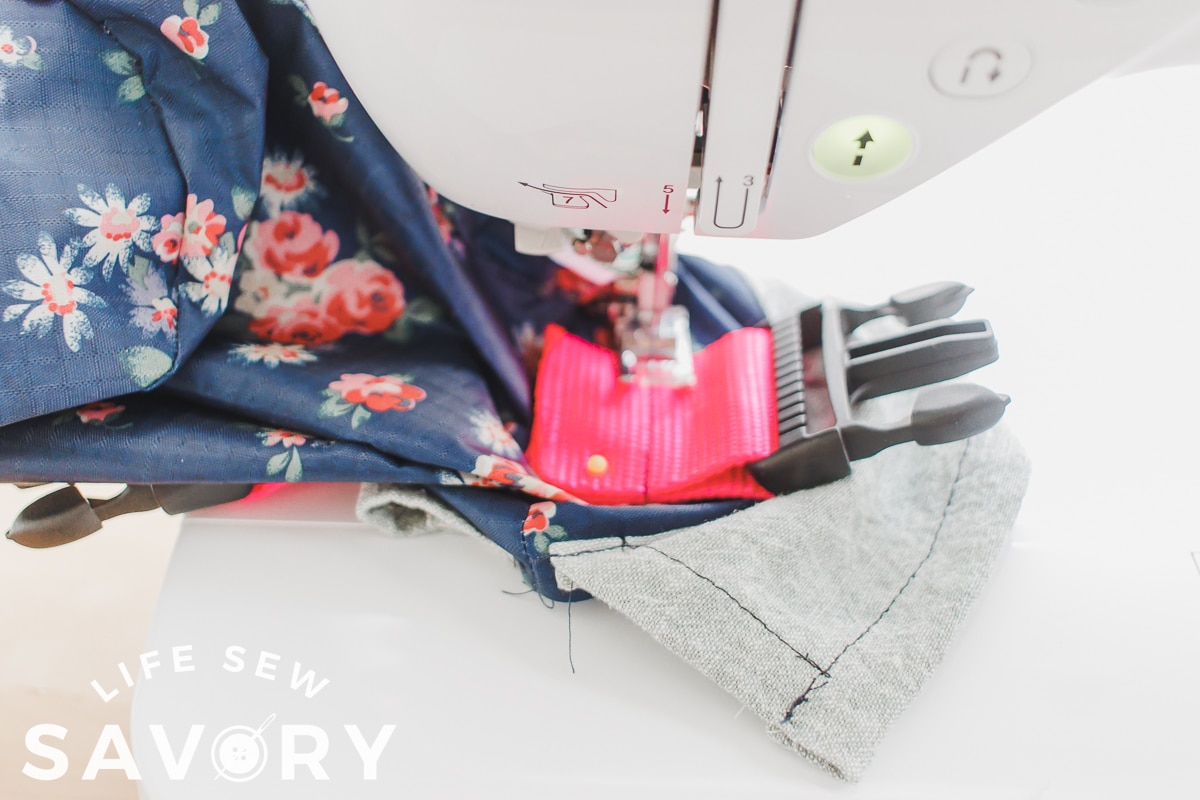
Place on the side of the bag and pin. Shove again in your sewing machine and stitch. I did a zig-zag on the cut ends and a straight stitch back and forth about 1″ above that.
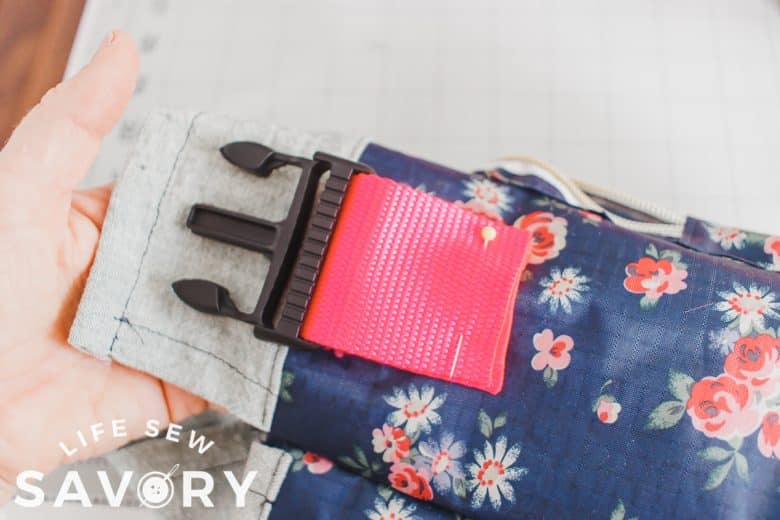
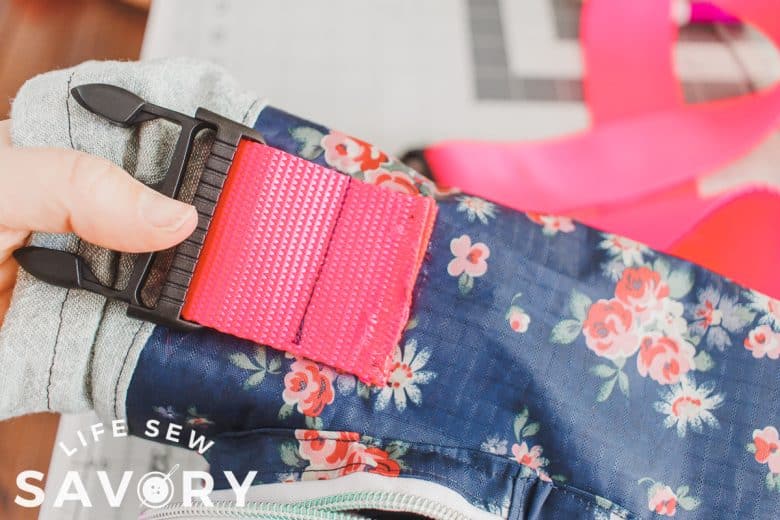
Sew the buckles and strap on both sides. Create a long strap to go over your shoulder. Measure to your liking and sew the ends to the other sides of these buckles. You can make a slide strap for adjustability or just one length.
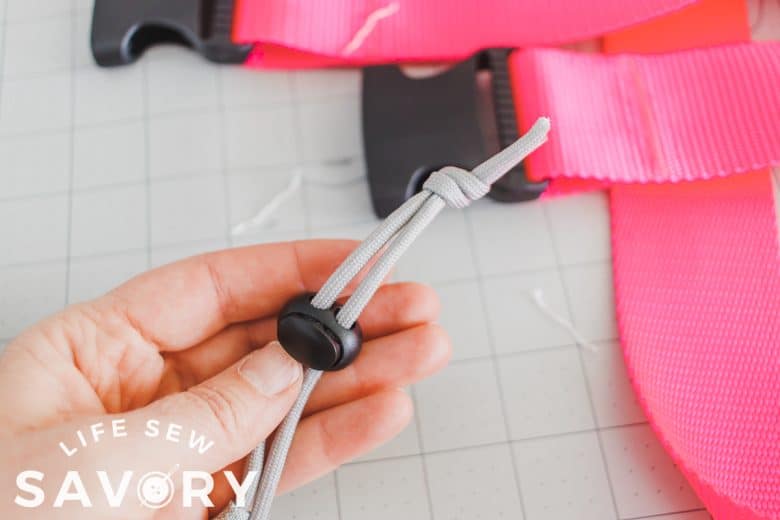
Thread one end of some cording through the top cinch casing. Then place both ends through the toggle.
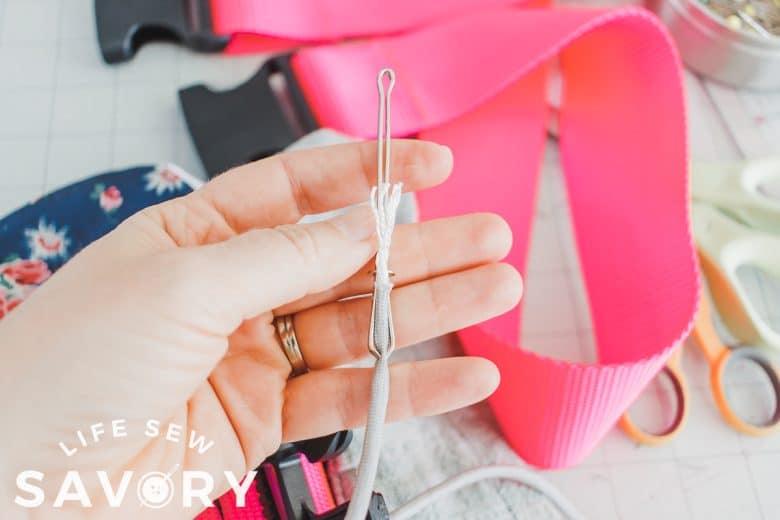
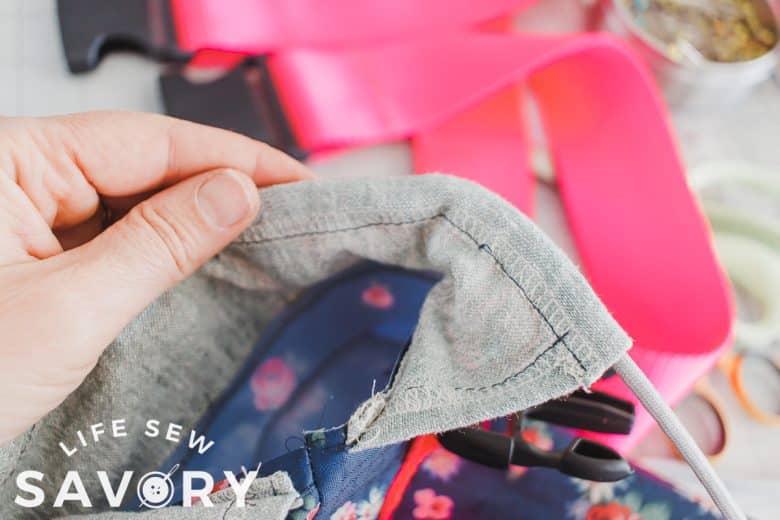
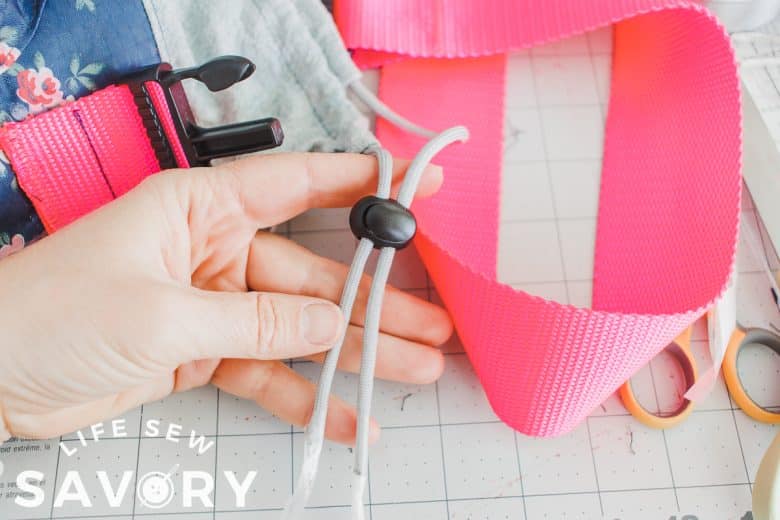
I had to put some tape on my cord to get it through the toggle. I finish the raw ends of the cord with fire as well then knot together.
That’s it! Now you are ready for all the adventures life brings and you will always have water with you! Share photos and tag me on socials @lifesewsavory. Can’t wait to see what you make!






Gloria Chu says
Great idea! What are the finished dimensions, especially the diameter of the bottle base? There was no test square on the pattern. Thanks!
Emily says
Print at actual size or 100%. I’ll have to go back and add the test square!
Christina McMahon says
Can’t wait to try this out! By the way, your pictures are beautiful. Where was the picture of you with the trattoria in the background taken?? Sounds like a wonderful trip!!
San McManamon says
Is there a way to print the instructions with pics minus the ads? Need help!
Mary says
Would it work to wear this around the waist instead of over the shoulder? Would I need to make any modifications?
Emily says
It probably would work… You would just have to figure out how to keep the strap around your waist. The water gets heavy so make sure it’s secure.
Renee says
Is there a video? I’m stuck on how to attach the pocket