inside: Learn how to sew an easy DIY wearable blanket in any size. This tutorial also includes a free hood pattern to add to your wearable blanket to make it a hoodie.
My kids are obsessed with these wearable blankets and instead of buying them, I’m making them! Fleece can be bought for a cheap price {it’s often on sale!!} and this project only needs a couple yards. The end result is a super cozy, wearable blanket hoodie that stays on because of the simple cuffs. It’s an easy sewing project anyone can sew and everyone will enjoy.
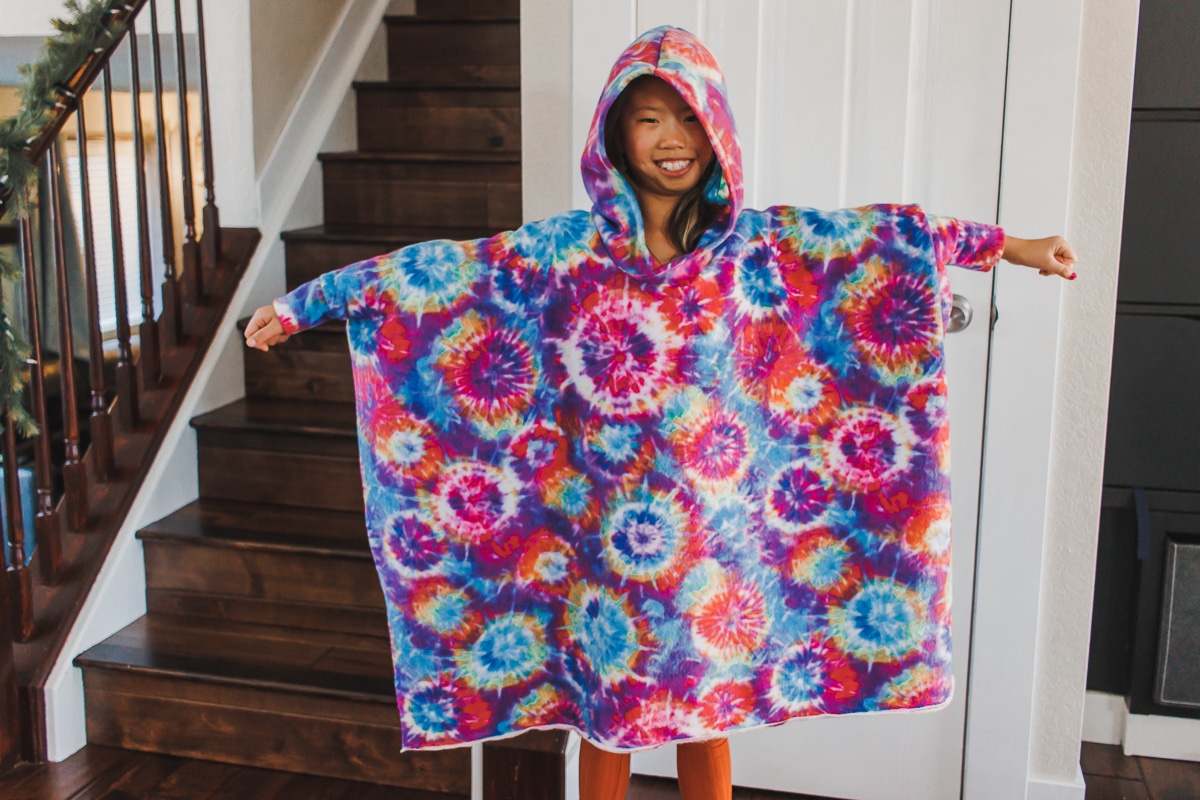
Wearable blanket hoodie-
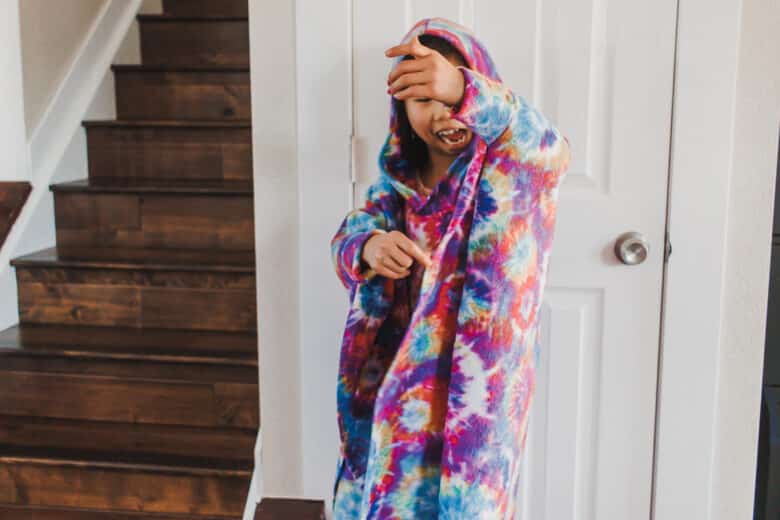
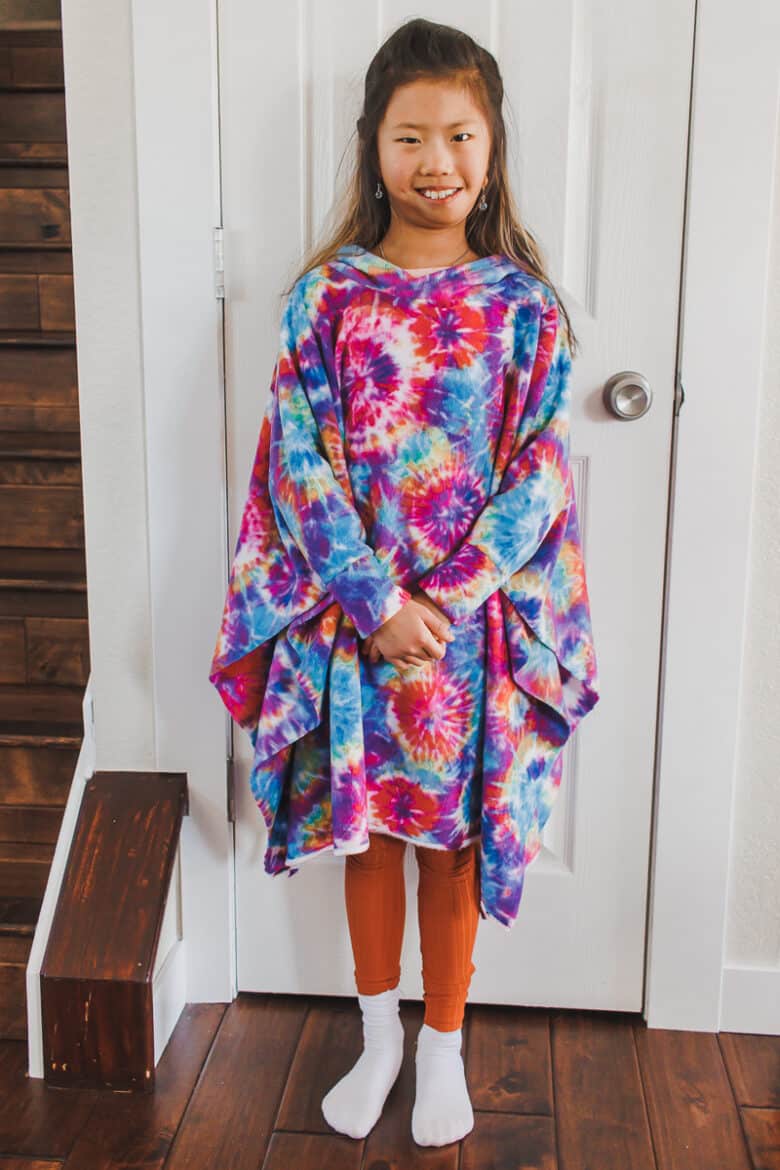
I’ve got fabric to sew my son one of these {he’s been begging} but until I get that one made you can see all these fun shots of the wearable blanket that I made my daughter last year. This isn’t just a blanket with a head hole. It has a fun, cozy hood AND cuffs to keep the blanket in place on your arms.
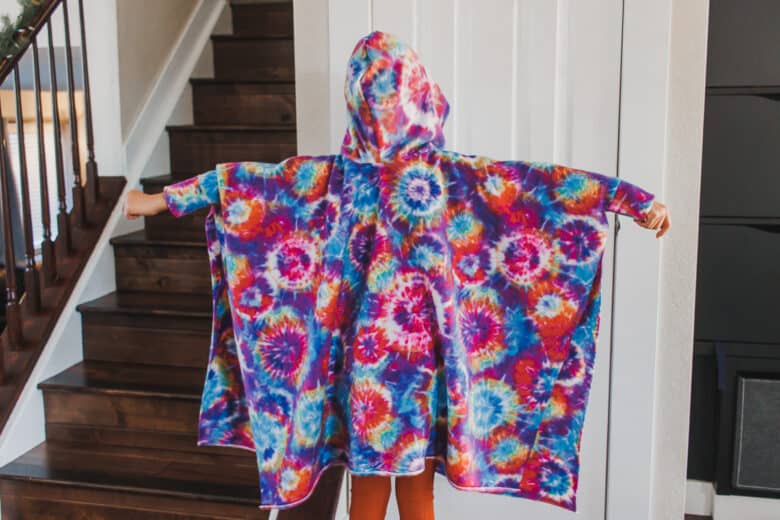
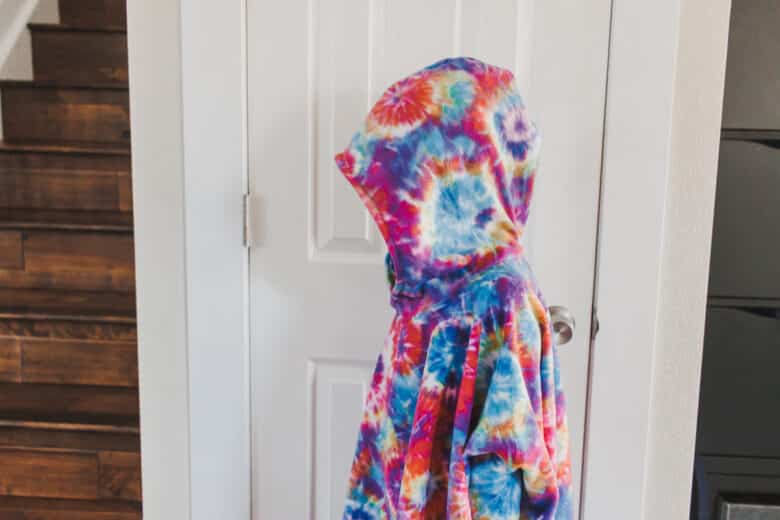
The hood has a free printable pattern for both kids and adults and you can use the size that best fits the wearable blanket you are sewing. This blanket is cozy with or without wearing the hood.

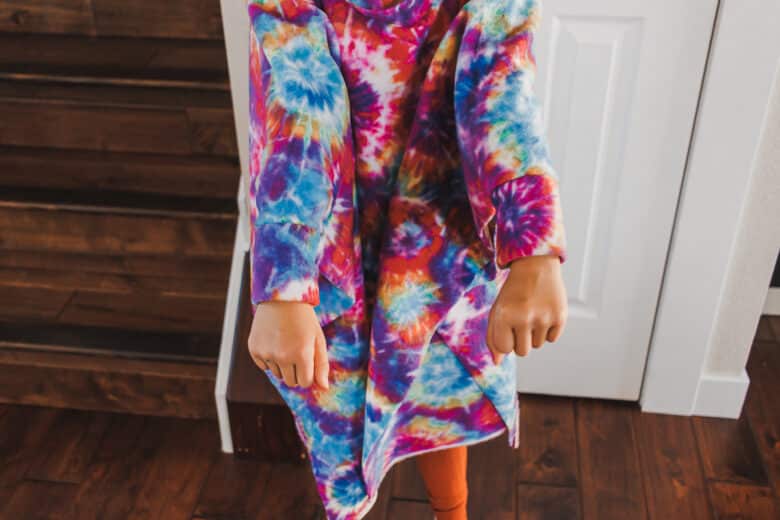
These photos show the cuffs that help keep the blanket in place. The sides are open but the blanket doesn’t slip and twist because of the arm cuffs.
Other fleece projects to make –
DIY wearable blanket –
Ok! Here is a video that shows all the steps {briefly} If you don’t see the video, check that you aren’t running an ad blocker or see if it’s gone over to the sidebar. Sometimes when you are scrolling the video will follow you on the sidebar.
Wearable blanket supplies:
- 1-2 yards of fleece for kids sizes {link to fleece on amazon}
- 2-3 yards of fleece for adults {link to fleece on etsy}
- Printable hood pattern
- Sewing machine/and or Serger
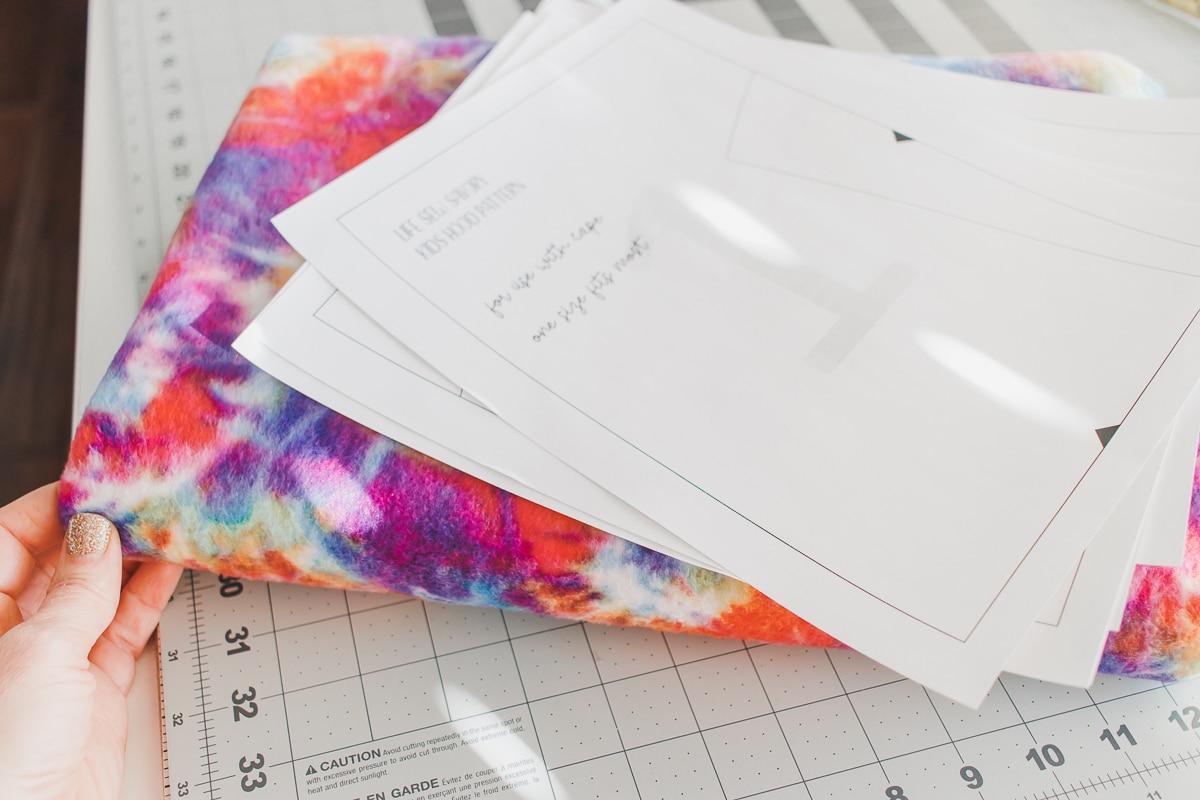
Grab some fabric, print a hood pattern… and let’s get started. Begin by measuring yourself {or child} Measure from wrist to wrist and record length ______. Then measure from knee to knee over the shoulder and record the length _____. Cut this rectangle from your fleece fabric. If making for a very large adult you may not be able to stretch from wrist to wrist as 60″ is usually the widest fabric. The length you just need to buy more of to make longer, but you cannot make it wider than 60″ {plus cuffs}
how to make a wearable blanket
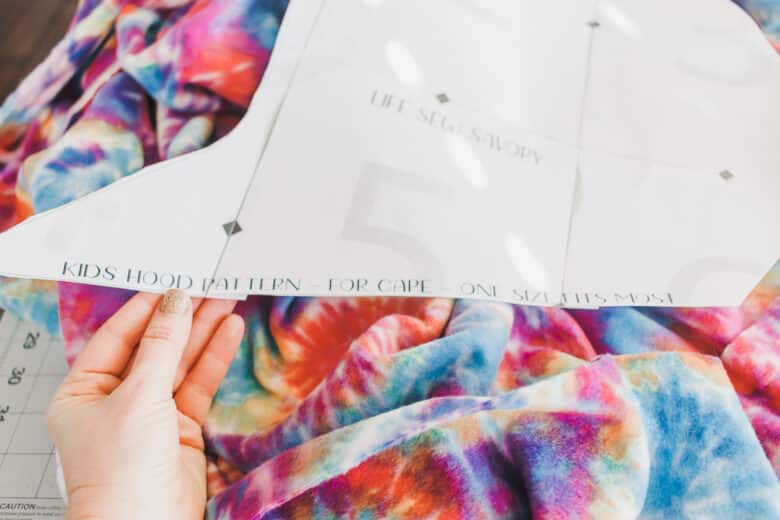
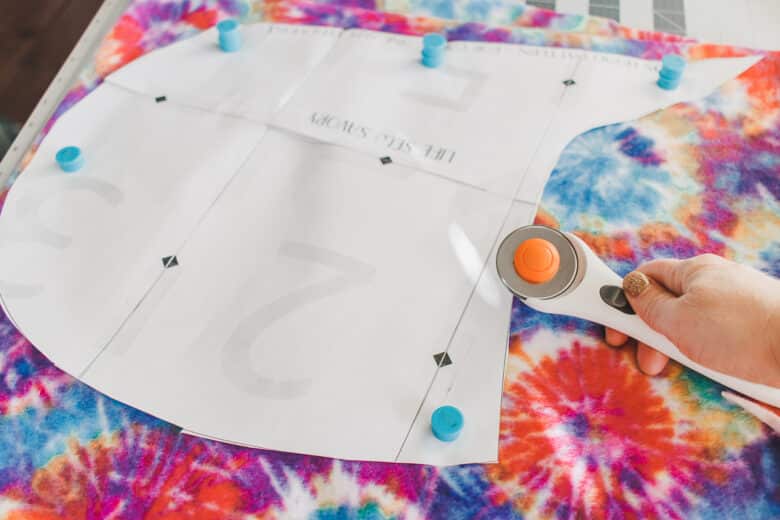
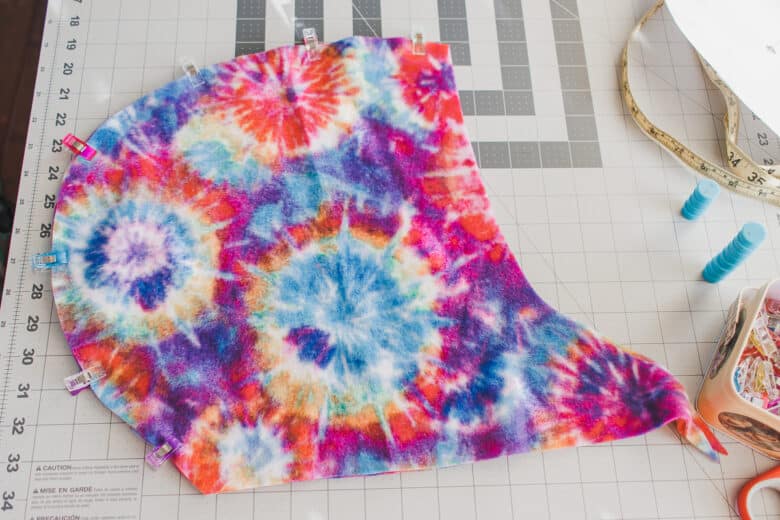
Also cut out hood pieces as directed on the printed pattern. You will cut 2 of the hood in mirror. {this is not a lined hood}
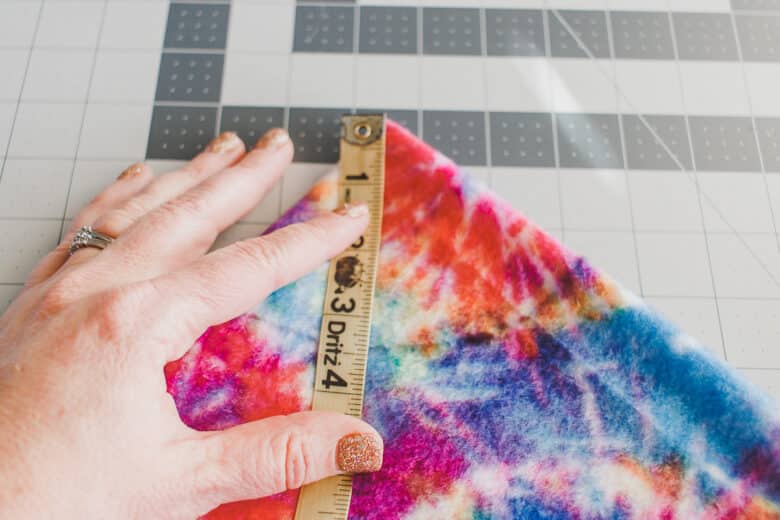
Take the rectangle you cut for the blanket and create a double fold with the double fold being where the neck opening will be. Now it’s time to cut the neck. 22″ should work for medium children through smaller adults. You will want it a bit smaller for tiny kids and a bit larger for big adults. To cut a circle from the double fold you divide the opening number by 6.28″ {just like making a circle skirt}
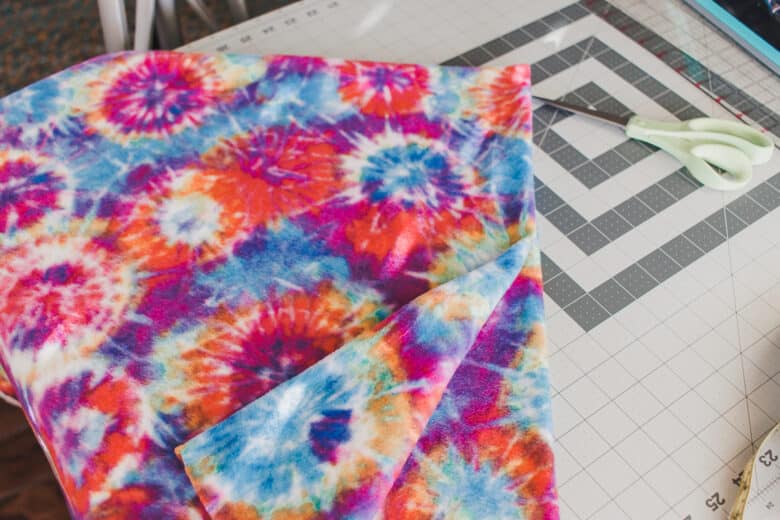
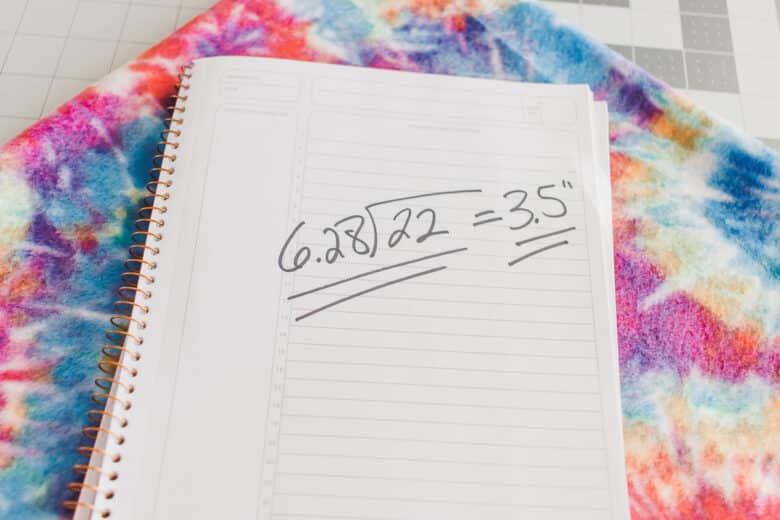
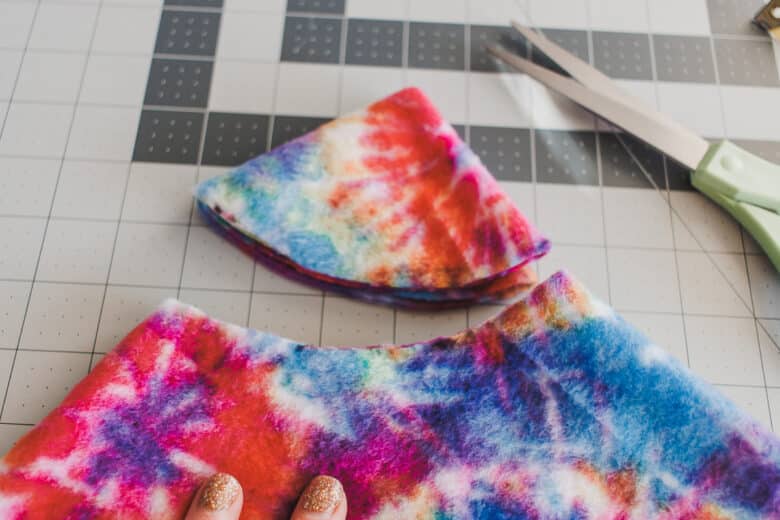
From the double fold center, mark the measurement out from the center in a circle. Cut this quarter circle out and now you have the neck.
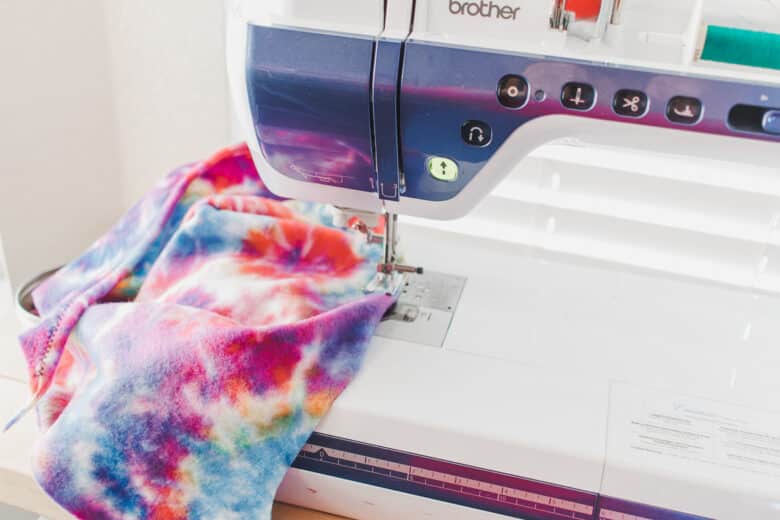
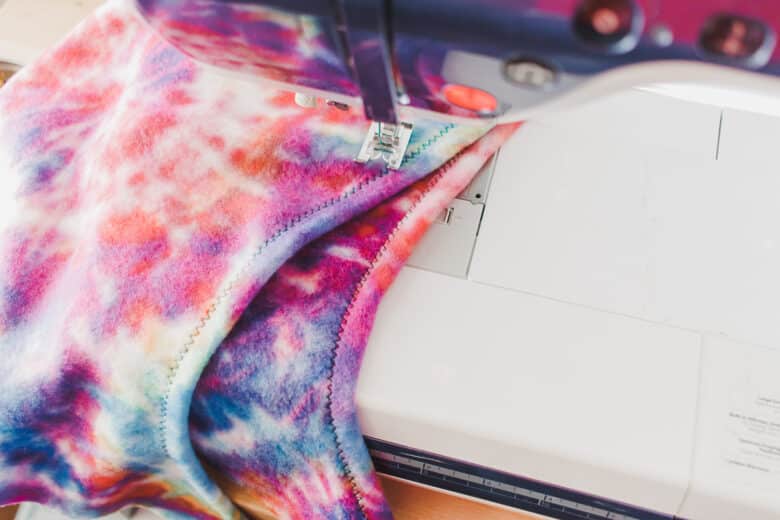
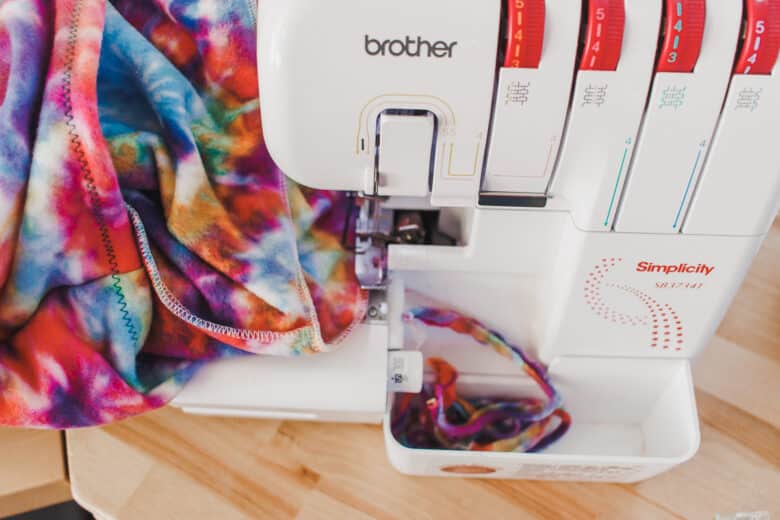
Place the two hood pieces together and sew the curved back center seam. I used my serger, but you can also use a zig-zag stitch to sew this seam. Use a 3/8″ seam.
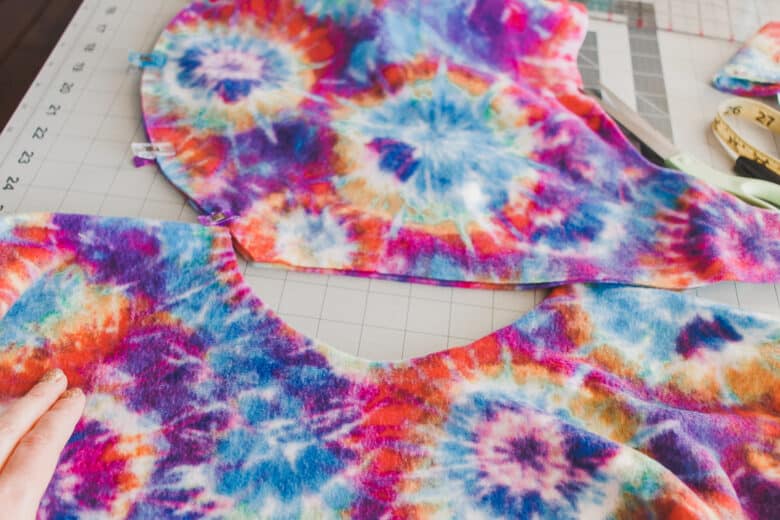
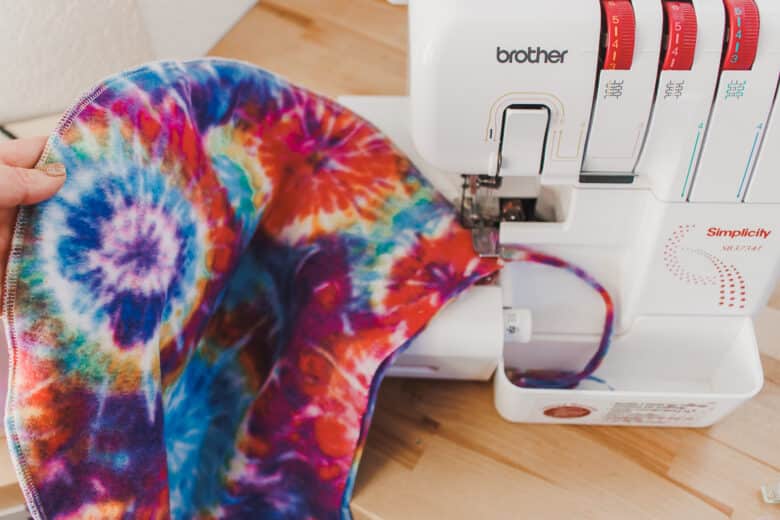
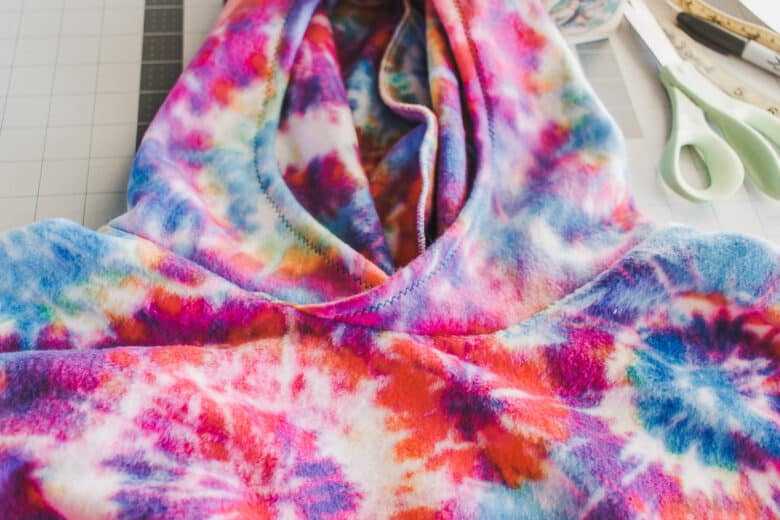
Now hem the front of the hood. Fold 1/2″ to the inside of the hood and sew with a zig-zag right along the raw edge. The fleecy, fleece sinks right into itself and you probably won’t even be able to see the raw edge anymore.
DIY wearable blanket
The hood is now prepared and ready to sew to the blanket. With right sides together, match the back center of the hood with the back of the blanket. Pin or clip the hood around to the front of the blanket, overlapping the front edges of the hood.
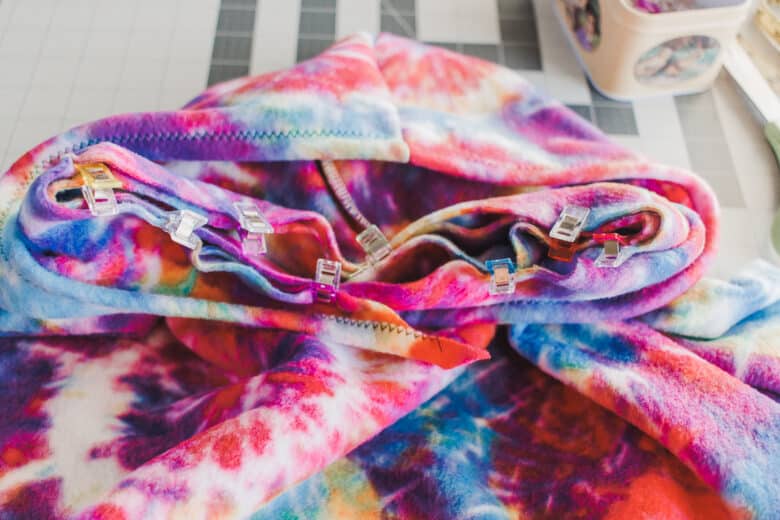
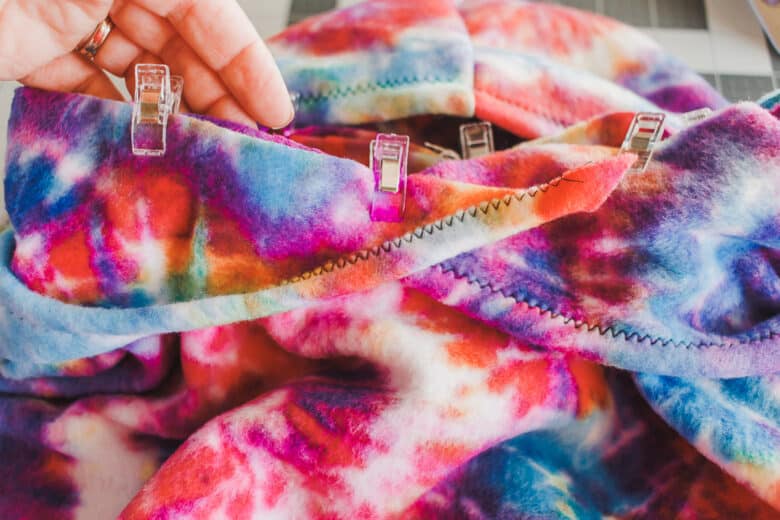
Sew around the neck opening with a serger or zig-zag. Make sure at the front to catch all three layers of fabric, one of the blanket and two of the hood {only at the front}.
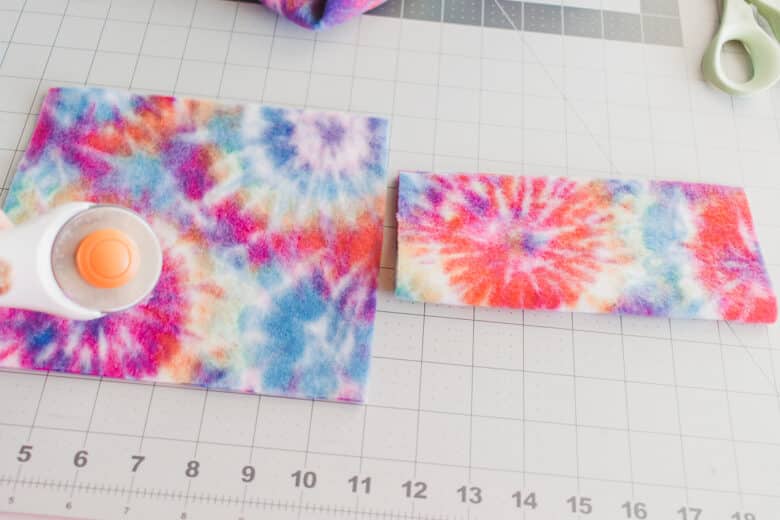
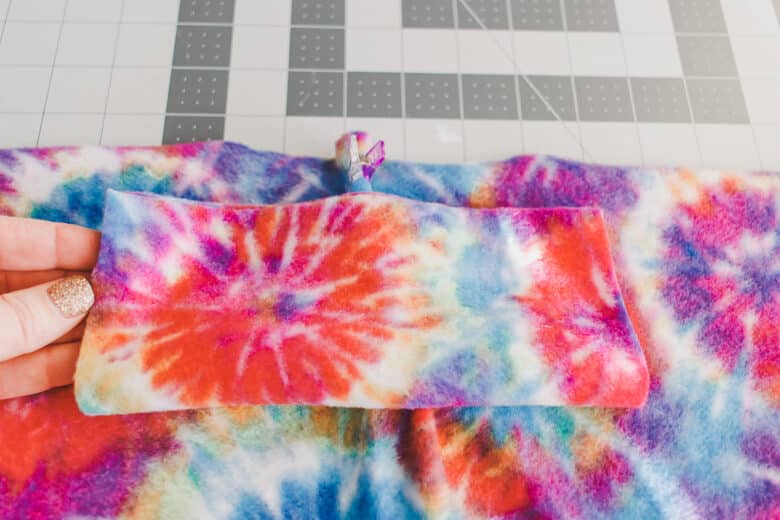
For the final step we will add cuffs to the edge of the blanket, this will make the the “cape” more wearable. The cuffs need to be big enough for your hand to fit through. The stretch {what little there is} will go from side to side. My cuffs are about 8″ wide and 7″ tall. Fold the height over and find the center of the blanket on the sides. Place the center of the folded cuff on the mark for the center of the blanket. Sew the three layers of fleece together along the edge. Then fold the cuff in half again so that the sides of the cuff are lined up {four layers of fleece} Sew up this edge to make a circle with the cuff.
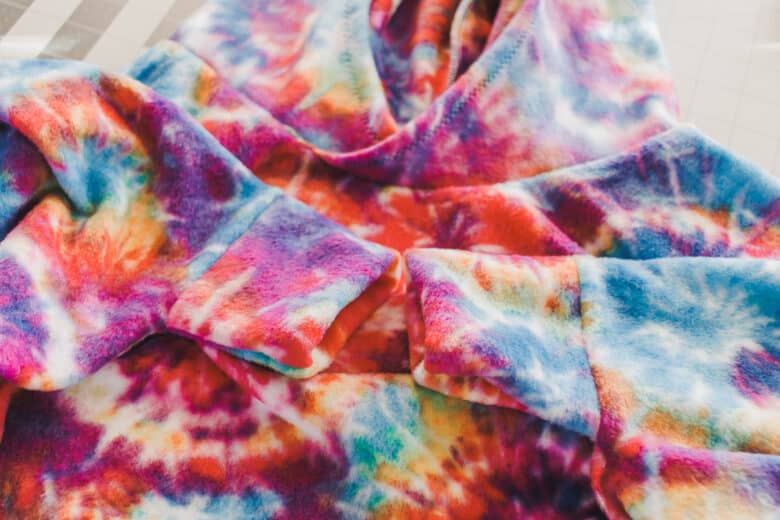
That’s it! Now you have a cozy wearable blanket. Perfect for cold nights at home and watching movies {or football for my boys!} Enjoy!! I’m off to make more for the rest of the family.







Leave a Reply