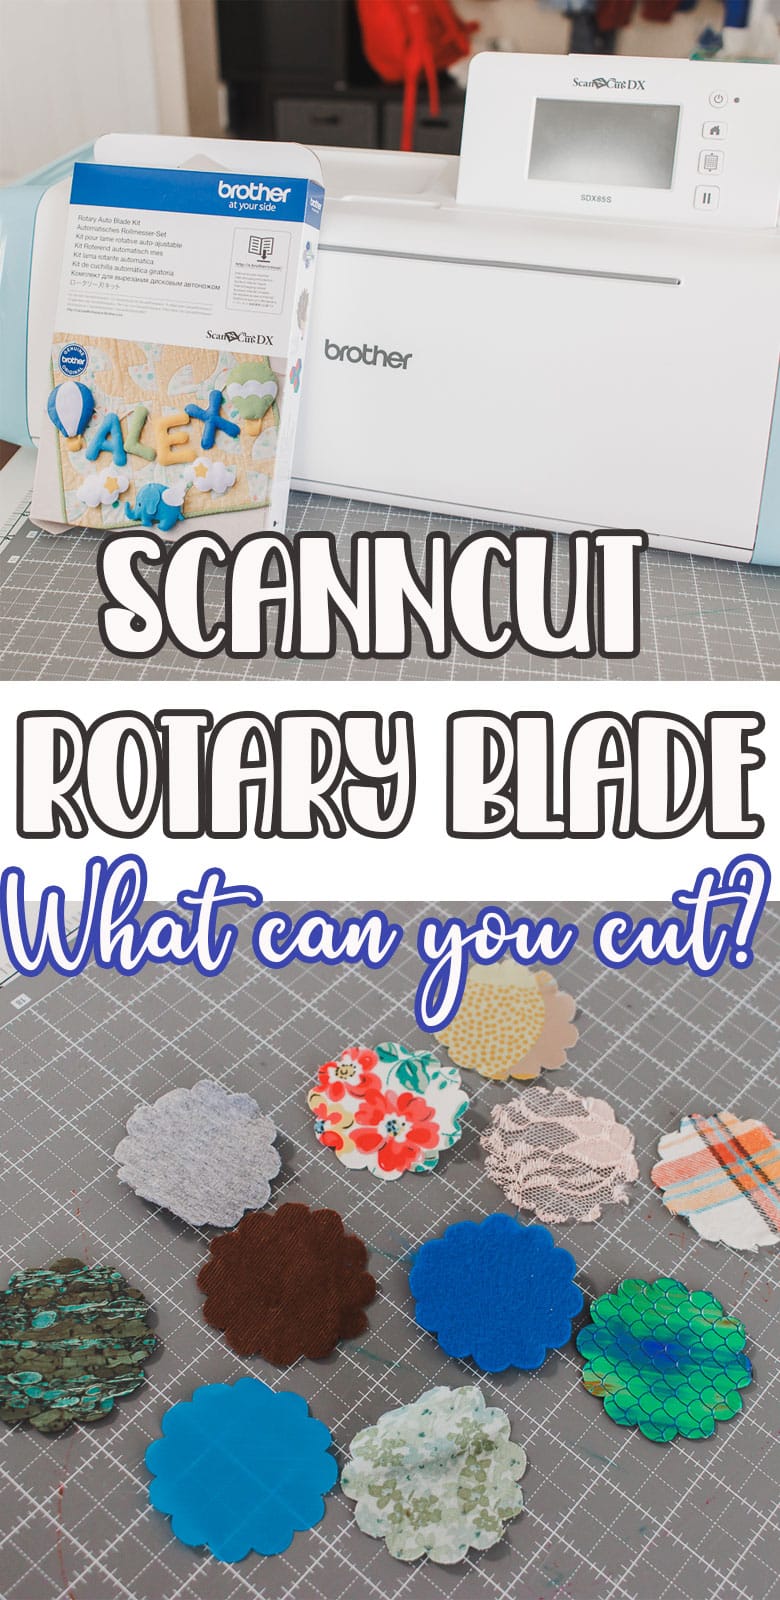
Inside: Learn how to use the rotary fabric blade for a ScanNCut. Easy set up and beautiful cuts of all kids of fabric. See all the fabric you can cut easily with your rotary fabric blade.
I’ve used my ScanNCut for years, even cutting fabric with it, but now I’m really in business with the rotary fabric blade. With this add on kit this machine becomes and fabric cutting dream machine and as good as any cutting machine on the market. I was excited to finally use a rotary fabric blade and I’ll show you my first fun project later this week.

ScanNCut Rotary Fabric Blade
This is not my first time cutting fabric with my machine. You absolutely can cut fabric without the rotary blade, HOWEVER, if you are going to cut a lot of fabric, its a great kit to purchase. You can check out my WHAT CAN YOU CUT with a ScanNCut post here. I just tried to cut a ton of things from the stash and I give you the tips and results to do it to! {It even cut a tortilla! haha} I’ve also got a post specifically on how to cut fabric with the ScanNCut {without the rotary blade, so if you don’t have the blade, check out that post!}
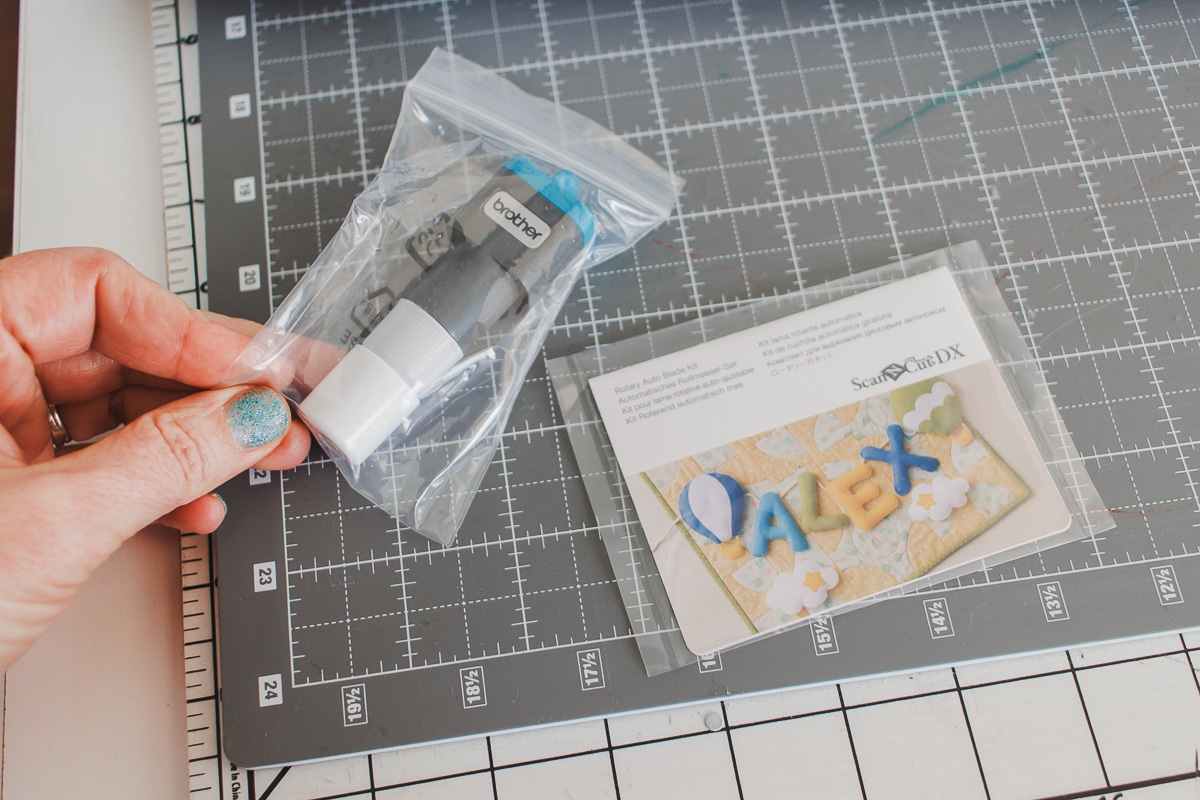
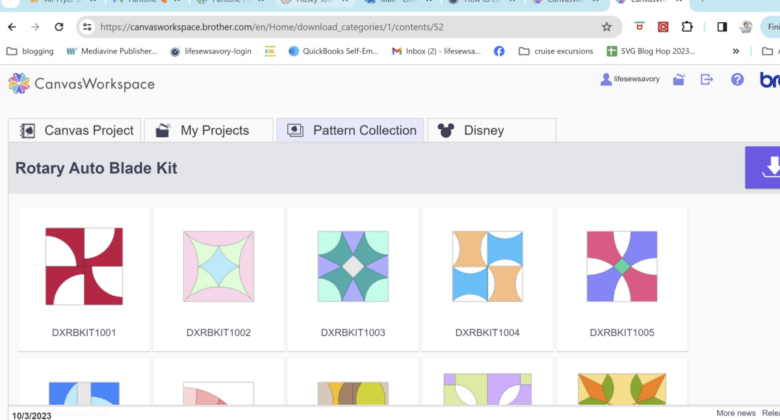
Today we are going to be focusing on the rotary auto blade and what you can cut with it once you get it all set up {its super easy!} The kit comes with the blade {and holder} and an activation card for some free designs you can use with Canvas Workspace {the free editing software for the ScanNCut}
Other amazing ScanNCut features and projects
- Cut heat transfer vinyl
- How to Scan Images to cut them
- Make large custom signs
- Make custom vinyl mugs
- How to use the roll feeder function
How to set up the fabric blade
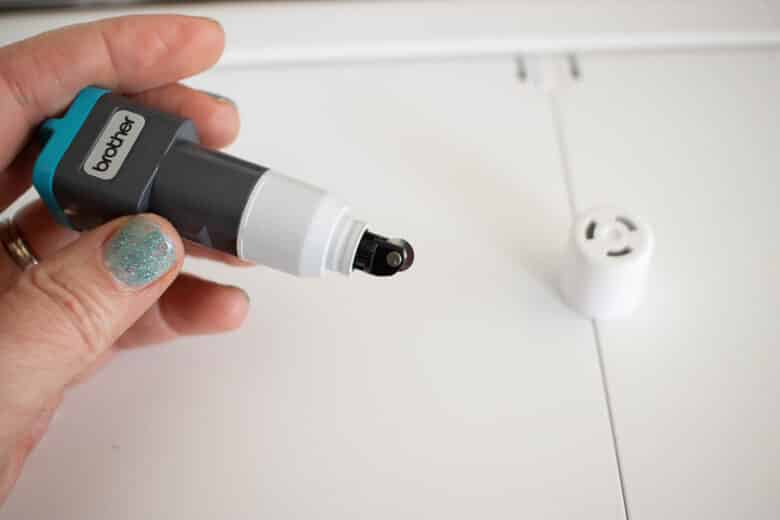
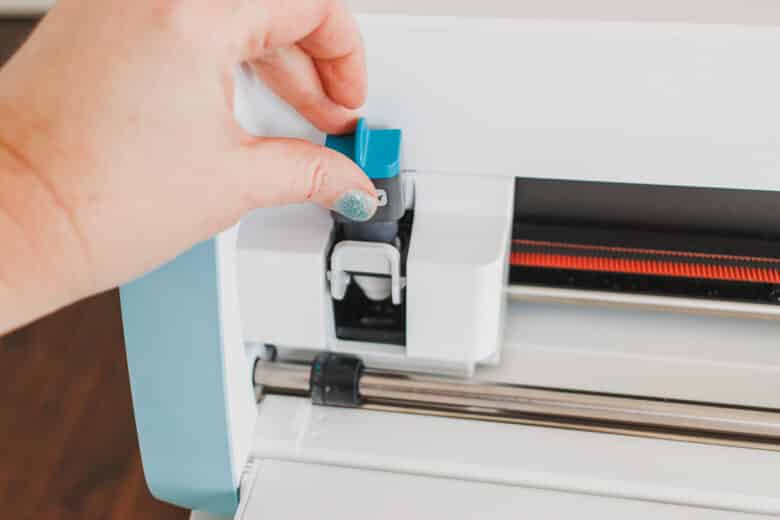
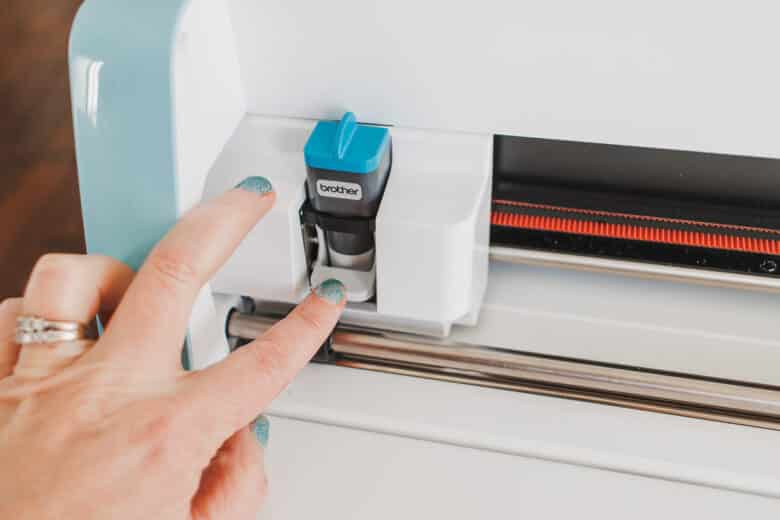
Let’s jump in with the set up! Take a look at the blade, its like a little rotary blade, just like your hang held version. Place it in the ScanNCut blade holder just like any other blade for the machine. Cap and store the blade you remove.
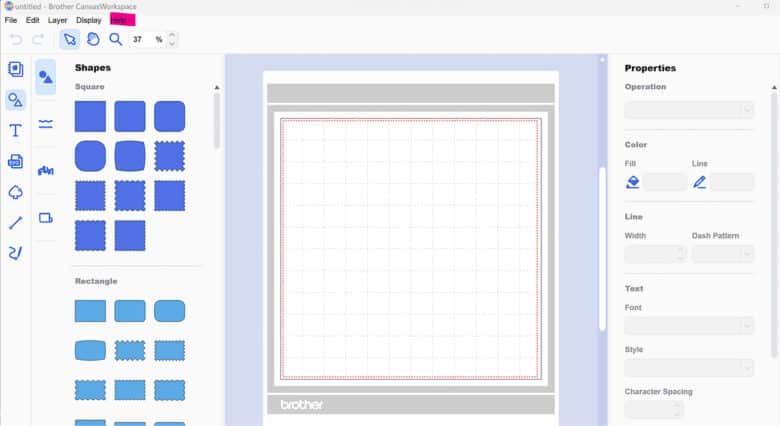
The activation of the free design pack is optional, but here’s how to do it. On your downloaded version OR web version of Canvas Workspace, go to help, then account settings.
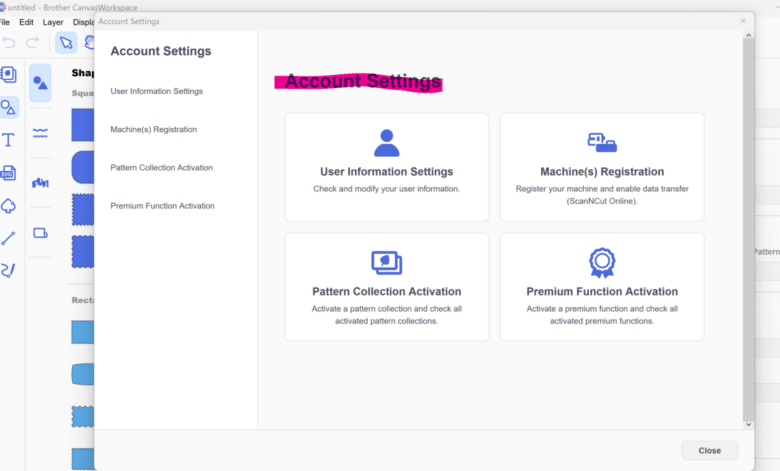
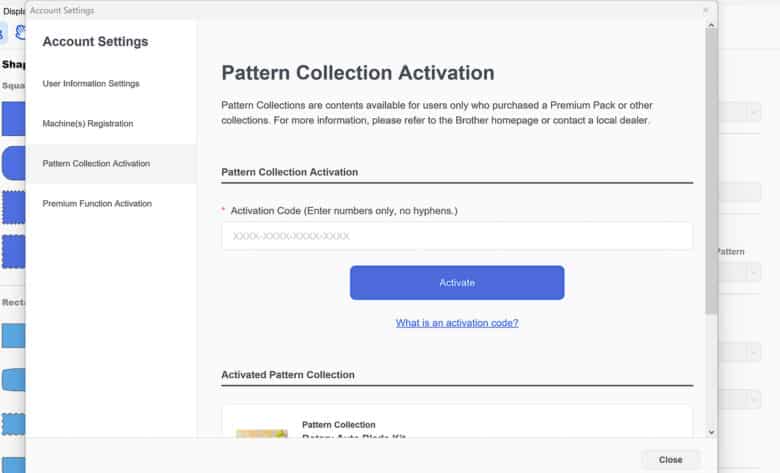
Choose the pattern collection activation and enter the number than came on the code with your blade. Once activated you will only be able to use with the online version of the software {I don’t know why! I can see it activated on my downloaded version, but I can’t use them} there are lots of fun designs for letters, numbers and quilting.
Also on your machine check these settings…
- Blade Adjustment Area – Include Material Area ON
- Cut Mode Rotary Blade – can be Normal or Fine {depends on what you are cutting} Intricate designs use the fine setting. Note… it will cut SLOW in the fine mode.
- Half Cut – OFF
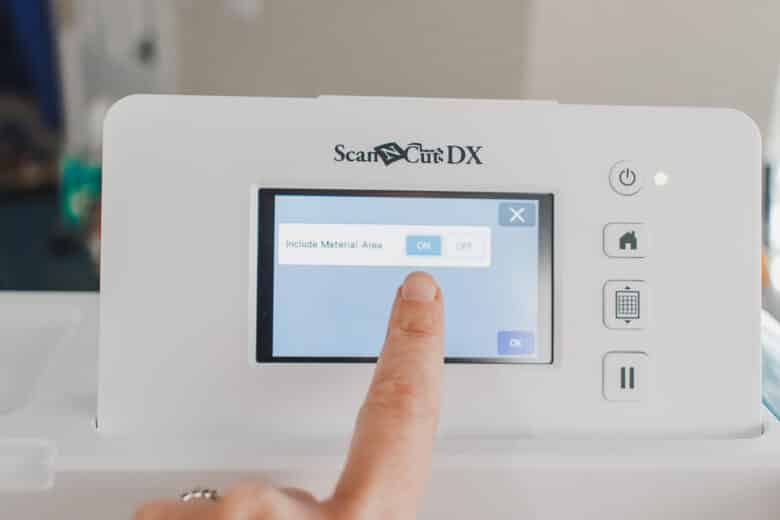
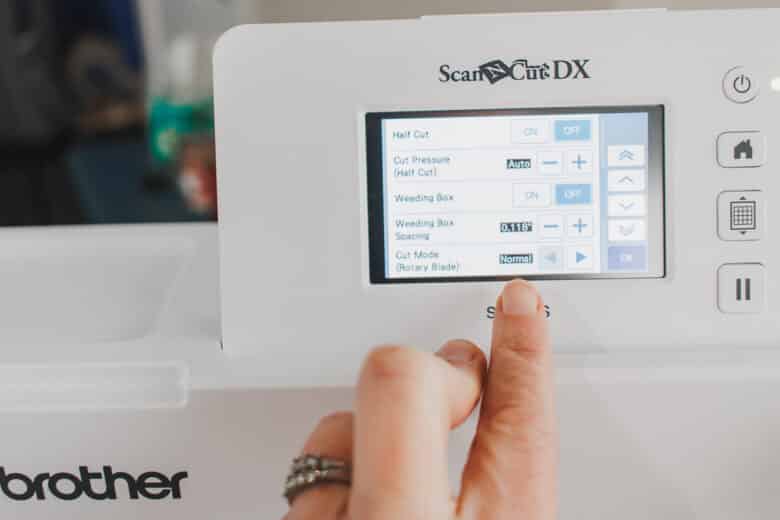
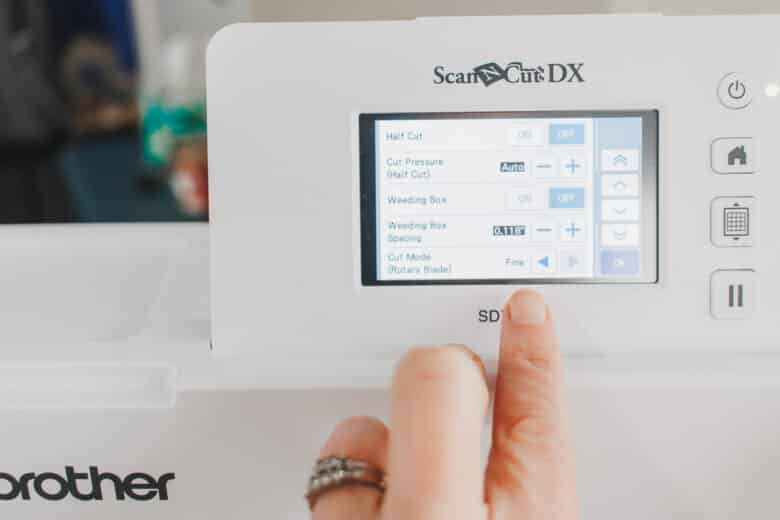
How to cut fabric with the rotary auto blade
Let’s actually cut some fabric. Choose a design to cut. I wanted a a bunch of circles, so I just went with the built in circle on the machine.
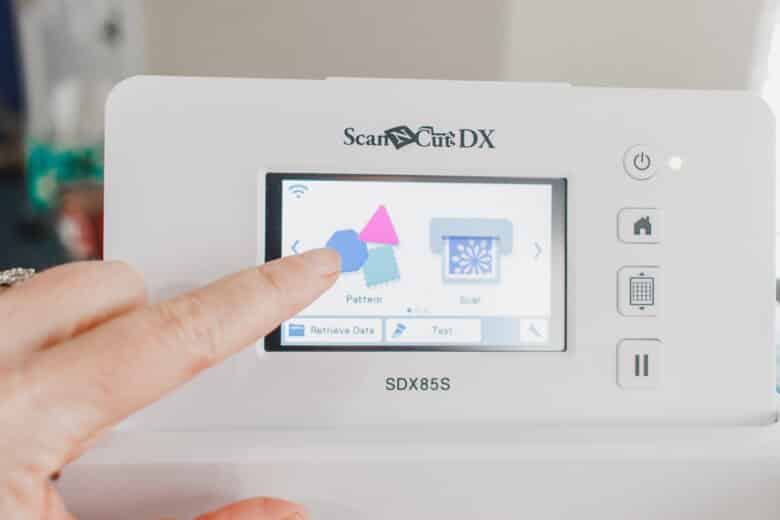

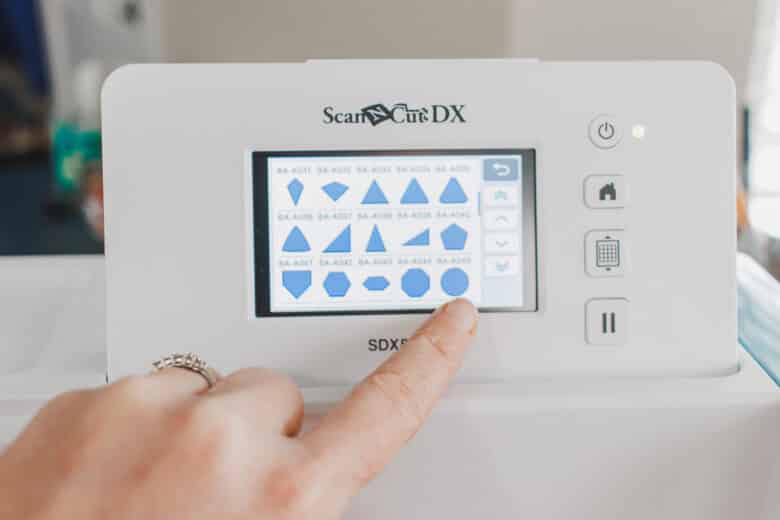
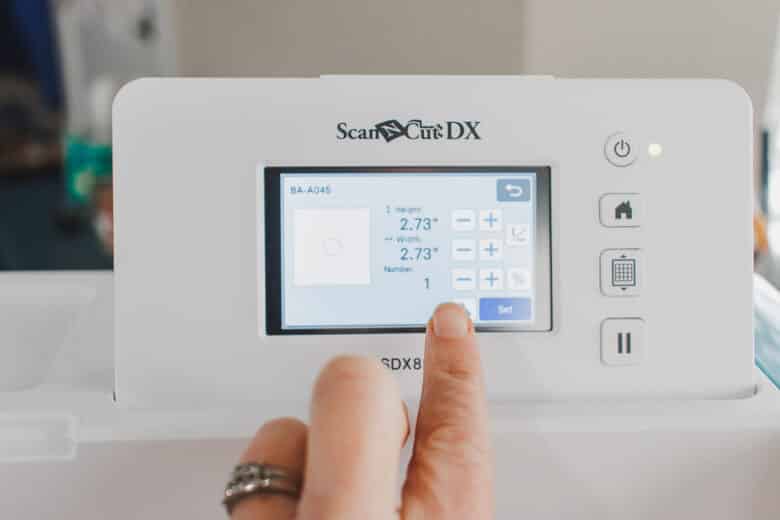
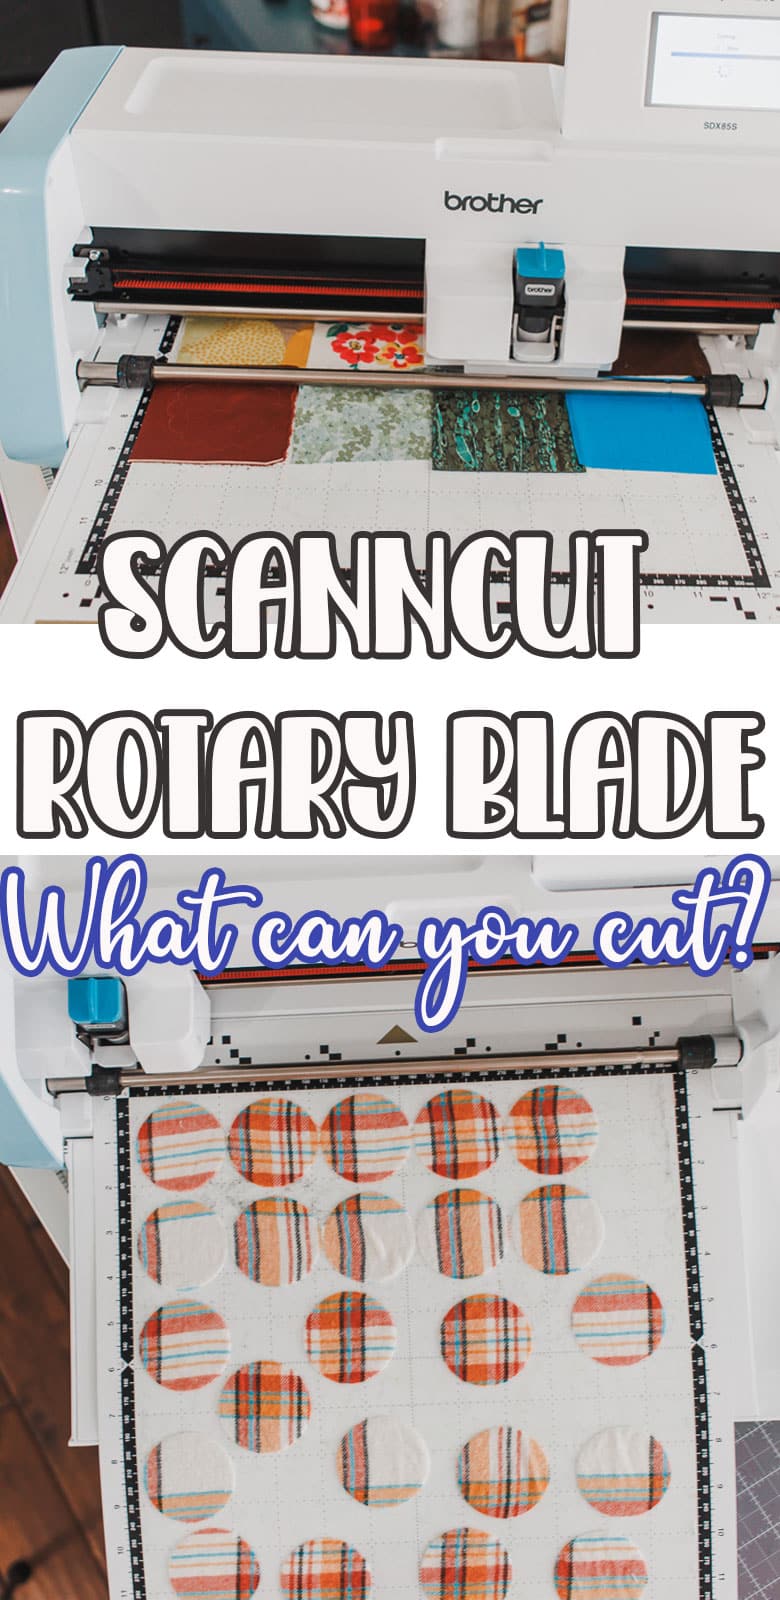
I made the whole sheet the same size circle. You can choose the size, then decide how many you want and it will fill the page. If you make the number too high, it will tell you and you can adjust to fit.

Use a fabric mat or a standard mat with a high tack sheet for cutting fabric. Place the fabric on the mat and smooth it out. Load into the machine and push start to cut.
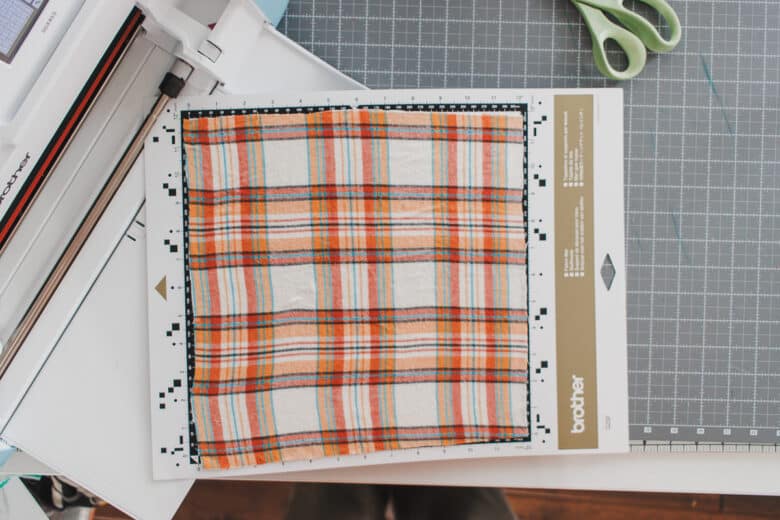
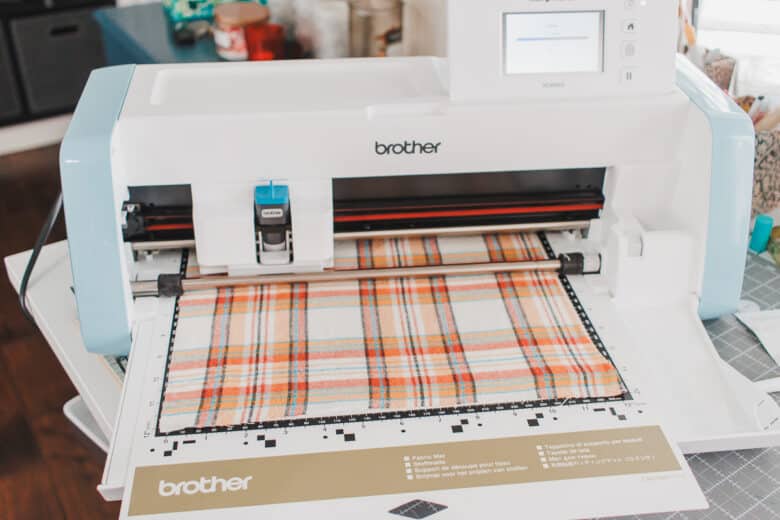
This sheet took three minutes to cut and when it finished I could just peel off the extra fabric and leave the circles. SO easy and smooth cutting.
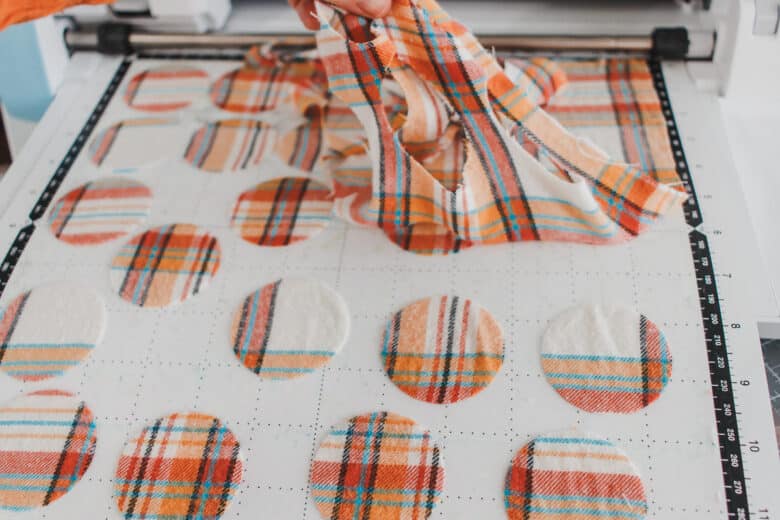
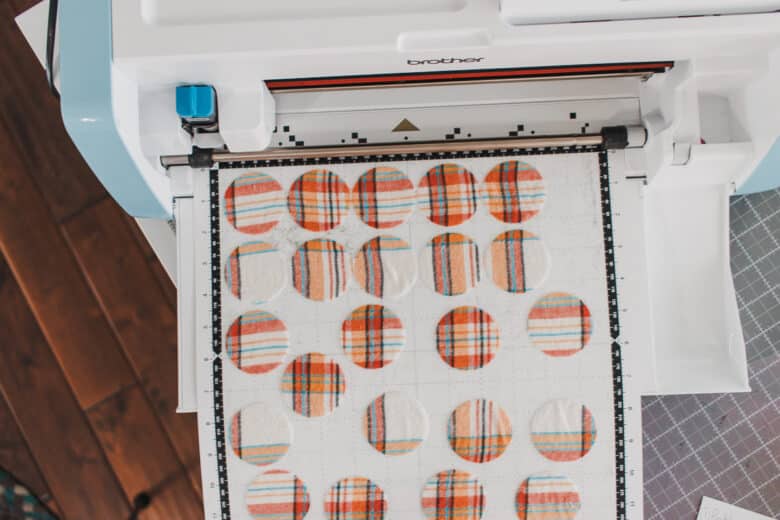
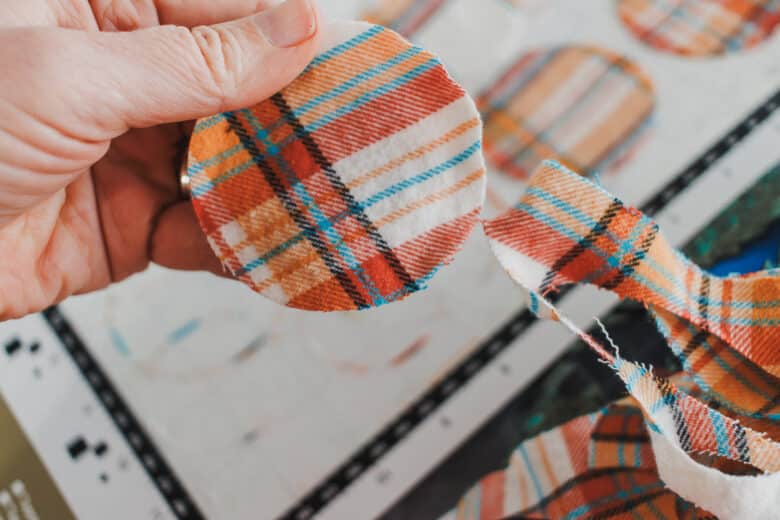
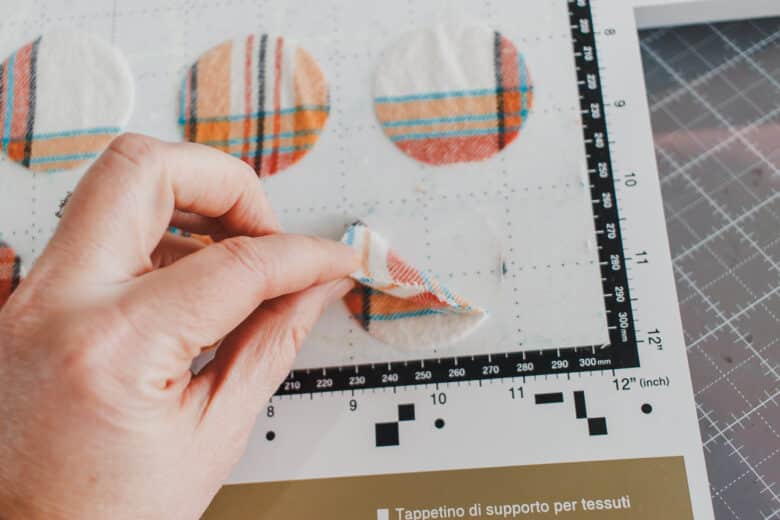
After a few sheets I found a couple of circles that had a single thread not cut, just use scissors to snip if this happens. Peel the circles off the mat. The flannel here really frays so It did leave some threads on the mat. Come back Friday to see what I’m making with all these flannel circles.
What can you cut with the rotary fabric blade?
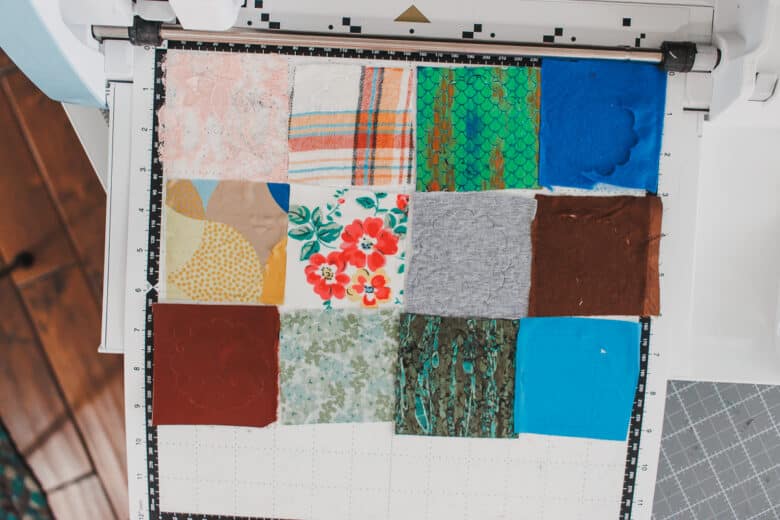
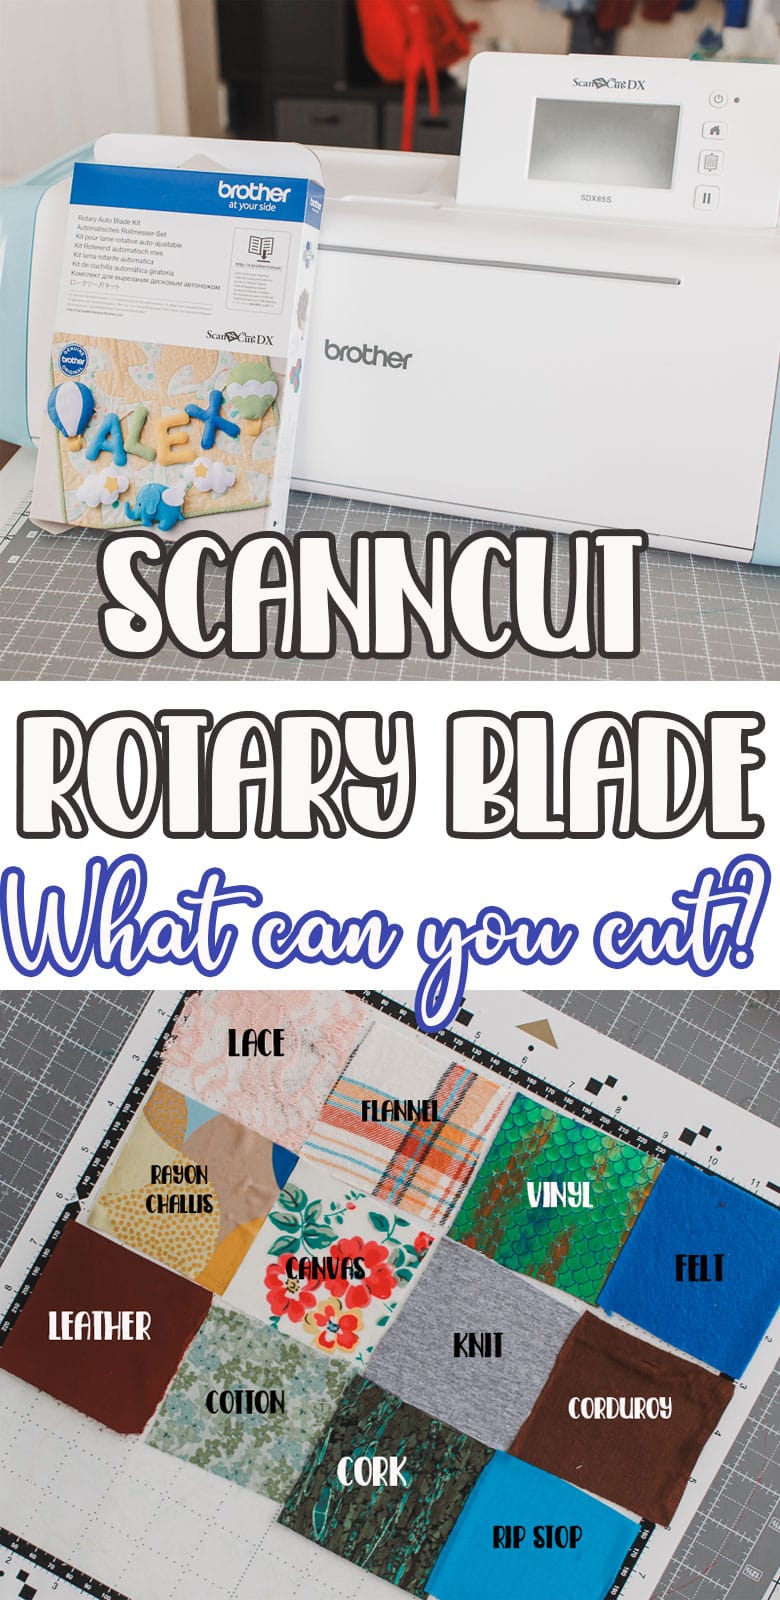
After cutting hundreds of flannel circles I got adventerious and decided to see what else the rotary auto blade can cut. I dug around my fabric stash and pulled out these fabrics. I cut them each in a square and stuck them all to the fabric mat.
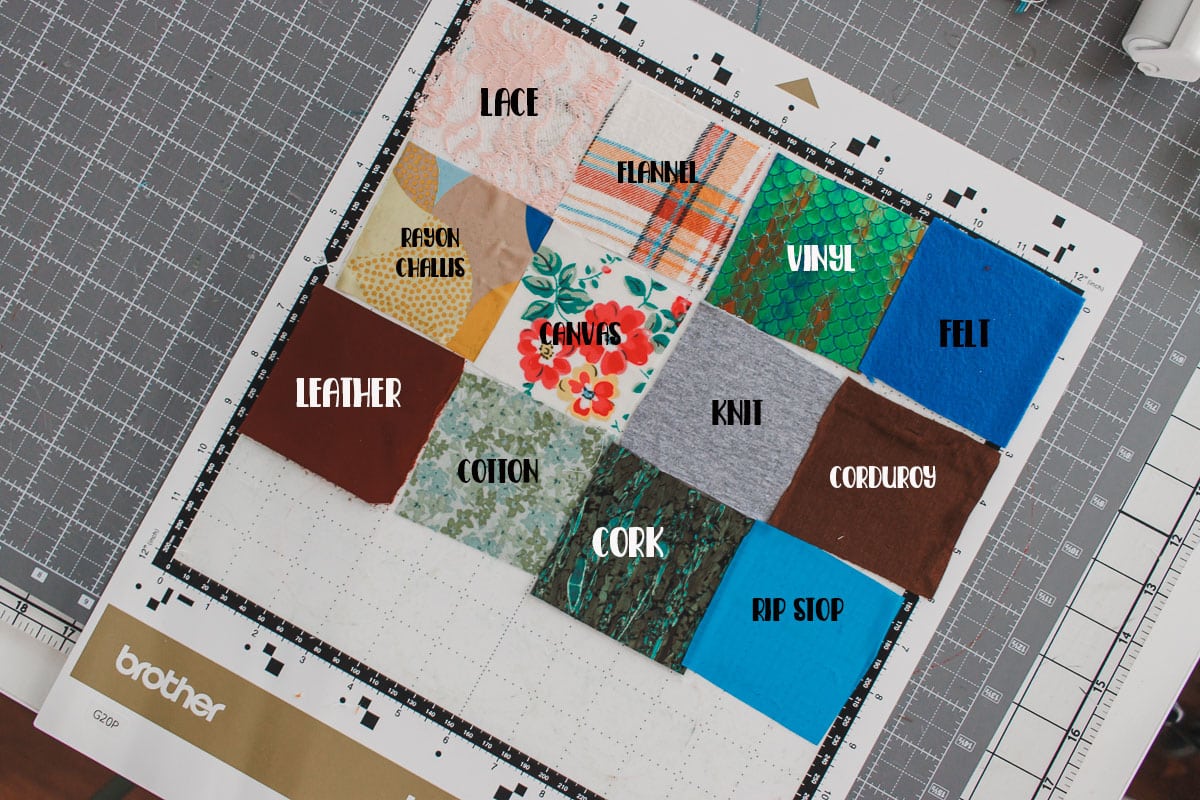
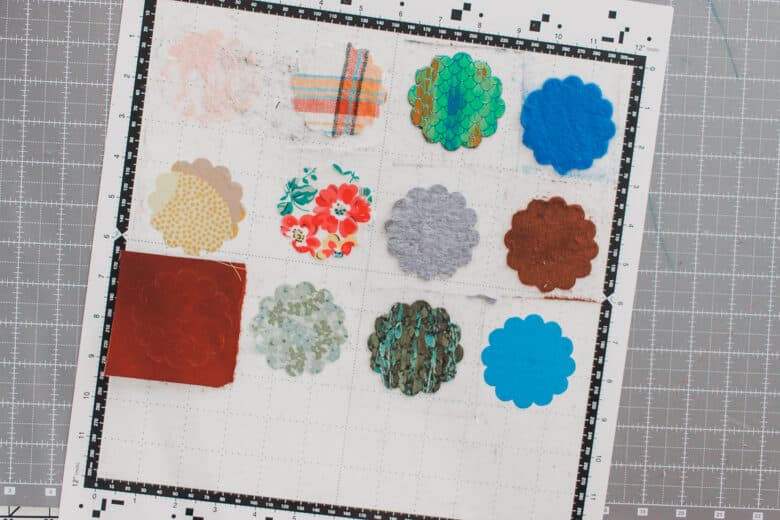
I choose the circle with scalloped edge to cut as I wanted to see how it would do on a bit more difficult design. I ended up scanning in the mat so I could see the placement for each scalloped circle.
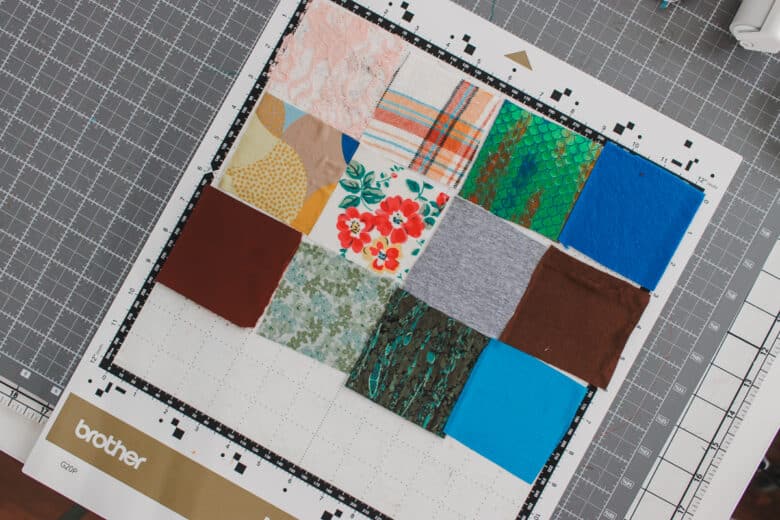
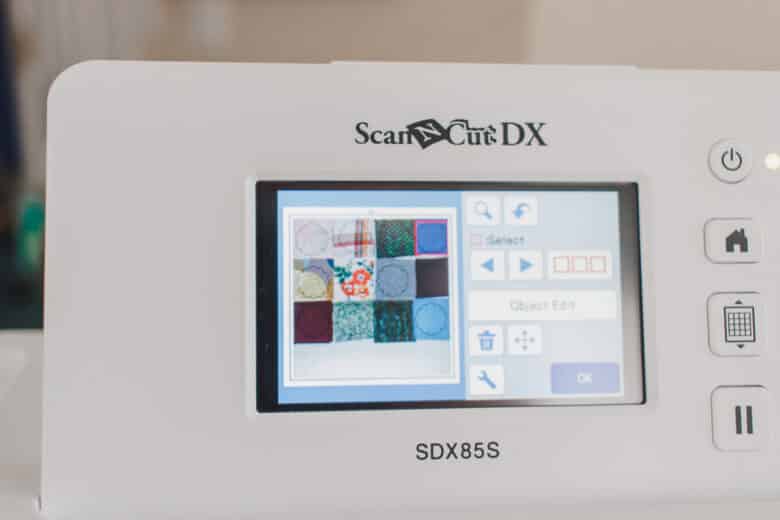
Press start! Each circle should cut. You can see on the photo on the right that after cutting the fabric all stayed in place. Test to see if the cut is all the way through. You can always re-cut if you haven’t moved the fabric.
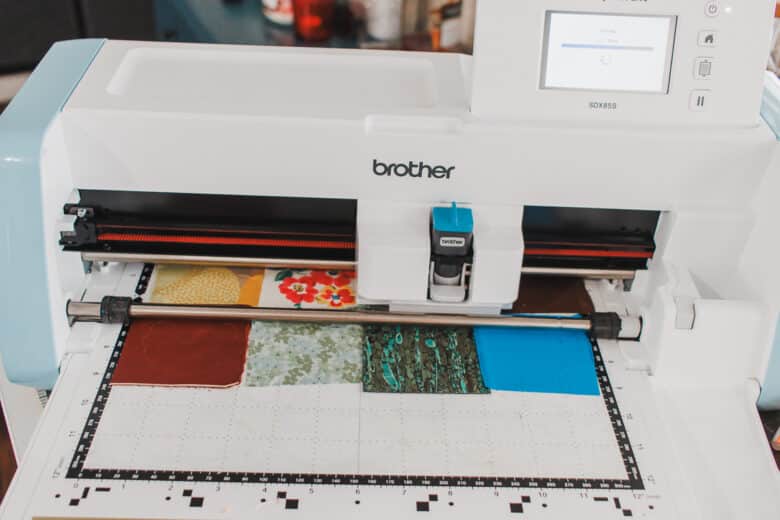
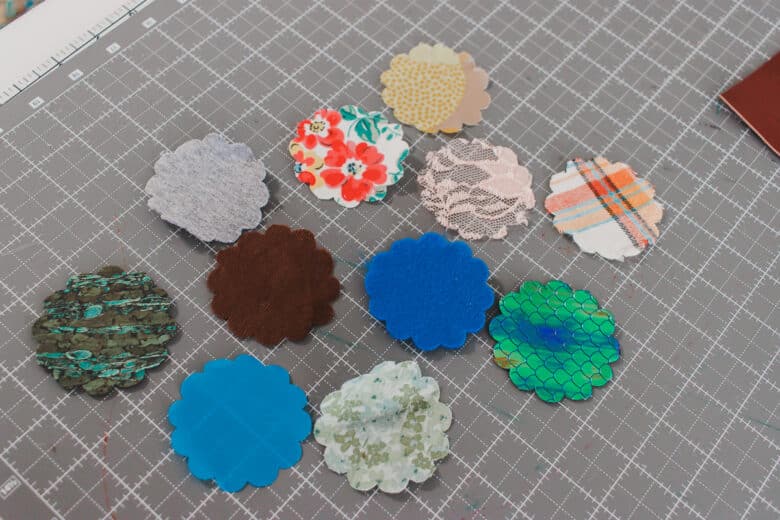
The fabric auto blade cut everything perfectly without adjustment {except the leather} I guess it was just too thick. I even ran it back through another time, just that piece and it didn’t cut. I’ve cut leather several times with this machine, so it just needs a different blade, but you can cut it.
And there you have it! So many different fabrics that all cut great with the rotary auto fabric blade for the ScanNCut. Happy Cutting!!!





Leave a Reply