Inside: Sew up this free tank dress sewing pattern for your girls this summer. This cute and easy free sewing pattern is a perfect summer staple and comes in a large range of sizes.
**Post written in collaboration with Brother International Corp as a paid brand ambassador, but all opinions are my own**
I’ve sewn Rose a few tank dresses over the years. Usually I just take a tank top we already own, or sew her one up and then add a skirt. This time I’ve created a free sewing pattern made to be a dress. You don’t have to shorten the top, or modify it at all to create this adorable tank dress. This is also a pattern that is very easy to add vinyl or embroidery to using the Brother Artspira app. Rose is already waiting for warm weather to hit our home so she can wear these everyday.
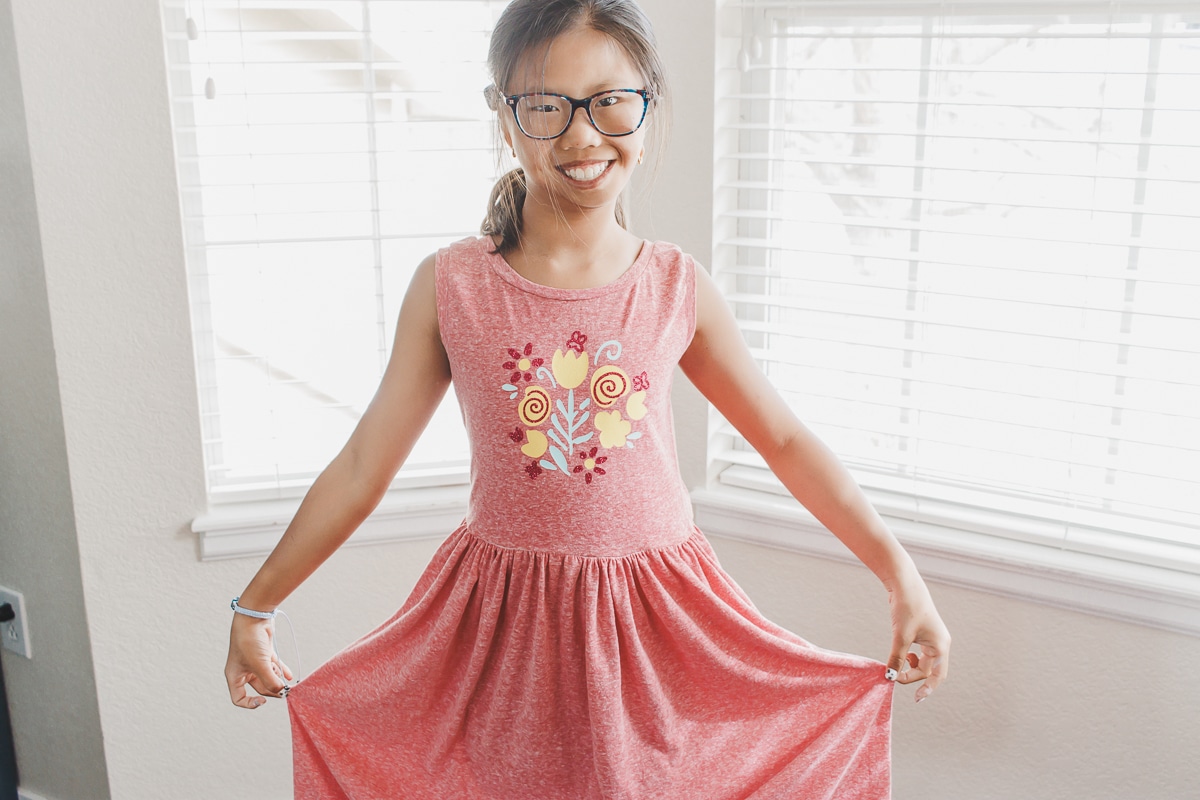
Easy Tank Dress Pattern
This dress is created for a variety of knit fabrics and is a simple, yet adorable look for all ages. The top has a boxy fit and the skirt is simple and flowing. Pair this tank dress with a pair of summer shortie undershorts for a fun, playful look. Using the Brother Artspira app it’s also super easy to add some fun decorative details to this pattern.
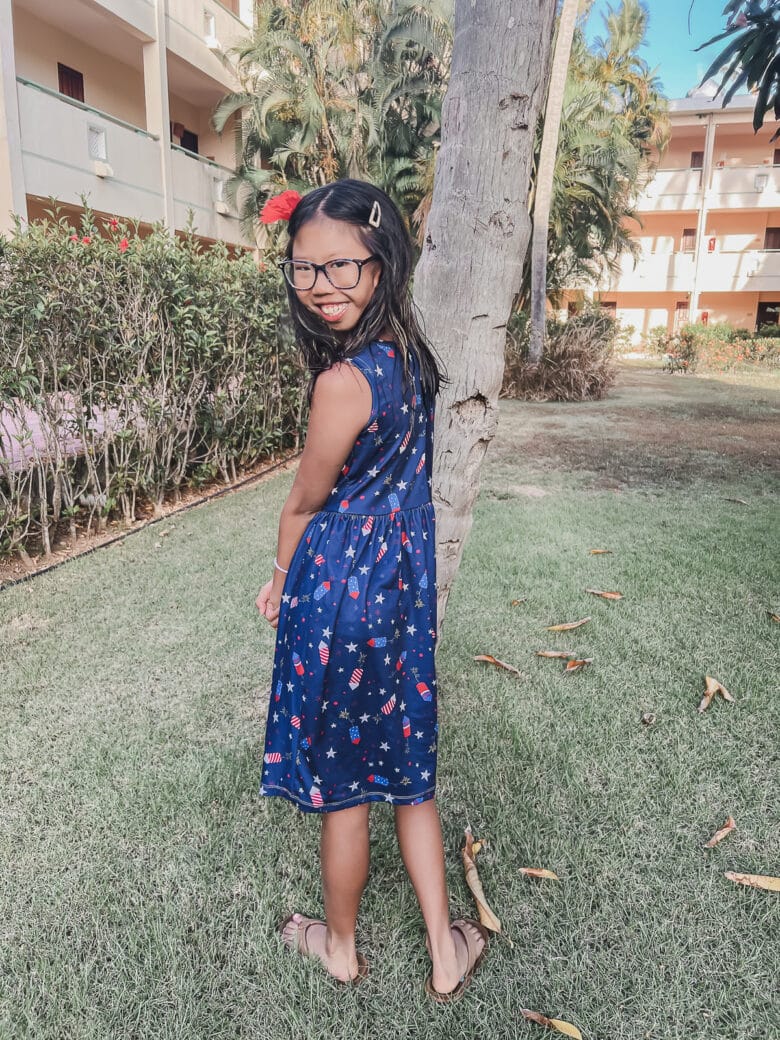
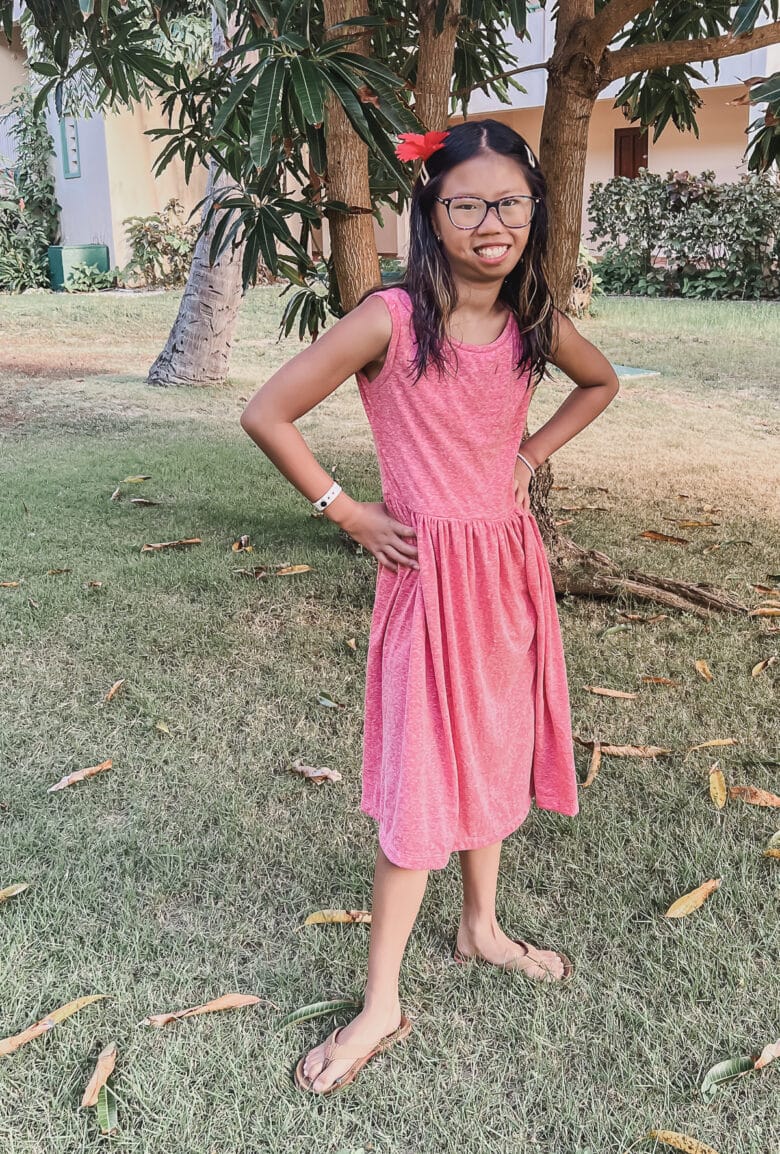
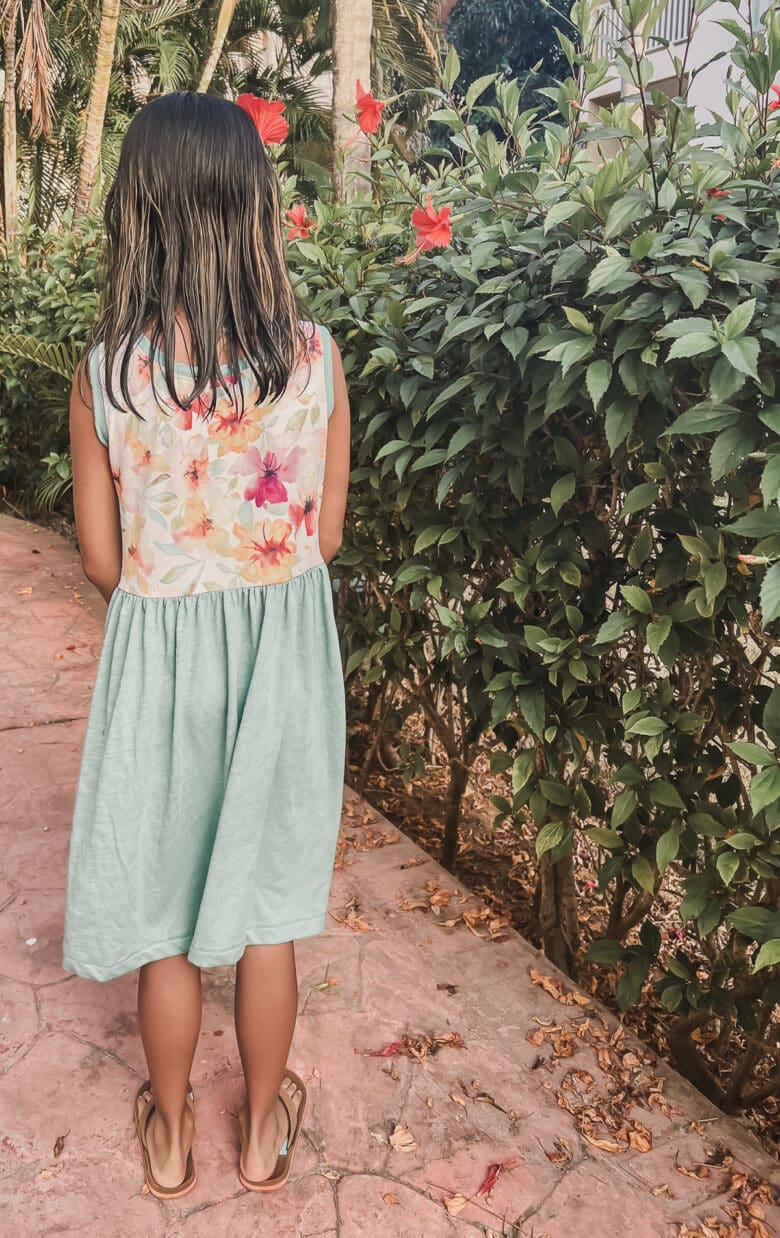
We were fortunate to be in a warm weather destination for spring break, so Rose was able to try these dresses out. Once she wore one the first day, this was what she lived in all week.
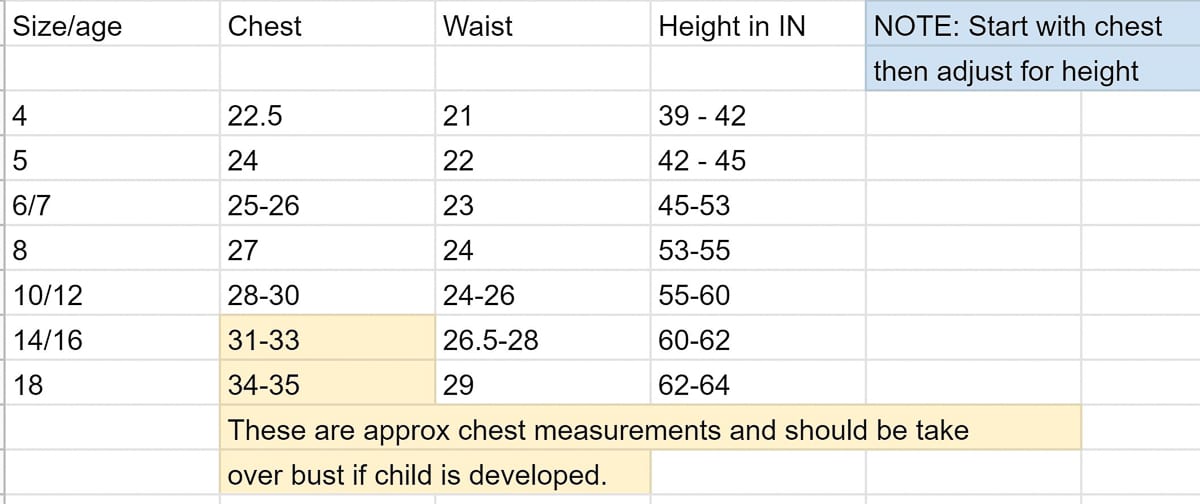
I blended a size 7 width {chest size on the chart} with a size 10/12 in the length, and these dresses are definitely long enough that she can wear them all summer.
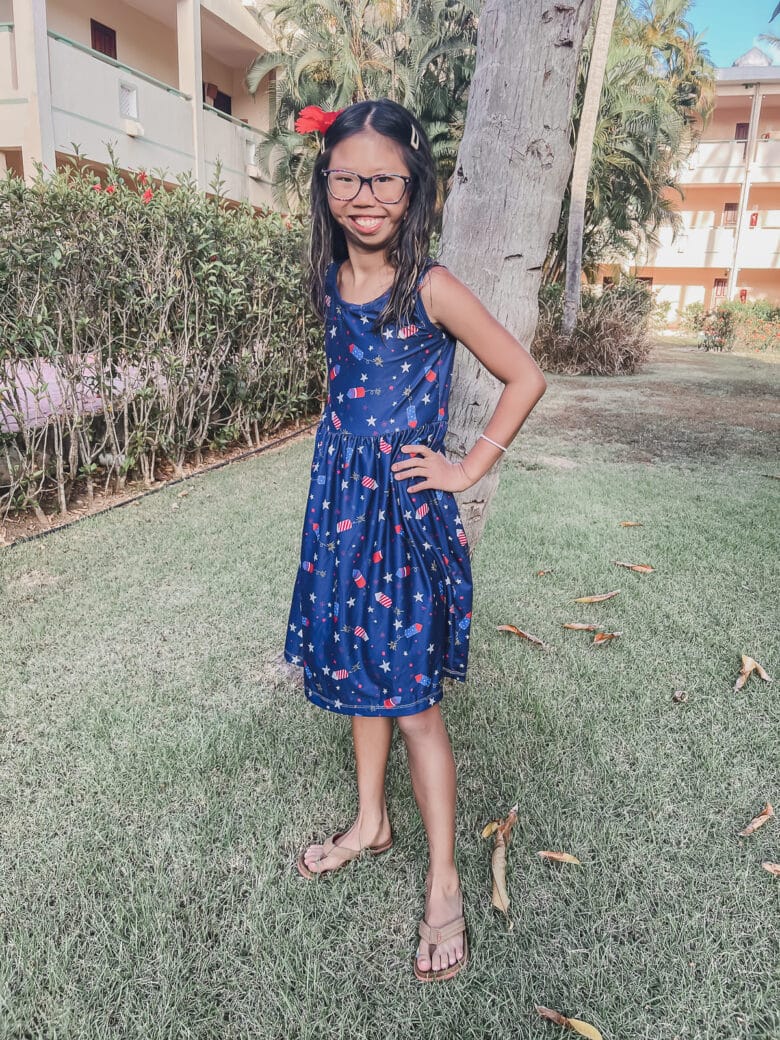
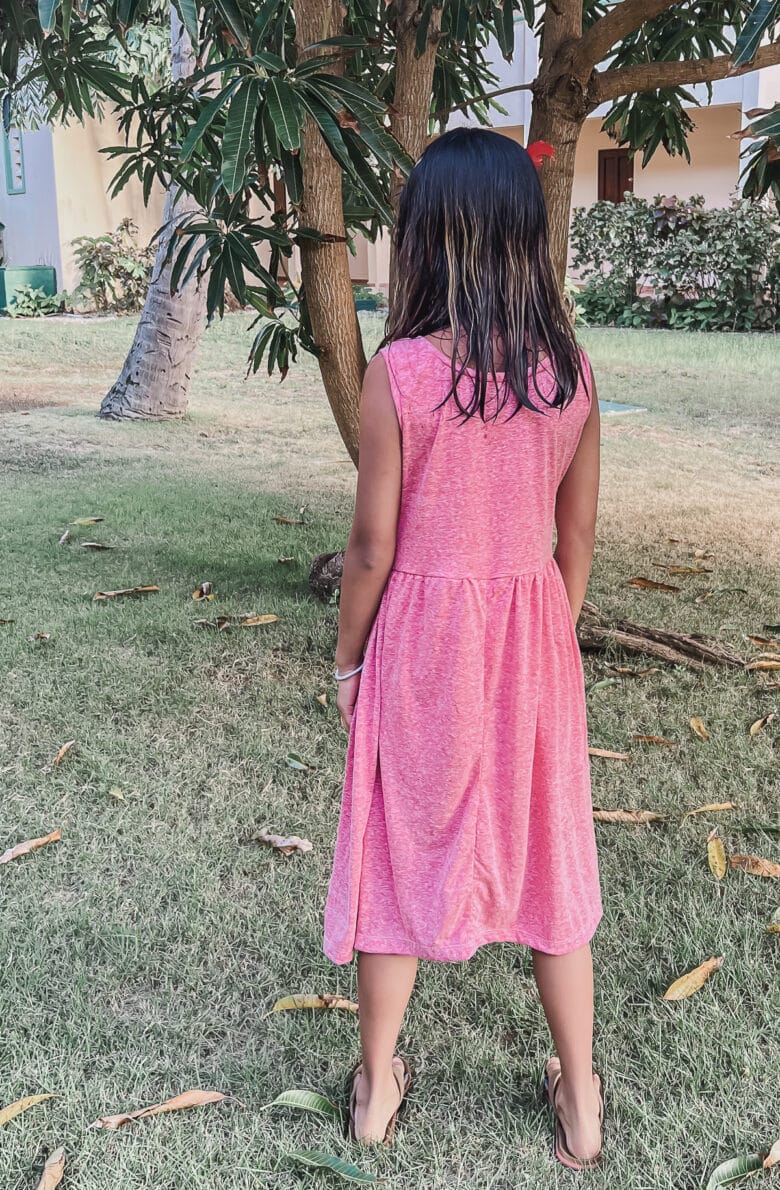
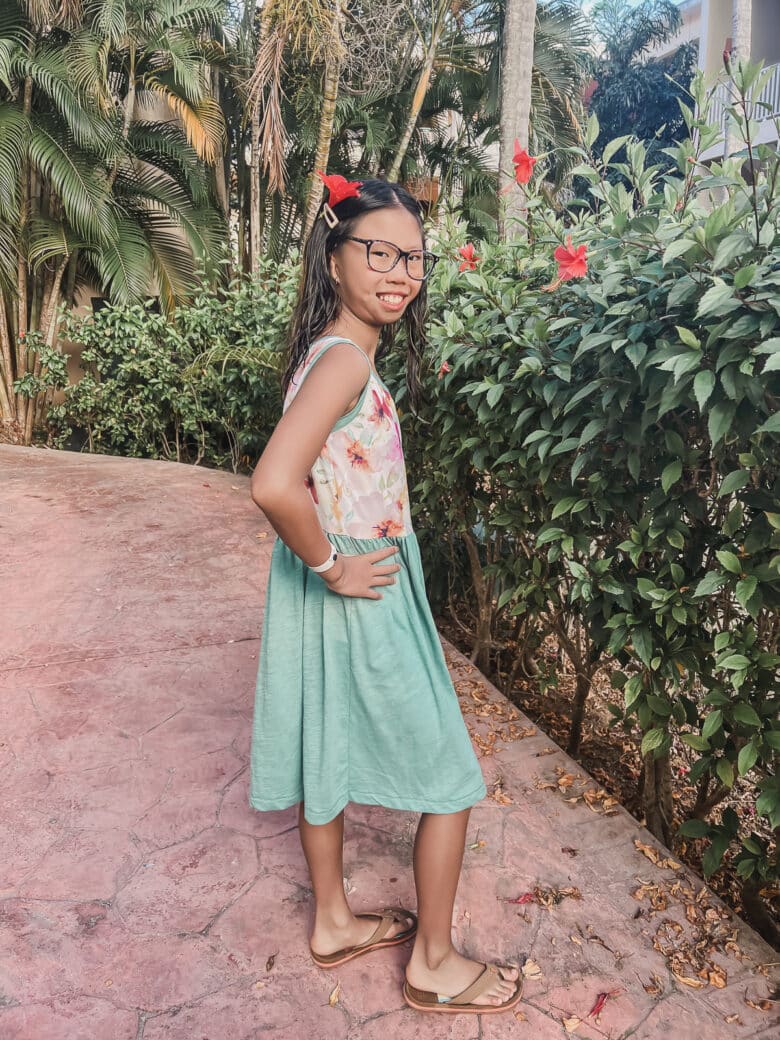
The pink dress is a tri-blend t-shirt fabric, the blue is double brushed poly and the floral is cotton lycra on the top and tri-blend {green} for the skirt}. All of these fabrics worked really well for the tank, skirt and binding. You could also use rib knit, a light French Terry, or any other fabric with at least a two way stretch.
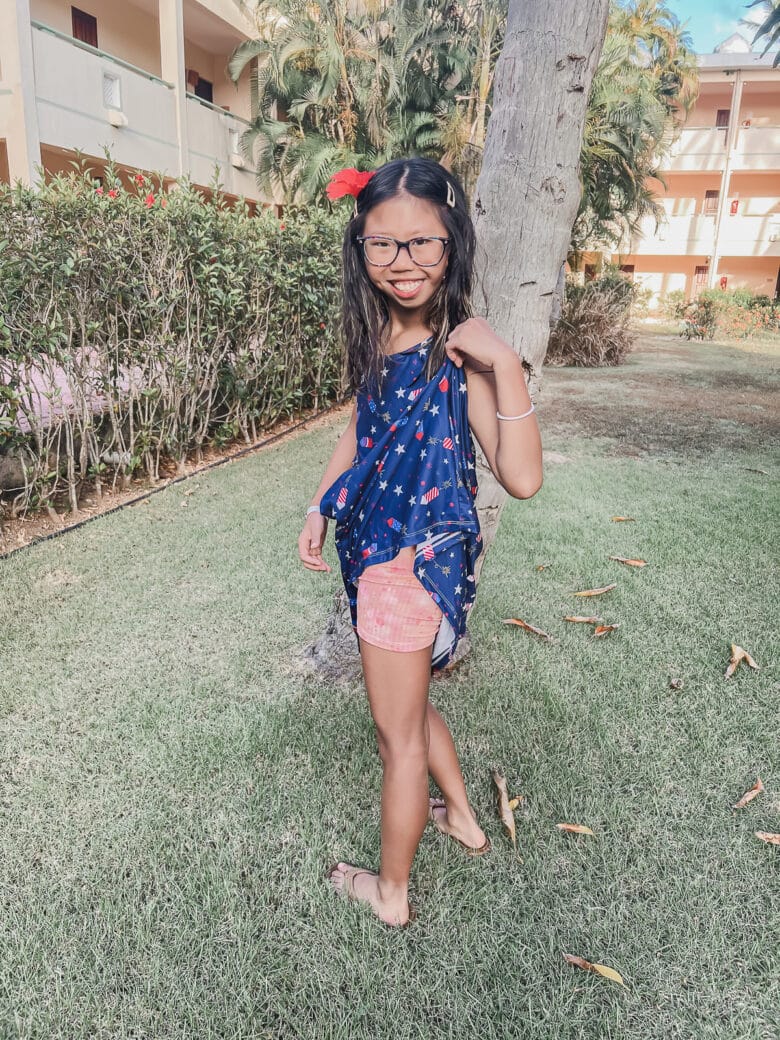
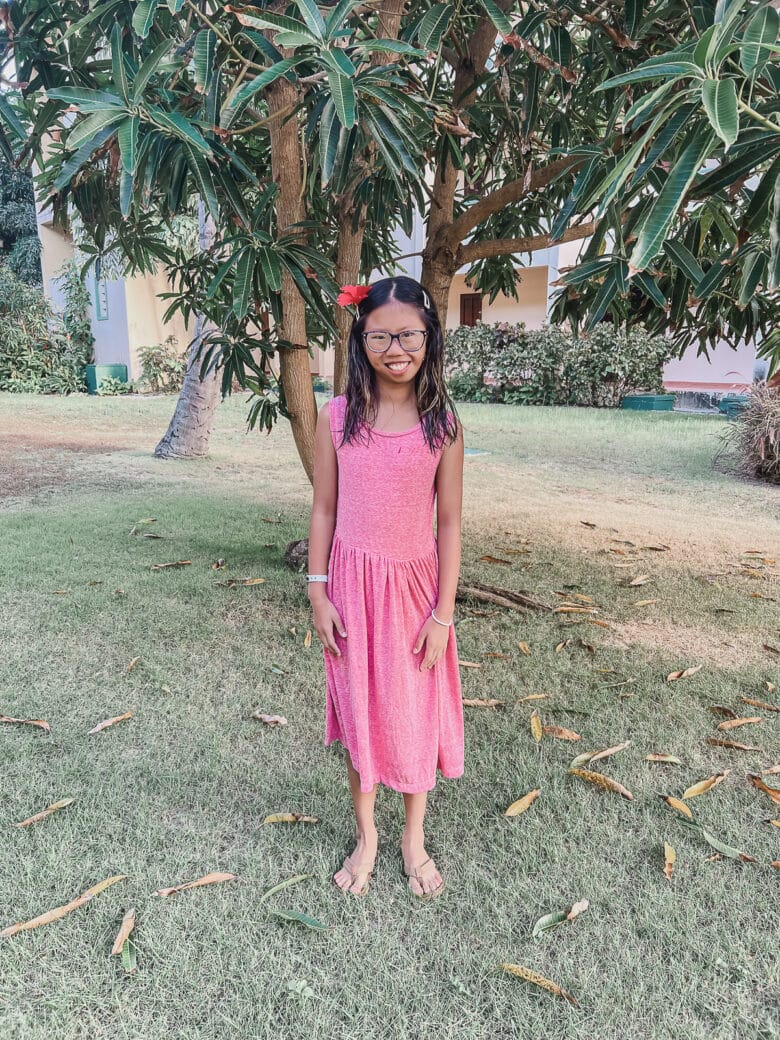
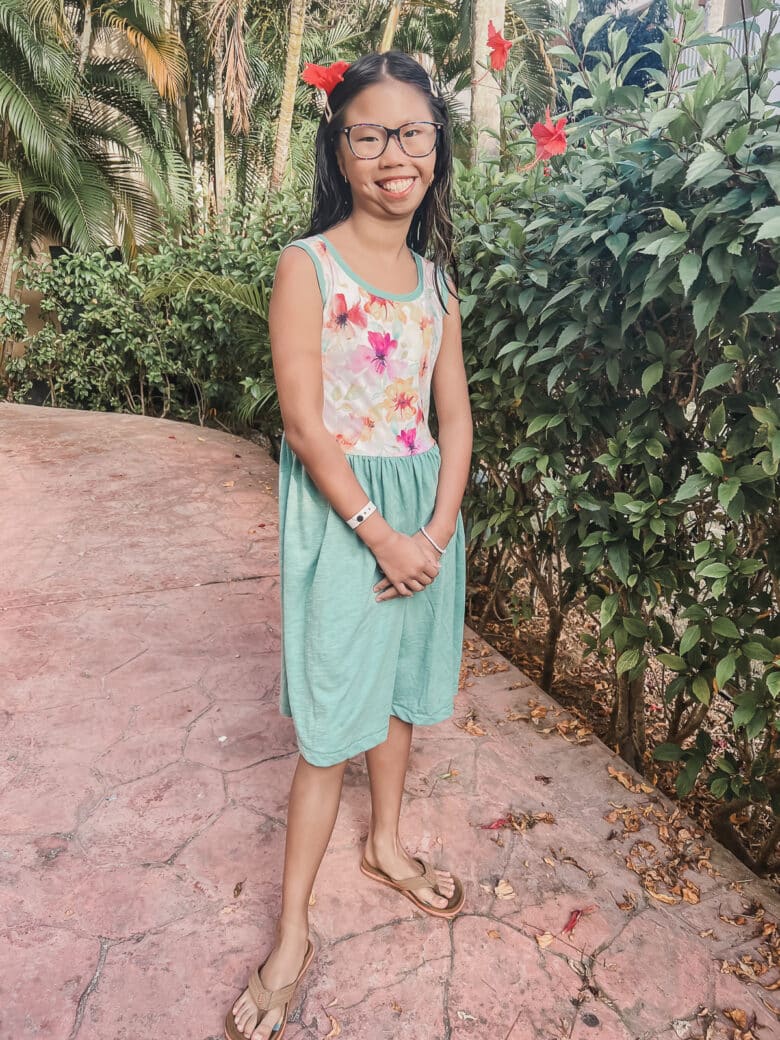
Free Tank dress pdf sewing pattern
I did not add pockets to this dress, but it would be easy to do that as well. The side seams are perfect for this. You can find a pocket template HERE if you need one.
Another helpful link is this t-shirt neck band post if you need help with the bands on the arms or neck. You can also find my tutorial for adding clear elastic here, if you need more details on that as well. The final tutorial link here is this one on how to use a twin needle on your sewing machine if you want to use the method for top-stitching.
For this tank dress sewing pattern you will need:
- 1-2 yards knit fabric {depends on the size}
- Sewing machine or serger
- {optional} cover-stitch for top-stitching
- {optional} clear elastic for waist seam stabilization
- {optional} ScanNCut and vinyl for embellishment
Grab the free sewing pattern using the buttons here or below:
You can use this size chart to determine the size to sew:
More free dress patterns to sew
- How to sew a circle dress tutorial
- Schools Out free dress pattern
- All the Ruffles free dress pattern
- Tank Dress free sewing pattern
- Dolman Babydoll free dress pattern
How to sew a tank dress with knit fabric
Ready to sew? If you didn’t grab the free sewing pattern already, here’s a link to that again:
Print and assemble the pattern pages, you can use this layout guide to assemble the pages.
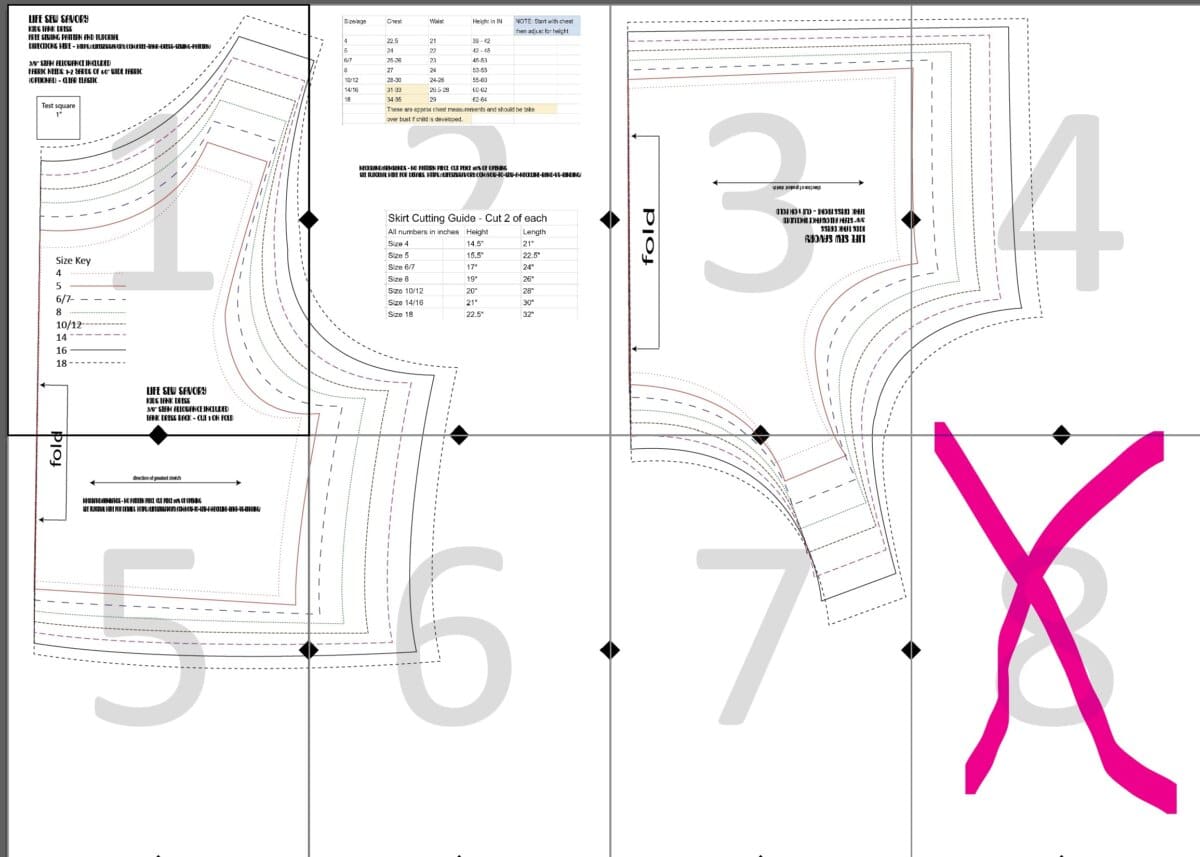
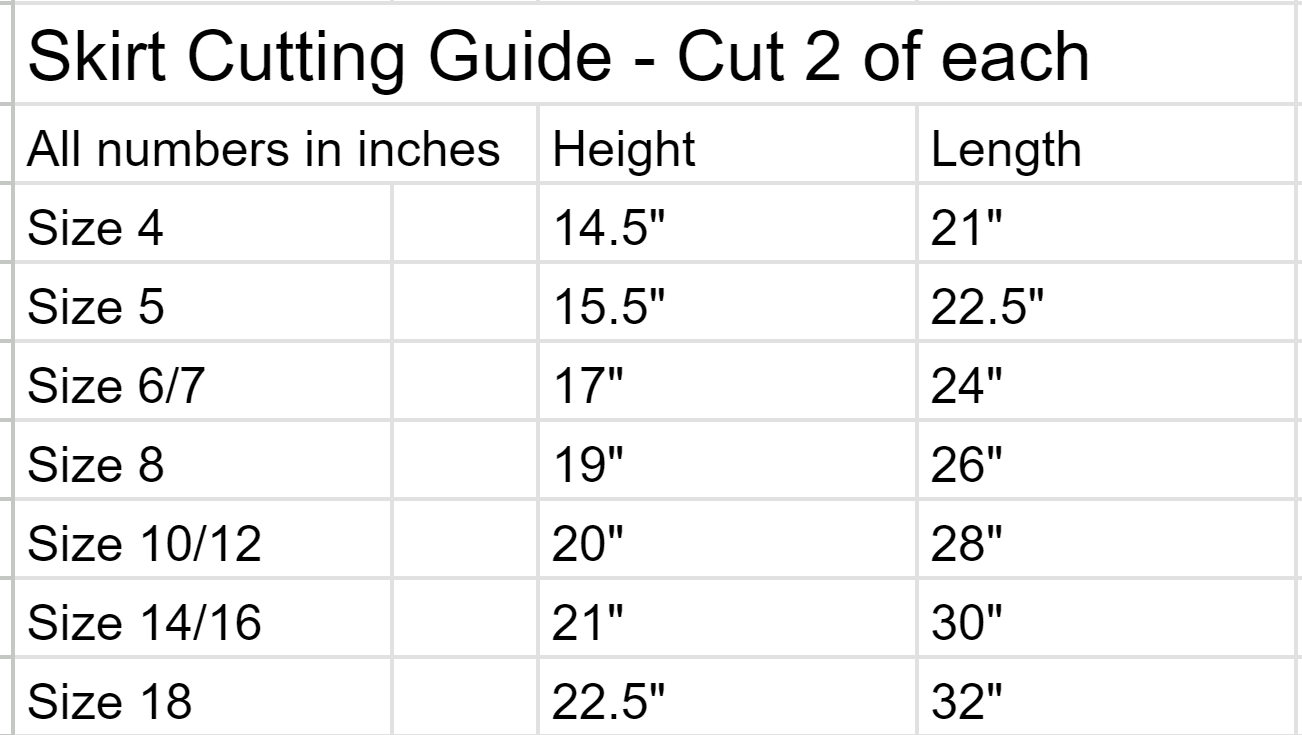
The supply list is in the section above, but I will also talk through all the supplies needed here in the tutorial. Cut the top pieces out as directed, there is a front and a back tank pattern piece. You can blend sizes as needed. You will also need to cut the skirt. Cut 2 using the chart on the pattern {the same chart is inserted here as well}. The stretch should go side to side on the width of the skirt pieces. You will also need to cut the neck and arm bands. There are no pattern pieces for these. NOTE: This should read Height and Width… sorry!!
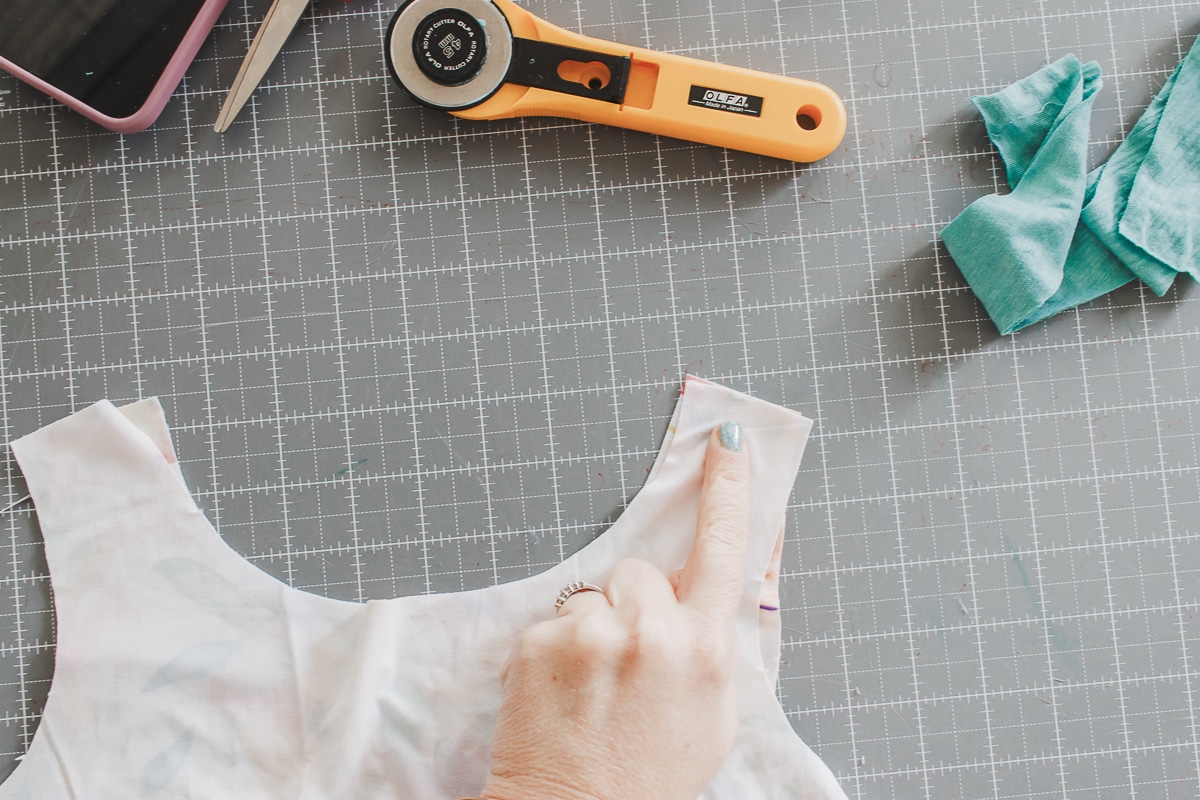
Cut long pieces of fabric with the direction of greatest stretch going the long way. The strips should be three shorter ones, or one long one with 50-60″ of length total. {we will size them later} I like to cut my bands 1.75″ wide, but you can use 1.5″ – 2″ depending on the width you like your bands and the fabric you are using.
**Sewing notes** all seams should be sewn with a serger or zig-zag stitch on your sewing machine to maintain the stretch of the fabric. Top-stitching can be done with a coverstitch machine or double needle or twin needle on your sewing machine. {all top-stitching is optional}
Begin sewing by placing the tank front and back right sides together and sewing one shoulder seam.
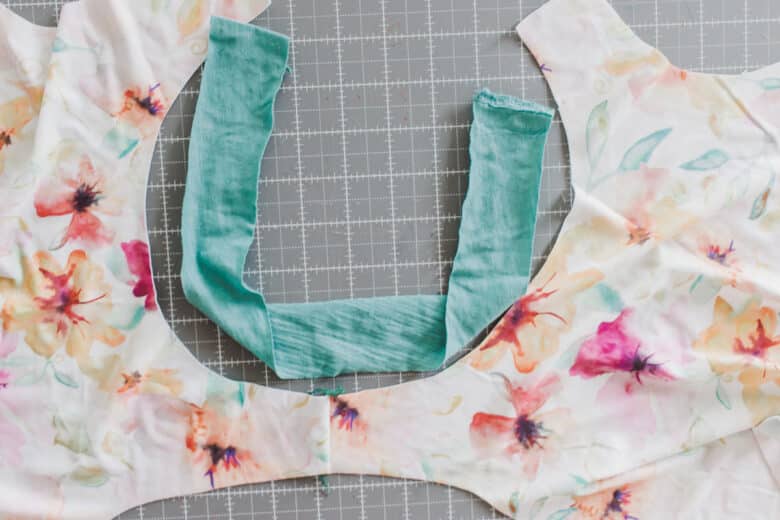
Open up the neckline and measure the length. This will help you determine the length of your neckband. Cut the neckband around 90% of the length. For example, if your neckline is 20″ you would cut a band 18″ {90% of 20}. {more neckband help in the linked tutorial above} Fold the neckband with wrong sides together the long way and stretch evenly. Pin or clip in place, then sew.
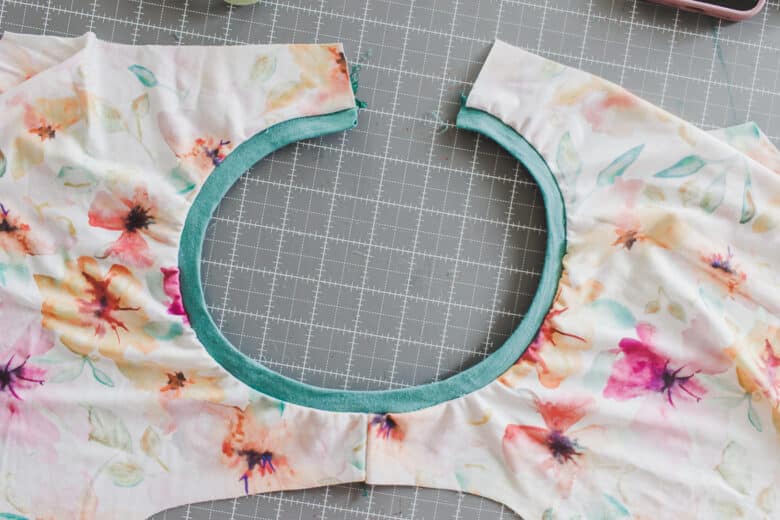
You can top-stitch the opening if you like.
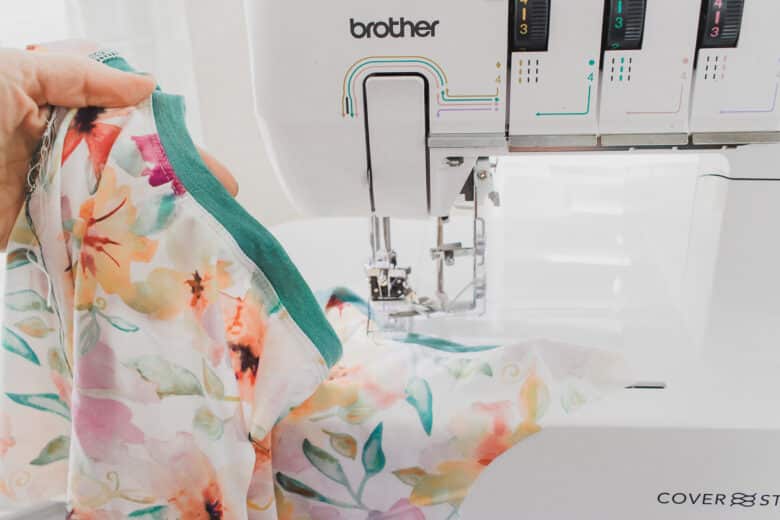
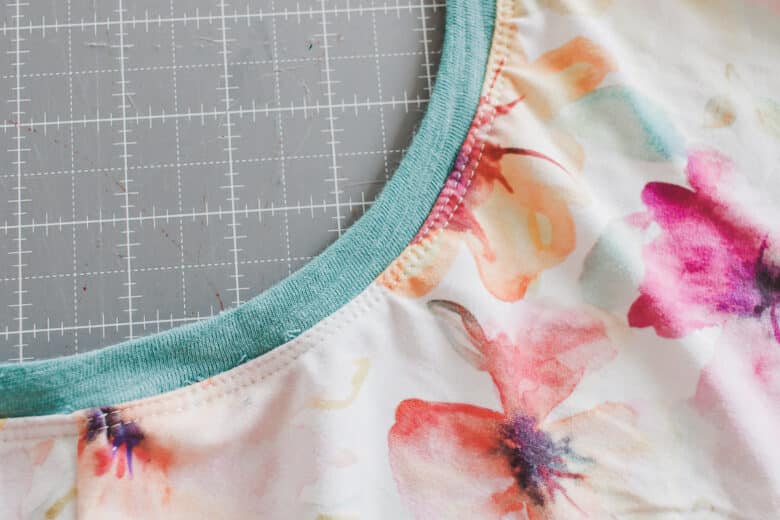
With right sides together, sew the other shoulder seam. Make sure to line up the inside edge of the neckband and sew from that side first. If using a serger, finish your serger tails.
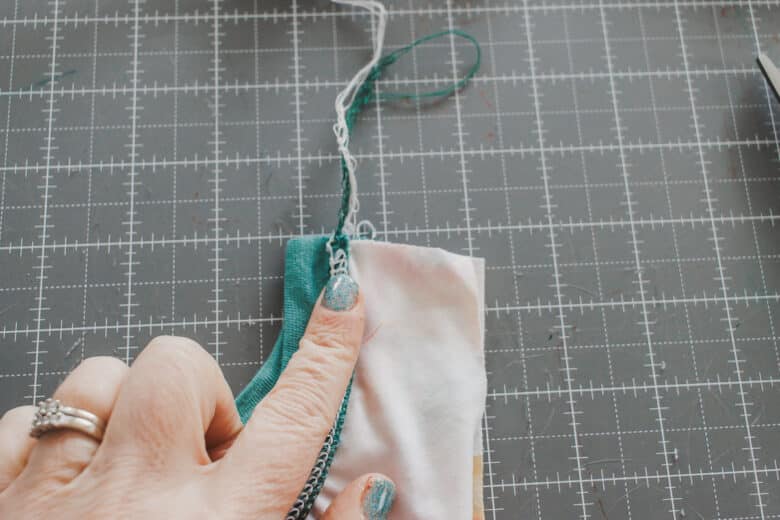
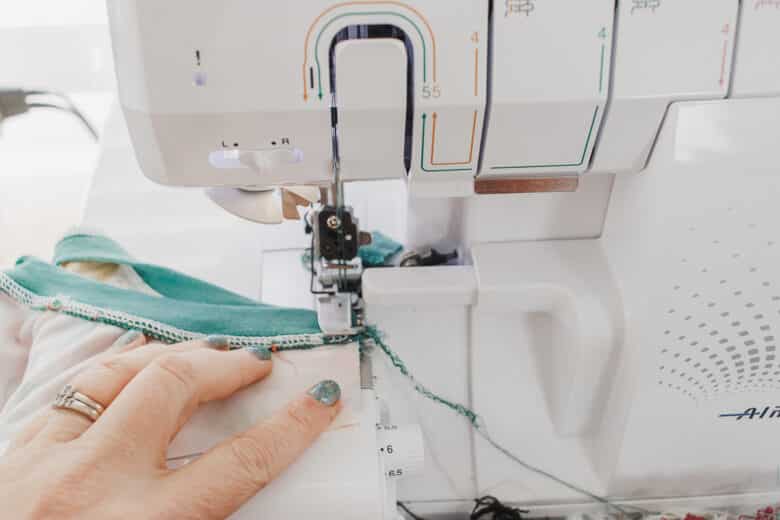
Repeat the process of measuring the arm opening and then cutting bands 90% of that length. Stretch and clip the armbands in place, then sew} Top-stitch the arm bands if desired.
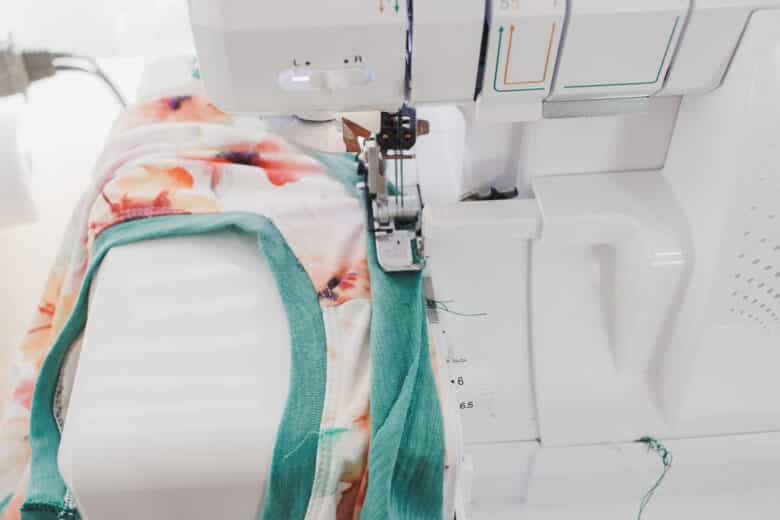
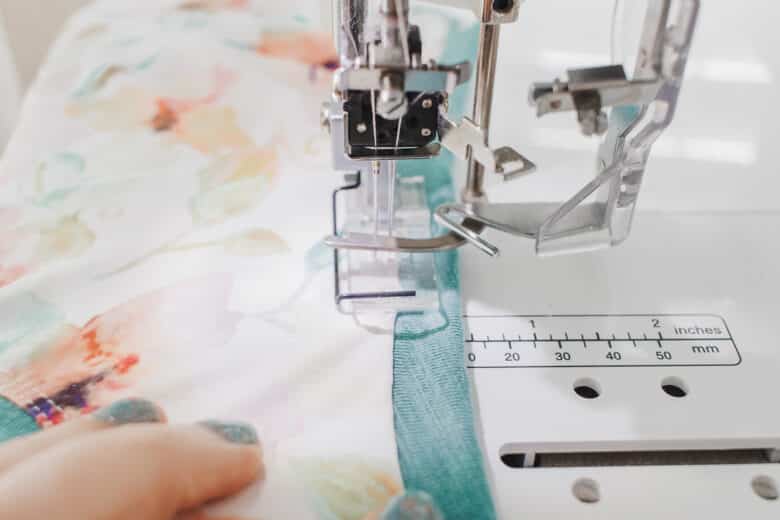
Fold the tank top together with the right sides of the fabric together and clip, then sew the side seams.
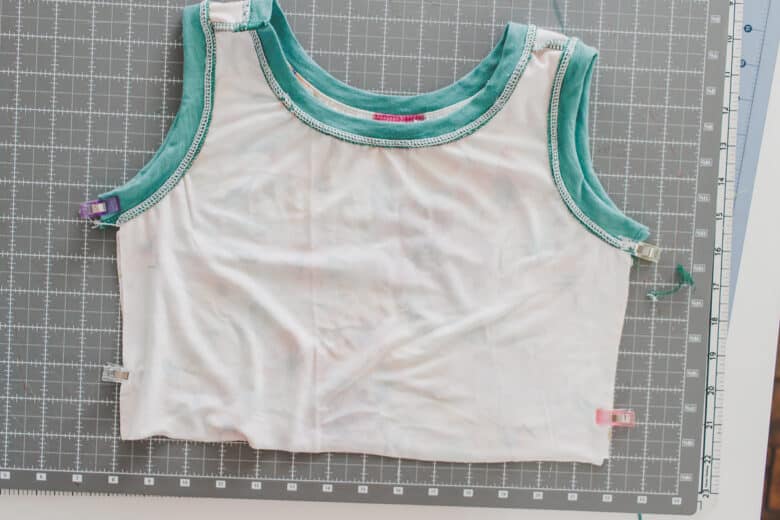
Now it’s time to sew the side seams of the skirt pieces. You can add pockets at this step if you would like.
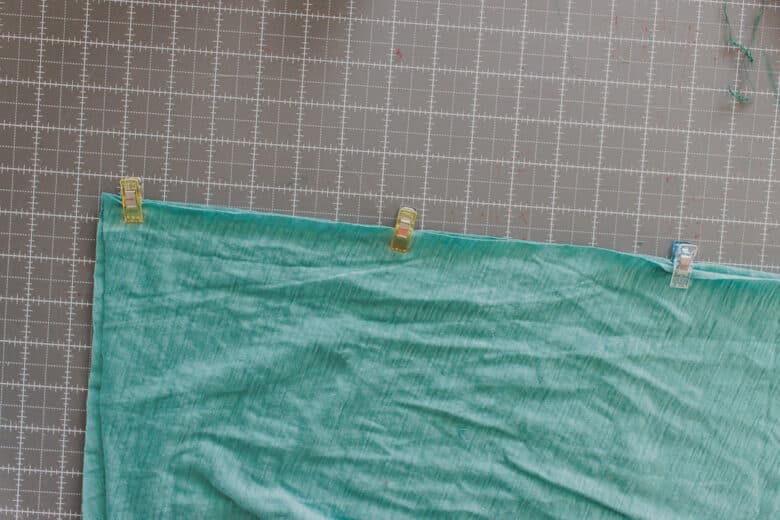
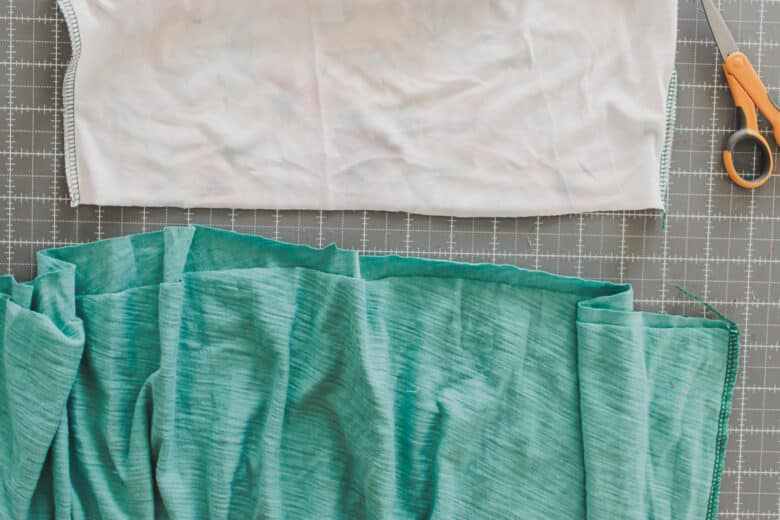
Gather the top edge of the skirt to match the width of the tank. You can gather on your sewing machine or serger. Need help gathering? Here’s my tutorial on five different ways to gather fabric.
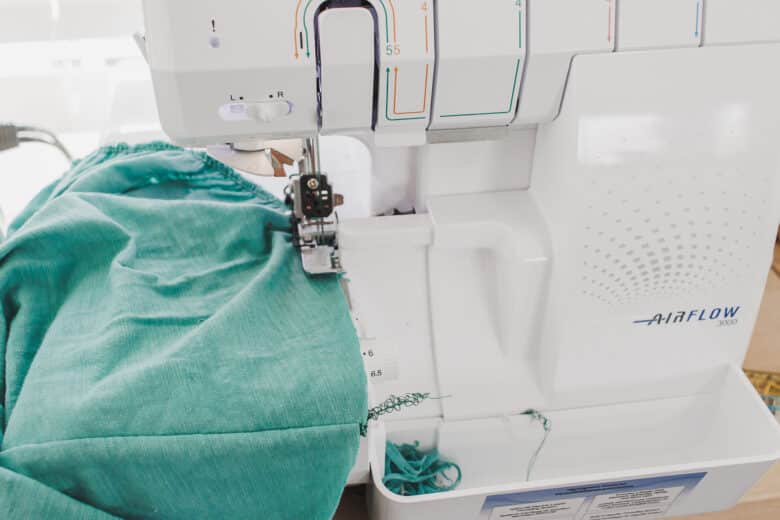
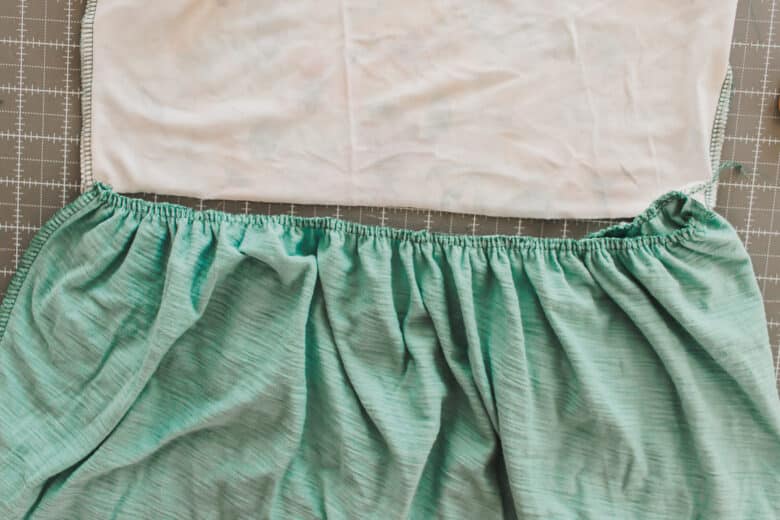
Adjust the gathers as needed to match the width. Pin or clip the tank to the skirt with right sides together. If you are using clear elastic, prepare it now.
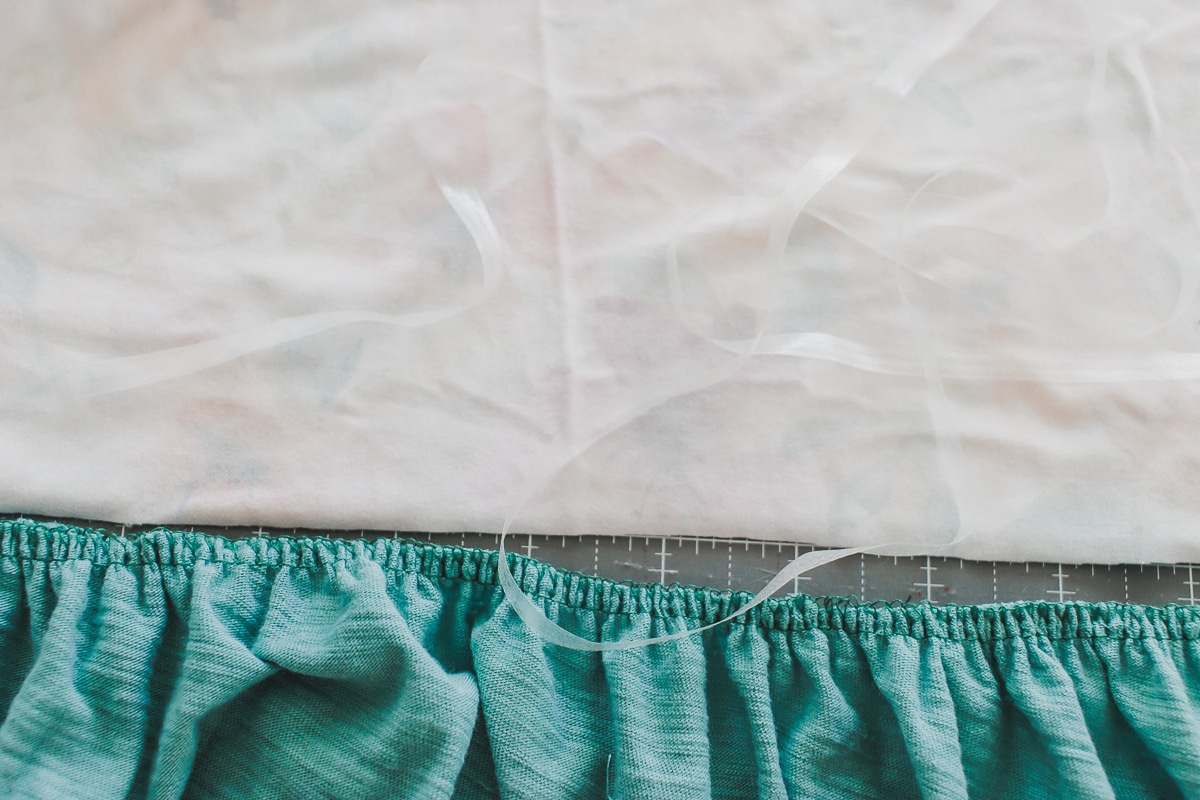
If using clear elastic, thread it through the hole on your presser foot with the elastic and put it under the foot, making sure it’s flat and not twisted. Place the skirt and tank under the pressure foot as well and begin sewing. Keep the skirt and tank lined up while sewing. The elastic should feed through on its own, no need to pull it through.
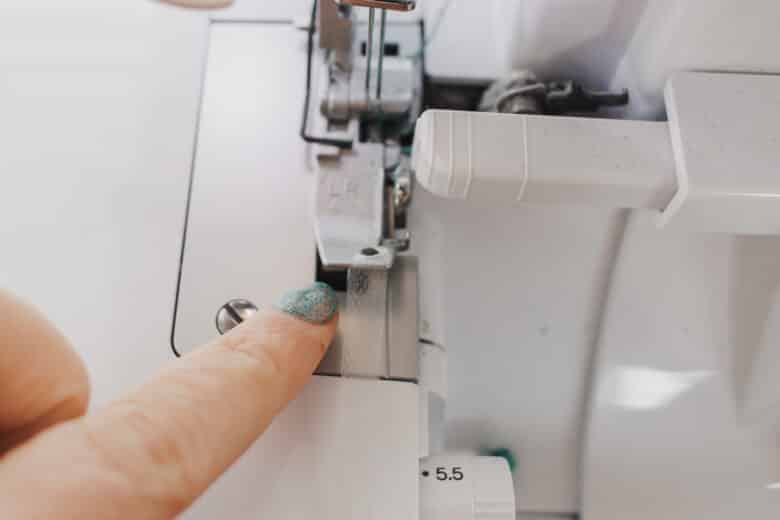
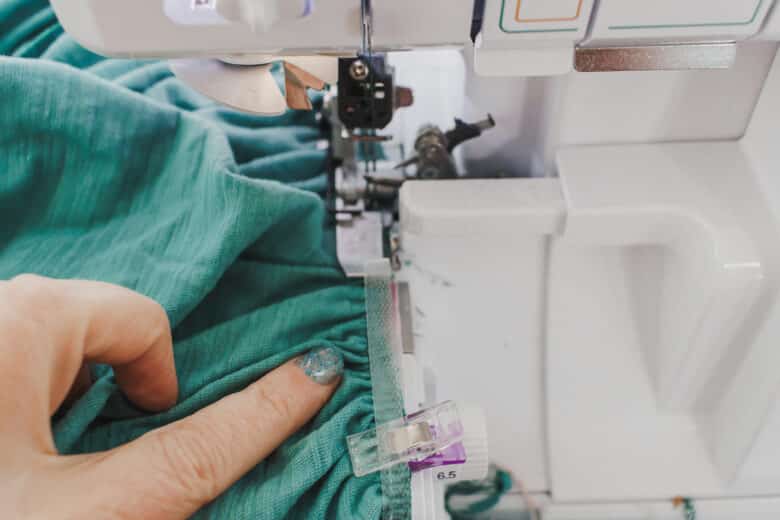
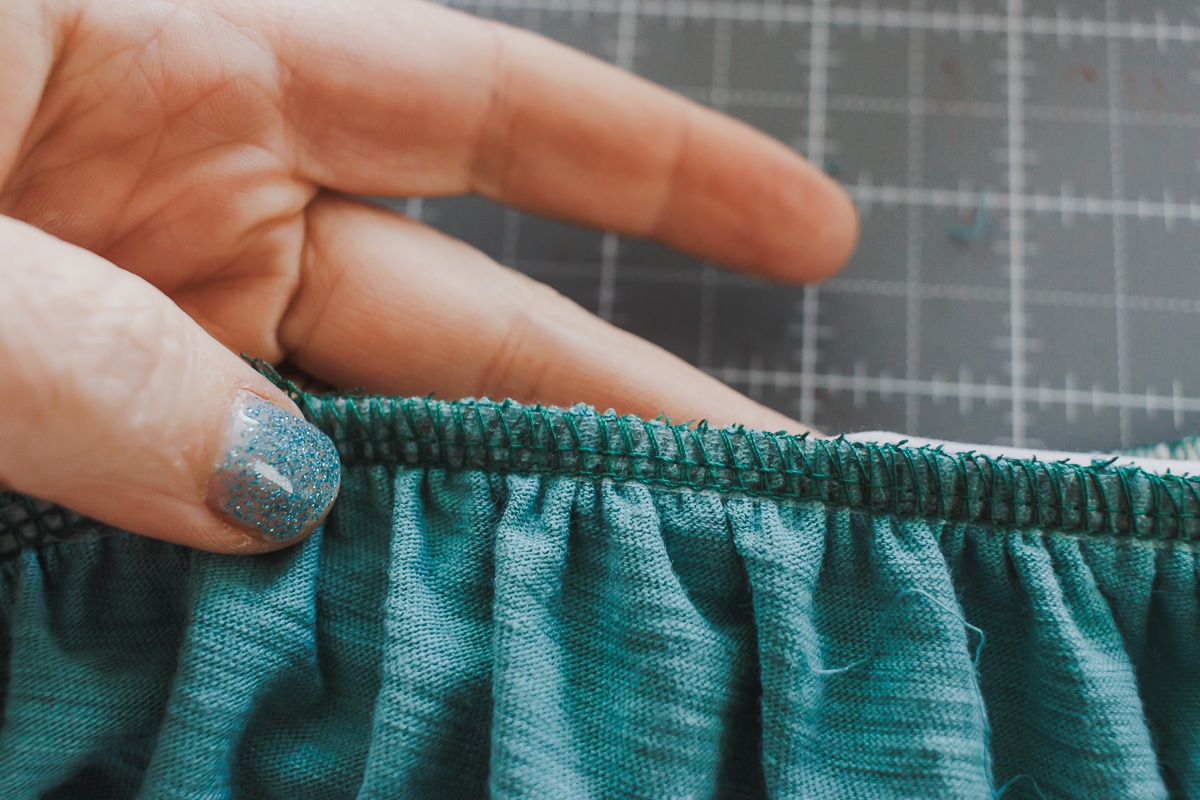
Now your waist seam is a stable, not stretched-out seam with the clear elastic sewn into the seam. If you are using a zig-zag to sew this you can sew clear elastic into the seam with your sewing machine as well, but it is a bit trickier. If doing a zig-zag sew the waist seam first, then go back and add elastic.
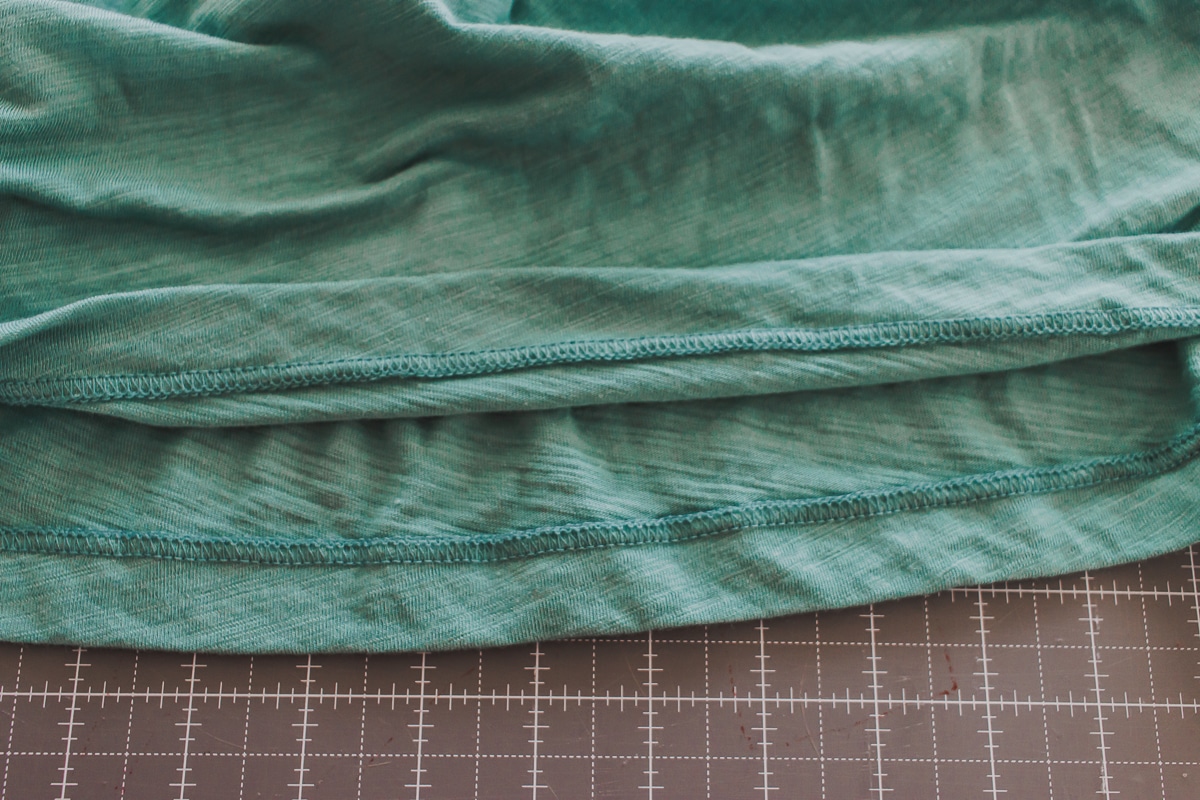
Hem your dress to finish! Turn up a 3/4″ hem to the back of the skirt and then use a coverstitch or your sewing machine to sew the hem.
Add Vinyl decals with Artspira app
Want to embellish this look? Add some fun vinyl designs using the Brother Artspira app.
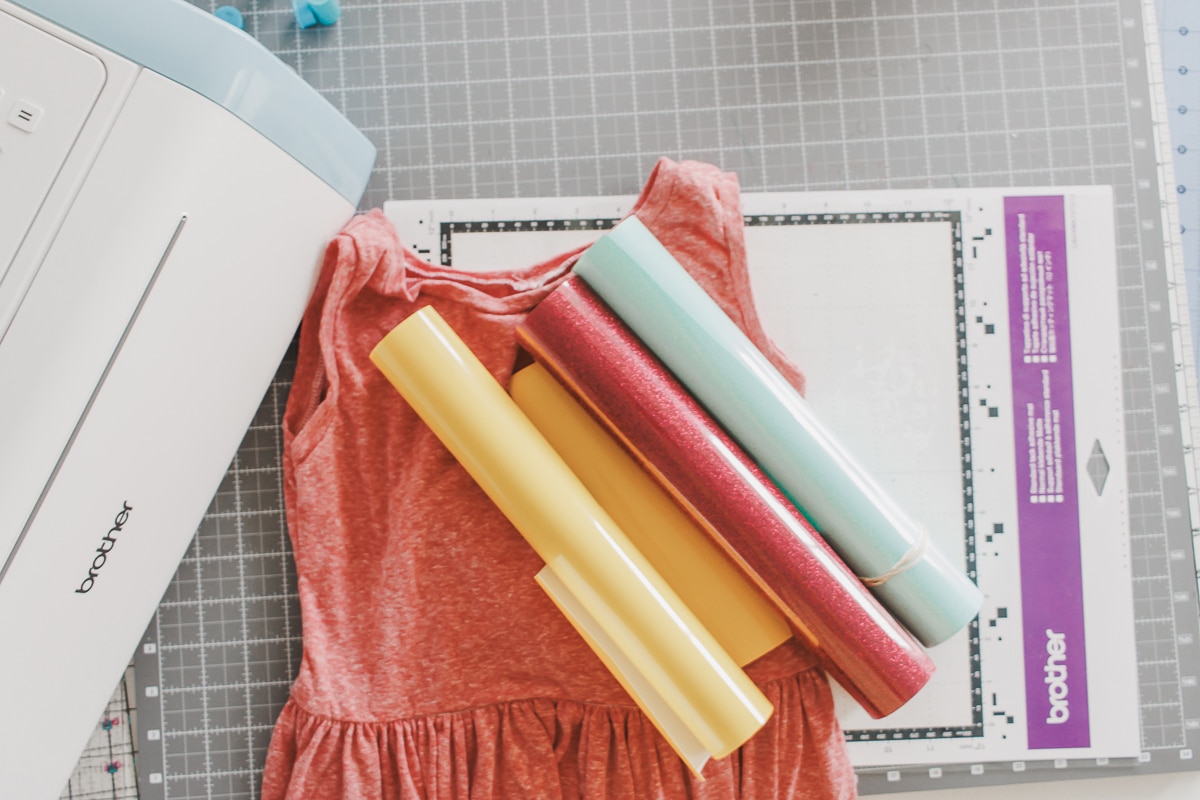
I used one of the free floral designs to add some color to the plain pink tank. The process is so easy on the app. I chose this floral design. Once selected you can see both pages of cuts. Transfer to your machine and get started!
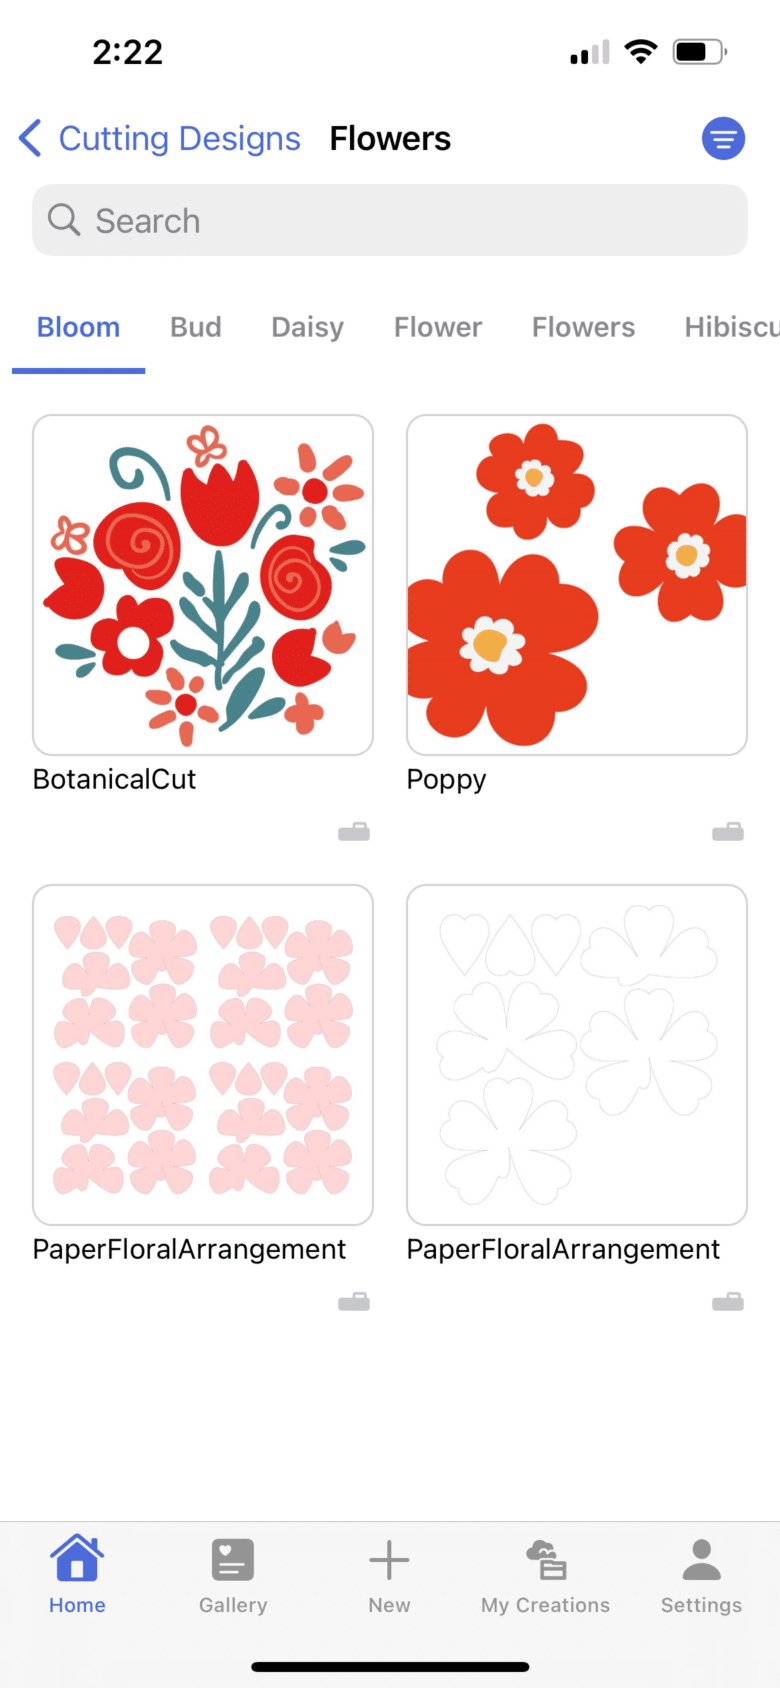
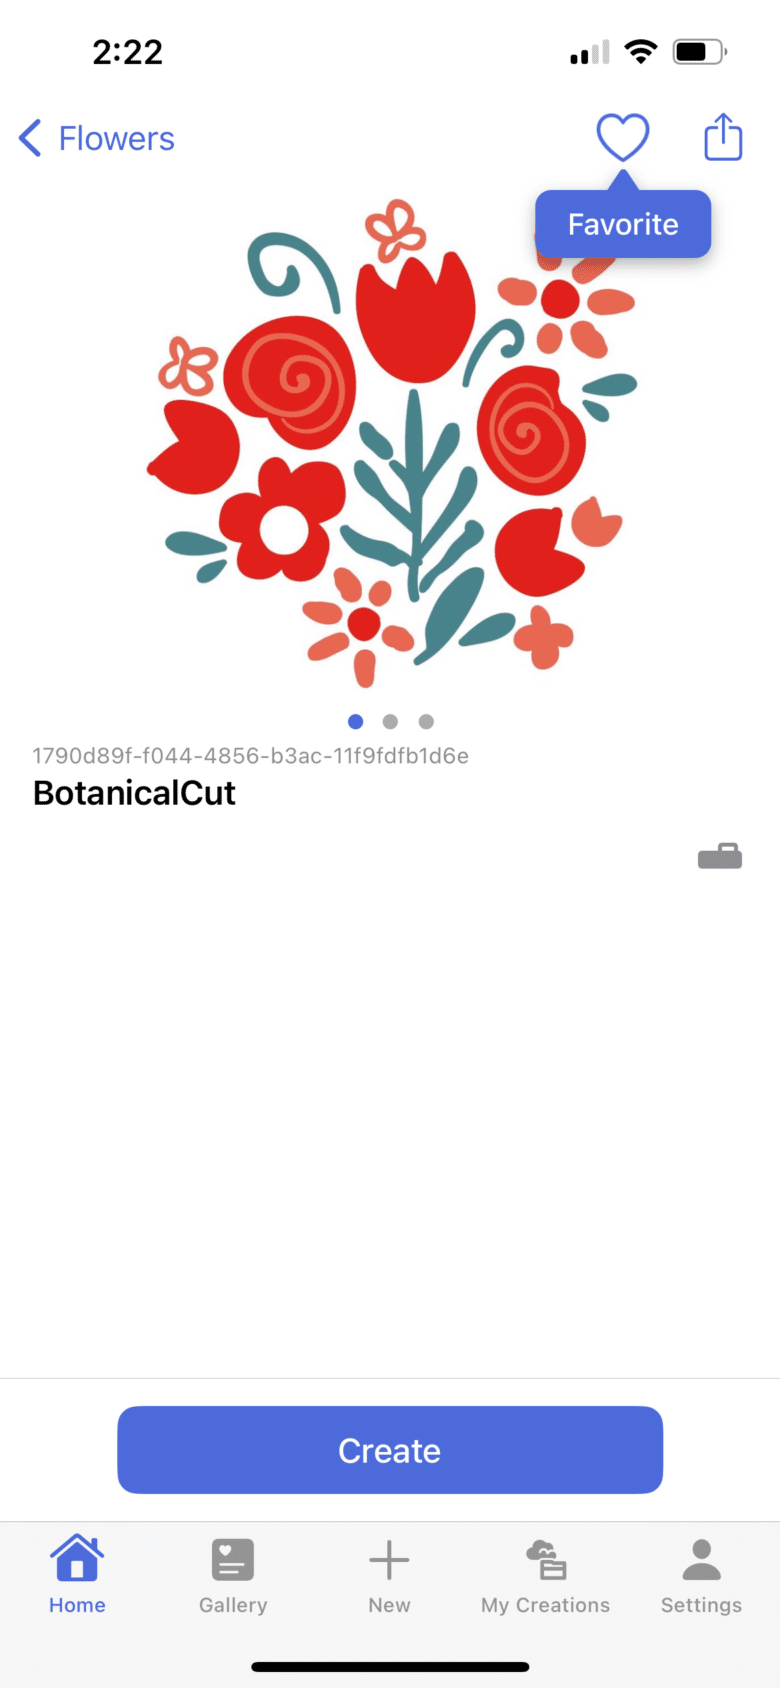
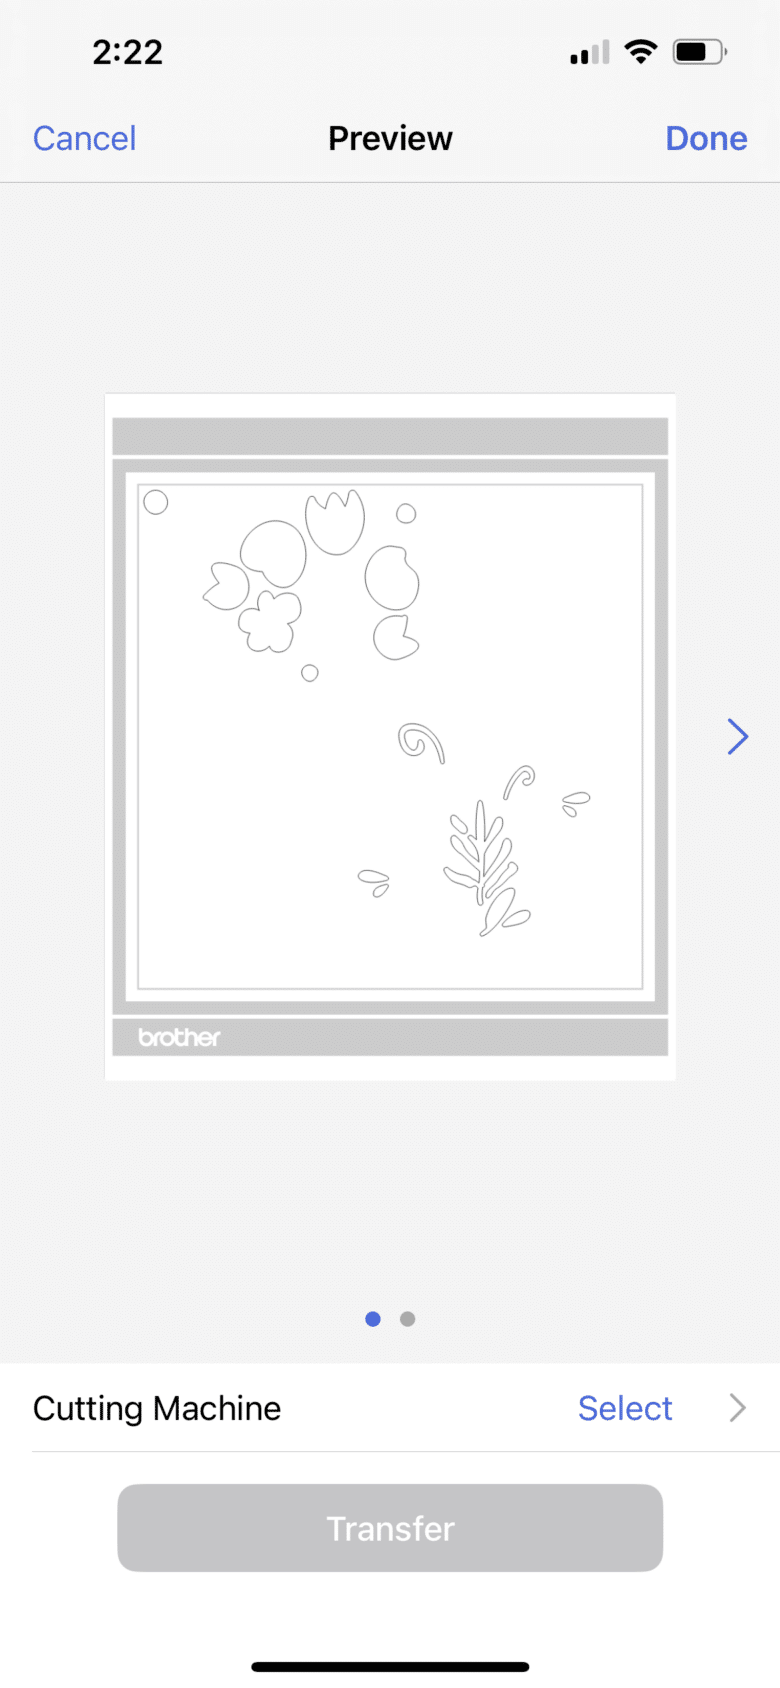
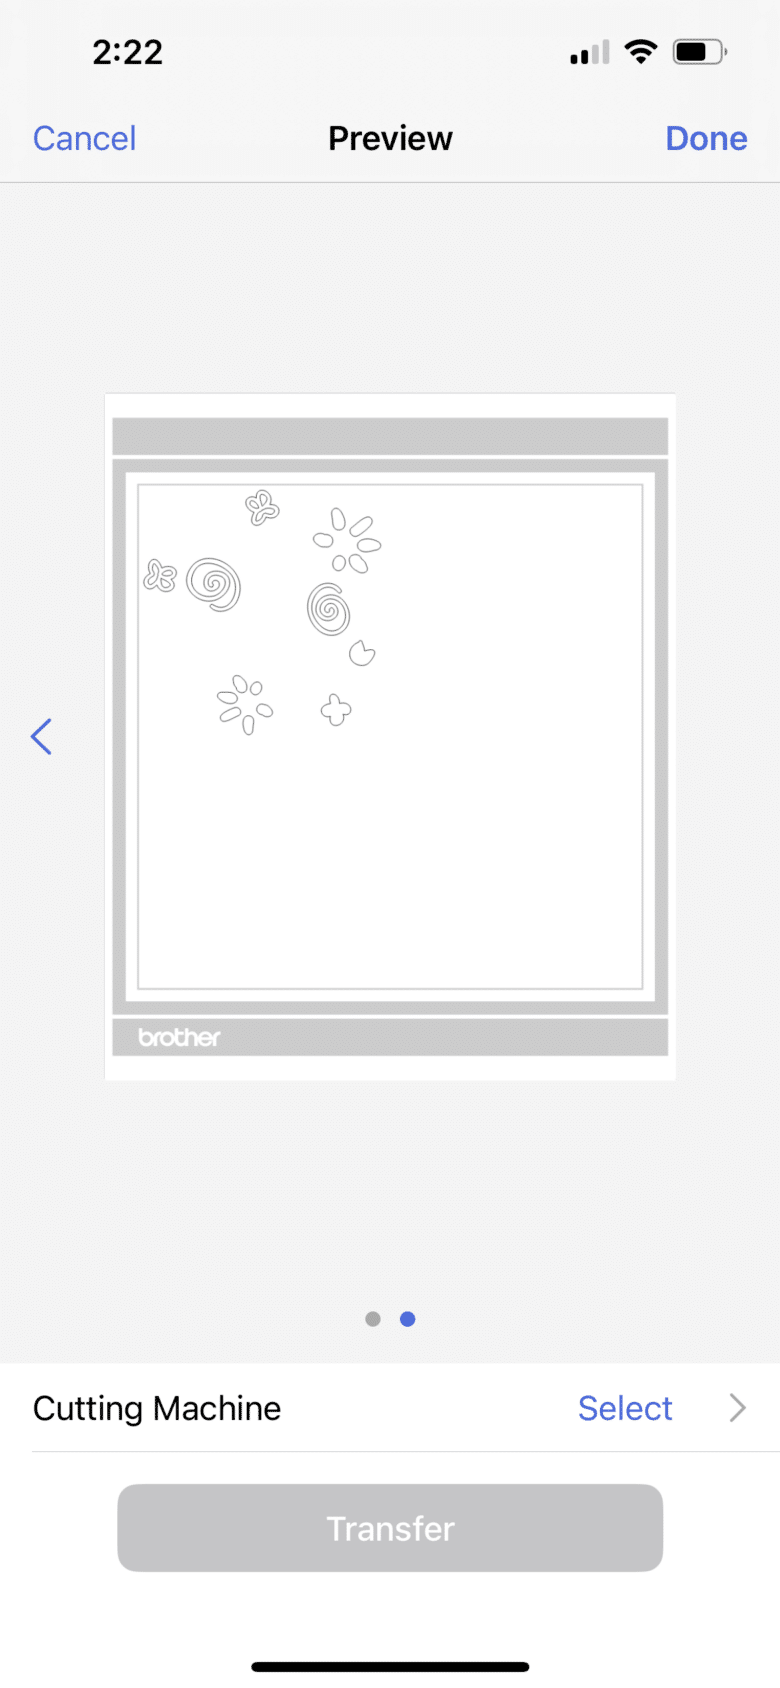
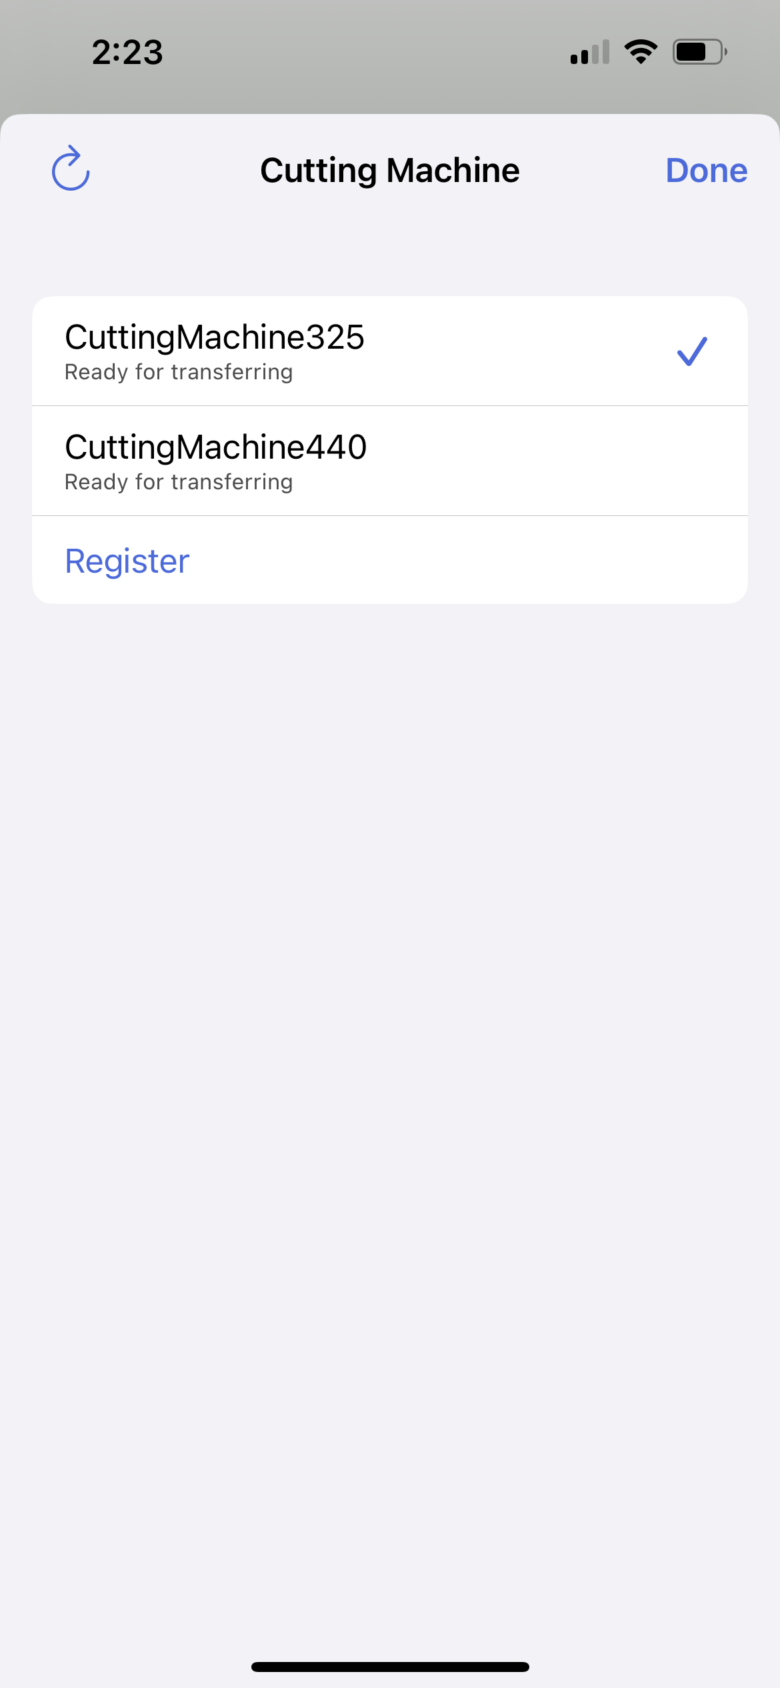
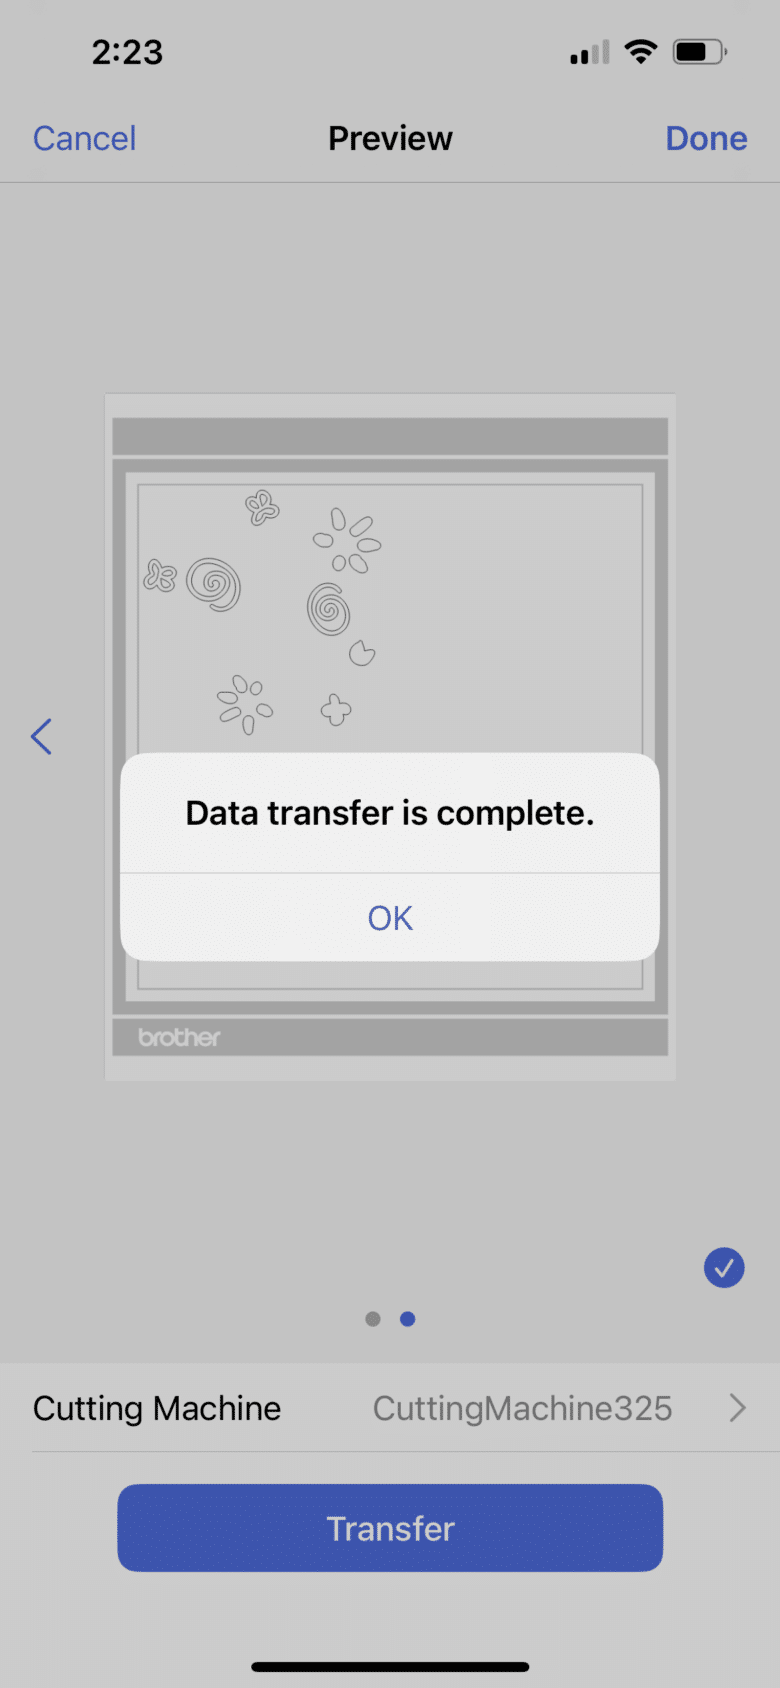
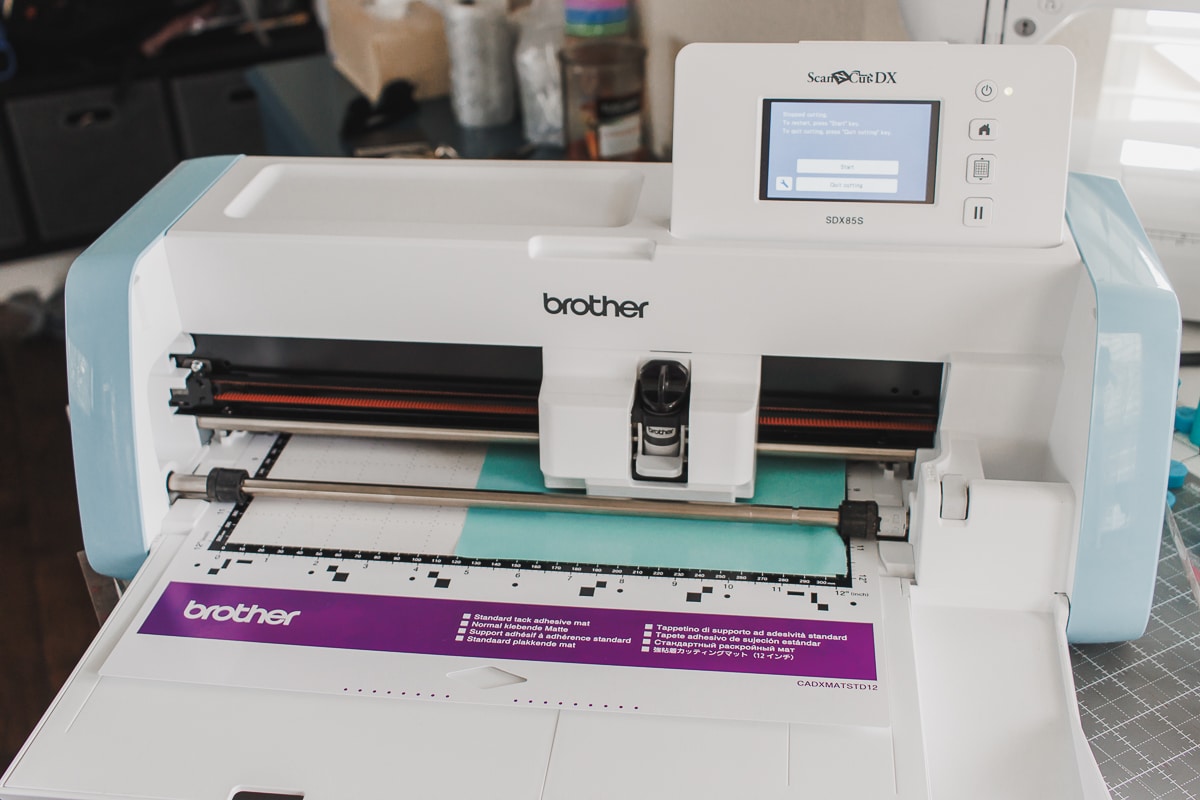
The app separates the cut colors and layers for you, so all you have to do is place the vinyl on the mat like it shows.
Layout the different colors of vinyl and then scan the mat to make sure that each color is in the spot you want to cut.
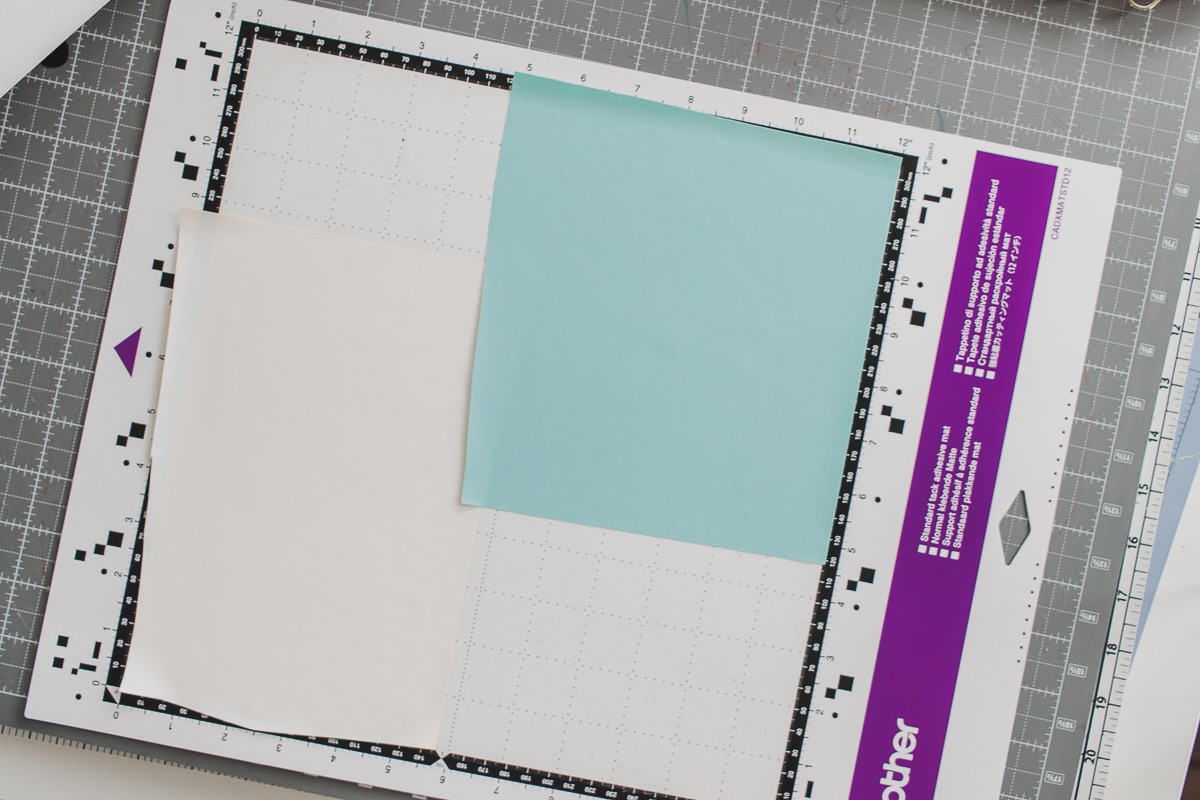
Using a half cut, start the machine to cut the vinyl.
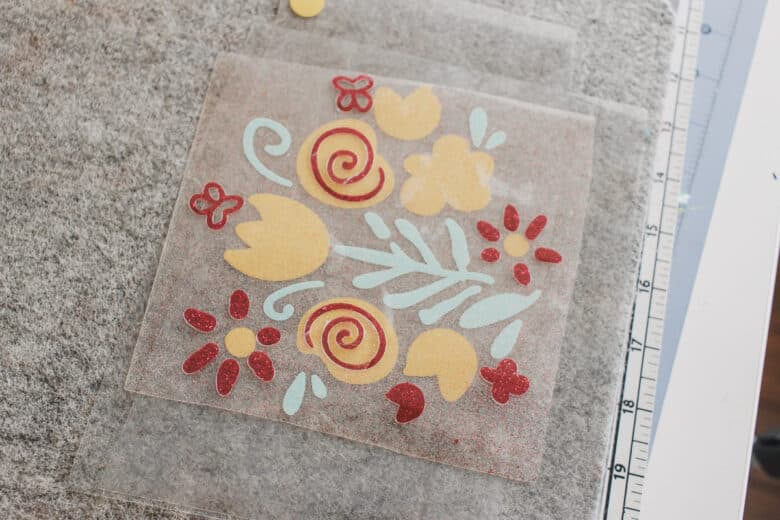
Weed the extra vinyl, then press onto your tank in layers. Make sure that the under layers are covered with the protective sheets when pressing on additional layers so you don’t melt the vinyl. I like to stack the layers to see how it all fits before ironing on the tank.
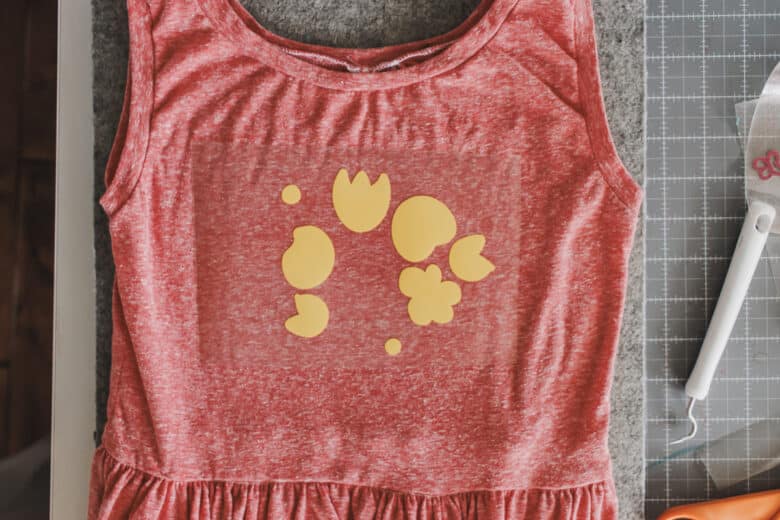
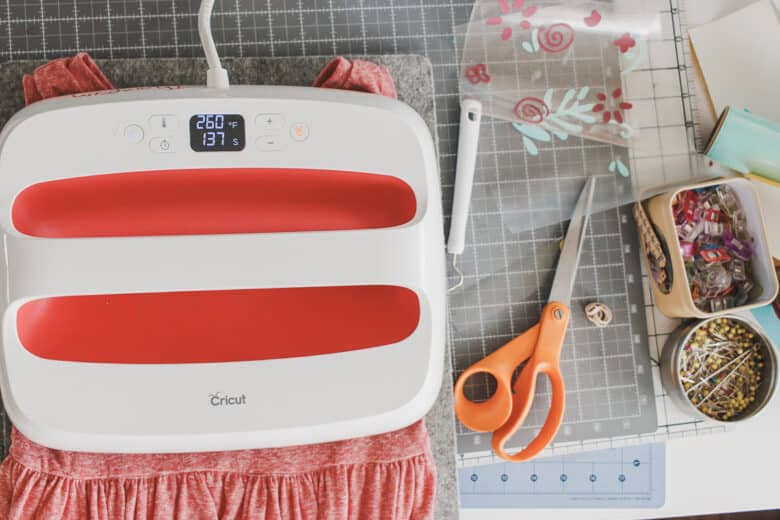
How cute does this look now? The perfect addition to this dress.
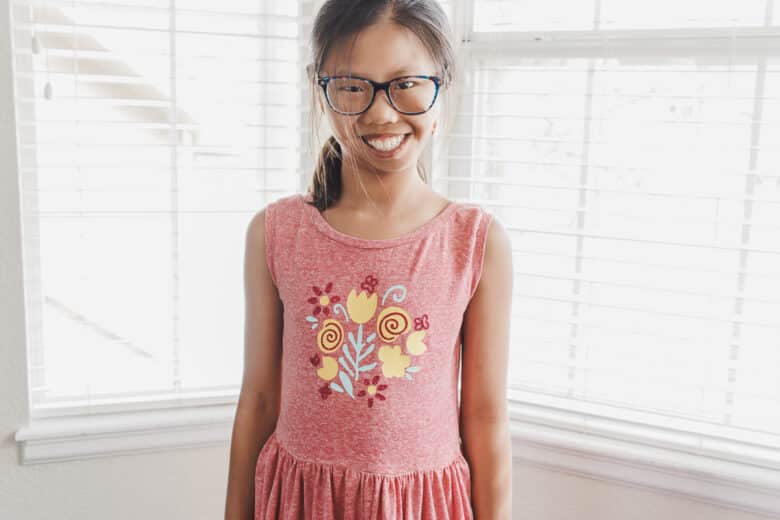
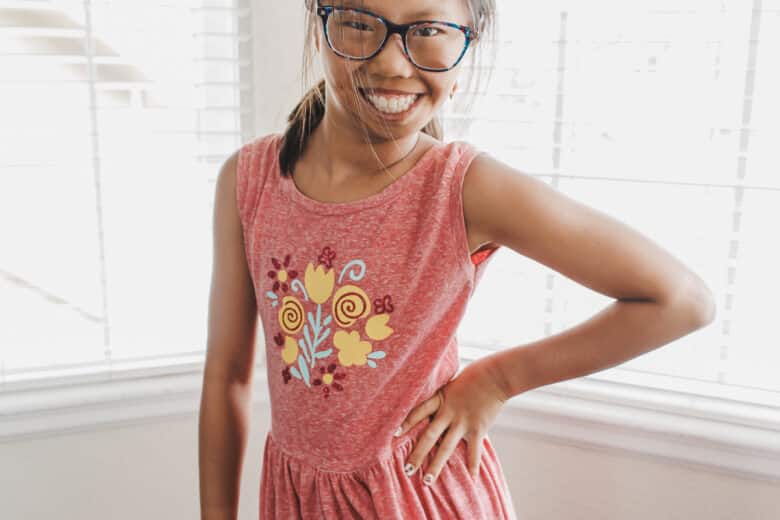
You are finished! Now sew up a few more so the kids are ready for summer. Easy and playful, these tank dresses are a summer wardrobe staple.





Lisa B says
Greetings, This is a really cute dress that I would like to make for my granddaughters but your terms of height and length for the skirt part are confusing as they almost mean the same thing to me. If it was width and length it would make more sense to me but maybe I’m overlooking something. Could you please clarify that part of the process. Sorry to be so dense. Thanks for sharing your projects with us.
Emily says
SO sorry! This should read width and length. I made a note in the pattern.
Sheila Robson says
Emily, I’m still confused about the skirt. To me. width means ‘goes round the body’, and length means ‘top to bottom’ (i.e. a short skirt is shorter than a LONG skirt). That would seem to be consistent with your instruction that you gather up the skirt to the ‘width’ of the bodice. But if the skirt width is only 14.5″ (x2) for the smallest size and 22.5″ x 2 for the largest, that would make for a very tight skirt indeed. And the other measurement (length), from 21″ to 32″, would make for a very long skirt. I’m SURE you must mean it the other way round, by ‘length’ you are meaning the length of the actual strip of fabric x 2 that is to be cut, which is to go round the body, and therefore corresponds to the skirt width, and your ‘height,’ now renamed ‘width’, means the fabric strip, and is actually the skirt length? That would make much more sense. As you must know by now, I’m a huge fan of your patterns, but I think the way these instructions and the cutting chart are written will have confused a lot of people! It would be better I think if you rewrote it, not as width and length, but as height and width. Perhaps another picture or diagram would help?
Emily says
You are probably right on this one! I’ve changed the wording in the post.
Orvallena McClain says
Where is the pattern for the skirt part. I don’t see it, it’s not printing off with the top part
Emily says
the skirt is most likely a chart in the tutorial or on the pattern
Joshua Barton says
Doodle Baseball The article offers a charming and practical free tank dress sewing pattern, perfect for summer wear. It’s beginner-friendly, versatile with knit fabrics, and enhanced by creative options like vinyl or embroidery using the Brother Artspira app, making it both fun and functional for all ages.