inside: learn how to create a felt poinsettia wreath on your embroidery machine. Use the free template to create an embroidery file for your machine to sewn a beautiful felt Christmas wreath.
I’ve been wanting to make some flowers in the hoop of my embroidery machine and decided to start with a beautiful Christmas flower, then poinsettia. It took me awhile to figure out how I wanted to create the embroidery design. Nothing I found to buy was just what I wanted, so I had to create my own. I used My Design Center on my Stellaire machine, but you can also digitalize my design with the Artspira app. The full tutorial with several options is below.
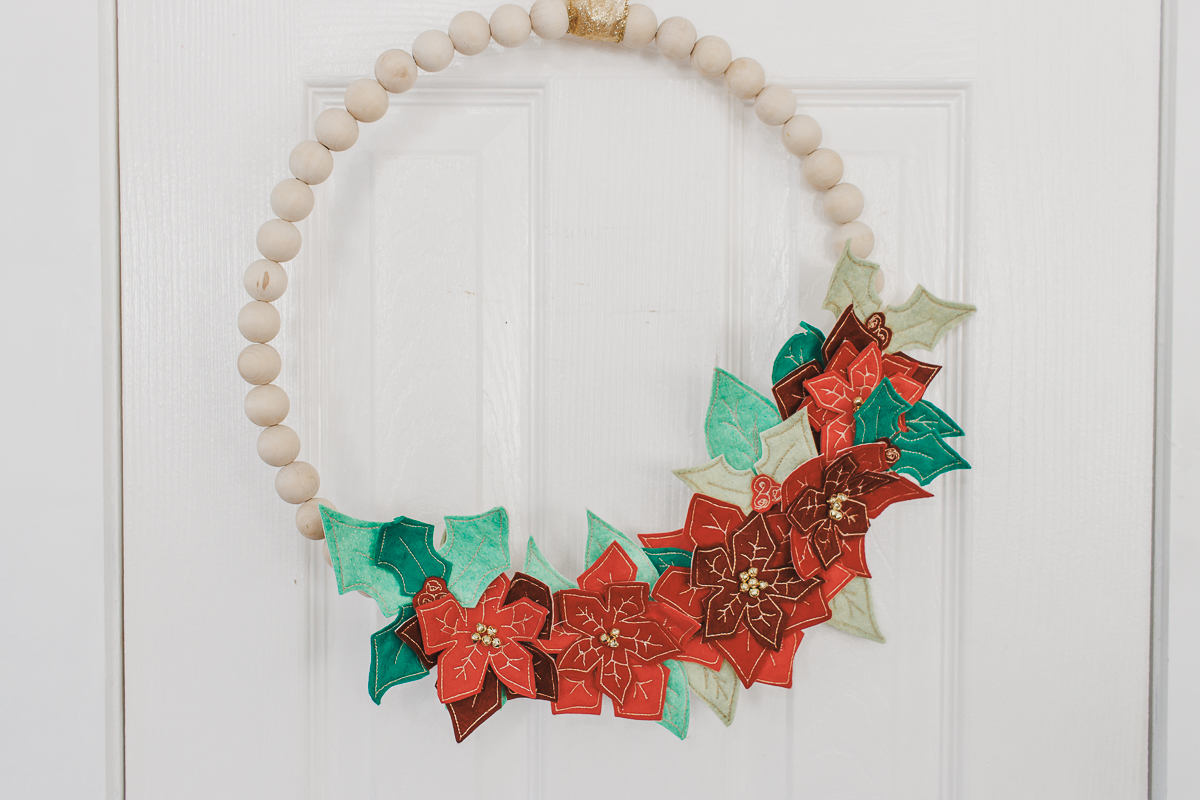
DIY Felt Poinsettia Wreath
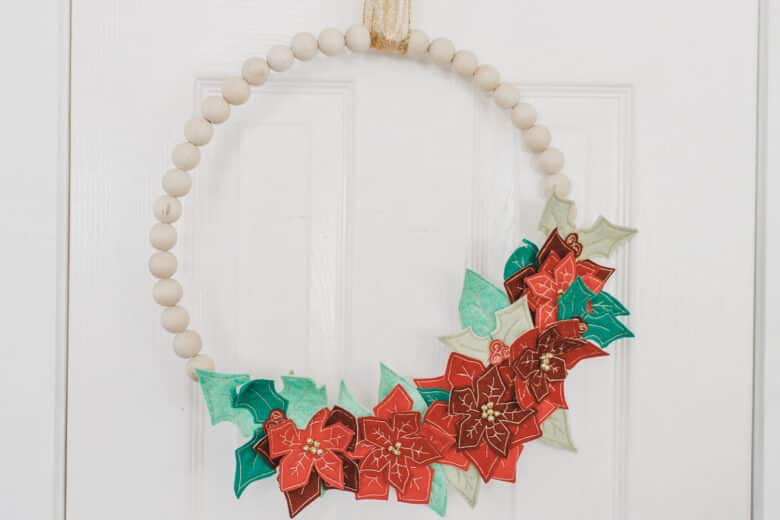
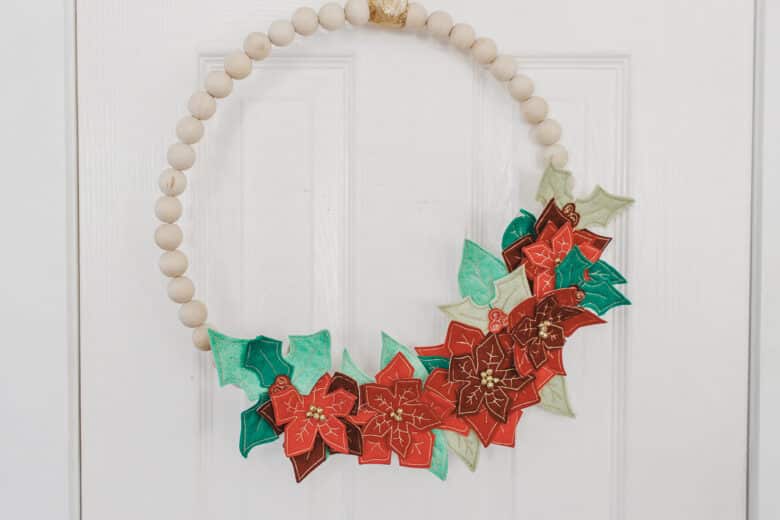
This felt poinsettia wreath turned out just as I hoped. I found this fun wooden bead wreath at Hobby Lobby and it was the perfect base for this wreath project.
From a hand drawn image of poinsettias and holly, I created a line drawing in Illustrator. From there I imported that image to my machine and used the image trace to create the embroidery design.
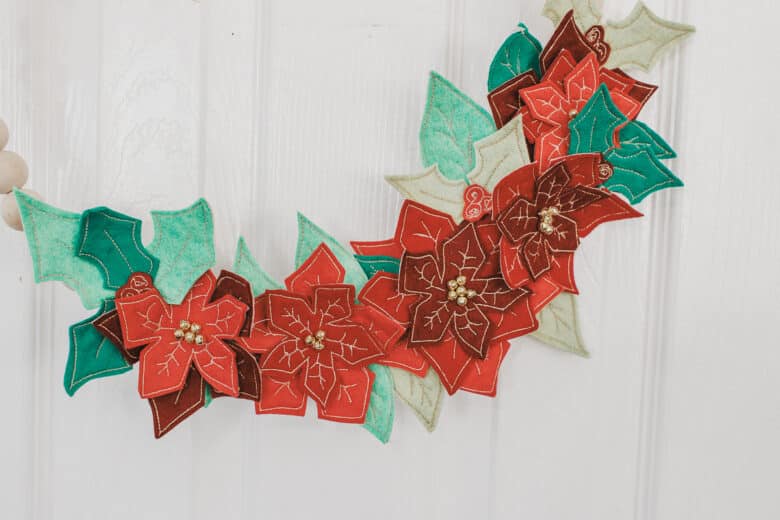
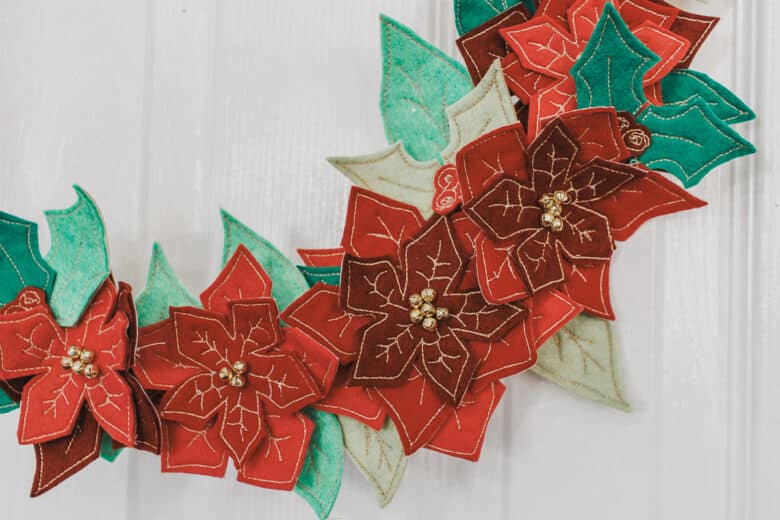
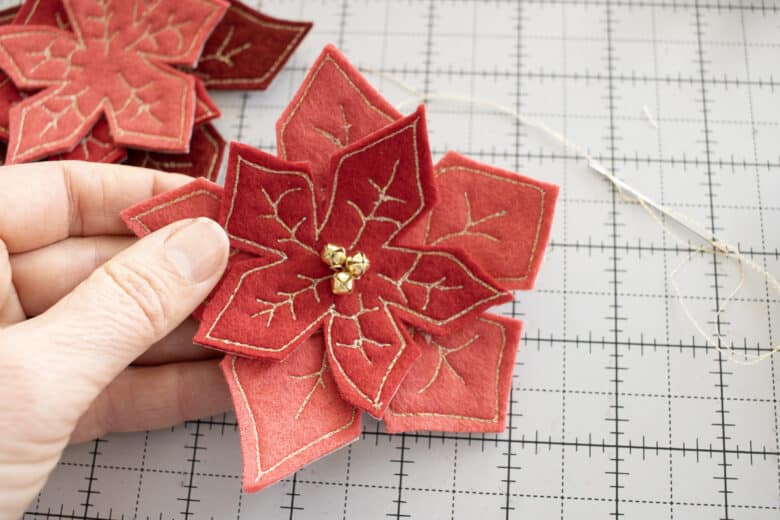
The gold bells for berries/flower centers are the perfect final touch.
I used the Brother Stellaire 2 Design center to create my embroidery file, and if your machine has built in software you can use it too with the design template download. You may also have embroidery software on your computer you can use. If you don’t have either of those options I’ll show you how to use the Artspira app to digitize the design for embroidery.
Christmas Wreaths to make
How to embroider felt poinsettia flowers
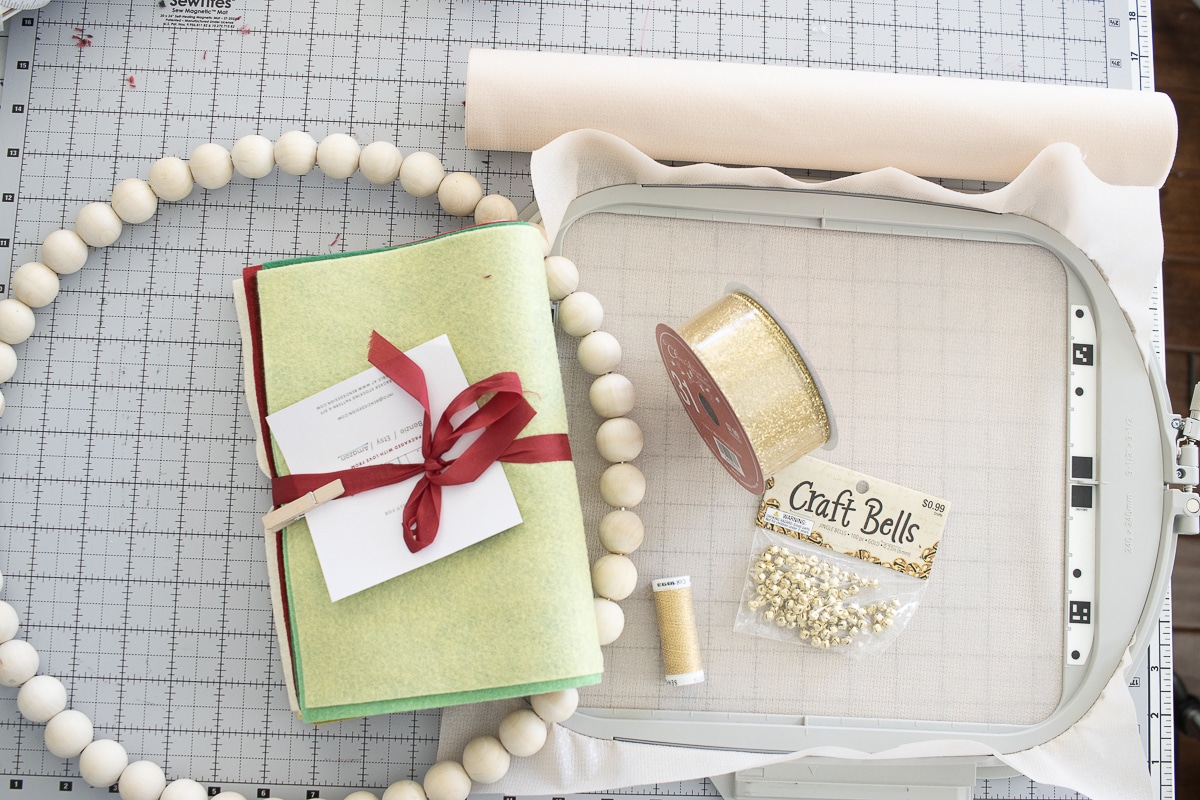
- Wooden bead wreath or solid wood wreath base
- I bought my wreath at hobby lobby, it is more affordable to buy in store rather than online, but I’m linking here for example.
- Felt – I purchased Benzie felt from Amazon here
- Gold embroidery thread
- embroidery stabilizer – Just use up what you have on hand
- tiny gold bells – I also purchased at Hobby Lobby
- Ribbon for hanging
- hot glue gun to assemble wreath
- free template – click red button below
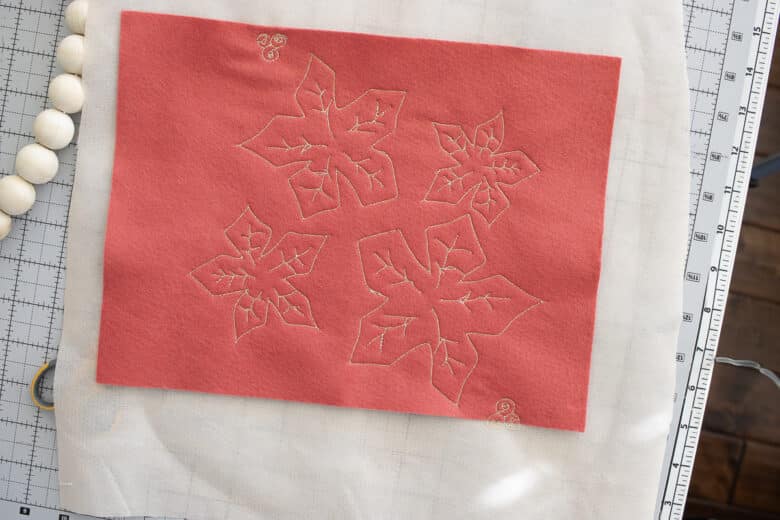
- the template has two sheets. One for green felt and and the other for red. For each I embroidered on a few color varieties to get depth and variation.
First I will share the two different ways you can digitize this design without software, then we will show how to embroider and put the beautiful wreath together. Download the free design above, unzip the file and place if on a thumb drive.
- Using Design Center {Or your machine equivalent} with free design.
- Open design center
- use line tracing
- import design from thumb drive
- open a single design sheet {ther are two total}
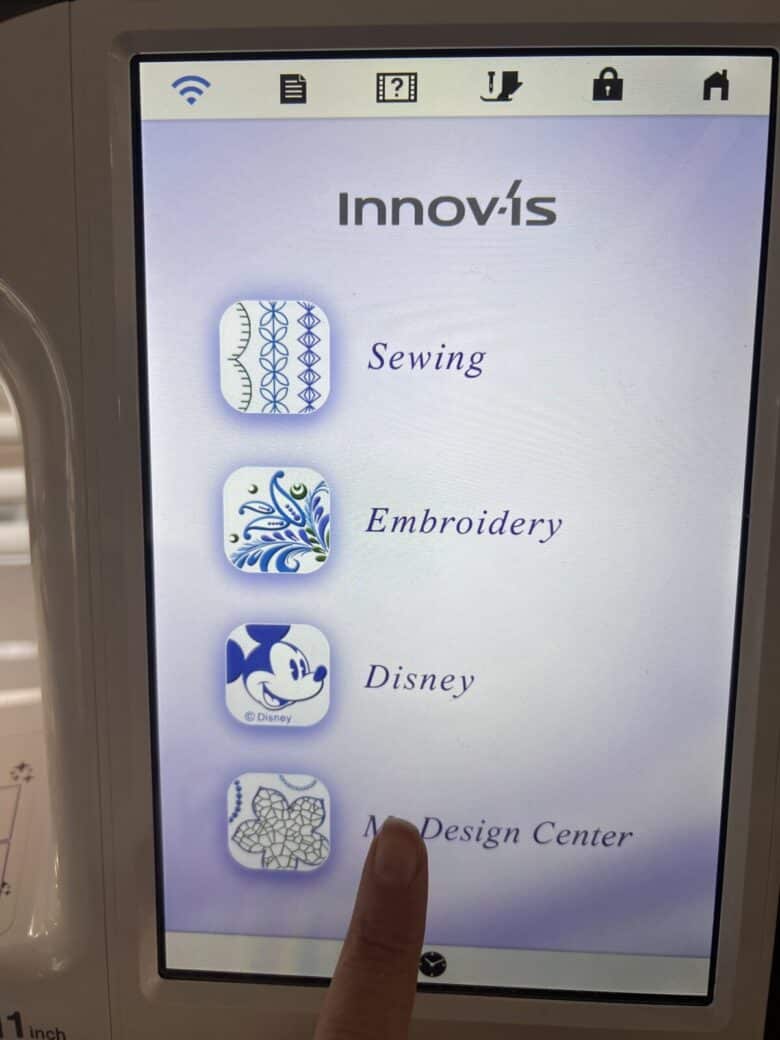
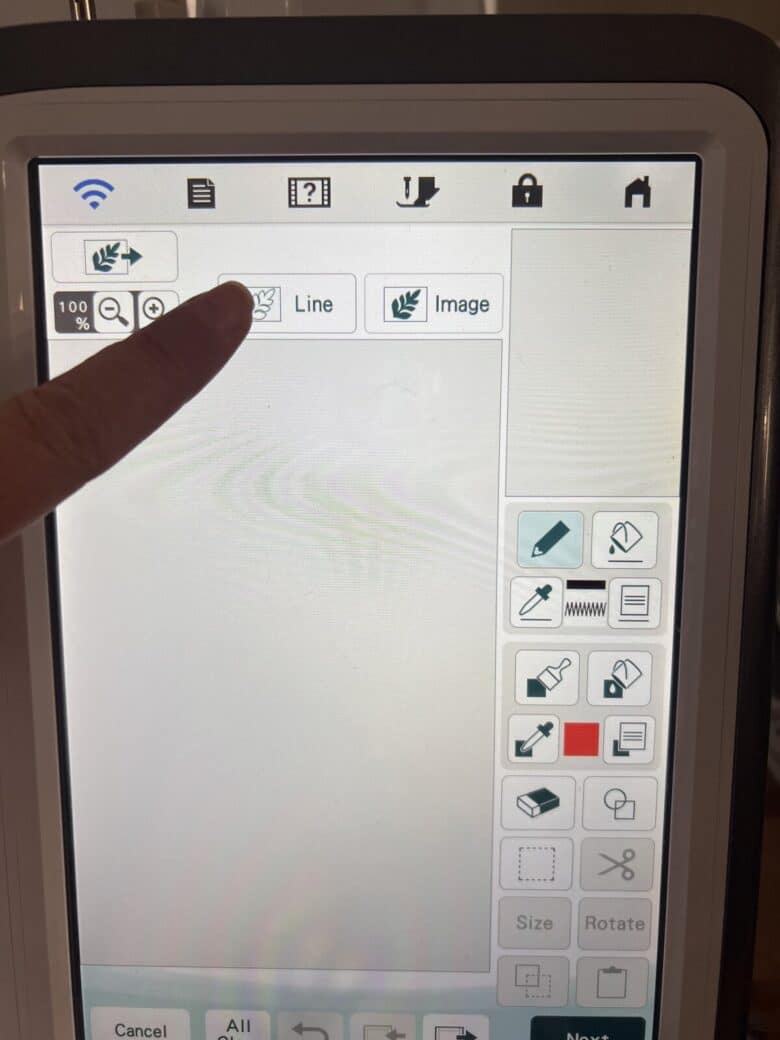
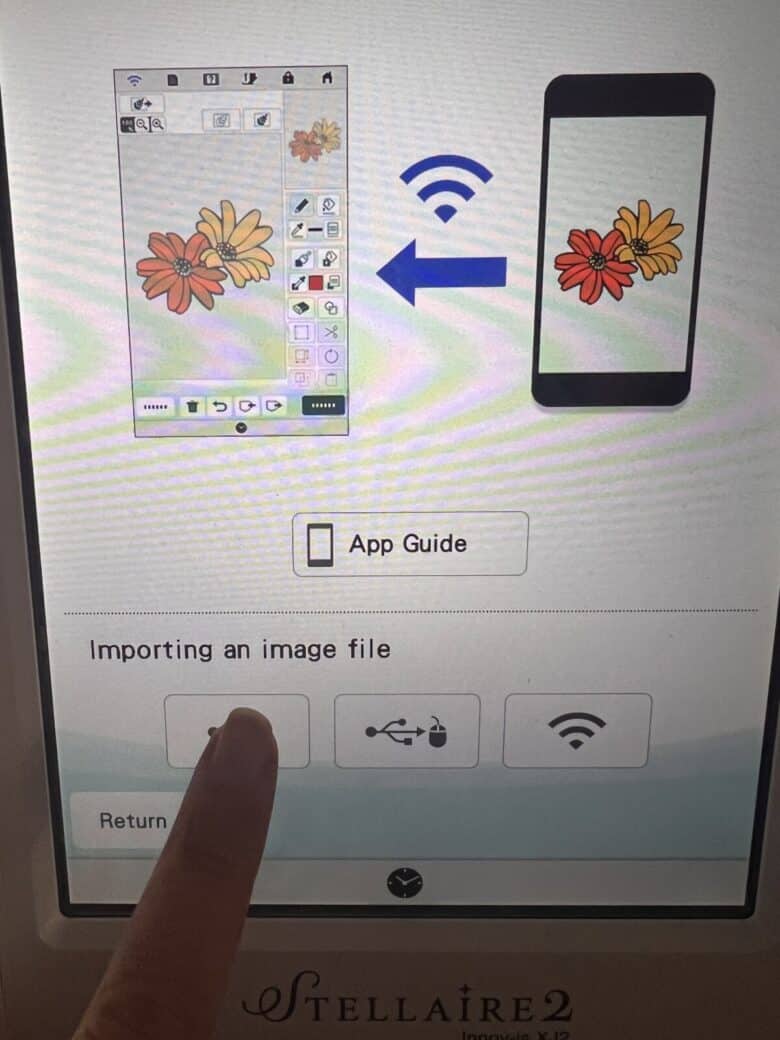
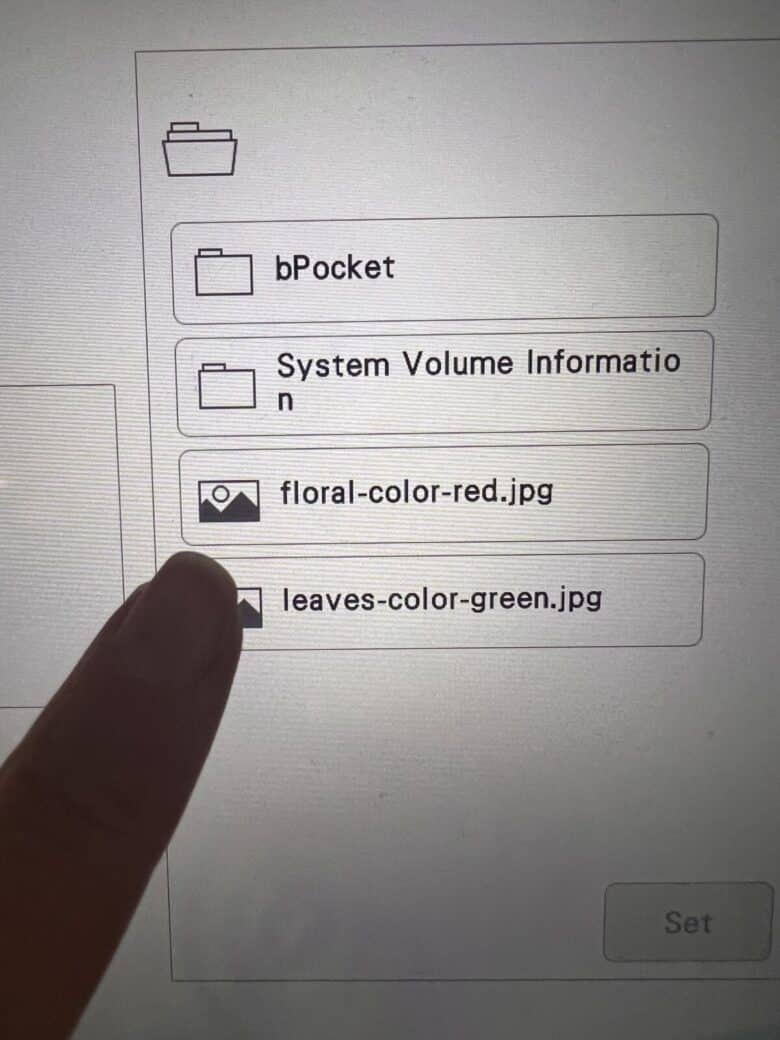
6. See that design scanned/traced well – adjust darkness slider if needed.
7. hit next on the following two screens
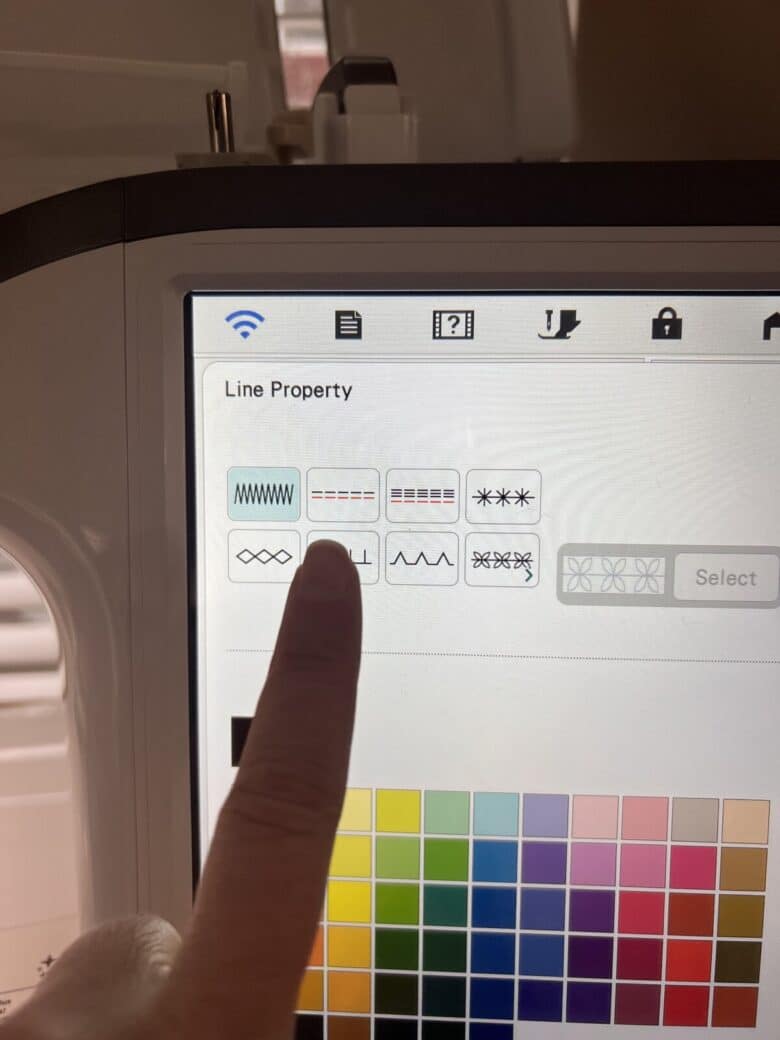
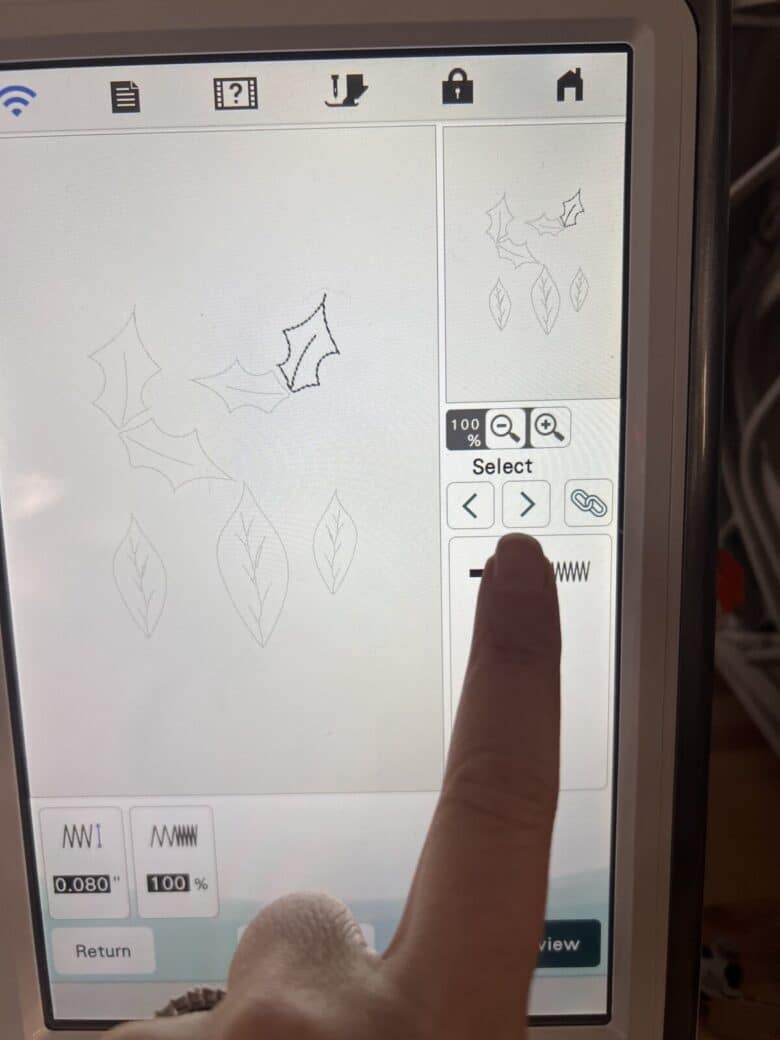
8. when you see a single part of the design showing you can now choose the type of stitching for each line.
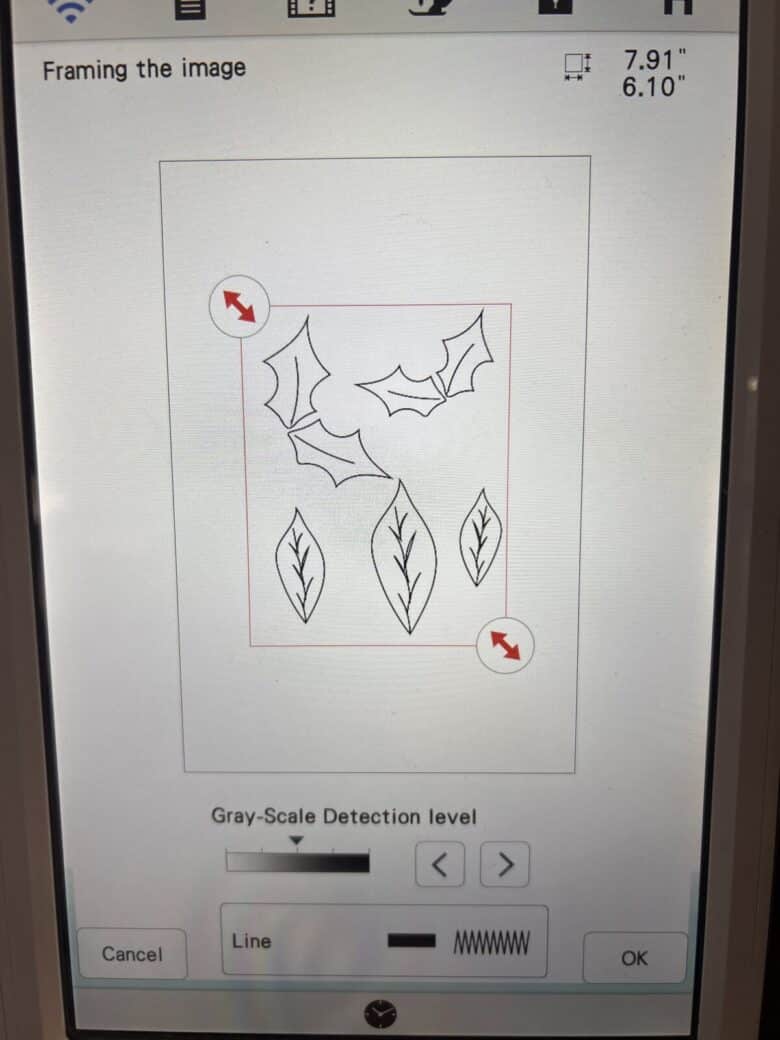
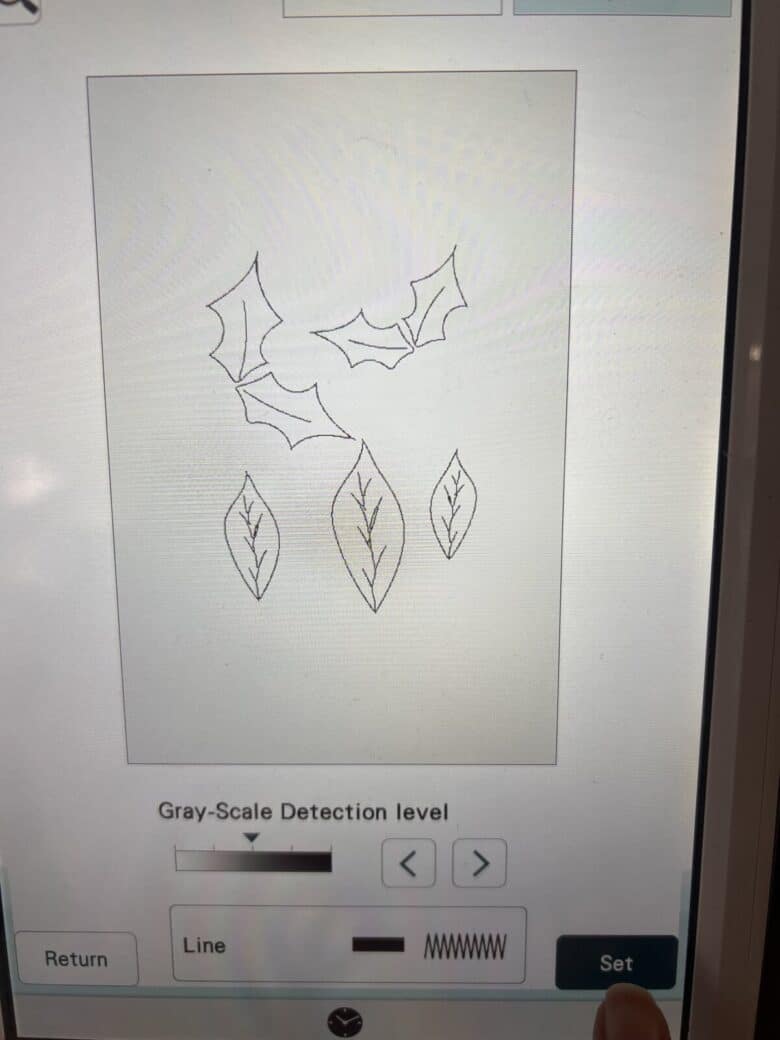
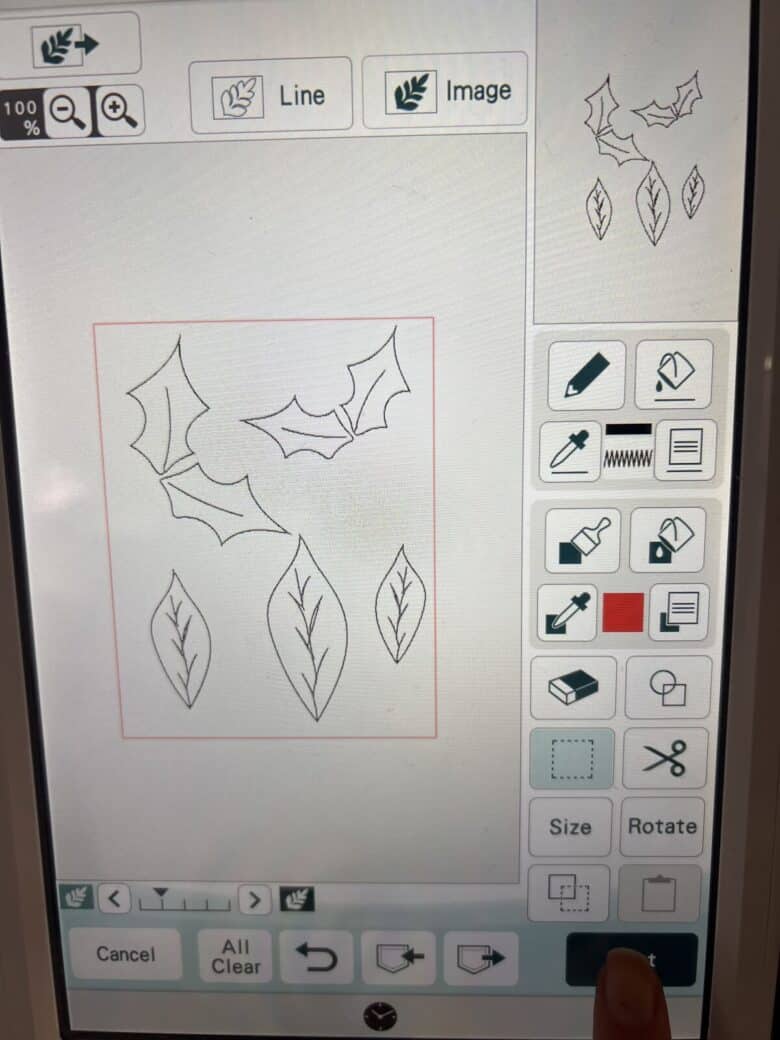
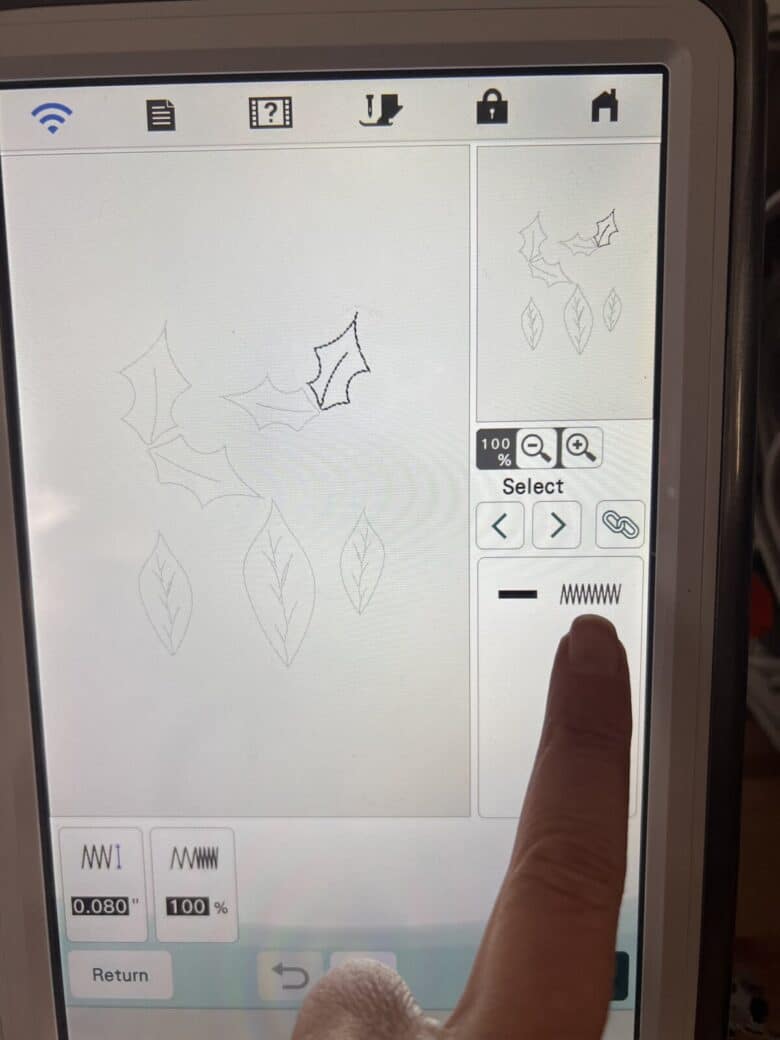
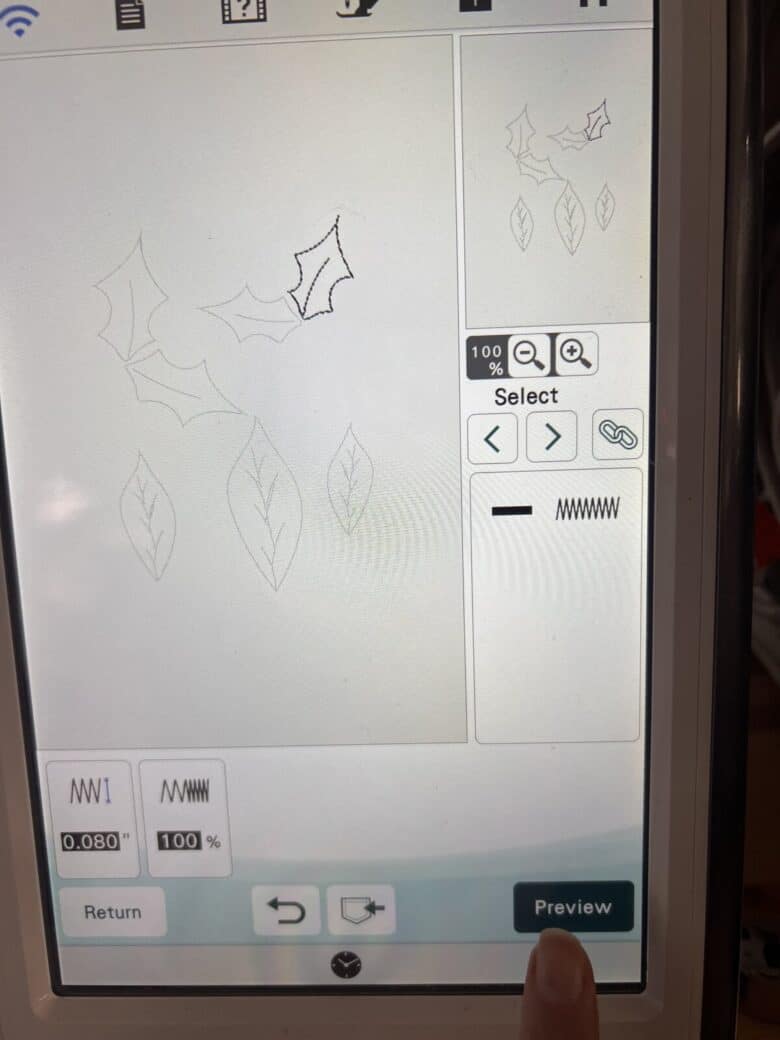
9. I chose the straight stitch for every line on the design. You can make a different selection if you want. use the arrows to go through all the lines.
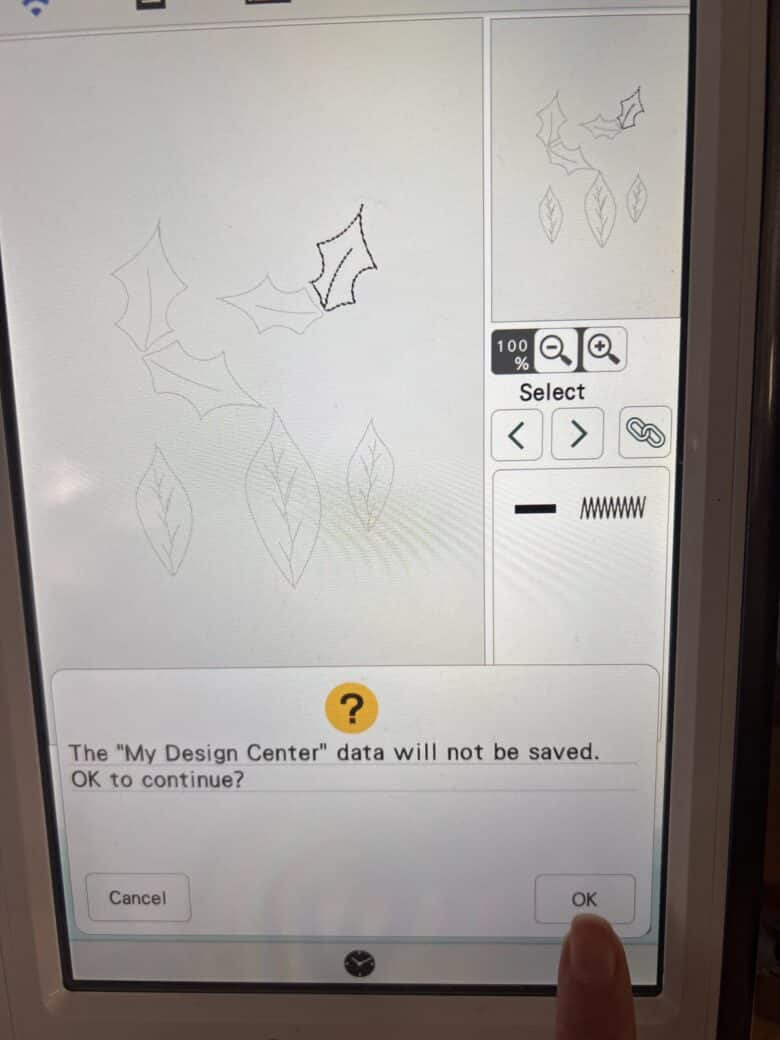
10. When you have finished setting the stitches, hit preview to exit the design center and go to your normal embroidery screens. Continue with the embroidery instructions below.
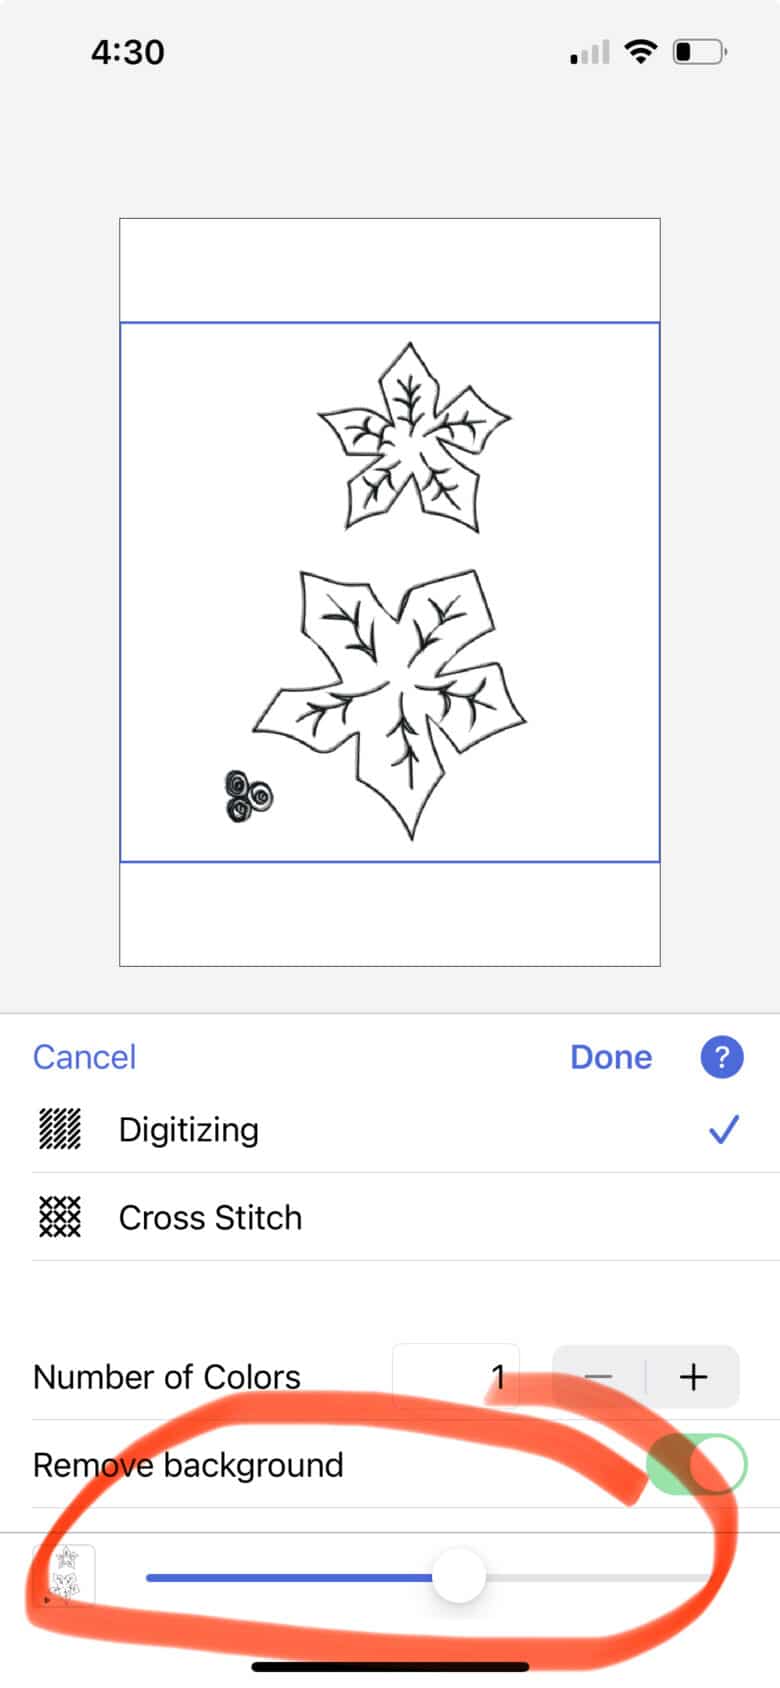
- Using the Artspira App
- use the image to embroidery feature
- Upload design to your camera roll, then access through the editor.
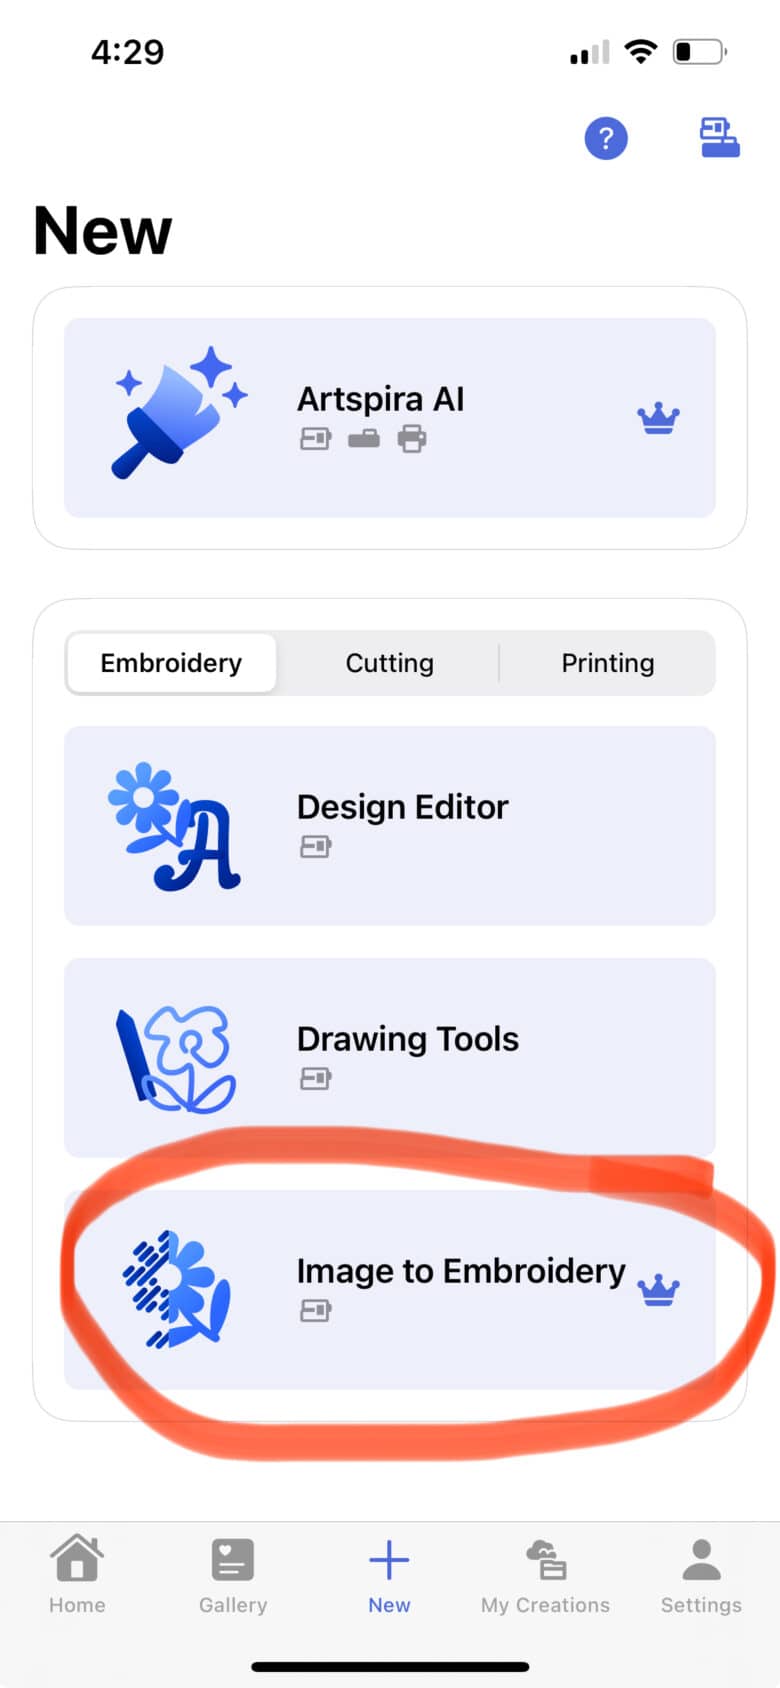
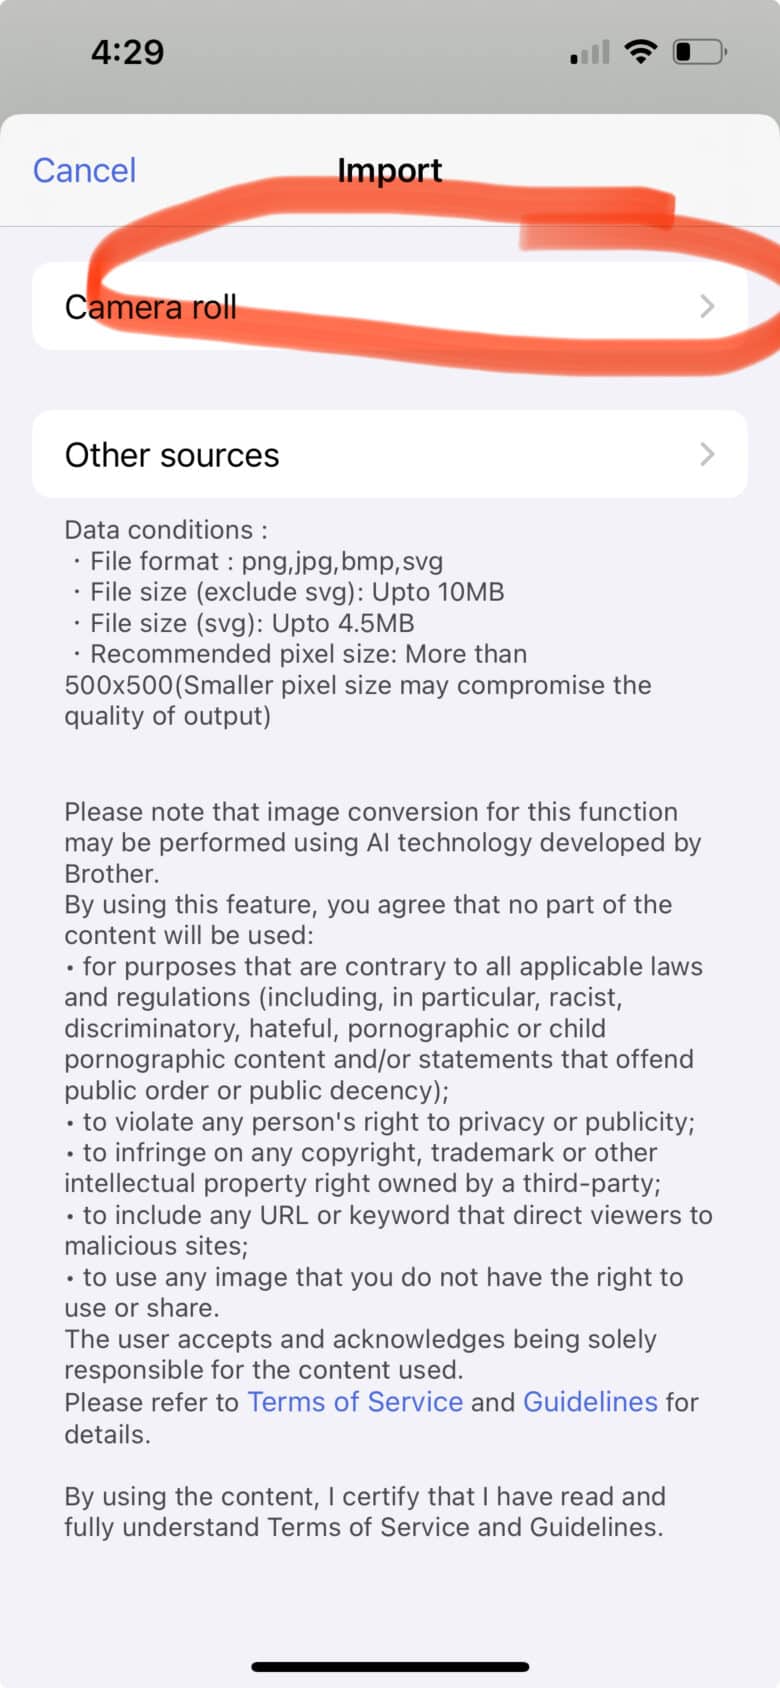
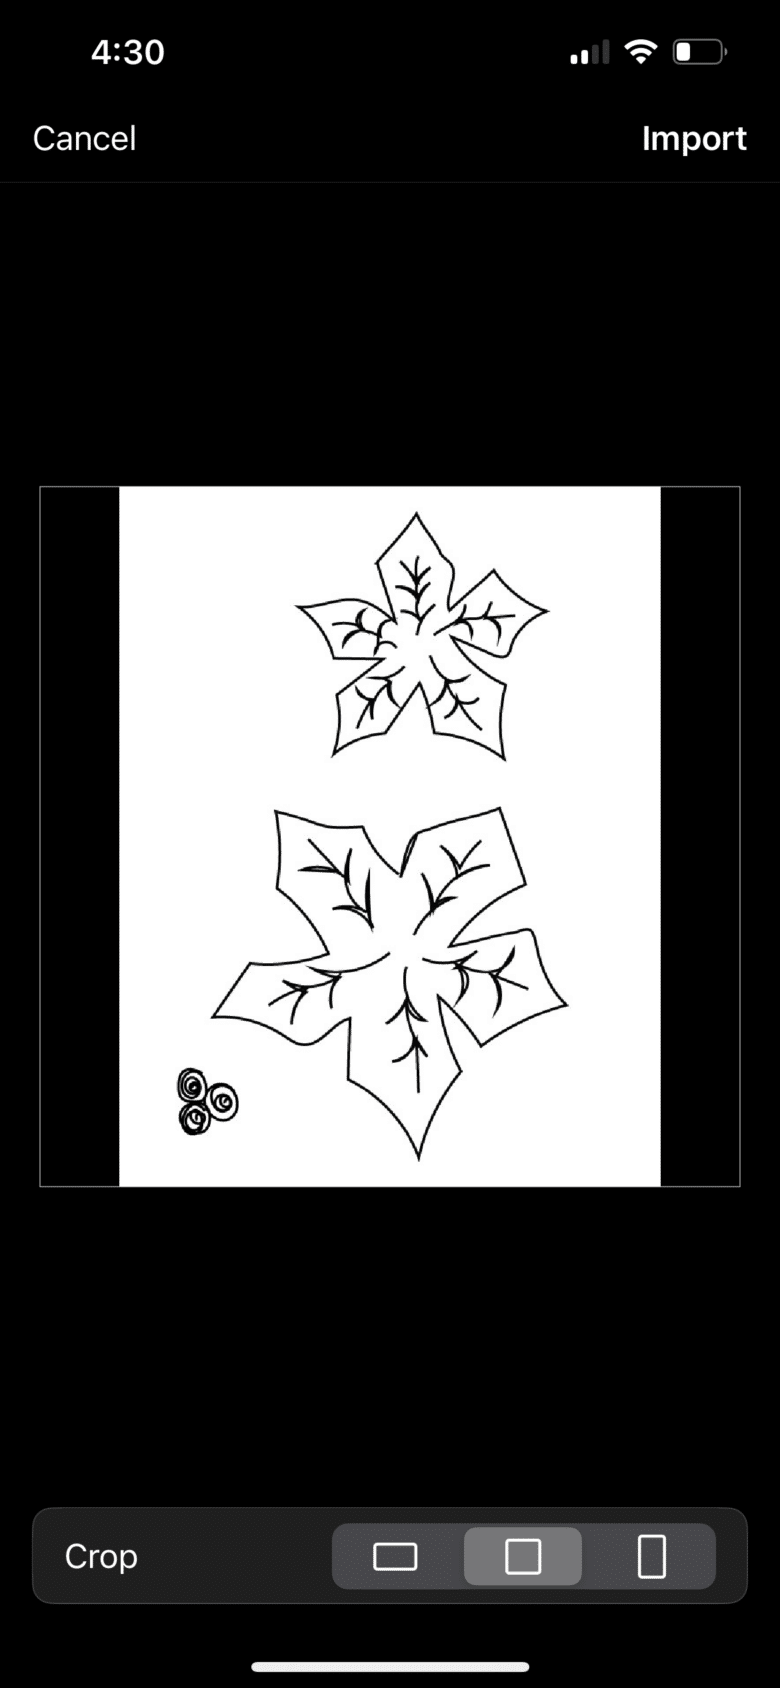
4. Choose the image, then import
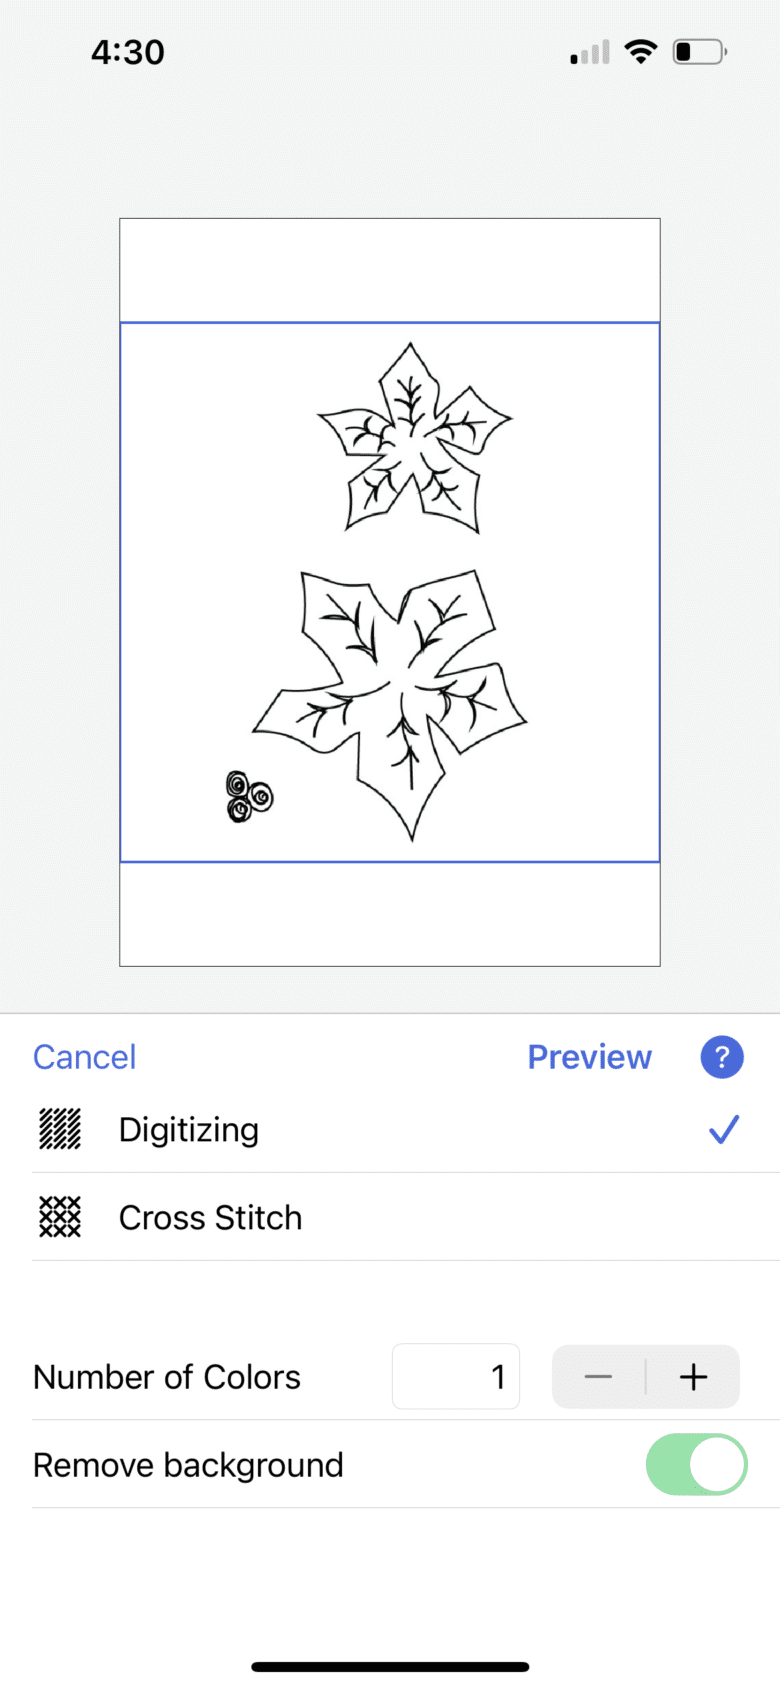
5. select only 1 color and also remove the background. We don’t want a shaded image, we just want the background.
6. Adjust the slider if all the parts aren’t showing.
7. Export to your machine and see next embroidery steps.
Make a felt poinsettia wreath
Ok! Now you hopefully have an embroidery design from the template and we can put it all together! I hooped the stabilizer and then just pinned the felt to the stabilizer.
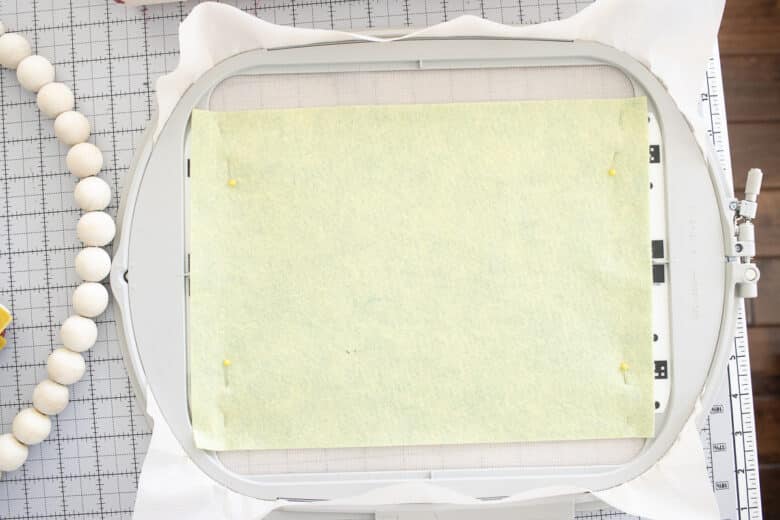
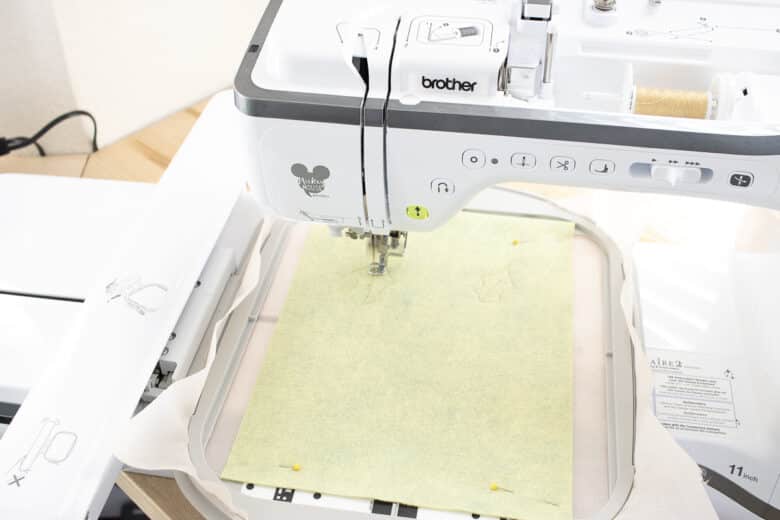
Place the hoop on your machine and embroider a sheet of leaves. Repeat with a few shades of green, I did three green sheets.
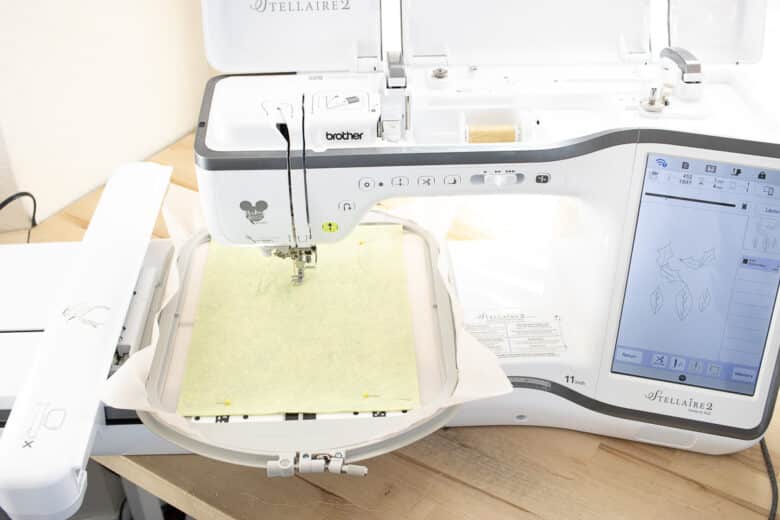
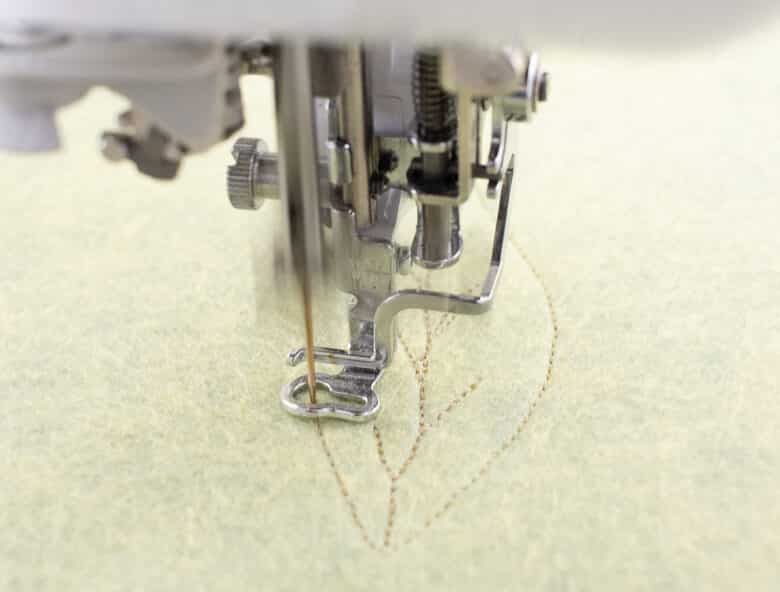
Do the same process with the red flower design. I embroidered three sheets of different shades of red.

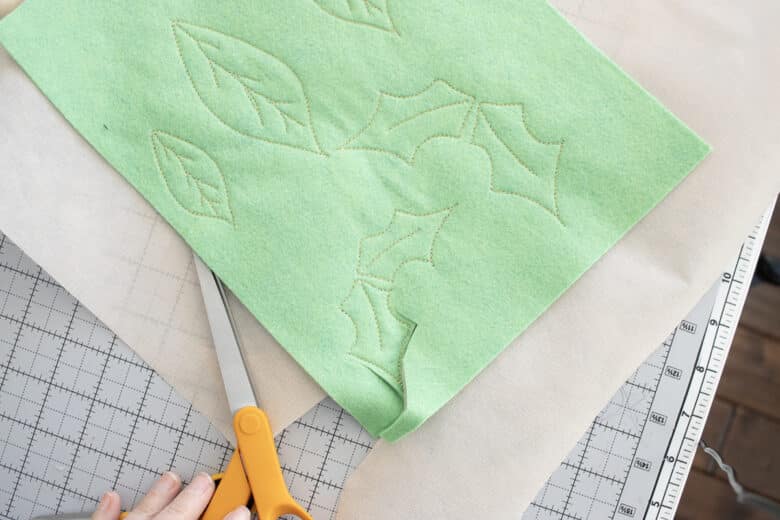
Cut around the embroidered designs on all the sheets of felt. You should have a pile of leaves and flowers.
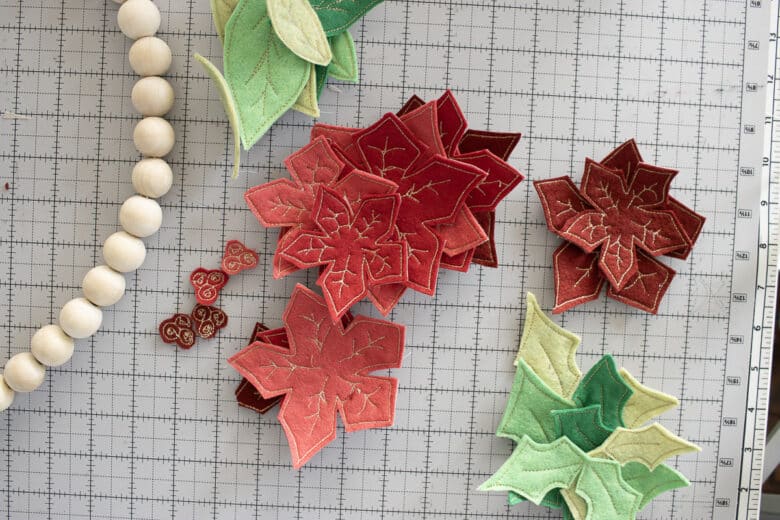
Assemble flowers in piles of 2 or 3. I ended up with five poinsettia flowers.
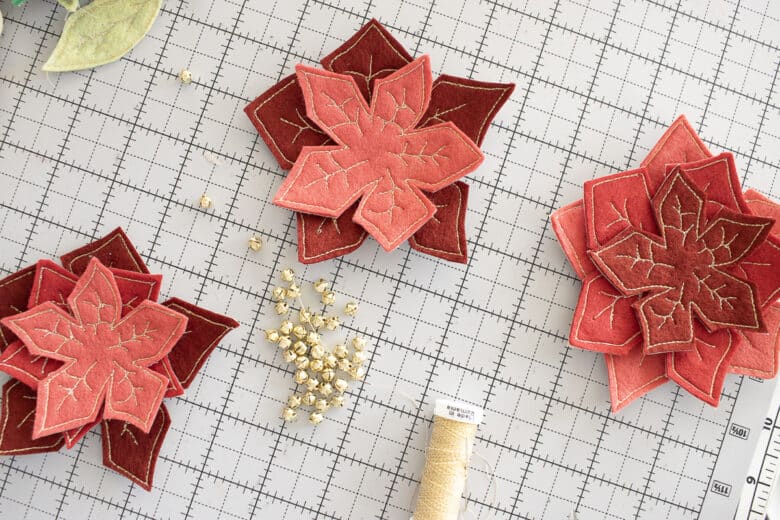
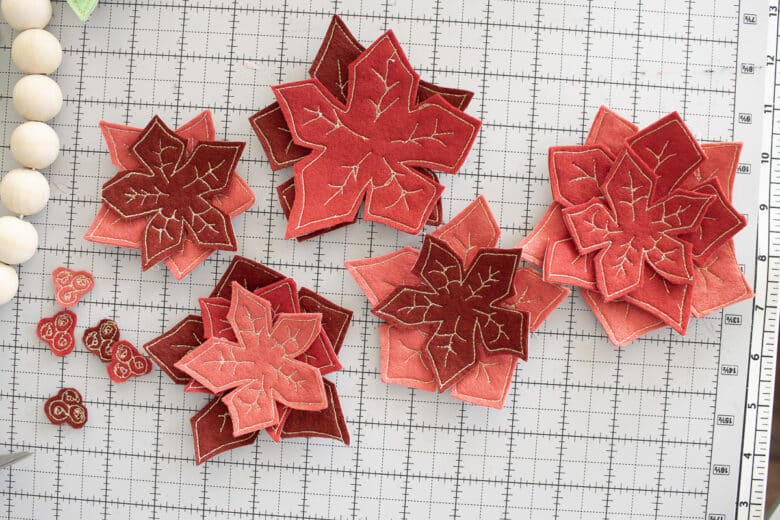
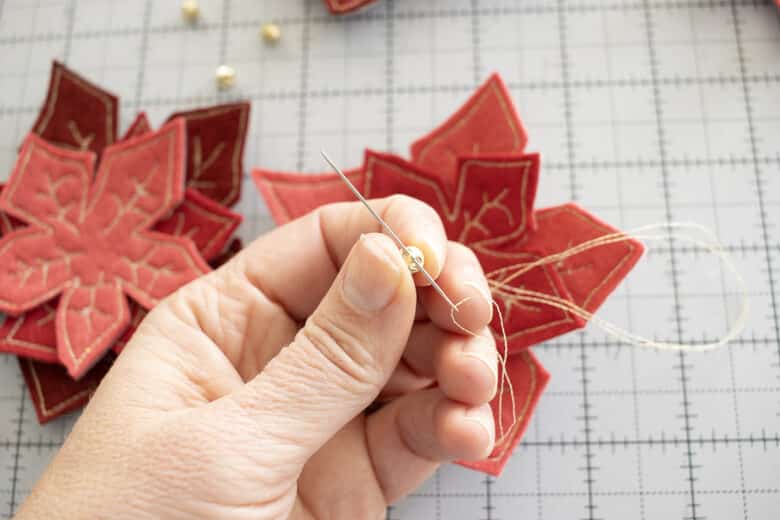
We will attach the flower layers to each other with the bells in the center. Use a needle and thread to sew 3-5 bells in the center of each flower. This touch really makes the flowers come together.
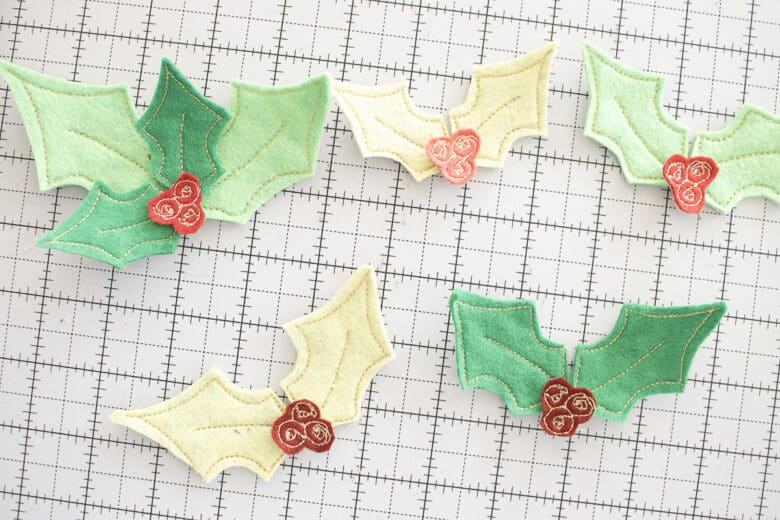
The holly I just glued the berry cluster into the center of the leaves. Heat up your glue gun to begin wreath assemble.
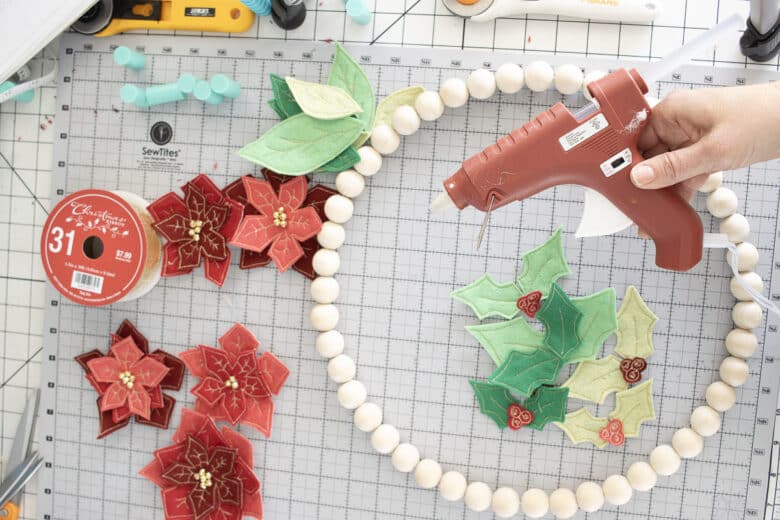
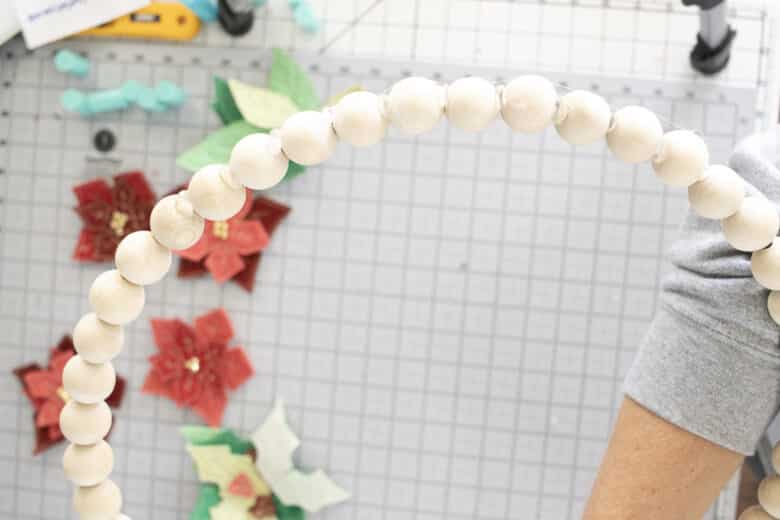
The beads on my wreath were loose and could twist around. The first thing I did was glue about 10 beads together so they wouldn’t twist or slide after I glued on the flowers.
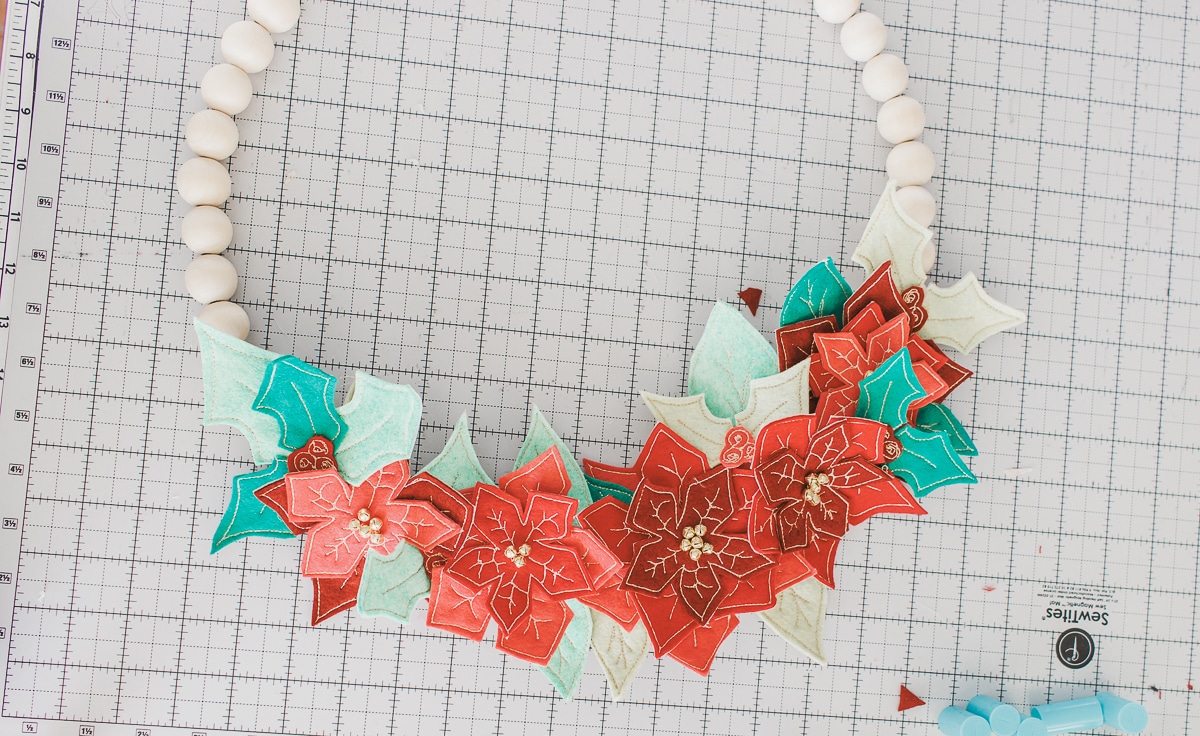
Arrange the flowers first. After you have a good layout, begin gluing.
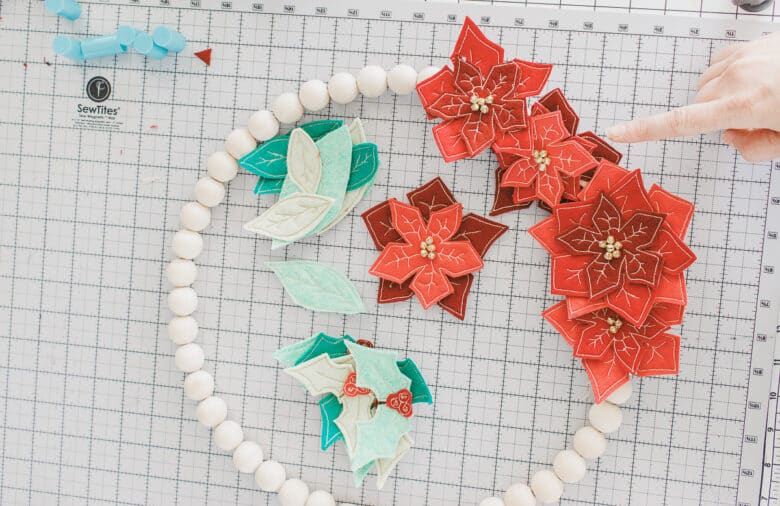
After flowers are glued on, add holly and leaves around, under and at the ends of the flowers. Add a ribbon to hang the wreath.
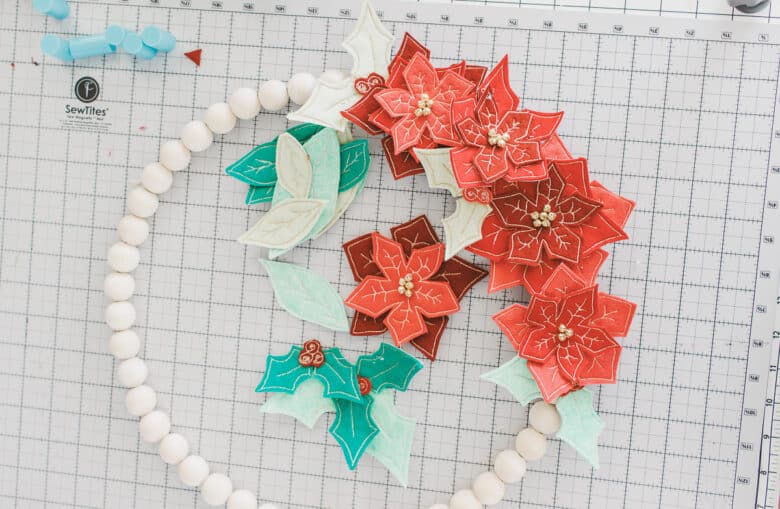
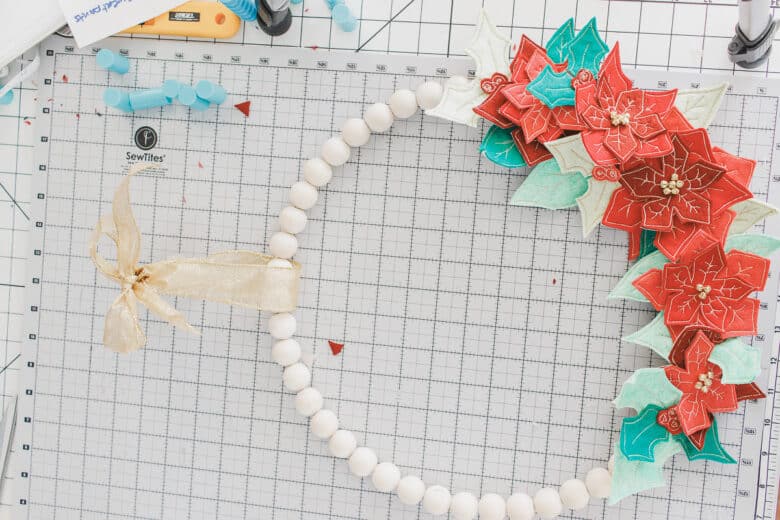
Here’s my final arrangement of flowers, leaves and holly. I think I really love how it turned out.









Leave a Reply