


inside: Sew up this womens knit romper from this free pattern for the perfect outfit for all seasons. Perfect for layers and all temperatures, this knit romper is the perfect closet staple. This free pdf pattern will give you everything you need to sew a cute knit romper.
Many many years ago I bought a knit romper like this and I’ve worn it SO SO many times. I loved it so much that I decided to copy it and share it with all of you. This version is mostly the same as the original I loved, but now it’s in many sizes and I hope that many of you can sew this womens knit romper and enjoy it as much as I have over the years.
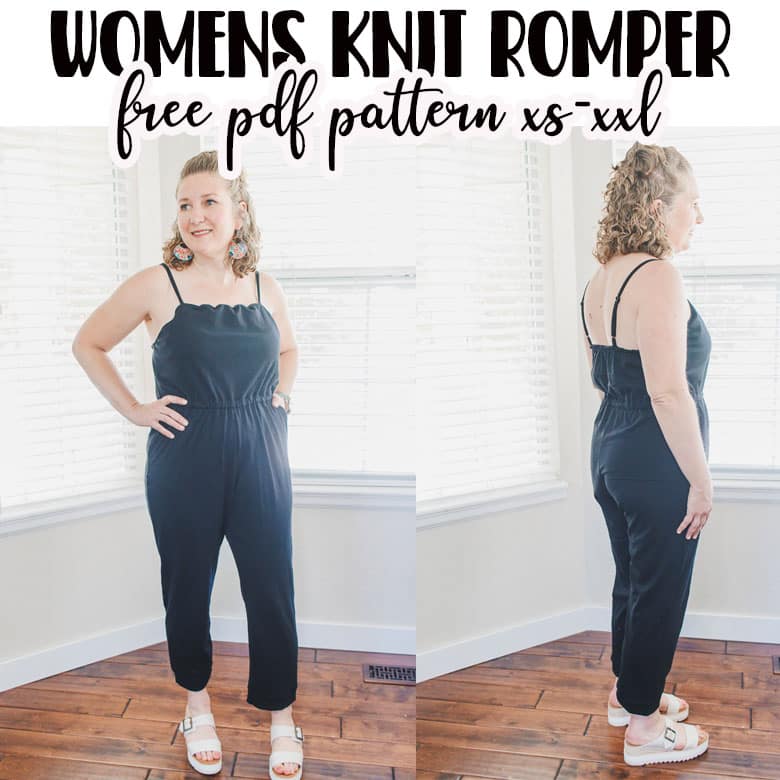
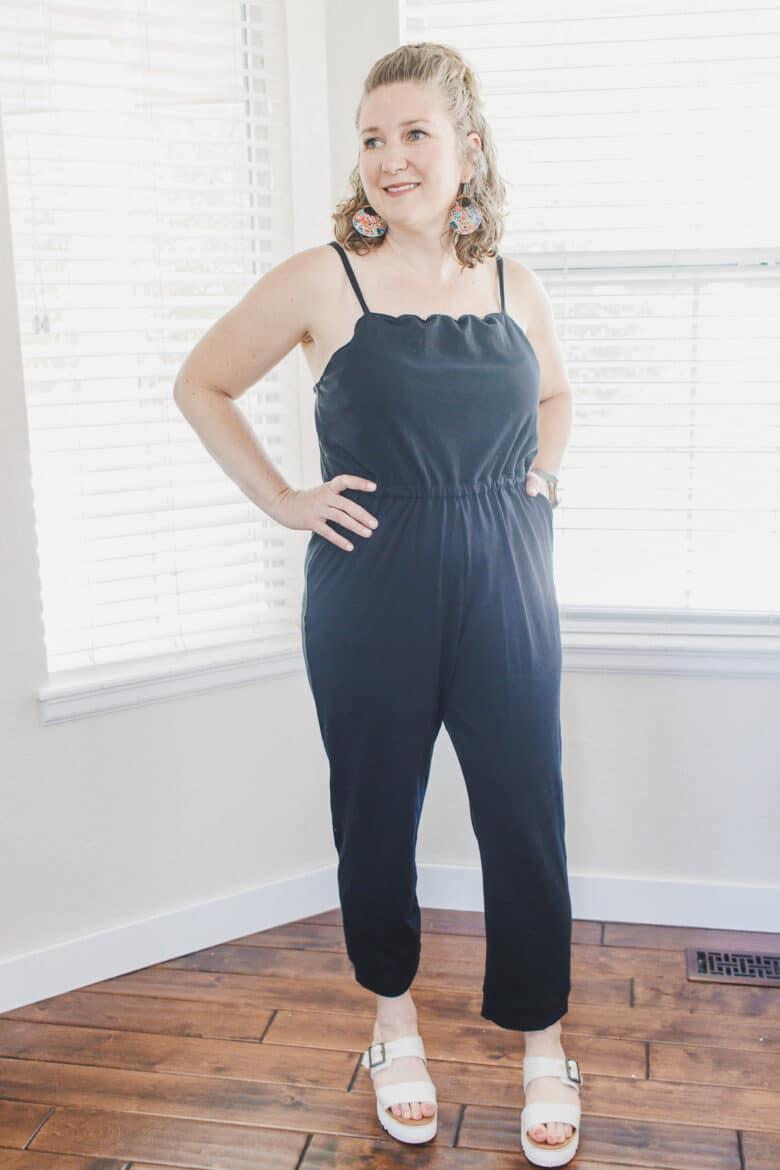
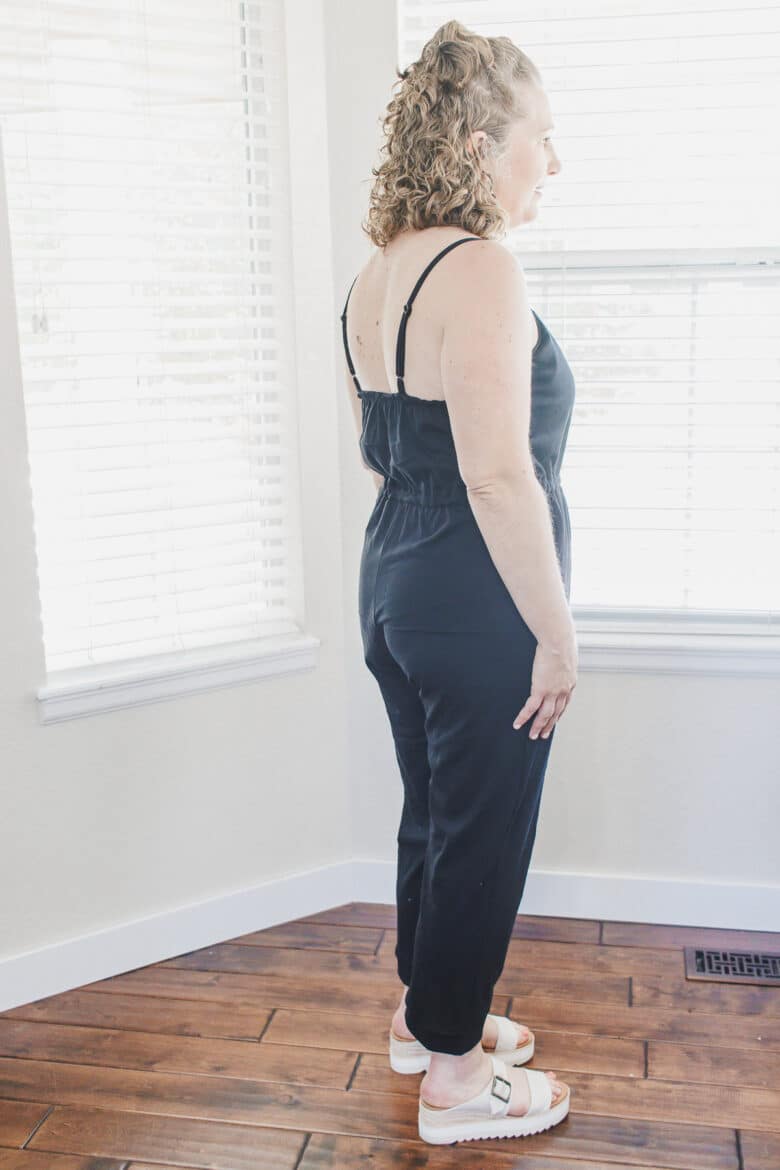
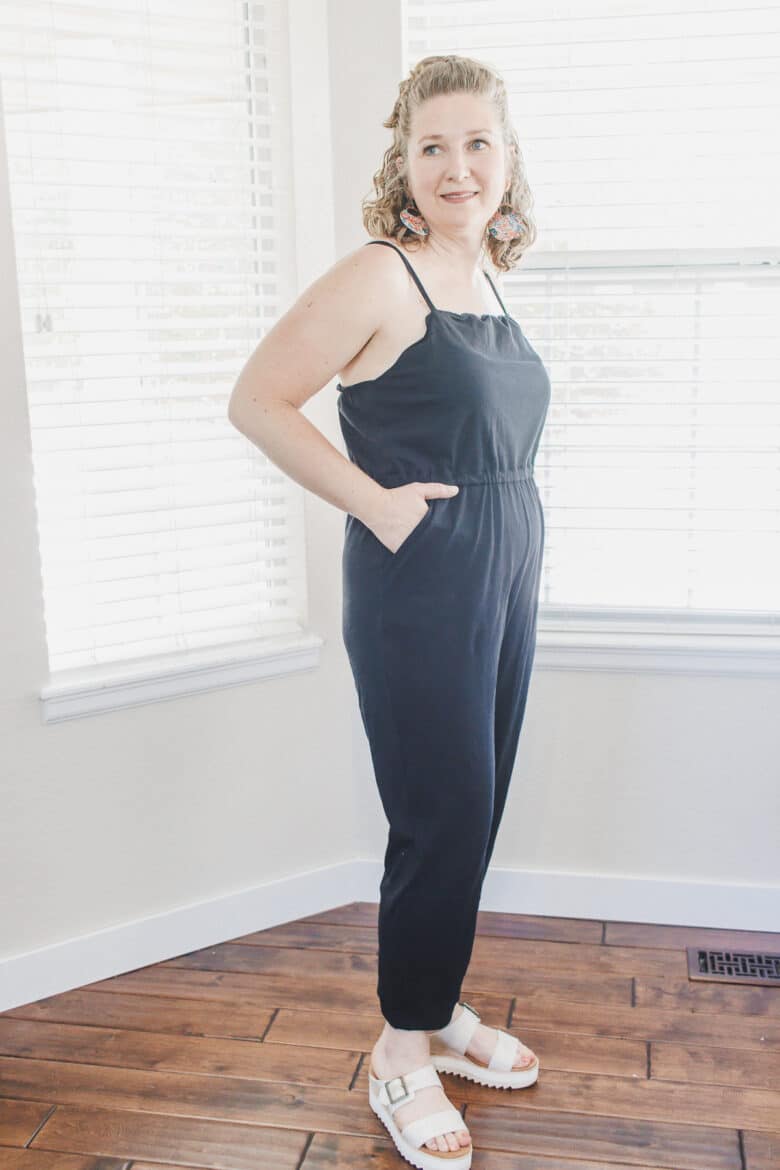
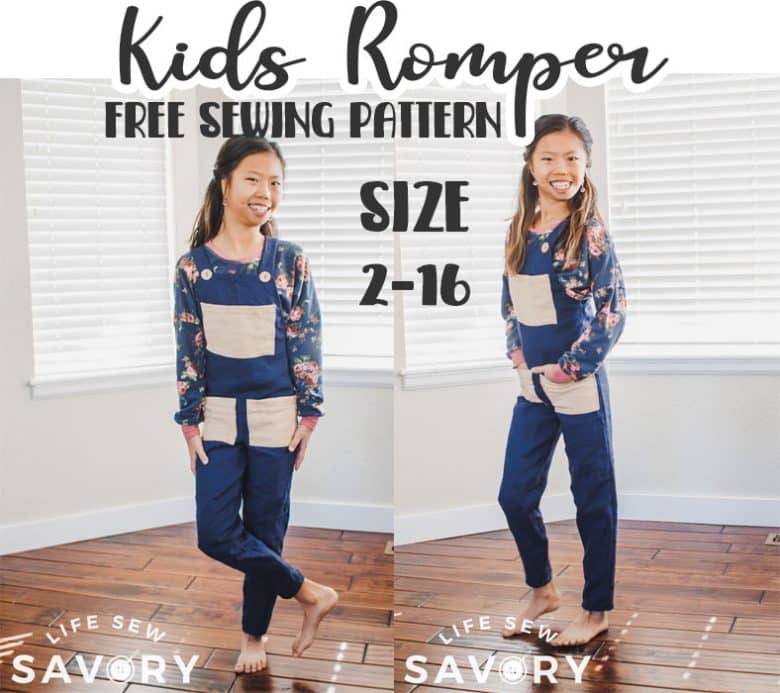
Womens Knit Romper
Soooo my originally purchased romper is now just a bit too small, so not only was I motivated to share this pattern because it’s so cute and comfy, but also because I needed a new size {haha} This pattern is now available to you in sized xs-xxl so enjoy!
I sewed this with a light knit linen… You want a light, but structured knit, nothing with too much drape, it won’t work for this pattern. I’ve linked to the exact fabric I used below.

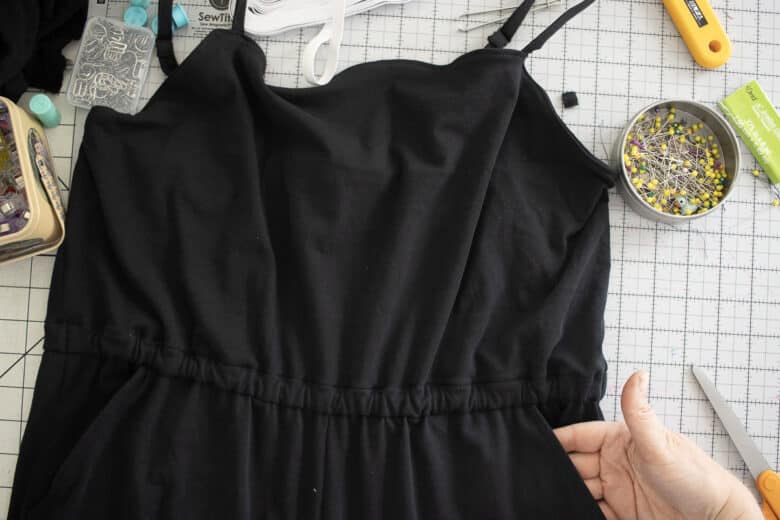
I goofed up a bit with the clear elastic along the top edge of the bodice… It needs clear elastic sewn into the top seam and I forgot! So I added it onto the backside and it’s just not as smooth as when you sew it into the seam.

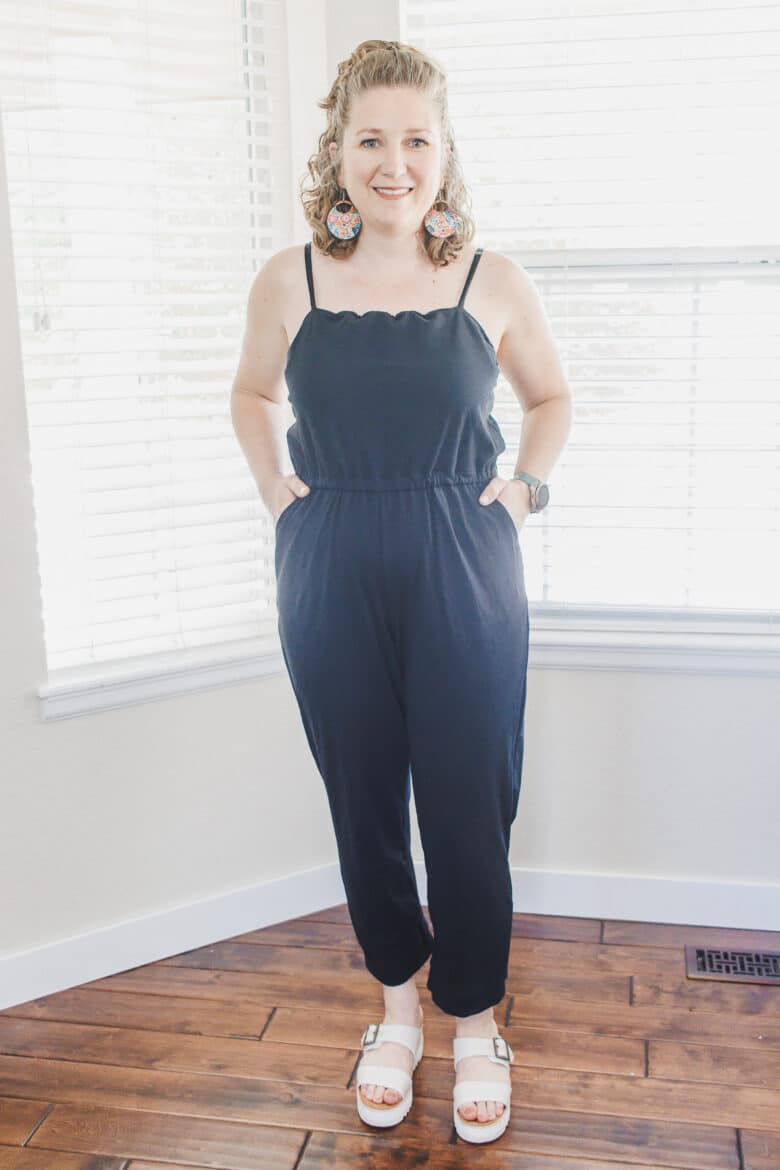
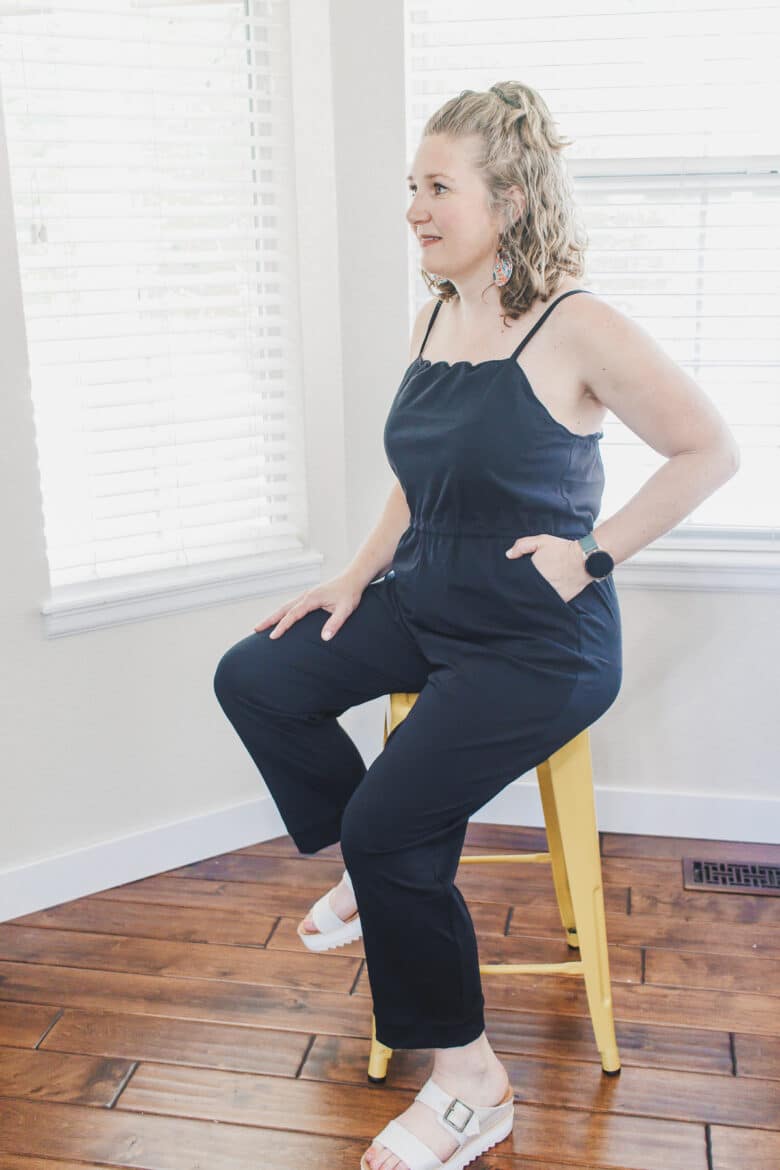
I love that this romper is perfect for all seasons. You can wear by itself or with layers. The adjustable straps keep it fitting great no matter what you are wearing over or under it.

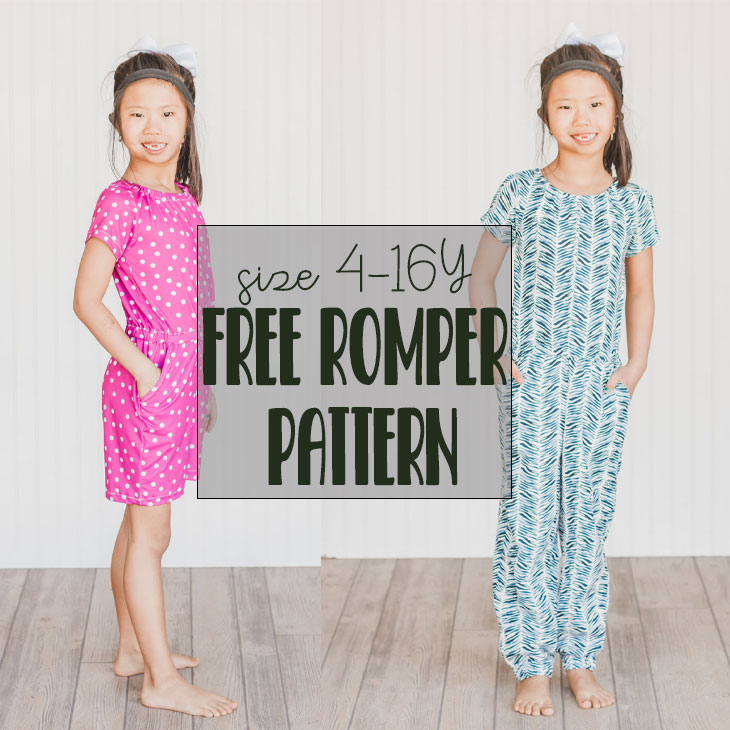
Free Romper Patterns to sew
Love sewing romper? here are some other free patterns for you to try!
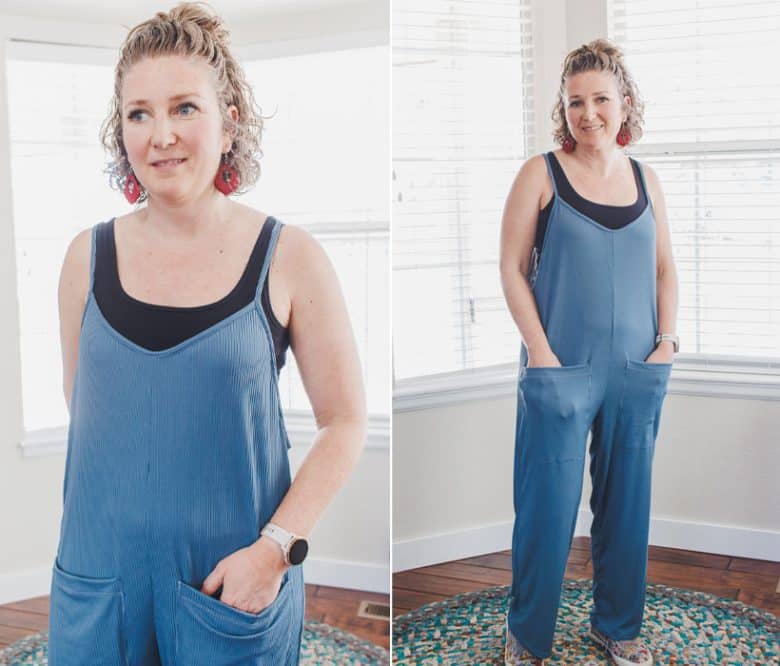


- Womens Viral Knit Rompers
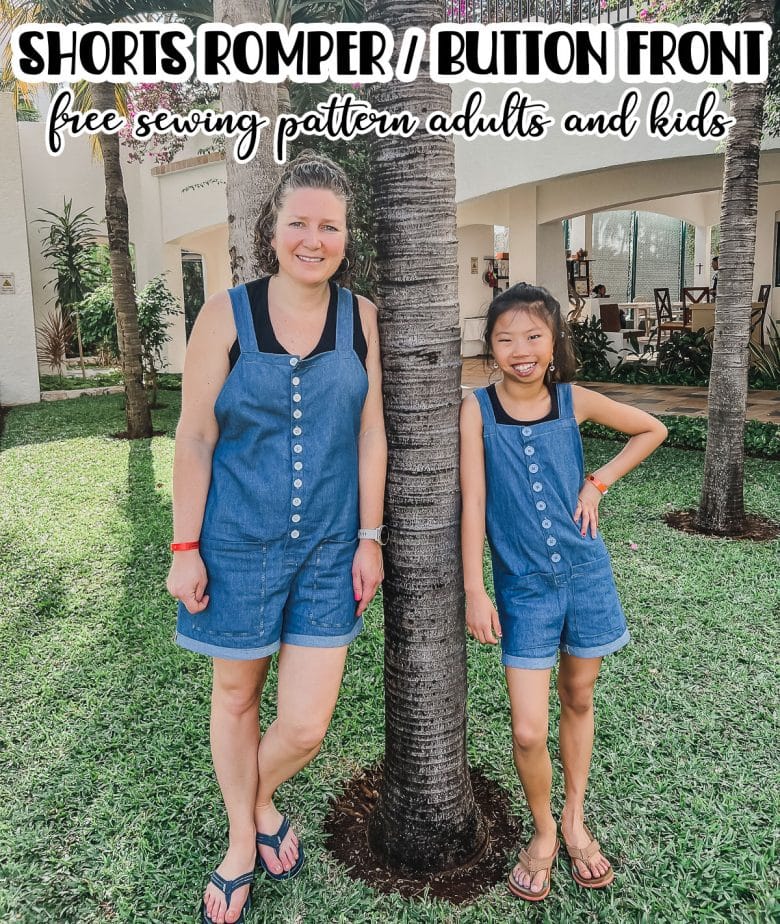
- Shorts button up rompers
- Kids woven jumpsuit
- Womens tank romper
- Girls knit romper pattern
- Baby Romper
Supplies for the Knit Romper free pdf pattern
Here is what you will need for the womens knit romper…
- 2-3.5 yards of knit fabric. I used this knit linen fabric. The fabric was perfect, but it only came in 1 yd. pieces, so that would be limiting for the larger sizes.
- Bra strap sliders {or something to make adjustable straps}
- 3/8″ elastic for waist and back
- Clear elastic to stabilize seams
If you have issues with downloading and assembly you can see my pdf help post here.
Here is the layout guide to help you with assembling the pages of this pattern.

How to sew a Knit Romper for Women
Ok! Let’s get started sewing this. The assembly is very similar to any other two piece romper, but I’ll walk through all the steps here in case this is your first romper pattern.
All seams should be sewn with a serger or knit stitch with a 3/8″ seam allowance.
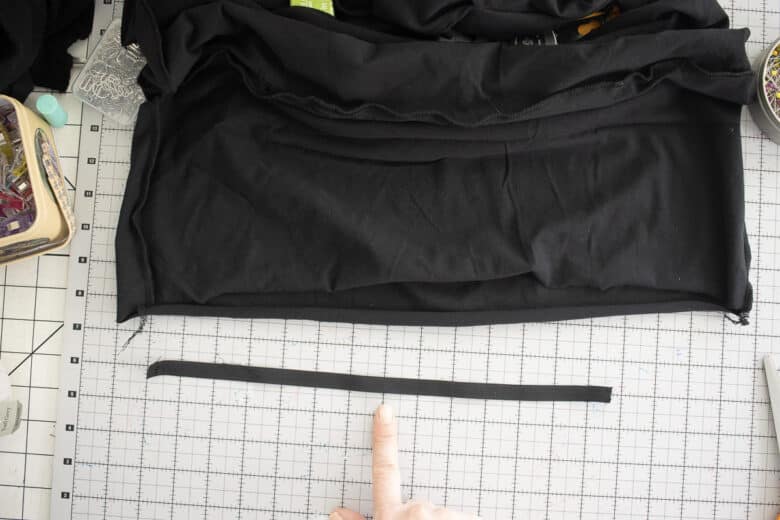
In addition to the pdf pattern pieces you need to cut two strap pieces. Cut them 1.25″ wide and 20″ The direction of greatest stretch should go the long way.
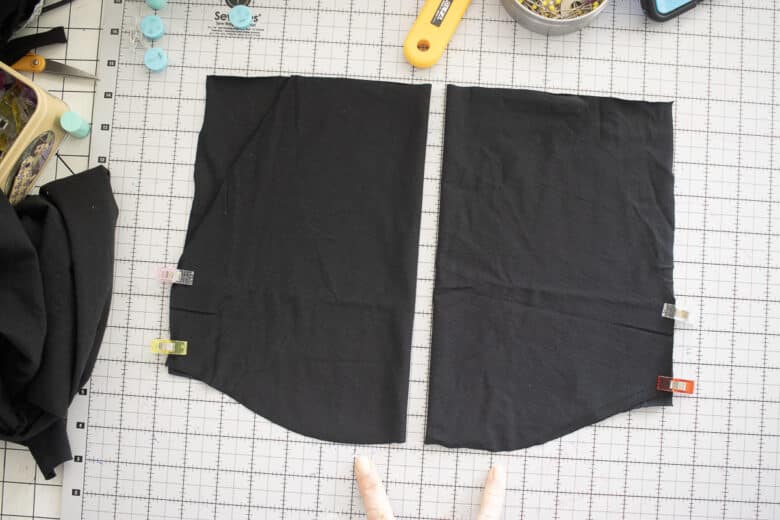
Place the two fronts together and the two backs together with right sides touching and sew the curved crotch seams on each.
Prepare the pocket by folding in half side to side as shown. The RIGHT side of the fabric should be on the inside. Sew the bottom curved edge of the pocket. Open up the pockets and place the angled pocket edge on the same angled edge of the pants front. The right side of the fabric should be touching. Sew this angled edge.
Flip the pocket over to the back and top-stitch this edge. Flatten the front and pin or clip the slides and top of the pocket to line up all the edges.
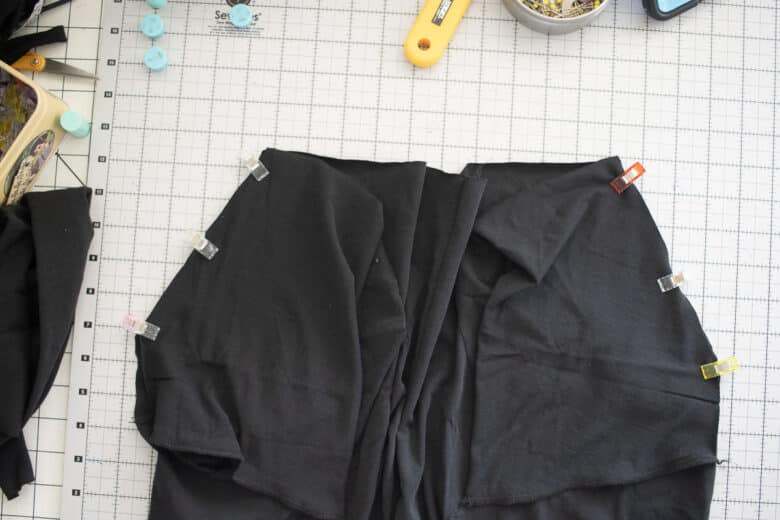
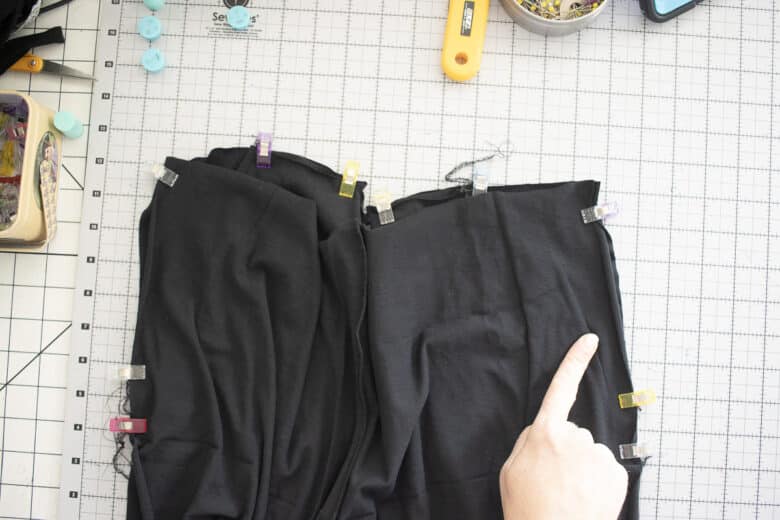
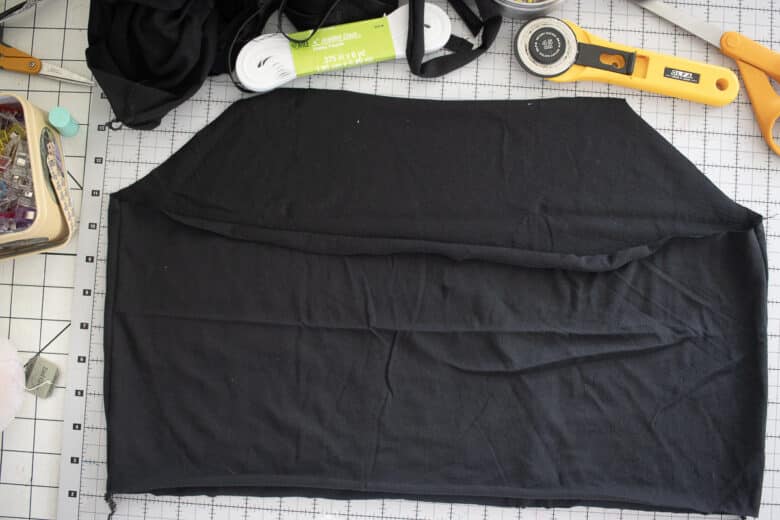
Place the back on top of the front and line up the top sides. Pin or clip down the sides then sew. I added a 4″ cuff {folded in half} to the bottom edge at this point. You can add a cuff {no pattern piece} or hem now. I had a 1 yard piece of fabric only, so when I cut the pants, the full piece did not fit, this is why I added the cuff. But… I do like the look.
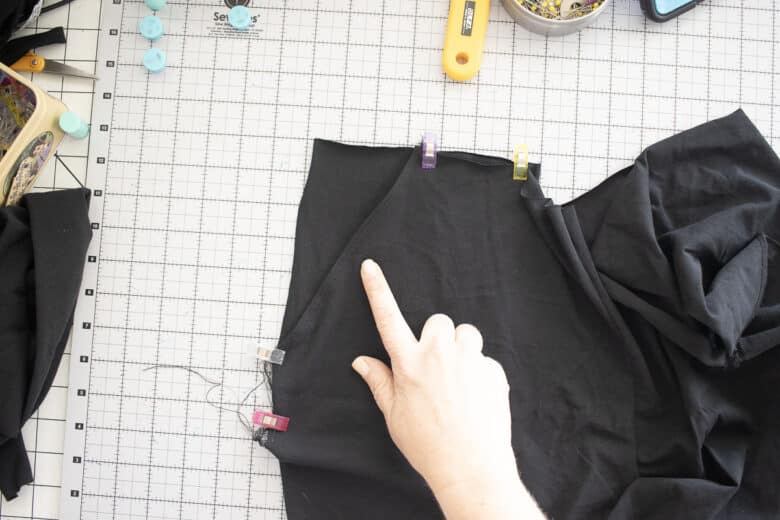
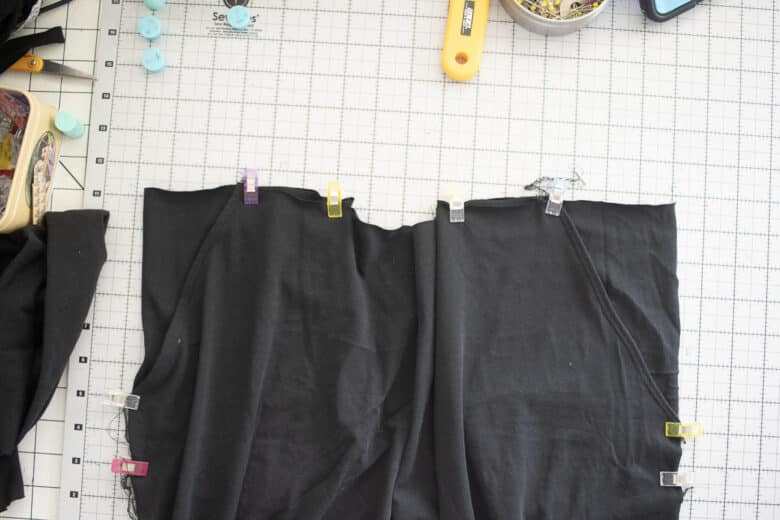
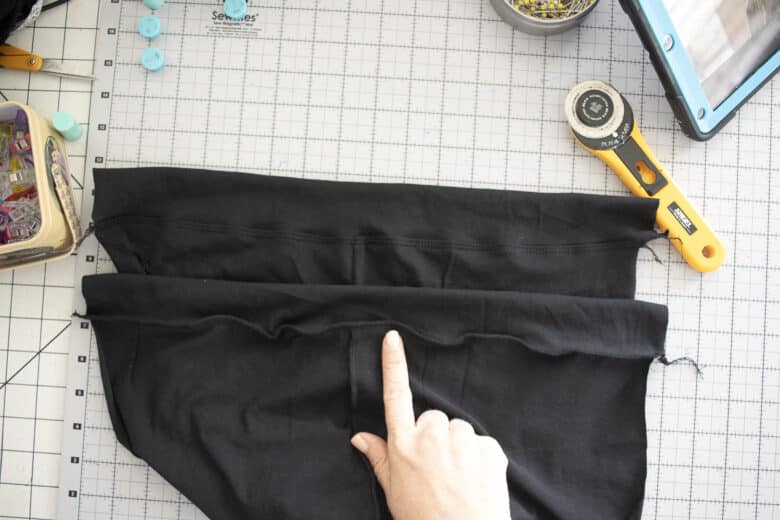
Top stitch the edge of cuff now. Pin from one bottom edge up to the center and down the other leg. Sew the inseam, matching hems or cuffs at the bottom.
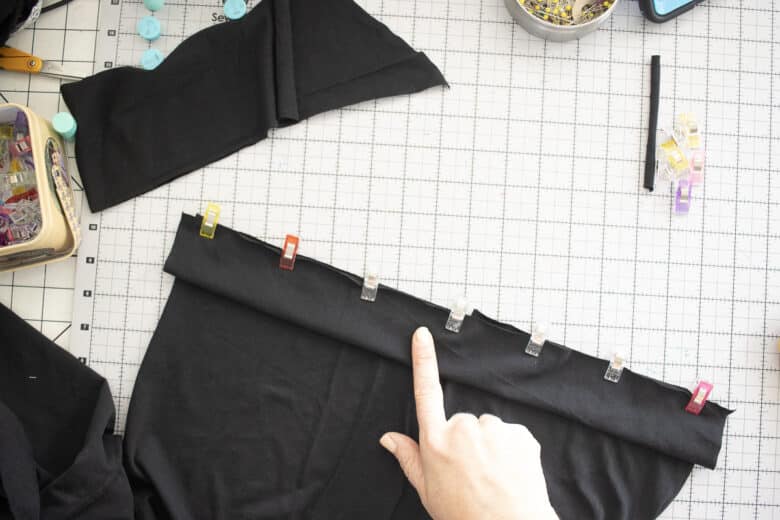
Take one front top and one back top and sew right sides together at the side seams. Repeat with the other front and back. You should have two of the same tops.

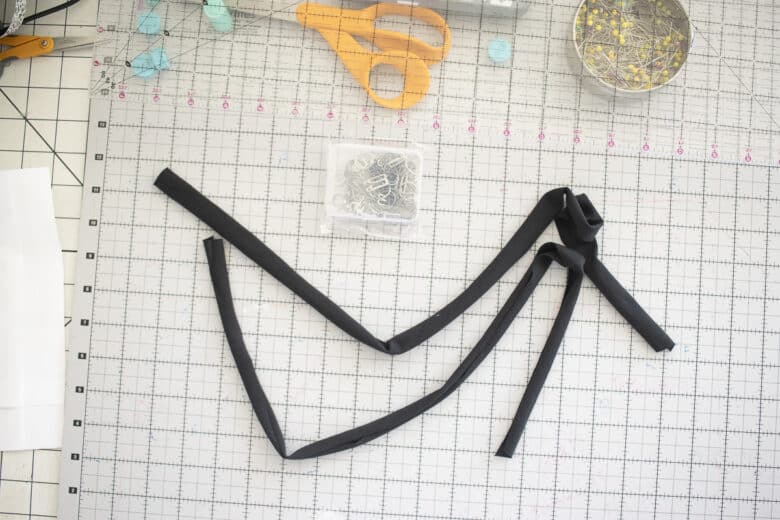
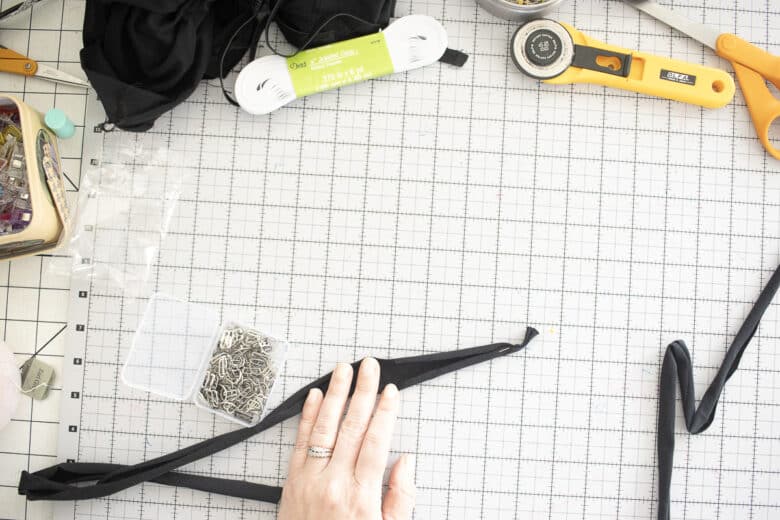
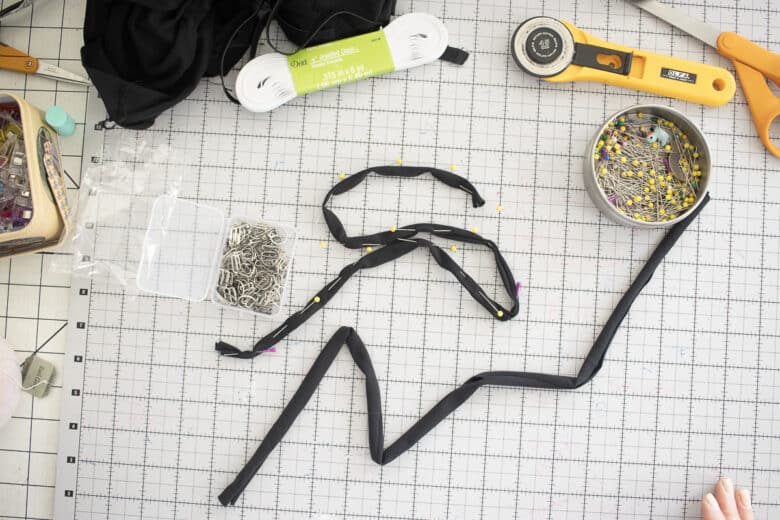
Create the strap. I just took my strap pieces and folded both long raw edges into the center, then folded in half again. I folded and pinned as I went until the whole strip was folded. Sew along the double folded edge with a straight stitch {Lengthened to 3}
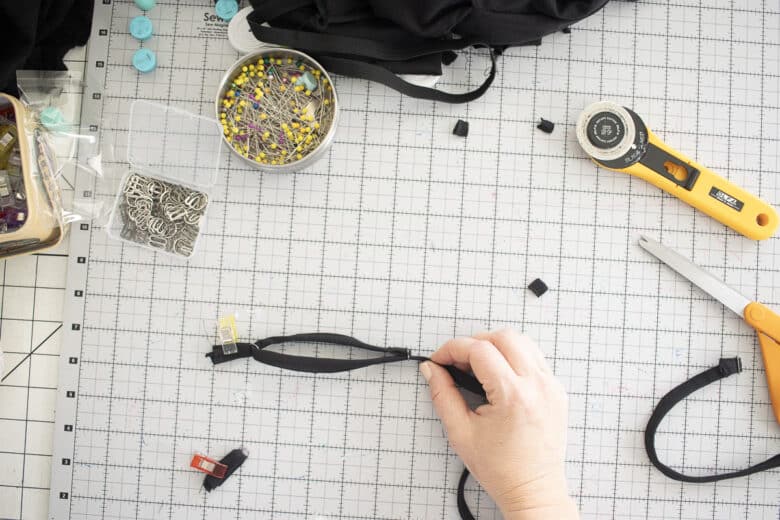
Cut two pieces off the straps that are 2.5″ long. Place a ring from your strap kit through the ring and pin or clip the raw ends to hold the ring in the middle.
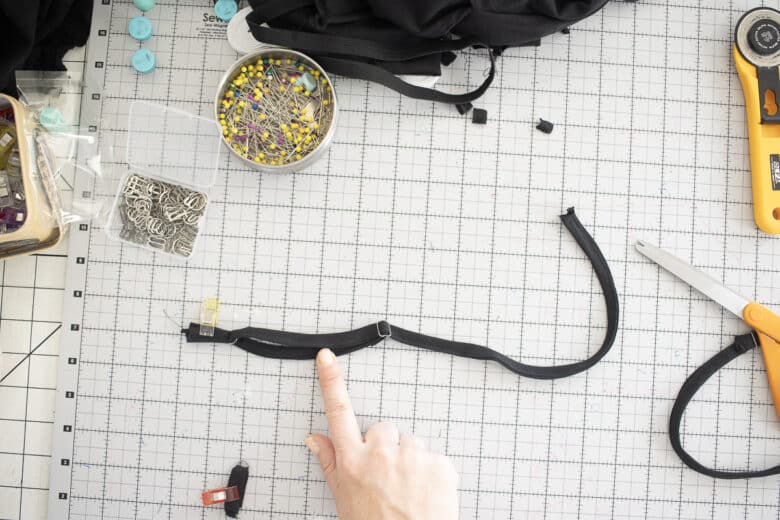
Let’s create the strap. Sew one end of the strap the middle of the bra slider piece. Now take the other end of the strap and slide it through the ring on the short strap piece. Slide the end of the strap through and over the slider piece.
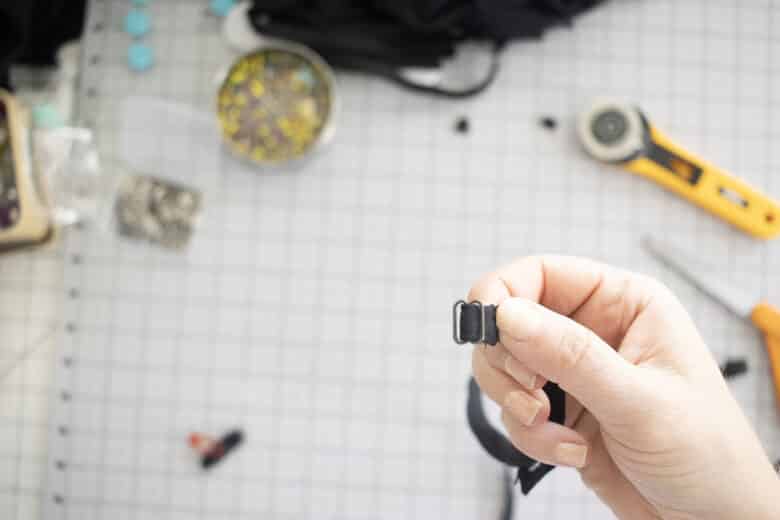
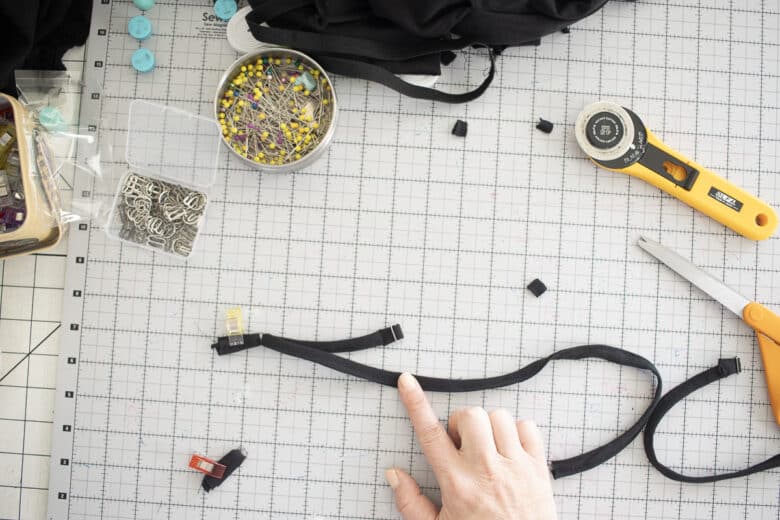
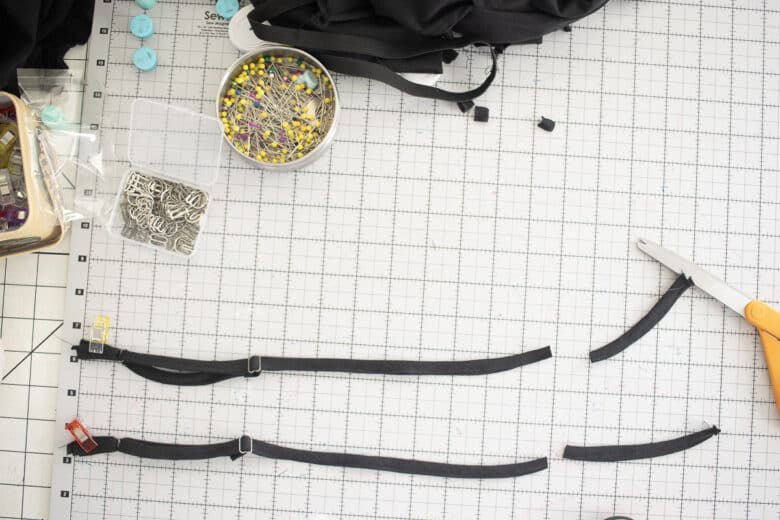
Now you should have one piece that looks like this. Repeat to create a second strap.
Pin the right side of the strap to the right side of one front piece. Pin the straps on the top flat edge 3/8″ away form the edge. Now fold the bottom of the top up and curl the straps around it until they reach the top of the back side. Lay the top flat and pin the straps about 1″ inside of each front strap. Baste the straps in place.
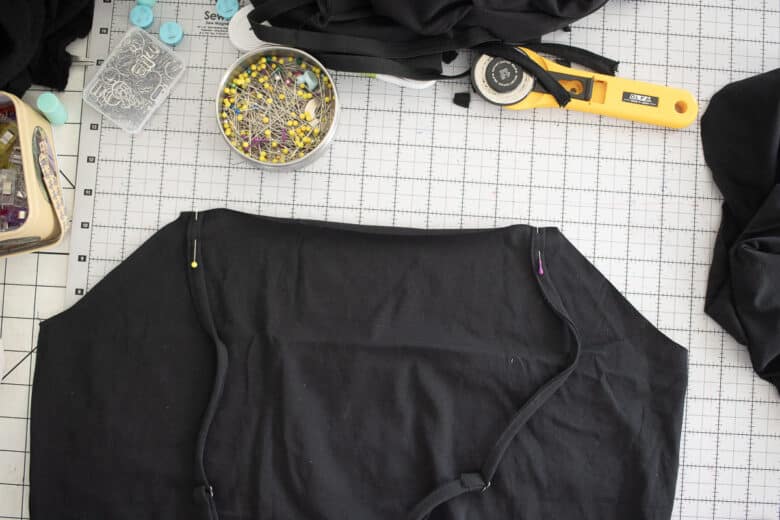
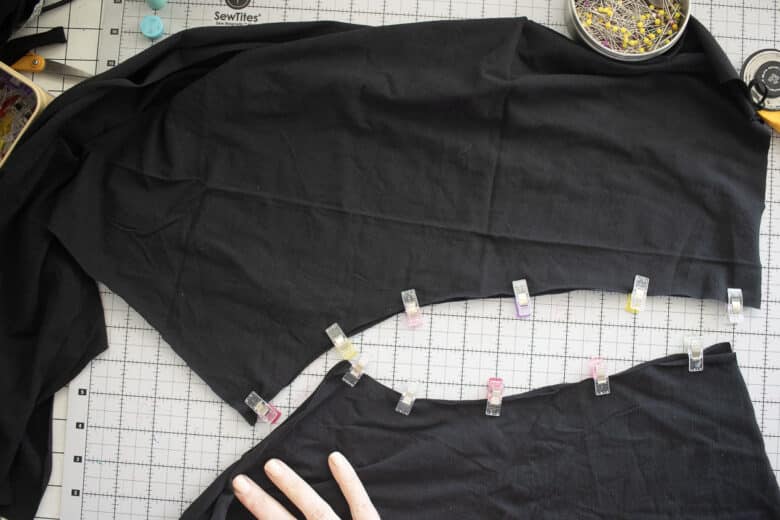
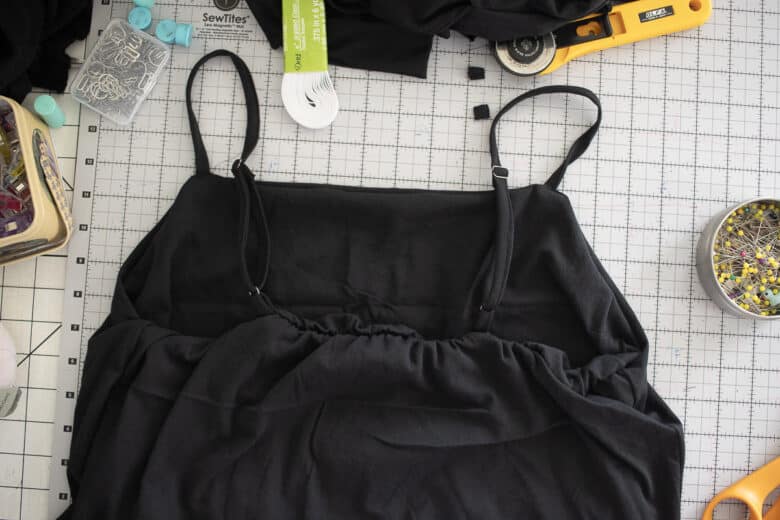
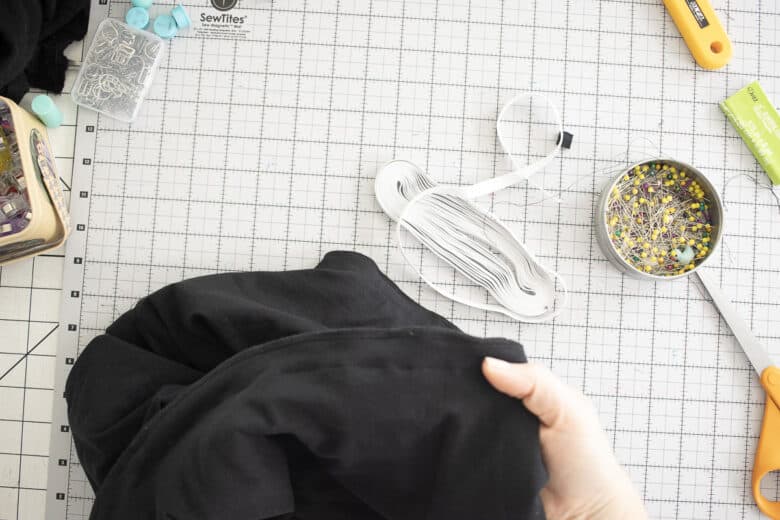
With right sides together pin the two tops together along the top edge.
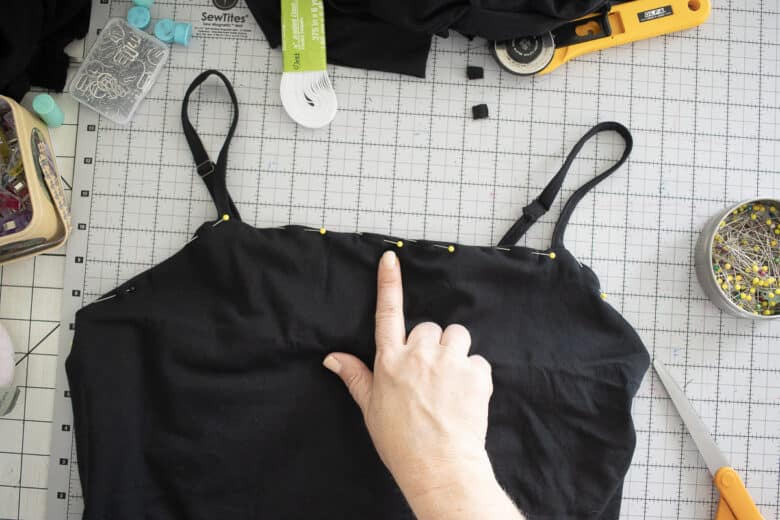
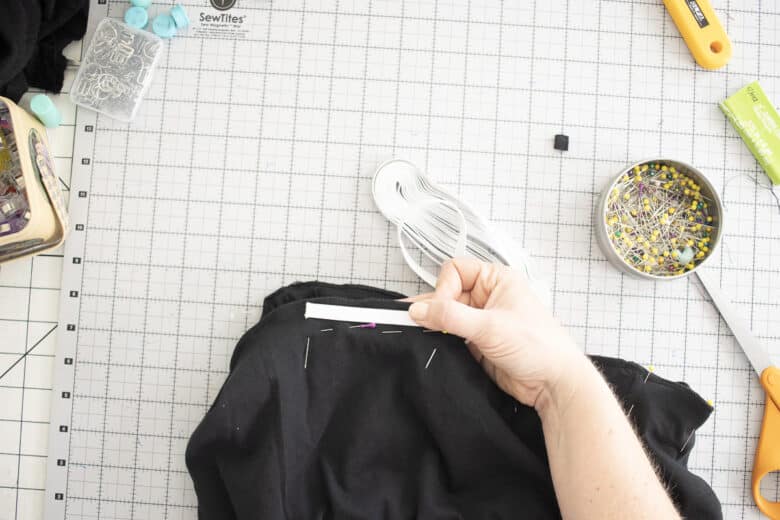
From the side seam to side seam on the front half of this top I would suggest adding clear elastic into the seam. This will keep the fit tight across your chest and keep the fabric from stretching out. I added it later as I forgot in my seam {see photo} but my first choice would be to add into the seam with the serger {which I will do next time!} Here’s my tutorial on adding clear elastic in a serger seam.
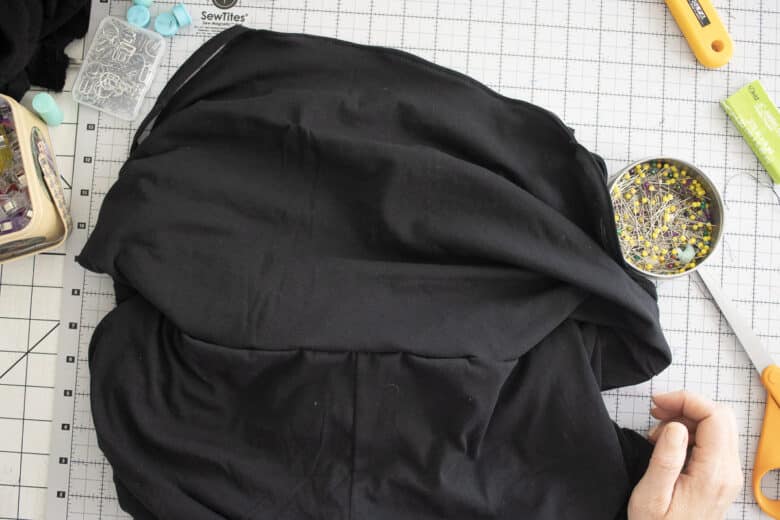
Sew all the way around added clear elastic to the front half. Then turn right side out to check it all looks good.

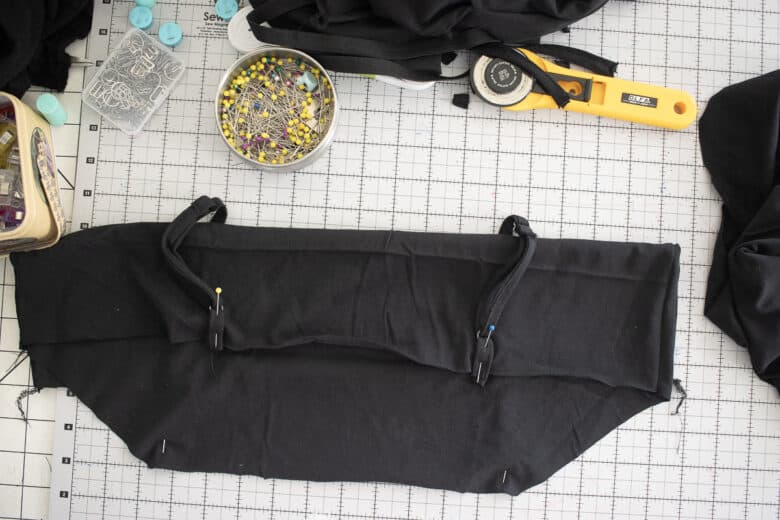
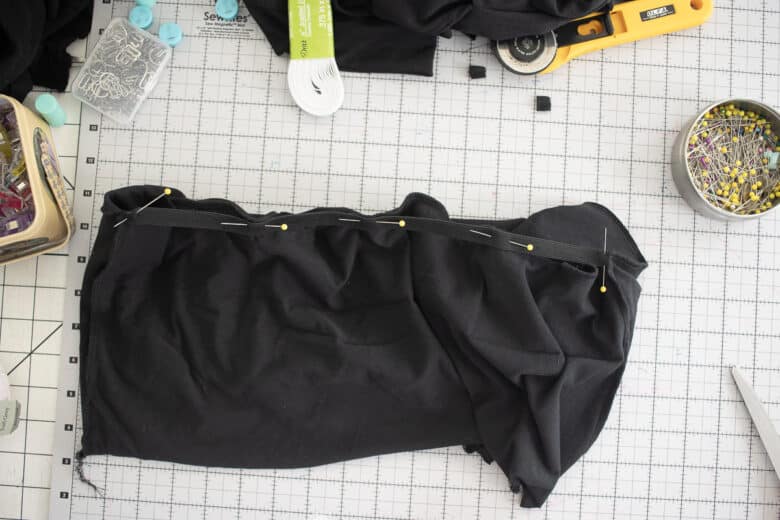
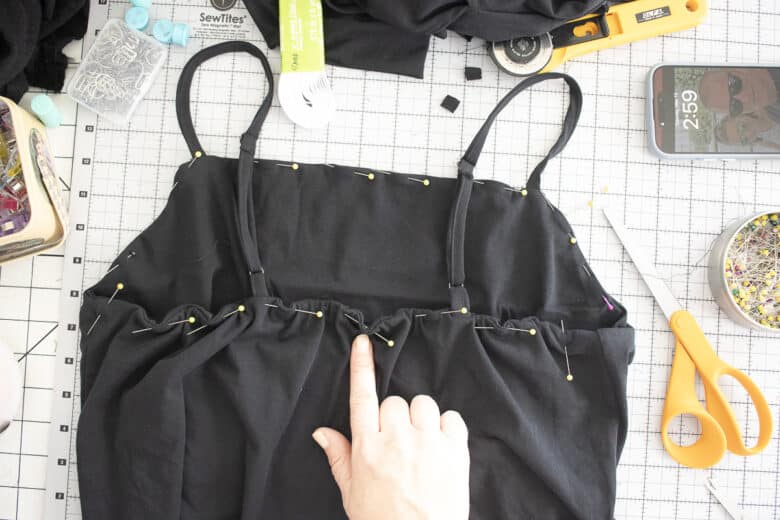
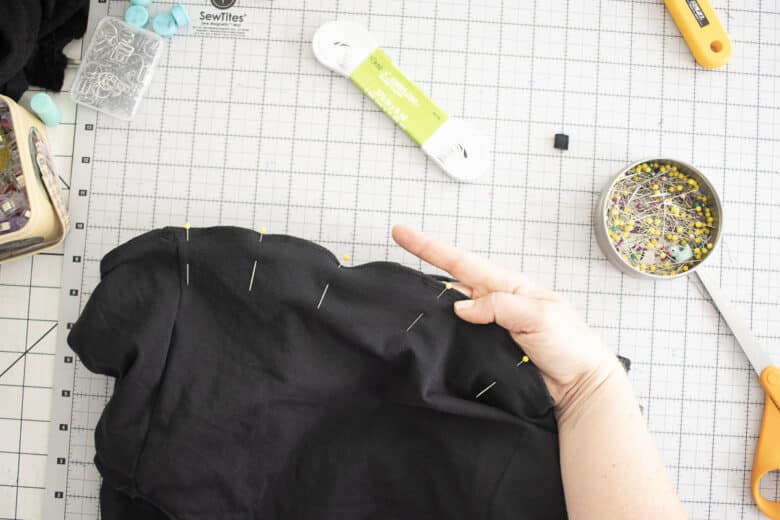
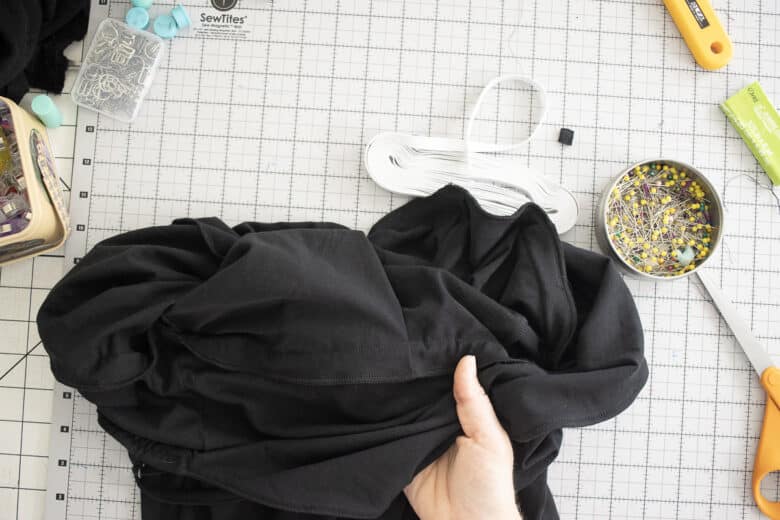
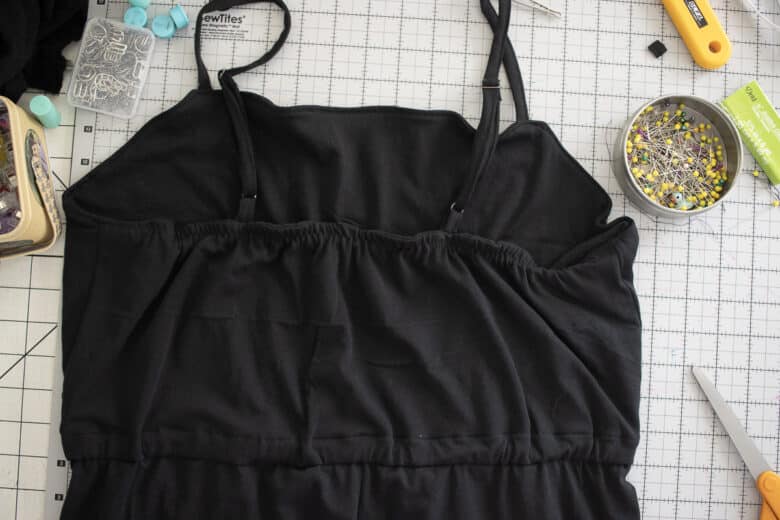
Open it up again to reveal the back side. Measure your upper back {right along the bra line} Stretch elastic on your back so it’s tight, but not too tight along this line. Cut elastic this length. Pin on the side seams.
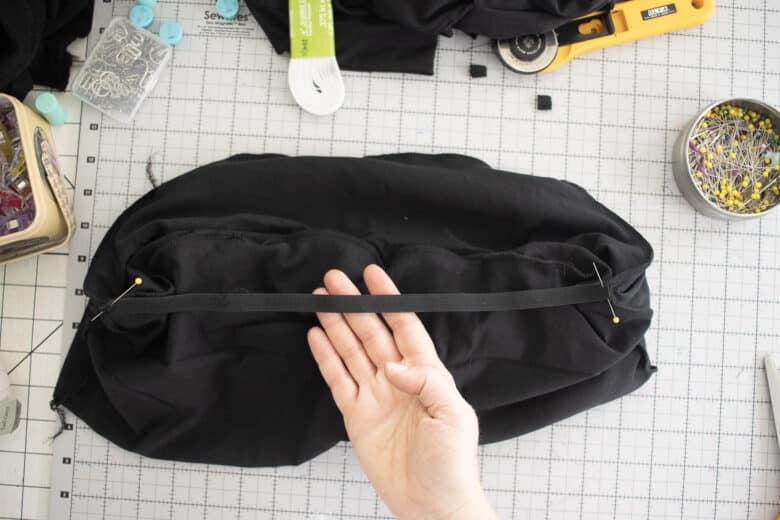
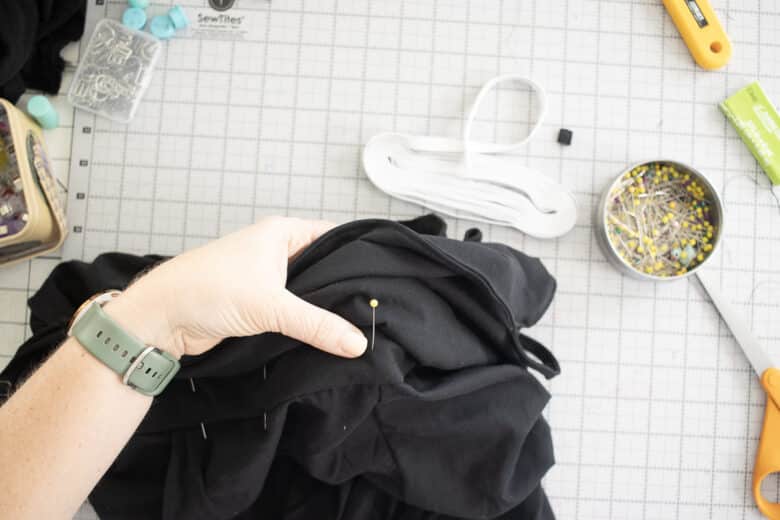
Stretch and pin evenly long the back. The elastic is pinned so the bottom edge it at the top of the seam. The elastic edge should be sewn on top of the serger seam you used to connect the two top pieces, then sticking UP over the top of the seam. Sew with a zig-zag.
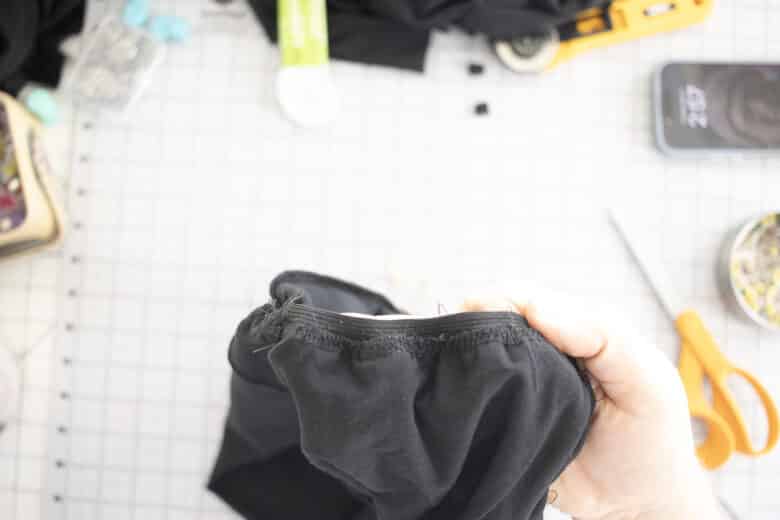
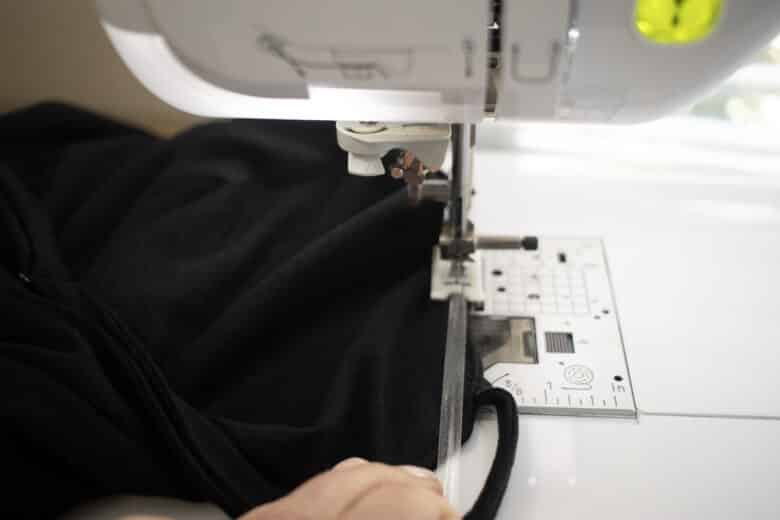
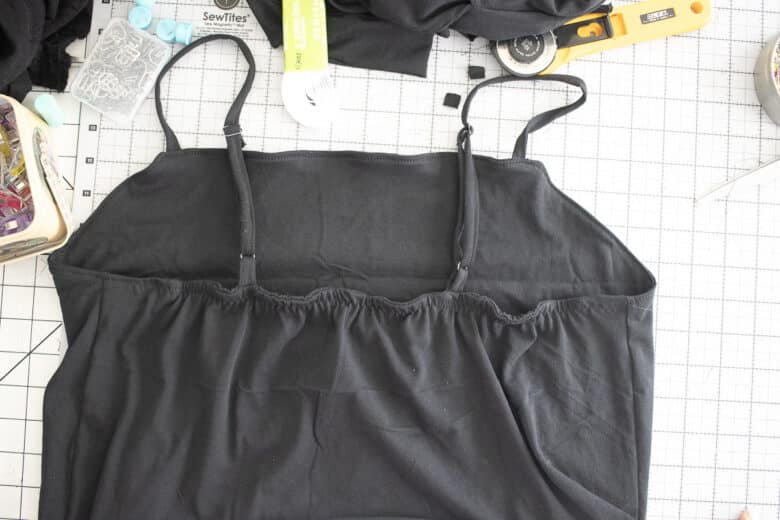
Now fold it back right side out and the elastic is in the seam. Pin along the front and back before top-stitching. Used a straight stitch to top-stitch the front side and then a long-wide zig-zag to top-stitch the back with the wider elastic.
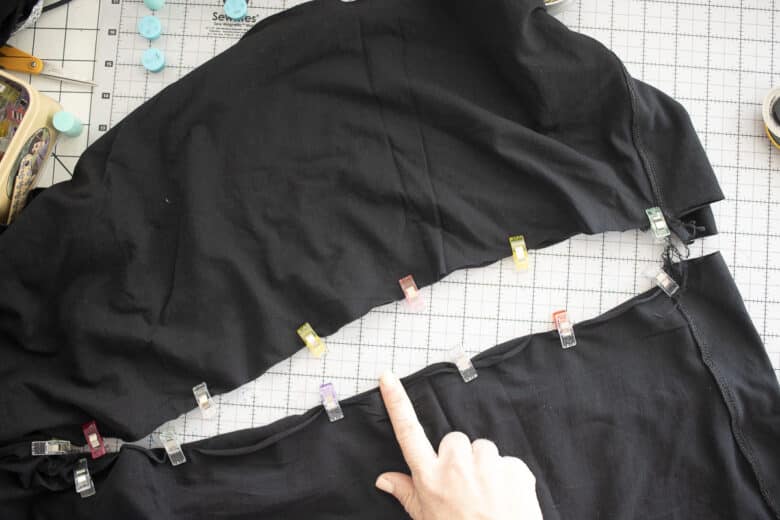
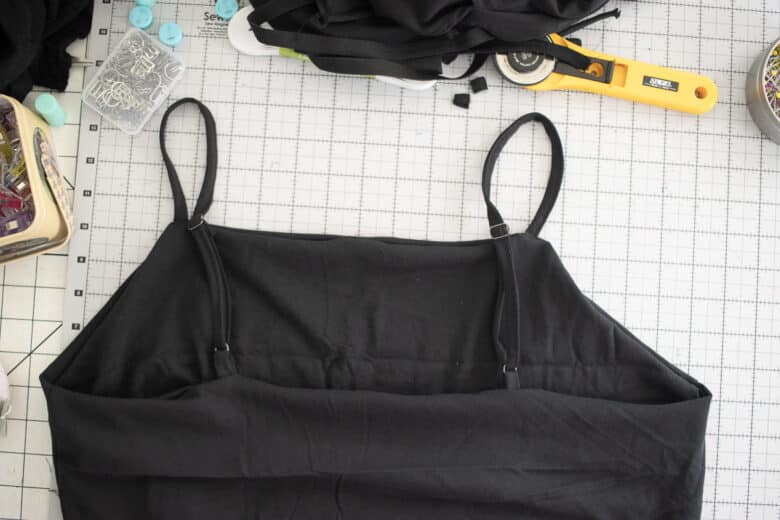
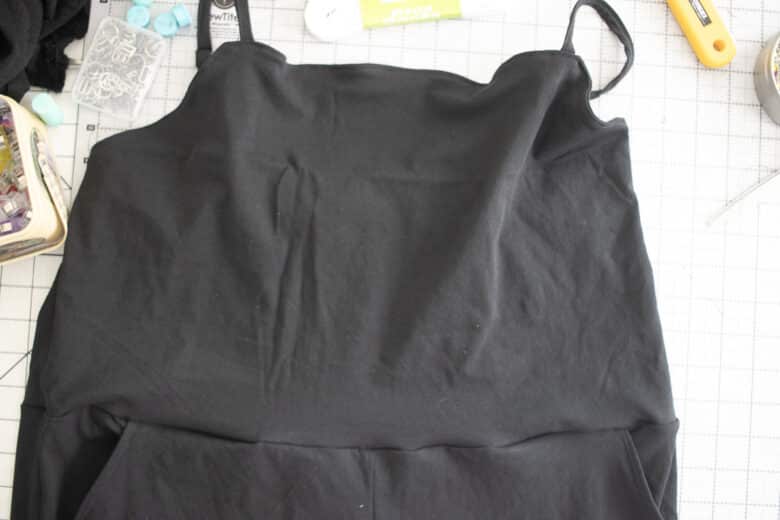
This is how it looks all top-stitched and ready to go. With right sides together pin the bottom of the top to the top of the bottom. Line up the fronts and backs. You may have to stretch one piece slightly to fit. Start with lining up the side seams. Sew with a serger or zig-zag.
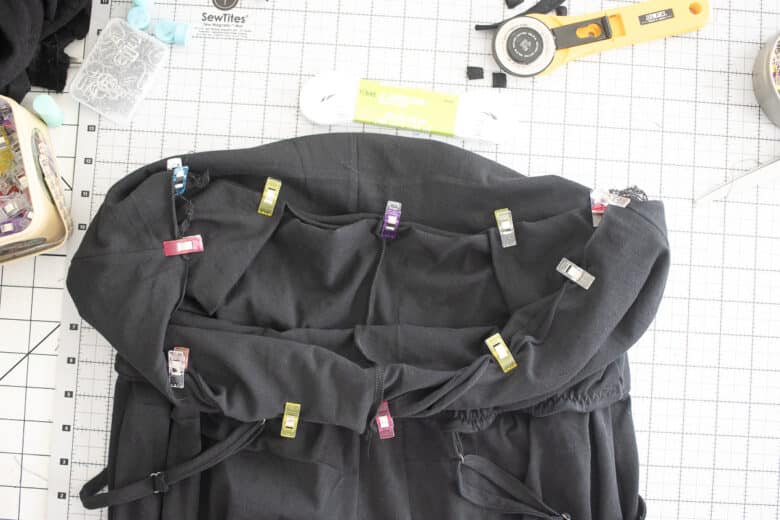
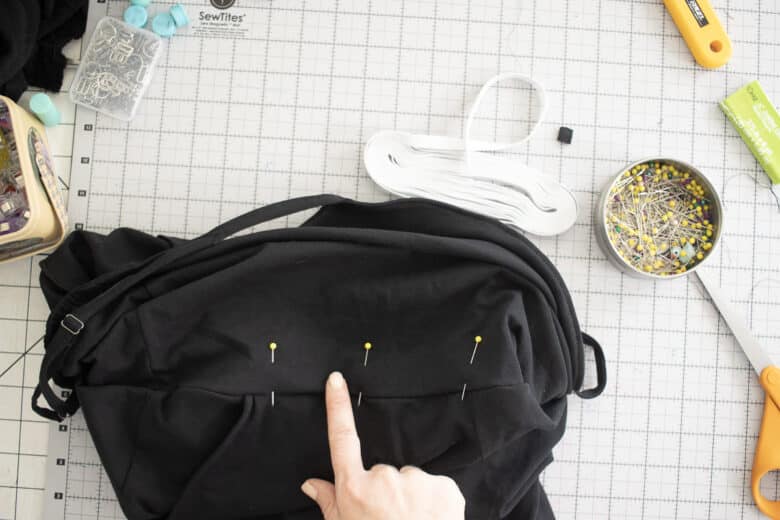
Now it’s all connected. Open up to the inside seam where you just sewed. Pinch the three layers together, pants, and two layers of top. Place pins to hold the layers together. You are going to sew around this again.
Measure your elastic to know how much to sew. With 3/8″ elastic I would sew 3/4″ in from your first joining seam. Sew this with a straight stitch all the way around, keeping the three layers of fabric flat and together.
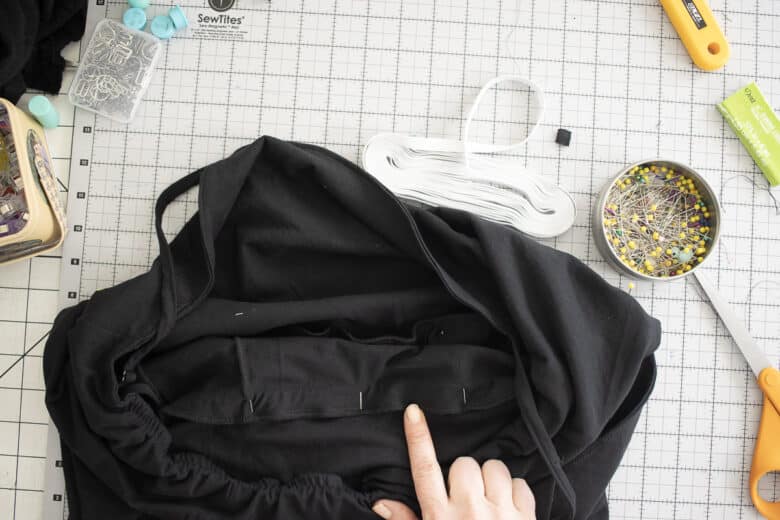
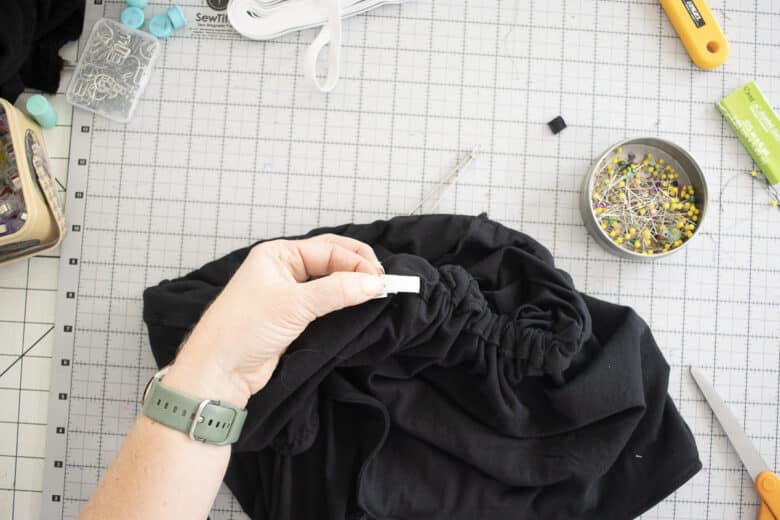
Again, from the outside looks good. Now take that new casing that you just sewed and fold it UP towards the top of the romper.
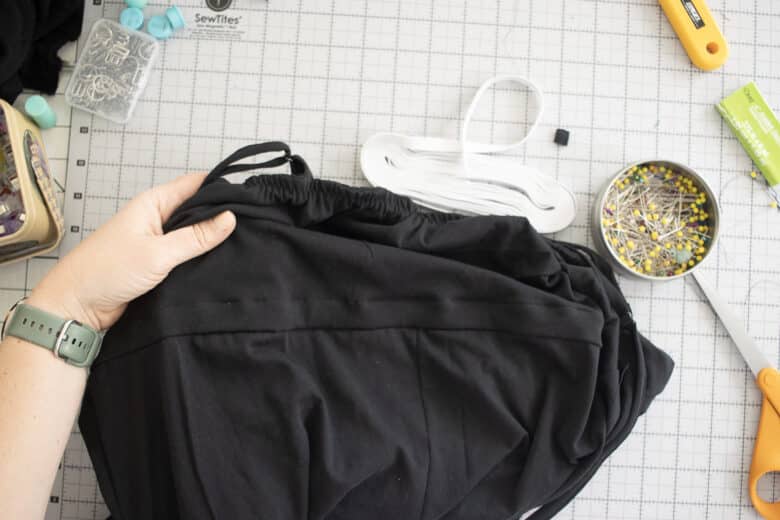
On the outside, pin this casing up. Here are photos of the inside and out side. Sew on the top edge of the casing from the right side of the romper. I used a straight stitch again and sew on the original serger stitching to create the casing.
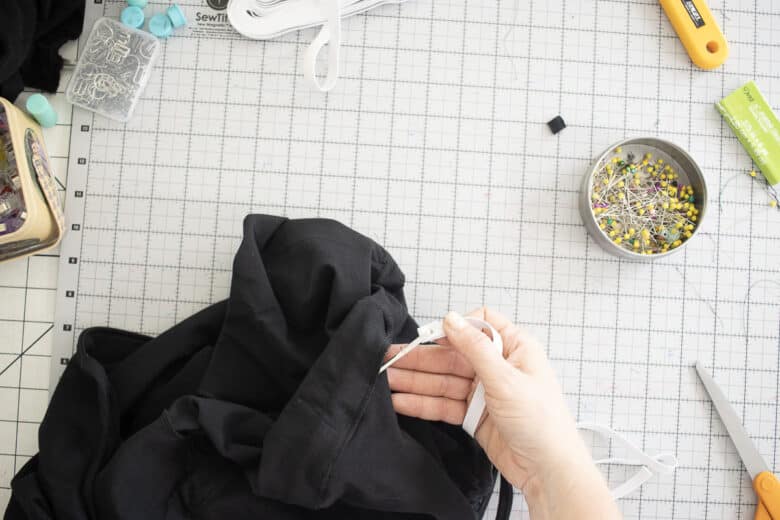
Leave a 2″ opening to thread the elastic. Cut a piece of elastic that comfortably fits around your waist.

Thread it through the opening you left and all the way around the waist. Do not twist the elastic. Put both ends together and stitch them to complete the circle. Pull inside the casing and even the gathers around the waist. Sew the opening closed with a straight stitch and then tack the elastic in place at the side seams to prevent twisting.
Here is the finished front and back that we have been working on. You did it! After you do one romper like this it will be much easier. I love this so much and can’t wait to make more in other colors. Email me at lifesewsavory@gmail.com if you have any questions while sewing. And share your photos on social! Tag me! @lifesewsavory


Leave a Reply