


inside: learn how to make a custom lanyard with your embroidery machine. This simple tutorial will show you how to create a custom lanyard your kids will love.
My boys are both driving these days {ahhhh!} and they carry keys and a small wallet on a lanyard. Apparently this is what all the cool kids are doing these days {haha}. So, instead of a plain strap, I decided to try out making a custom lanyard to see what they thought. It was a huge hit and the fan part is you have total control over the customization.
DIY Custom Embroidered Lanyard tutorial
There aren’t too many things these days that my teen boys are asking me to sew. I fix and mend things for them {and they are grateful} but they aren’t really asking me to sew clothes for them anymore… And honestly, by the time I buy enough fabric, sewing bigger sizes is expensive.
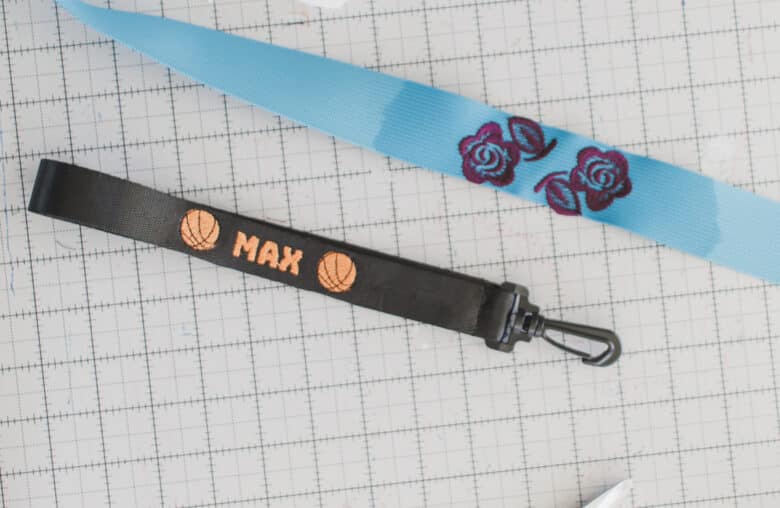
I was excited to try this little project for my boys though. And next weeks post will also be a boy project too!! You can use a lanyard metal end to finish this project, or sew on a swivel hook as seen here. Both options will be linked below.
Other fun embroidery tutorials
Here are a few other embroidery projects that might be useful for teens!
How to make an embroidered lanyard
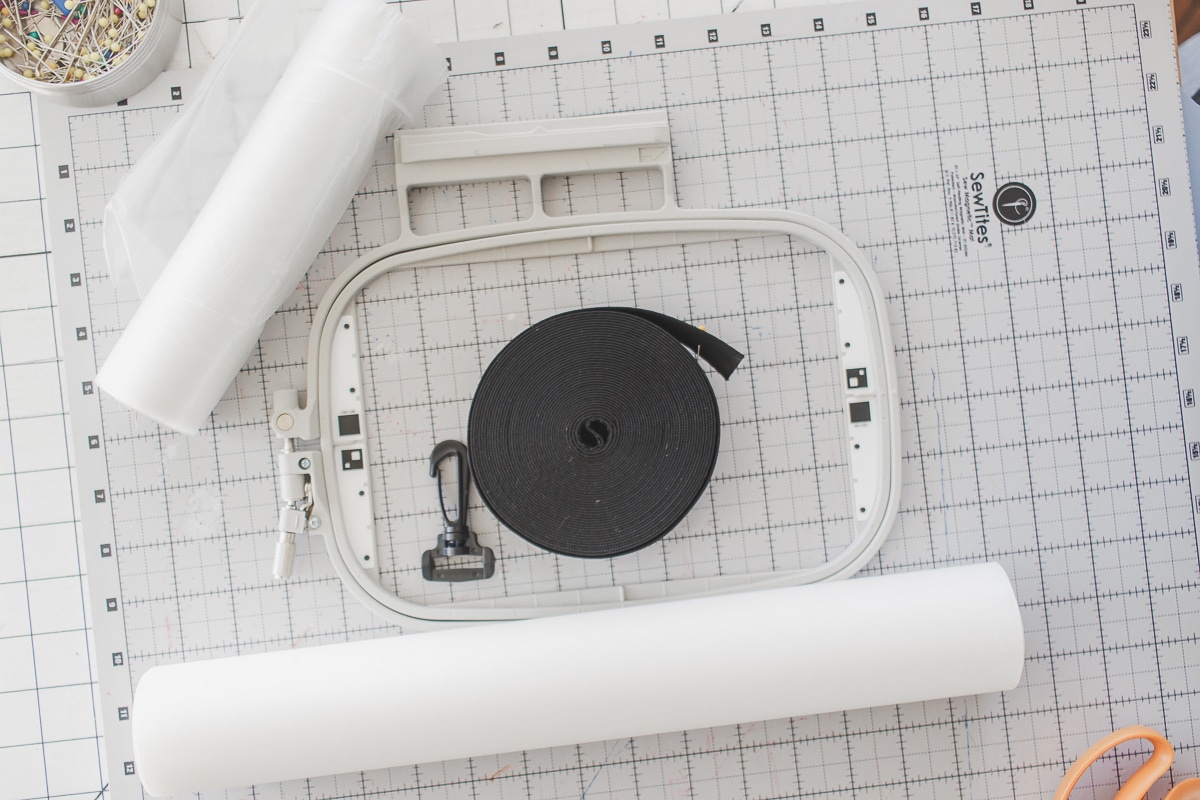
Supply list:
- Strapping {width can be whatever you want. 1″ is standard}
- Lanyard end
- Swivel hook end
- Embroidery machine
- Adhesive stabilizer
- {optional} water soluble topper stabilizer
- Assorted embroidery thread
- Design to embroider or Artspira App
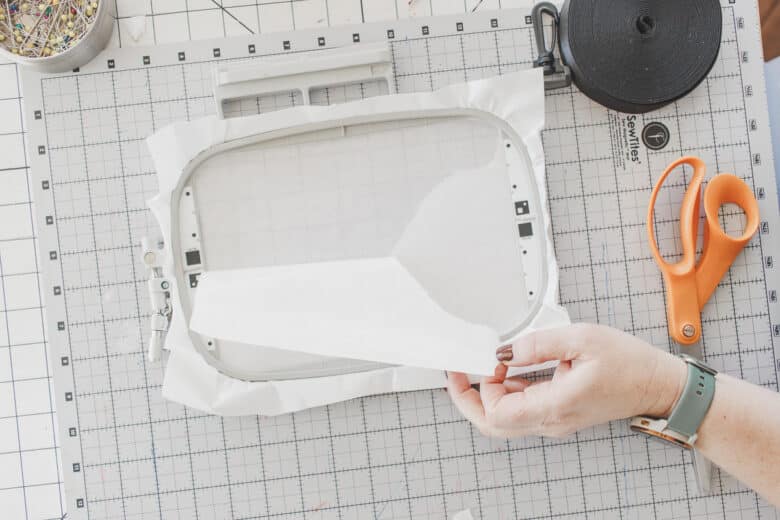
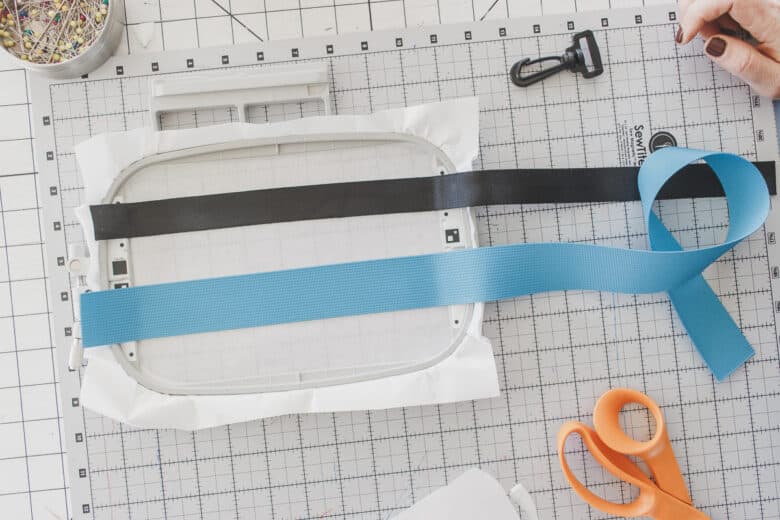
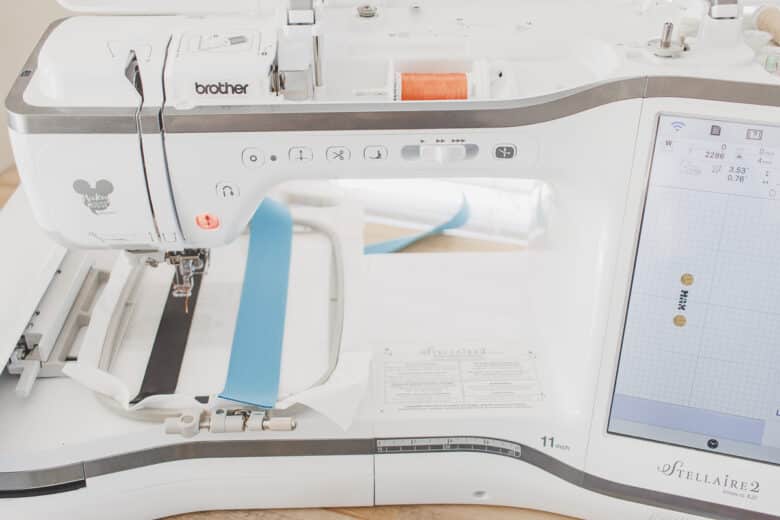
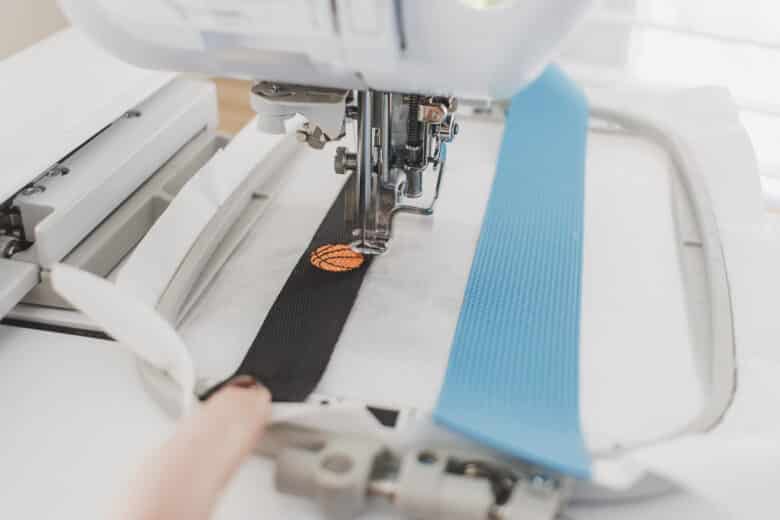
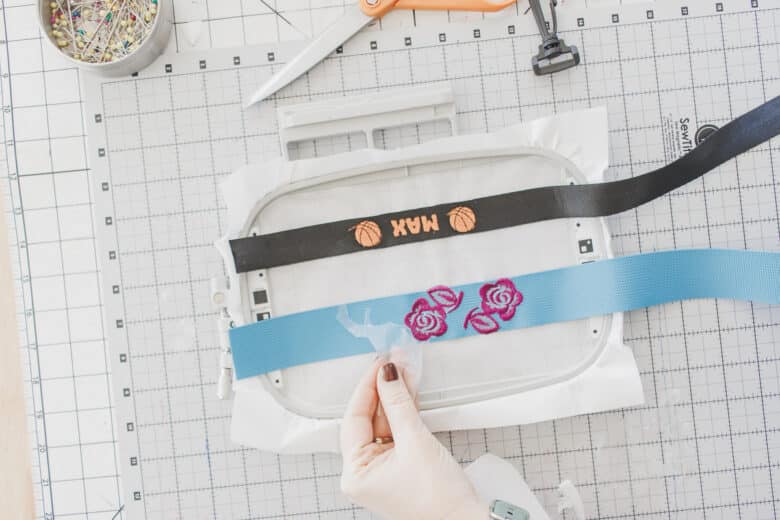
Hoop the stabilizer paper size up, then tear away the paper. Use grid lines on your cutting mat or a ruler to make sure your straps are straight in the hoop. Place the part of the strap in the hoop that you want to stitch on.
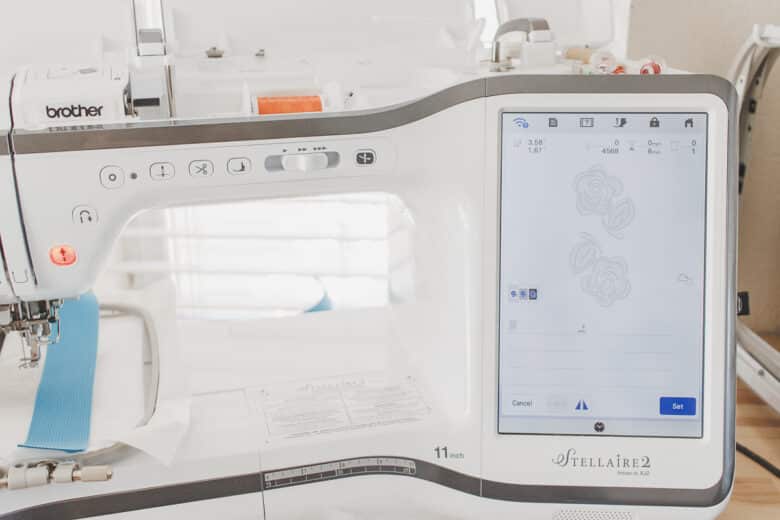
Create a design in Artspira or use one from your machine. Make sure the design is not as wide as your strap. Transfer the design to your machine.
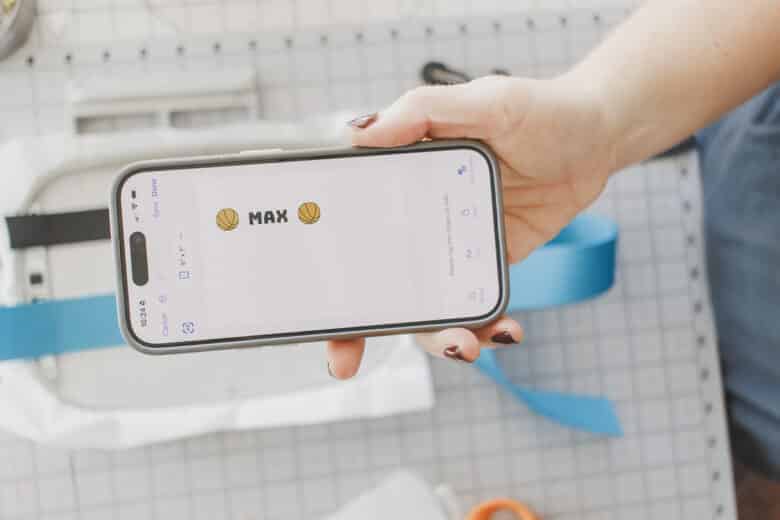
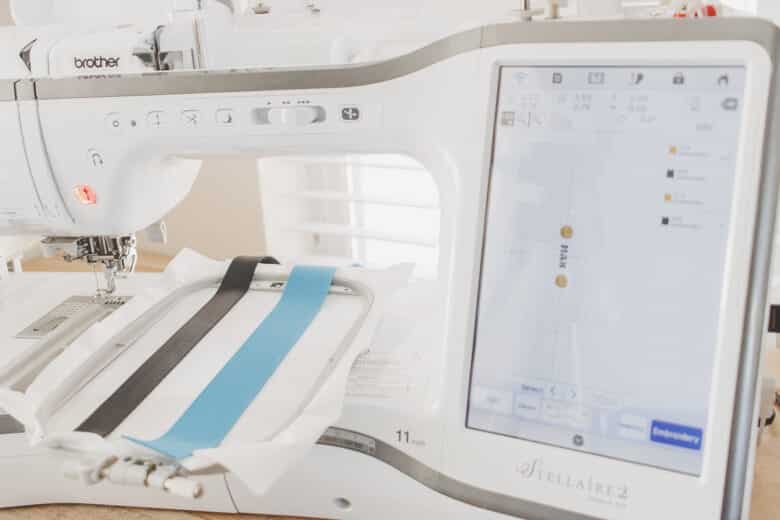
Align the design with the center of the strap. I love the laser light feature on this machine for that reason. Stitch out each color.
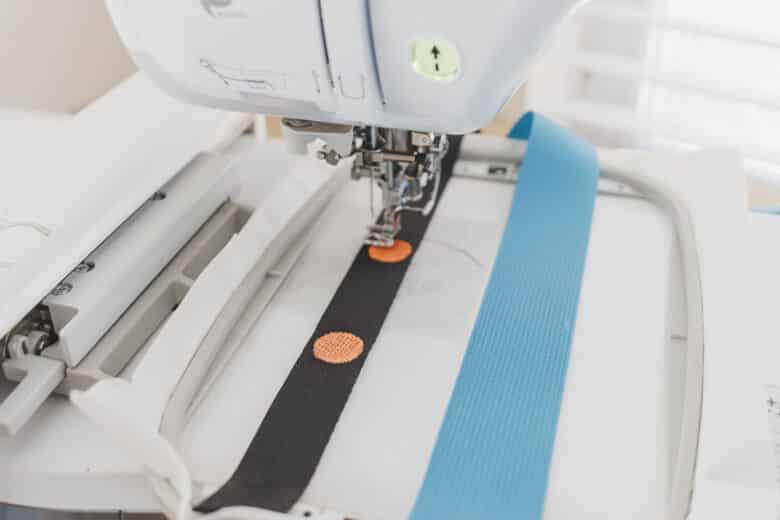
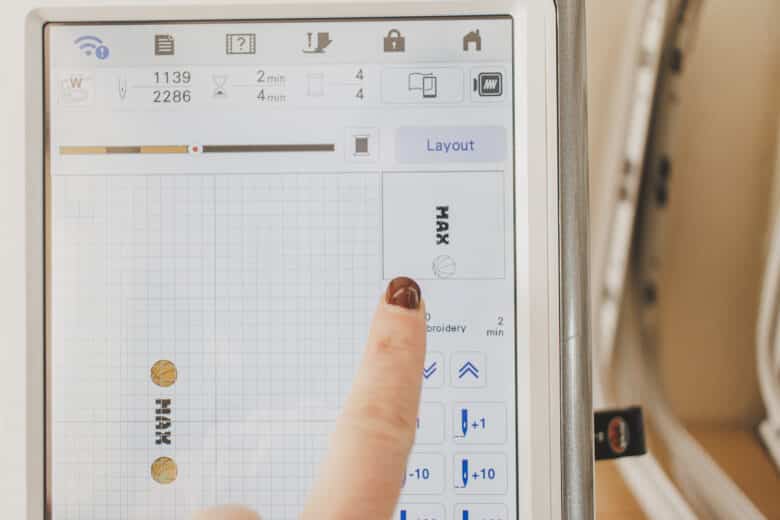
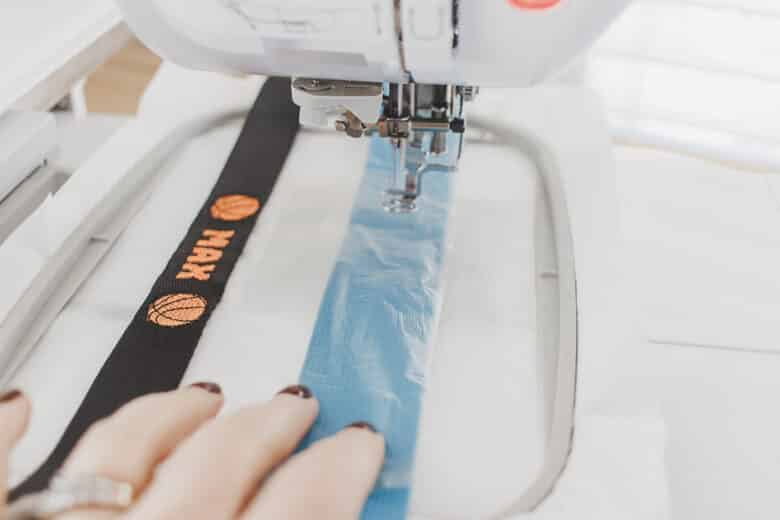
I should have changed the color of my text in my Artspira design as it lumped the name and other black stitching together. I was able to just stop the machine and change thread as it went to make the name orange.
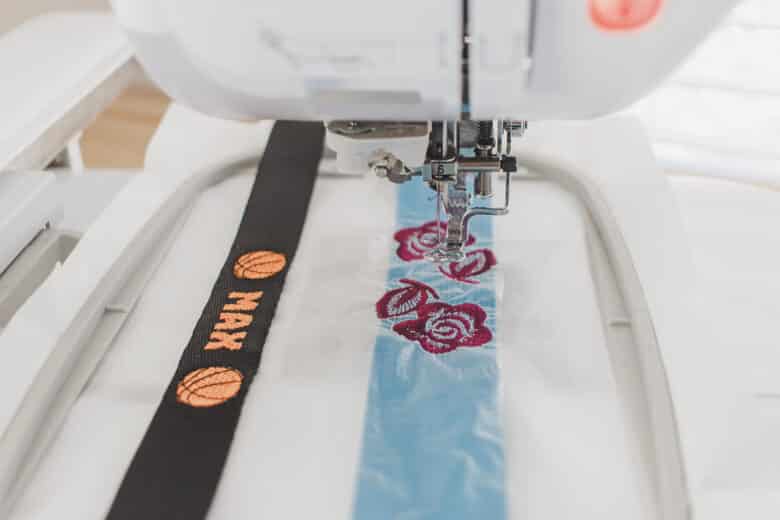
If your stitches aren’t coming out as well as you would like, try adding a layer or two of clear topping to the strap. This really helps give the stitches a little lift and they almost always look better.
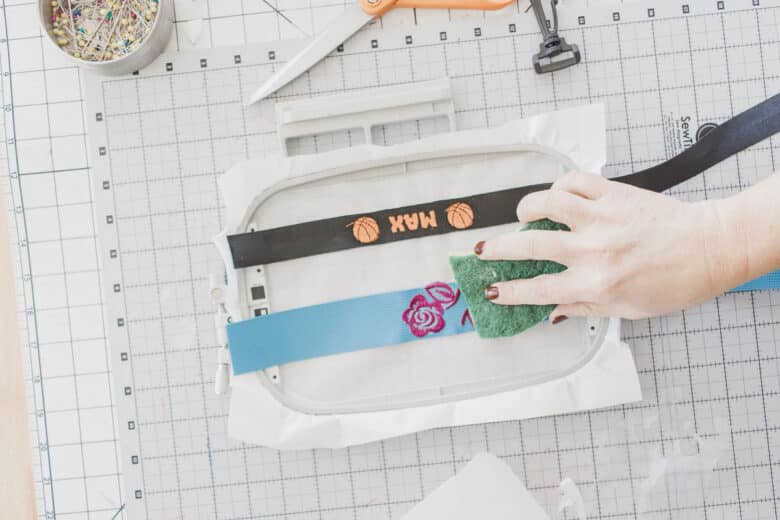
Remove the topper, then use a spray bottle or sponge to dissolve the rest of the material.
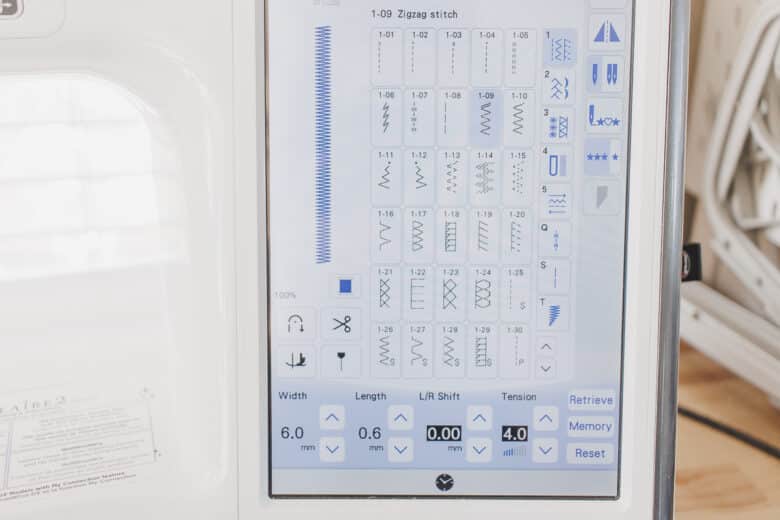
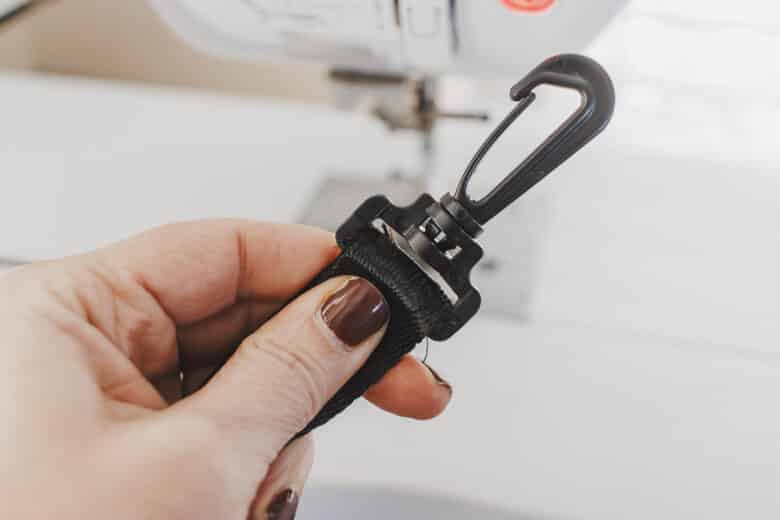
Slide the swivel hook onto the strap. Use a wide/close zig-zag to sew the strap together in a circle, overlap the strapping about 1/4″.
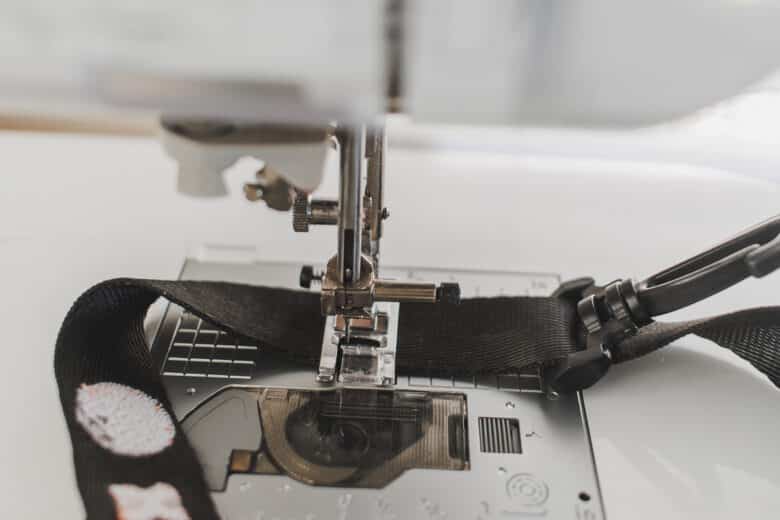
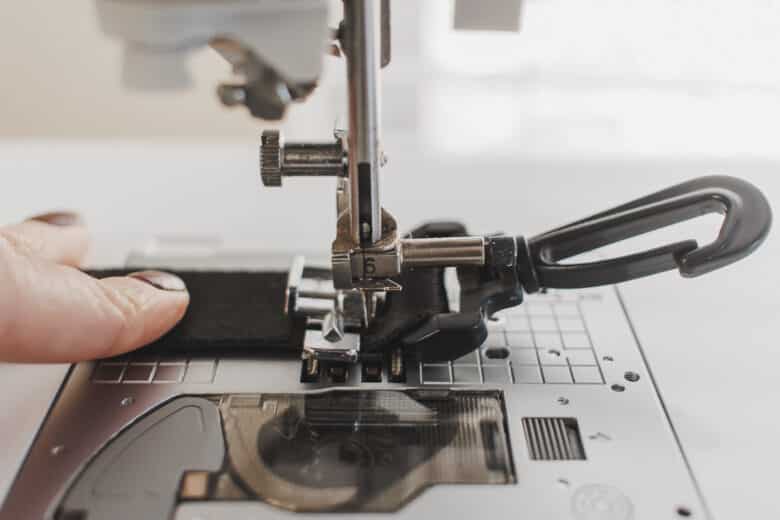
Place that zig-zag seam right on the fold of the hook. This will “hide” the seam as best you can. Fold the strap over and pinch both sides. Now you want to stitch as close as you can to the plastic swivel. I used my zipper foot AND moved my needle over to the right as far as I could to try and get close.
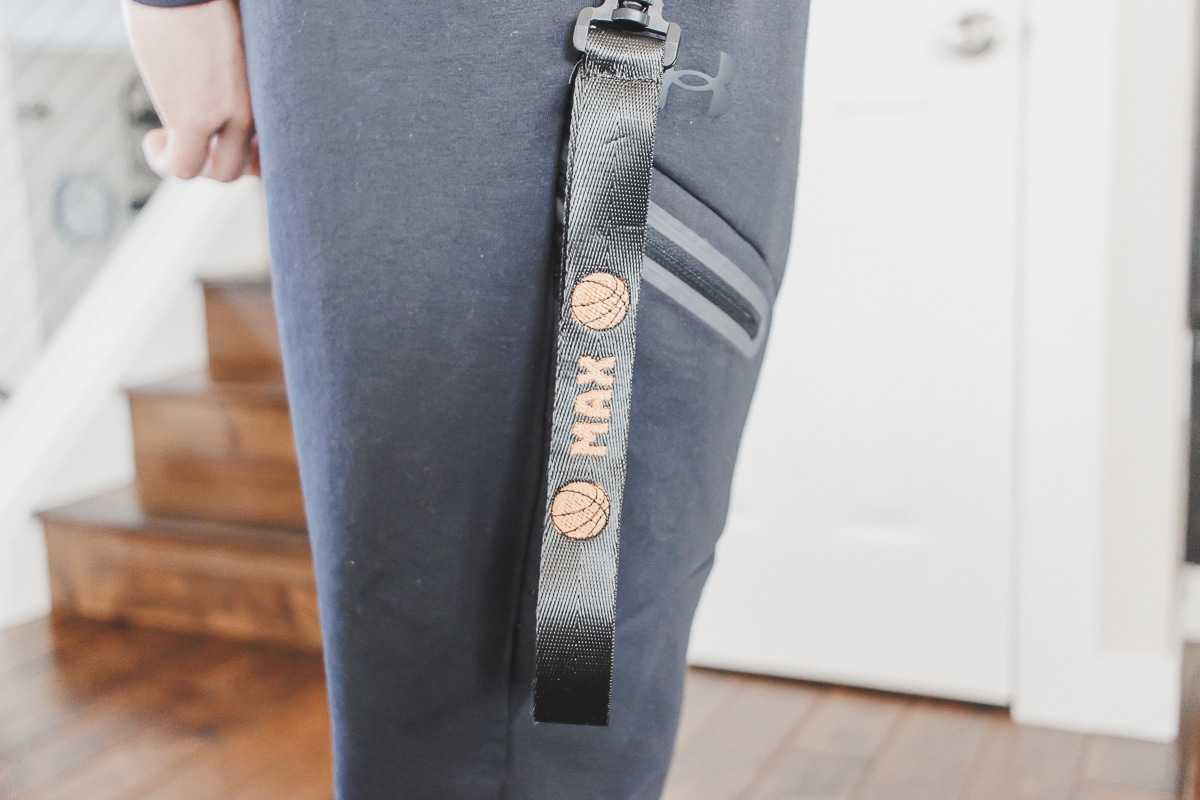
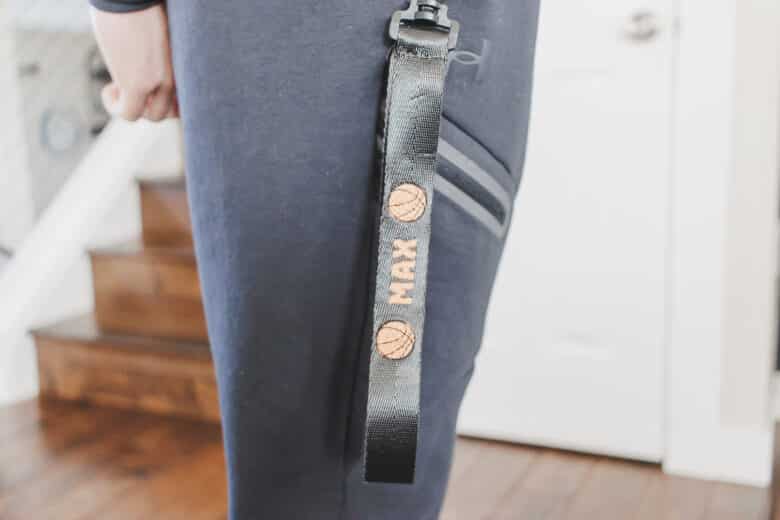
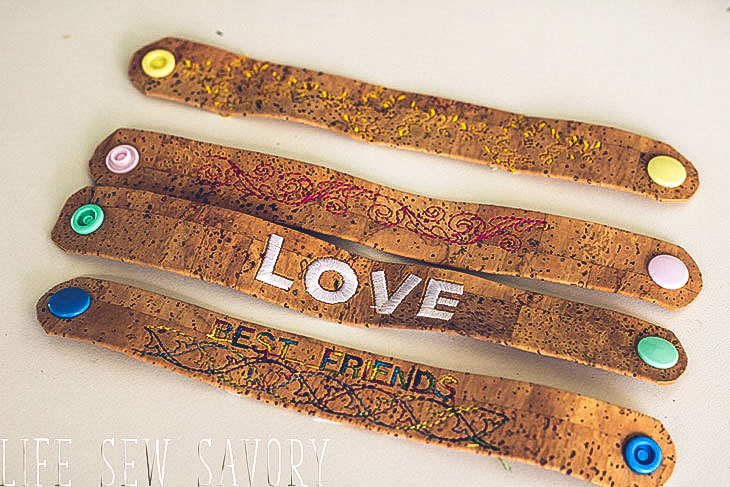
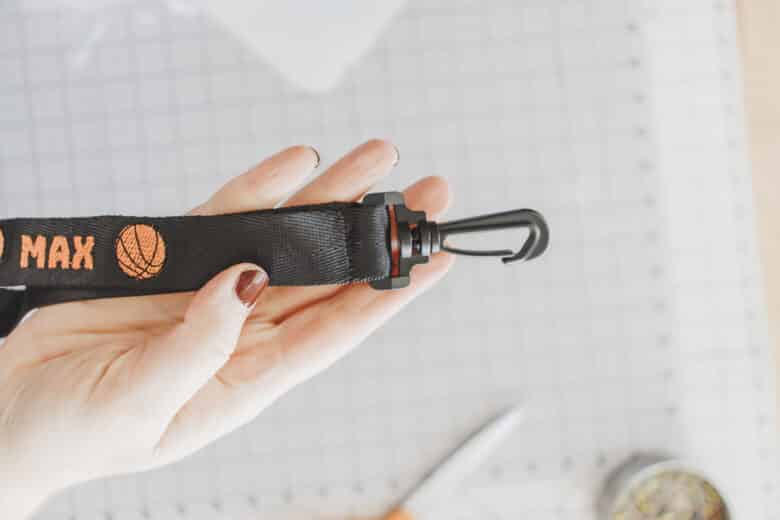
Here is the finished custom lanyard. So fun and you can be as unique and creative as you want with this project.


Leave a Reply