
inside: follow the tutorial to sew mini finger potholders. These small potholders are easy to sew and perfect for keeping handy in your kitchen. This simple sewing project is a great scrap buster and a fast project.
A little interruption in my back to school/fall posting to bring you this adorable mini finger potholder tutorial! We were gifted a set of these in Bronco fabric {we live in CO, but don’t cheer for the Broncos} and have used them quite a bit! My daughter asked the other day if we could get more of this style potholder, so I decided to sew some! In this tutorial you will find everything you need to sew your own set.
Mini Potholders DIY
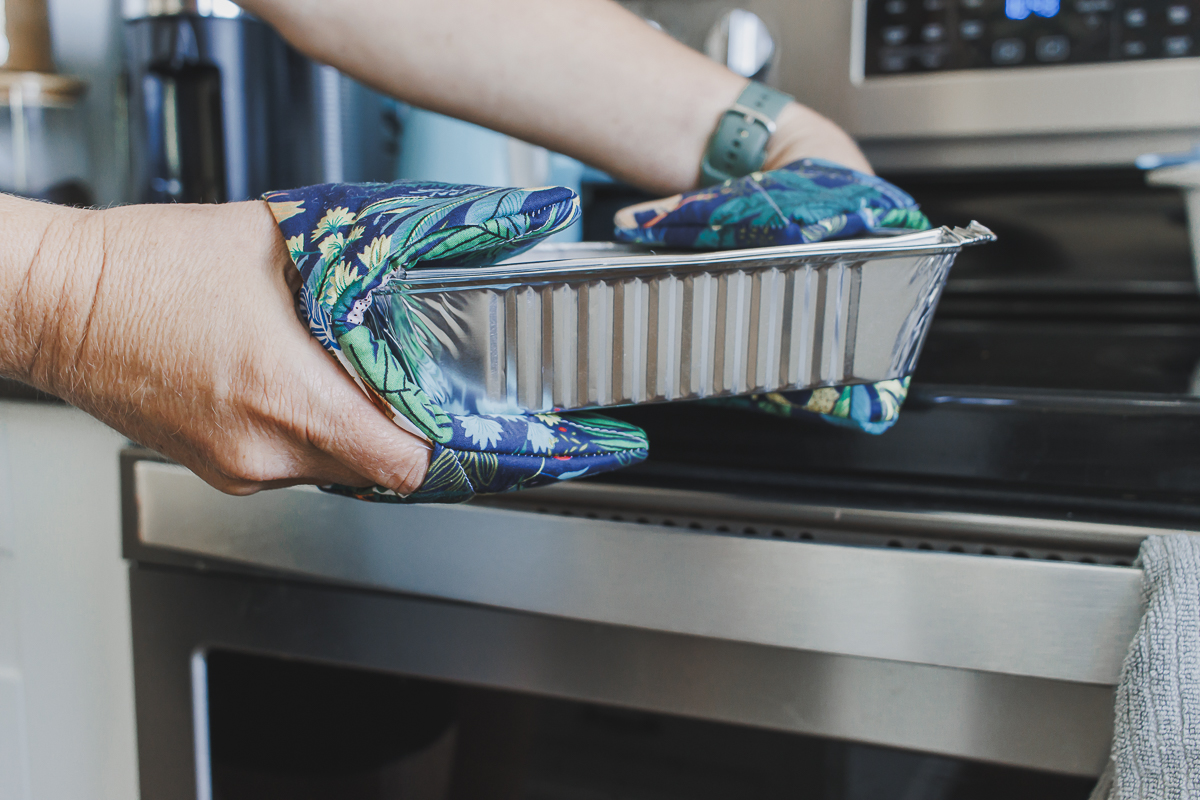
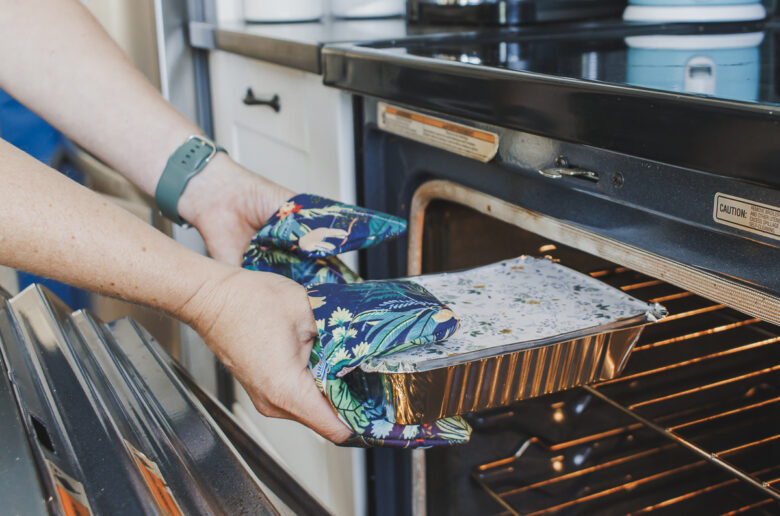
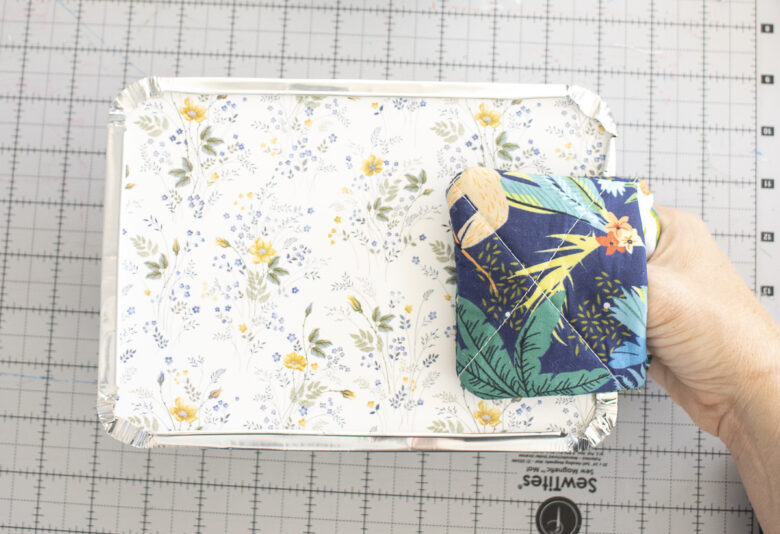
I love how handy this small potholders are. They take up no space at all and are easy to grab when you need a quick hotpad. These have insulated batting inside to protect your fingers, yet are still light and not too thick.
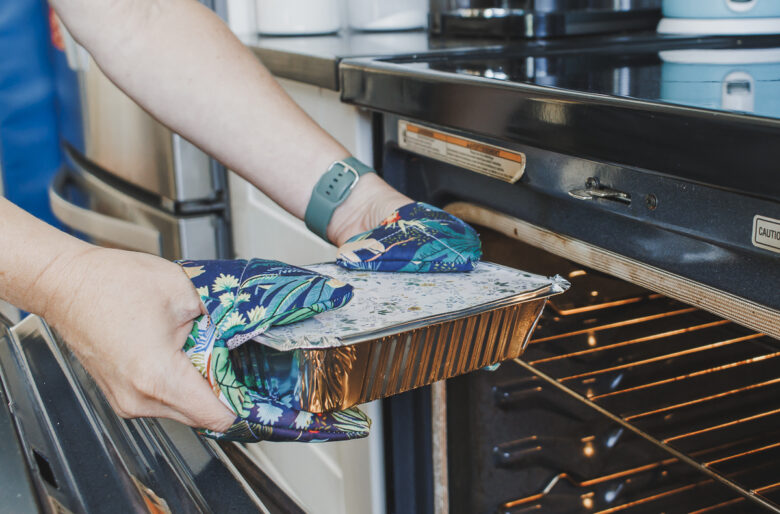
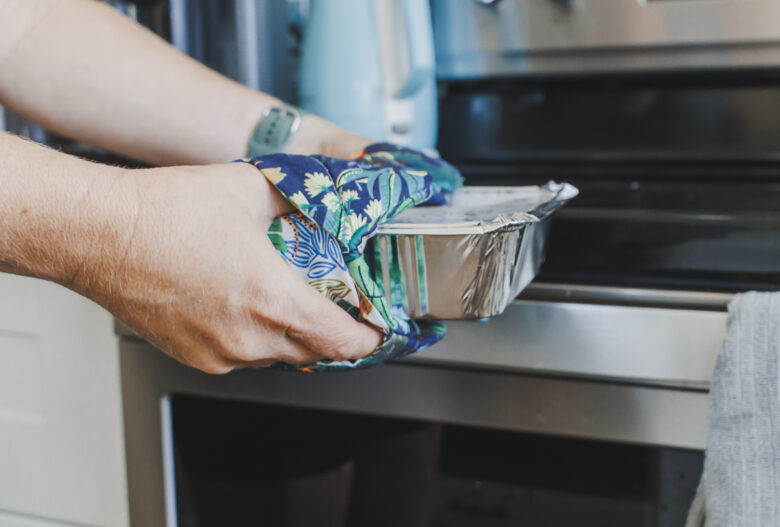
This is a fun, simple sewing project that will be useful for years to come.
More kitchen project tutorials to sew –
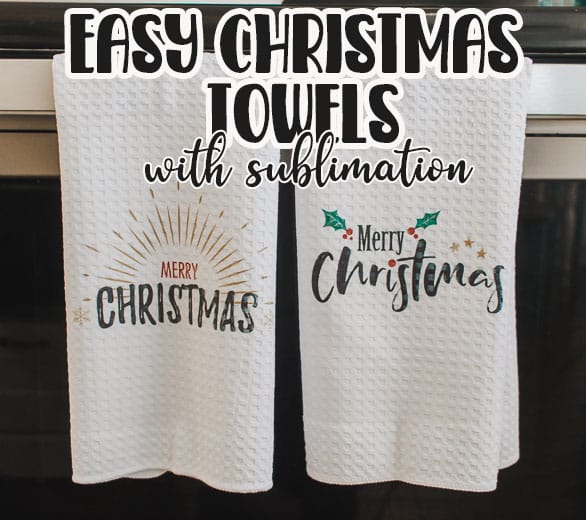
- Sublimation towels
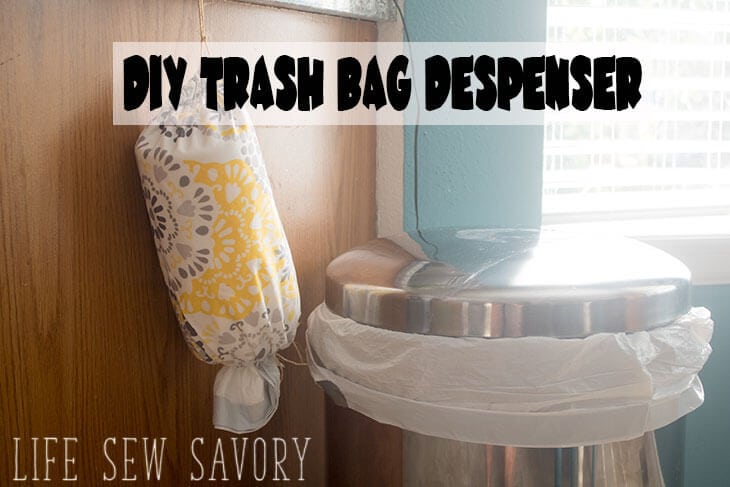
- Trash bag dispenser
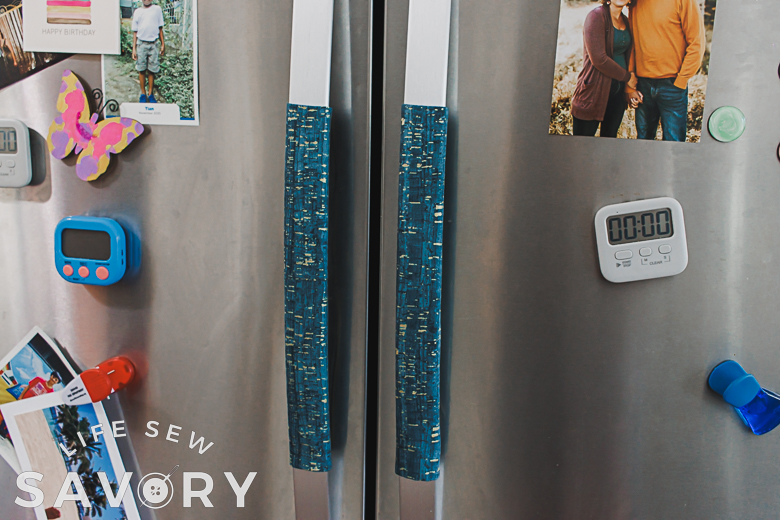
- Fridge handle covers
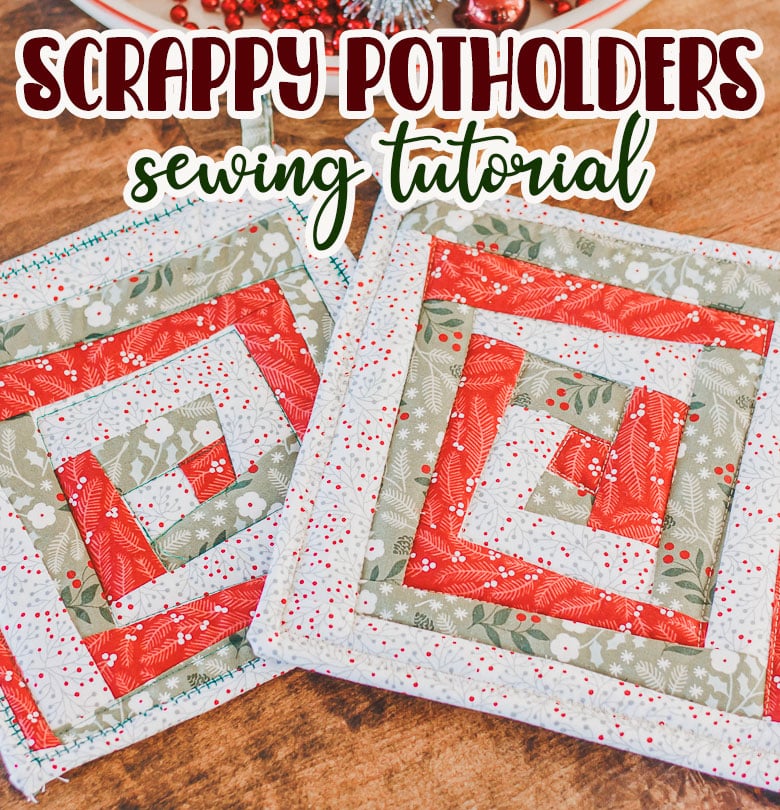
- Scrappy Potholders
- Dish Scrubby Knitting Project
- Mug Cozie tutorial

Mini finger potholder sewing tutorial –
Supplies to make your own mini finger potholders:
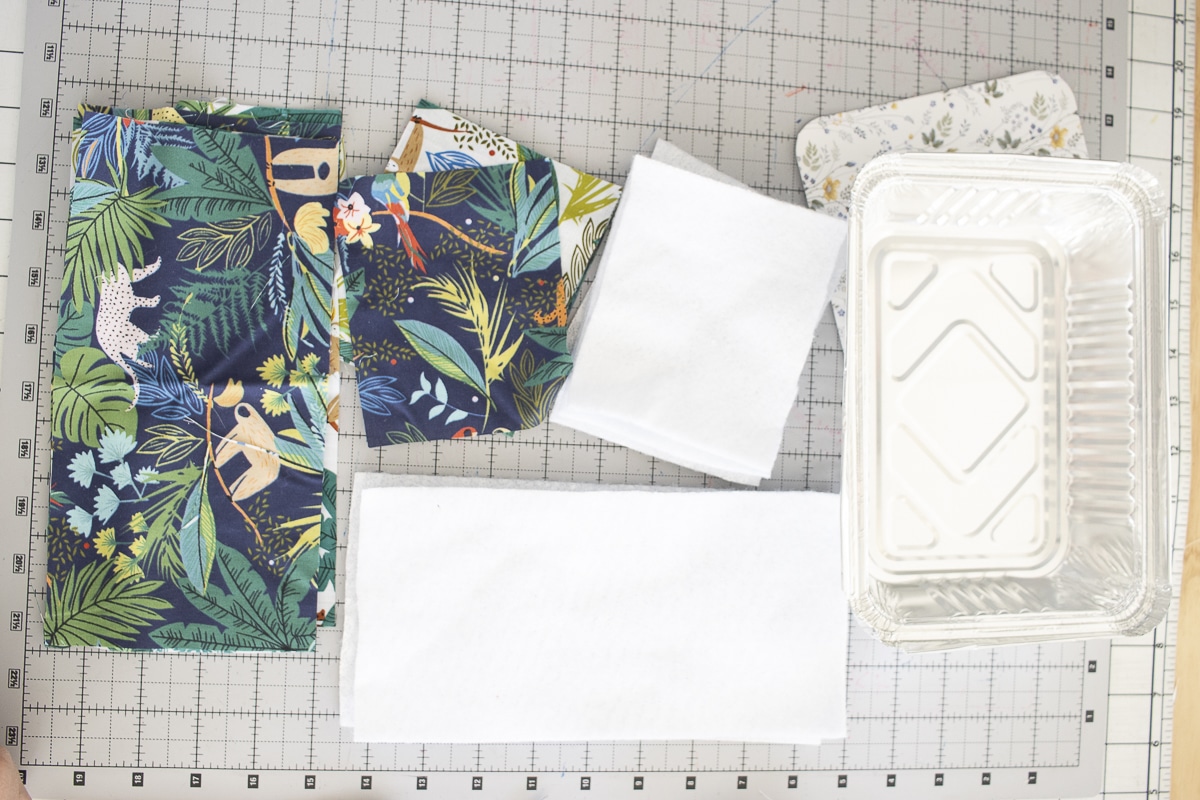
- Fabric Scraps {I used two fat quarters}
- Insul-Bright heat resistant batting
That’s it! Very simple for the supplies. Grab these two items and a sewing machine and let’s get sewing. Here’s how to cut your fabric. This will be enough to make two small hotpads.
- Cut 4 large pieces of fabric {4.5″ x 9.5″}
- Cut 2 large batting {4.5″ x 9.5″}
- Cut 8 smaller pieces of fabric. {4.5″ x 4″}
- Cut 4 smaller batting {4.5″ x 4″
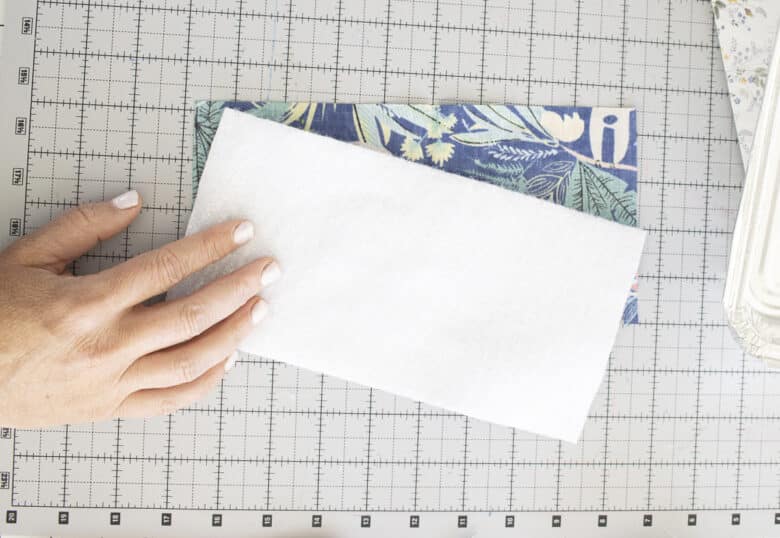
Take one larger piece of fabric and one large batting. Place the batting on the wrong side of the fabric. Sew a large X on the fabric to attach these two layers together.
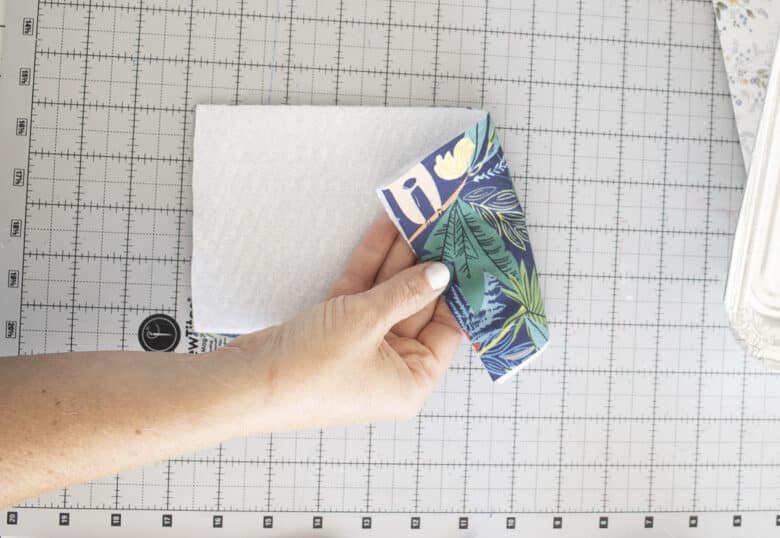
Take two of the smaller fabric pieces and place them right sides together. Sew along one of the longer sides {4.5″}with a 1/4″ seam allowance.
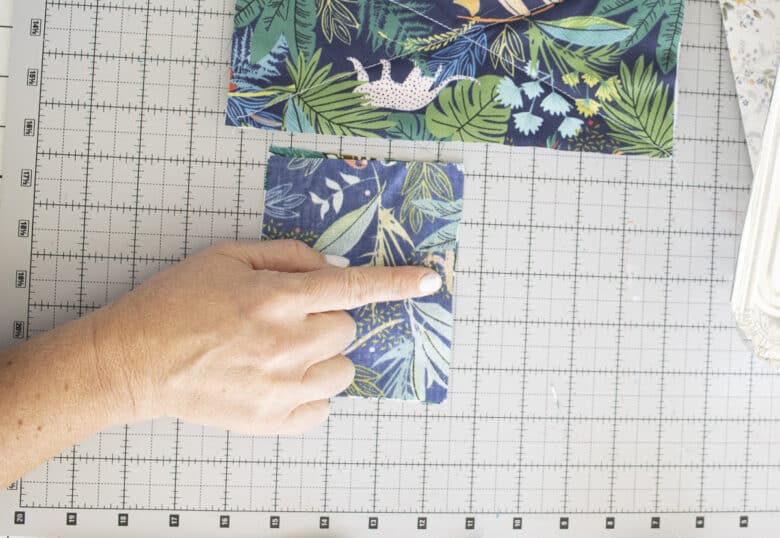
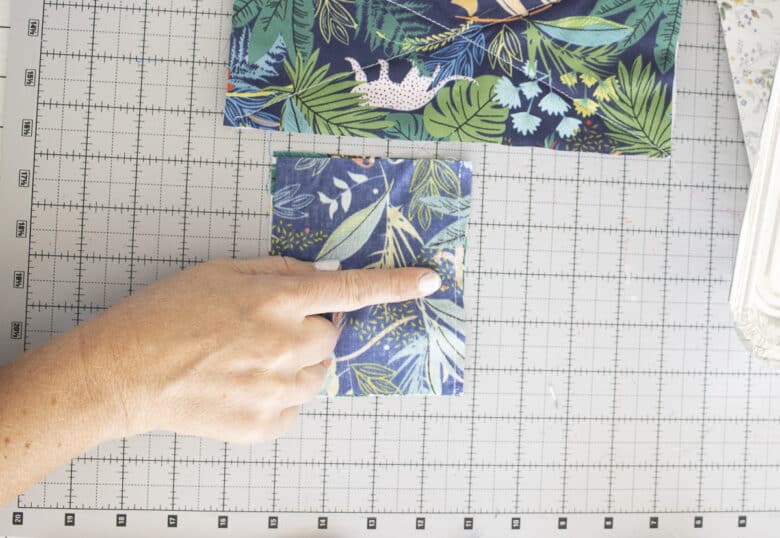
After sewing, open up the the fabric you just sewed to the inside {wrong side} of the fabric. Place one of the small batting pieces inside.
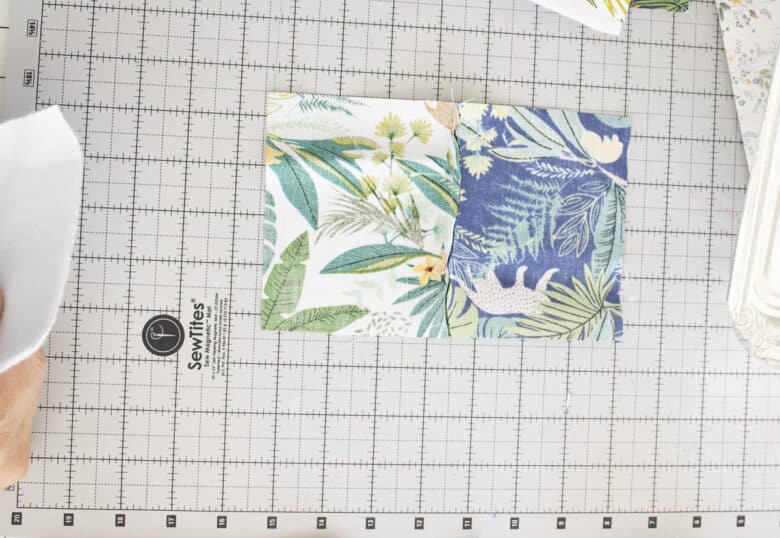
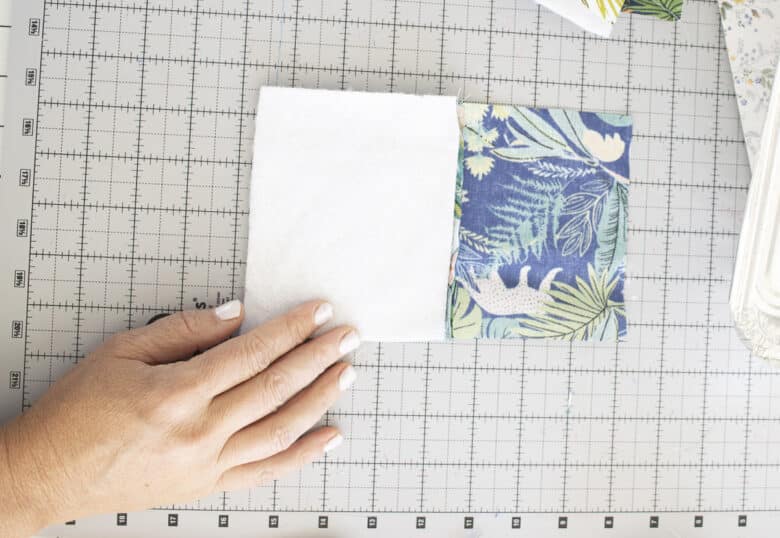
Fold the fabric back over with the batting securely up against the top seam. Sew a large X through all three layers. Repeat these steps with another two small pieces of fabric, so you have two finger sleeve pieces.
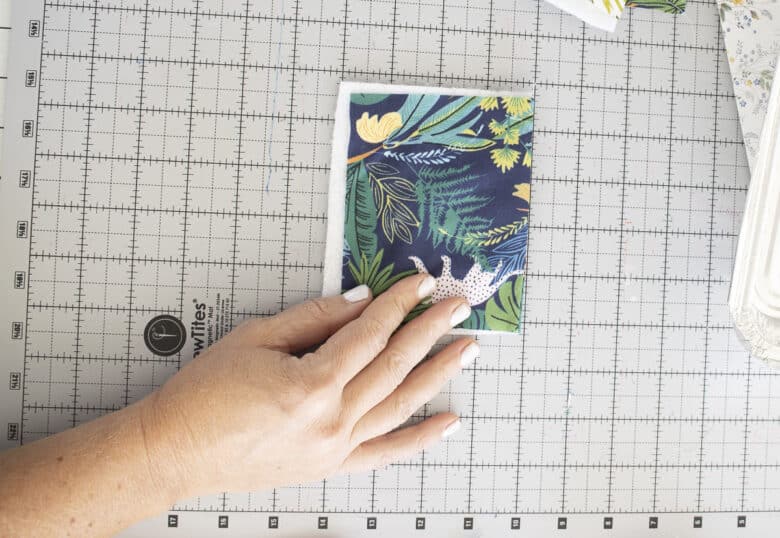
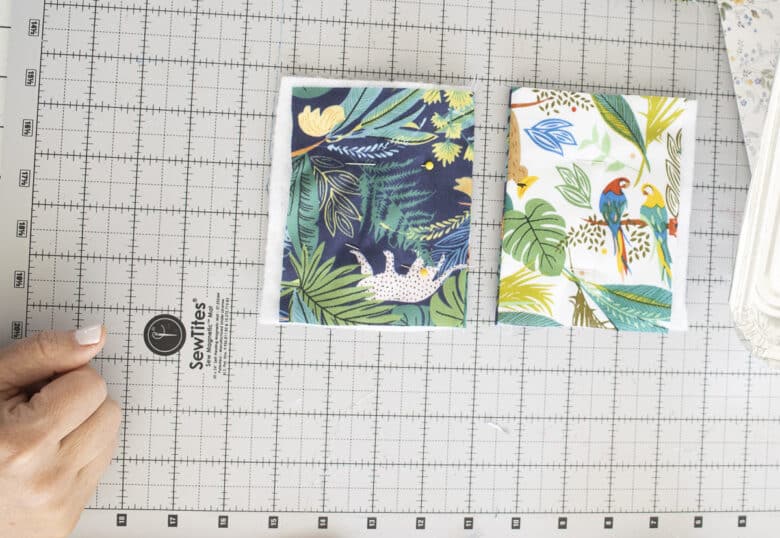
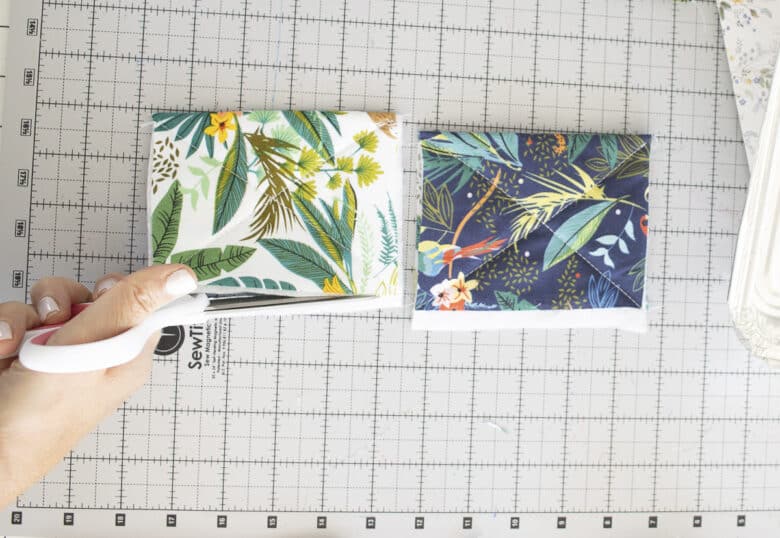
Take the large piece that you sewed the batting to and turn it fabric side up. Add the two finger sleeve pieces on top of this. The raw edge of the small pieces should face out to the short ends.
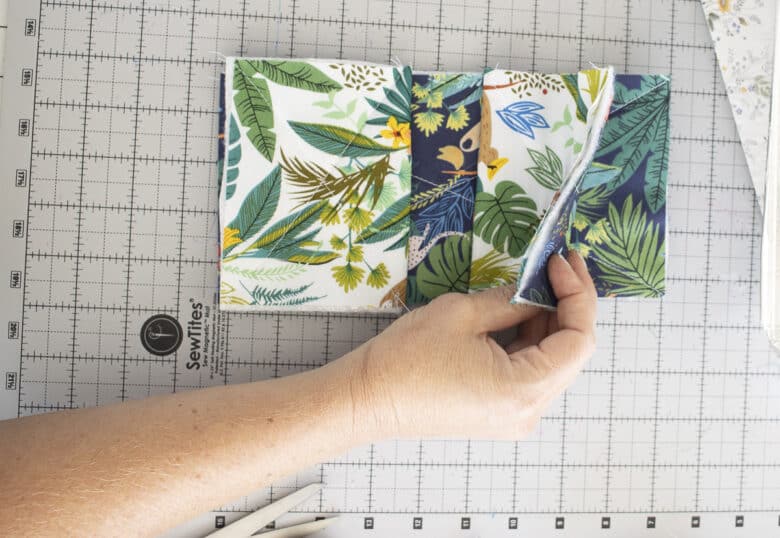
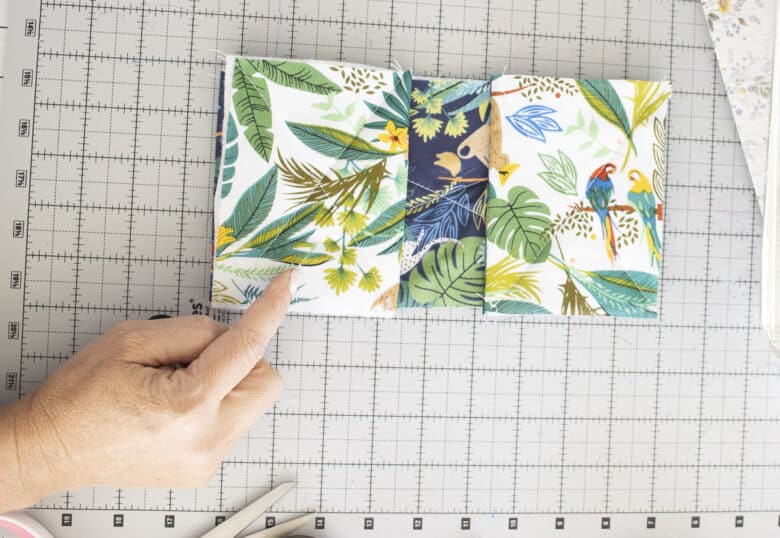
Take a second larger piece of fabric and lay it right side down on top of the other pieces. Pin or clip around three sides of this stack. Leave one short side open. {this will be for turning} Sew around the three sides you pinned. Use a 3/8″ seam allowance, but be careful to sew through ALL layers, so if you need a larger allowance, take it.
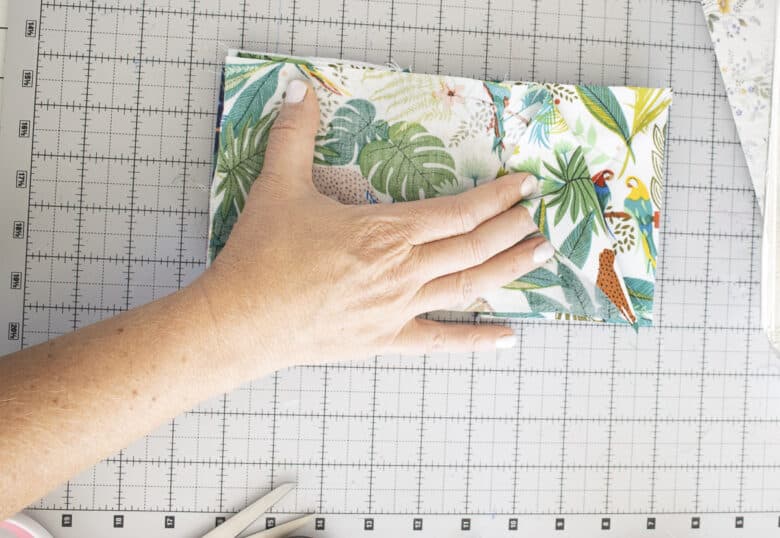
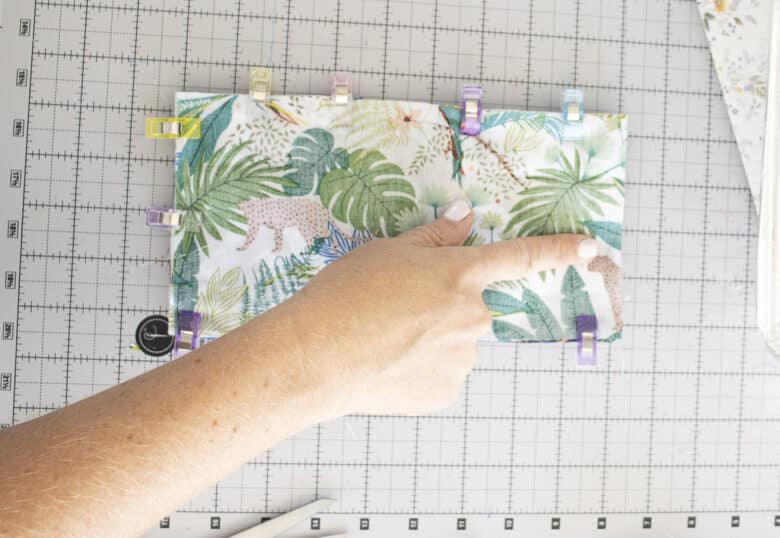
Find the open end, then turn the fabric right side out. Flatten the turning hole end and then sew through all layers with a zig-zag stitch and a straight stitch.
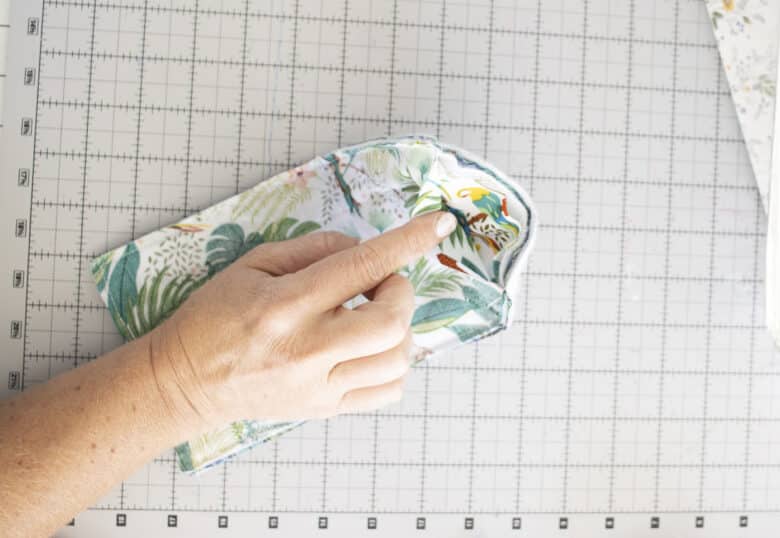
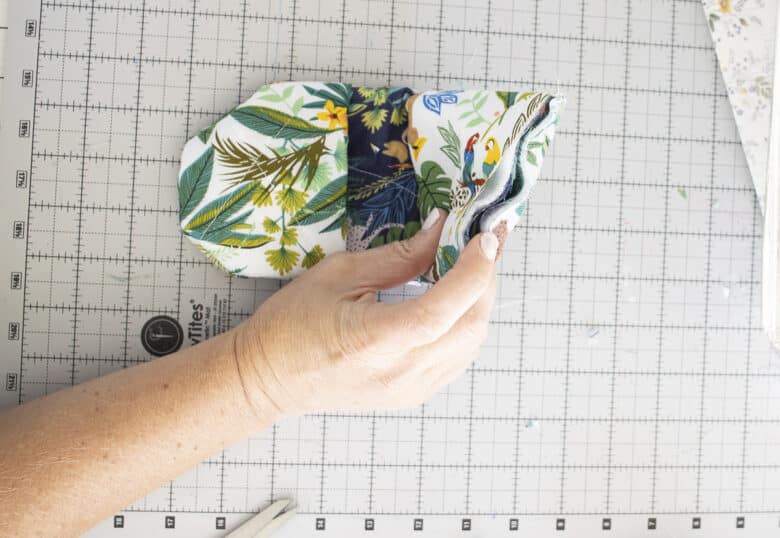
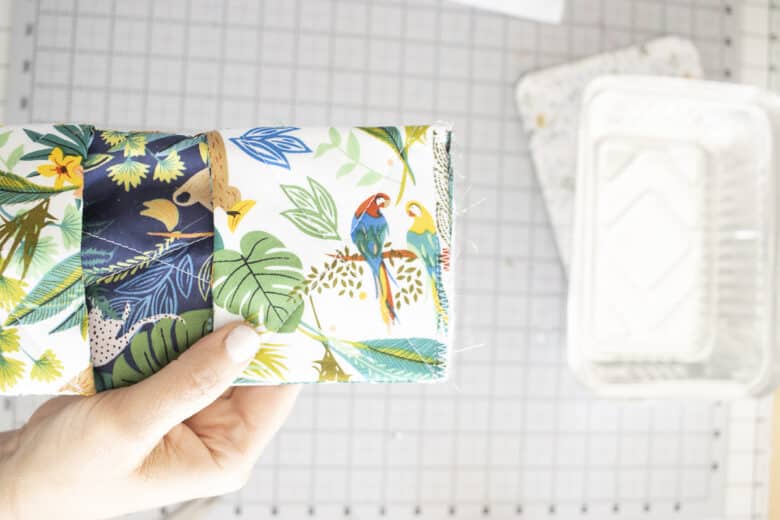
Turn the finger sleeves over again to hide the zig-zag stitch. Flip over both sleeves to finish the mini potholders. Repeat every step again to sew the second hotpad.
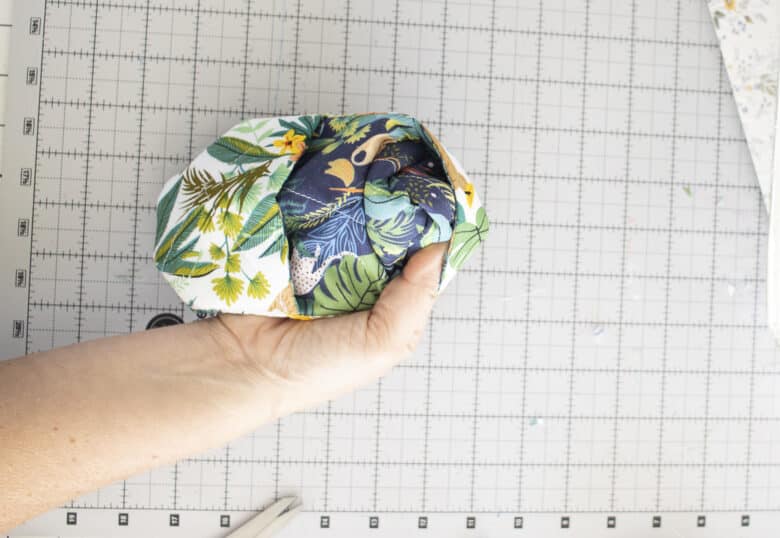
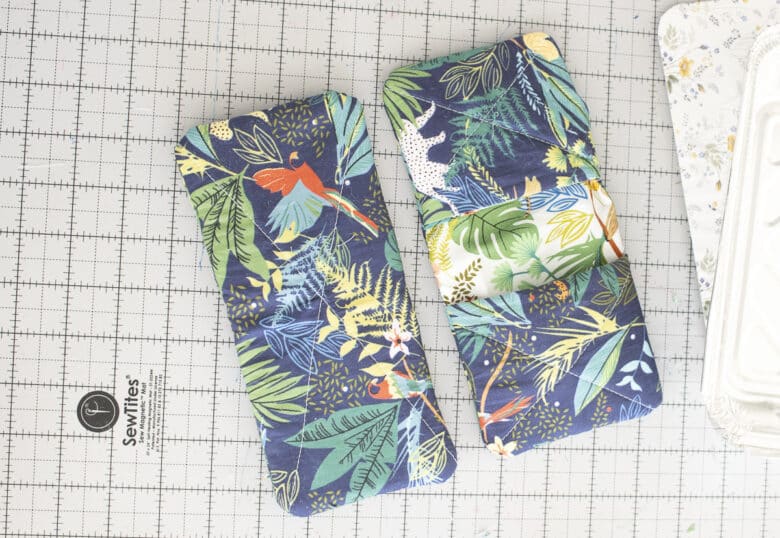
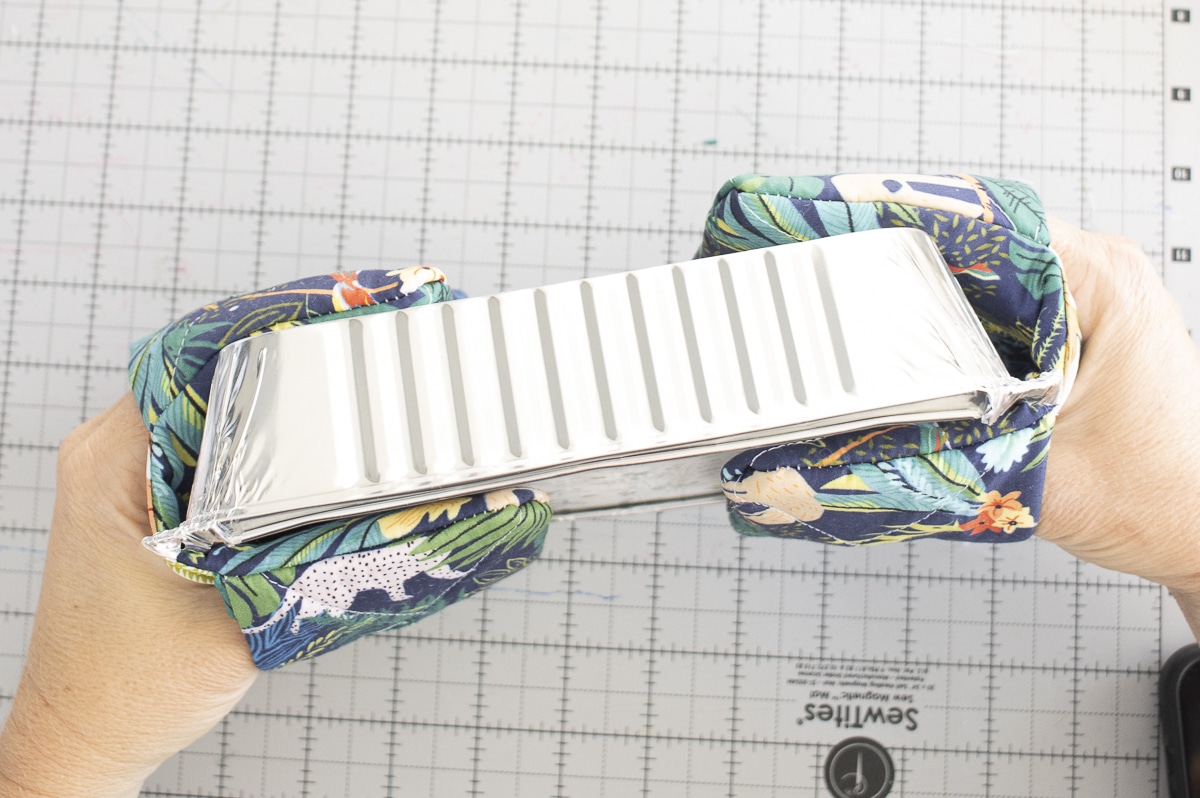
Fold in half to slide your fingers inside and and use for your next baking or cooking project.
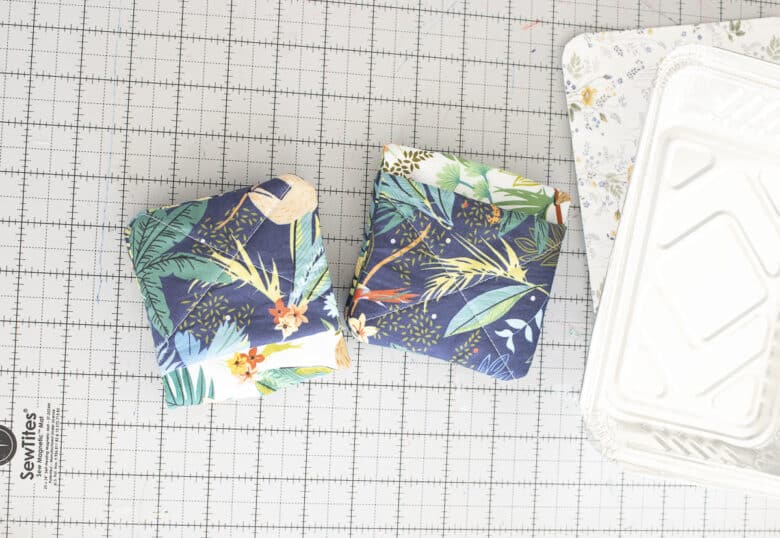
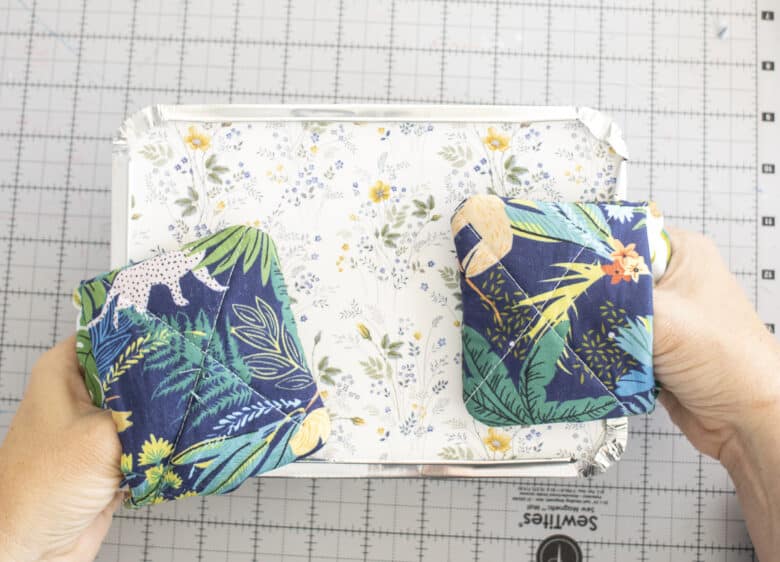
These are just the right size to grab any pan and protect your hands. Enjoy this simple sewing project!




Leave a Reply