



inside: use this adjustable apron tutorial to sew an apron that will fit almost everyone. There are also two sizes, so you can make an adjustable child size or the adjustable adult size. Perfect for a kitchen where you want to share the apron.
I went to grab an apron the other day and realized I didn’t have one handy in my kitchen. I’ve recently ruined a couple shirts with grease splatter, so it was time to sew a new apron for myself. This adjustable apron is perfect for teens and adults, or you can sew up the small child size for those tiny people in your life. Both are adjustable in length and width.
Rose is modeling the child apron here and it is obviously too small {haha} Below you can see how the adjust one adjusts to fit her well.
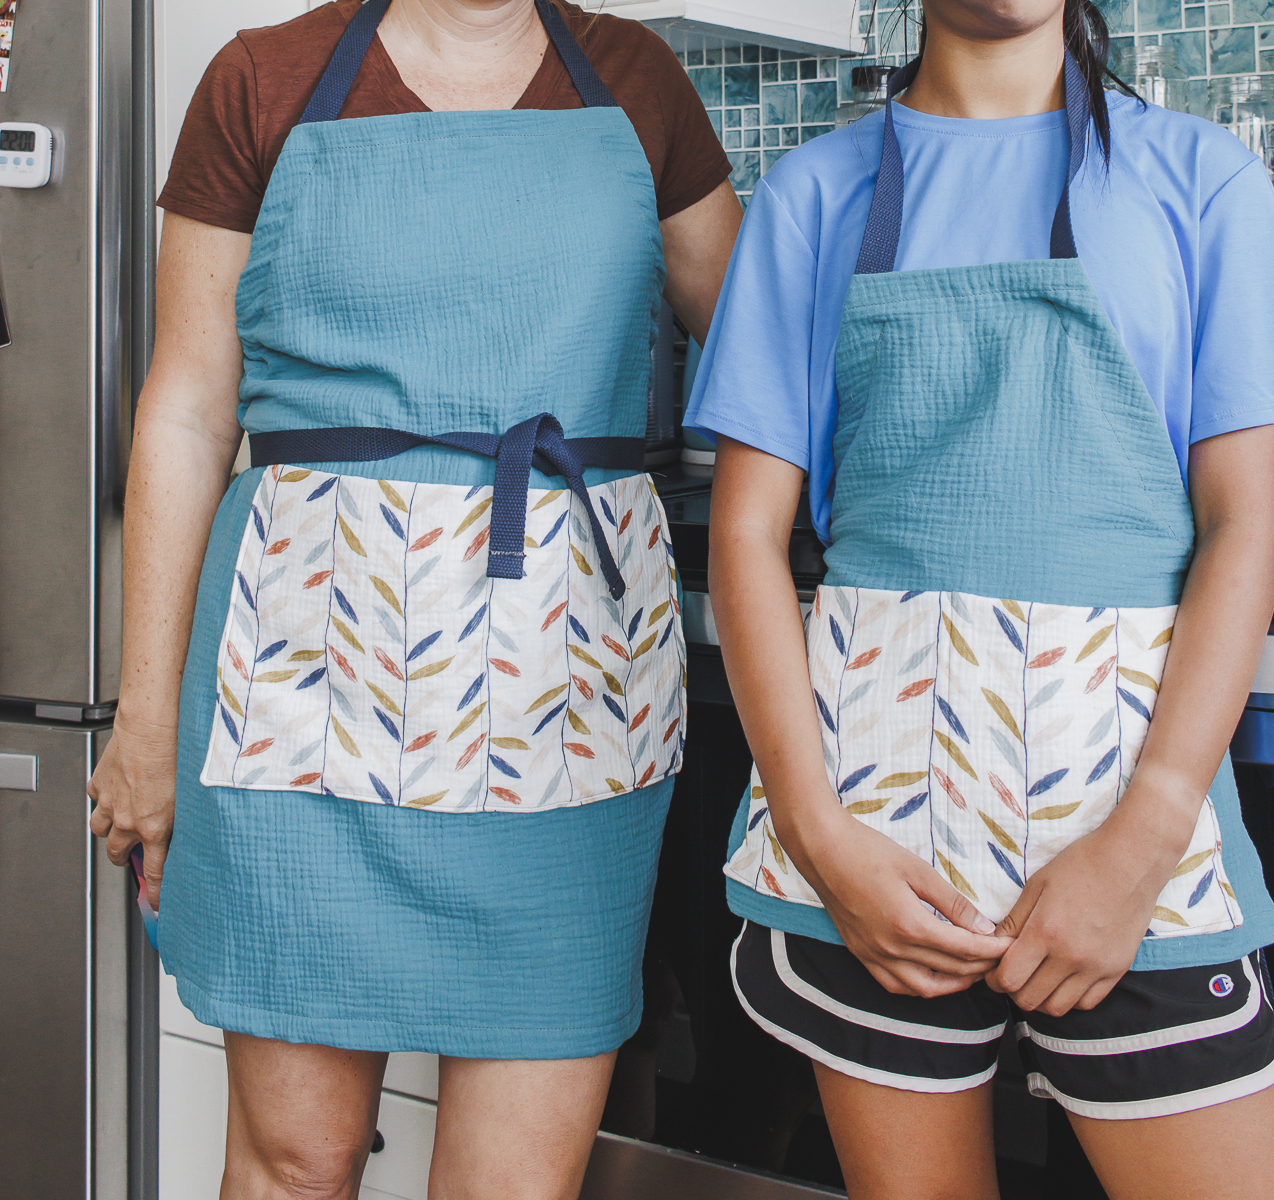
Adjustable Apron in two sizes
I thought it would look ok for Rose to wear the child apron for a photo, but it sooo small. We took a photo together, then I let her wear the larger one, which really fits fine. So the larger size is for pre teen – adult and the child size is really for smaller children.


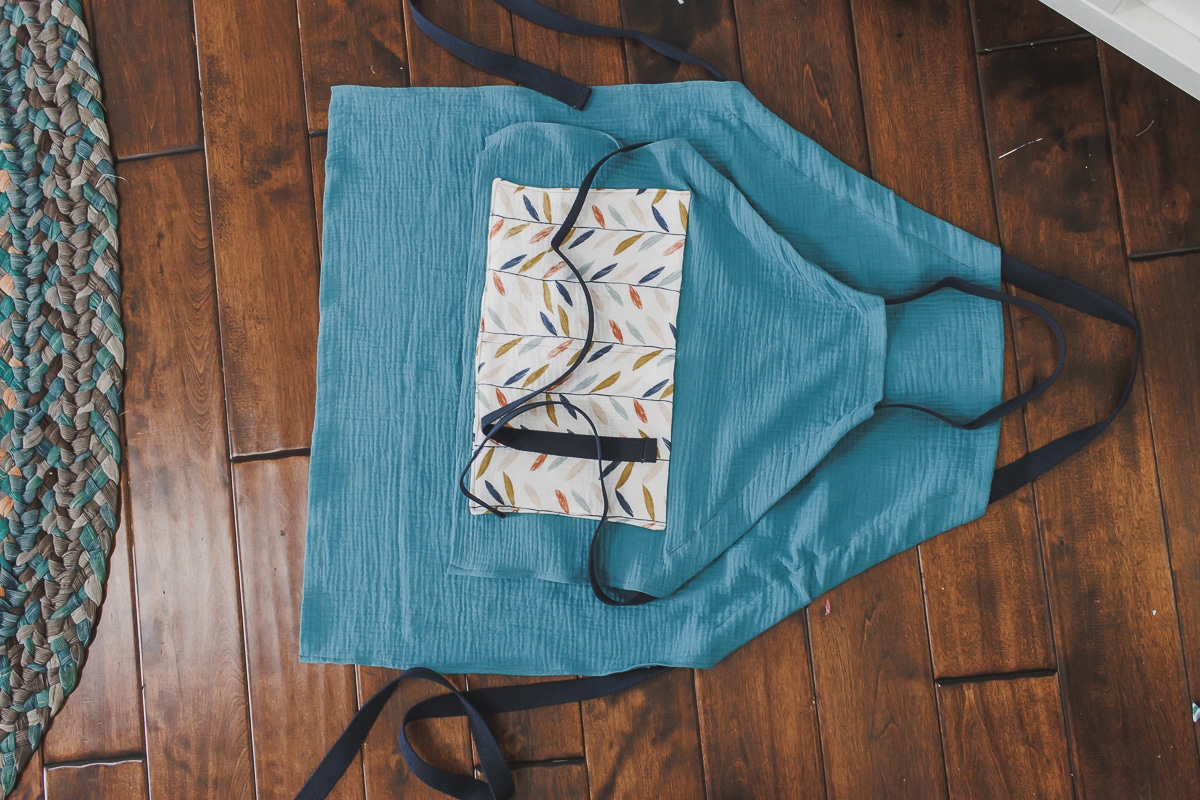
The apron is adjustable because the sides have a casing that the strap goes through. The neck strap can be longer or shorter and the sides can cinch up as needed.
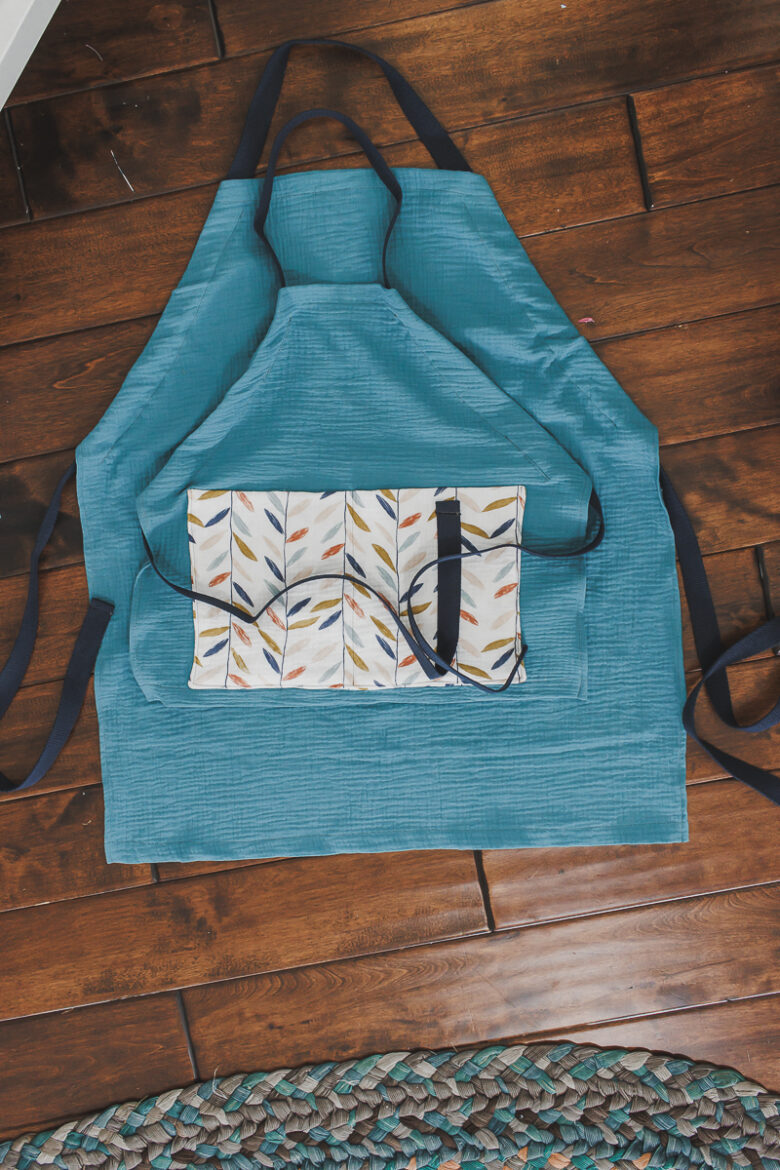
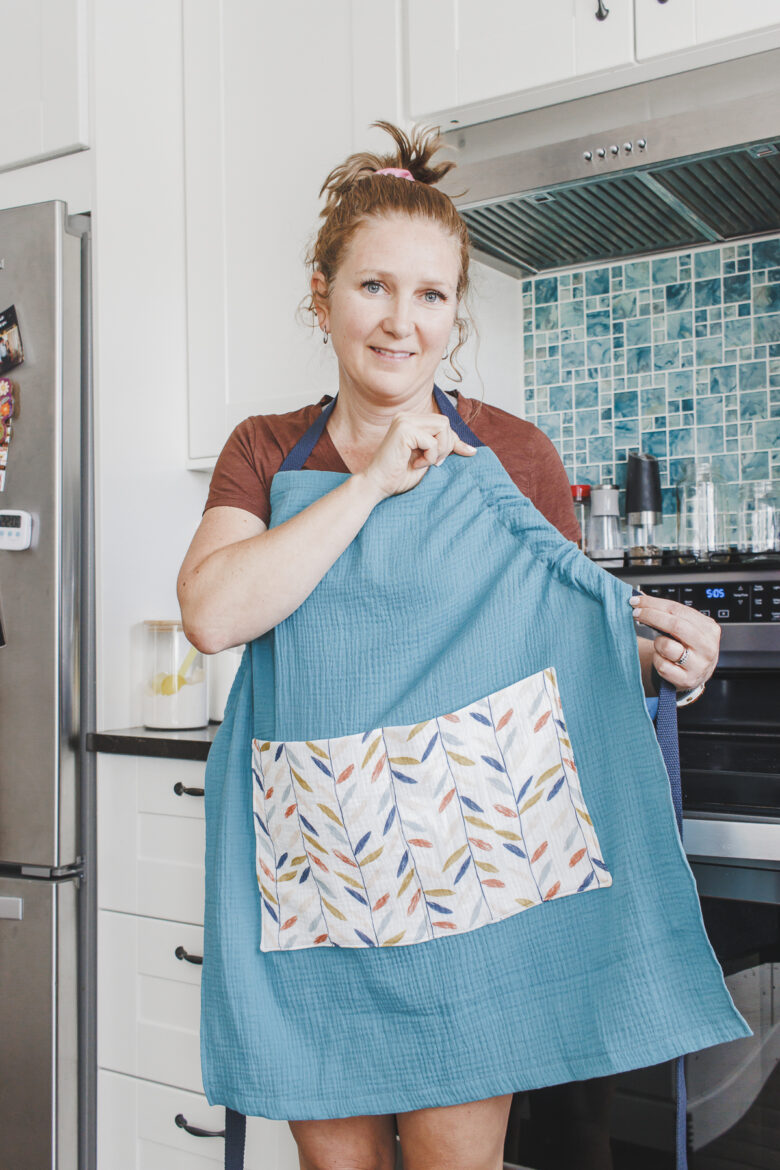
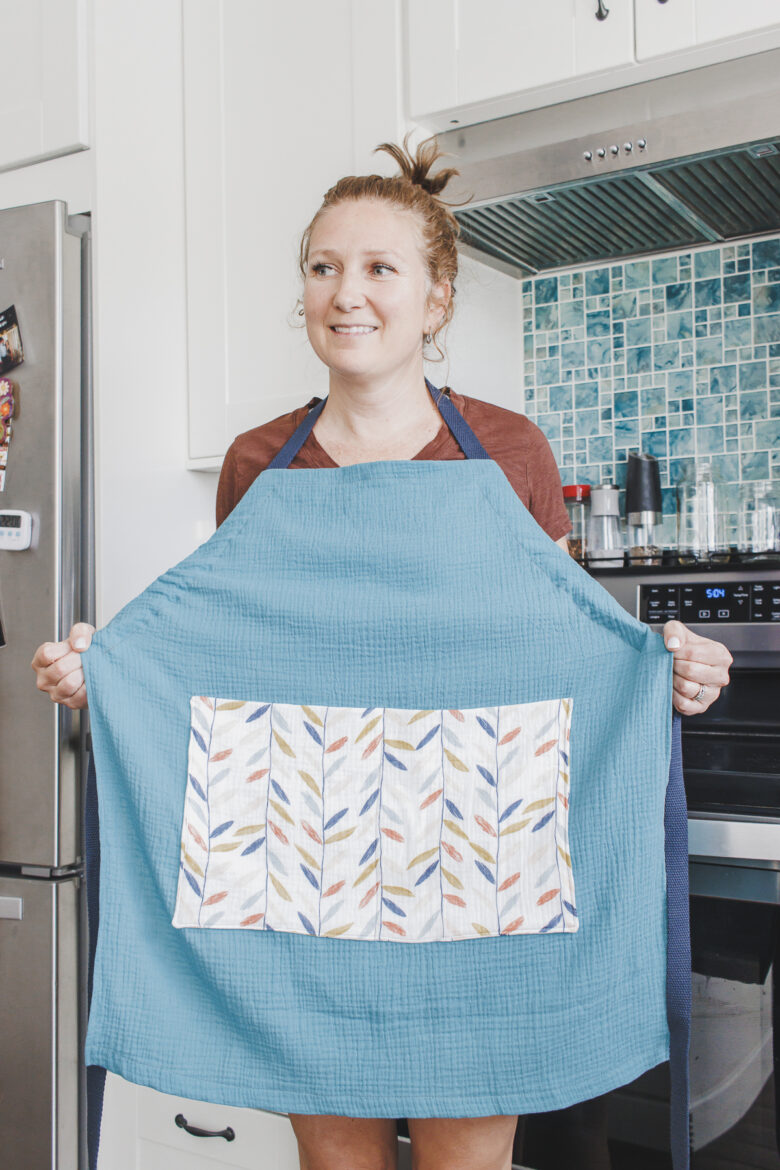
Same apron, two different users, it works for both of us just fine. I also love the double gauze for the fabric. It’s SO light, but yet absorbent.


Again, both of us using the same apron, different sizes and height, but it works well. Excited to be able to share because Rose loves to bake and I do most of the cooking at home, so I’m sure we will both be using this.

More kitchen project tutorials to sew –
- Sublimation towels
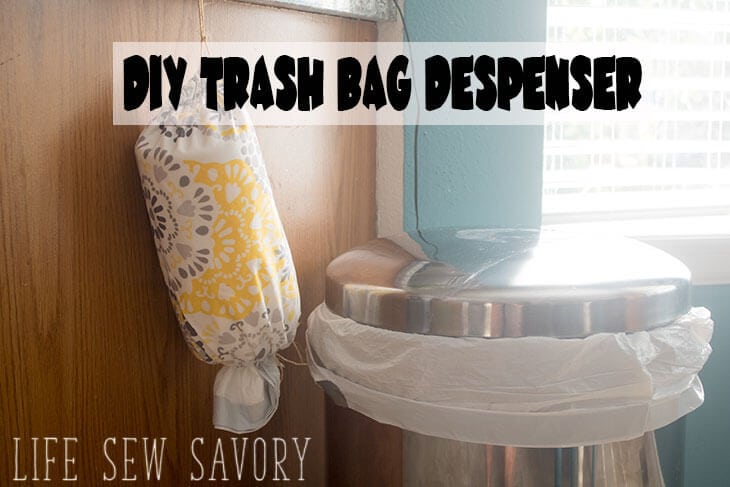
- Trash bag dispenser
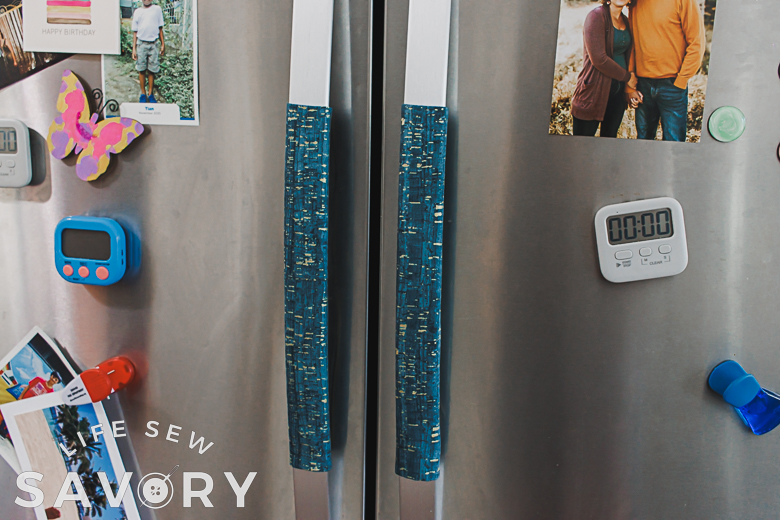
- Fridge handle covers
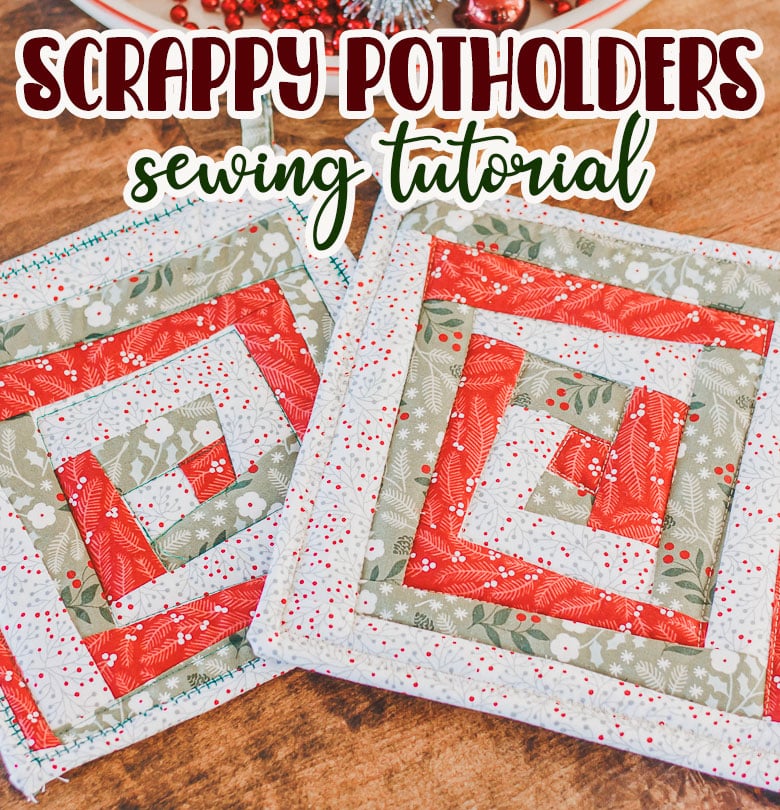
- Scrappy Potholders
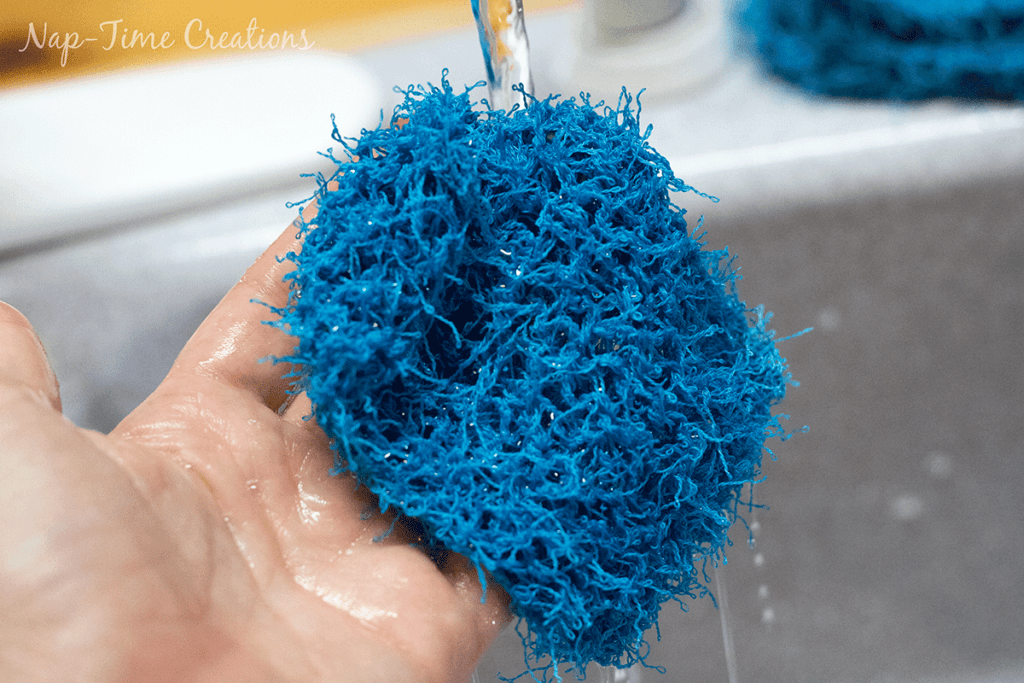
- Dish Scrubby Knitting Project
- Mug Cozie tutorial


How to sew an adjustable apron
Ok! Let’s dive into this project.
Supplies needed for an adjustable apron
- 1 yard main fabric {Double gauze on Amazon here}
- 1/3 yard for pocket
- 120″ of cotton strapping for adult or 80″ for child
- Amazon links here, but I got all my supplies at Hobby Lobby.
- BONUS, if your fabric is 50″ or wider you can make a adult apron AND a child apron from 1 yard. The fabric linked is wide enough. If your fabric is only 40″ wide you will need 1/2 yard of fabric just for the child’s apron. Child modifications in italics.
Start by cutting your fabric to size. For the adult size fold over 13″, and then cut the length to 32″. You total fabric should be 26″ x 32″, folded in half.
Cut a pocket piece 16″ x 16″, then fold in half.
For the child size your piece will be 20″ x 18″ folded in half to be 10″ x 18″.
Cut a pocket piece 14″ x 14″, then fold in half.
From there you will create the shape. Fold the fabric in half as listed above. I have 13″ along the top here and 32″ in length. Along the short time side, measure in 6.5″ from the fold. Along the long side measure down 10.5″. Mark these two points.
For the child size you will mark 4″ on the short top and 8″ down the side.
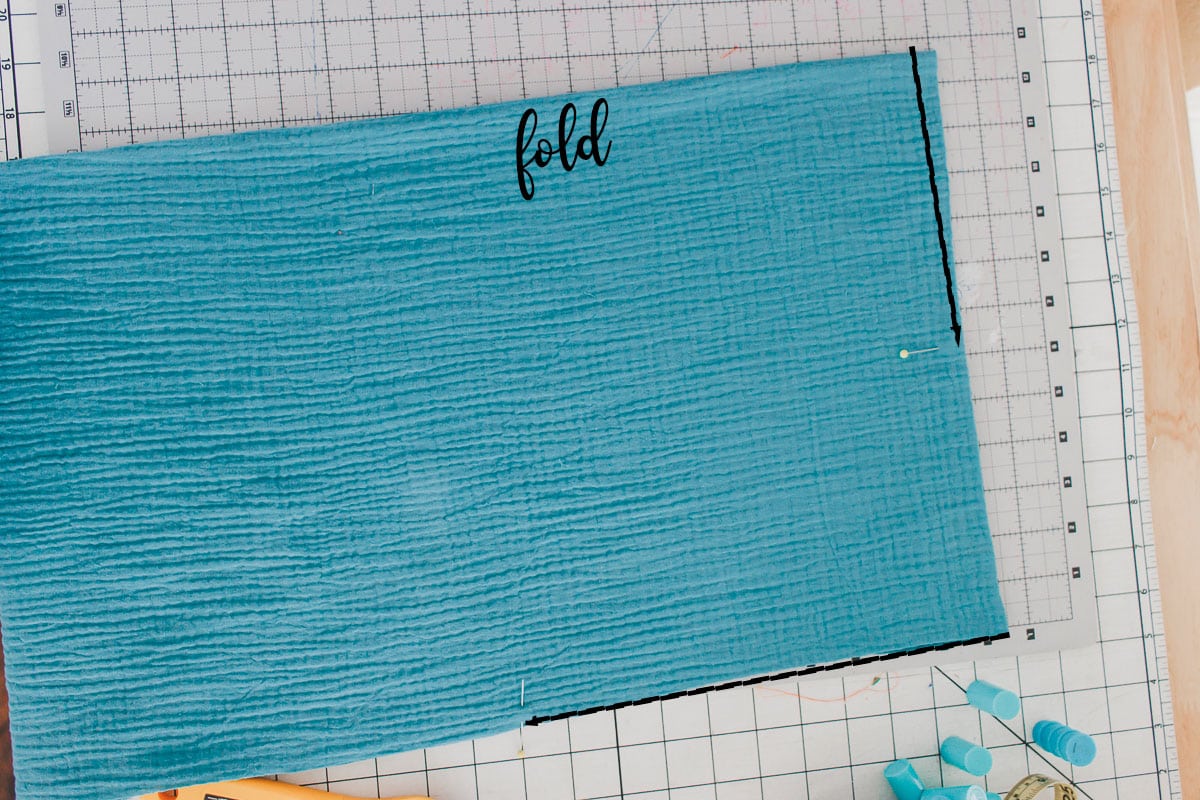
All these directions now apply to both sizes. Place a straight edge between the two markings and cut off the corner. If you don’t have a long ruler, just draw a line and cut.
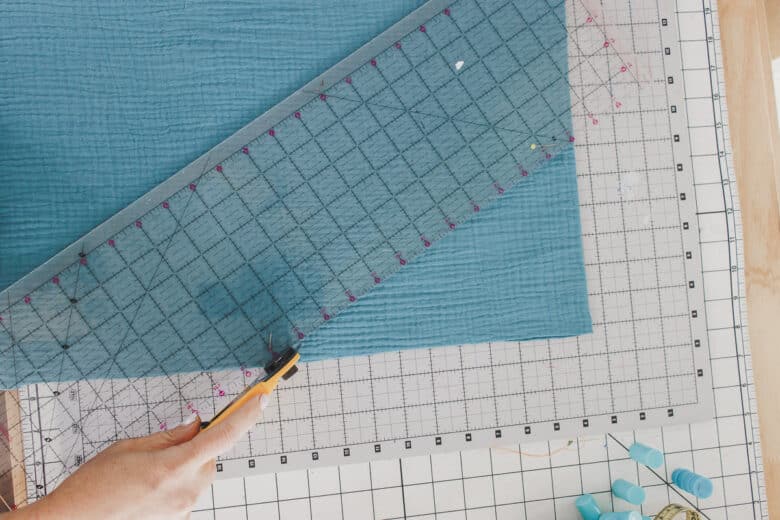
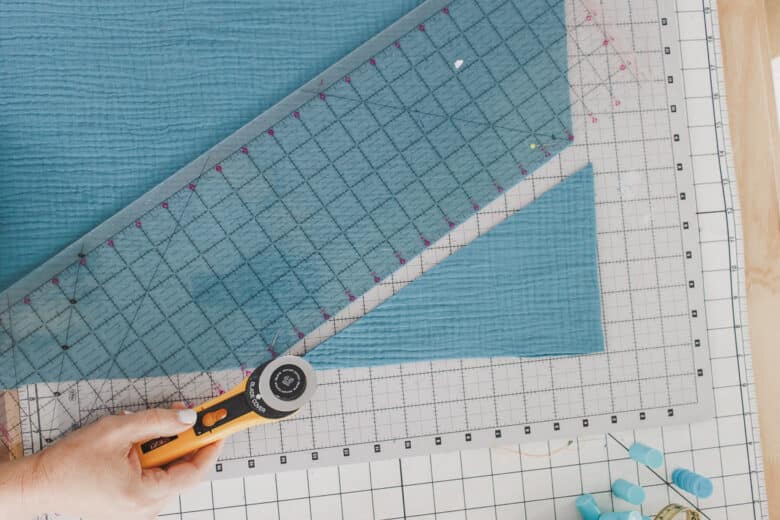
We will now finish the edges. I chose to serge the edge first, then fold over. If you do not have a serger, you can either zig-zag the edge first or fold over 1/4″ tiny hem, then the full hem second. After serging, I folded over 1″ hem on the top edge and bottom hem, press and sew.
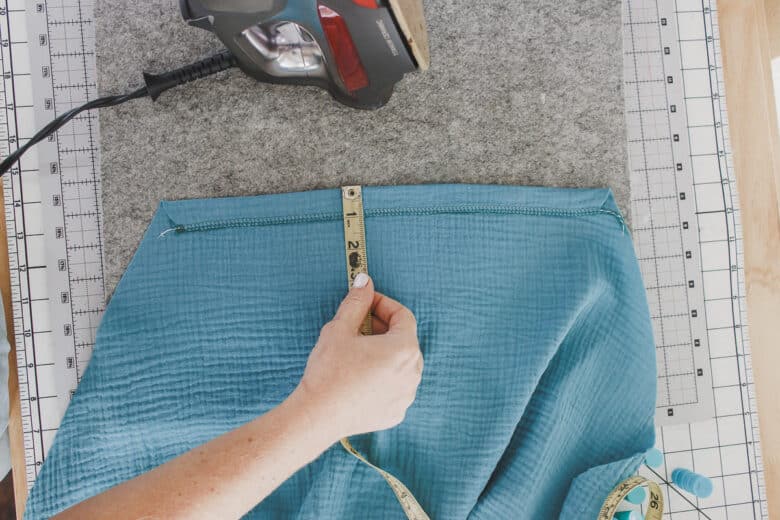
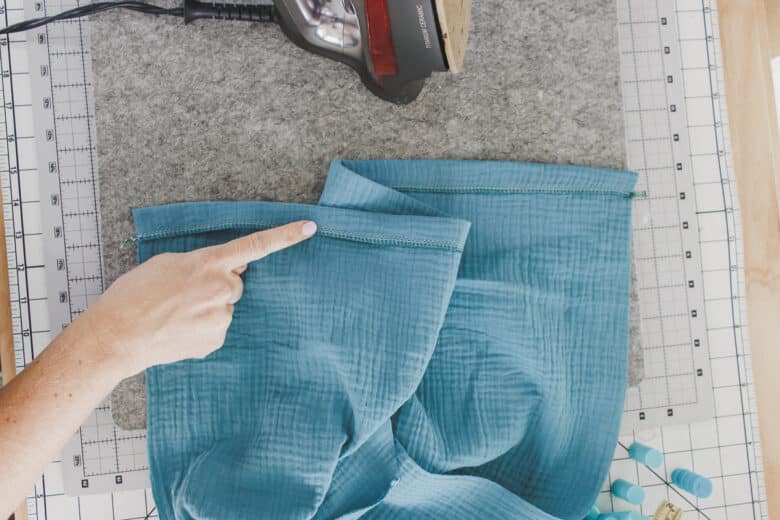
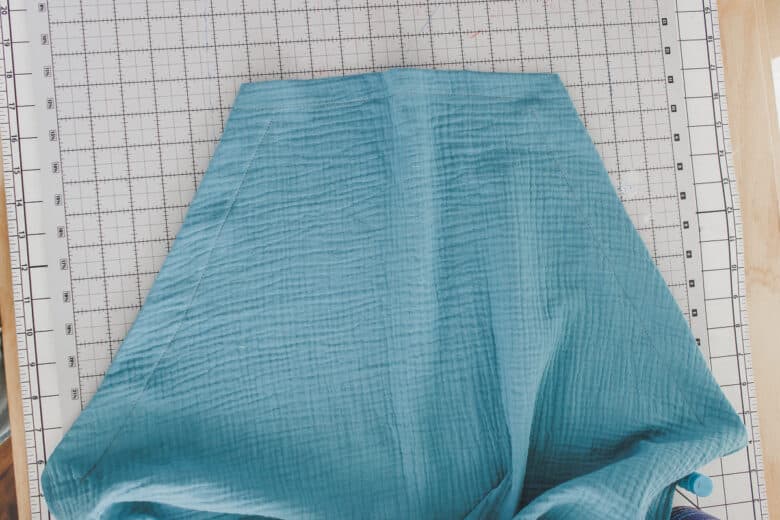
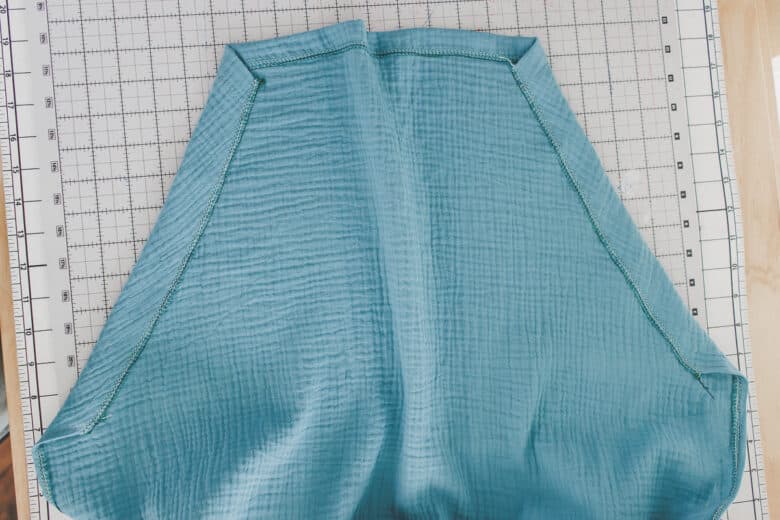
Finish the two sides as well. I serged, then folded over 1/4″ inch, press then sewed.
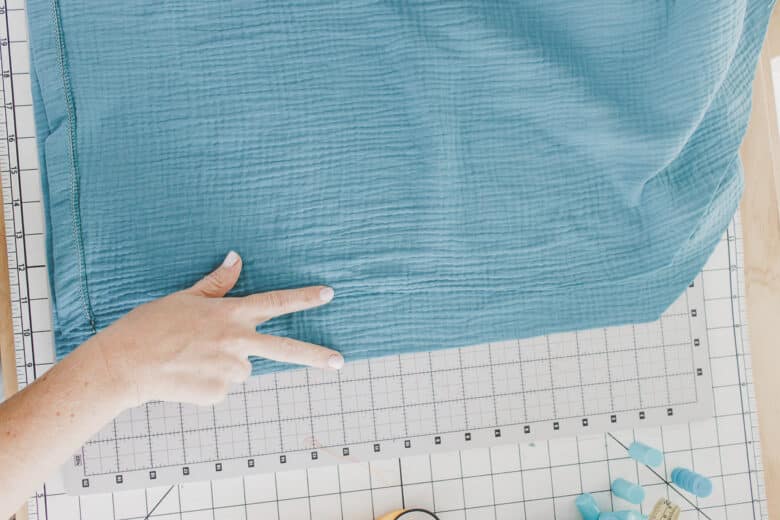
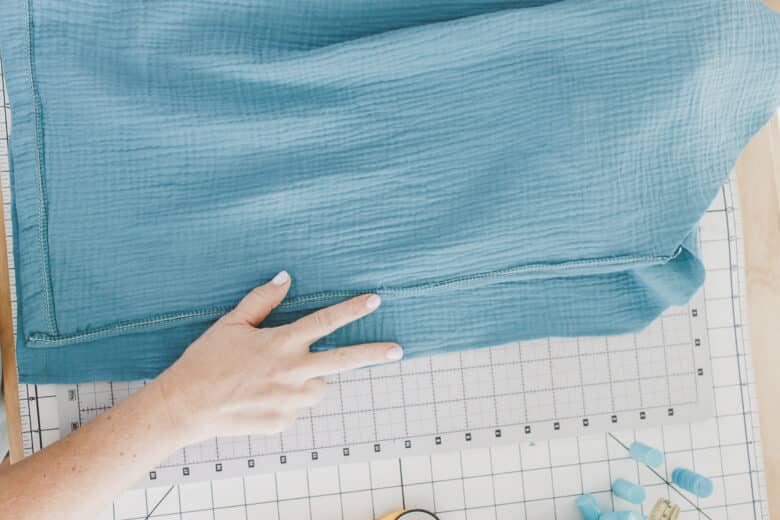
For the angled edges, serge to finish first, then fold over 1.25″. I like to double check with my strapping to make sure the casing is wide enough. Press, then sew.
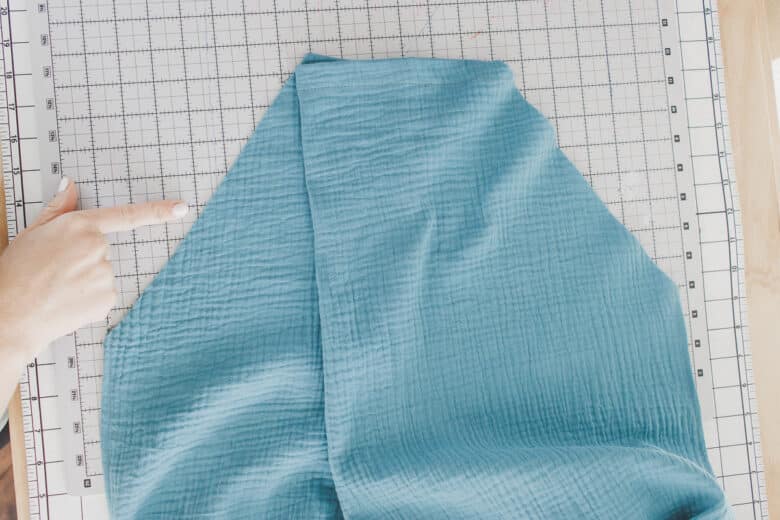
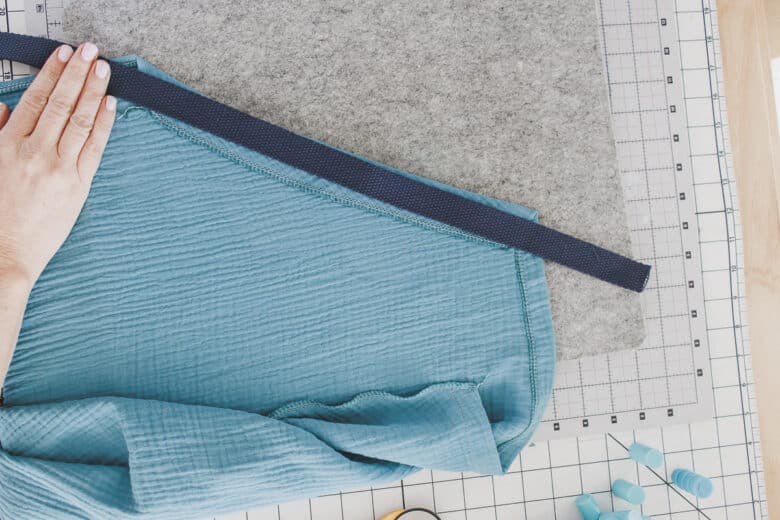
Here is a view from the front and back of the finished apron top.
Take your folded pocket piece. Make sure the right sides are folded in. Sew around the three open sides of the fabric, leave about a 4″ opening to turn right side out. After sewing, trim the corners.
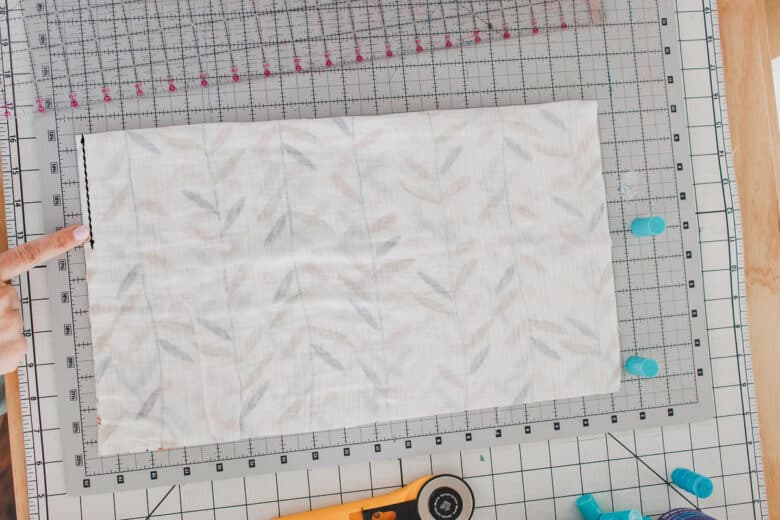
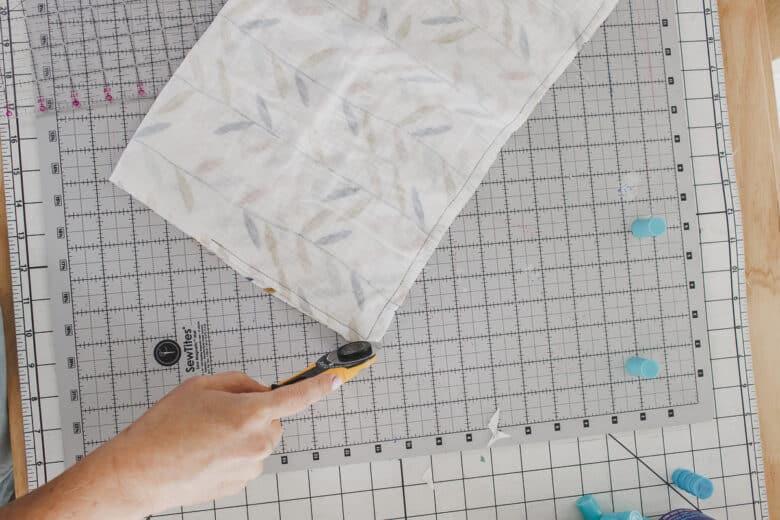
Turn right side out, then fold in the seam allowance of the turning hole and press.
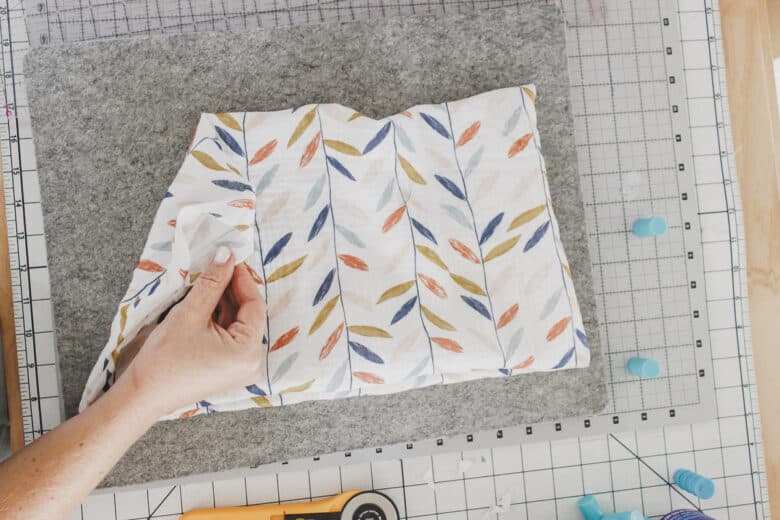
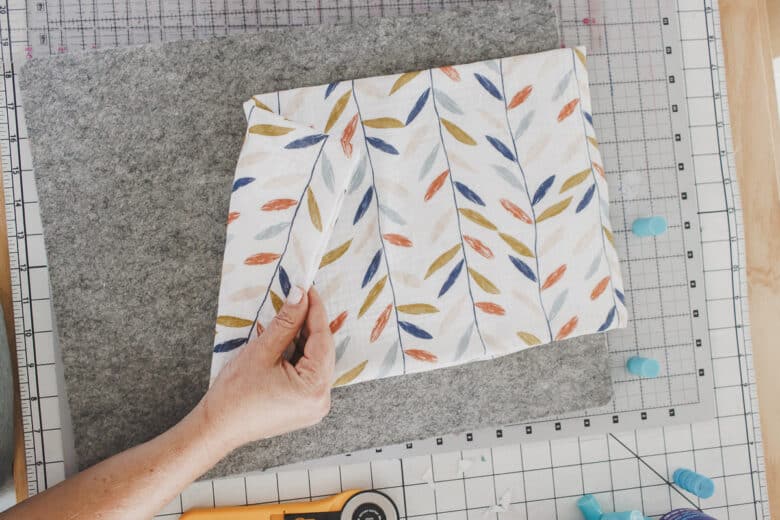
Fold the pocket and the apron in half. Match the centers. The pocket should be placed about 1″ down from the corner on the side. The top of the pocket is the folded side.
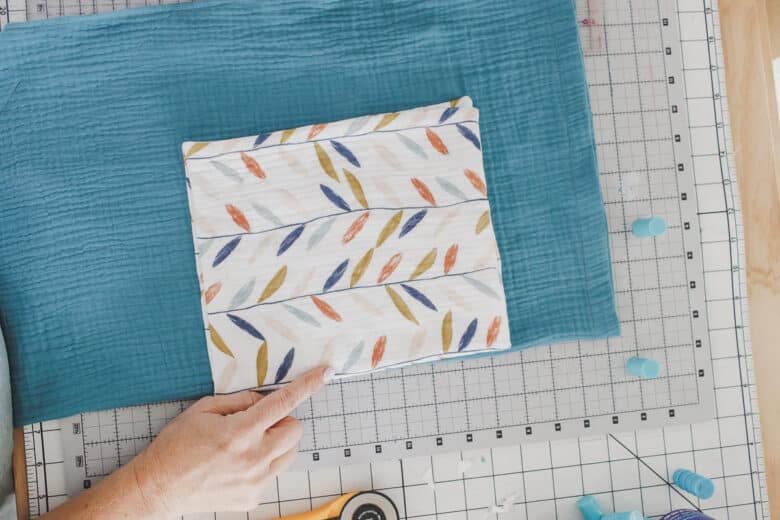
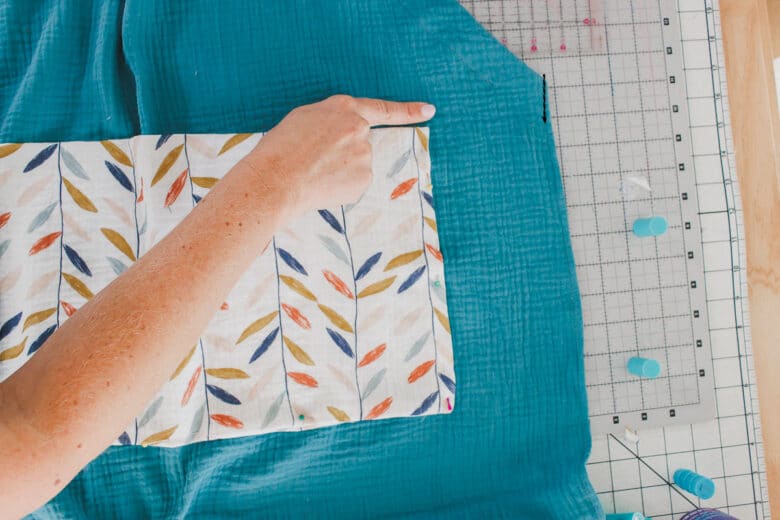
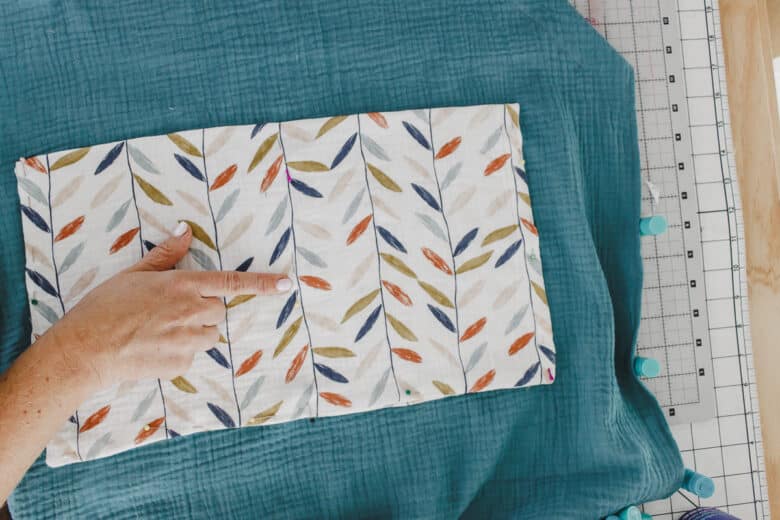
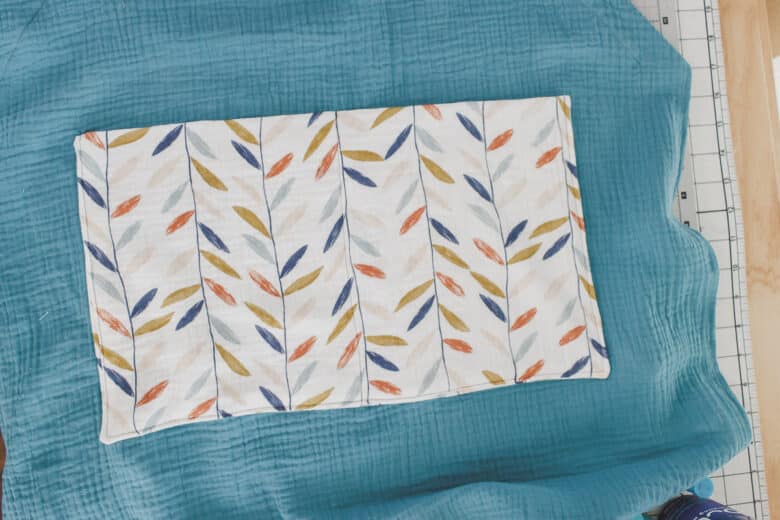
Pin all sides in place. I also pinned down the middle of the pocket to divide it in half. Sew close to the edge to secure to the apron and also down the center to divide.
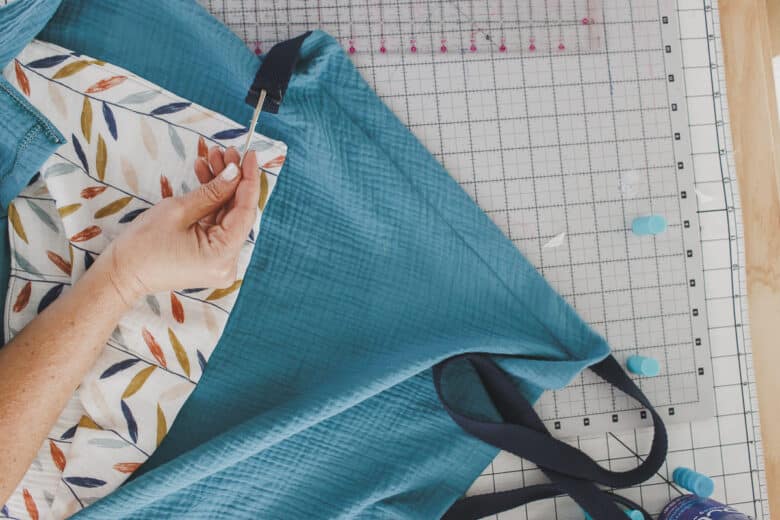
Take the cotton strapping, cut to size. Finish the ends by folding over about 1/2″ and then zig-zagging the cut end to finish. Thread through the casing, by going up one side, then down the other. Leave a loop at the top for the neck.
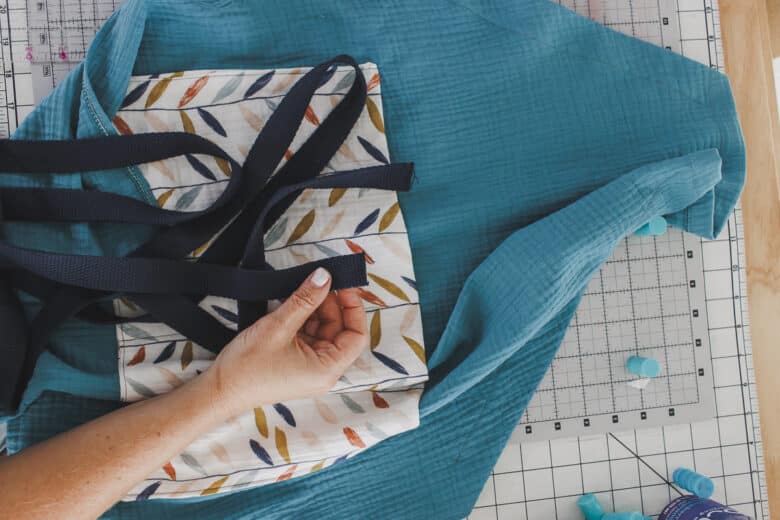
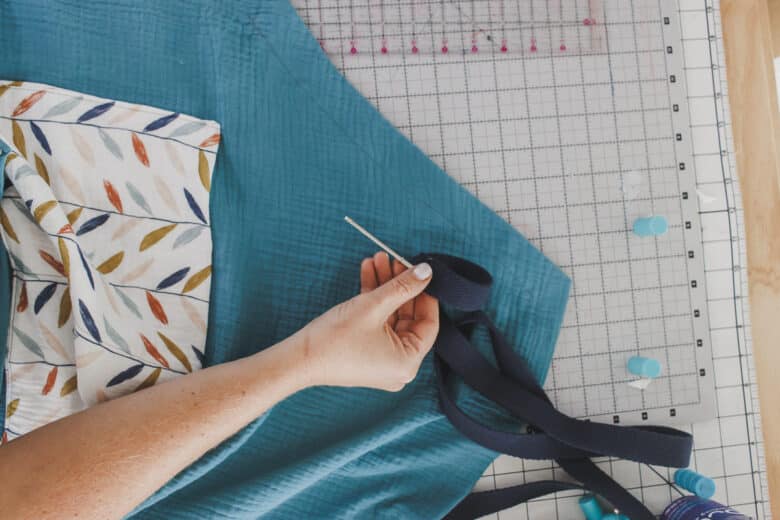
Adjust the straps to be even.
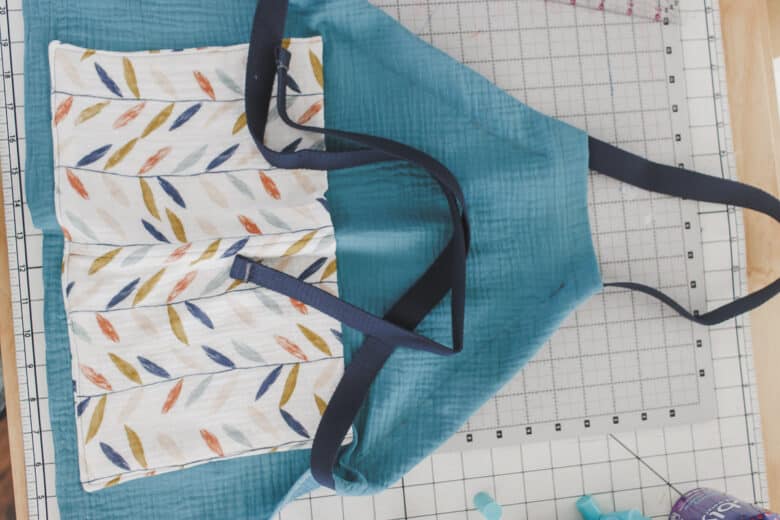
Here are the two sizes. You can also adjust to make any size between these two.







Leave a Reply