
inside: Learn how to sew a card holder for bagmaking. This card slot sewing tutorial is simple and works in any bag pattern. I added it to my favorite cross body bag for a built in wallet.
I love sewing myself new bags. This is something I do a few times a year when I get bored with my current bag/purse. When I sew a new purse for myself, I usually create a share a pattern with all of you at the same time. Todays tutorial is an add-on to nearly any bag pattern and I used it in my zippered cross body bag for this project.
Card holder to add to a bag
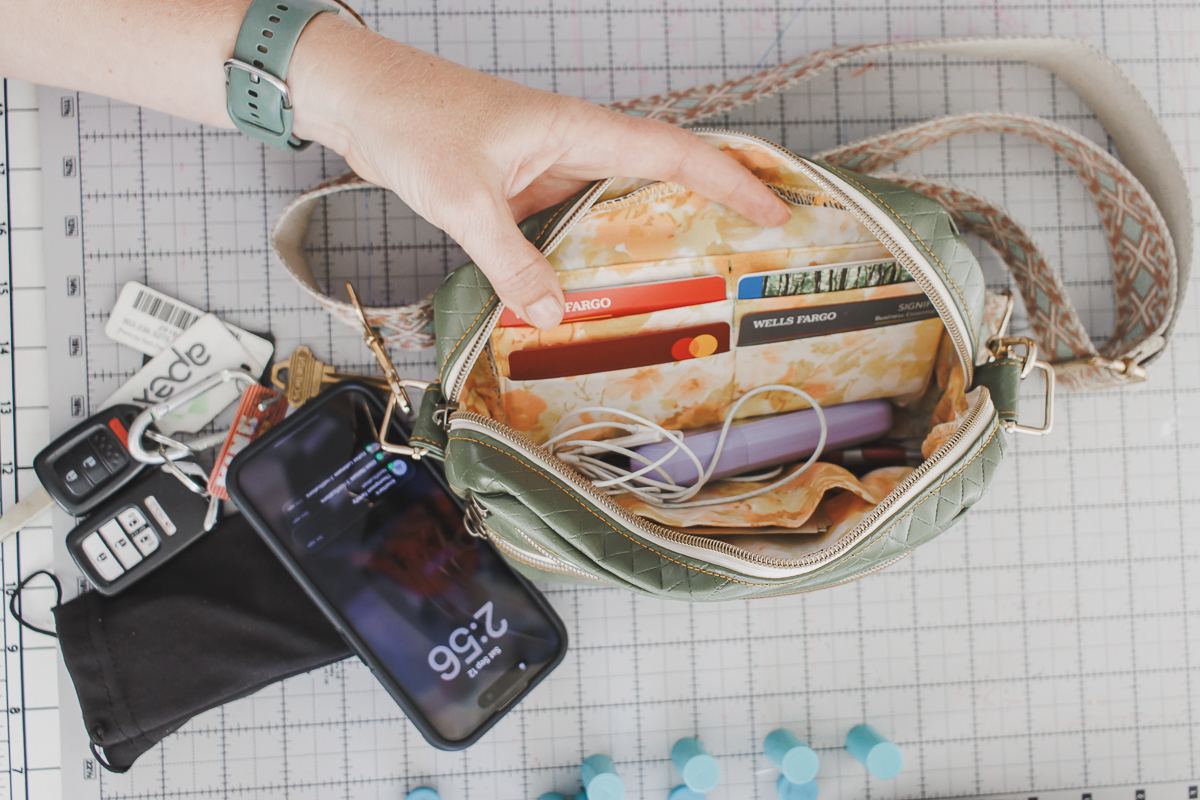
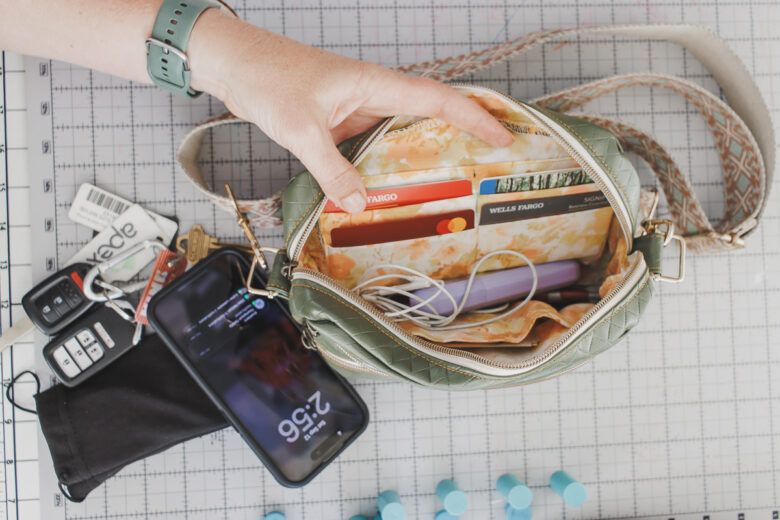
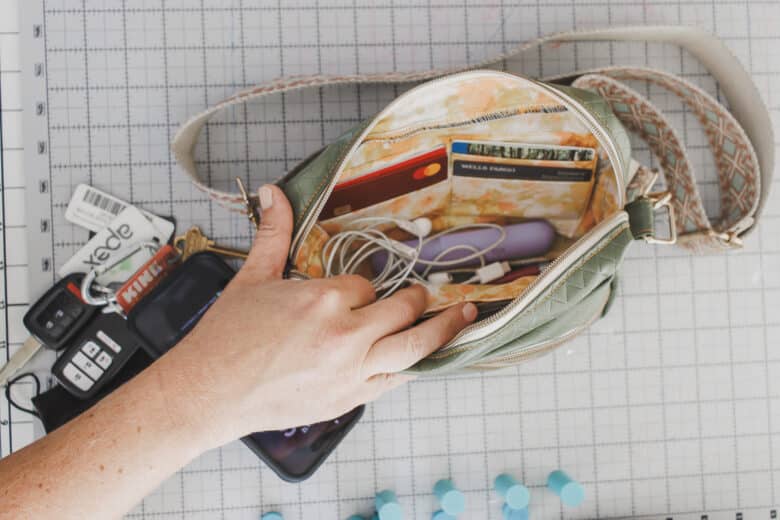
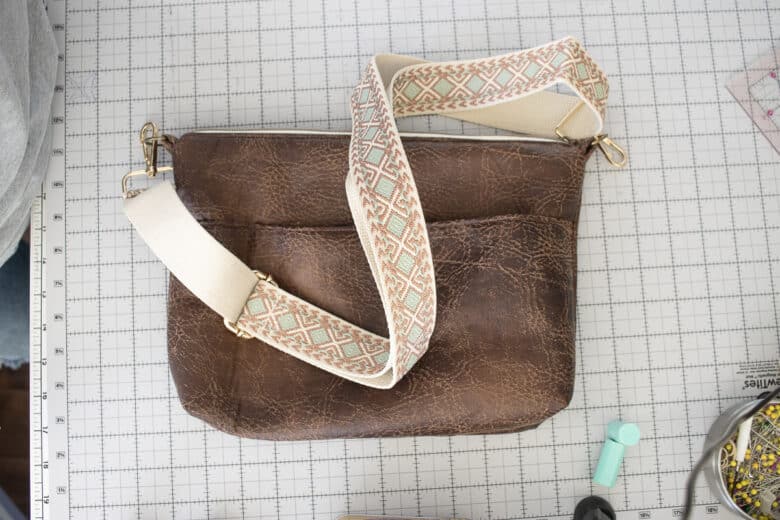
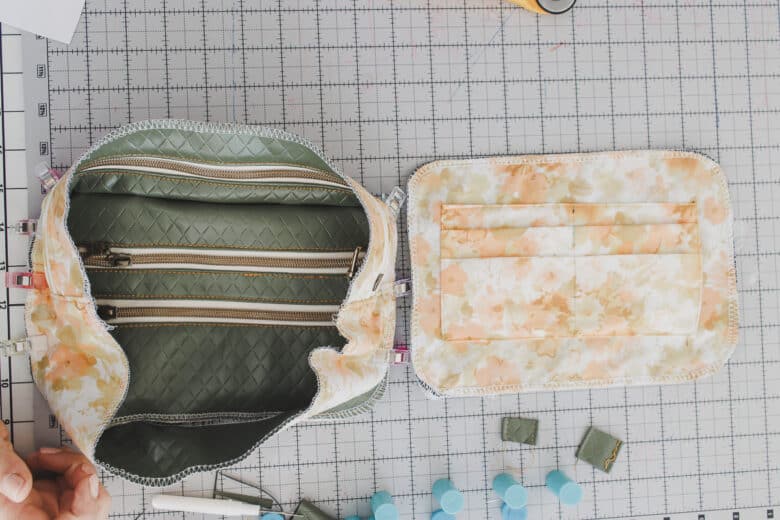
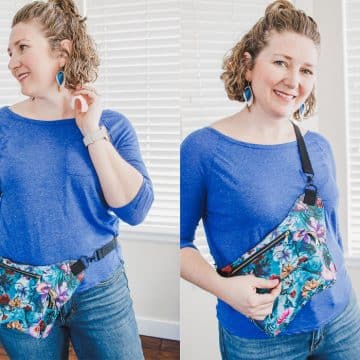
Here’s a little peak at the finished bag and the card slots inside the bag. I wanted a new bag that would hold everything and that I wouldn’t need a wallet as well. My new phone case holds a few cards as well, so with this bag, I no long have to carry a wallet. This may change in the future, but for now, this is working great.
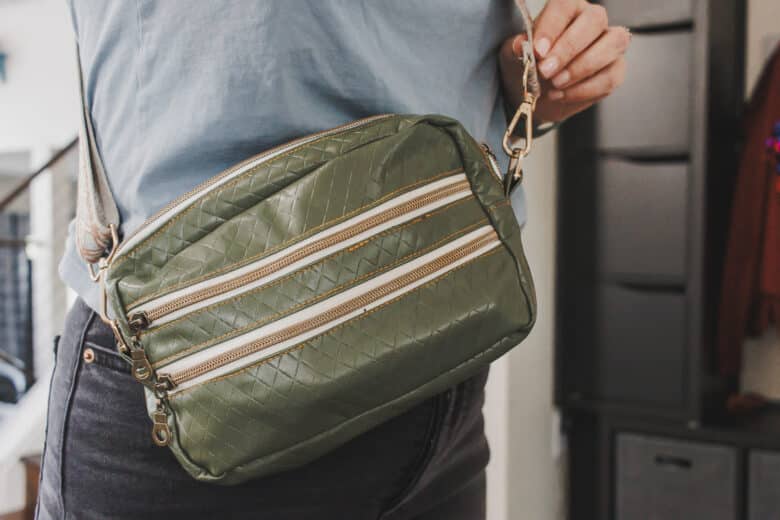
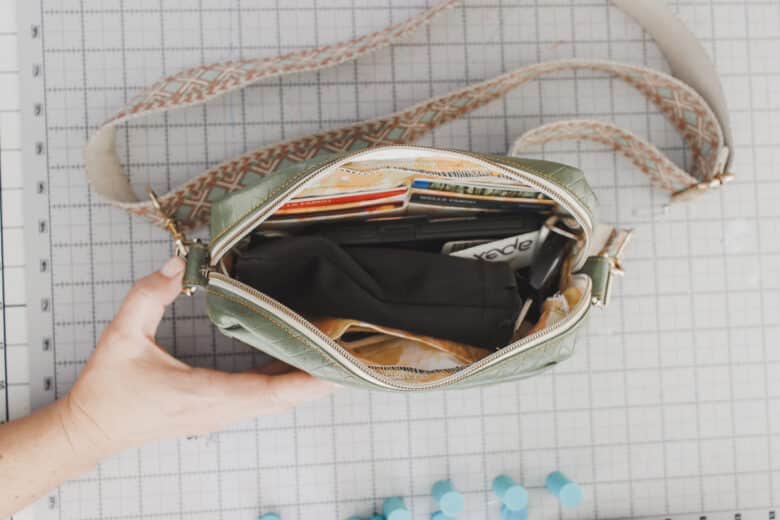
Here are a few photos of what the inside of my bag looks like. Lots of space inside and the two zipper pockets on the outside as well. I love the size of this cross body and now I have even more room that my wallet used to take up. Today I’ll show you how easy it is to add this card holder.
Other tutorials and patterns for bag making
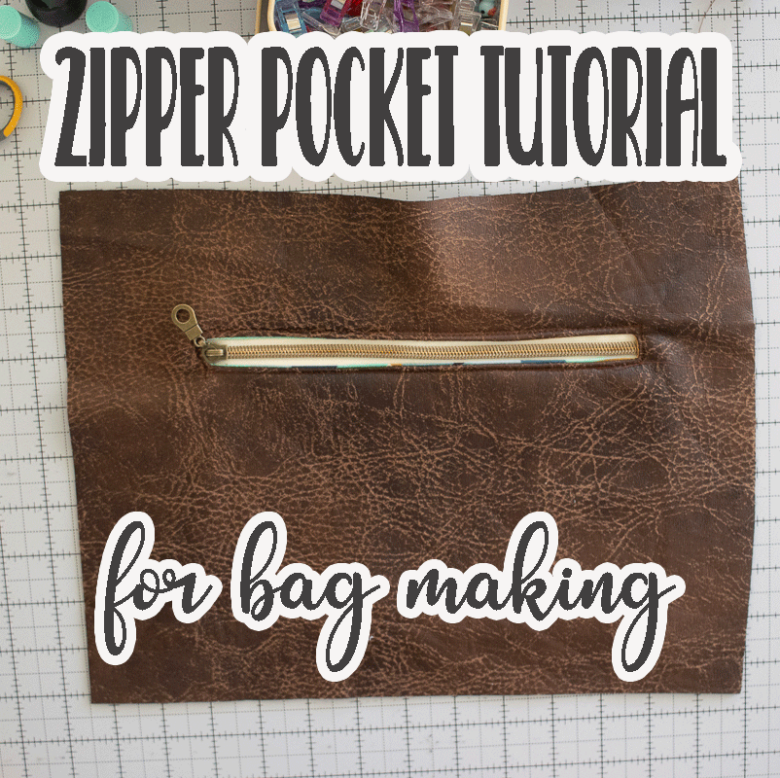
- Zipper pocket for bag making
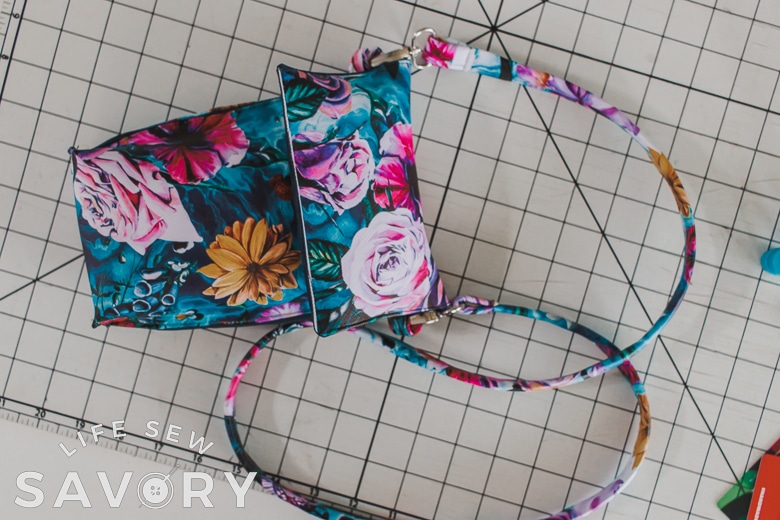
- Small purse free pattern
- Zipper cross body pdf pattern
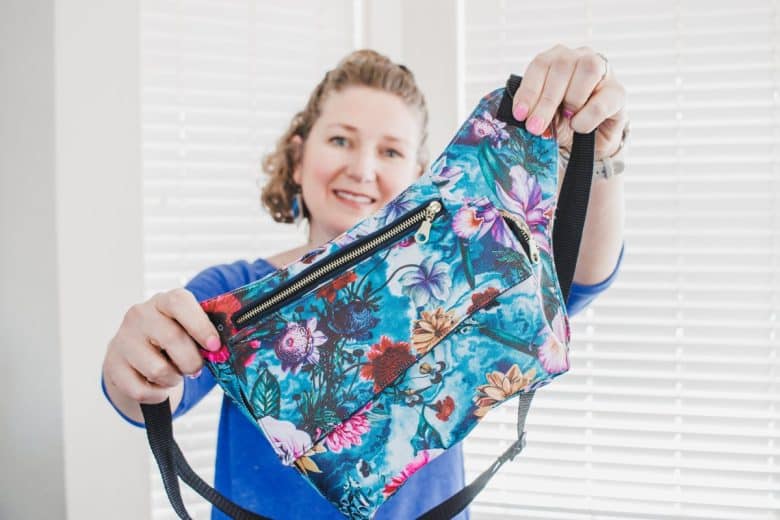
- Hip bag free pdf pattern
- Small Pouch bag
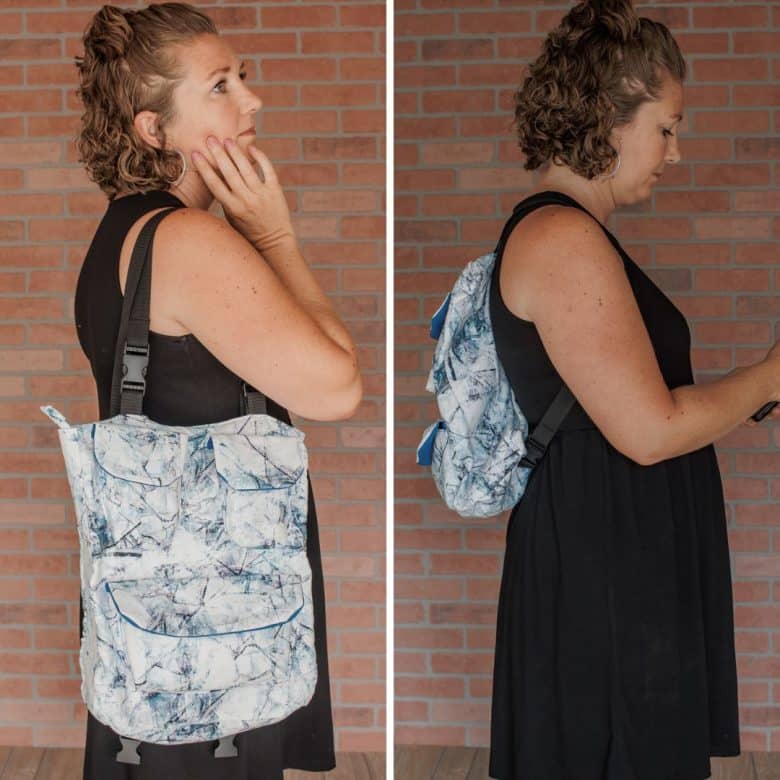
- Convertible backpack tote bag free pattern

How to sew a card holder
There isn’t much to prep for this project outside of what you need for your bag. I used my cross body zipper pattern. You can buy this pattern for $4.00 here. It’s one of my favorite bag patterns and a pretty easy sewing pattern. Cut out all the pieces as directed in the bag pattern you are making and then another piece of the lining for this card slots. You can make a four card holder {cut fabric 8″ x 12″} or a six card holder {cut fabric 8″ x 15″}. Finish all the raw edges with a serger or zig-zag.
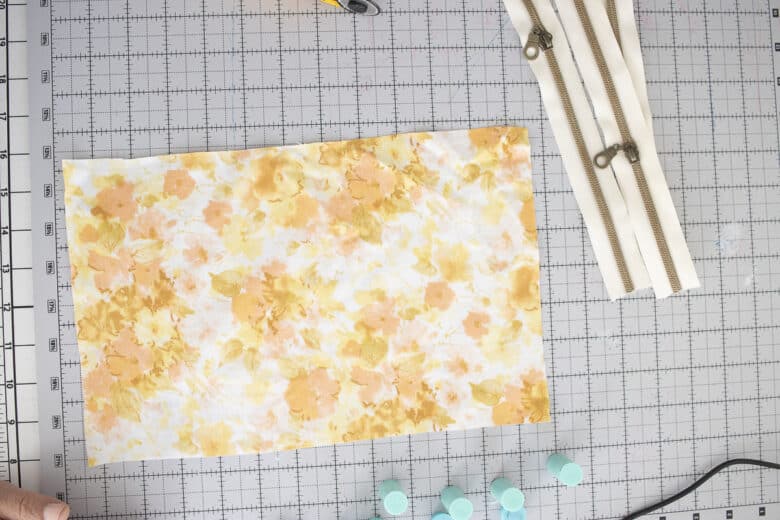
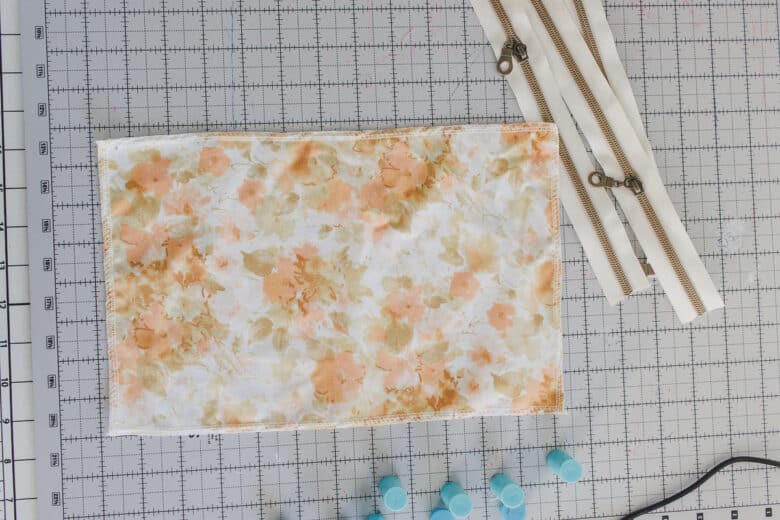
Grab a couple of cards to used for sizing. Place two cards 1/2″ down from one short end. Fold up the bottom, up and over the cards, fold back down so you can see about another 1/2″ of the cards.
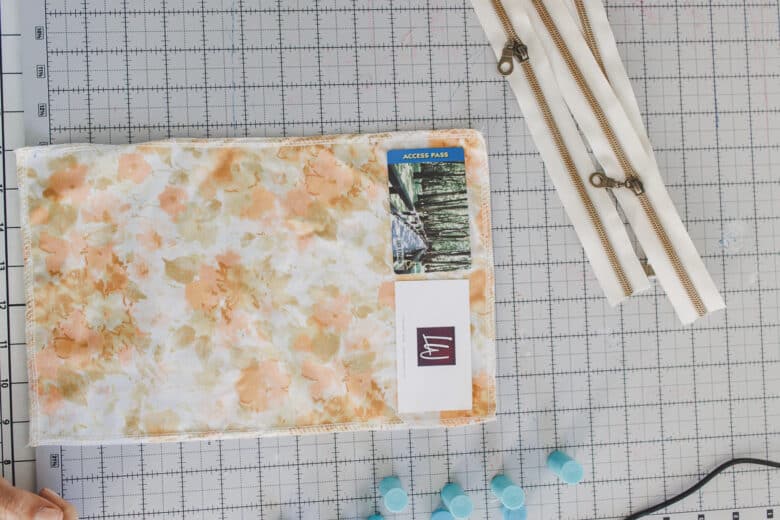
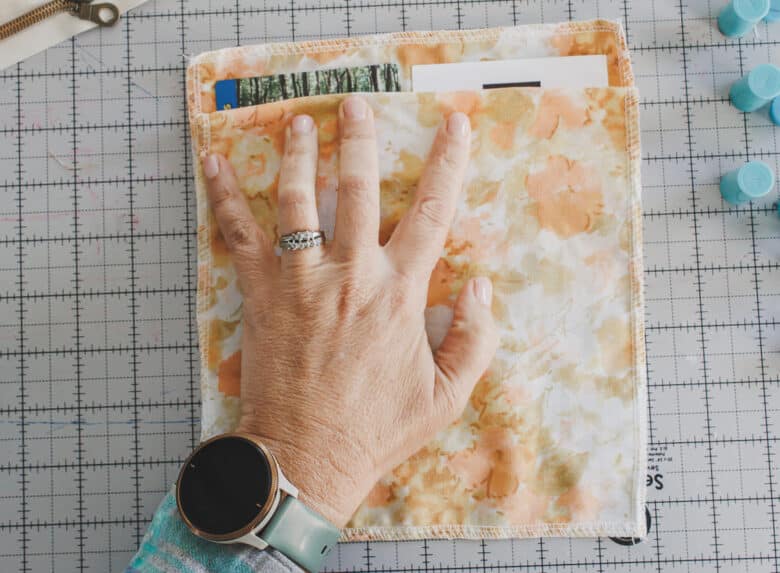
Pin or clip the sides to hold this fold. Take the cards out and place them on top of the fold, just down from the fold edge.
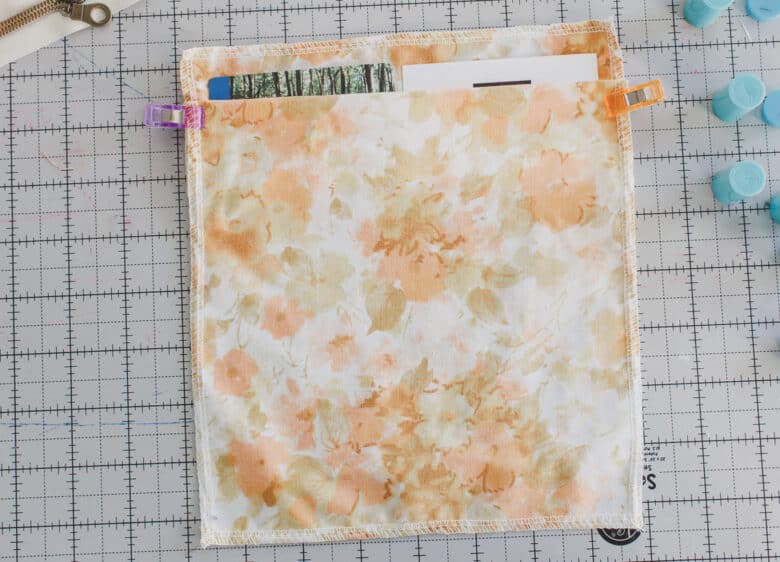
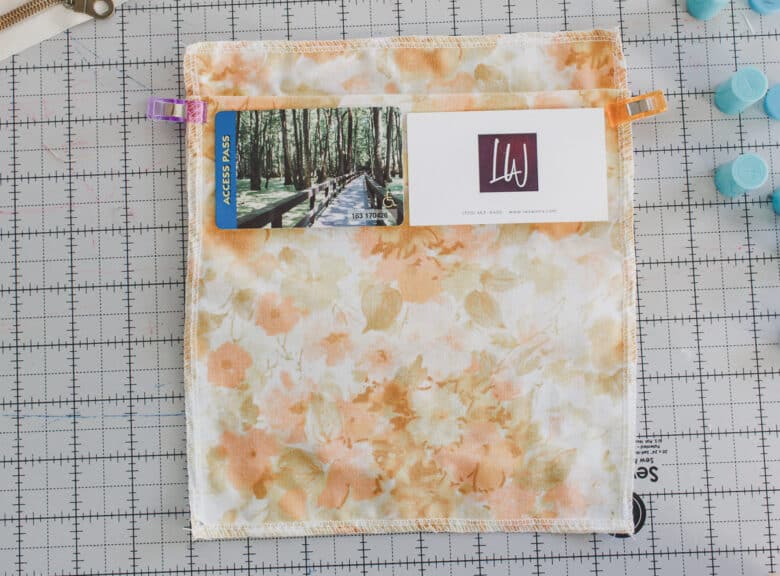
Bring the bottom up and over the cards. Pin or clip the sides to hold the fold.
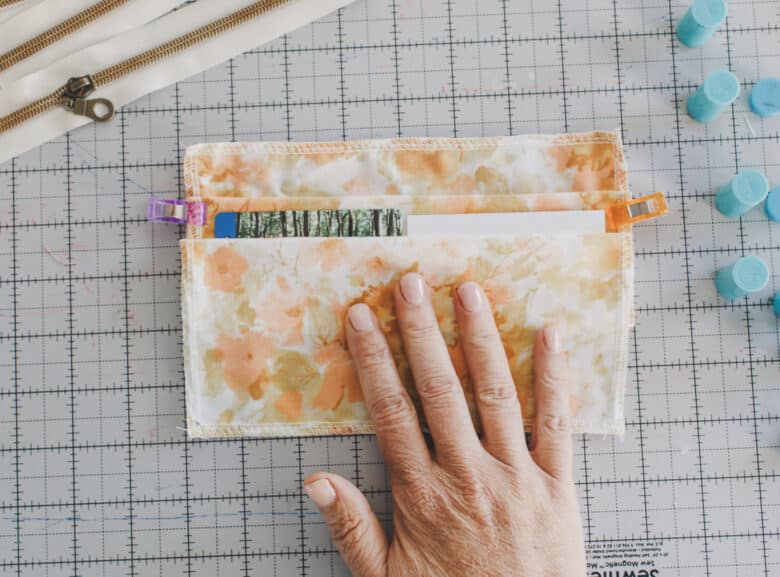
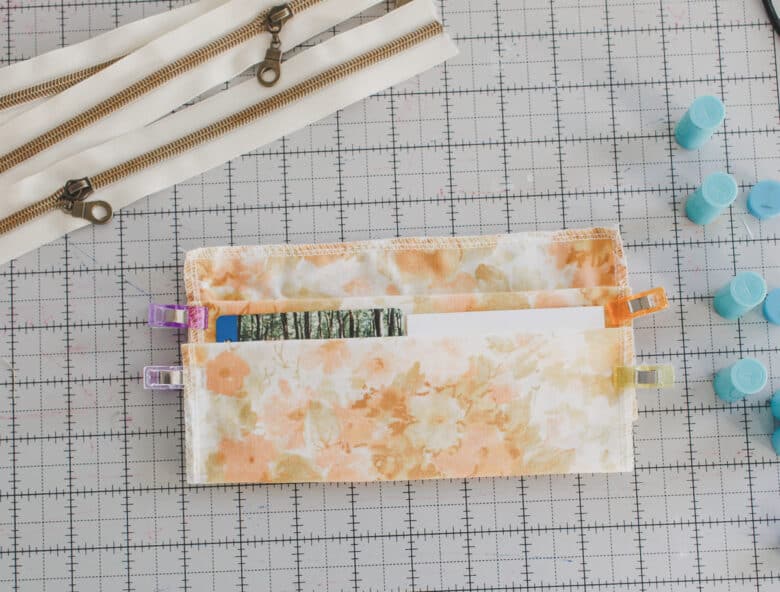
Remove the cards and then press the two folds. Remove the clips. Fold under the top of the fabric. Press again.
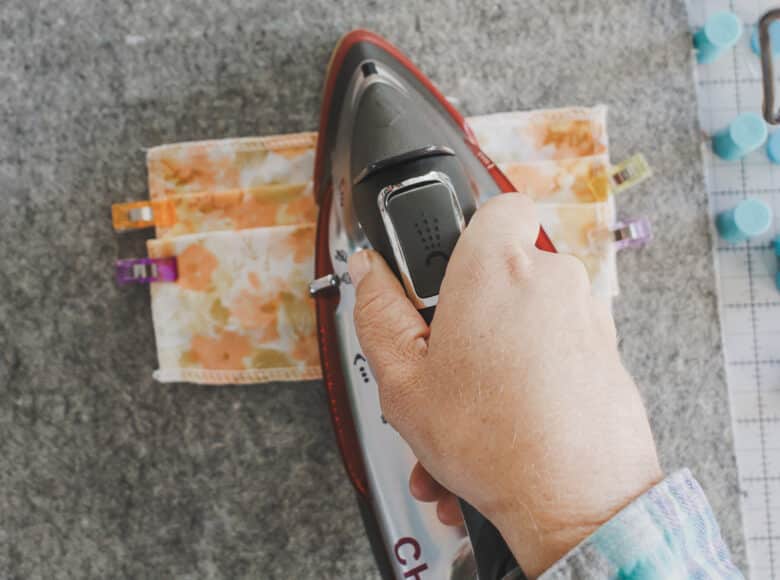
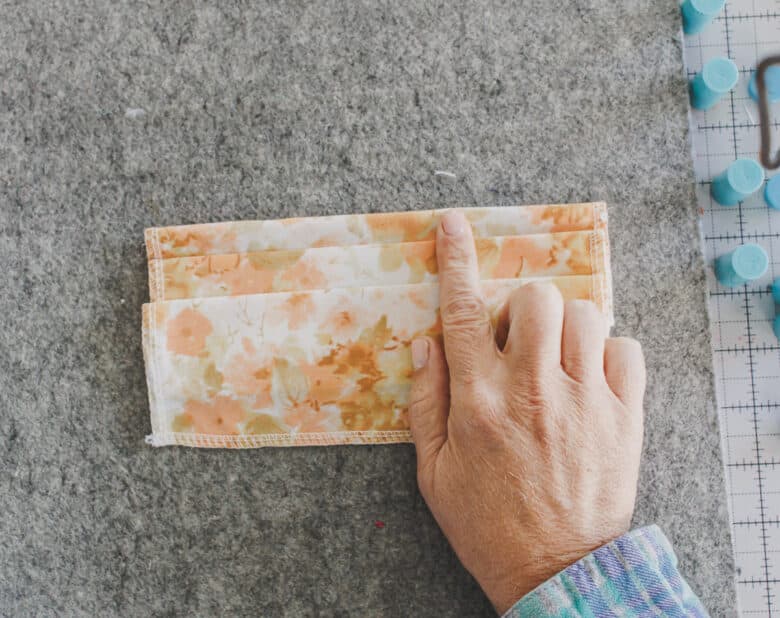
Fold under the bottom of the fabric and press this. Now sew down both sides. Sew with a straight stitch right at the edge of the side.
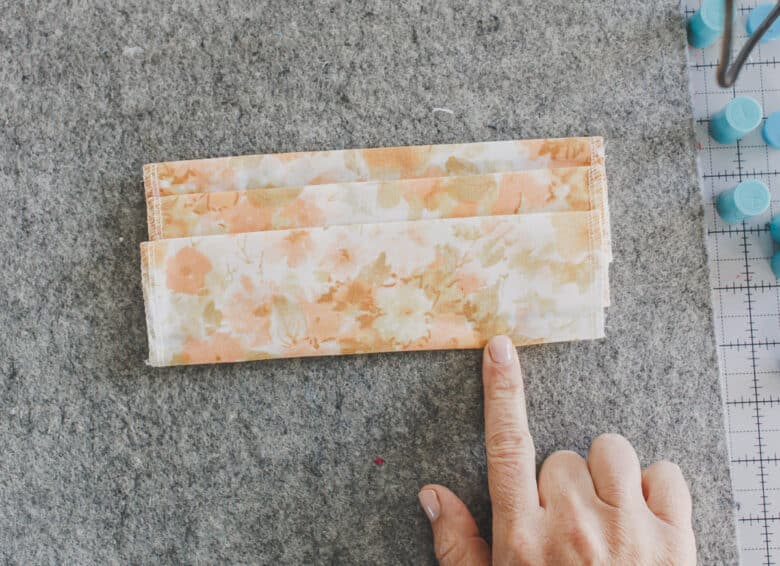
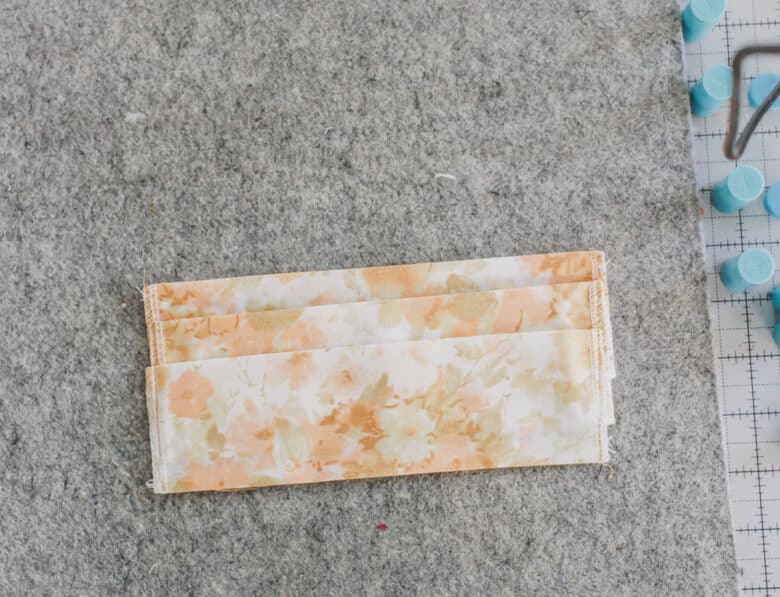
Fold the sides you just sewed to the back side {the wrong side of the fabric}. Press the sides back.
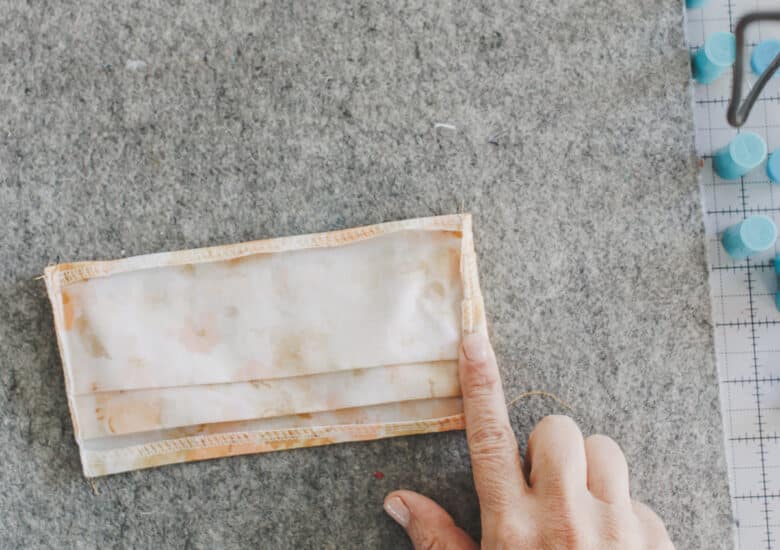
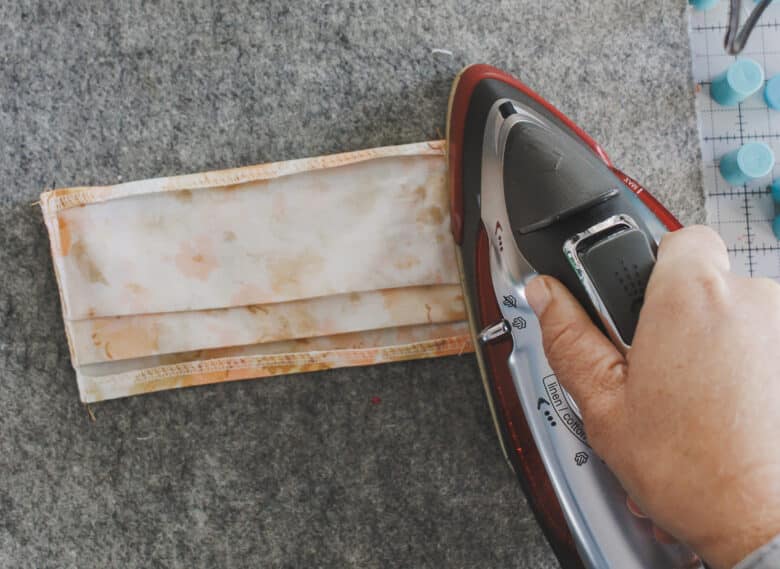
Pin the card holder to one side of the bag lining. I just centered it on the lining side. Pin down all four sides and then mark the center line as well. You can use the cards to help mark the center line. Sew the card slots to the lining. Stitch with a straight stitch very close to the edge {around 1/8″} Also sew down the middle. You want the cards to fit, but snugly. This helps them stay in place. If the fit is too loose, the cards will slip out.
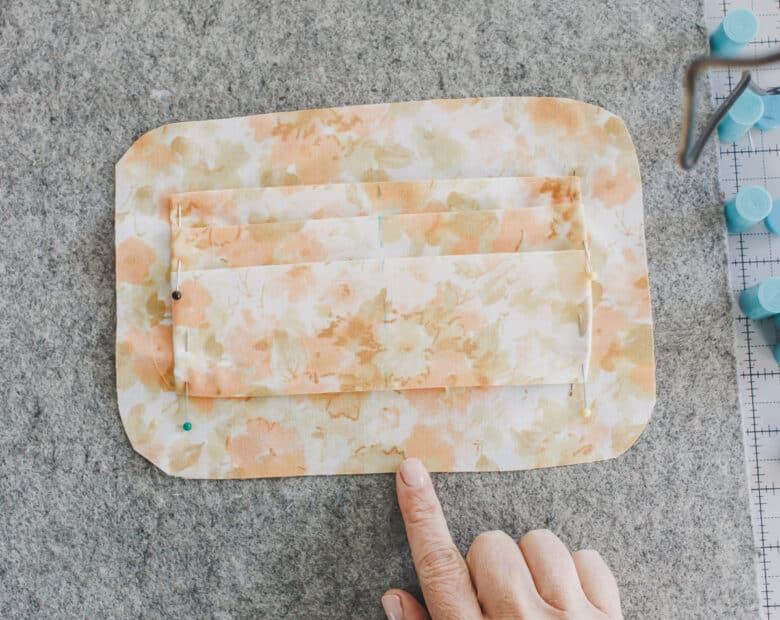
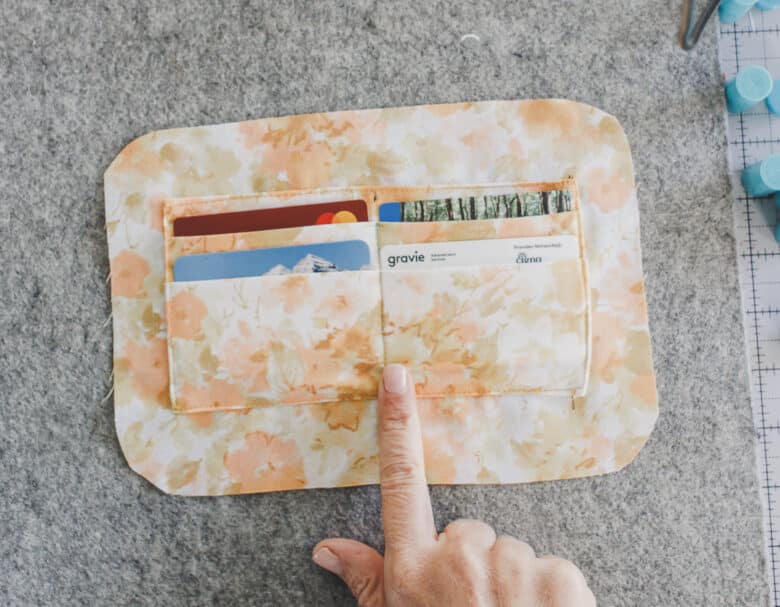
Continue assembling the bag pattern as directed {What ever bag you are adding this too}. When you finish the bag, load it up with all your things and get going! No matter what bag you add this to you are going to love it.




Leave a Reply