



inside: Learn how to sew an easy curved shirt hem on a knit fabric shirt. This sewing tutorial shows how to add a beautiful curved hem to your next shirt sewing project.
Its finally feeling the fall around here. Today is warm, but windy and the leaves are blowing all around. I love it! Fall weather means we need a few things to fill in the fall wardrobe and shirts that pair with leggings were on my list. Today I’m sharing a tutorial on how to sew an easy curved hem, which you will see on the two shirts I recently sewed. The base for these two curved hem shirts is a free sewing pattern you will find below.
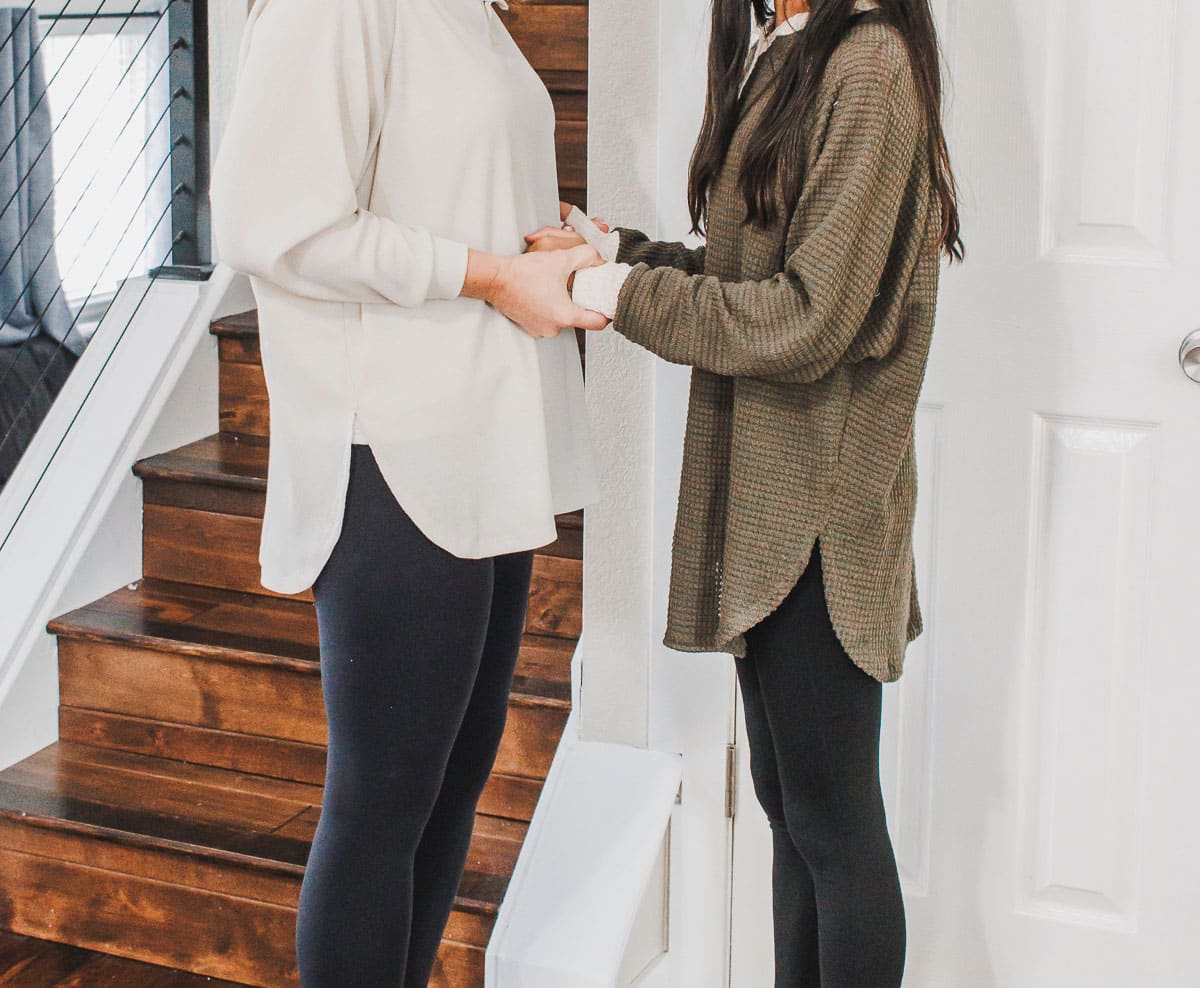
Curved hem shirts
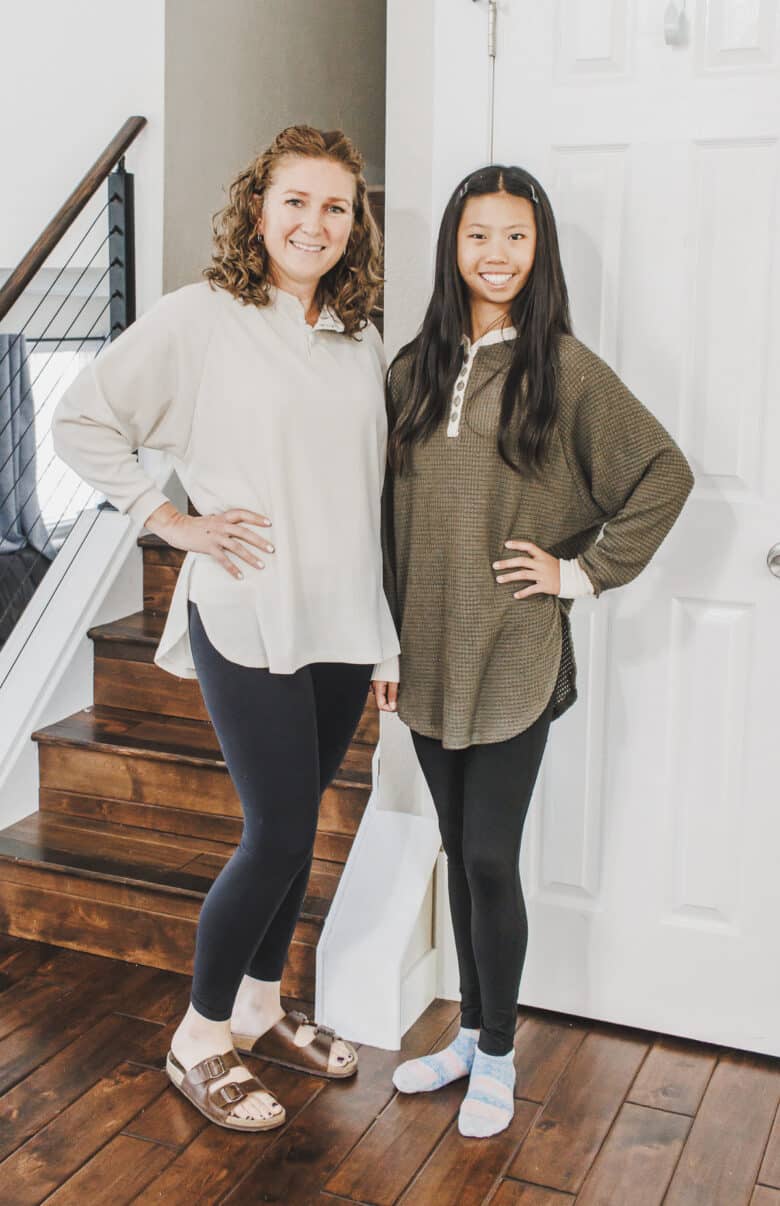
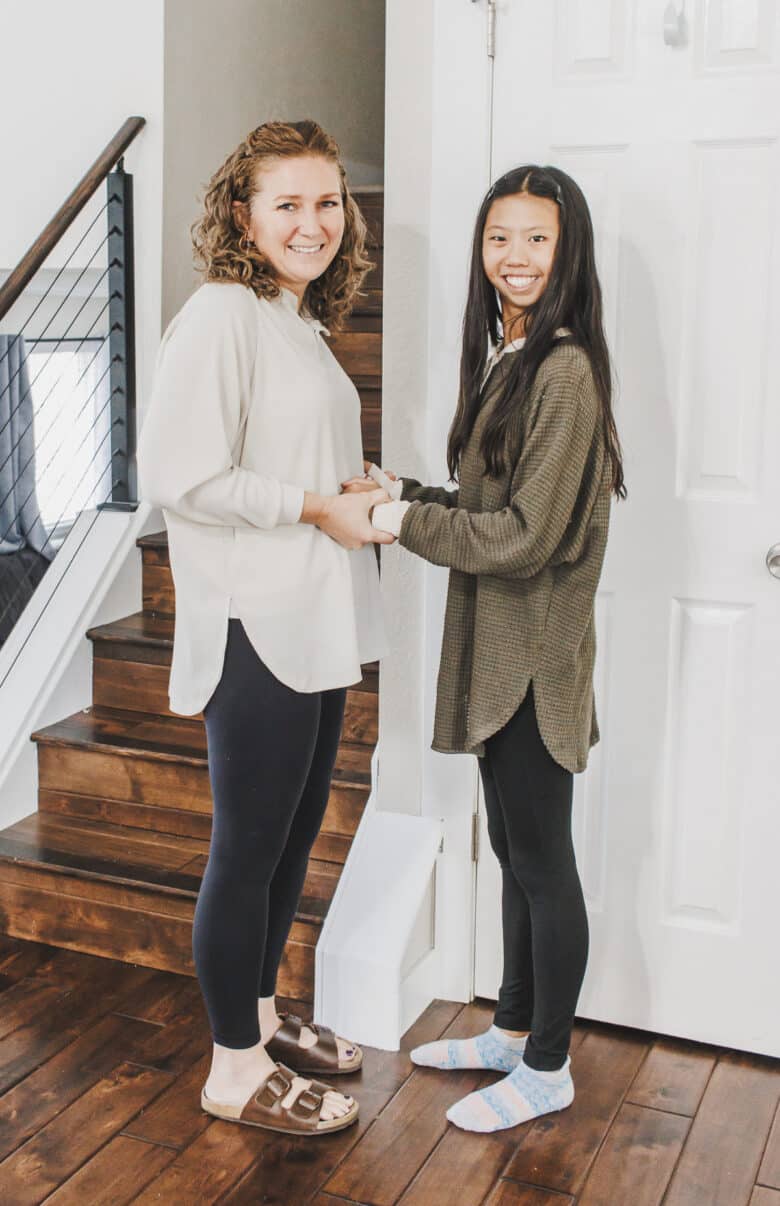
I was originally only going to sew a shirt for Rose, but then I decided to sew myself one as well. The base for these shirts is the womens raglan sweatshirt, lengthened, with a curved hem. I also added a button placket to each.
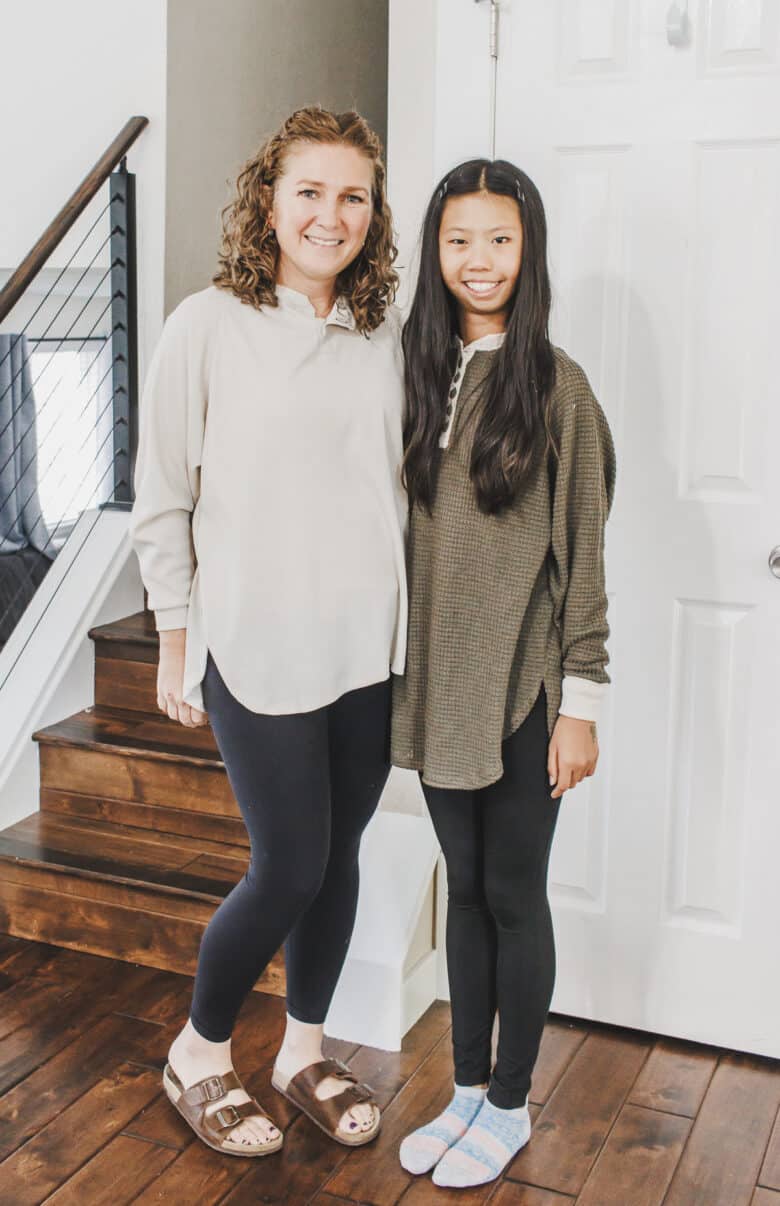
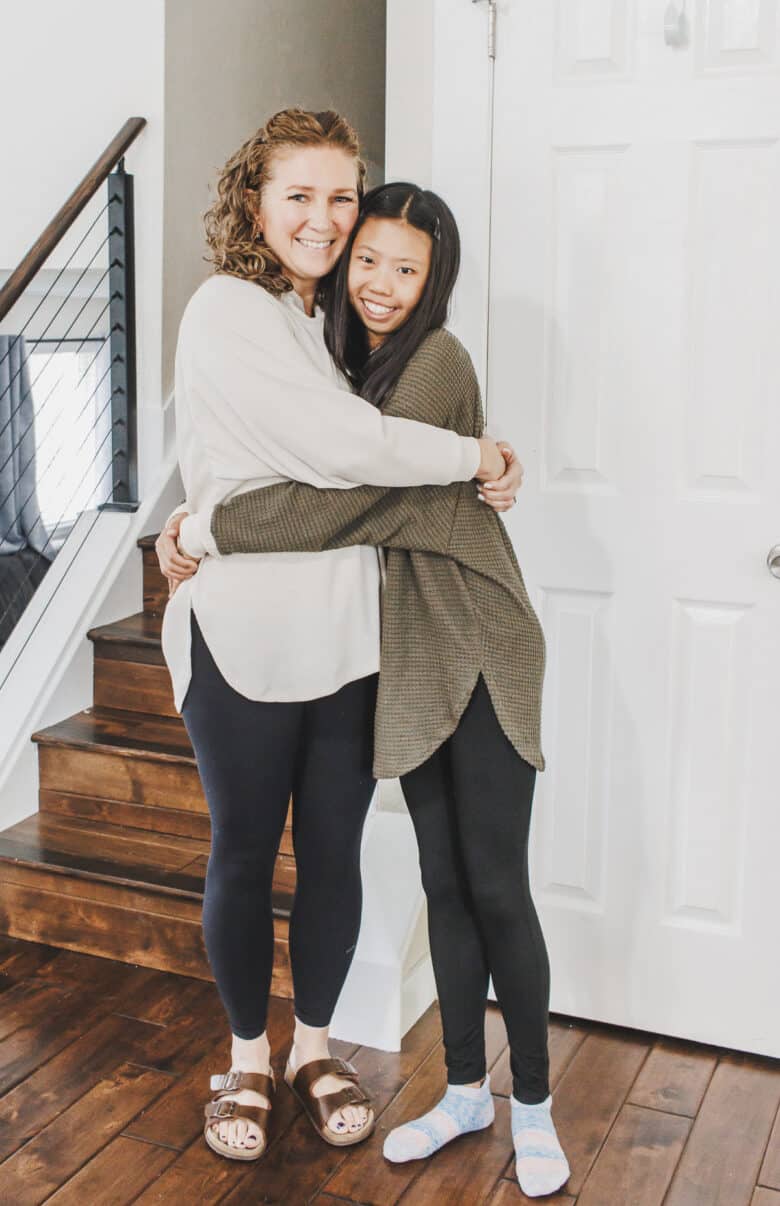
The womens raglan sweatshirt has a larger neckline, so I did make these with a bit smaller neck due to adding the placket. You can see the tuck I took on the back of Rose’s shirt to make the neck a bit smaller.
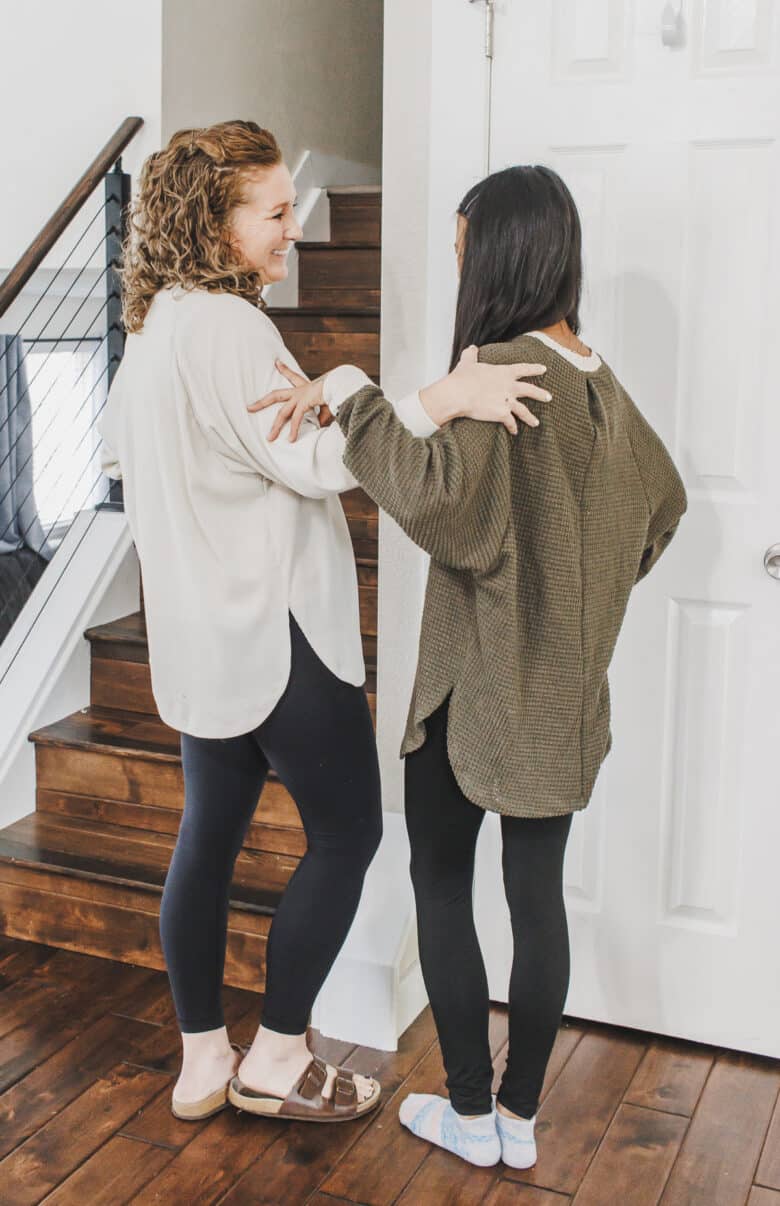
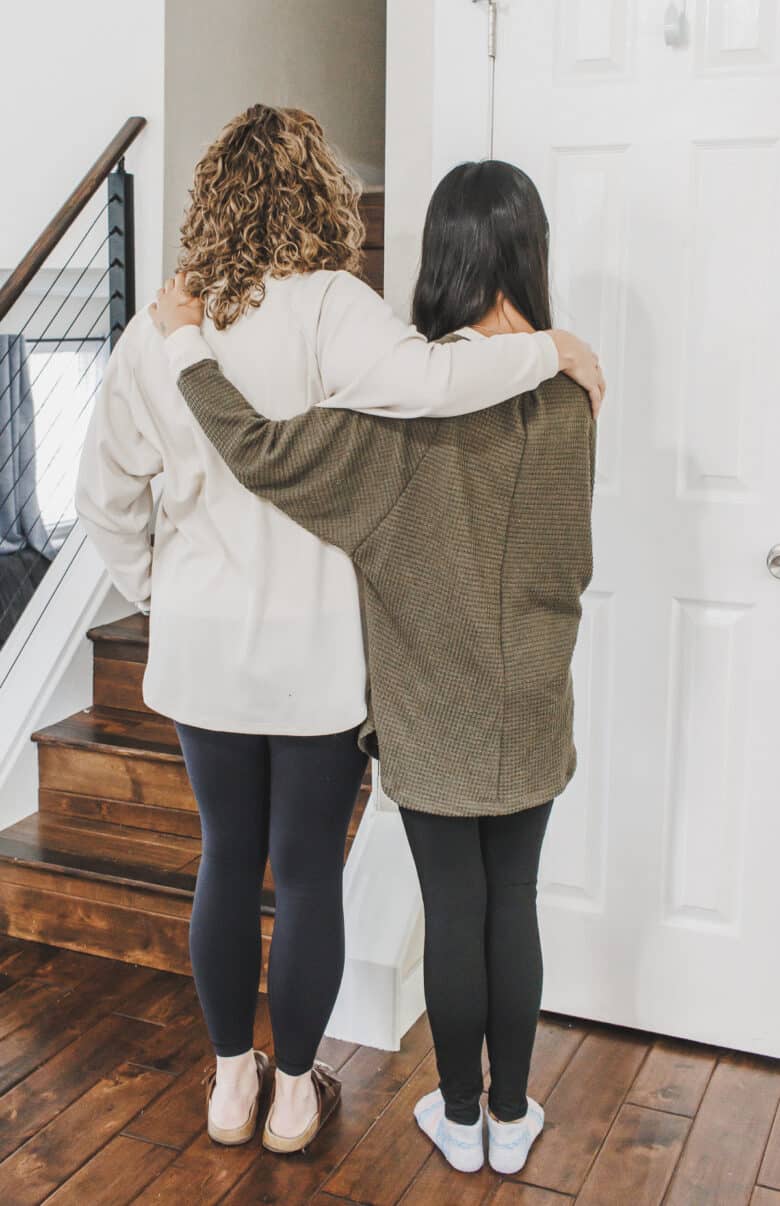
Rose is wearing the raglan sweatshirt in size XS and I made a M for myself. You can lengthen the shirt to your desired length, and then I will show you in the tutorial below how to curve the hem for a fun, loose look.
Rose’s shirt is made of a loose waffle from my stash, and my shirt is a tighter waffle that I picked up at Hobby Lobby last week.
Other shirt sewing hacks
- Split hem sewing tutorial
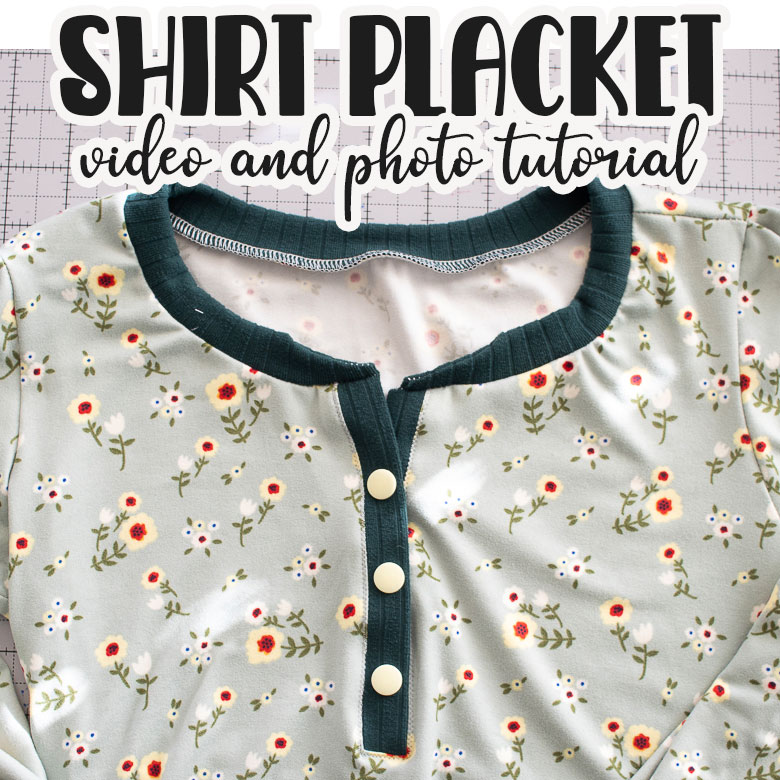
- Placket tutorial
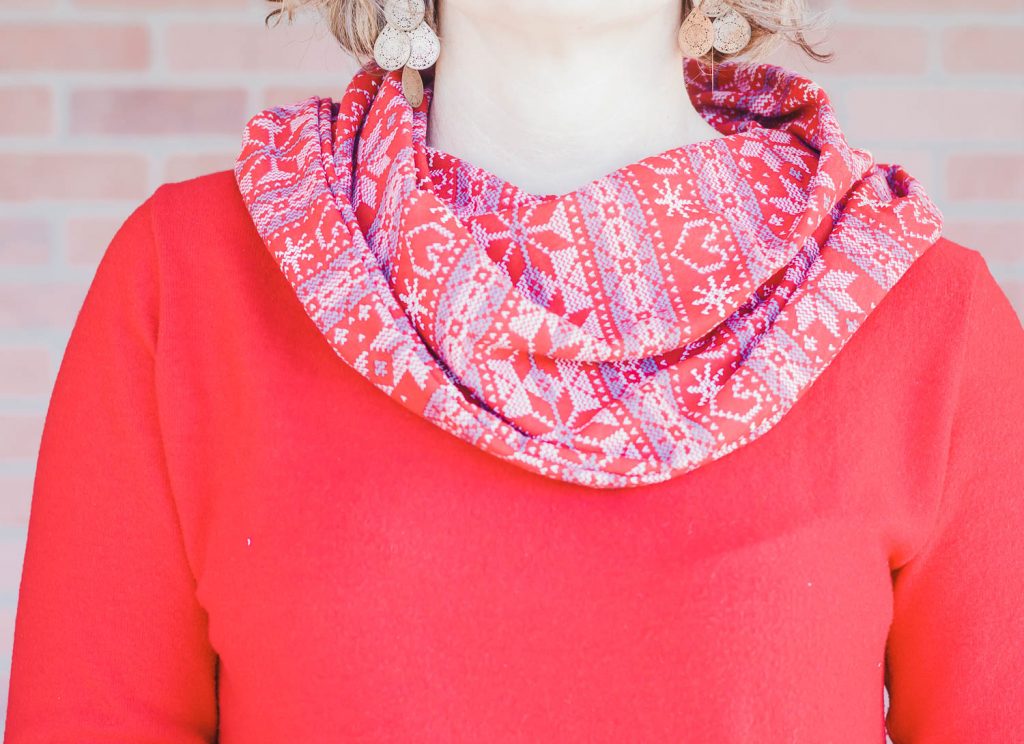
- Add a neck cowl
- Add a zipper collar
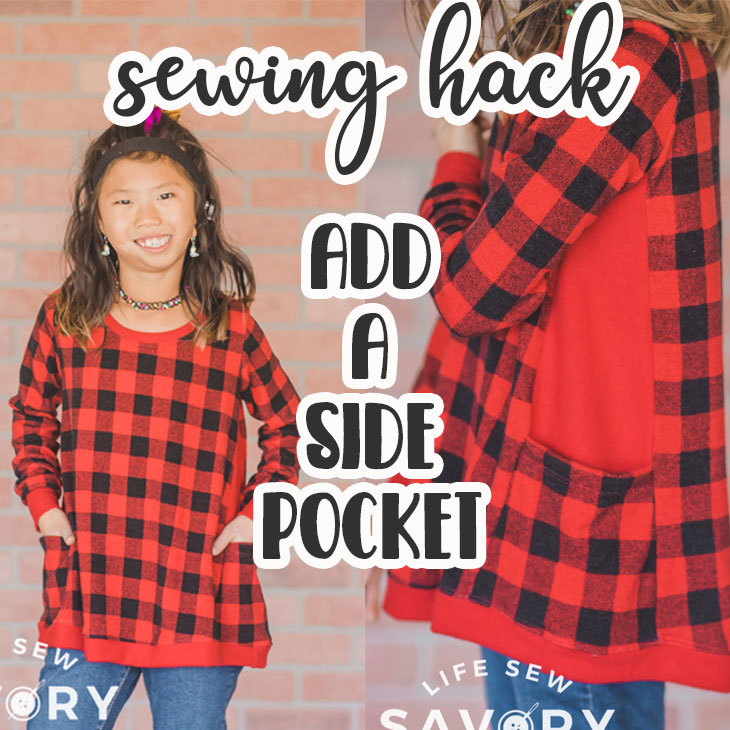
- Add a side pocket
- Short sleeve to long


How to sew a curved hem tutorial
Supplies needed to sew a shirt with a curved hem:
- Free Raglan Sweatshirt pattern
- 2/3 yards of knit fabric
- placket tutorial if desired
- Serger {preferred} and/or sewing machine
Ok… so you will first cut out the sleeves for the shirt sleeves. When you cut the the front and back of the shirt you will lengthen it. Roses shirt is extended about 10″ for a longer curved hem shirt. My cream version was lengthened about 7″. Measure yourself from your collar bone, or a shirt you like to get final length.
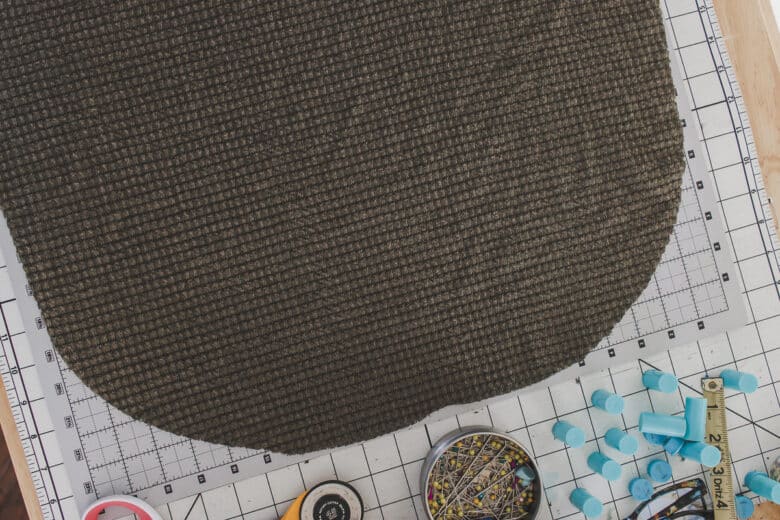
After you cut the shirt longer as a rectangle, Curve the outside corner of the front and back as seen here. The curve should be start about 4″ up on the side, then curve towards the center fold of the shirt.
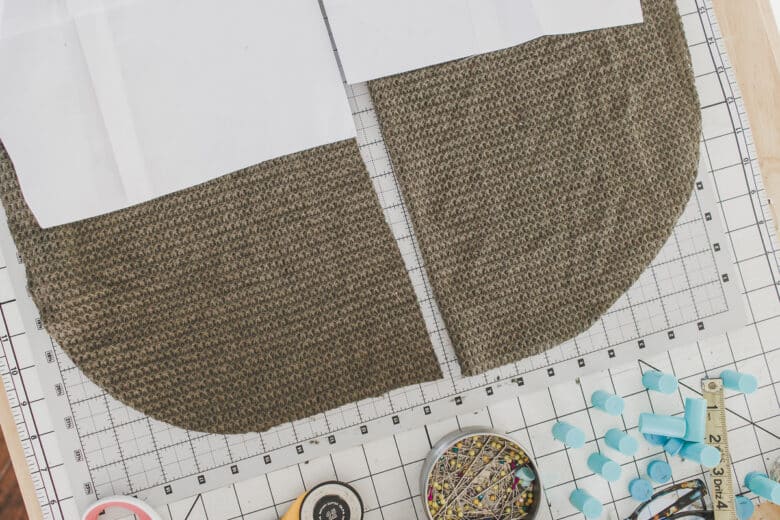
When you open up the shirt fold you will have a curved bottom edge of the shirt. Sew up the shirt until all you have left is the open side seams and a raw hem. If you need help sewing up the sweatshirt, see the linked tutorial in the supply list above. Pin or clip the under arm seam to keep this matched up.
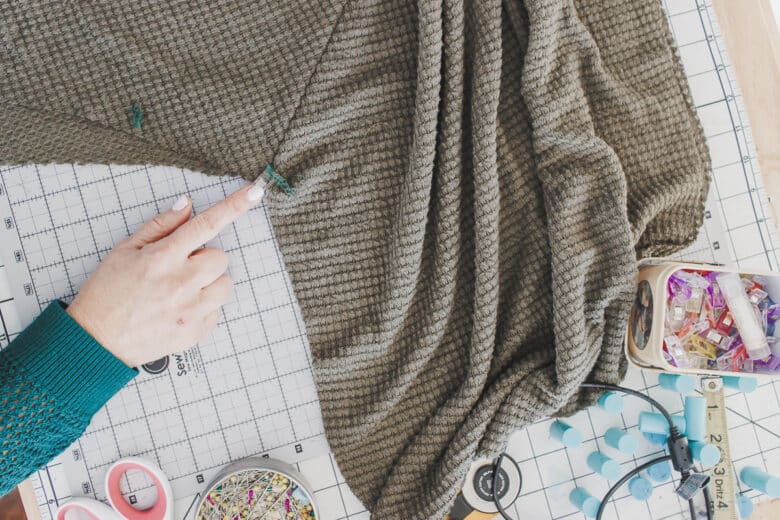
Mark up the side of the curve 7-8″ depending on how high you want the slit. Measure up from the flat bottom of the curve to mark the side. At the side marking, fold over a 1/4″ hem, then ease into a wider hem until you have a 1/2″ to 3/4″ hem easing around the bottom curve. When you get to the other side of the curve, ease back out.
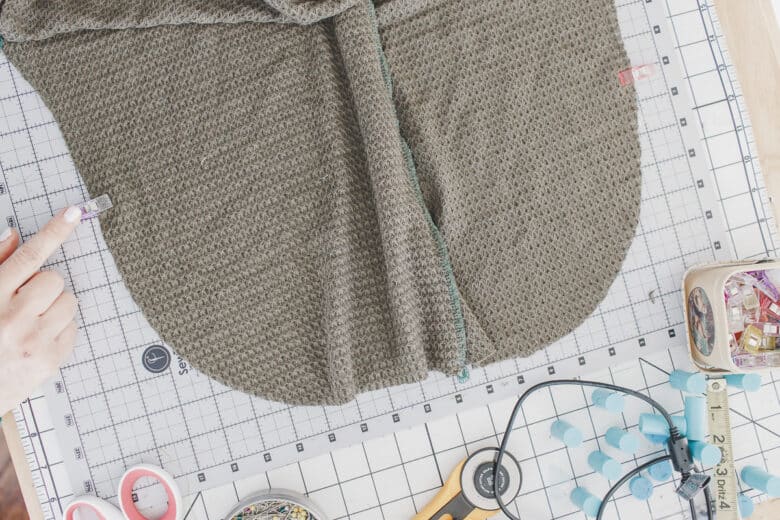
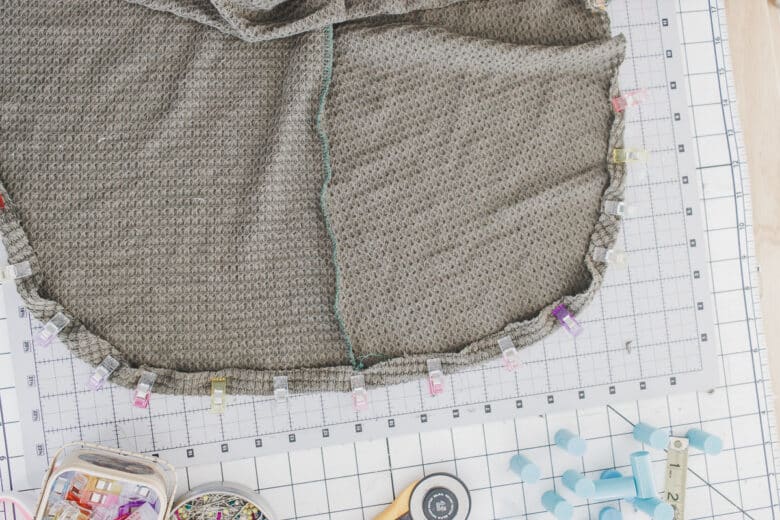
Use thread that closely matches your fabric color and sew on the back side of the shirt so you can sew right on the raw edge. I used the triple zig-zag stitch to sew the hem. It blends in perfectly with the shirt. You will need to press the hem.
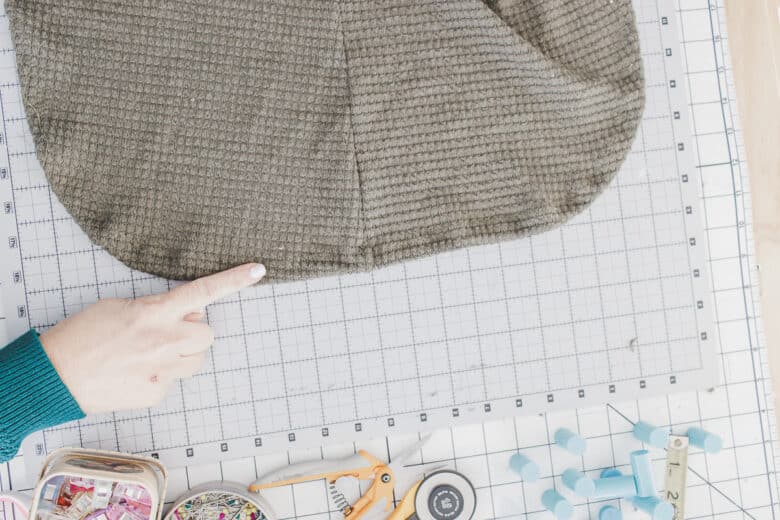
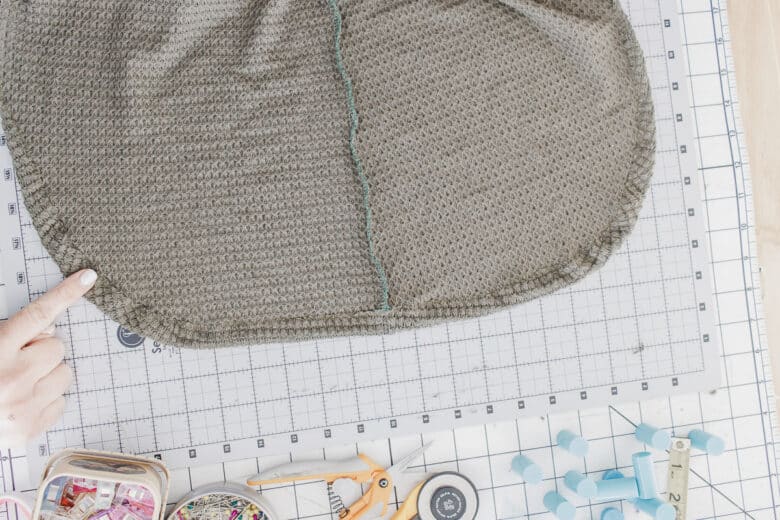
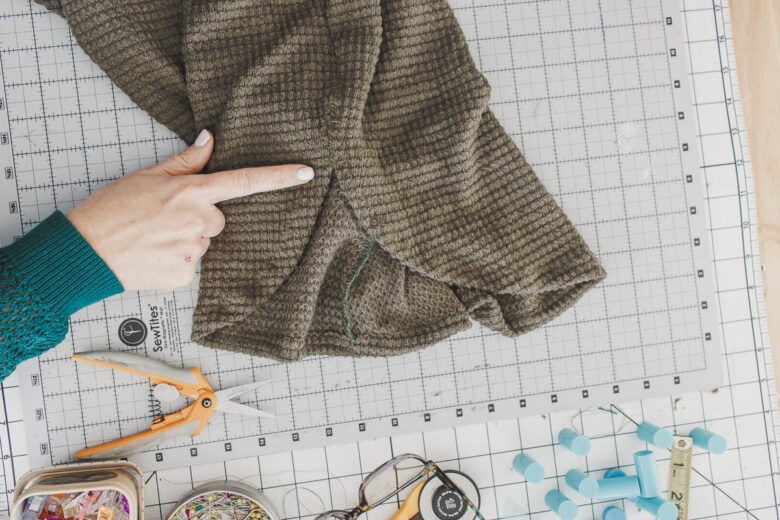
Repeat with the other side of the shirt. Pin or clip the side seam from the sleeve cuff to 1″ above where the hem starts. I sewed up this side seam with my serger, stopping at the mark. When looking at the right side of the shirt, you should have a bit of raw fabric edge between the side seam and the curved hem.
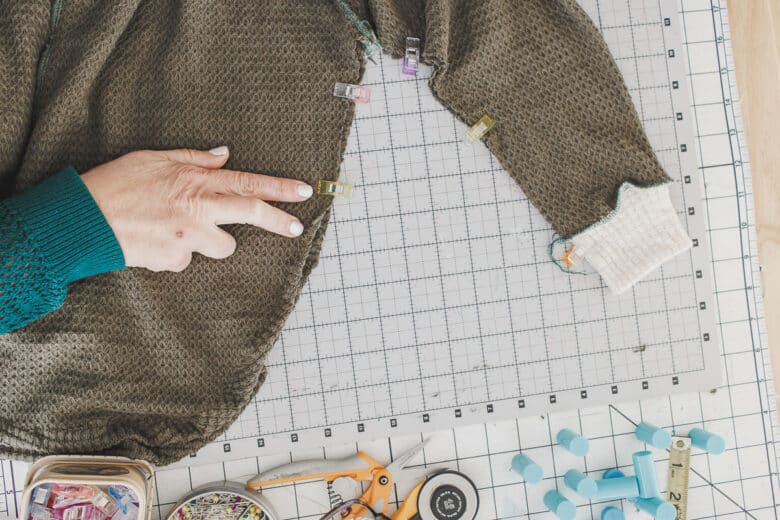
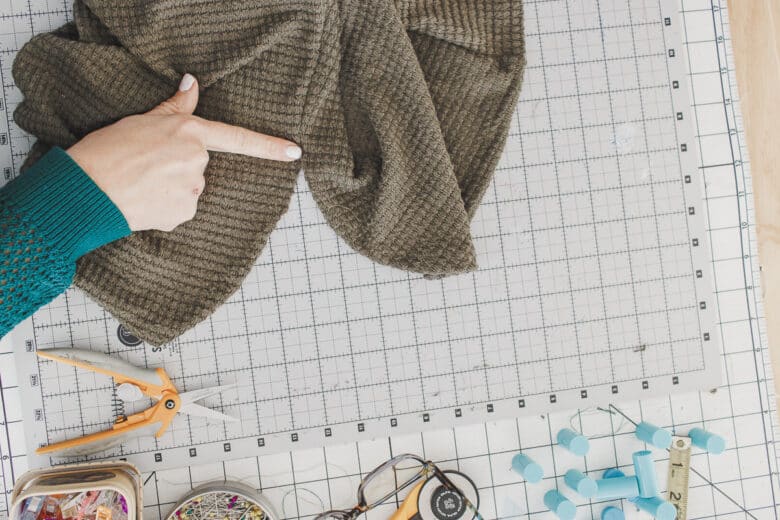
Fold under a bit of the back side of shirt and then bring that folded edge over the front raw edge of the shirt. Pin about 2″ of overlap.
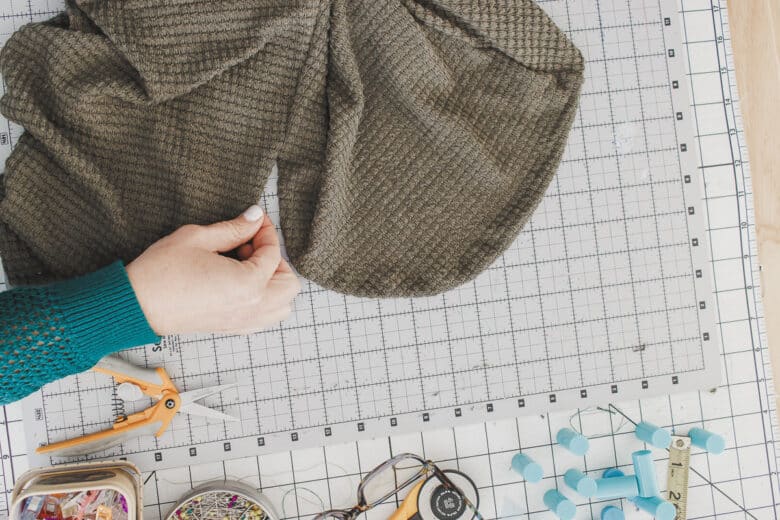
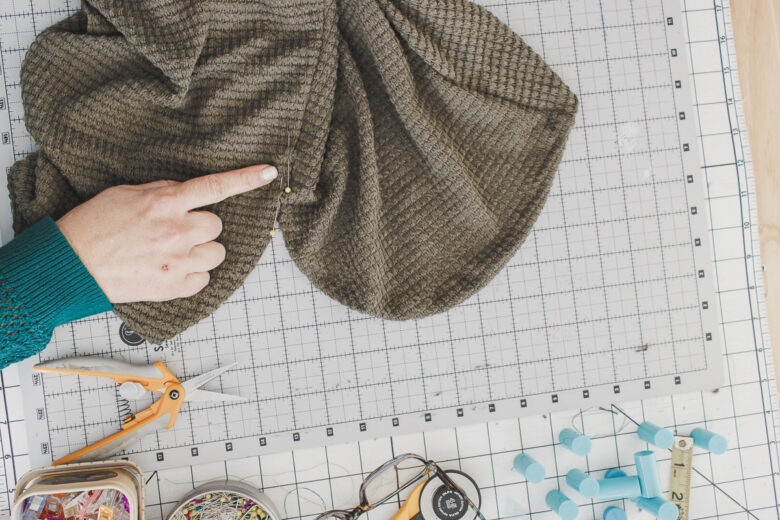
Sew this bottom of the side seam with the same zig-zag triple stitch to join the side seam to the curve. It looks great when finished and is a great finish to this top. Enjoy you new shirt with a curved hem.





Leave a Reply