


Inside: Learn how to combine applique and embroidery on a shirt for this fun tutorial. Make a gorgeous shirt with a embroidery and applique combined.
I saw this shirt in a social media add for some super questionable company… and I knew I could make something similar. I loved the message and the combination of applique and embroidery, so here is my new favorite shirt and the tutorial of how I made it.
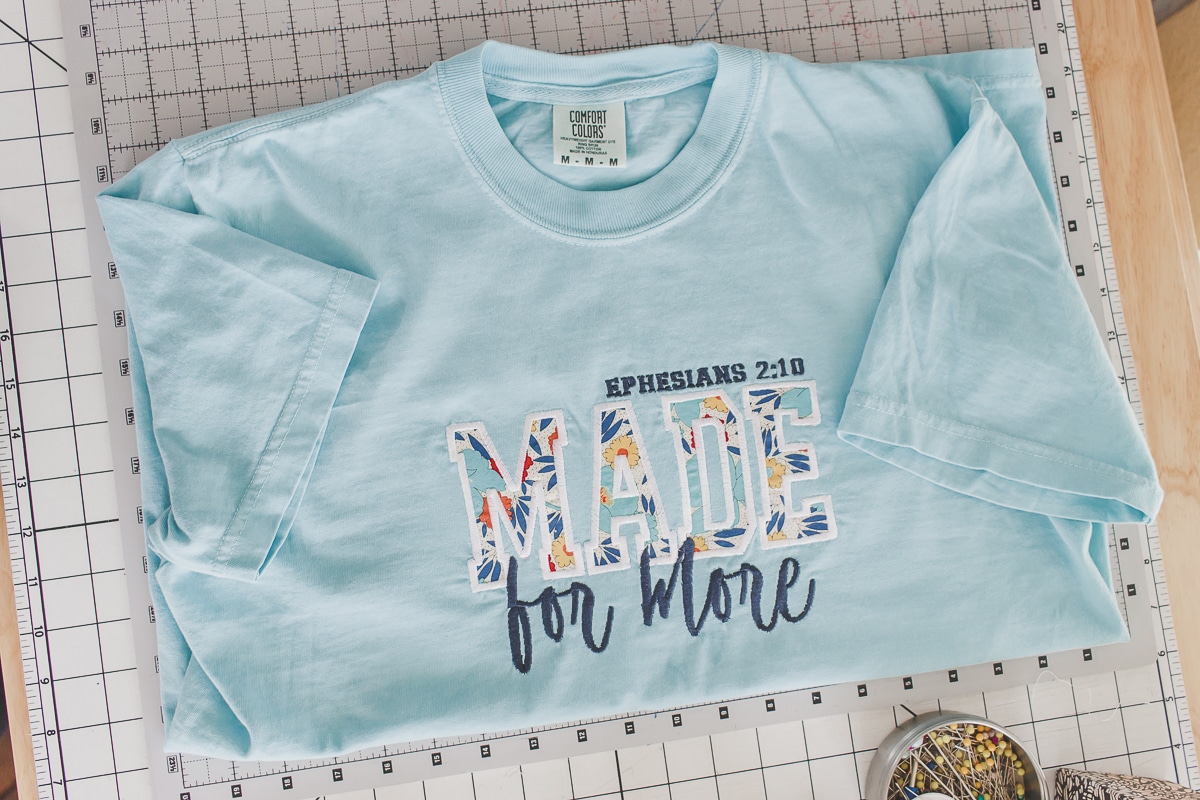
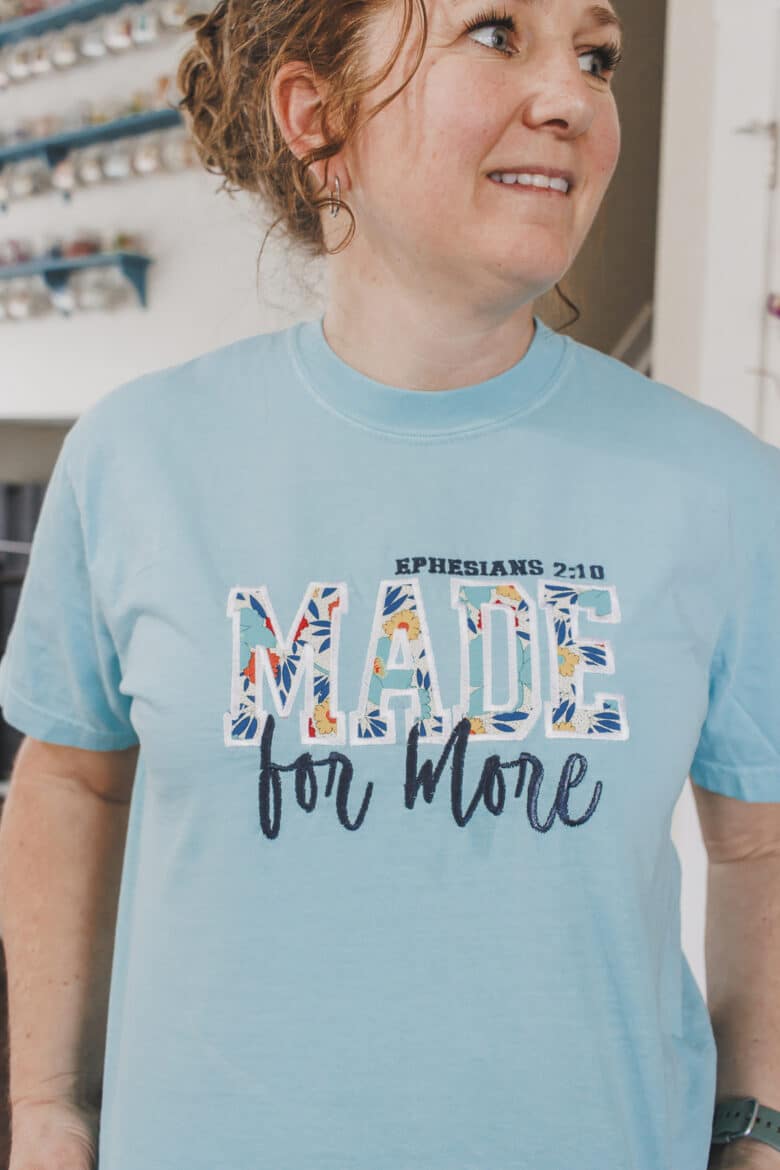
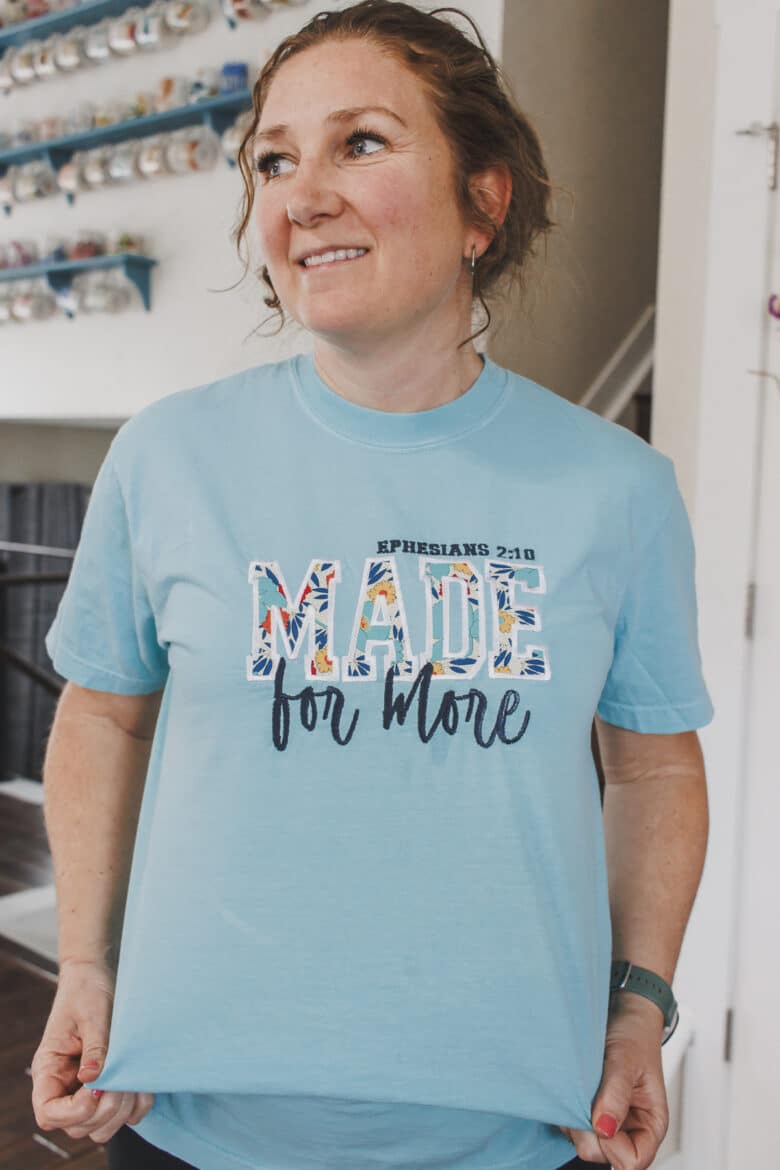
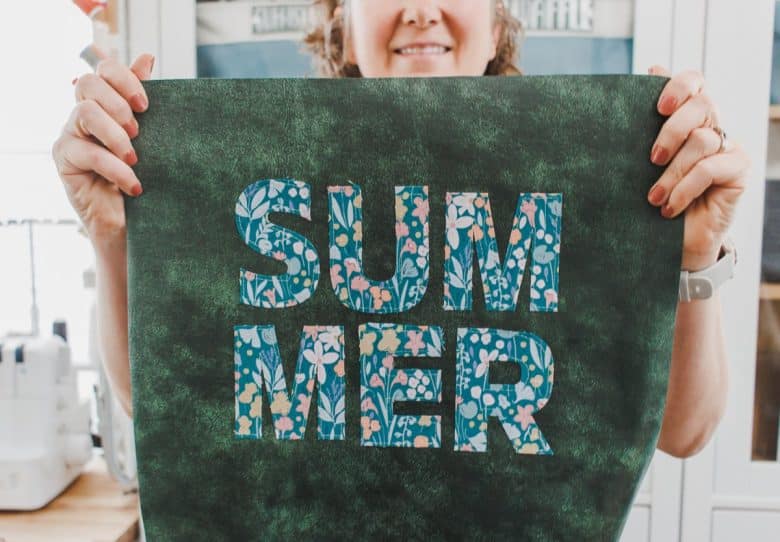
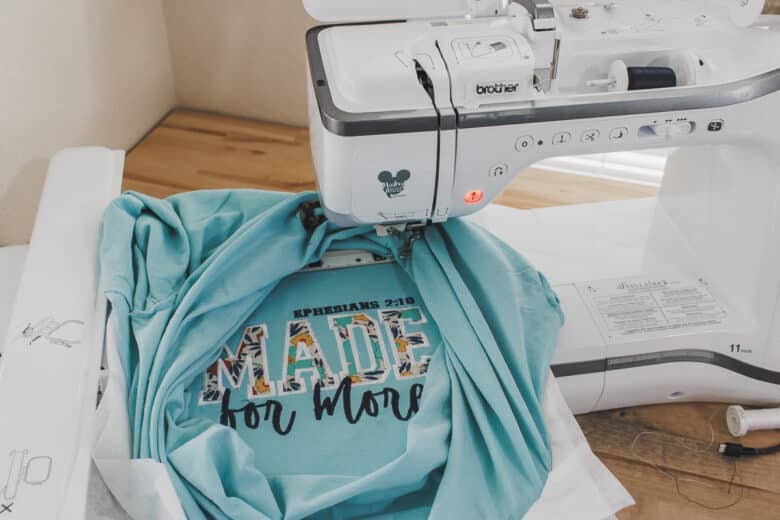
Made for More Applique t-shirt
I’m very pleased with how this shirt turned out. I bought the shirt and just grabbed some fabric from my stash for the words. I maybe wish there was a bit more contrast, but overall I love the look and design. All supplies will be listed below in the tutorial.
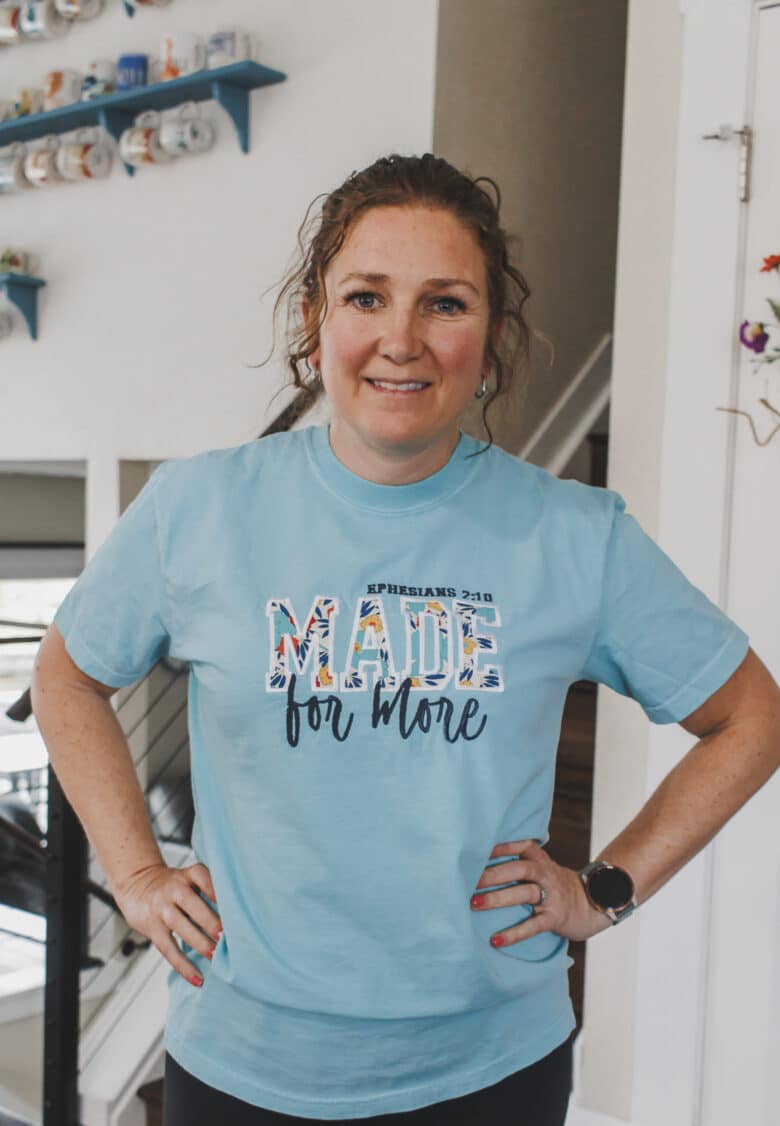
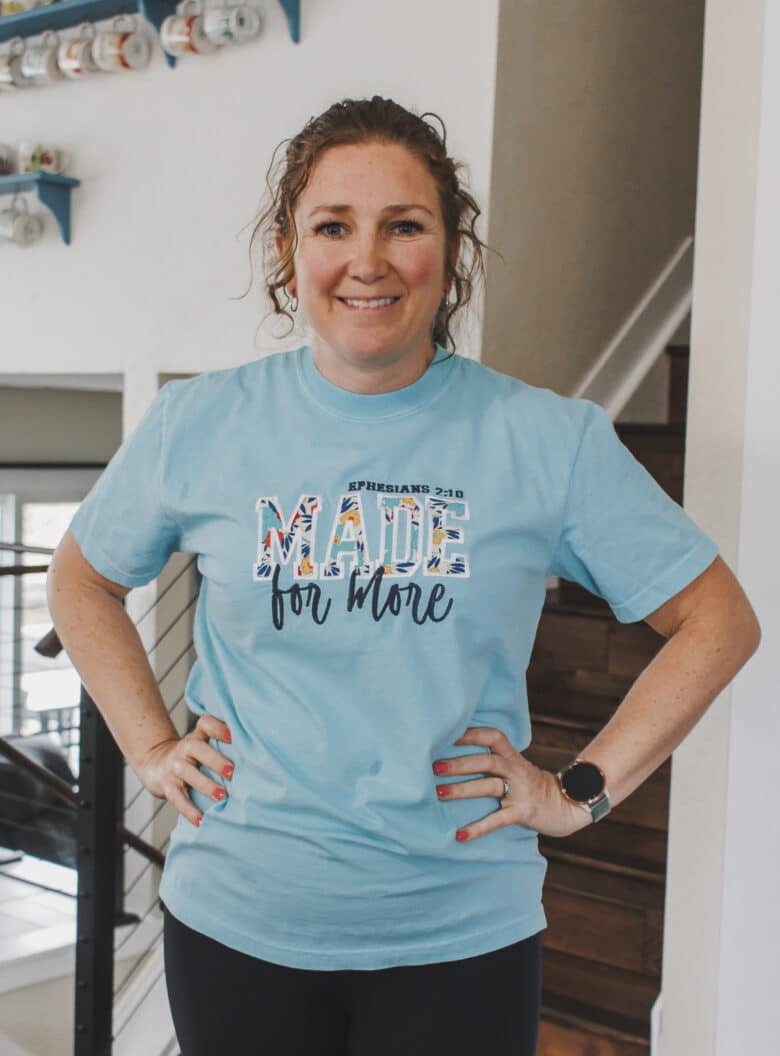
I’m still deciding if I want to shorten the shirt just a bit, although it worked great with these leggings I was wearing when I took the photos. If you are new to machine embroidery you should check out my beginner embroidery class.
More amazing Applique projects to try
- Double layer applique
- Multi-fabric applique
- Reverse applique
- Applique sign without a embroidery machine
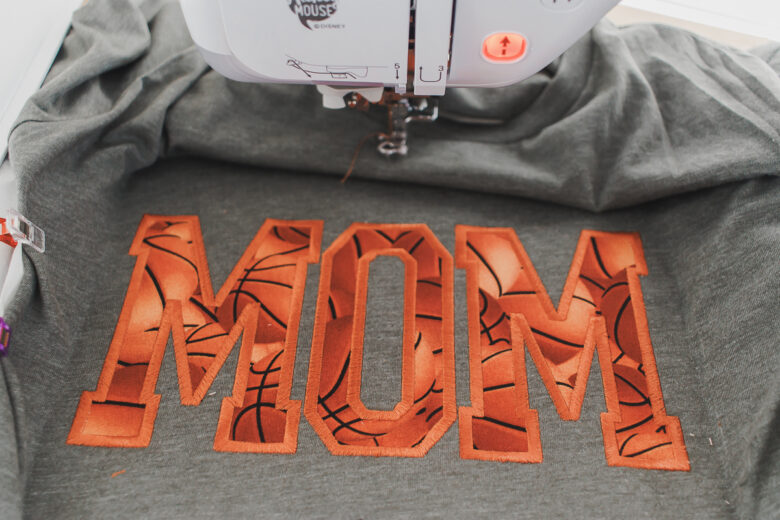
- Sports Mom shirt applique
Applique and Embroidery shirt tutorial
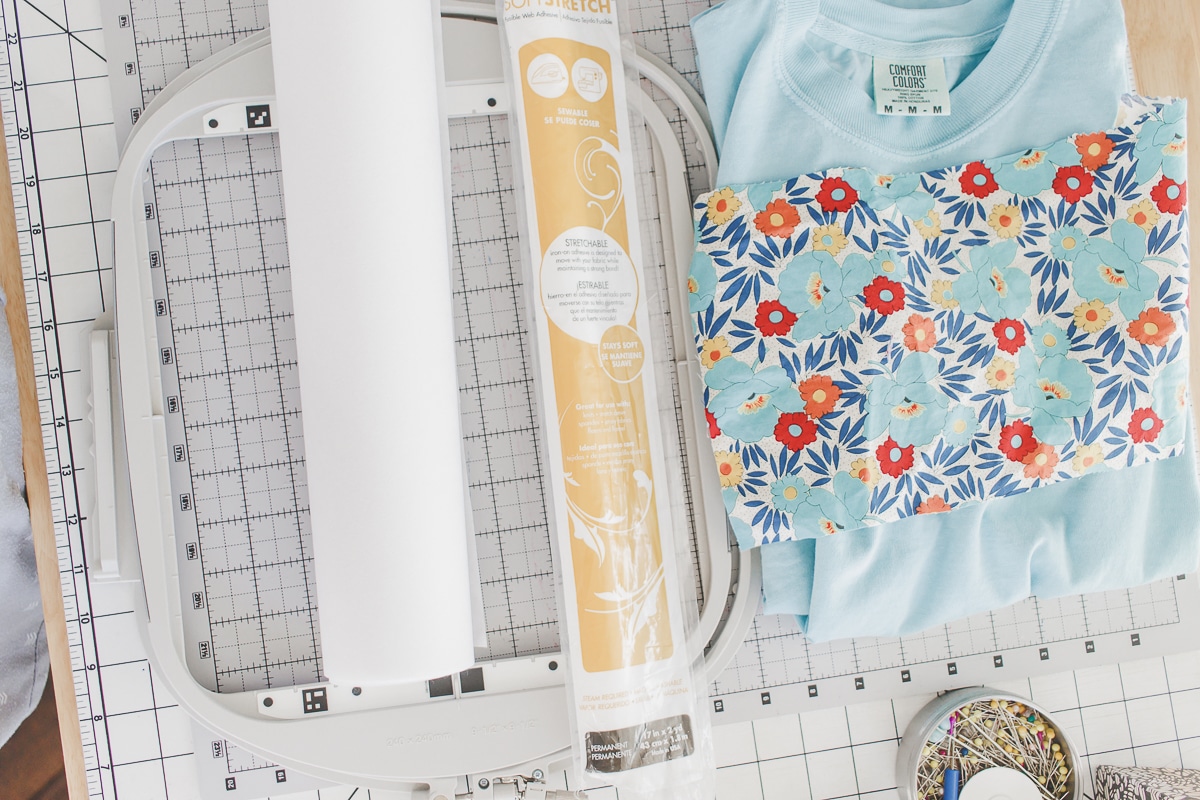
Supplies I used:
- Tshirt {this one is from Hobby Lobby}
- Fabric scrap from stash
- Heat and Bond {or any applique backing}
- Embroidery clip scissors
- Embroidery machine with 9 x 9 hoop
- Two font designs I purchased
- Embroiery thread
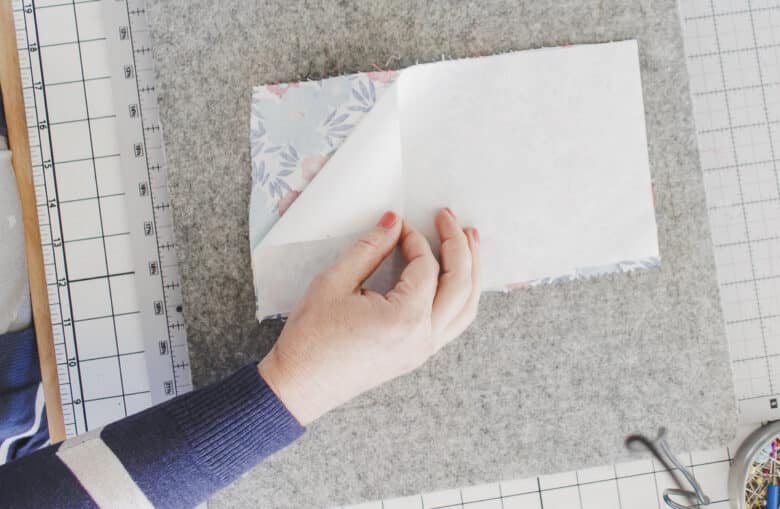
Start by cutting a rectangle of your fabric slightly larger than your design will be. Fuse a piece of heat and bond to the back.
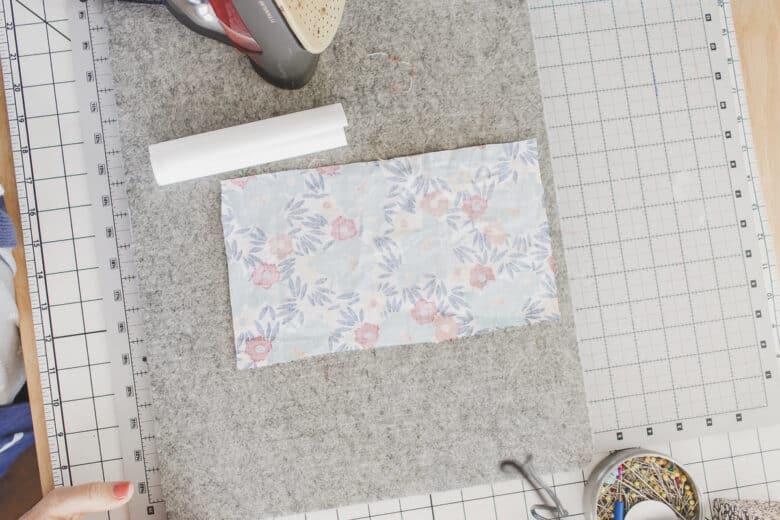
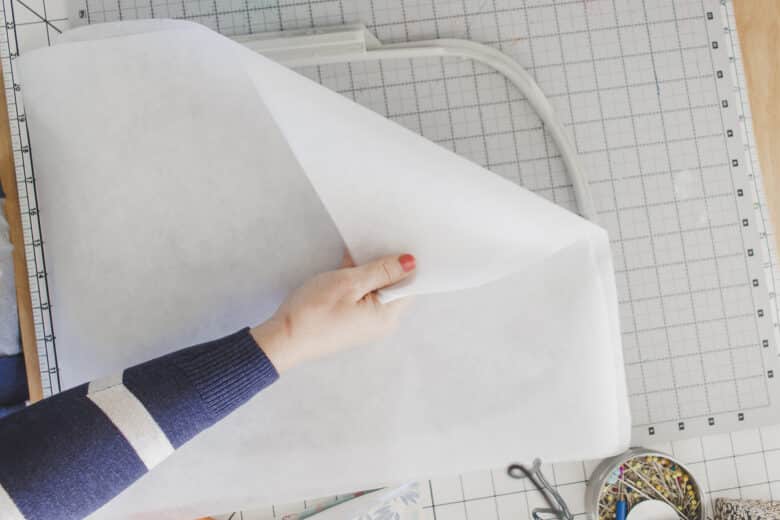
Remove the paper backing and set aside. I used two layers of medium tear-away in my hoop because of the stretch of the t-shirt fabric.
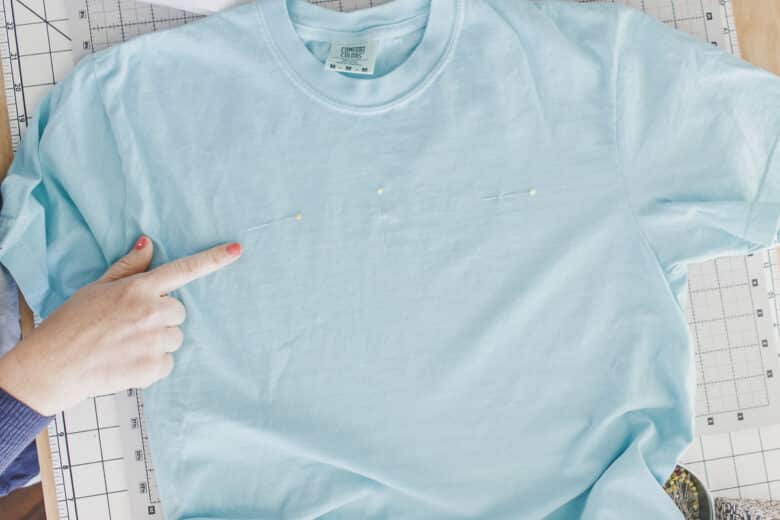
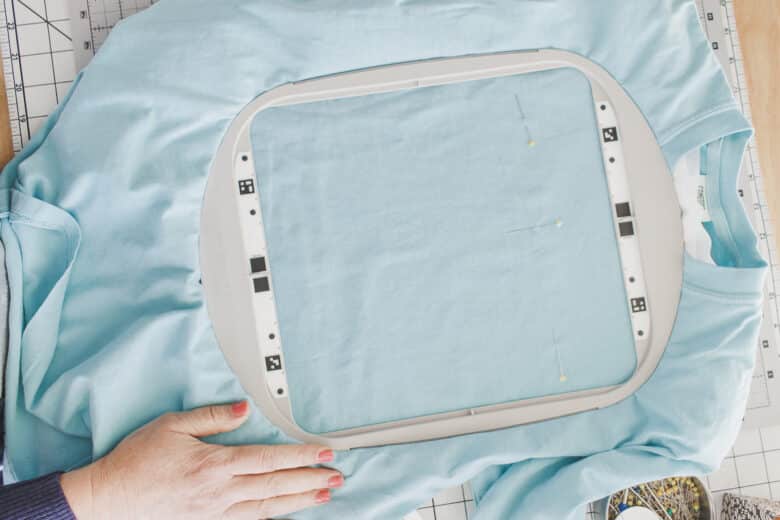
Add some placement marks on your shirt. I like to mark the center and either the bottom or top line of the design. Here I marked the top. Hoop the front of the shirt only, centering the hoop with the center placement marker.
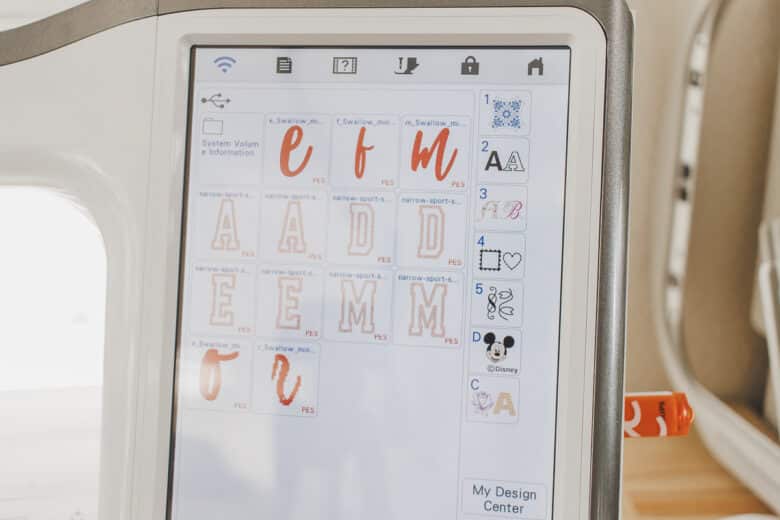
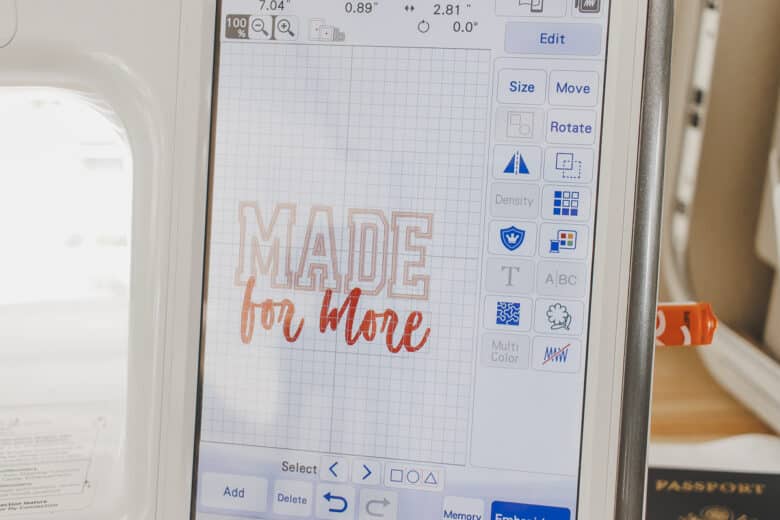
Both fonts I used were purchased online, so I used a usb to transfer the letters I needed to my machine. I put two sizes of the MADE on my usb to see which one I wanted to use. Here is the design laid out.
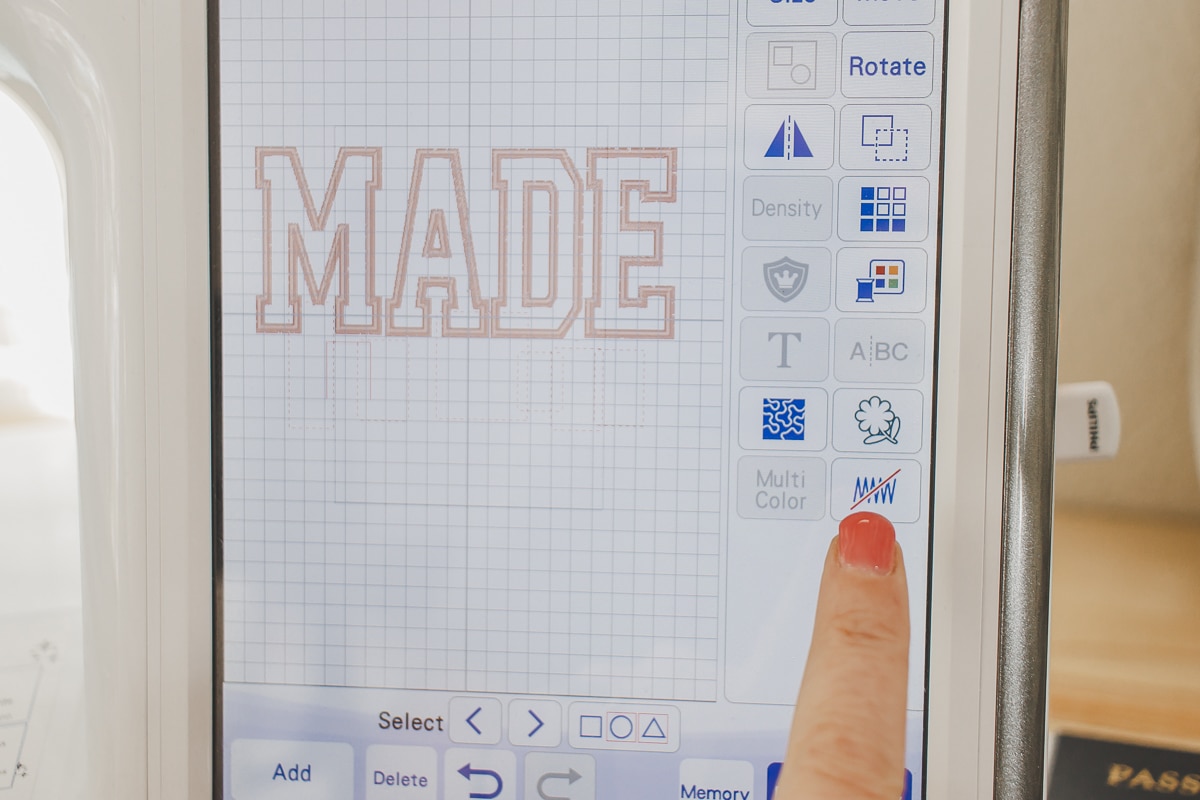
On my machine I have the no-sew feature, so I used that to get rid of the for more letters. If you don’t have this, I would just create the MADE first and stitch it, then add the second part of the design.
For the applique stitch out the placement lines for all letters. Then add the rectangle of fabric.
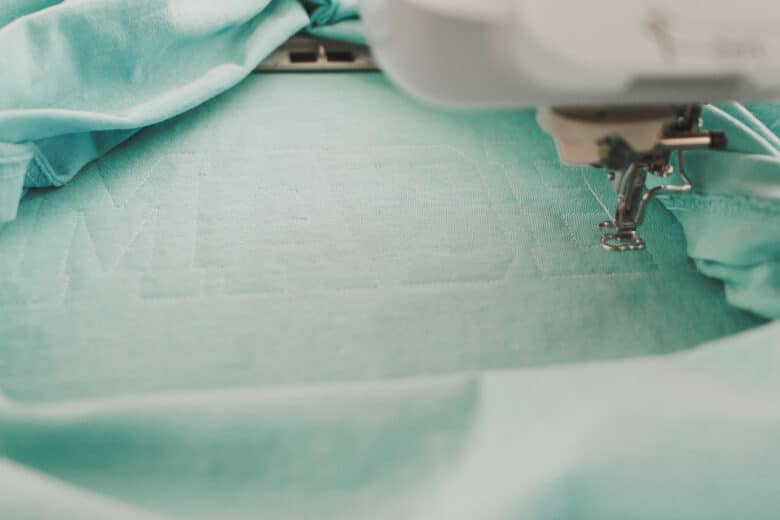
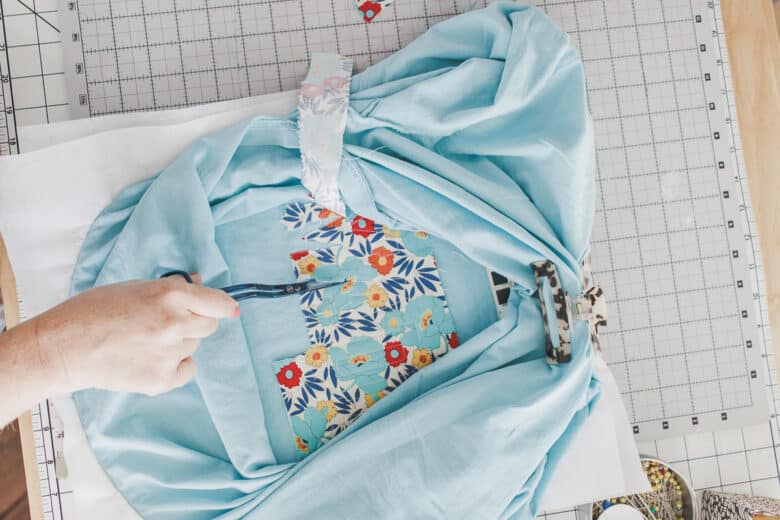
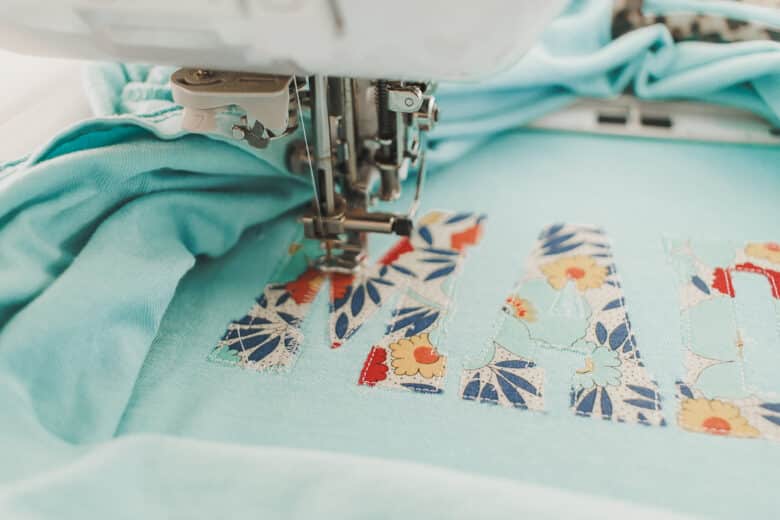
Stitch the second placement/tack down layer for each letter, then remove the hoop from the machine. Use curved embroidery scissors {linked above} to carefully trim around each letter.
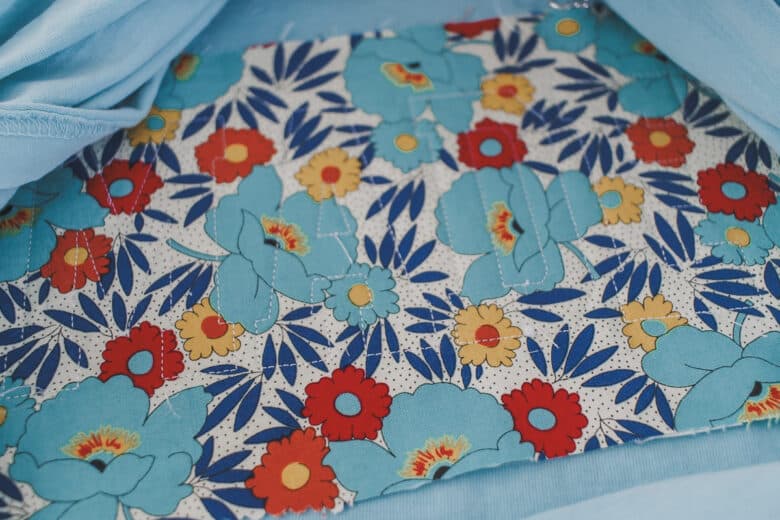
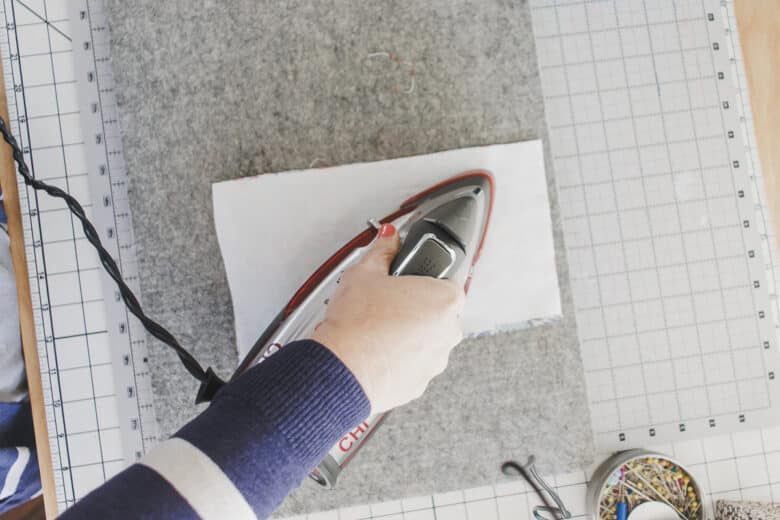
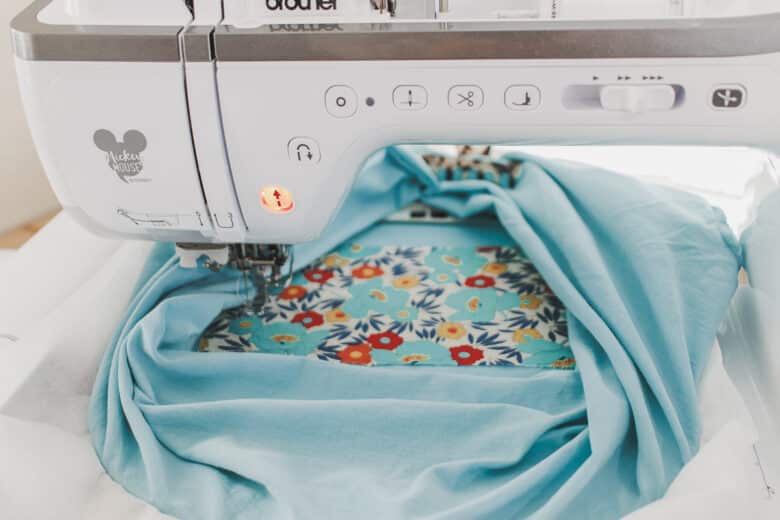
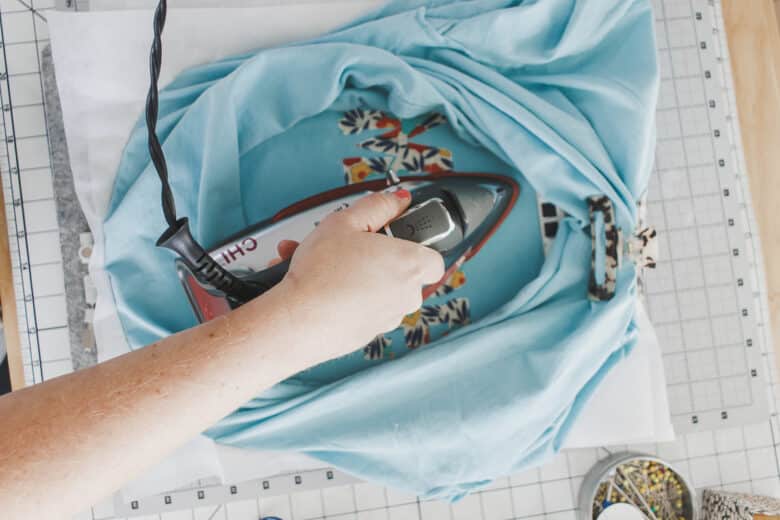
Then fuse the fabric to the shirt with an iron. {remember the heat and bond from the beginning? This is the second fuse of that material} Stitch out the final step for each letter, adding the satin stitch.
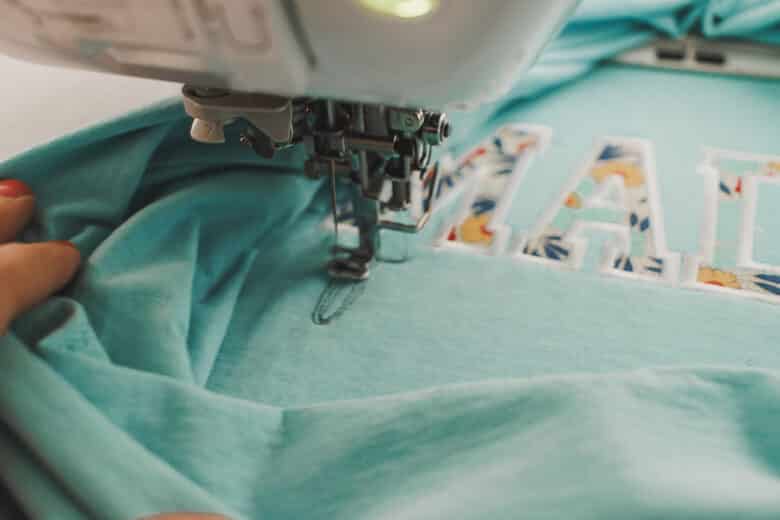
When the applique finished, I went back and un-did the no-sew of the second layer of letters. I arranges my for more letters so they overlapped the applique a bit, but you can adjust as you want. Stitch this out.
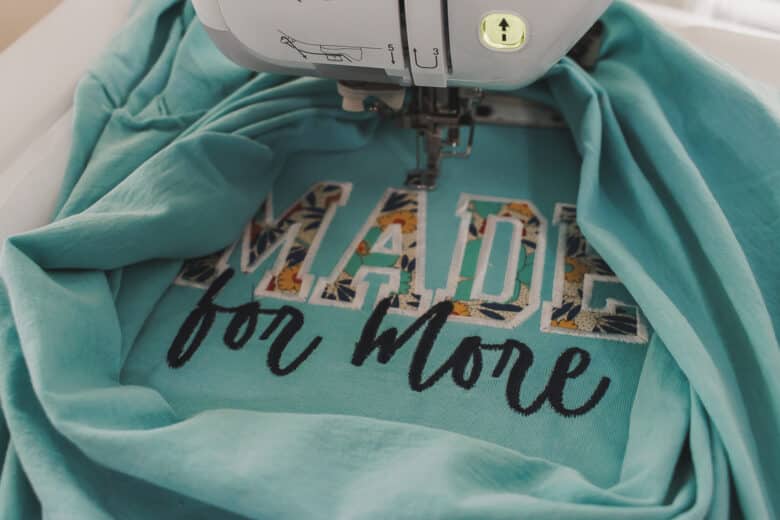
I ended up added the Bible reference for this phrase in the upper right hand, but you could add below or leave off. I love how this turned out and can’t wait to use this concept for other shirts and designs.


Leave a Reply