inside: check out this free dress pattern with lots and lots of ruffles. Use this free dress pattern to create a beautiful summer dress with woven fabric.
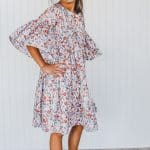
Last week I shared a free dress pattern that I sewed for myself. It was one I found online. You can see the ruffled dress for me here. It was a pdf download from Peppermint Magazine and I love it! So so much, you should go check out my photos and sew one yourself!} yeah free patterns!! Anyway… as I was sewing it I could see that the pattern pieces themselves where actually very basic pieces and I decided I wanted to try a similar dress for Rose. Today’s project is the result of that trial… I love it…
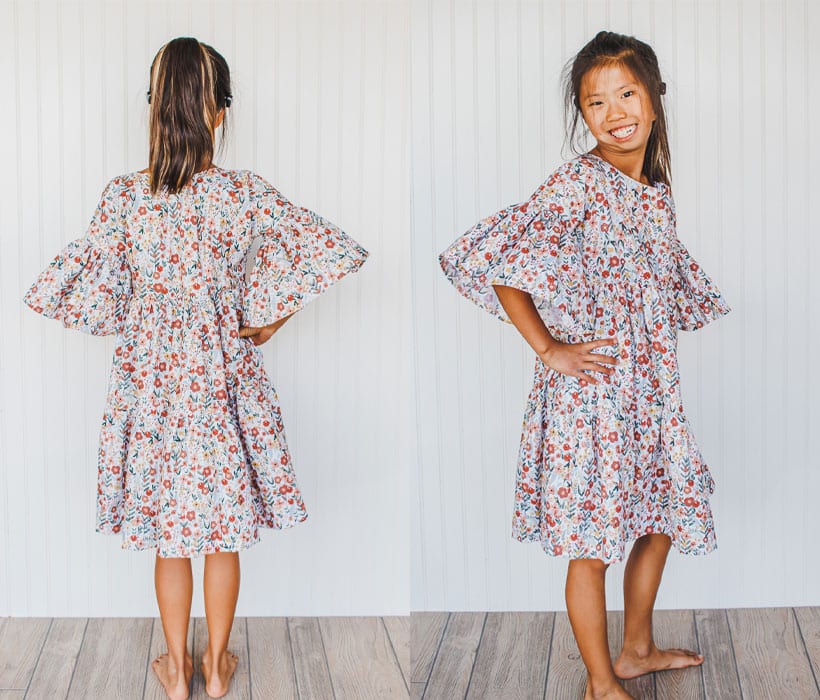
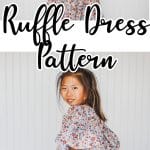
Ruffled dress pattern
I was able to use one of my existing free sewing patterns to create this look, and it was actually pretty easy. You can have a single layer gathered skirt OR a double layer like I did.
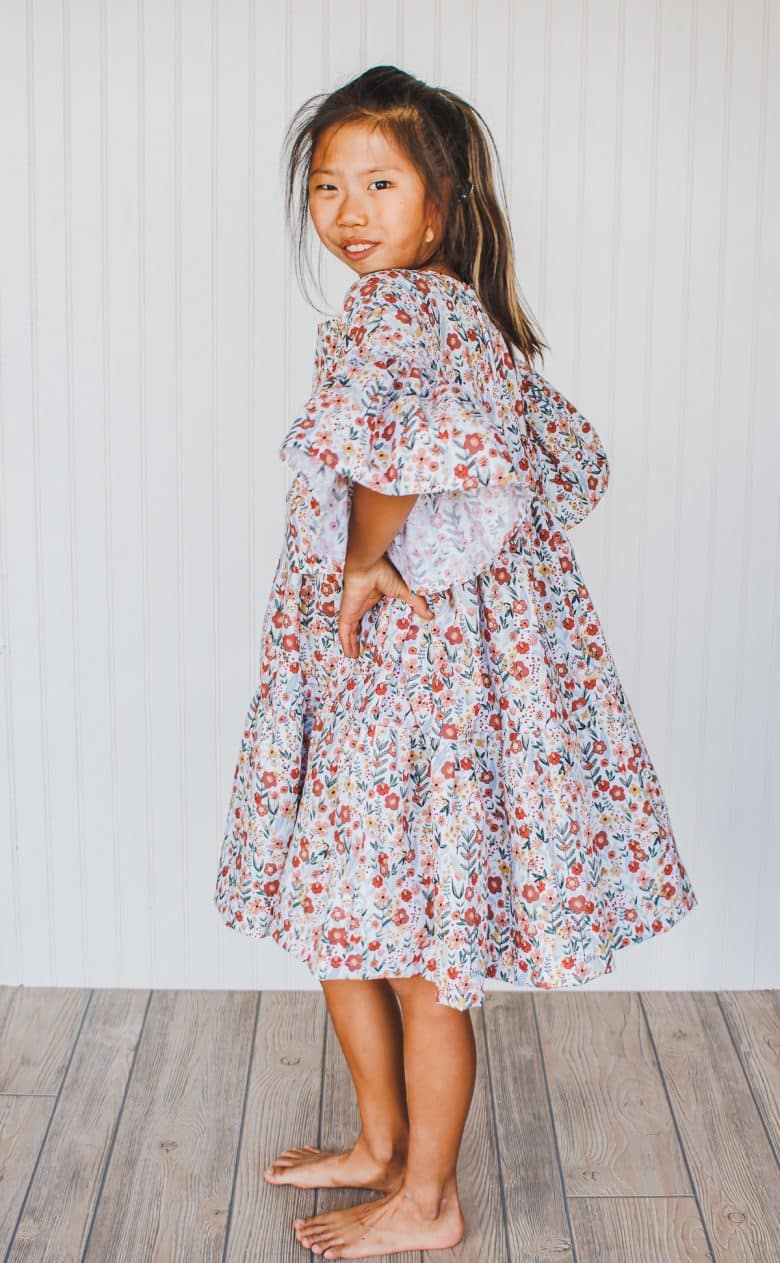
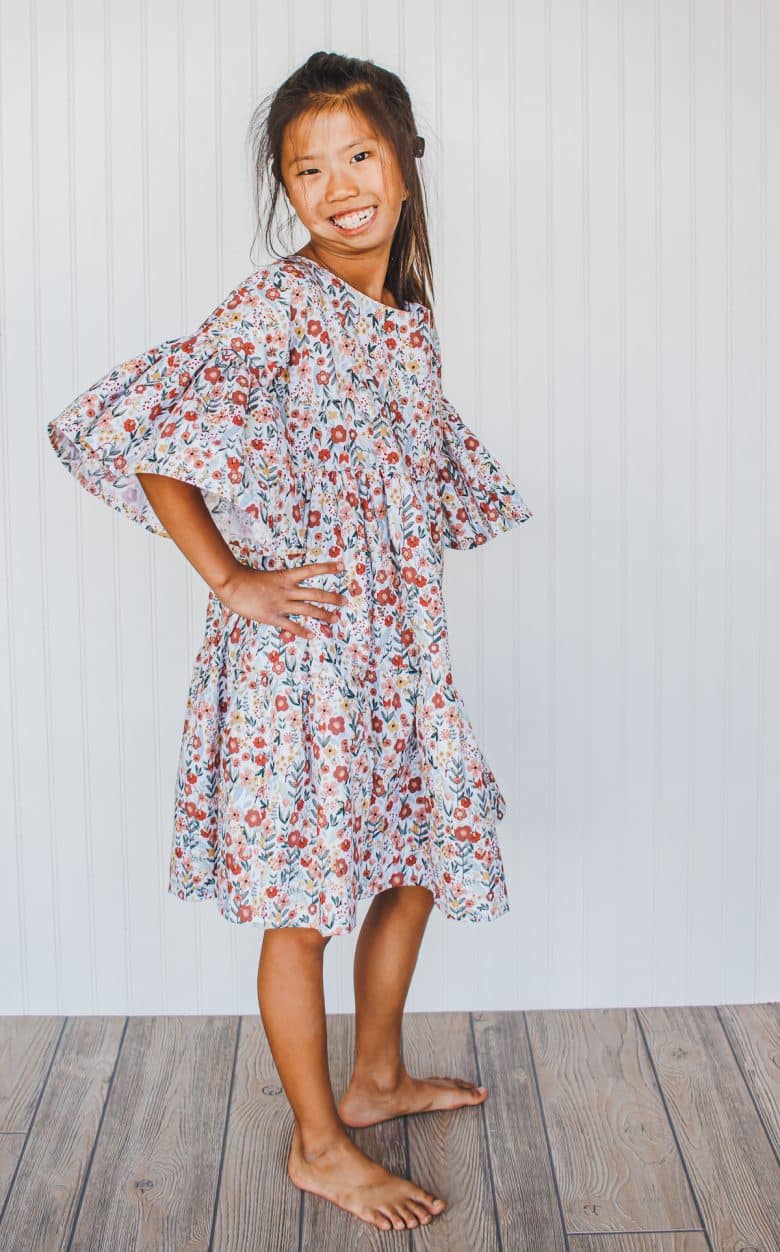
I sewed my version of this dress from a rayon challis {and it’s so light and beautiful} For Rose’s version I just used quilting cotton {I wanted to see how it worked}. The dress is great, but of course it’s not quite as light and flowing as the dress from lighter fabric. I could recommend either.
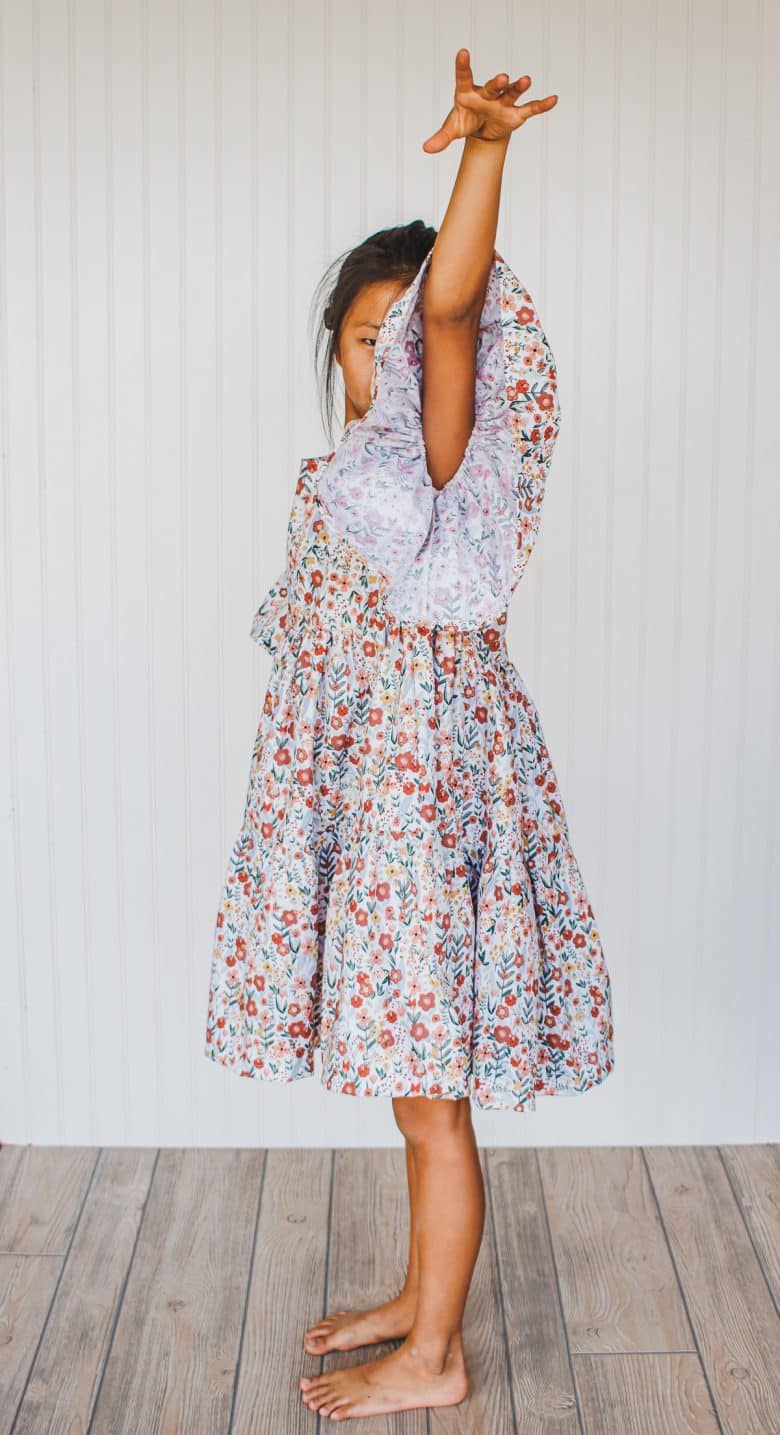
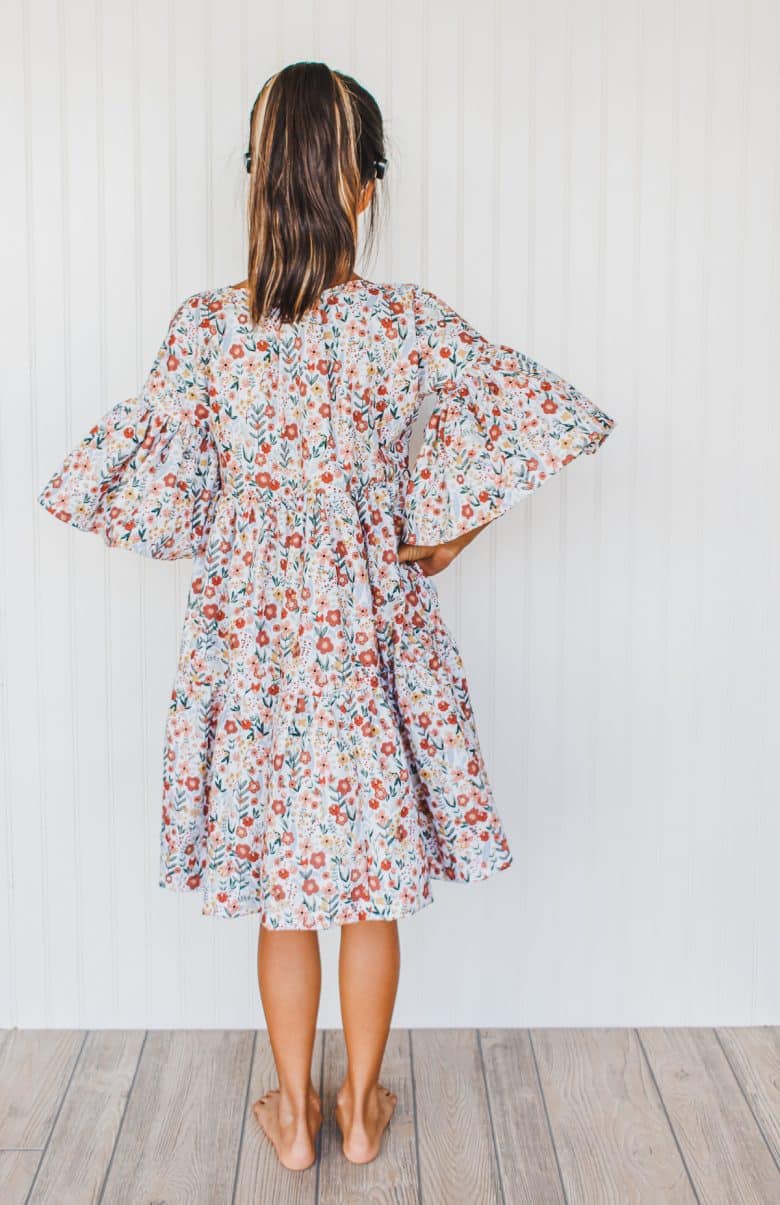
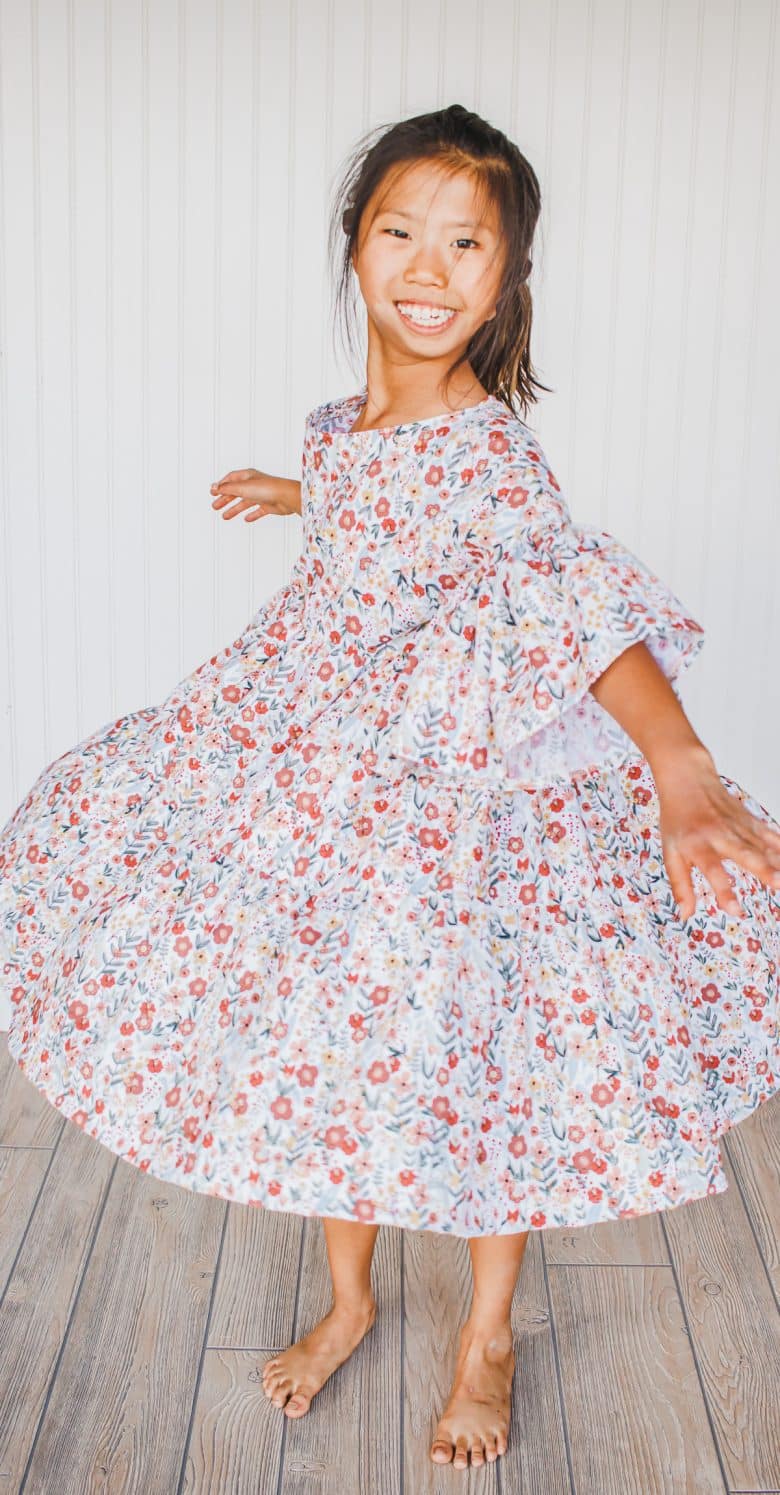
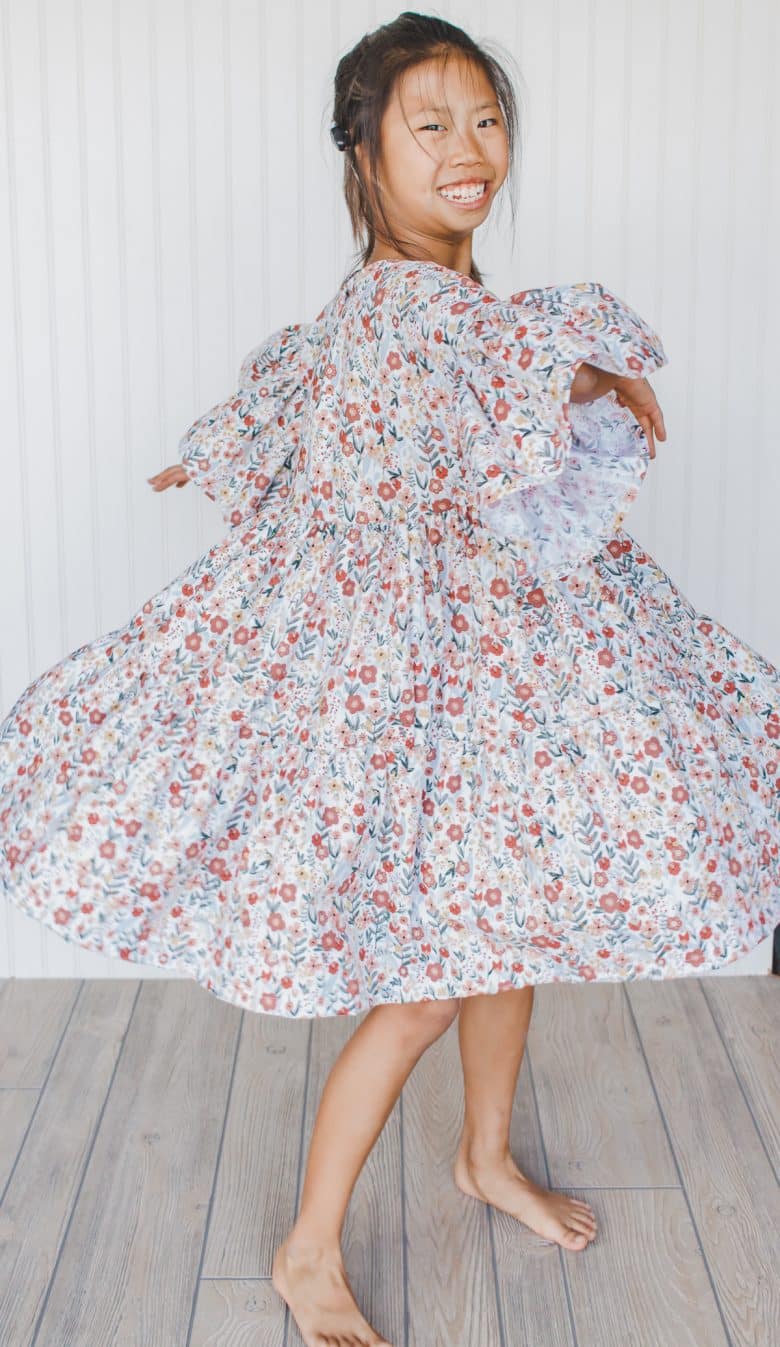
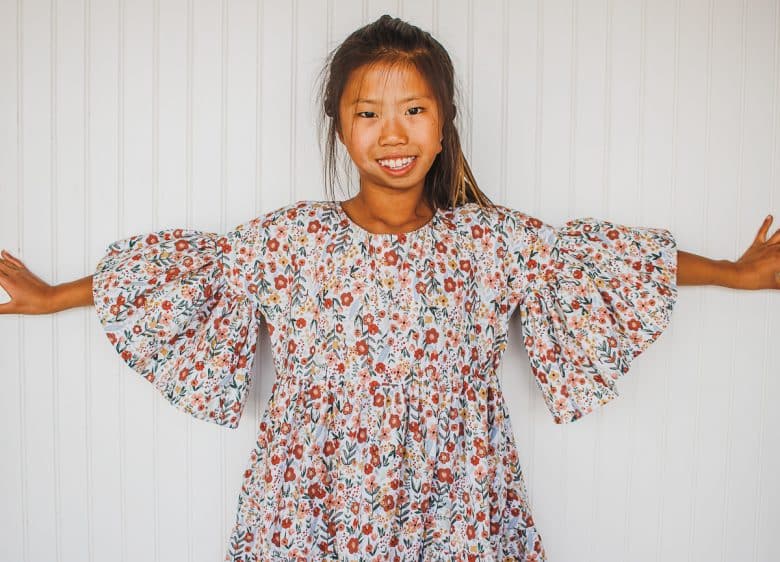
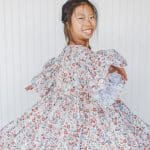
Even with the heavier fabric, the dress is still perfect for twirling. This skirt has two tiers which makes the skirt even more full.
More crop top hacks –
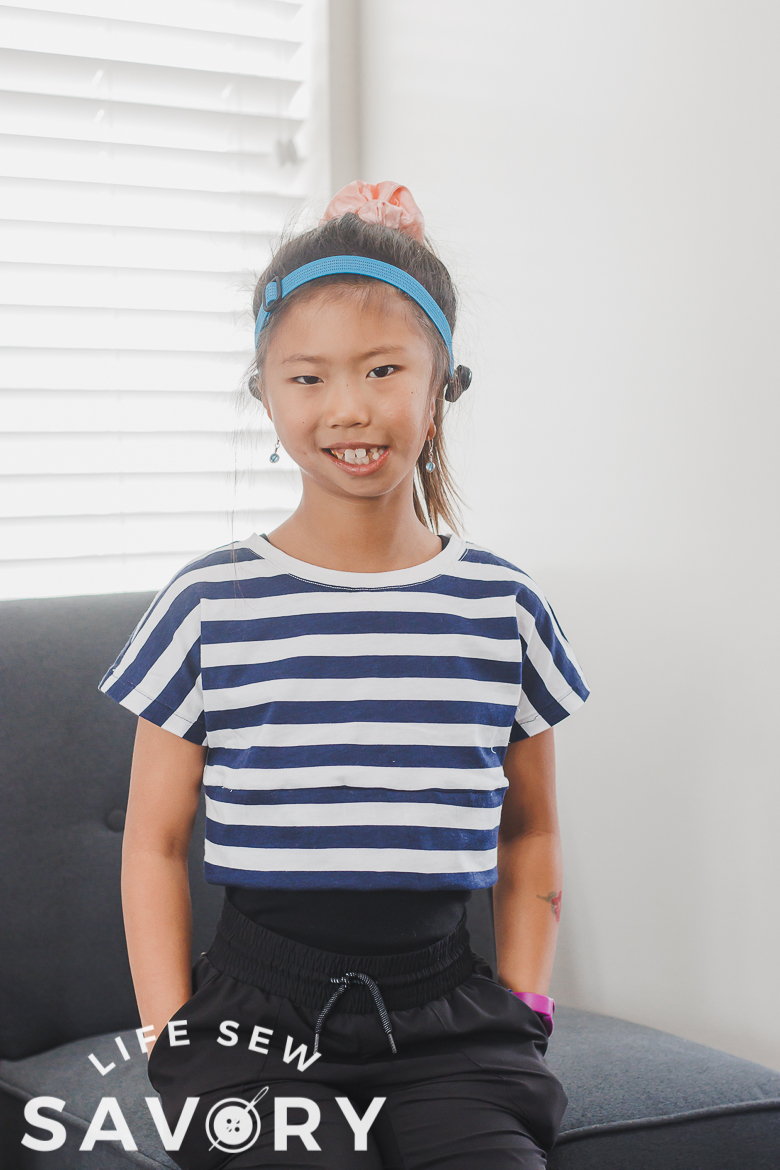
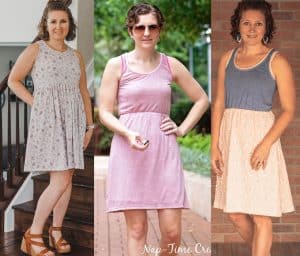
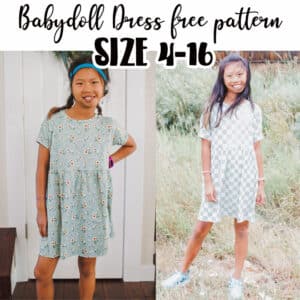
Since releasing this pattern I have use the same top {the crop pattern} to make a few more looks. Check out these… Basic Crop Top, Easy Sweatshirt Hack, Peplum Top Hack, Gathered Sleeve Sweatshirt top and dress, Ruffled Dress {with woven fabric}, BabyDoll Dress, Ruffled knit dress/top
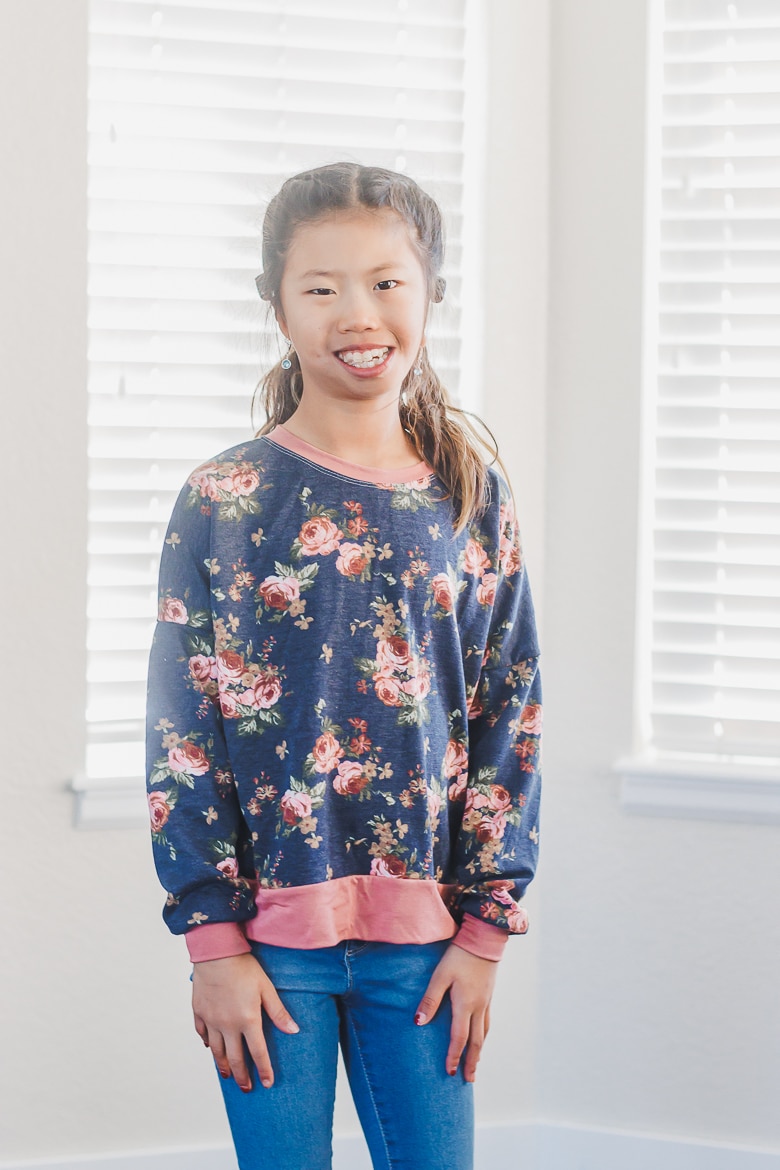
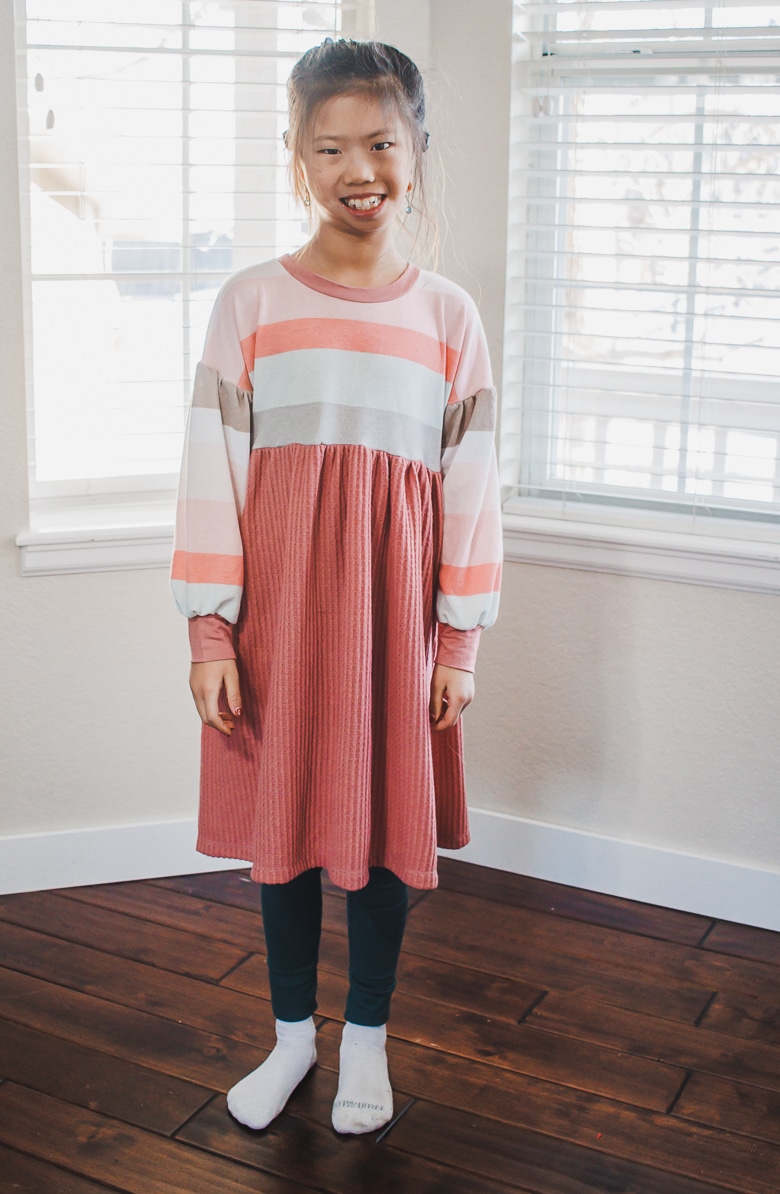

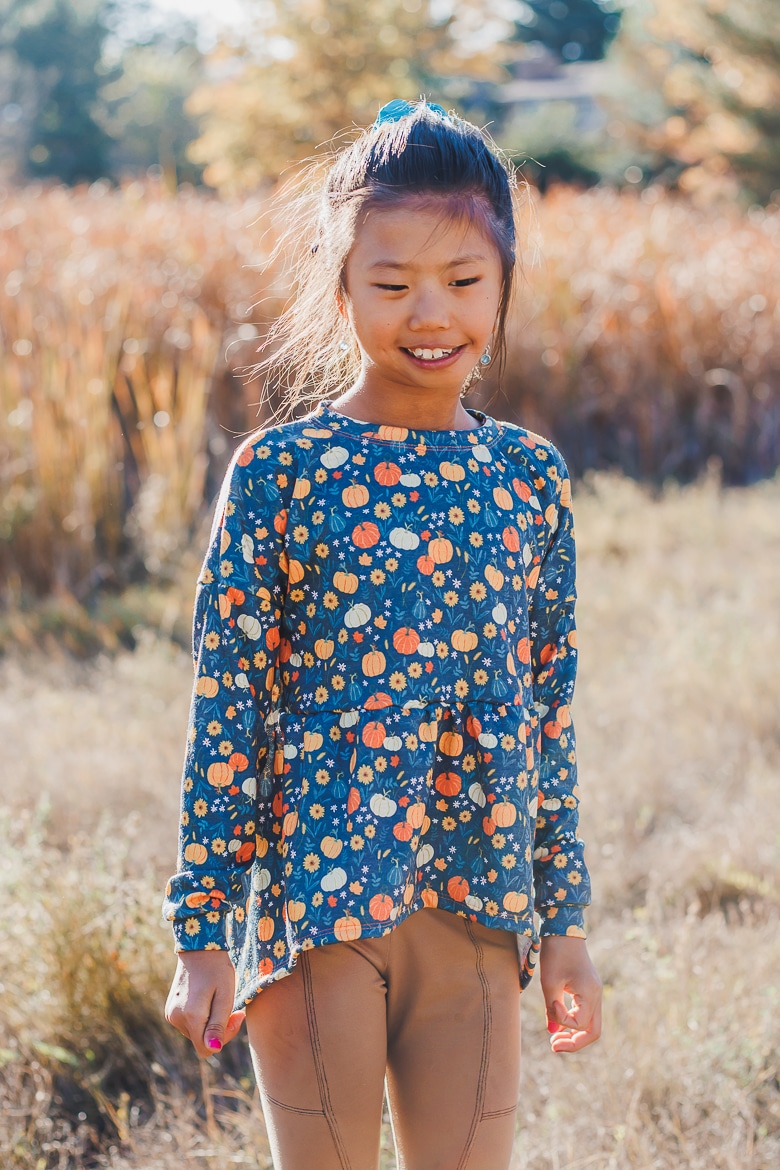
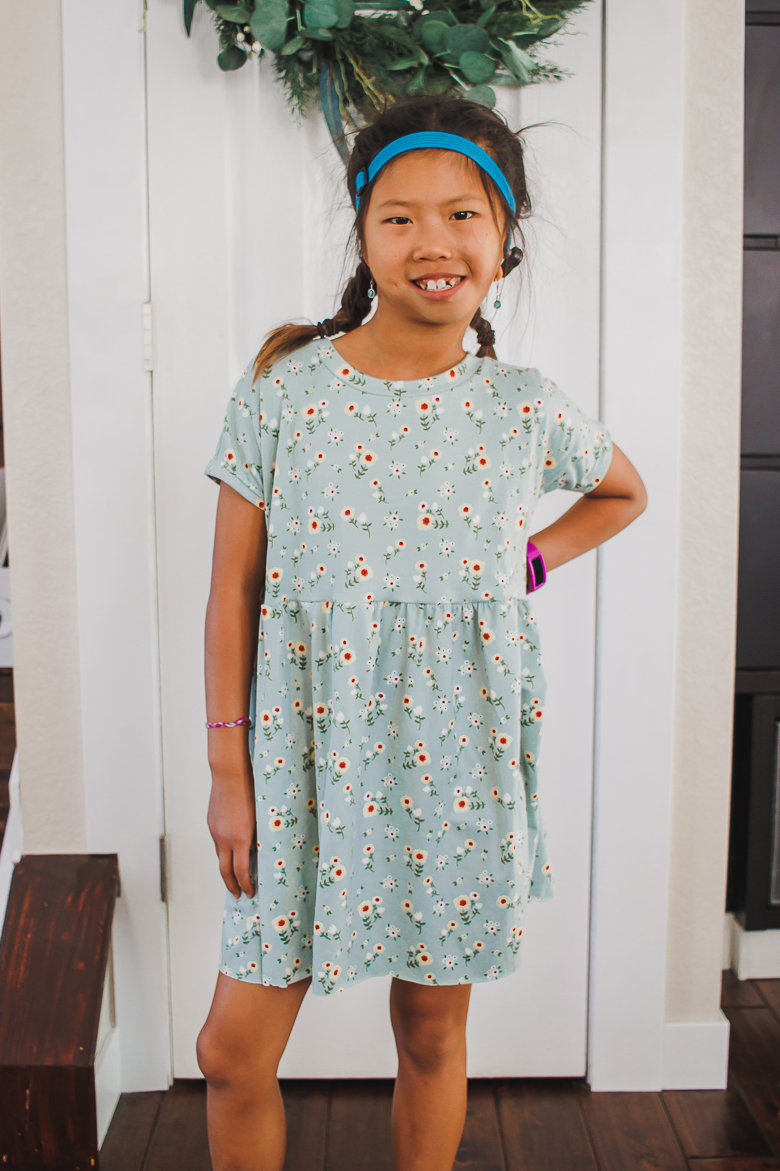
Other free dresses to sew
- A line Dress Pattern
- The Rosie Dress
- Sew Simple Dress
- Daddys Shirt dress
- Twirly Dress
- Tiered Skirt Shirt dress
How to sew a dress with ruffles
Ok! Let’s get into the details. For this size 8 I used 3 yards of quilting cotton. For a single skirt you could use a bit less fabric. The pattern I used as the base was the free babydoll style dress. Any drop shoulder style top should work though.
The original pattern was designed for knit fabric, so the biggest adjustment to this dress is to create a neck facing instead of the original neck band. I just posted a detailed tutorial on creating a neck facing. If you are comfortable sewing one you can start with that on your own.
Here’s another link to download the free sewing pattern I used as the base. The download is just the top part of this dress, we will create the sleeves and skirt. Sew the shoulder seams and add a neck facing. Once that is finished we will begin with the ruffle tutorial.
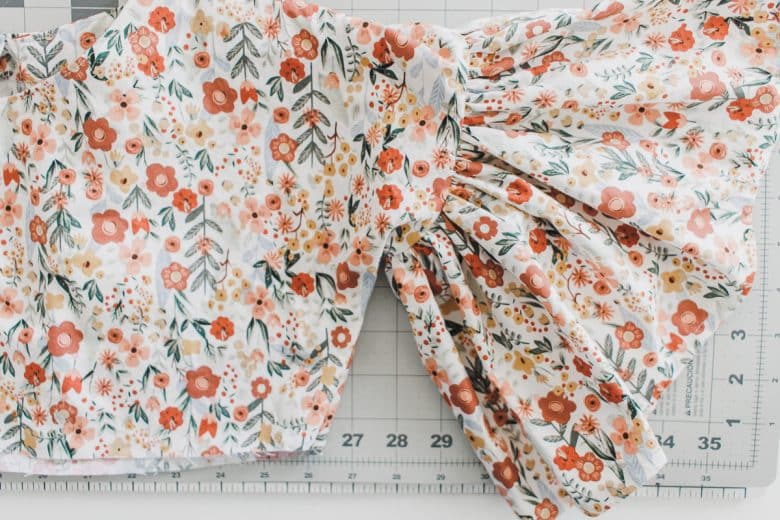
Open up the shoulders so you can see the length and cut a ruffle double that length. My ruffle is 8″ long {but you can have your sleeve be as long or as short as you like.} Sew two gathering stitching along the top edge of the sleeve. Need help with gathering? check out my tutorial on gathering here.
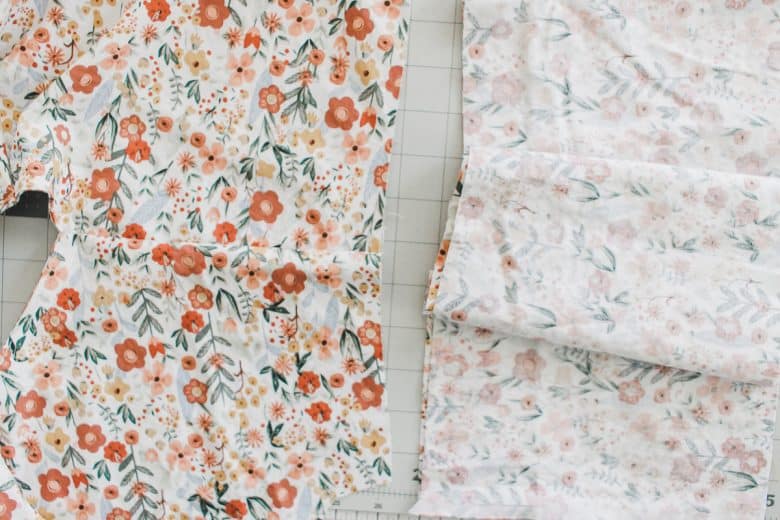
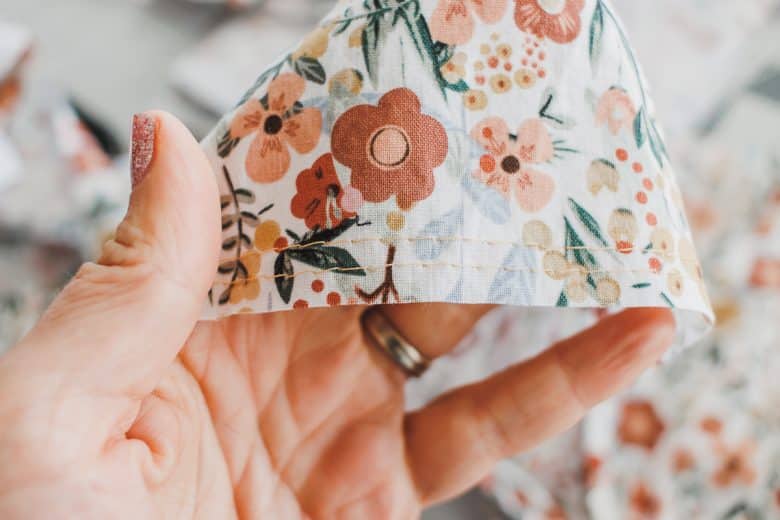
Gather the sleeve to match the shoulder width. Pin or clip the sleeve to the shoulder then sew. I used my serger so that the woven fabric wouldn’t fray.
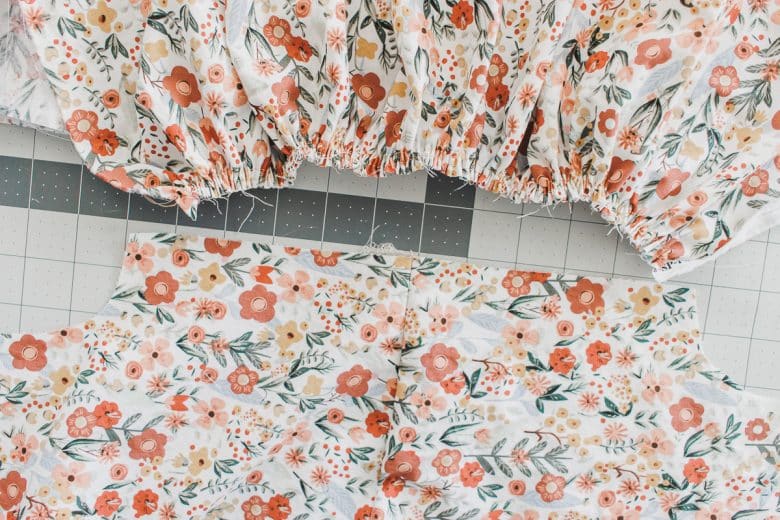
After you sew the sleeve, flip it open to see the gathers. Repeat with the other sleeve.
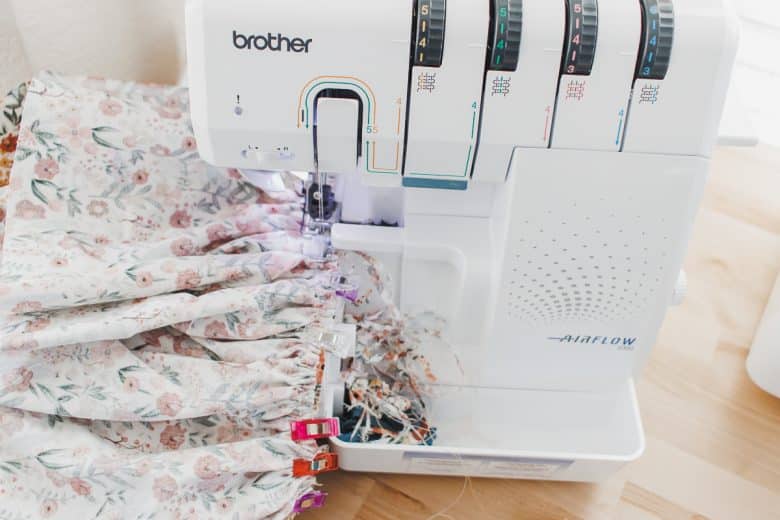
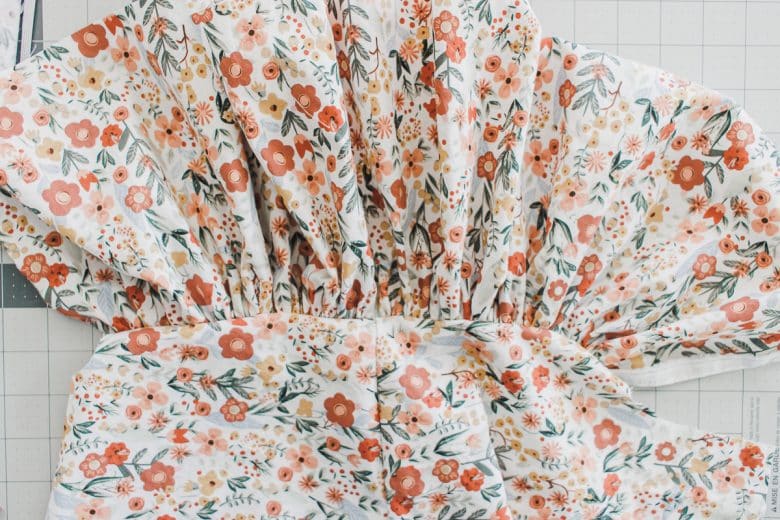
Finish the raw edge of the sleeves. I used my serger, but you can also use a zig-zag on your sewing machine. With right sides together sew the side seam.
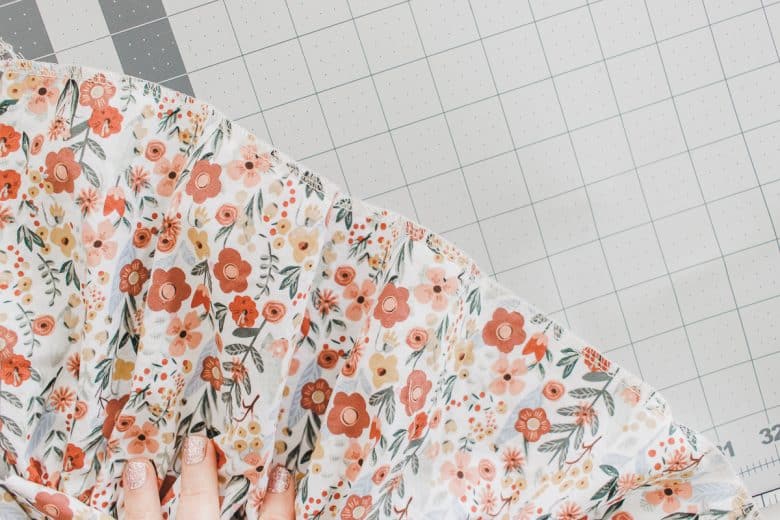
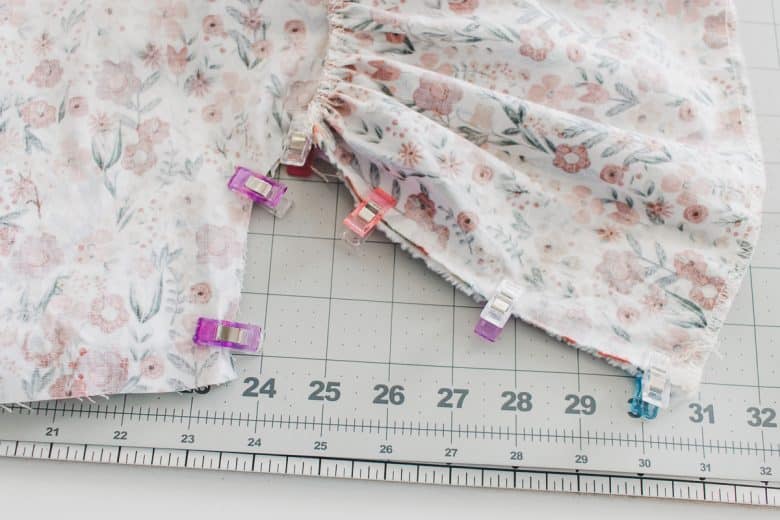
Fold under a 1/3″ hem and sew the edge of the sleeve. I love the look of the full ruffle sleeve.
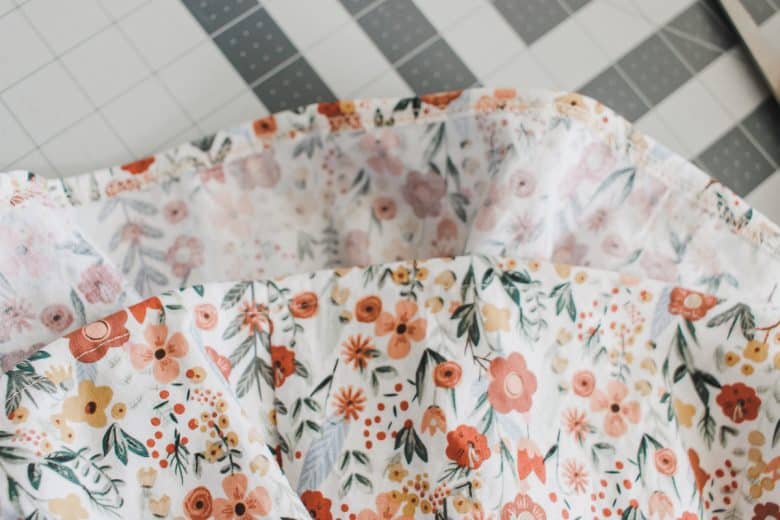
Time to create the skirt. You can cut just a single long length or create to tiers. Here’s a tutorial for creating a tiered skirt. This cotton fabric is only 44″ wide, so for for the top tier I cut TWO widths of fabric. For the second tier I cut THREE widths of fabric. My top tier is 10″ and the bottom one is 13″. Adjust these lengths to your child. If you have wider fabric you won’t need as many strips either. If you want a single layer skirt I would cut TWO widths of fabric the length you want your skirt.
Sew the pieces of fabric together to form a circle.
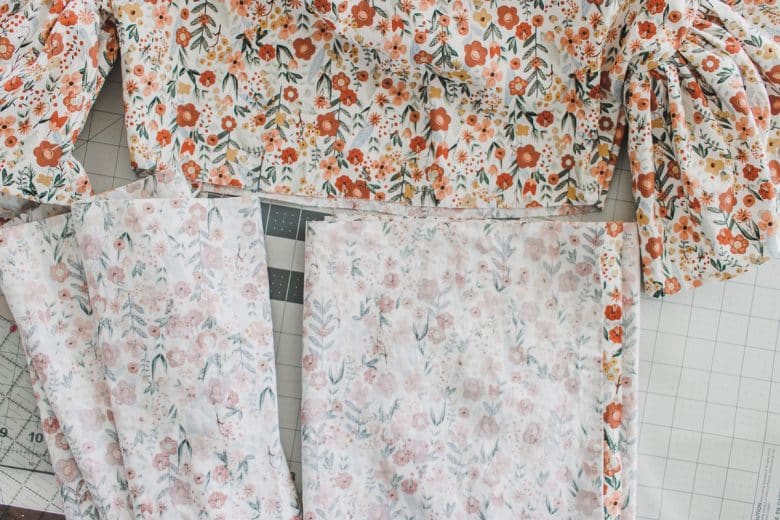
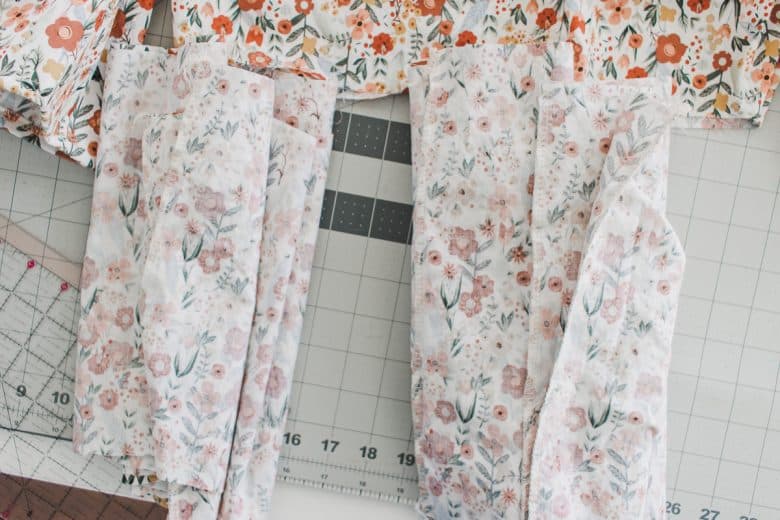
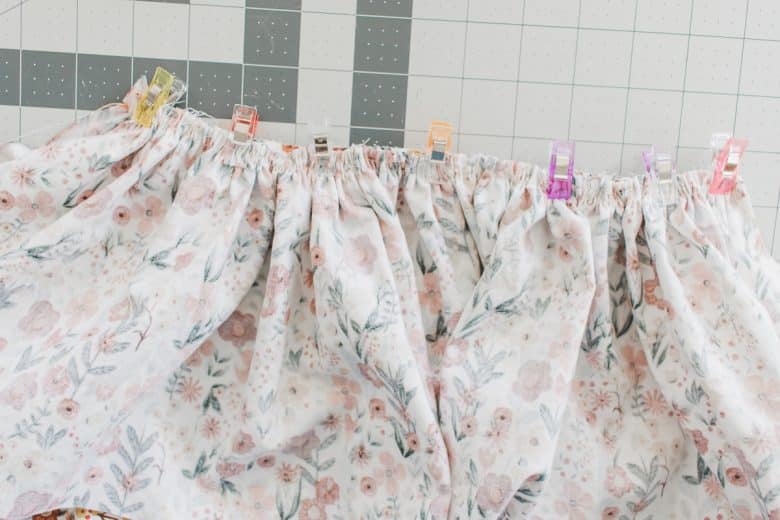
Gather the top tier of the skirt to match the top. Pin or clip the skirt to the top and sew.
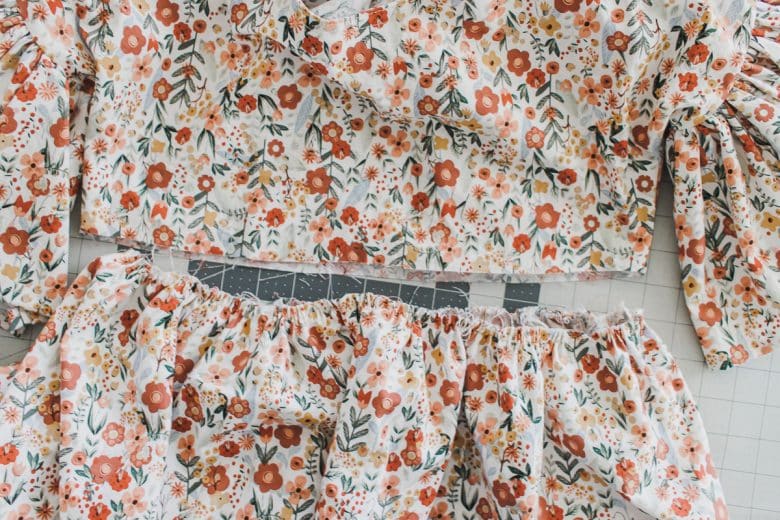
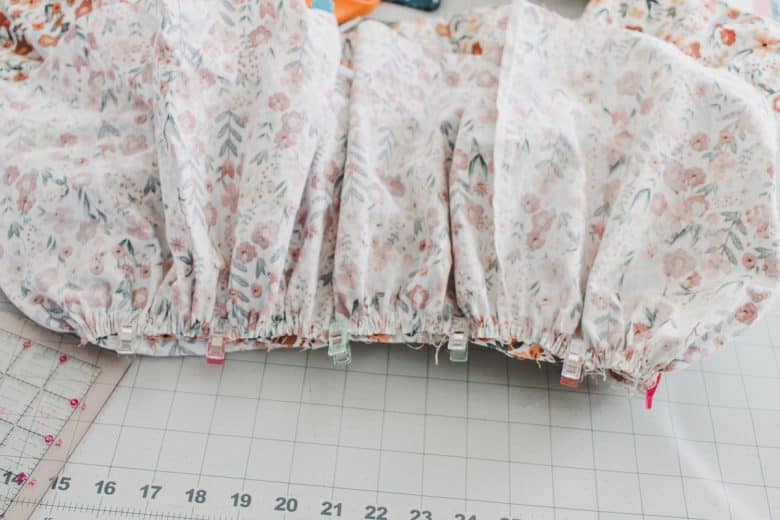
Now the skirt is attached to the dress top. Gather the second tier to be the width of the first and then pin or clip it to the bottom.
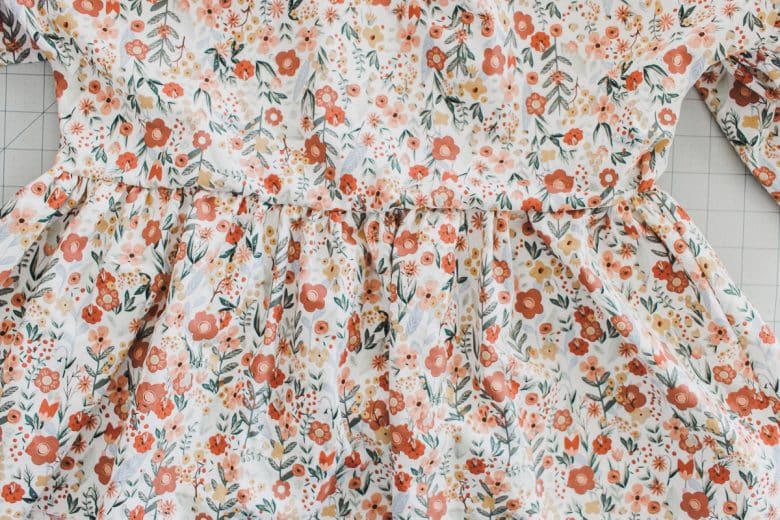
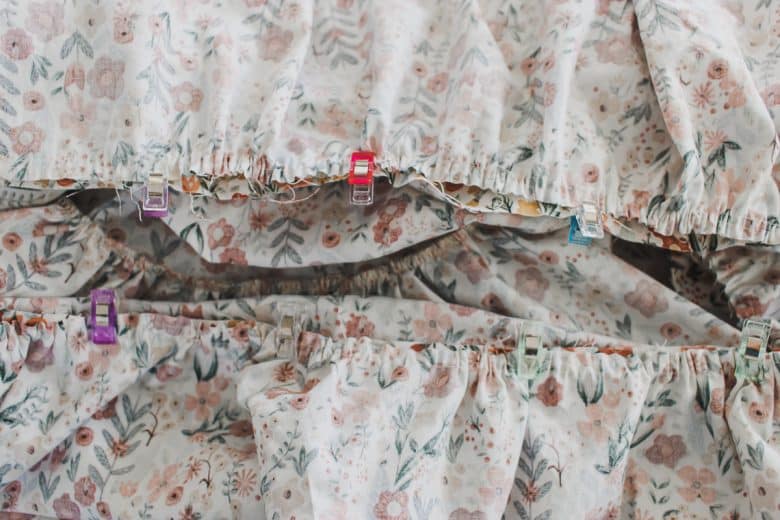
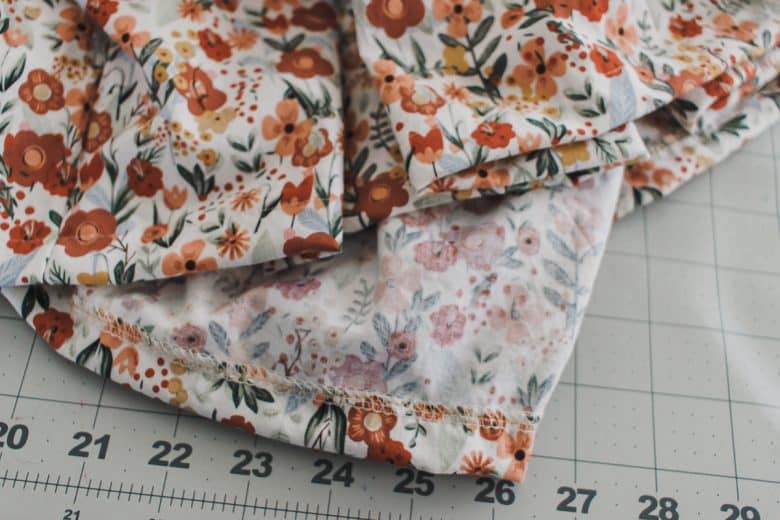
Sew in place. Finish the bottom of the dress with a serger or zig-zag so it doesn’t fray. You could always fold over 1/4″ and then a 1/2″ for the hem as well.
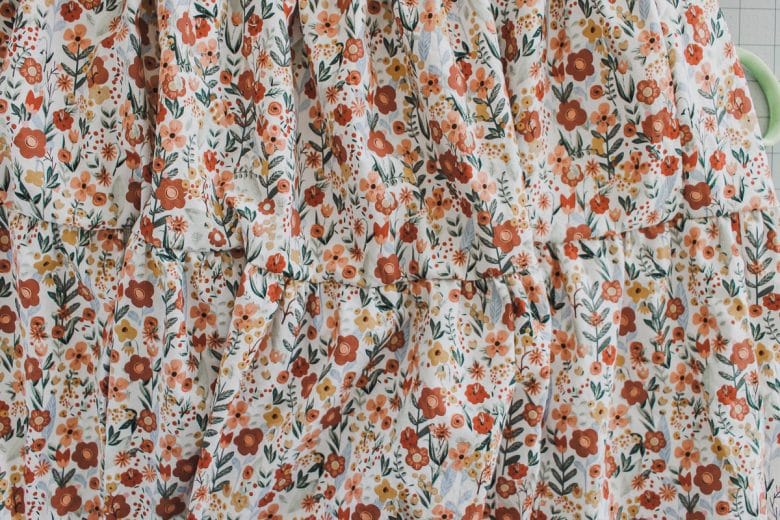
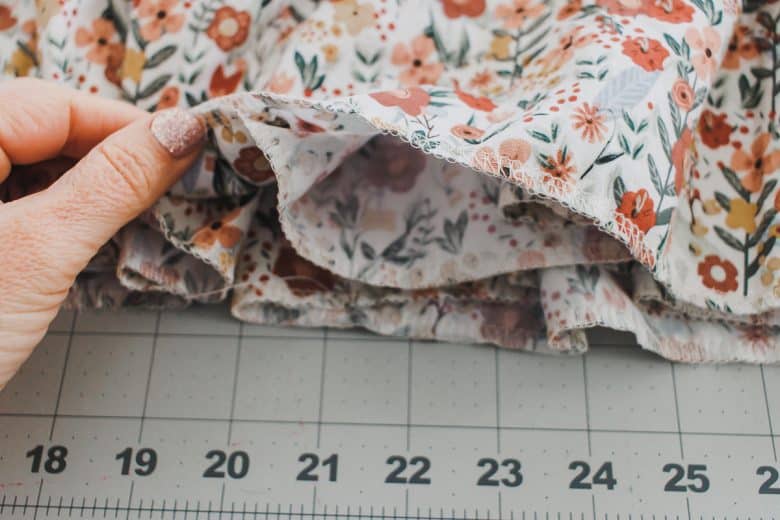
After finishing the bottom of skirt I folded over a 1/2″ hem. So cute right?? I need to make another with rayon challis, but until then Rose loves this version and it’s easy to get cotton fabric.





roller baller says
The designs of the shirts are much more refreshing than I thought. I love the polka dot floral patterns.