
inside: use this art bag sewing tutorial to create a fun bag for kids. Give the gift of creativity with this bag and easy sewing tutorial. Makes a wonderful holiday sewing project and gift.
**Updated 11/22**
I’ve got a fun art bag sewing tutorial to share today. Perfect for keeping you busy during the winter months and a great gift, this art bag is a fun sewing project that’s easy to make. I’ve got all the details for making this fun art bag. My daughter carries a bag like this in the car for times she needs a distraction and these also make amazing gifts.
Art Bag Sewing Tutorial
I’ve sewn several versions of these art bags now and each one makes just such a great gift! My latest version is made from fabric that benefits St Jude Hospitals and I love a good cause for kids. Plus, this art bag makes a great gift for kids in the hospital as well as the sale raising money.
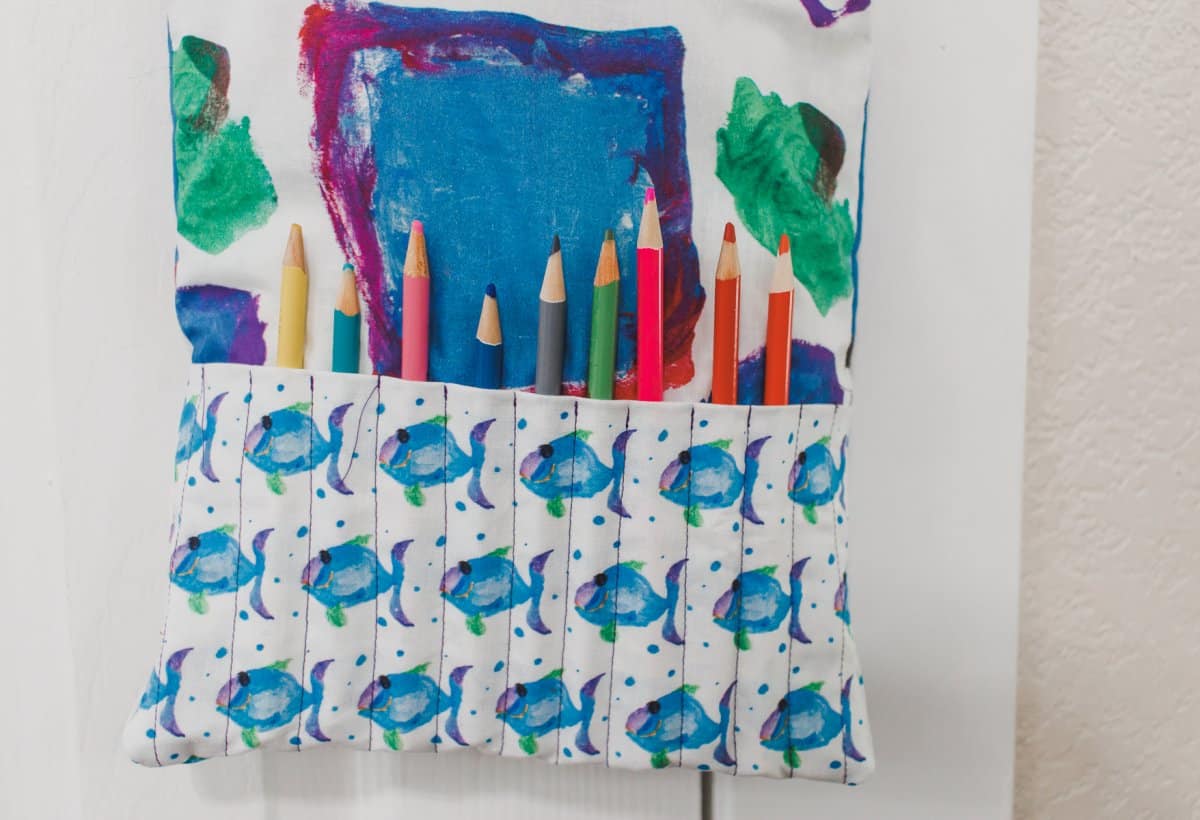
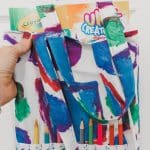
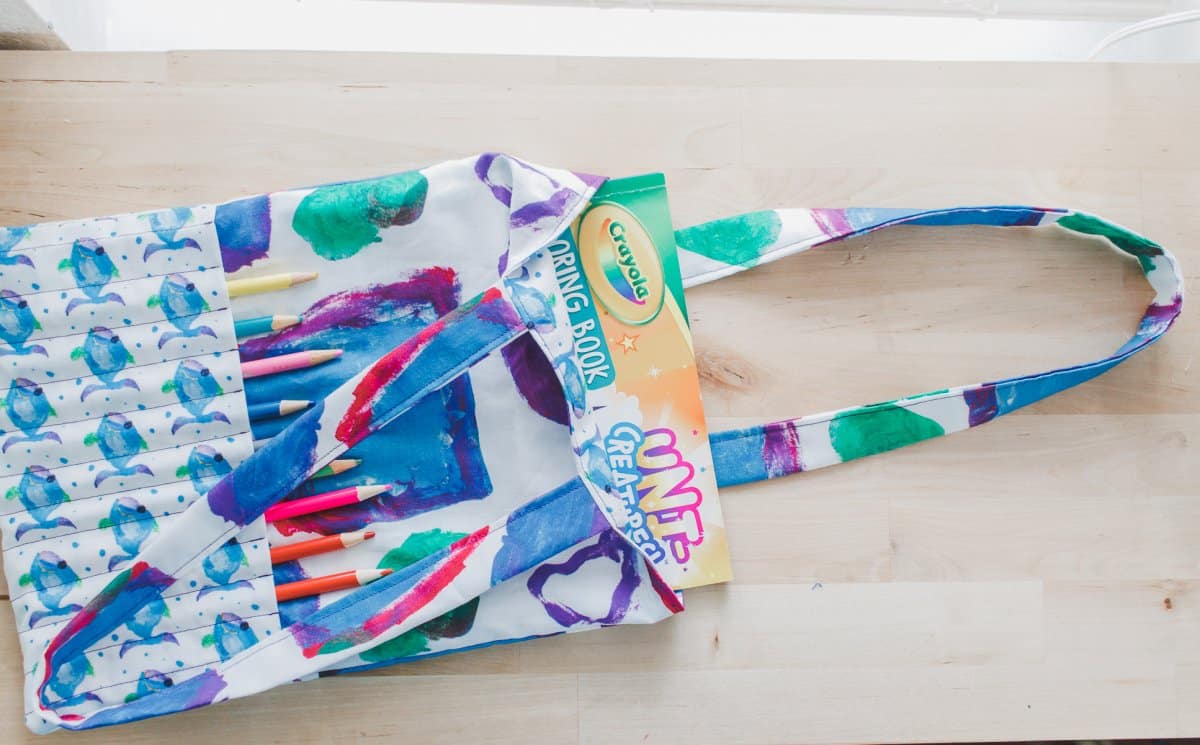
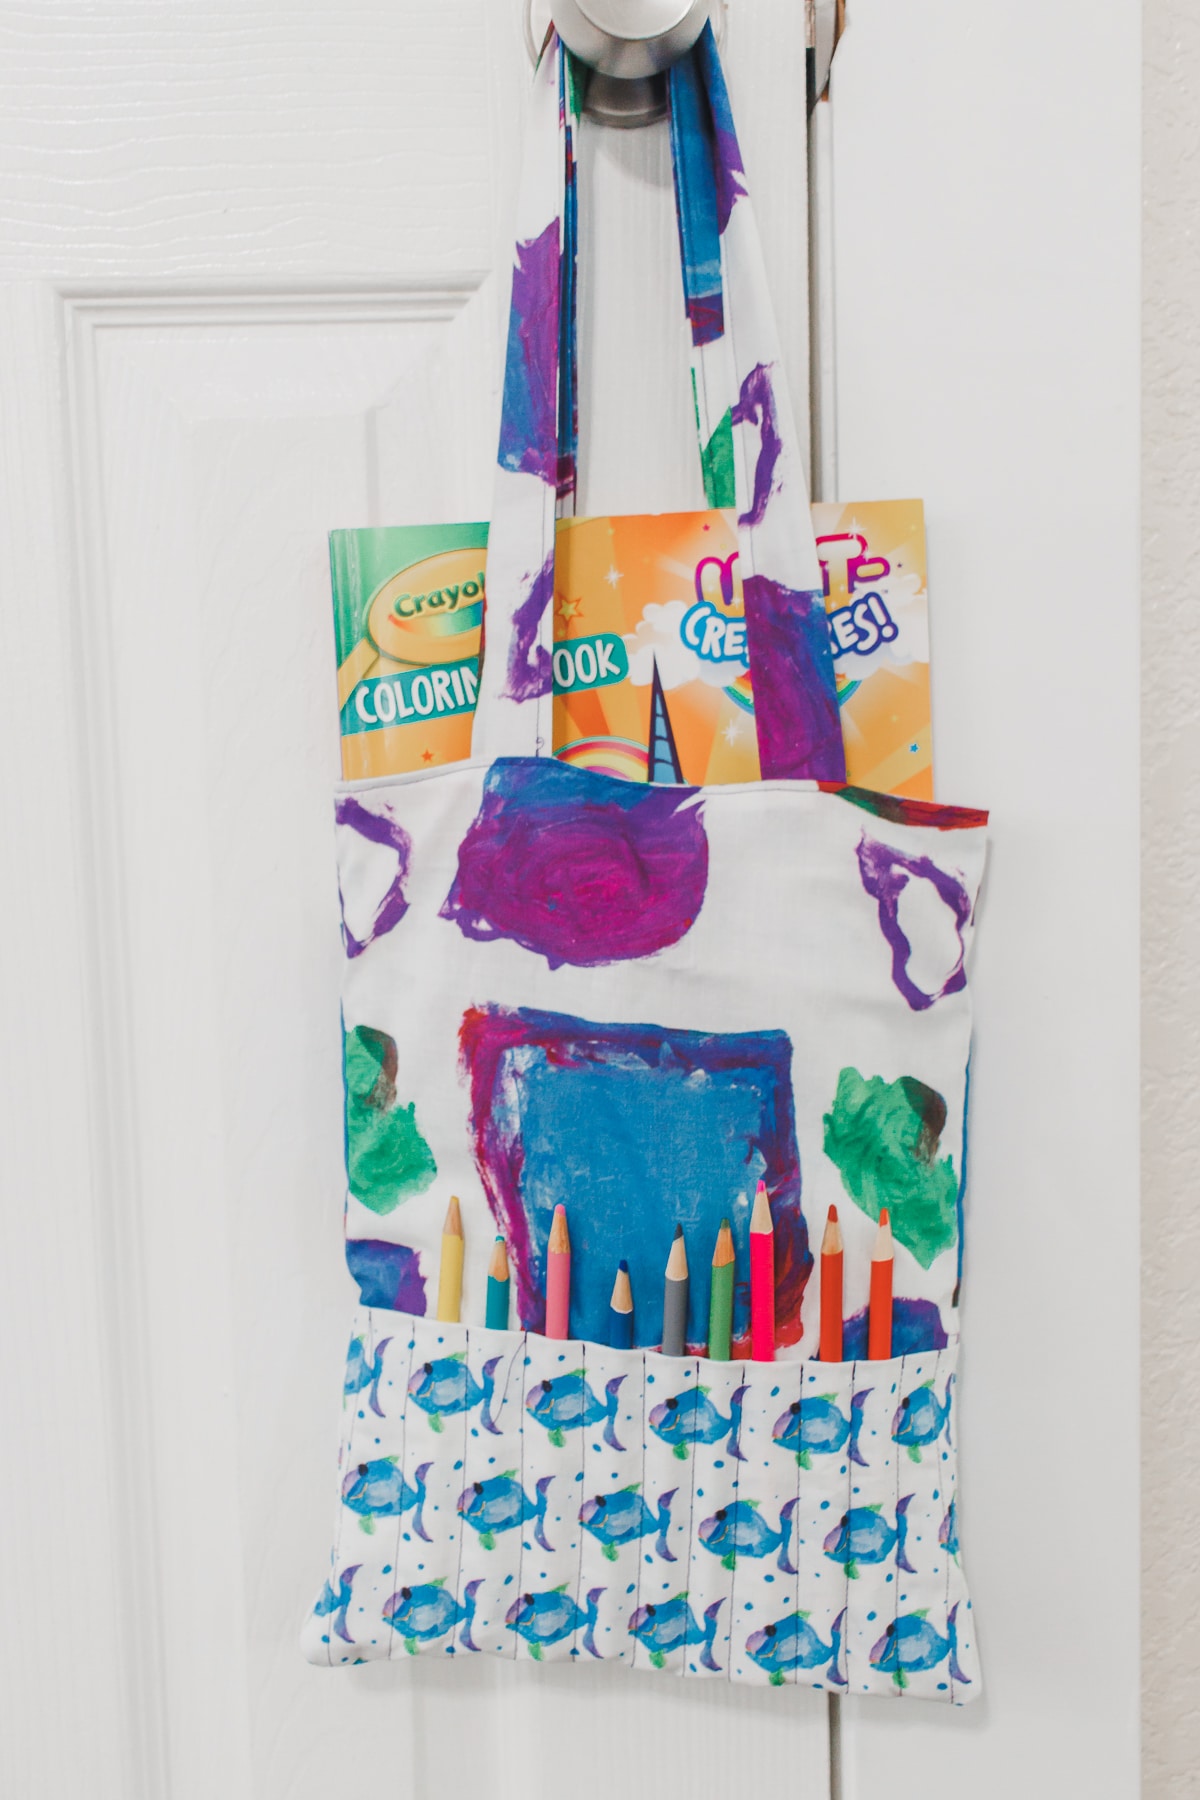
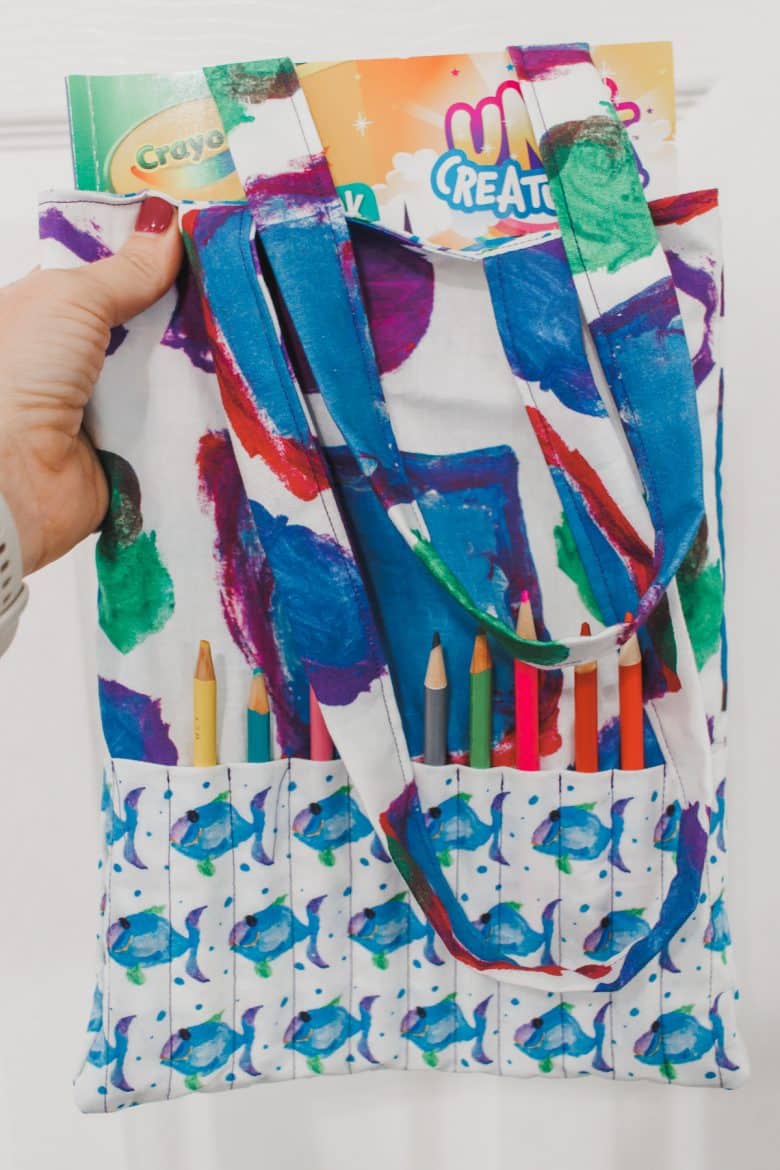
Each art bag is large enough for a coloring book to be carried inside and lots of pencils/markers to be stored on the outside. Before you sew you can decide what kind of colors you are including and make your bag custom to fit the crayons/makers/pencils.
Other great projects to sew for kids
- Messenger style bag
- Ring Binder Pencil Case
- Kids Toiletry bag
- Kids adventure bag
- Kids travel toothbrush roll
Supplies for art bag –
Okay, let’s make an art bag to carry all those fun coloring supplies.
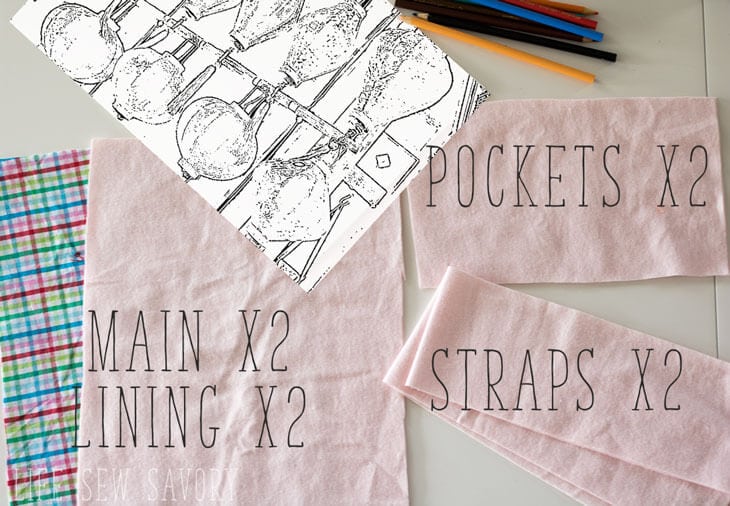
- One yard of fabric will be enough to make this bag, or a 1/2″ yard each of 2 fabrics.
- You will need to cut the main bag {in inches} 10 x 13 {cut 4},
- pockets 10 x 6 {cut 2} and
- straps 4 x 22 {cut 2}.
- Optional is fusible fleece to make your bag a bit more structured.
Begin by finishing the top edge of the side pockets with a narrow hem, then align the sides and the bottom of the pocket with one main bag piece.
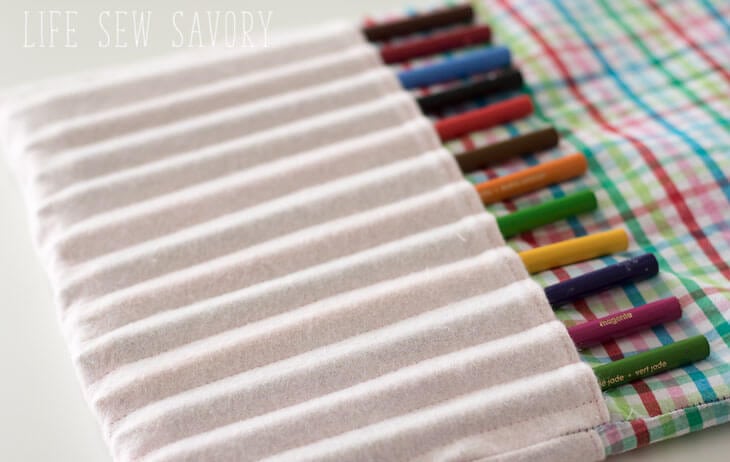
Mark 1/2″ from either side for seam allowance. For colored pencils you need .75″ for each pencil, for markers you will have to make your slots a bit wider. Mark where each line will be.
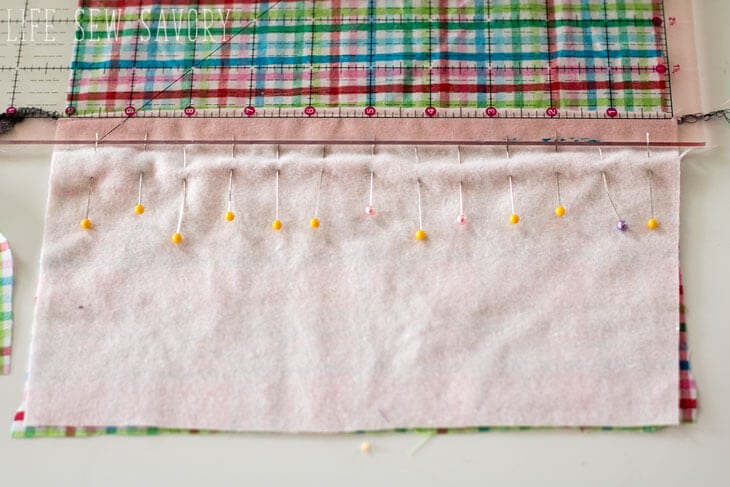
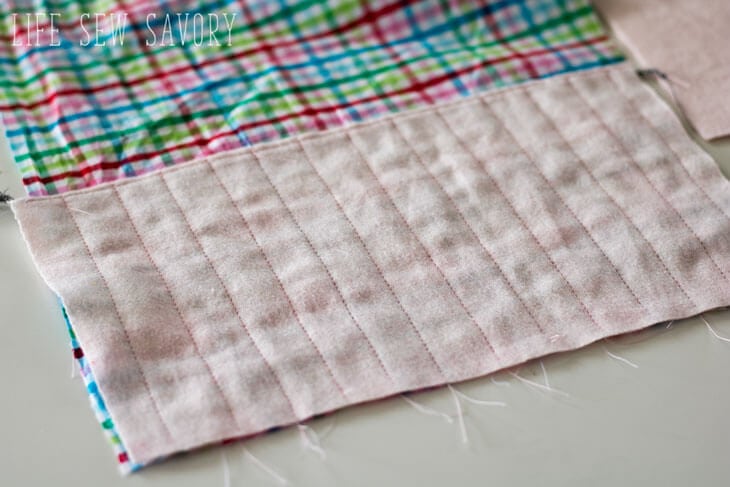
Sew from the top of the pocket to the bottom of the pocket to create slots for each pencil. Do the same on the other side of the main bag.
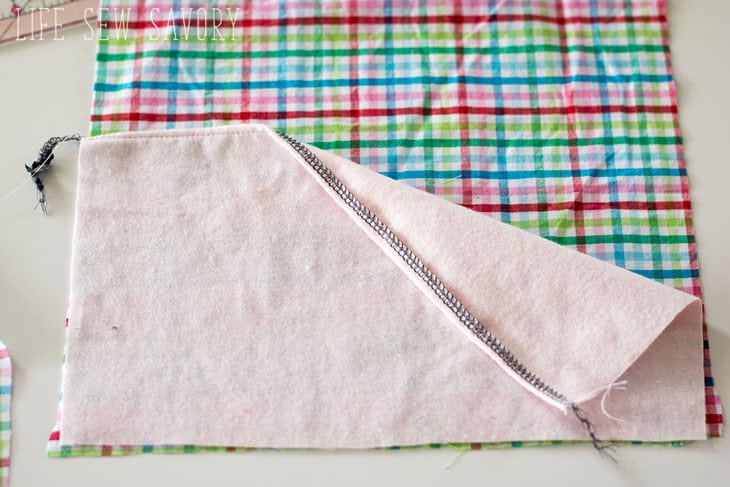
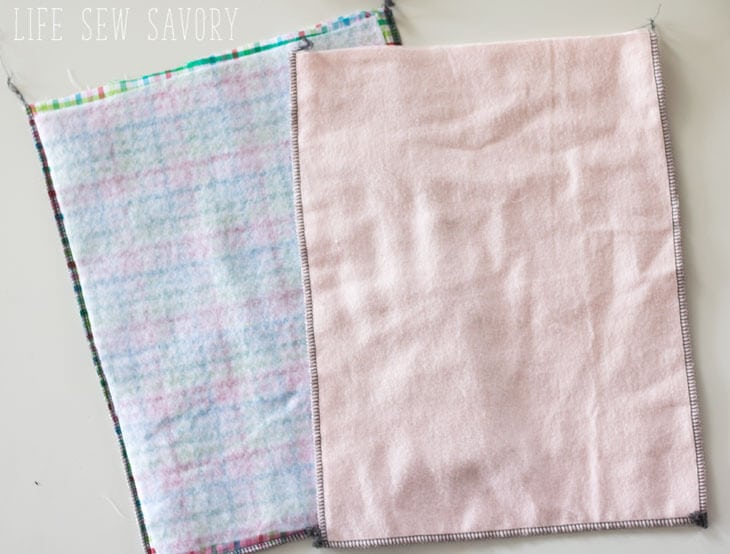
On the back sides of those main bag sides you can iron on the fusible fleece if you want. Cut 1/2″ smaller than the fabric so you won’t sew on the fleece. This will make turning the bag much easier.
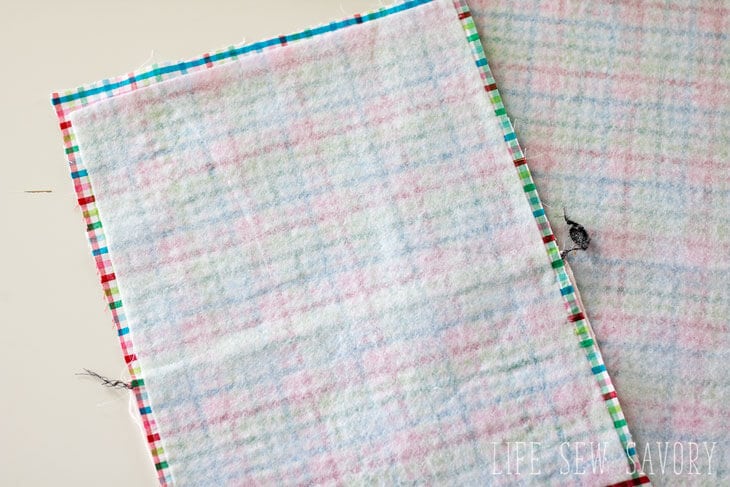
Sew the bag lining and the bag main on three sides, leaving the top open.
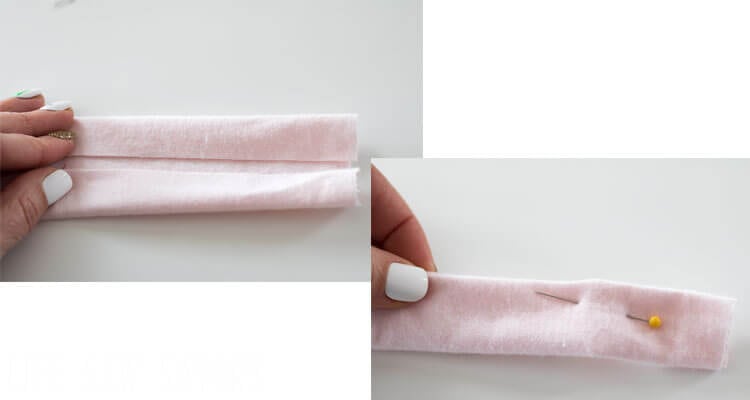
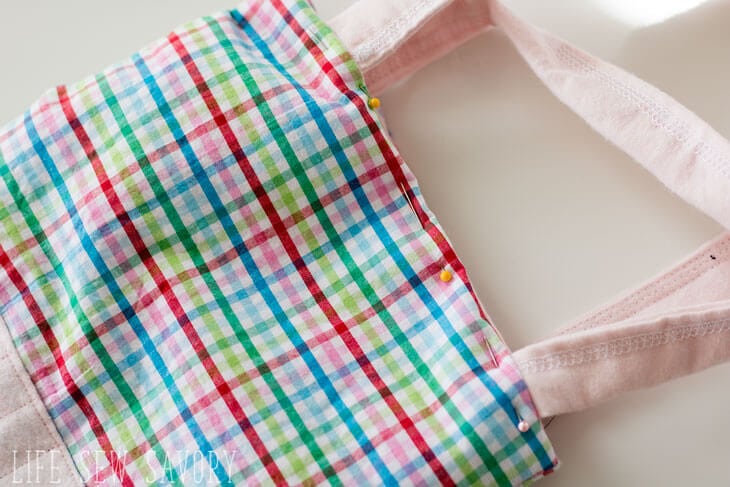
Fold the long edges of each strap towards the center, then fold again and pin. This will encase the edges and create a strap. Do this for both straps.
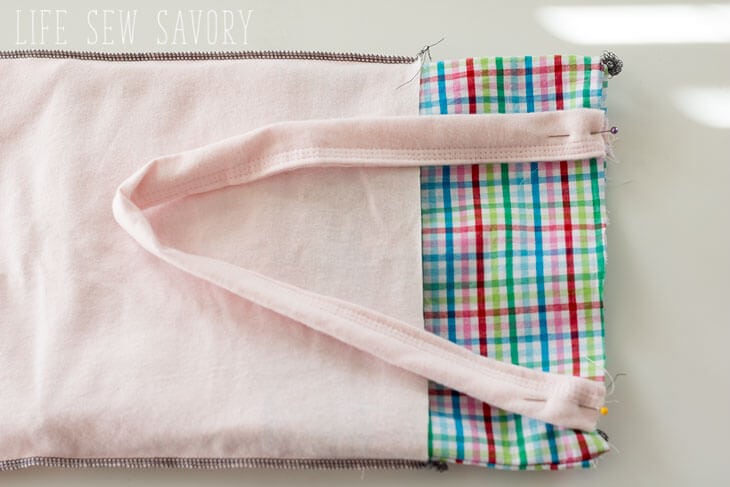
Turn the main bag right side out and pin the straps 1″ from each side seam on both the front and back. Slide the main bag inside the lining and tuck the straps in as well.
Line up the top raw edges and pin around.
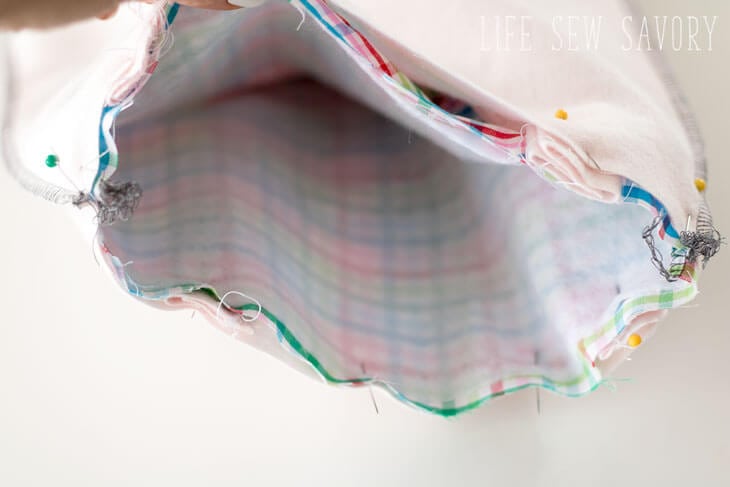
Sew around and leave at least a 4″ opening to turn.
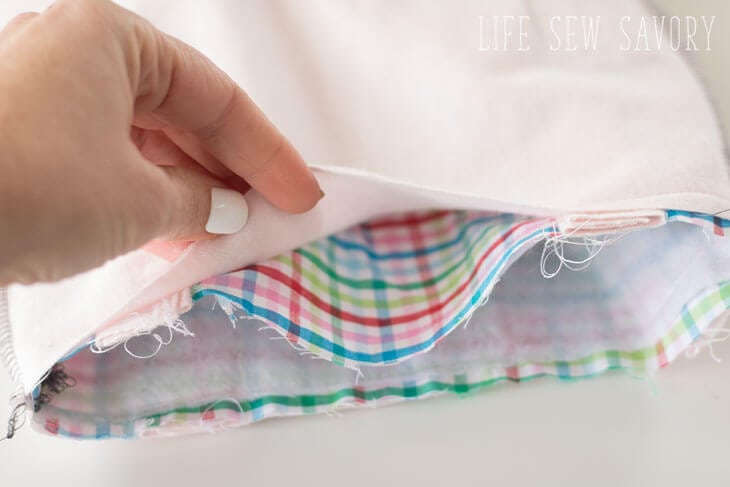
Turn the bag right side out and close the opening with pins. Pin all the way around the top of the bag and top-stitch 1/8″ from the top to secure the top of the bag. AND… you are finished!
Slide in your art supplies and coloring book and get ready to have some coloring fun!
There you go! A super neat art bag AND custom coloring pages. Use for yourself or as a gift for a creative friend.


Tammy says
This is just adorable. I love this idea for the kids to have to carry around.
Emily says
thanks!
Leanne @ Healthful Pursuit says
Love that I can personalize! I can finally use my left over cloths from my other projects – thanks for the ideas!
Sinea says
Oooh. Had to stop by and see this when I saw it on #WWBlogHop! I love to color and I absolutely ADORE this art bag!
Victoria @DazzleWhileFrazzled says
Cute bag! Now if only I could get my kids to pick up their crayons to put into such an organized tote bag, LOL. Visiting from Creativity Unleashed party.
Shelbee on the Edge says
Very cute art bag and those coloring pages are amazing! My kids would love that!
Thanks so much for joining my Link Up On the Edge!
Shelbee
http://www.shelbeeontheedge.com
Olsen-MacKenzie Jessica says
I have finished this report and I definitely need more! I consider myself to be a really picky reader
along with also your job exceeded my expectations.
The previous article I remember to ignite the very same
emotions was http://www.rtjournal.org/how-to-write-a-definition-essay/. Thankyou for
some period well spent. Keep writing!
Wendy says
I love this bag. Great idea for my granddaughters to carry their stuff. Where did you get the St judges fabric? I would love to support them in this way.
color by number says
I love that I can customize it! I can now utilize my leftover textiles from previous projects – thanks for the inspiration!
musictor says
I love this bag. Great idea for my granddaughters to carry their stuff. Where did you get the St judges fabric? I would love to support them in this way.
Emily says
The fabric was from Joann fabric a couple years ago