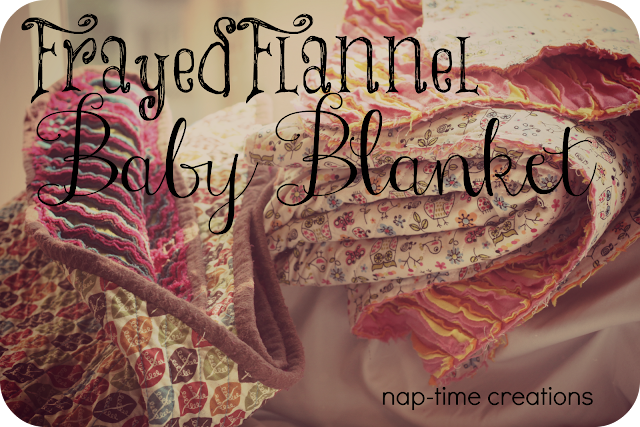
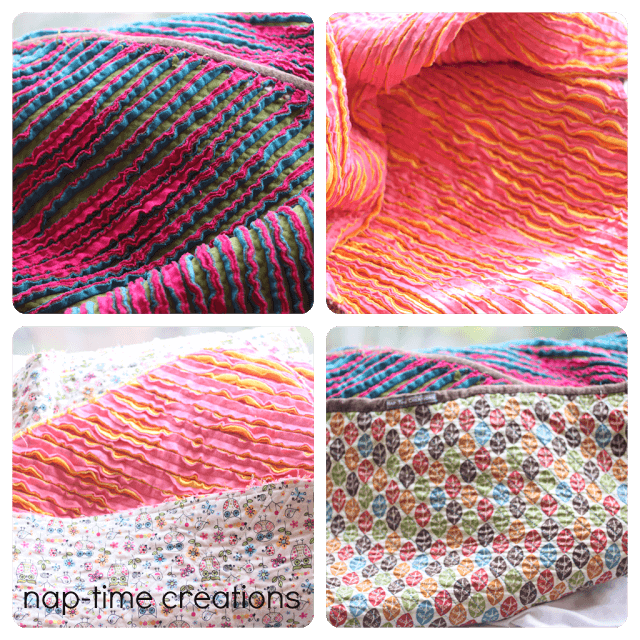
LOTS of people are having babies in our community. So I am busy making baby blankets, which I love to do! I tried a new one recently and think they turned out great! So…..
I will be giving some basic instructions, but if you need more help MADE has a good tutorial too.
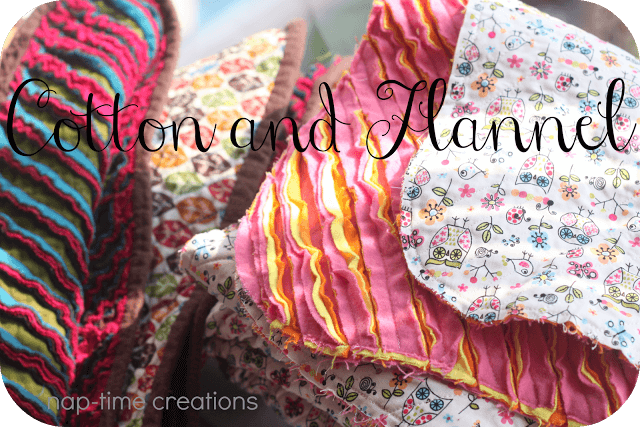
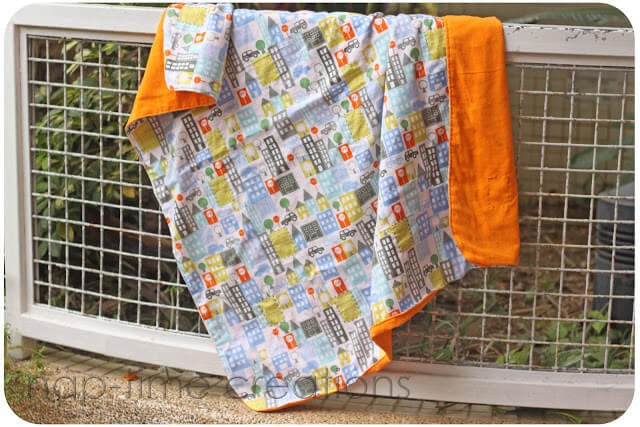
I made mine from one layer of cotton and four of flannel.
I didn’t take photos of every step of the blanket process, but I will be sharing a detailed binding tutorial at the end of this post. Enjoy!
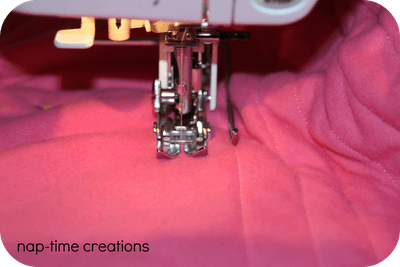
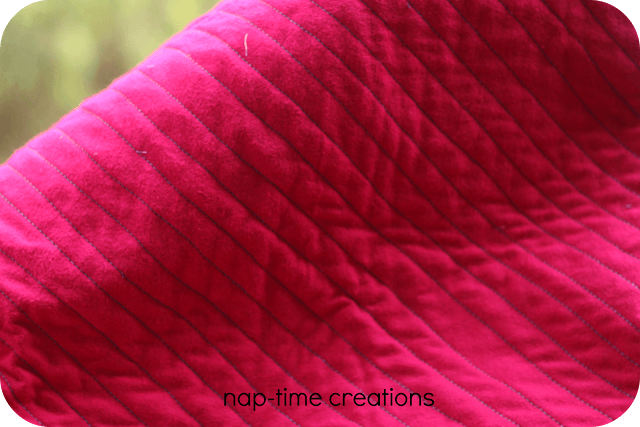
First, you want to decide on the size of your blanket. I made mine square, so used 1 and 1/4 yard of each color. I think this might be a bit big, and if I make more, I will not go quite as big. Lay the print fabric print to the floor first, then layer the flannel next. I put my walking foot on my machine to try and avoid puckers, and it worked well. You want to sew your first seam right down the center diagonal of the fabric, then sew seams on both sides to the corners. I tried to get them about 1/2-3/4 of an inch apart. My walking foot comes with a seam guide, but it was on the wrong side of the foot. It only can go on the right, and I found when I used it, the big bulk of the fabric was on the inside of the machine, so it didn’t work. Back to just eyeballing the lines.
Now you have to cut. I just used scissors and it gave me a couple of blisters, but did the job. I left the top cotton print and ONE layer of flannel uncut. So, I cut through the top three layers of flannel for the fray. It looked like this before I washed it. Wash and dry a couple of times to make it really cozy! Another fabulous frayed flannel quilt is this one.
To begin, cut strips of fabric (I didn’t used the bias, but you can do bias if you have more material) I made them each 2 and 3/4 of an inch wide, you can go wider, but I wouldn’t go much narrower.
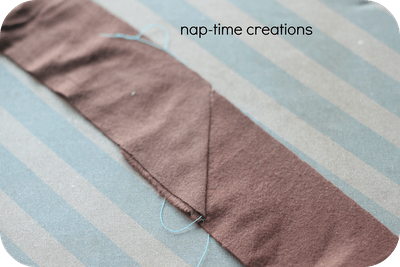
Make sure you have enough that the length will go all the way around your blanket, plus several extra inches. Take two strips and sew them together on the angle, as shown below.
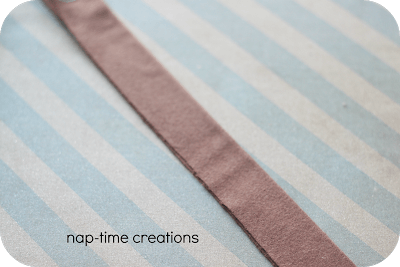
Iron open and trim the extra fabric. (please ignore my ugly ironing board cover.) (perhaps I should be looking up tutorial on recovering your ironing board!).
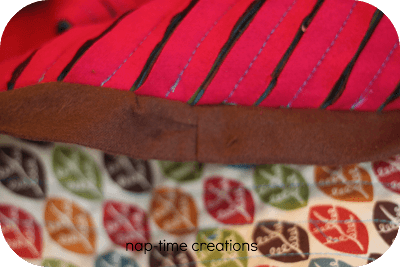
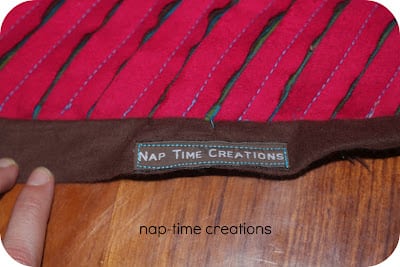
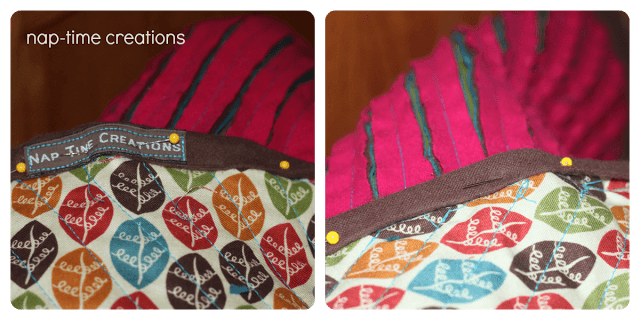
 Pin the raw edge to the BACK SIDE of the quilt. Now, normally when sewing on a binding, you would pin to the top side and then hand sew on the back. But, I wanted to be able to see the cut seams while I was sewing to keep them all straight, so I pinned to the back. Leave around 3-5 inches UNSEWN at either end.
all FINISHED! GO find a baby/toddler to snuggle in your new blanket.

Other posts you may enjoy:














Aimee Aimee says
Thank you for a great explanation. I was looking online for a similar idea and really appreciate it
Custom Embroidery Digitizing