inside: Sew up a few binder pencil pouches with this free sewing pattern and tutorial. Keep supplies handy with a 3 ring binder pencil case. Print the free pattern and get sewing.
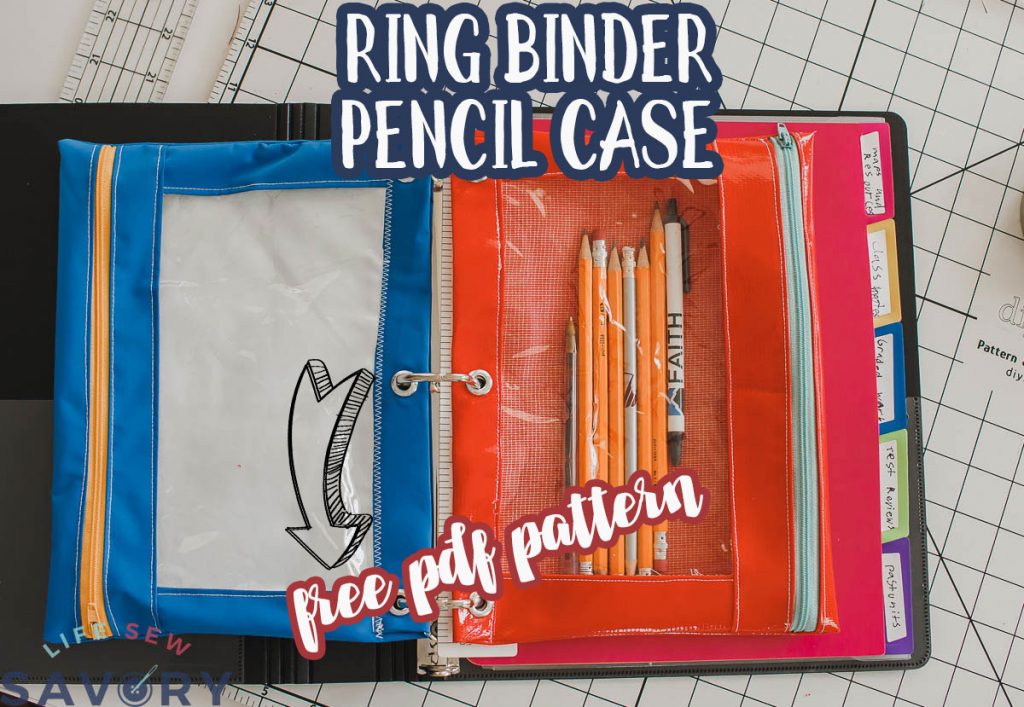
I’ve been in the back to school sewing mode lately. My kids are headed off next week, but I’ve seen lots of back to school photos this week too. Today I’m going to show you how to sew a binder pencil pouch as I’ve found these on all three of my kids back to school supplies list. On the list, use a free pattern, have a mom-made school supplies. Check, check, check
Binder Pencil Pouch free sewing pattern
I’m thrilled to offer this as another free sewing pattern in my library, and also the first page of the printable pattern has the piece dimensions if you want to use use those and not cut out all the pieces.
Here is a video of making this pencil case sewing pattern .
Other back to school sewing projects:
- Cork Supplies Tote – free pattern
- Cube Zipper pouch
- Lined Zipper pouch
- Dress Code Friendly Sewing Patterns
Now that you are in the back to school sewing mood, let’s dive deeper into these fun binder pencil cases. I had a blast sewing them… and they saw them at the dollar store! My money saving bubble was burst, but I still enjoyed the project.
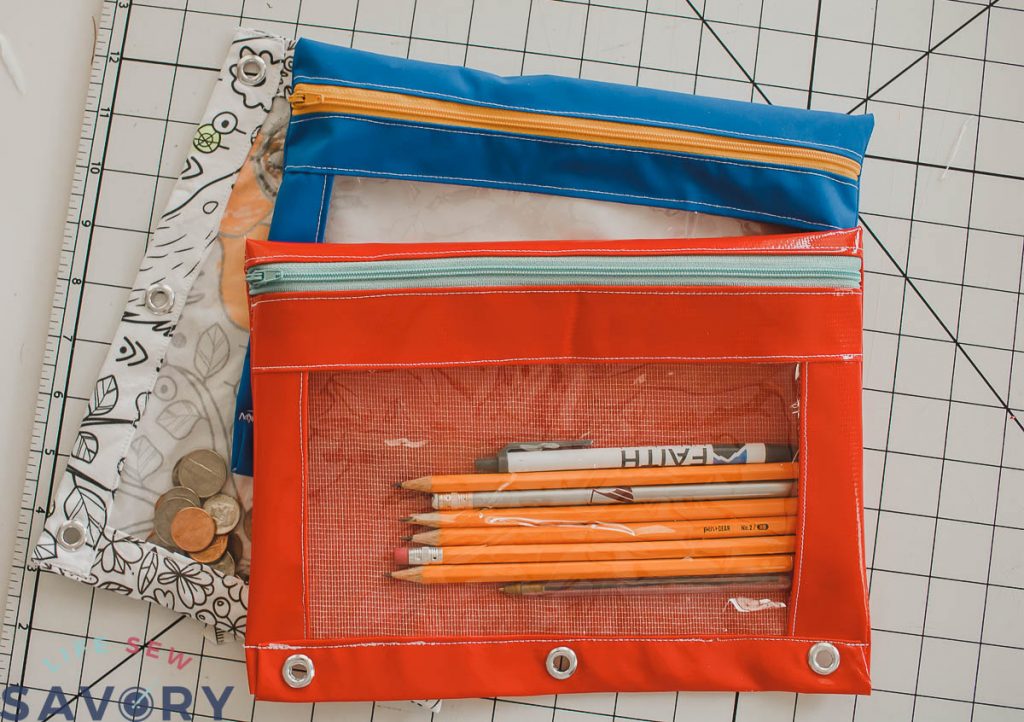
You can even make them with fun coloring fabric for a craft AND useful case. Buy Coloring Fabric Here and see how I use it in this Color Your Own Dress Post.
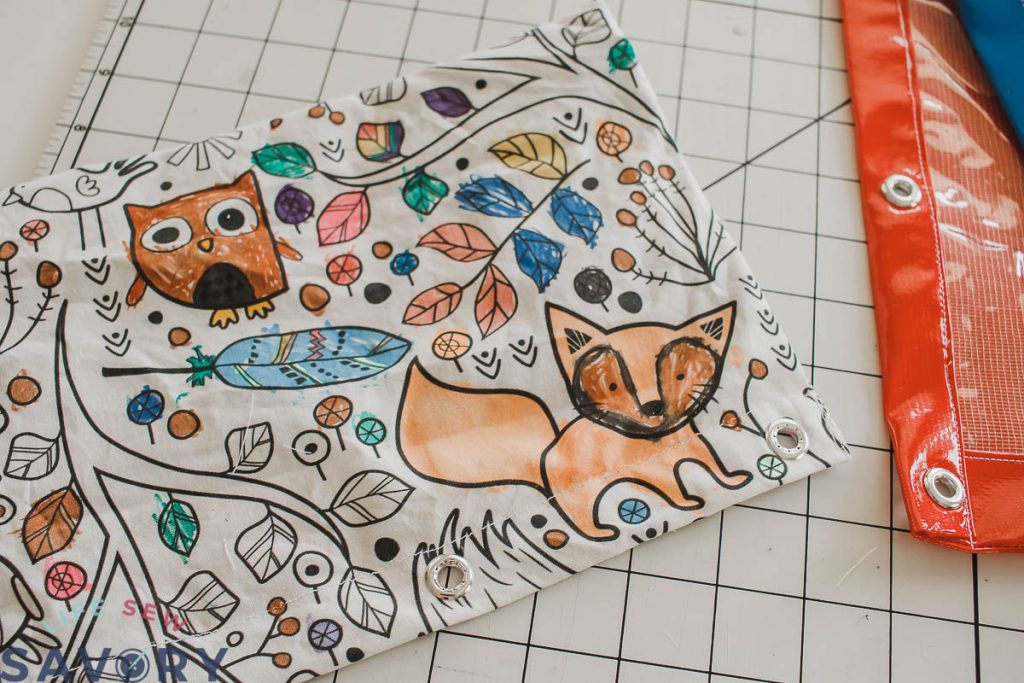
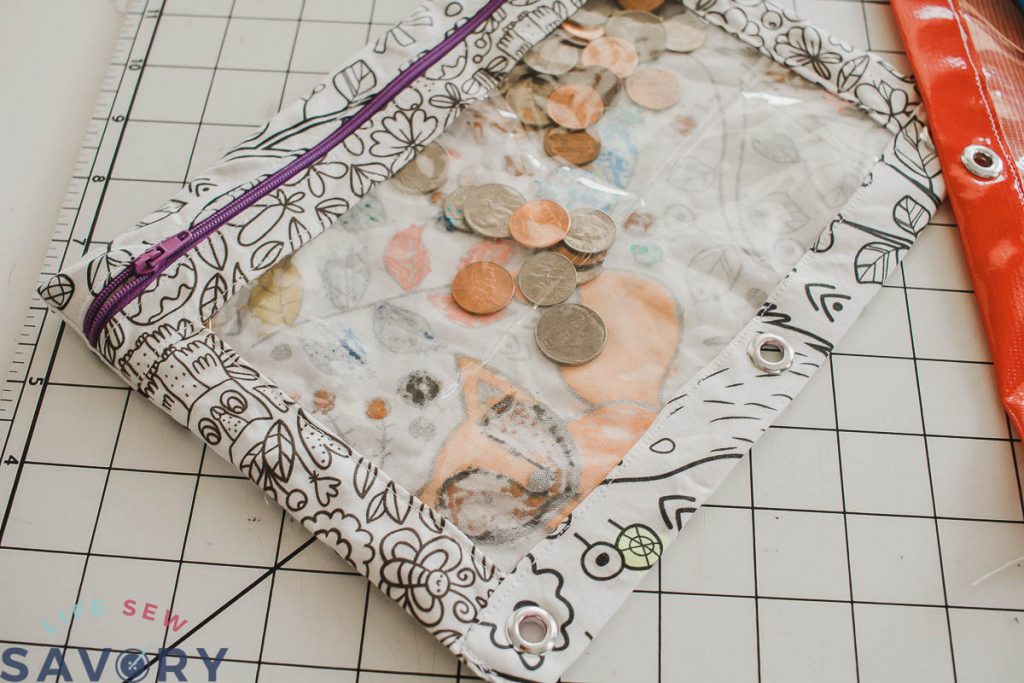
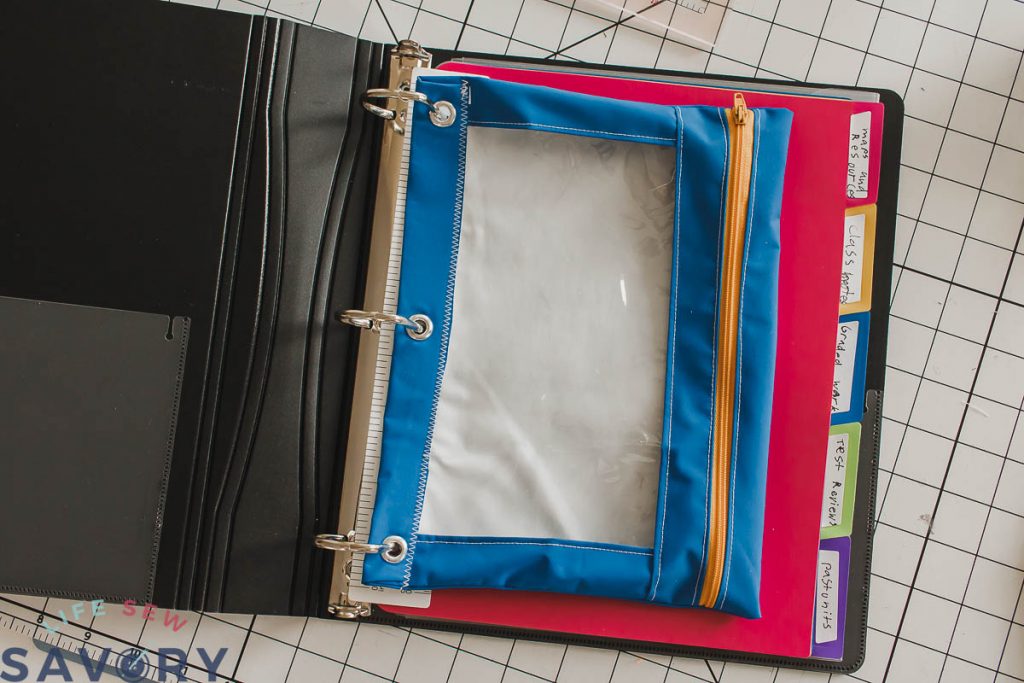
Like I mentioned between the three kids there were several of these 3 ring binder pouches needed for back to school. We had some from past years {I totally reuse ALL the supplies I can from year to year!} I used an old pouch as a template for this one…
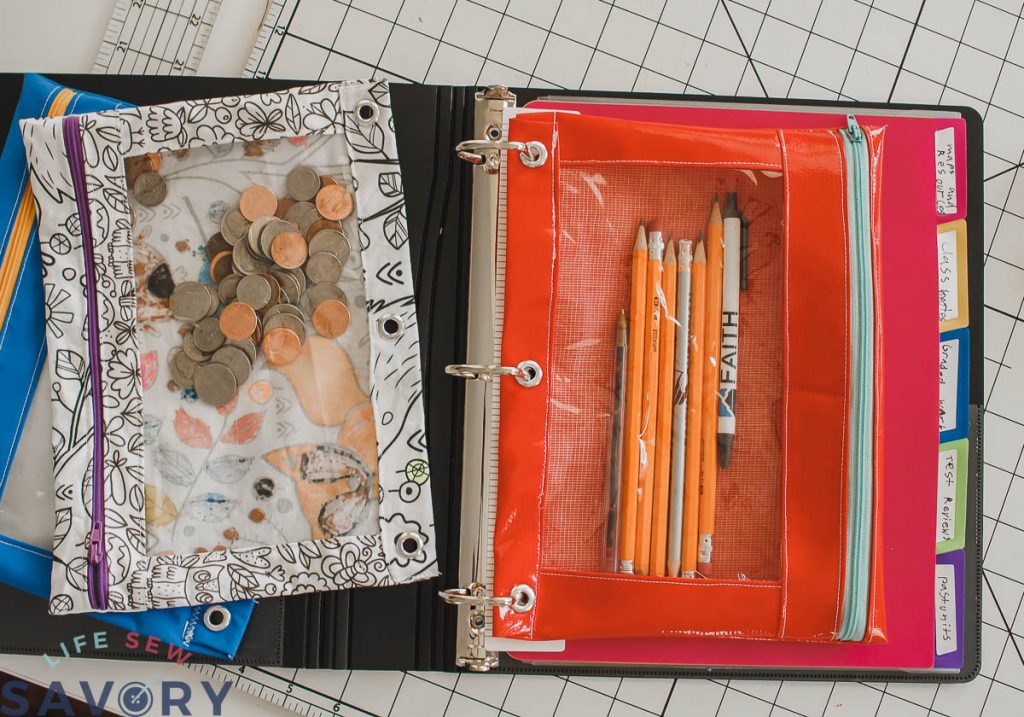
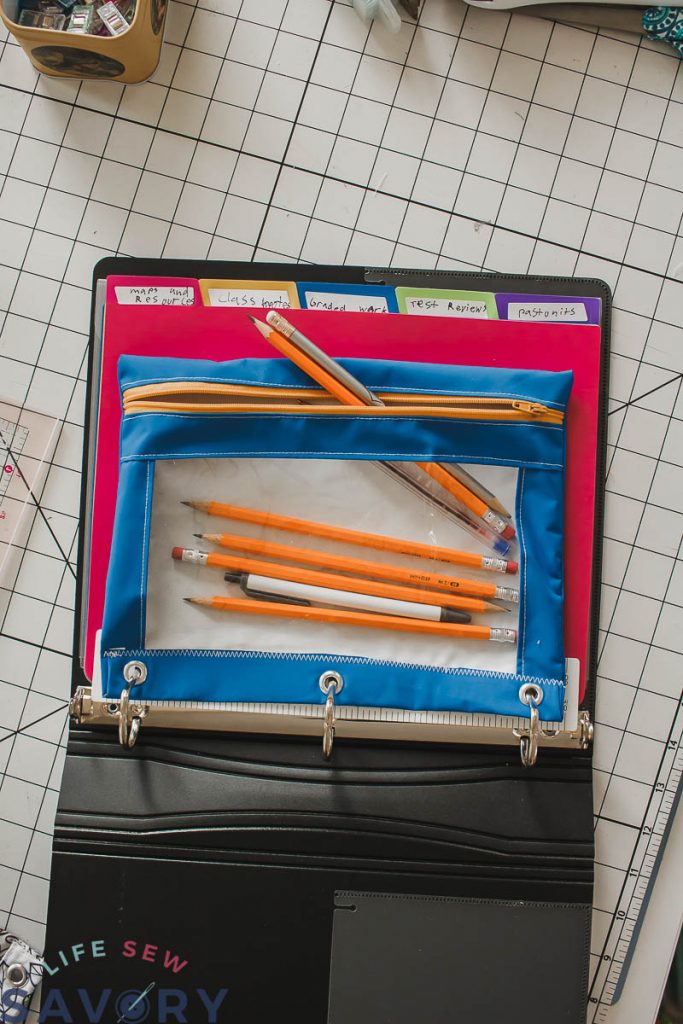
How to Sew a binder pencil pouch –
Ok! Let’s get to it! Print the 4 page pattern using the button below… If you just want to cut your own rectangles using dimensions you can print page 1 only.
Use the pattern to either cut out all the pieces or the measurements to create your own pieces.
Supplies needed for this ring pencil case:
- 12″ zipper
- 3 Grommets 1/2″
- Fusible Interfacing – 1″ x 10″
- 1/3 yard fabric {duckcloth, vinyl, rip stop, etc}
- clear vinyl
You can use any fabric you like for this project, but I do suggest something with a bit of weight. You also will want a no-fray, low-fray fabric as I didn’t’ finish the raw edges inside the pouch.
You should have 1 zipper, 1 back, 2 sides, 1 top, 1 clear vinyl, fusible interfacing cut 1″ x 10″ and 3 grommets. {You could also try button holes if you don’t want to buy the hardware.}
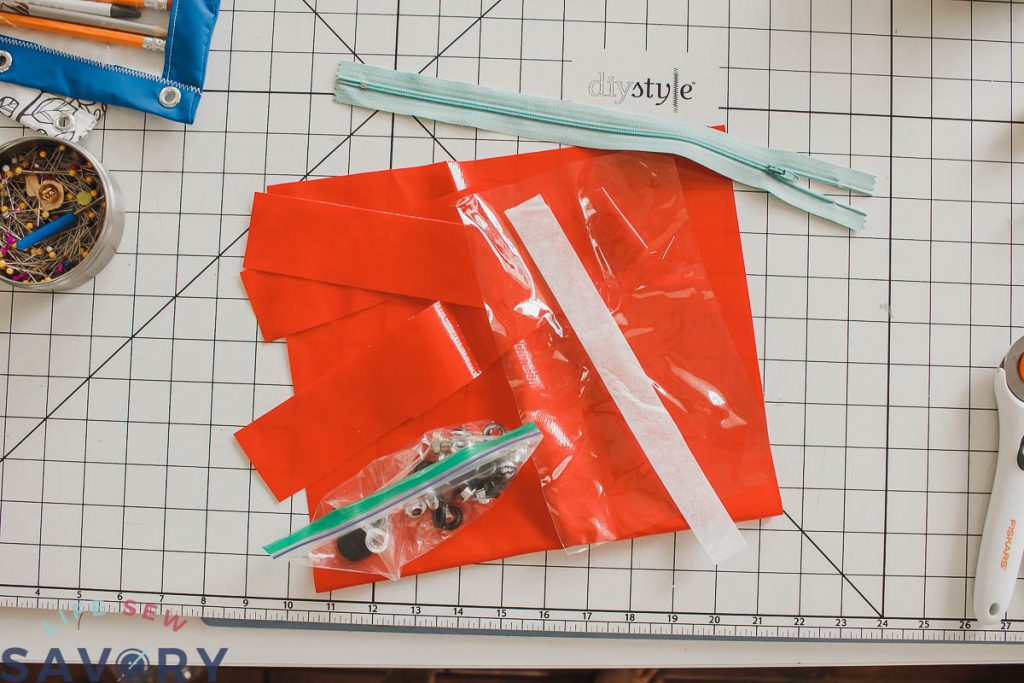
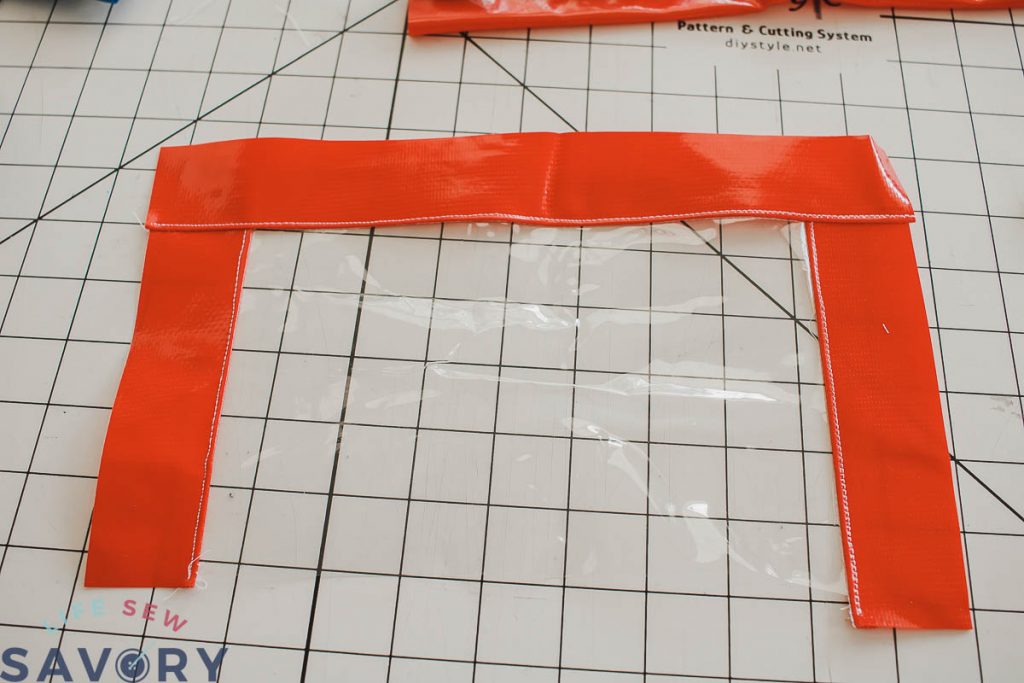
Let’s put this together! Start by taking the clear vinyl the sides. Sew the fabric sides on the short edges of the clear vinyl. Fold open and top-stitch seam allowance to fabric side. Repeat with the top as shown.
How to sew with clear vinyl
Tip….
If your machine is having trouble sewing the vinyl place tissue paper under the project. This will help it slide through the feed dogs. You can place tissue on top if needed as well. Tear off tissue when finished sewing.
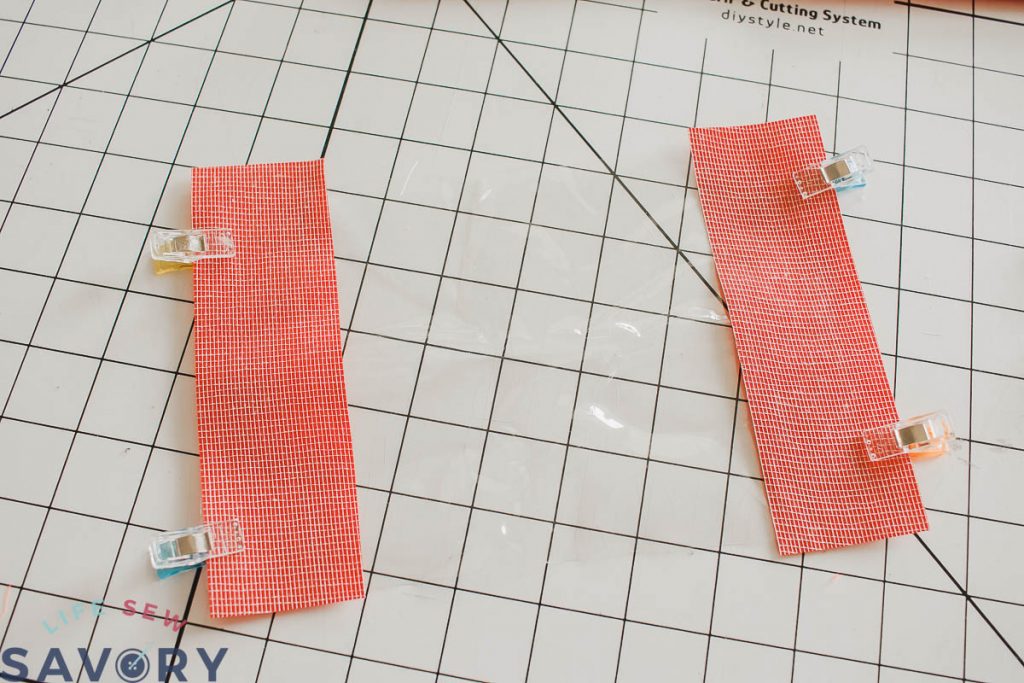
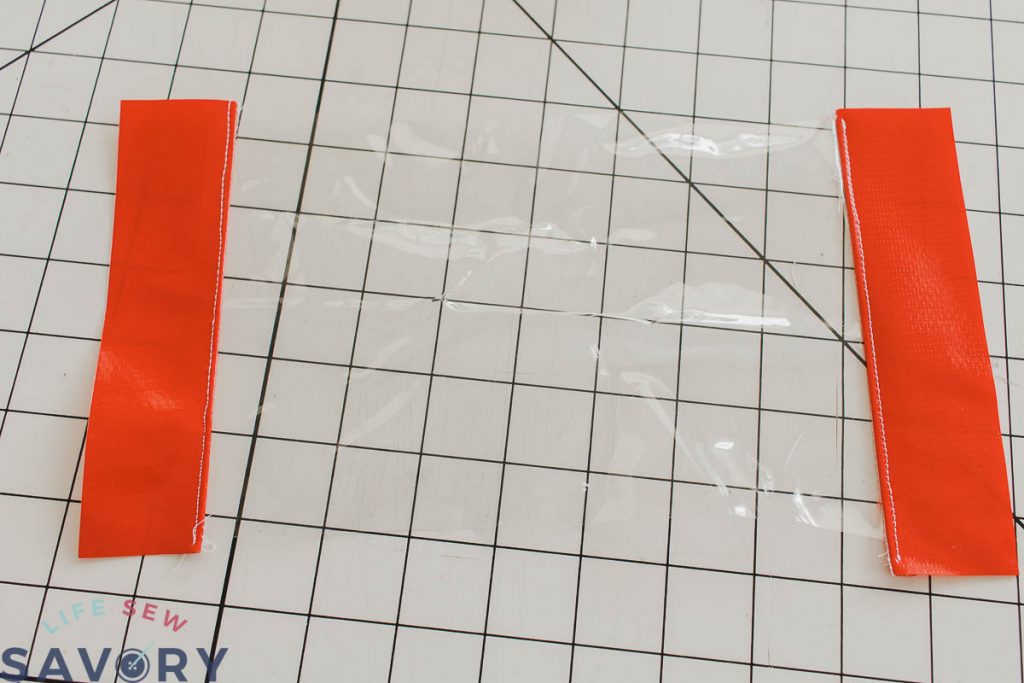
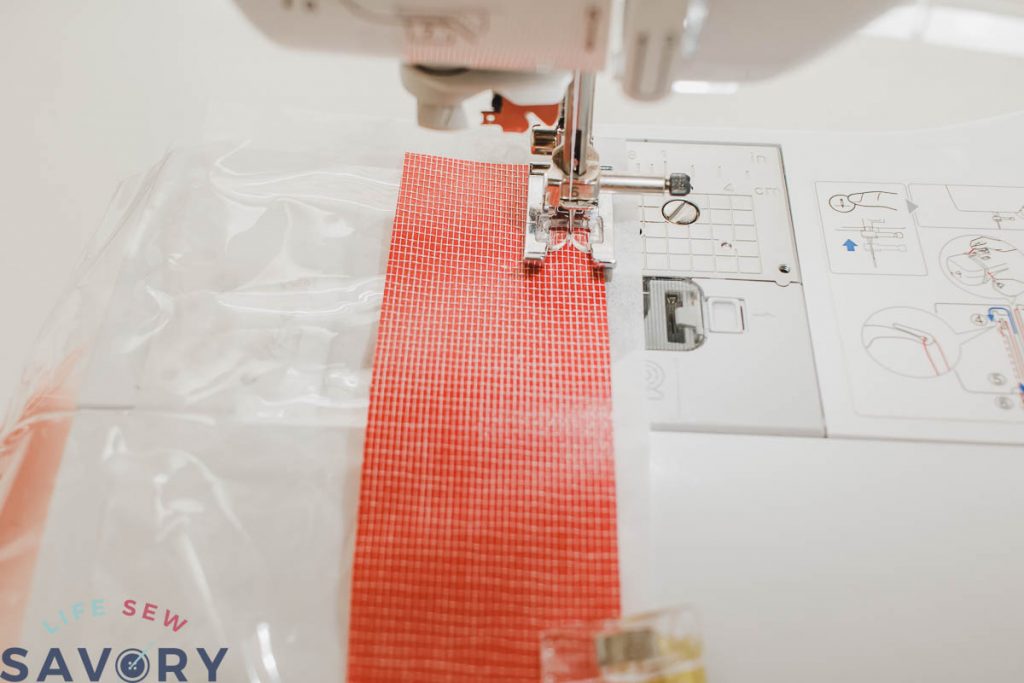
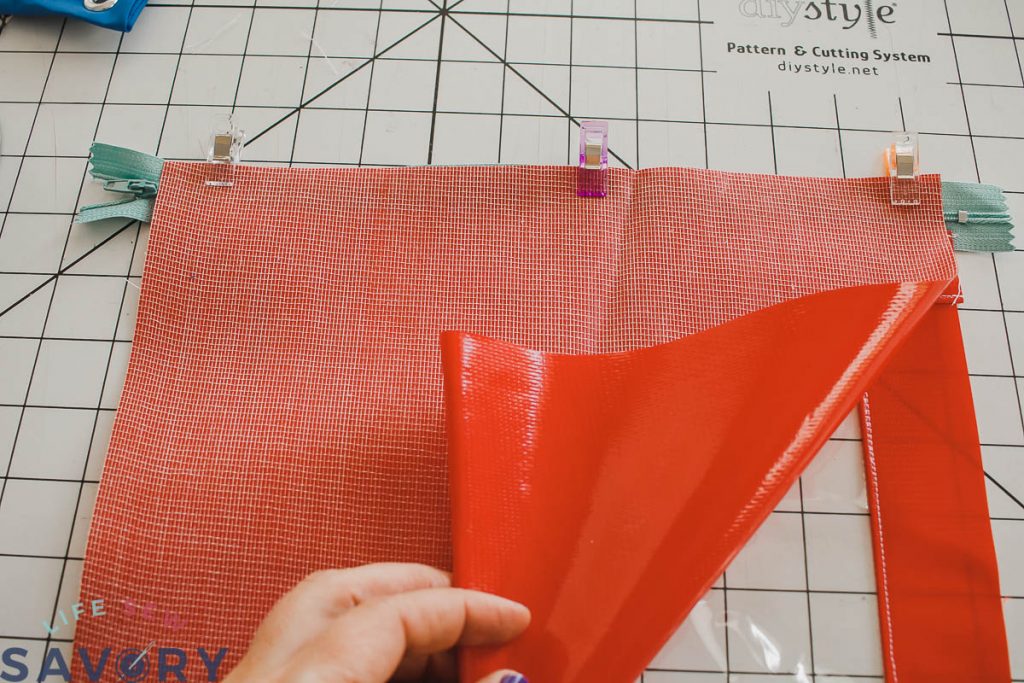
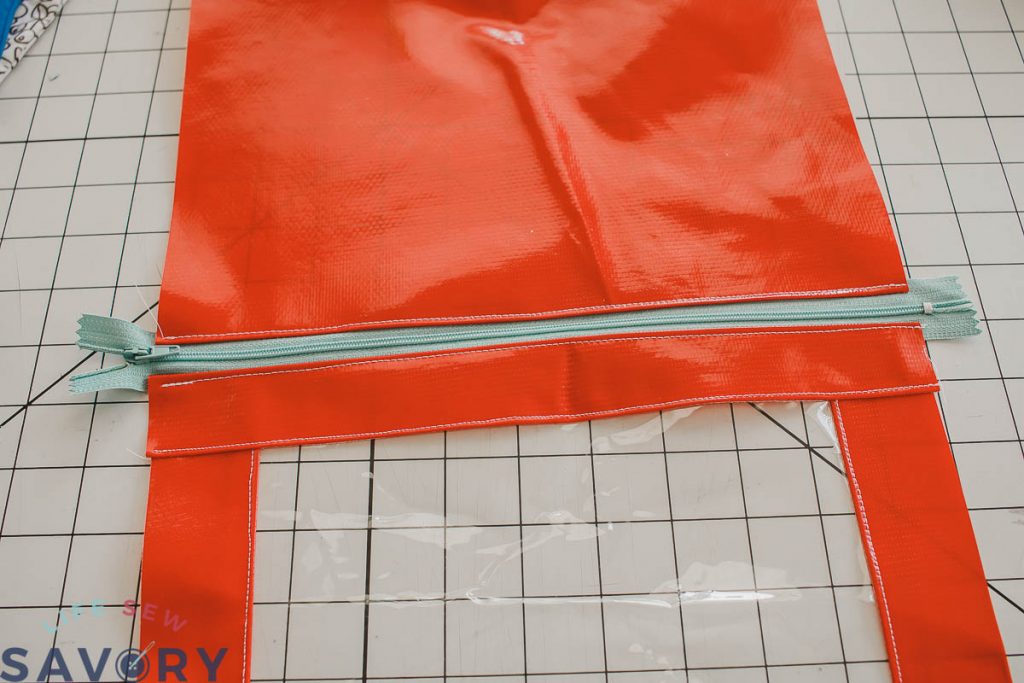
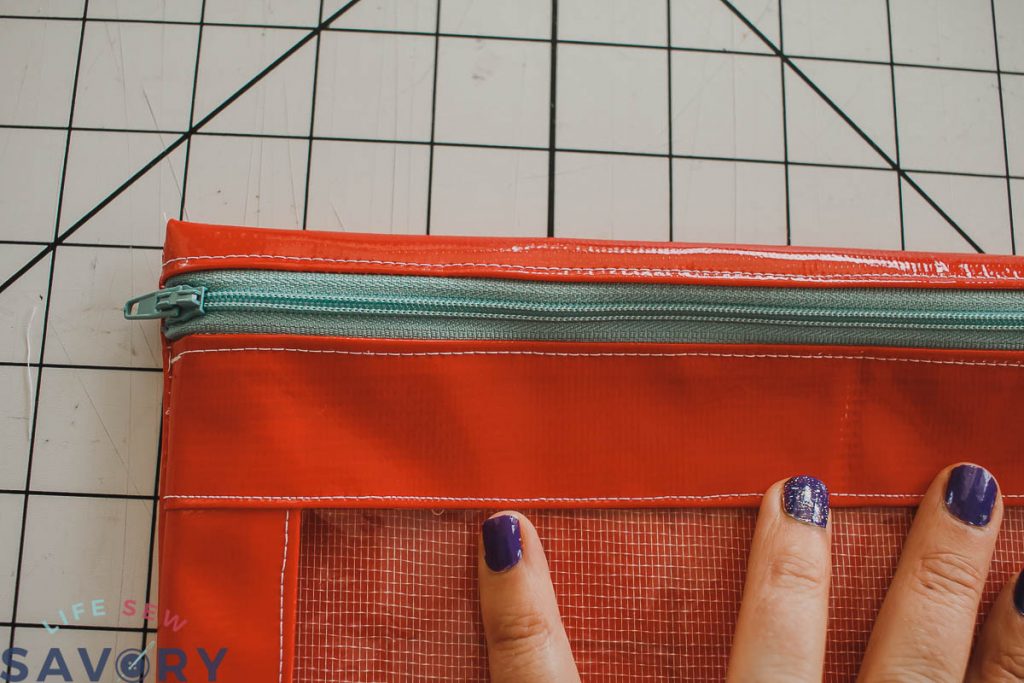
Place the zipper with the tab down on top of the long side of the top. The zipper should extend 1″ ish on both sides of the fabric. Sew with a zipper foot, then fold back seam allowance and top-stitch.
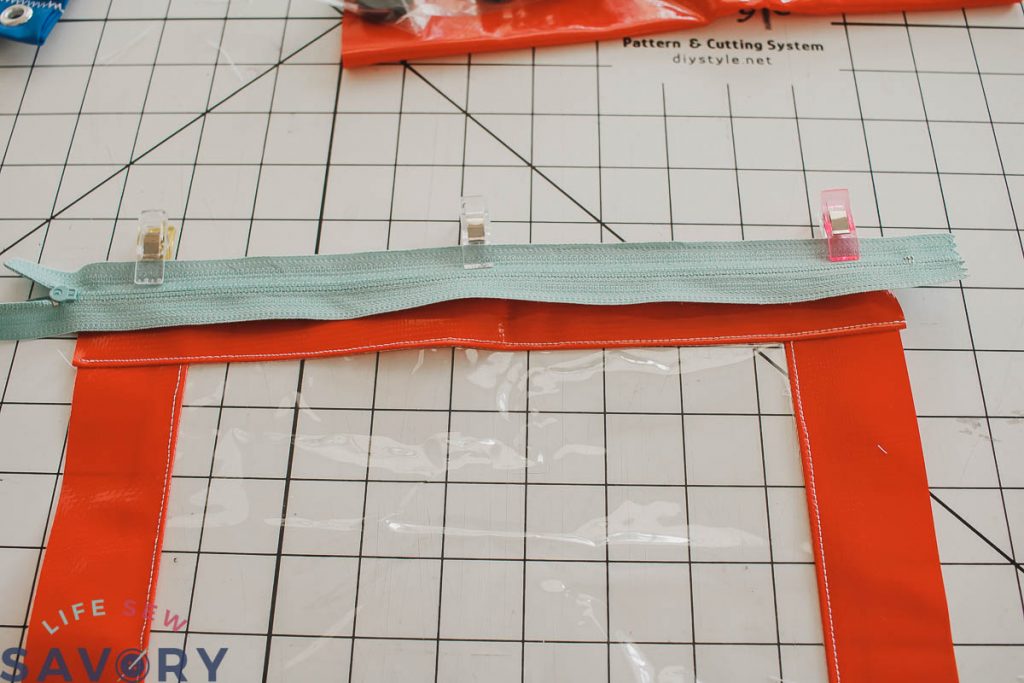
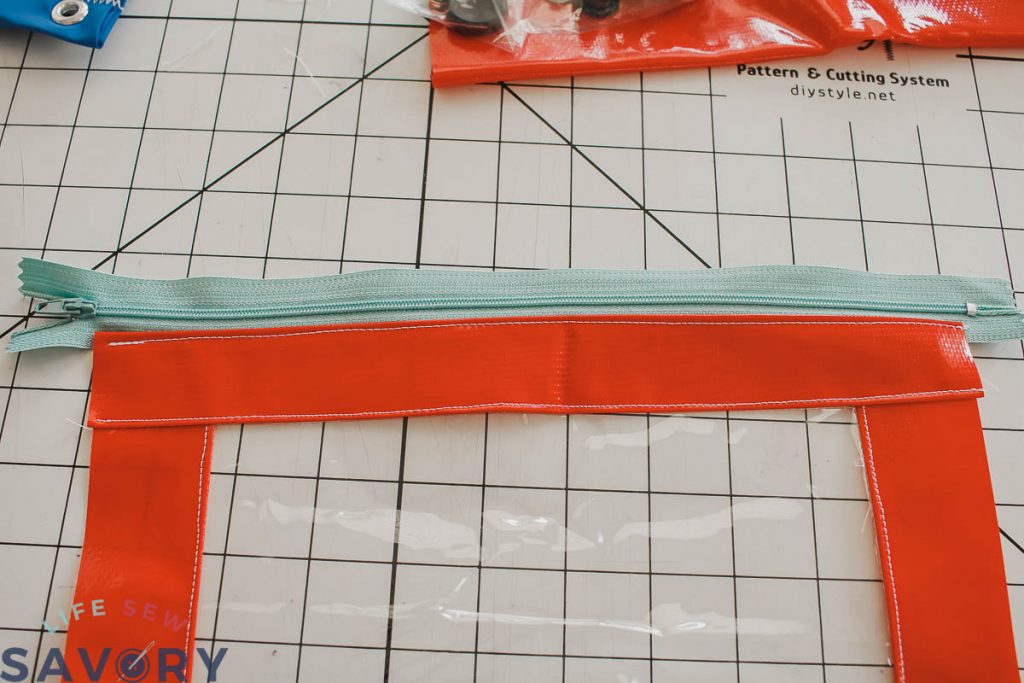
Place the pouch back right sides together on top. Line up the edge with the zipper and sew/top-stitch as before. Open up the fabric and zip the pull tab inside the fabric edge. Fold the pouch back over with 1/4″ of fabric at the top above the zipper. Clip/pin the sides then sew. The back should be longer than the front by about 1.5″.
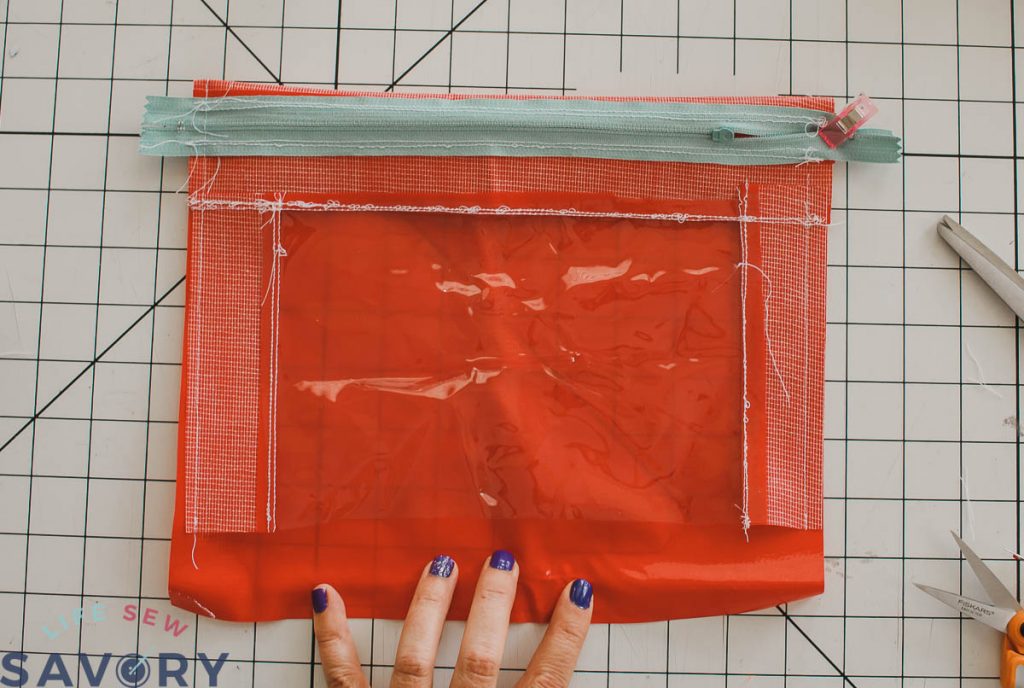
Trim the side seam allowances and then turn right side out.
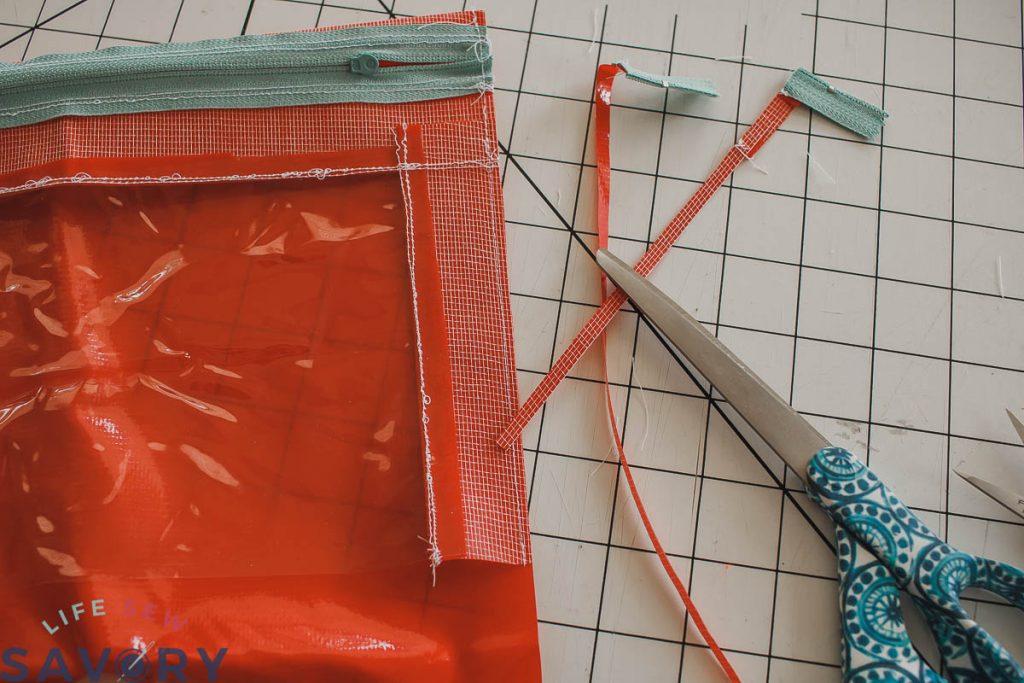
Fuse the interfacing at the bottom of the back on the wrong side of the fabric. The interfacing piece is 1″ x 10″. There will be 1/4″ ish of fabric on the bottom not covered. Fold up the bottom allowance, then fold up the 1″ interfacing.
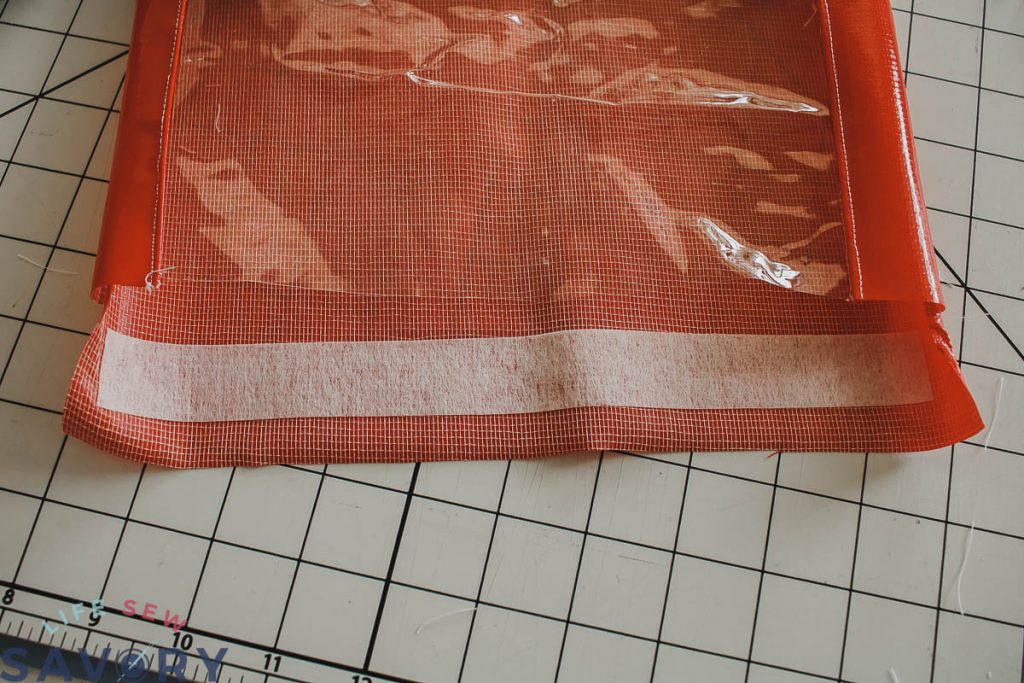
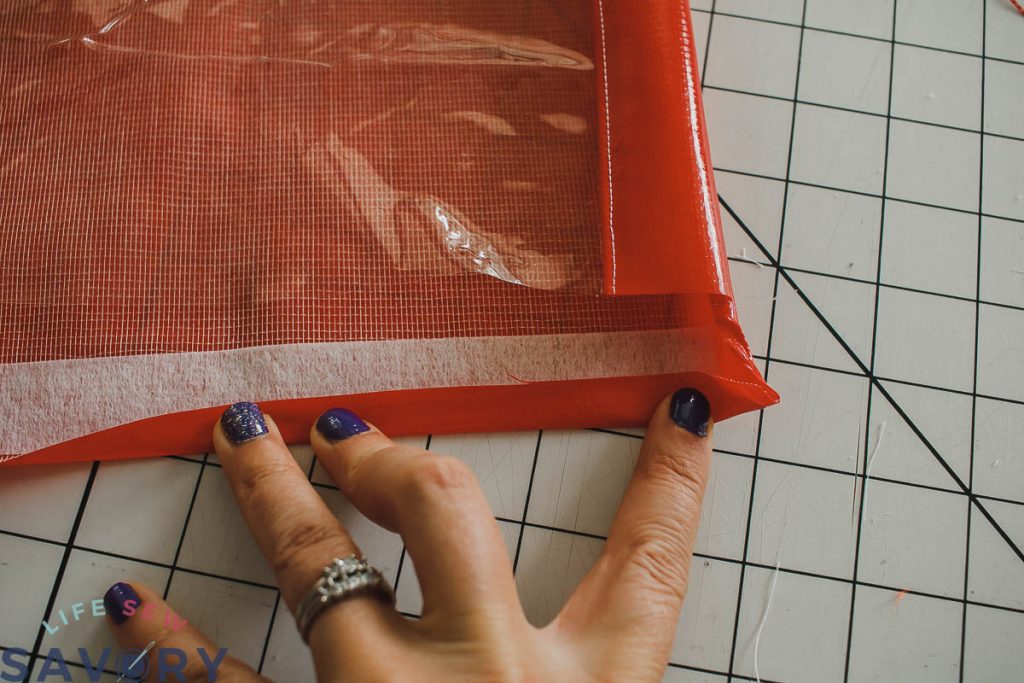
The double fold will result in the finished bottom edge of the pencil pouch. The fold will cover the bottom edge of the clear vinyl. Tuck in the fabric at the sides to finish as well. Sew along the edge. You may need the tissue trick again here.
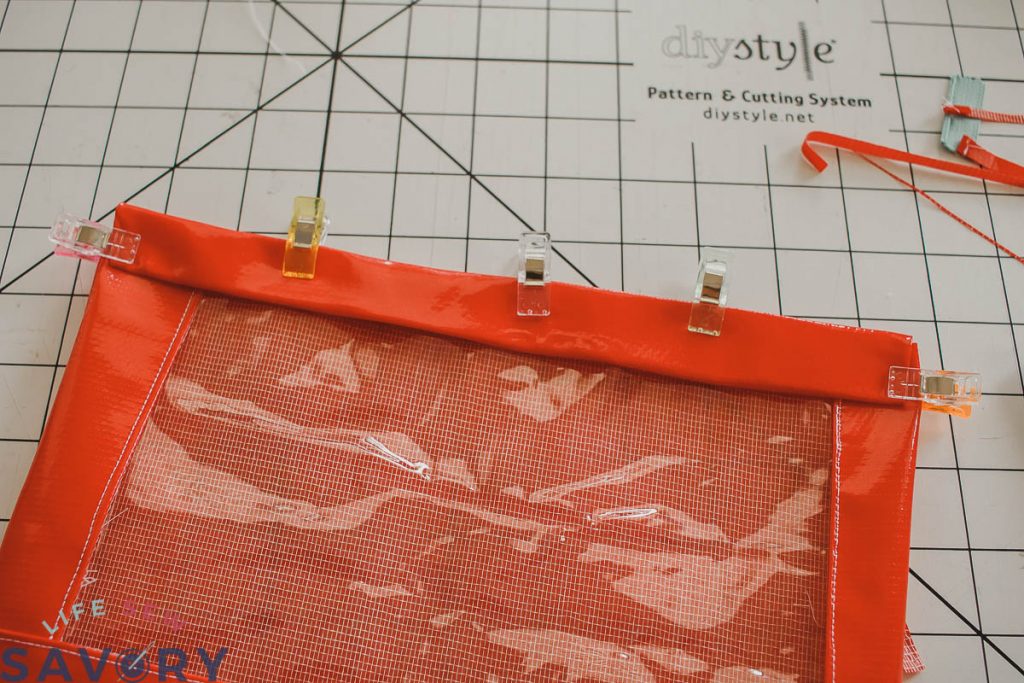
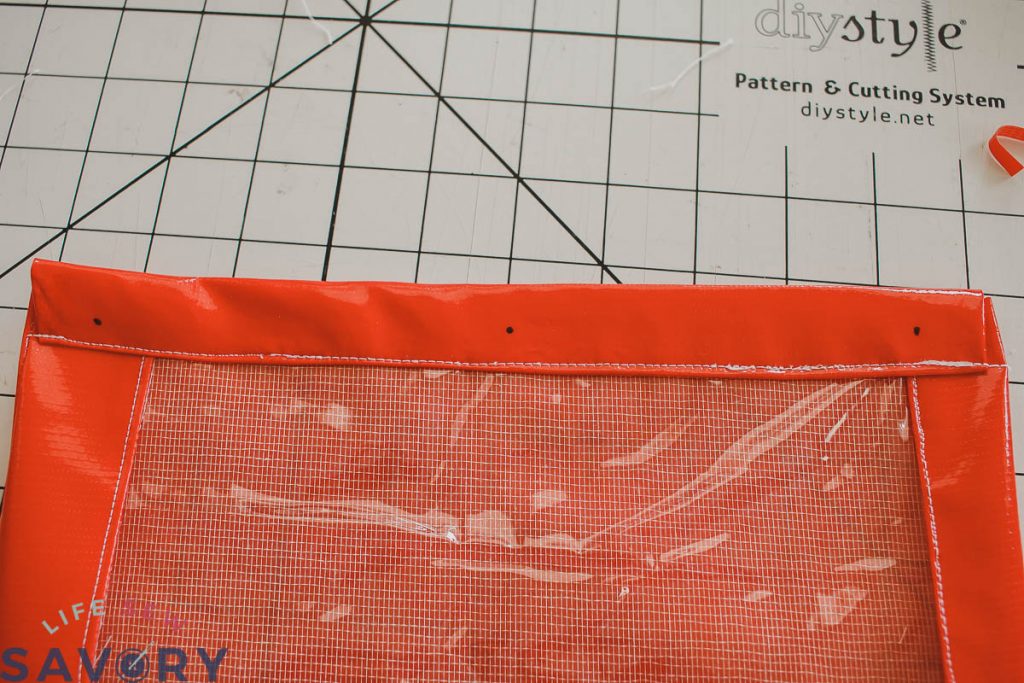
Mark the three binder holes. You can use your binder to measure OR place 1 hole in the center of the pouch bottom and the others 3/4″ in from each side. This is the measurements I used for mine and they are great.
Cut a small hole to insert the grommet, then set into place.
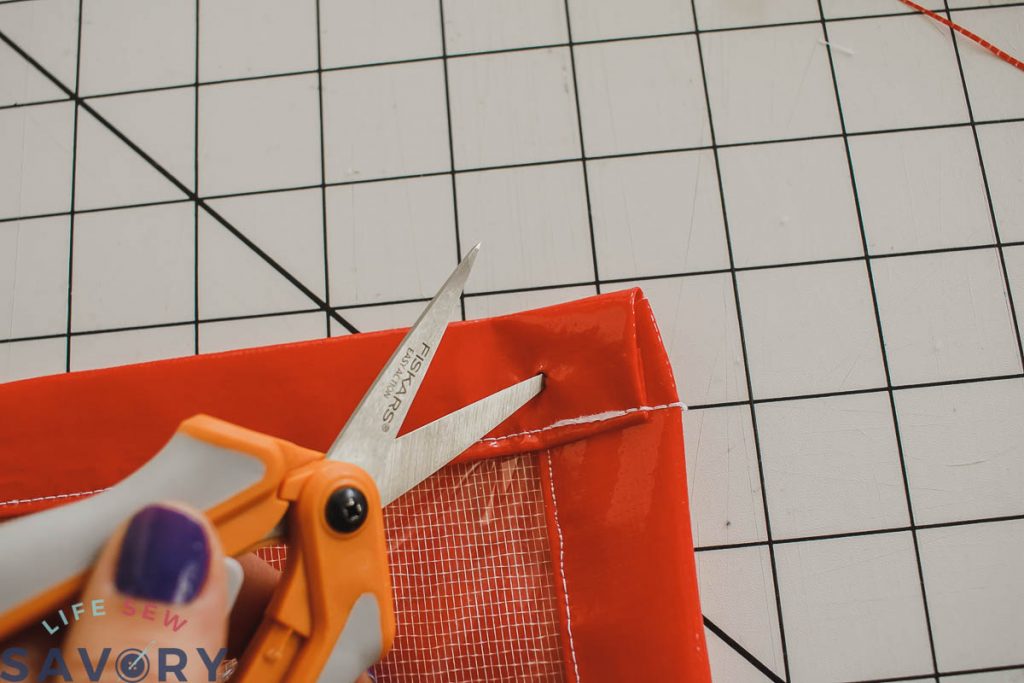
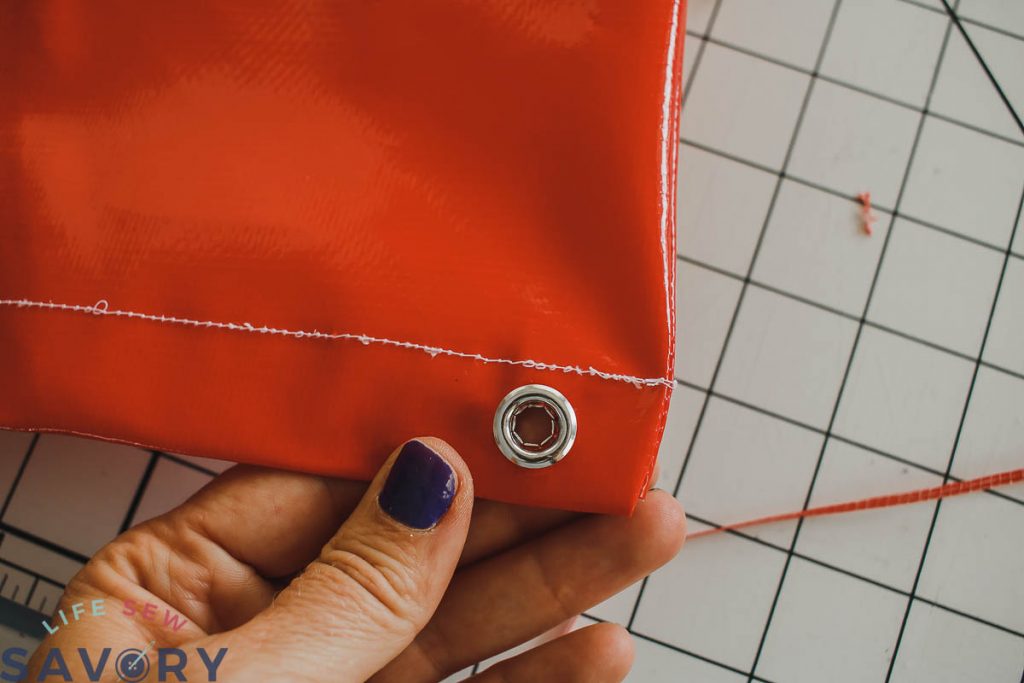
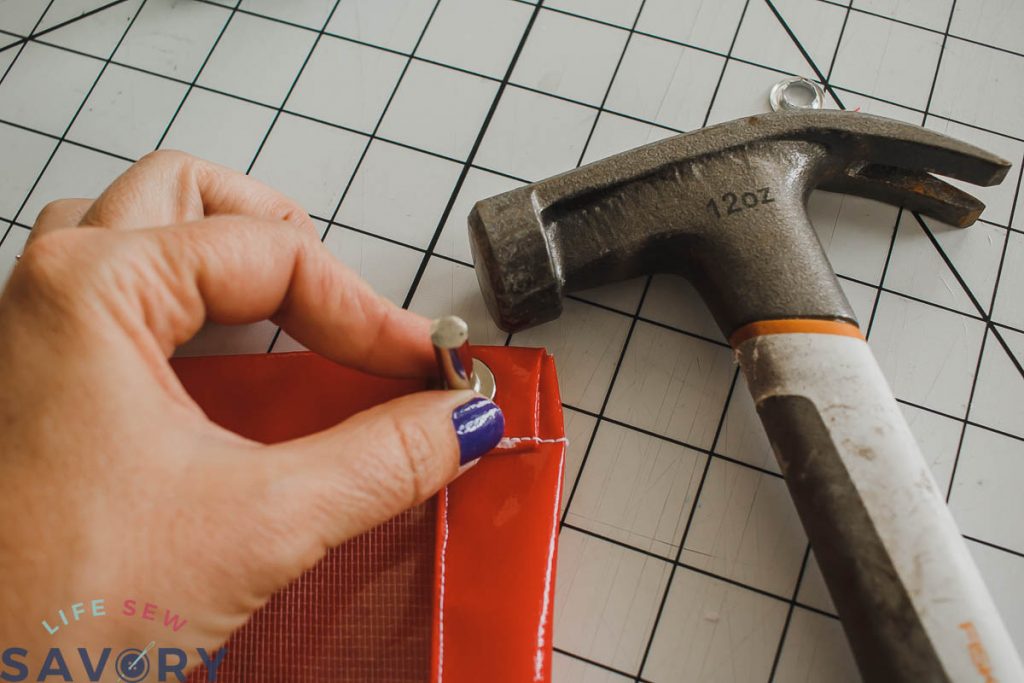
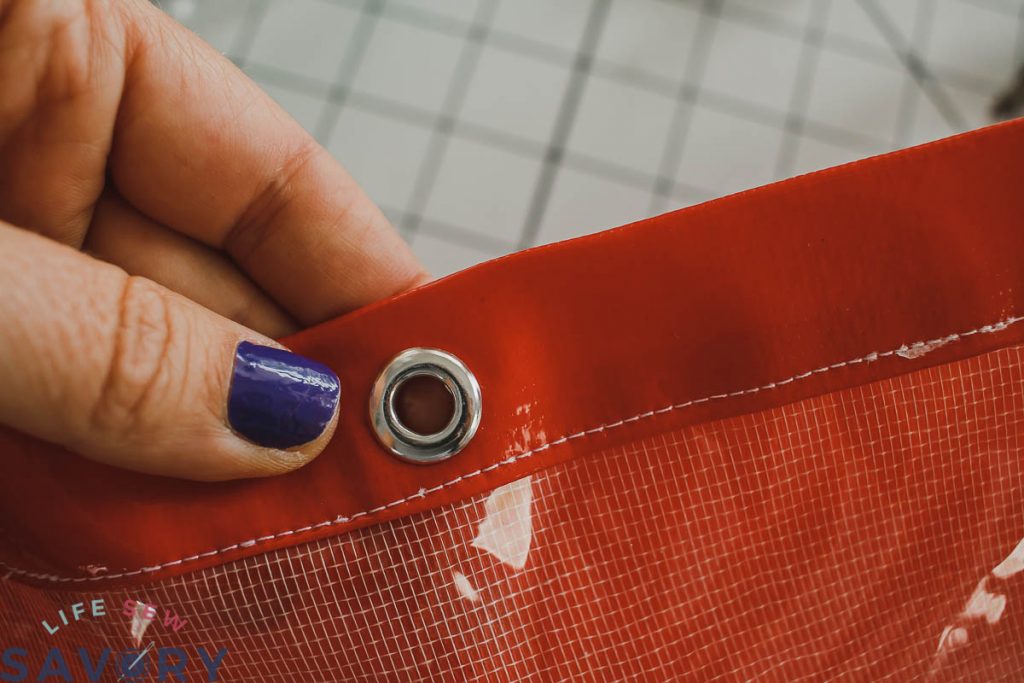
That’s it. The project goes really fast once you make one. I made several! This is a great scrap busting project and my daughter also had fun coloring her 3 ring binder pencil pouch. What are you sewing for school this year?







Page Carlyon says
How do I get the rest of the pattern? Only pages 1 and 2 downloaded
Michelle says
I found your pattern yesterday after trying, and failing two other patterns. OMG! You are amazing! This pattern was sooooooo easy to follow and make. My daughter is in love with her new pencil pouch! Thank you!