inside: use this free chapstick holder template to sew cute holders for your lip gloss. This free chapstick holder pattern is easy to use with a cutting machine or scissors. Sew a great keychain chapstick holder.
We live in very dry Colorado and my lips are very very dry! There are a few months of the year where I think they are ok, but most of the year I have multiple chapsticks in all the places to keep my lips moisturized. These cute chapstick holder keychain DIY is a fun and easy sewing proejct.
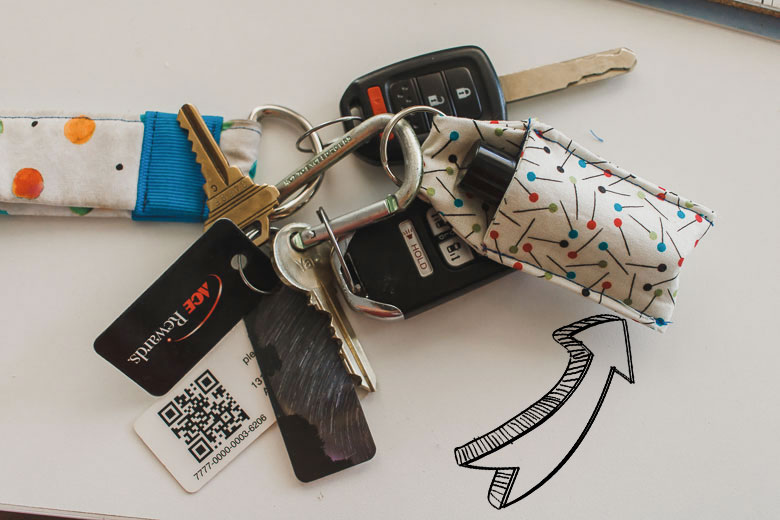
DIY Chapstick holder pattern-
So cute right? This chapstick holder template is perfect for keeping that moisturizing goodness near you at all times. Add one to your bag, your keys, your car, anywhere! I’m still using these that I sewed up last year, super handy.
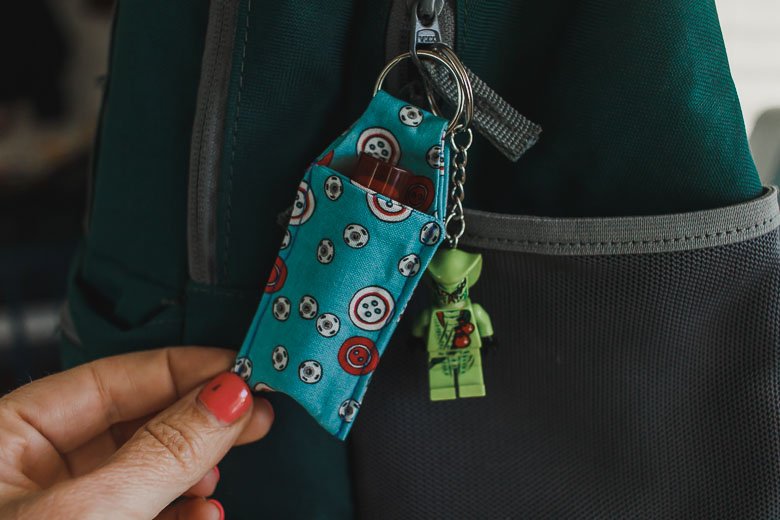
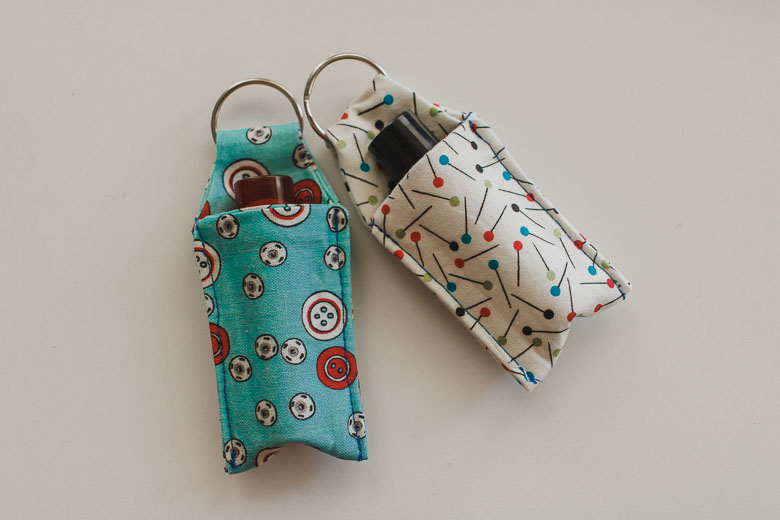
I’ve included a couple of different ways to make these keychain chapstick holders, but either way it is a simple sewing project and one that you can make quickly. These also make adorable gifts, so when you start sewing, make several.
Other cute accessories to sew:
Chapstick holder template free
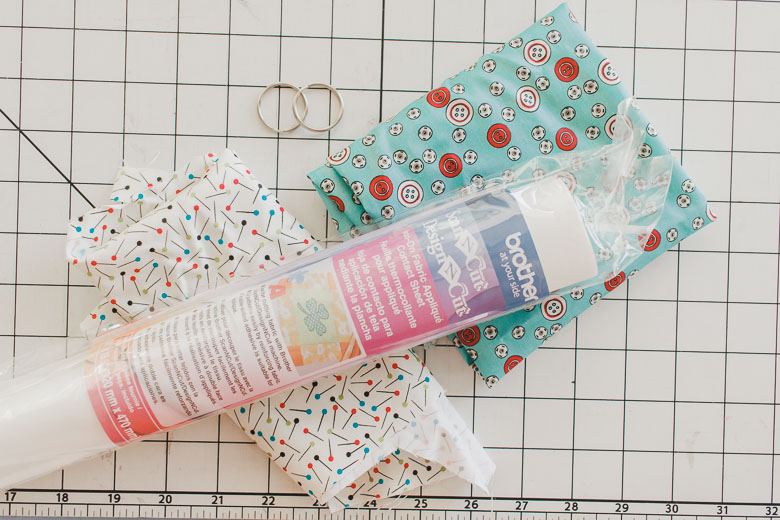
Ok! First let’s talk supplies. Here is what you will need:
- Fabric scraps
- Keychain rings
- Interfacing OR Iron – on Fabric applique sheet
As I mentioned there are two main ways to create these cute DIY chapstick holders. You can used your electronic cutting machine or just print the template and cut out. I use a ScanNCut for the example, but you can use any brand machine.
Download the free template using this button or the one below.
The file you will download is a zip file. Unzip the file and you will see three file types. The SVG file is for cutting machine, the PDF pattern is for printing and cutting and the layout view is to open and see how to layout and cut the fabric.
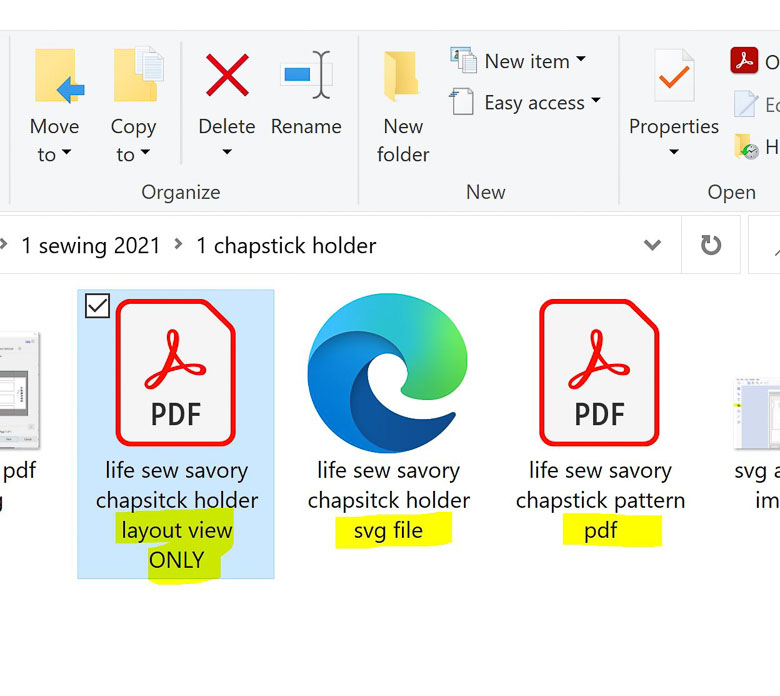
How to make a chapstick holder
If you are printing the pattern make sure to print at 100% or actual size so the template is the correct size. Once you have printed the template will show you how many to cut of fabric and from interfacing.
If you are using a cutting machine, open the svg in your software and see the two layers. One is the logo and that will not cut, just the template lines will cut. Export to your cutting machine.
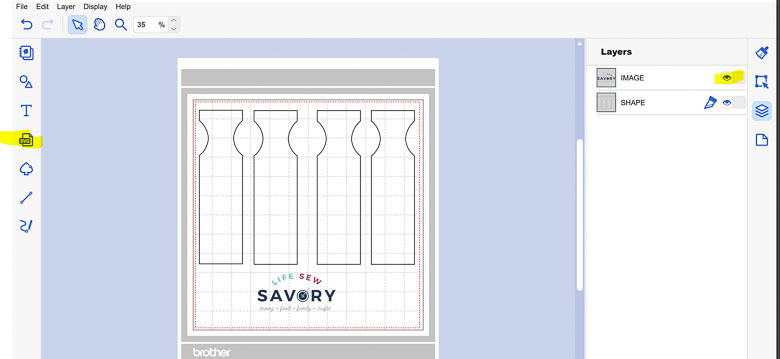
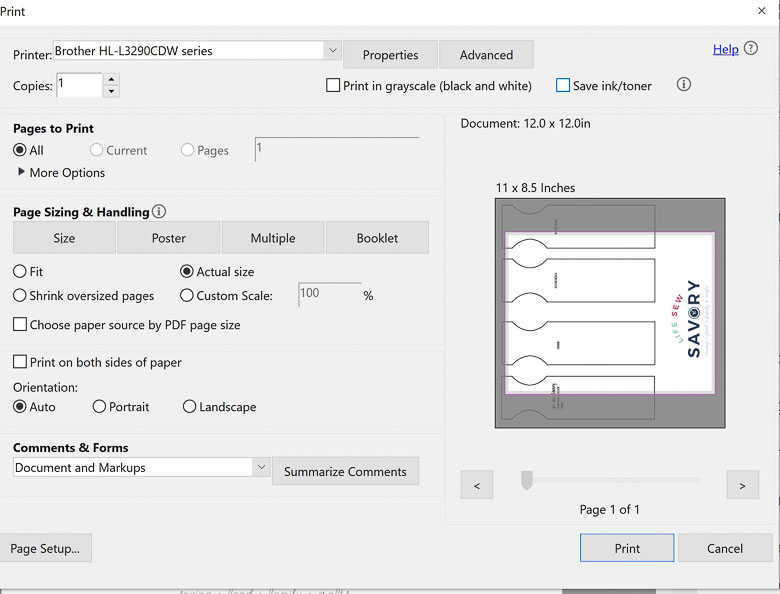
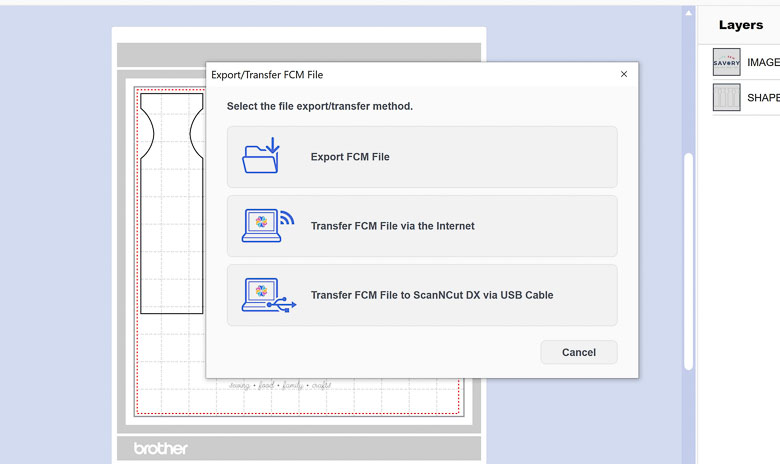
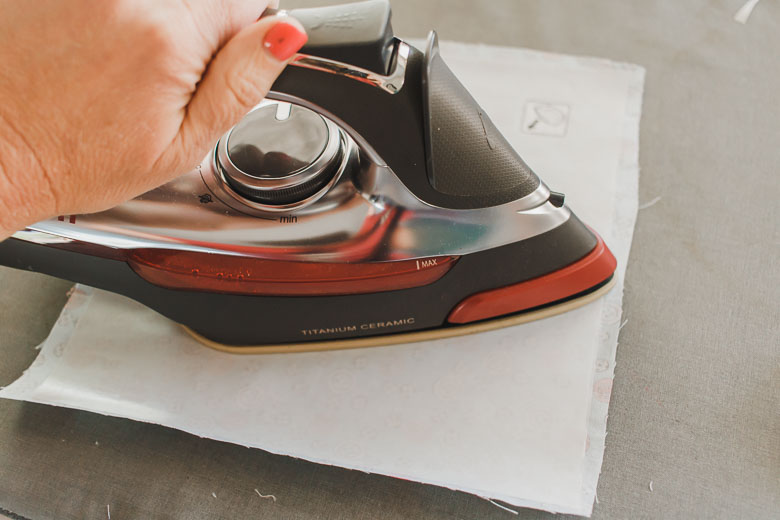
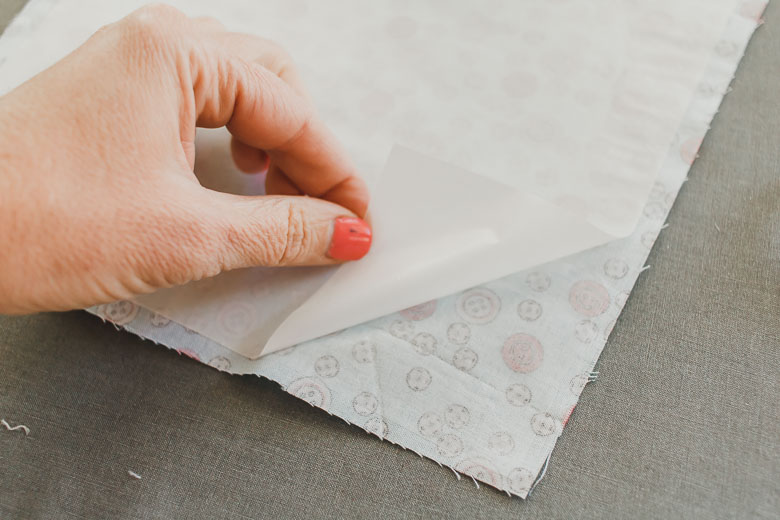
To use your cutting machine, prep the fabric by ironing on the applique adhesive. This allows for easier cutting as well as adds a layer of stability. You do not need interfacing if using this method.
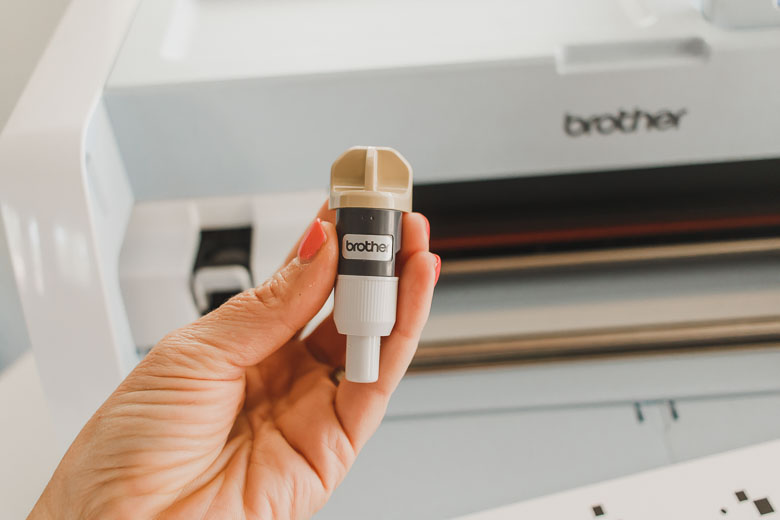
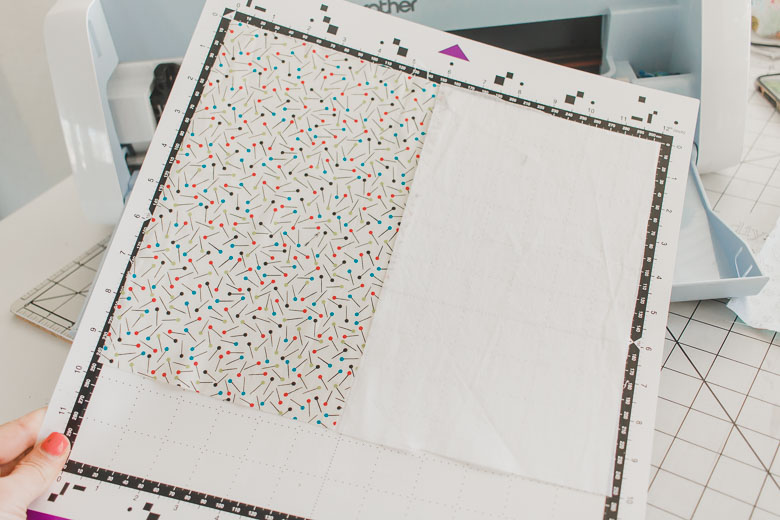
Prep your machine by installing a fabric blade {if needed} then layout your fabric. If using interfacing, place fabric and interfacing side by side on the cutting mat so two of each get cut. If using the applique sheet backed fabric, you only need to cut two of the fabric.
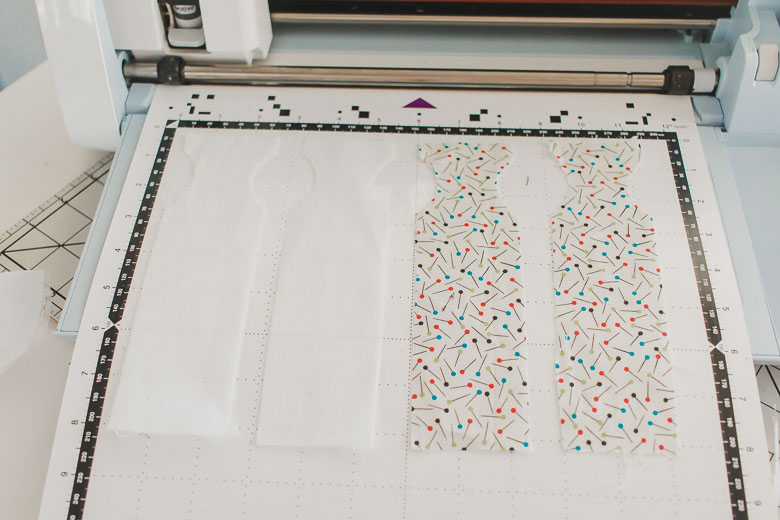
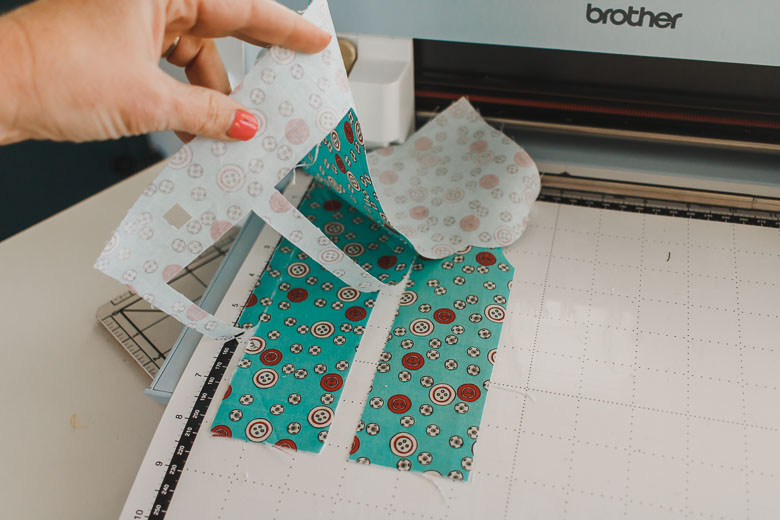
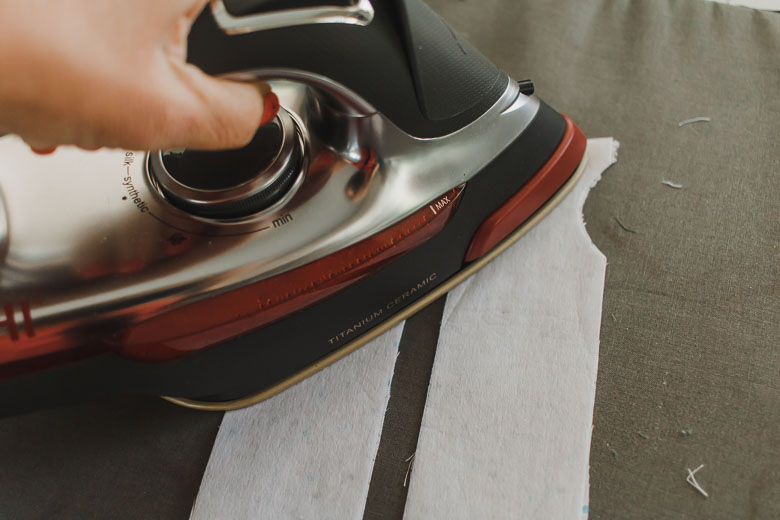
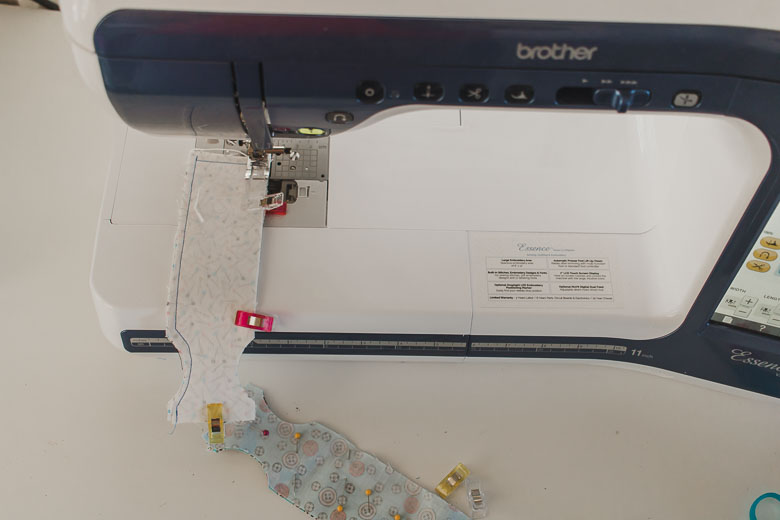
Press and fuse interfacing to the back side of the fabric pieces. Then pin or clip right sides together. I’m showing to versions here.
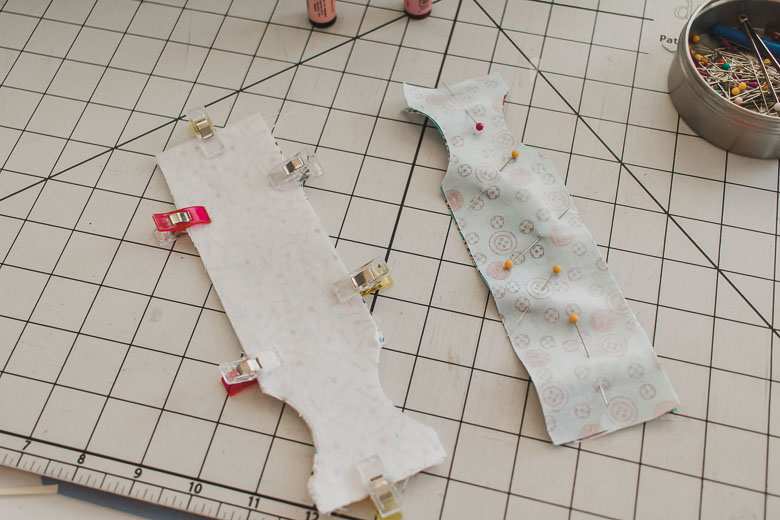
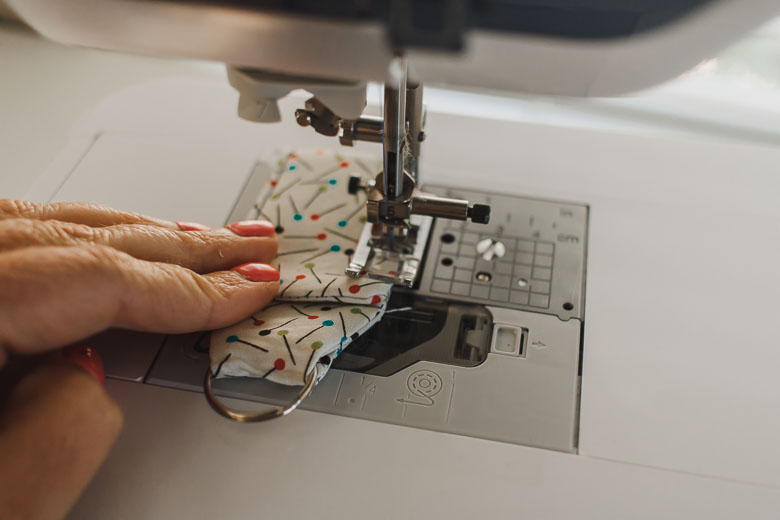
Sew around the outside of the fabric using a narrow 1/4″ seam allowance. Leave the top edge open for turning.
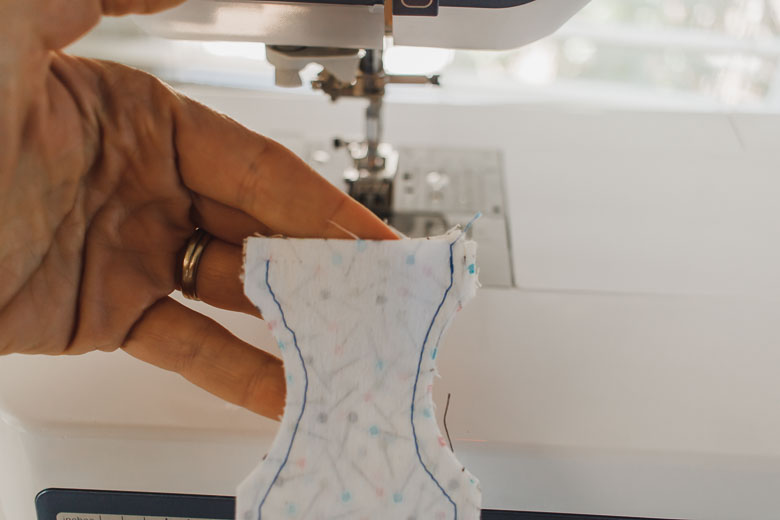
Clip the curved edges and extra fabric on the bottom corners. Then turn the project right side out.
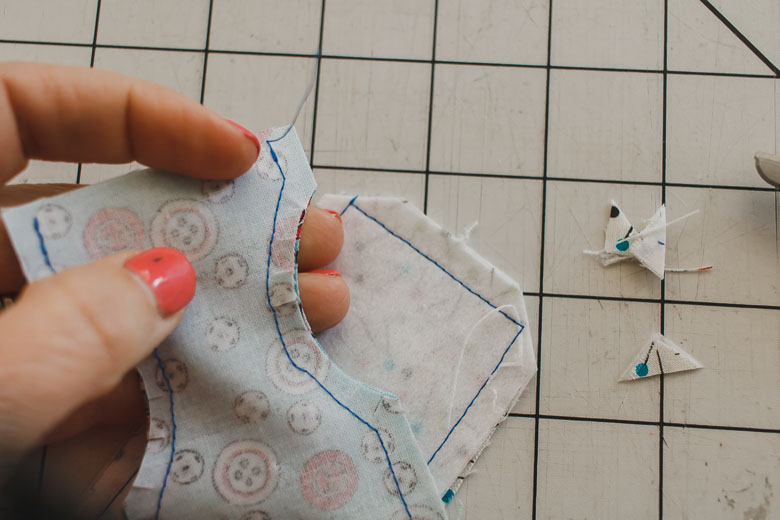
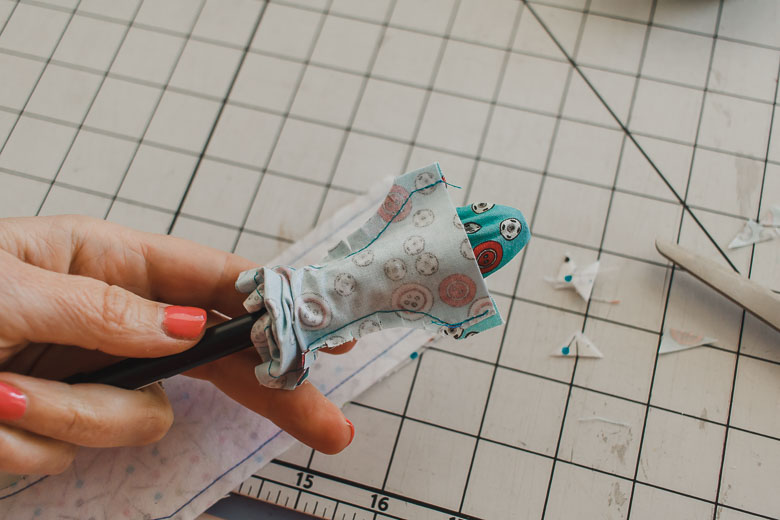
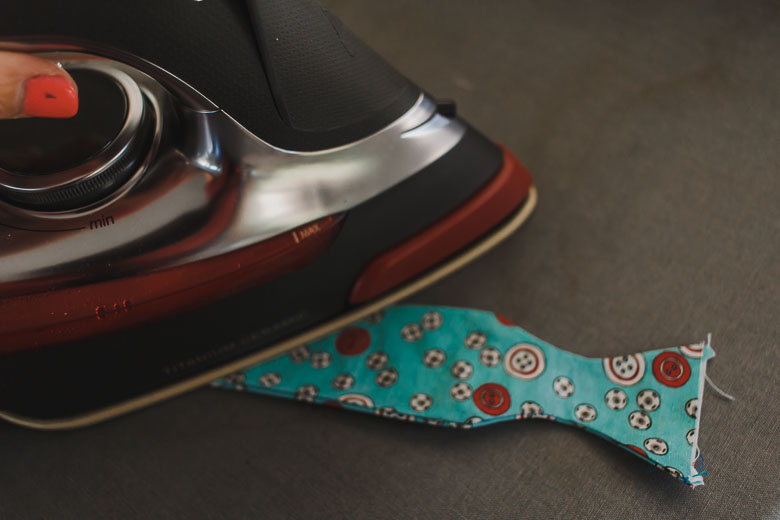
Press to flatten and make the edges crisp. Thread the keychain ring into the curved part of the fabric.
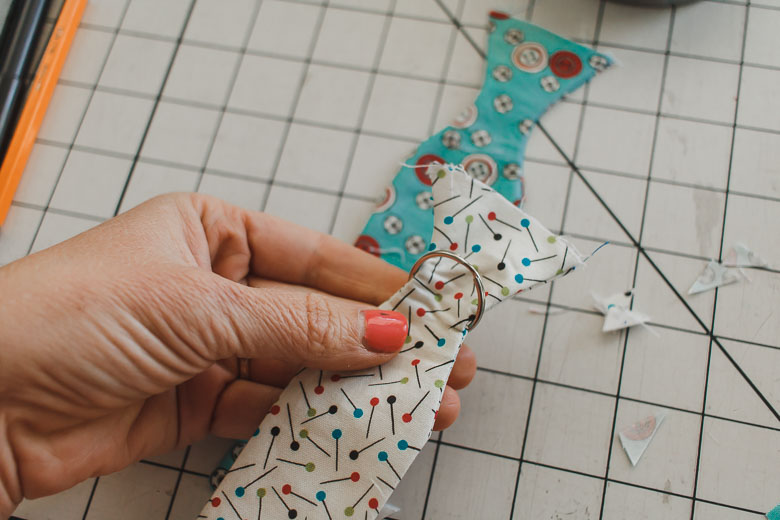
Fold the top over to the back. You can fold the seam allowance inside and straight stitch, or zig-zag to hold down and finish the raw edge.
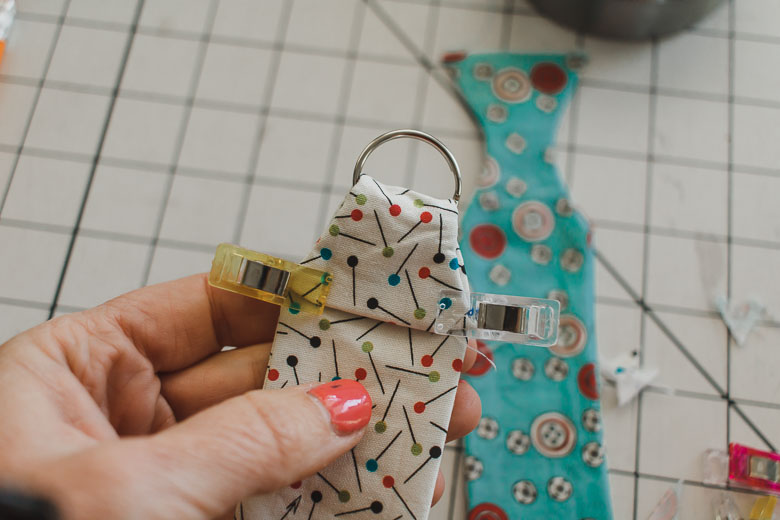
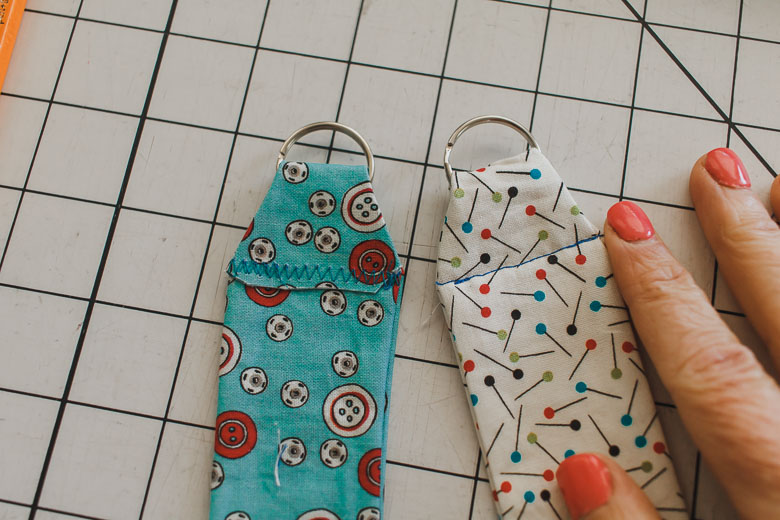
To finish, fold the bottom edge up to the line you just sewed and the stitch the sides. This will create the little pocket for the chapstick. What a fun and easy project!






Emily Bettis says
So the PDF file that has 4 on the page – that’s not for cutting out? I’m probably over thinking this! Do I cut out the 2 per sheet pdf or the 4 per sheet?