Christmas Tree Skirt Sewing Pattern-
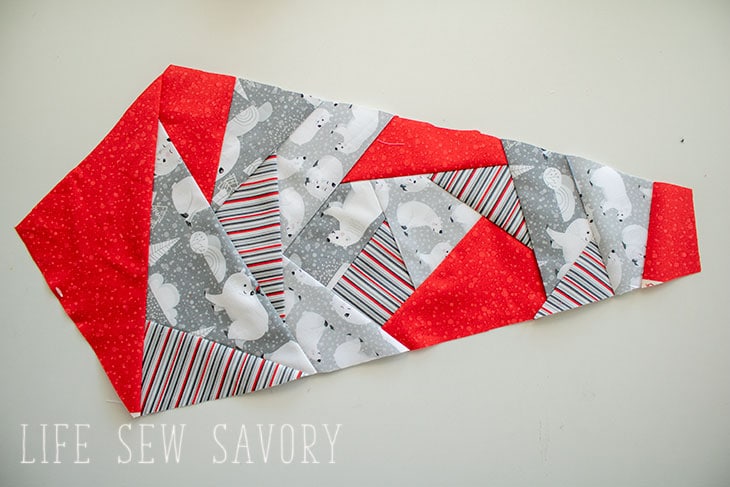
You should have 12 sections that all look similar to the picture below.
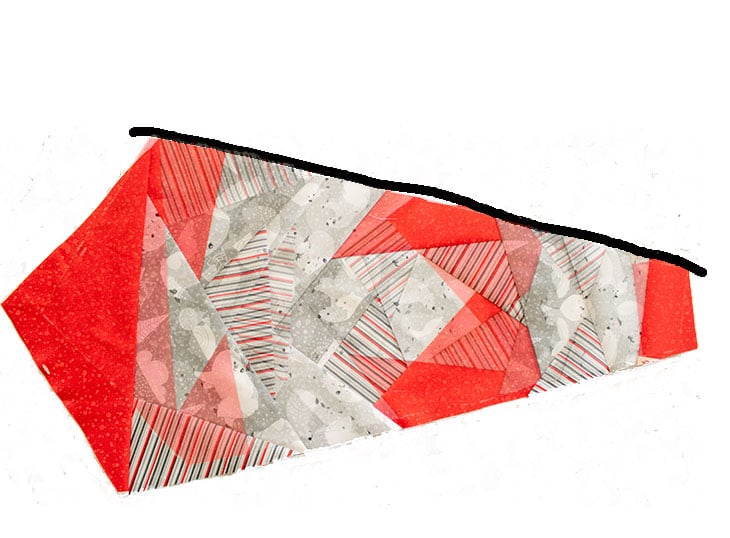
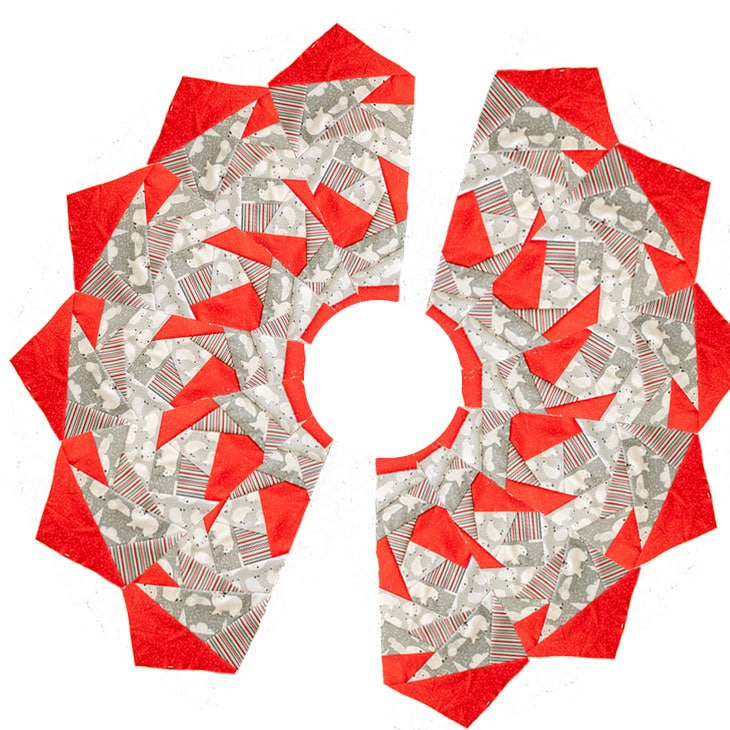
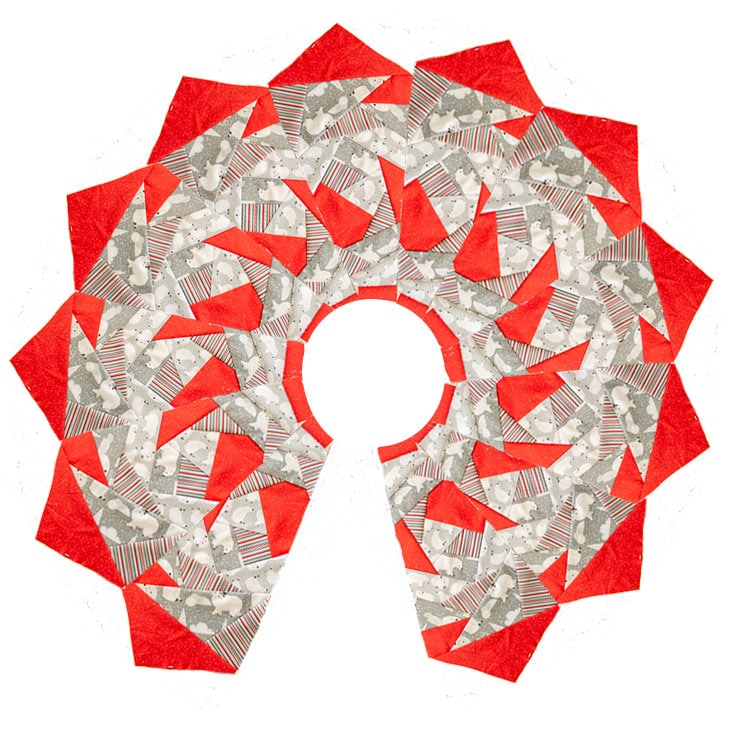

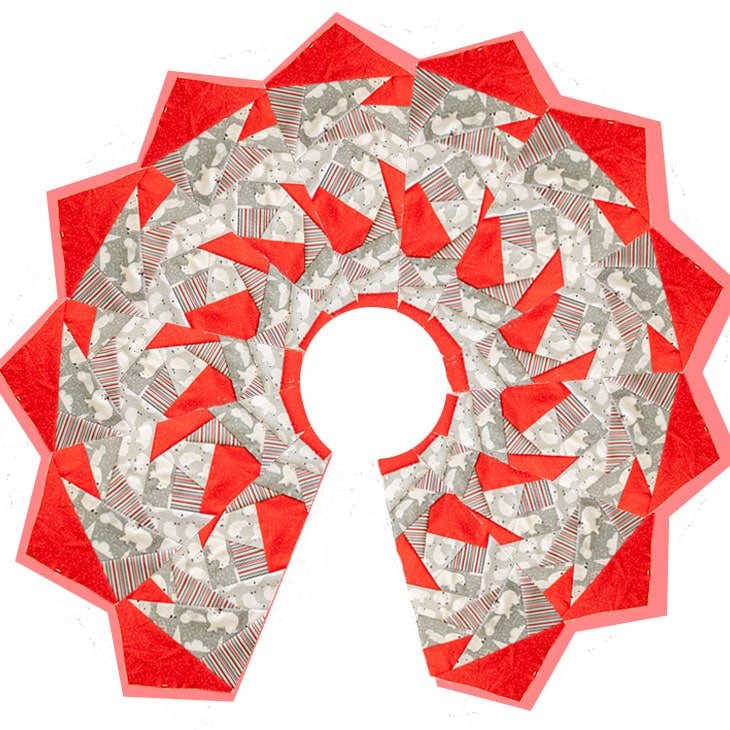
Next, Trim around so the backing is the same size. I was a little generous when I trimmed as you can see above, but in reality you want them about the same size.
use two ribbons or make two strips for the ties (to keep the skirt around the tree) Just create a narrow rectangle about 10″ long and sew right sides together, close one short end and turn right side out.
Place the front and back together with right sides touching. Tuck the ties inside the skirt before you sew it together. They will then be on the outside when its turned. The black below represents my ties tucked in between the layers of fabric.
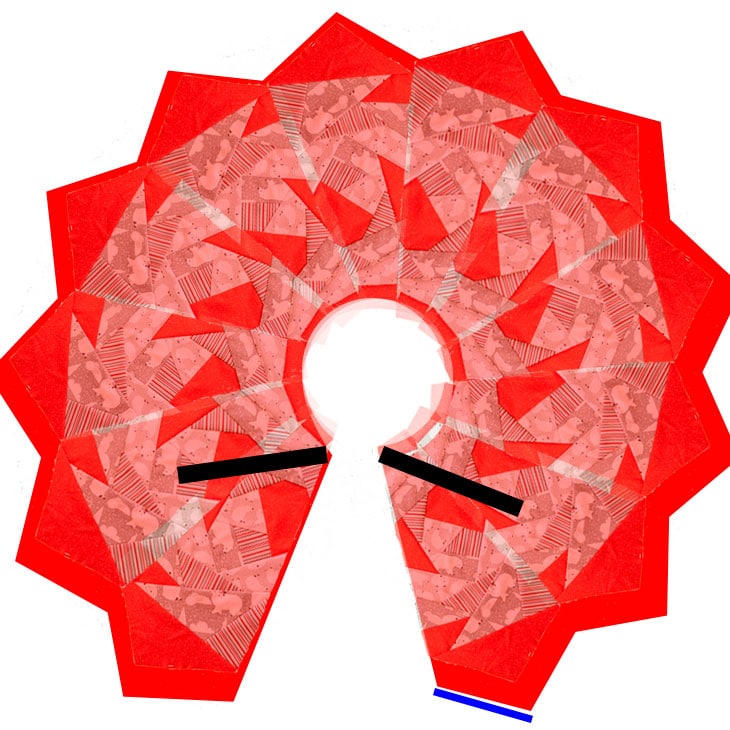
Clip the points, corners and the curve around the center before you turn.
Sew the opening closed. Press all the seams.
I decided to top stitch around the whole thing, and down the lines where each of the twelve sections are connected. This is optional..
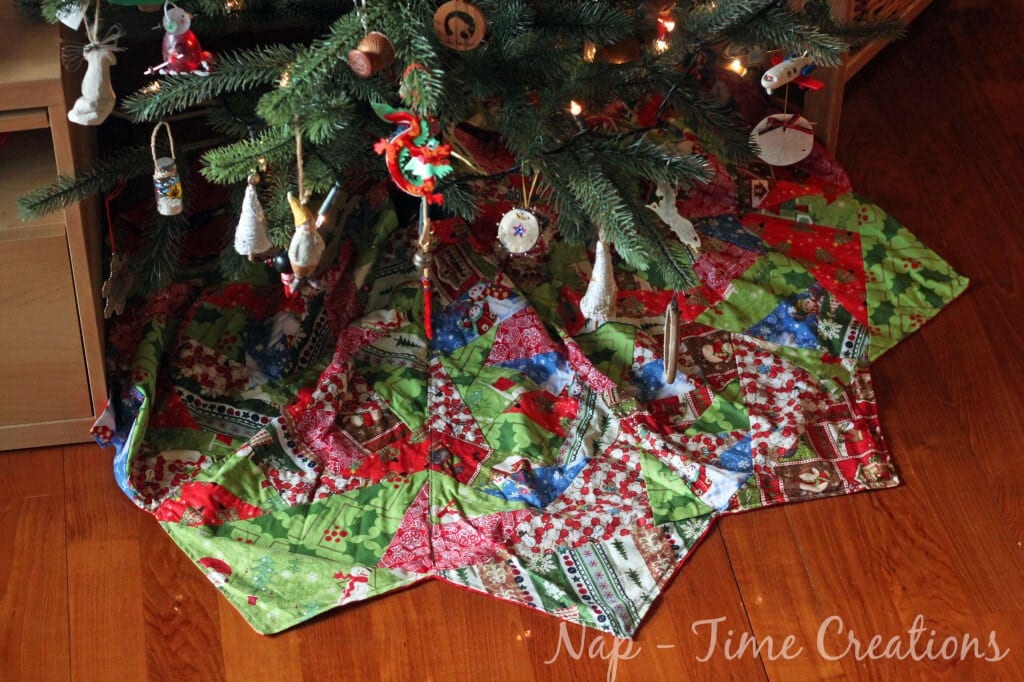
and… You’re FINISHED!!! I would love to see any pictures you take using this pattern! Share in the FB group! Please let me know if you have any comments or suggestions after trying this tutorial. Thanks!




Laura says
Christmas already?? I love it! What beautiful fabric.
Creating Sarah says
This is a really cute pattern! I love it!
Chef in Training says
LOVE this! SO cute and the fabric is beautiful!
I would love it if you would share this and/or any other projects you have been up to at Tuesday Talent Show at Chef In Training Tomorrow! Plus there is going to be a fun giveaway too! Thanks so much and I hope to see you there!
-Nikki
http://chef-n-training.blogspot.com/
Ashley says
thanks for sharing! such a good idea!!! I would love you to link up at Tell me Tuesday!!!
thanks
ash
Bethany @ A Fish Who Likes Flowers says
Thanks for such a great tutorial! You’re tree skirt turned out beautiful! I’m not quite ready for Christmas just yet, but I might have to give this a try after I get done with some Halloween crafting.