inside: Sew a color blocked t-shirt with this easy sewing tutorial. Free sewing pattern and color blocked t-shirt tutorial to sew a beautiful shirt with color blocking.
Recently I sewed a pdf pattern for myself from Hey June Handmade and I loved the style. I also thought it would be easy to recreate for Rose with one of my free sewing patterns. Today I’m going to show you how to create a color blocked t-shirt with this easy sewing tutorial.
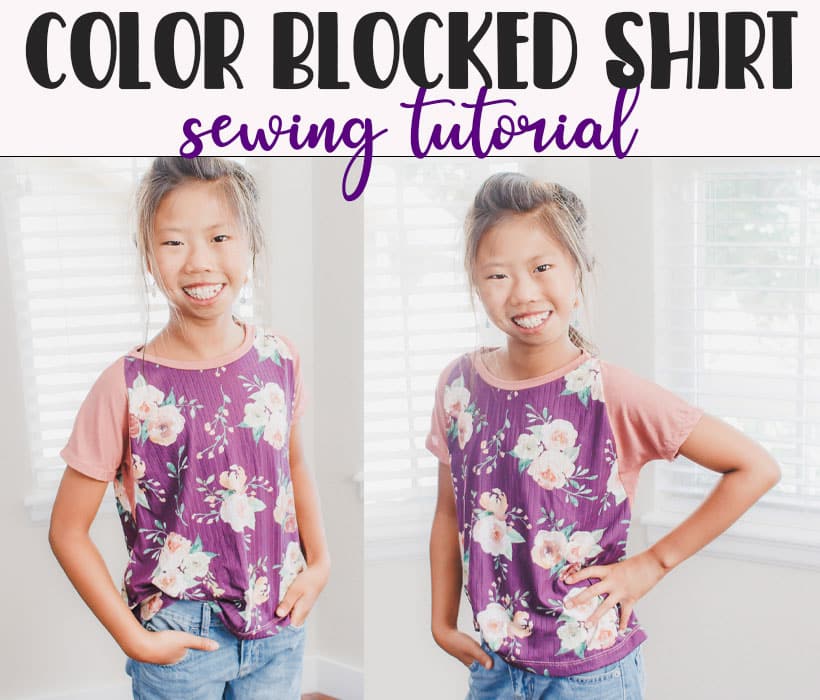
Color blocked t-shirt with free pattern
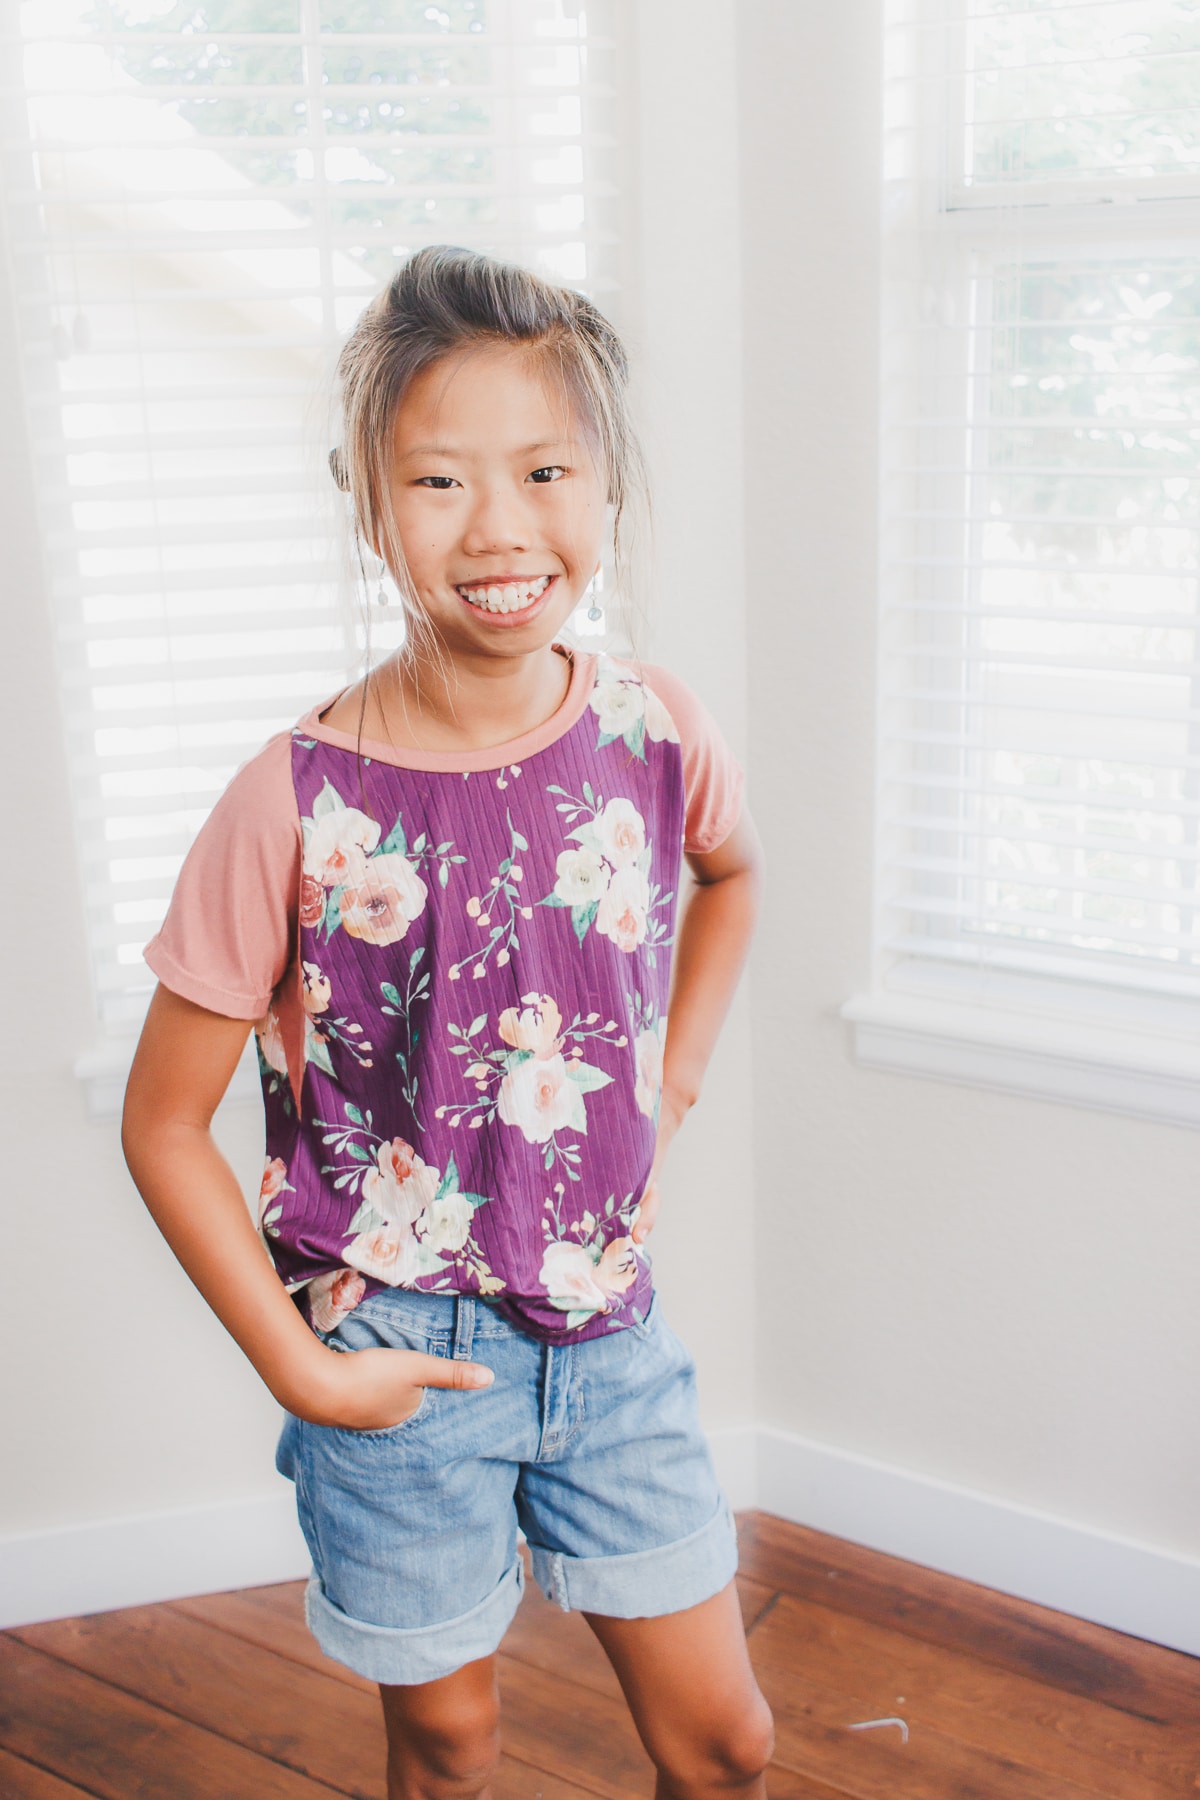
This shirt turned out just as I was hoping. It took just a few simple modifications to one of my free kids patterns to create this look. Here are a few more shots of this color blocked shirt.
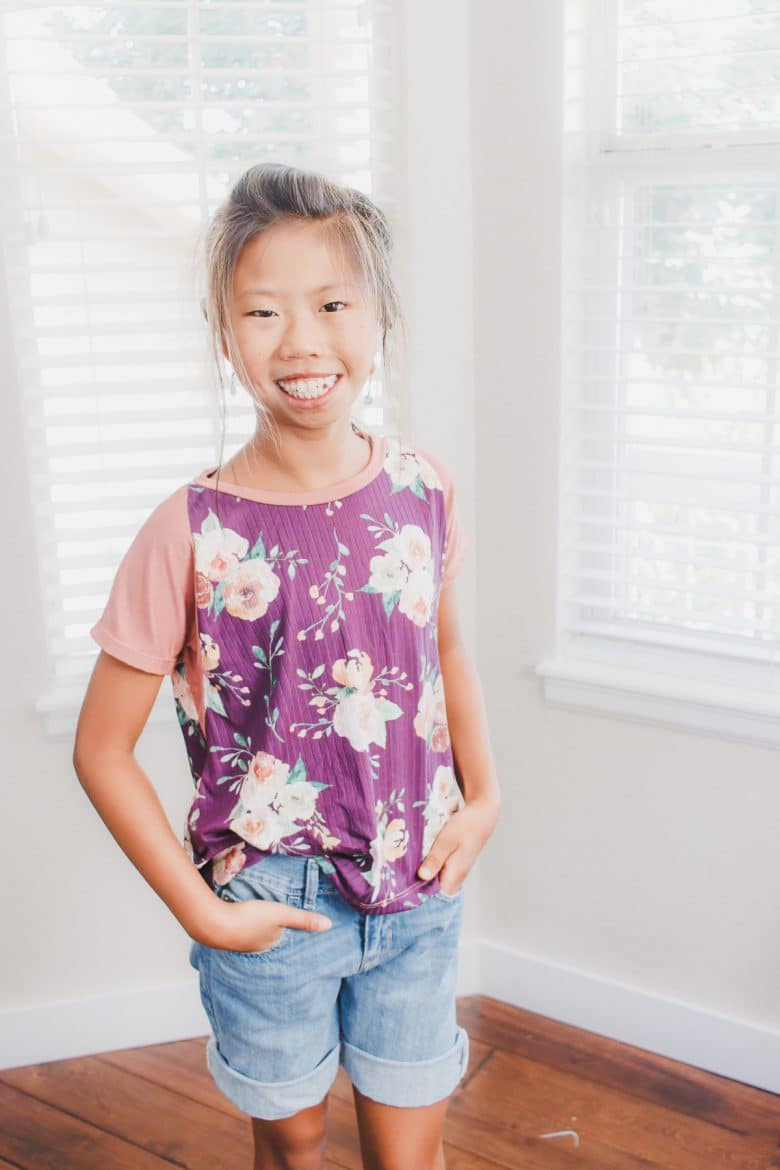
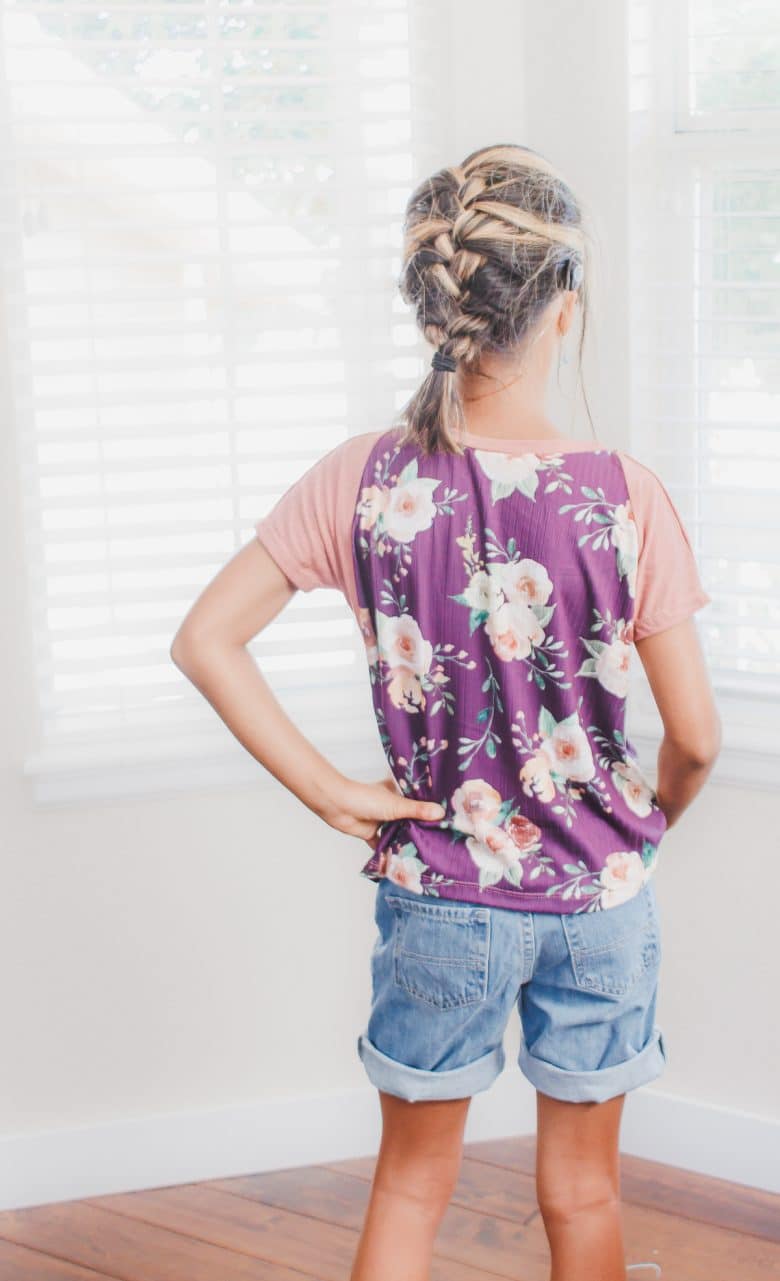
I made Roses shirt out of the same fabric as mine, only the reverse colors. I had these two fabrics in my stash and I’m loving how the two go together. The floral is a rib knit from Raspberry Creek fabrics and the pink I’m not sure where I got it.
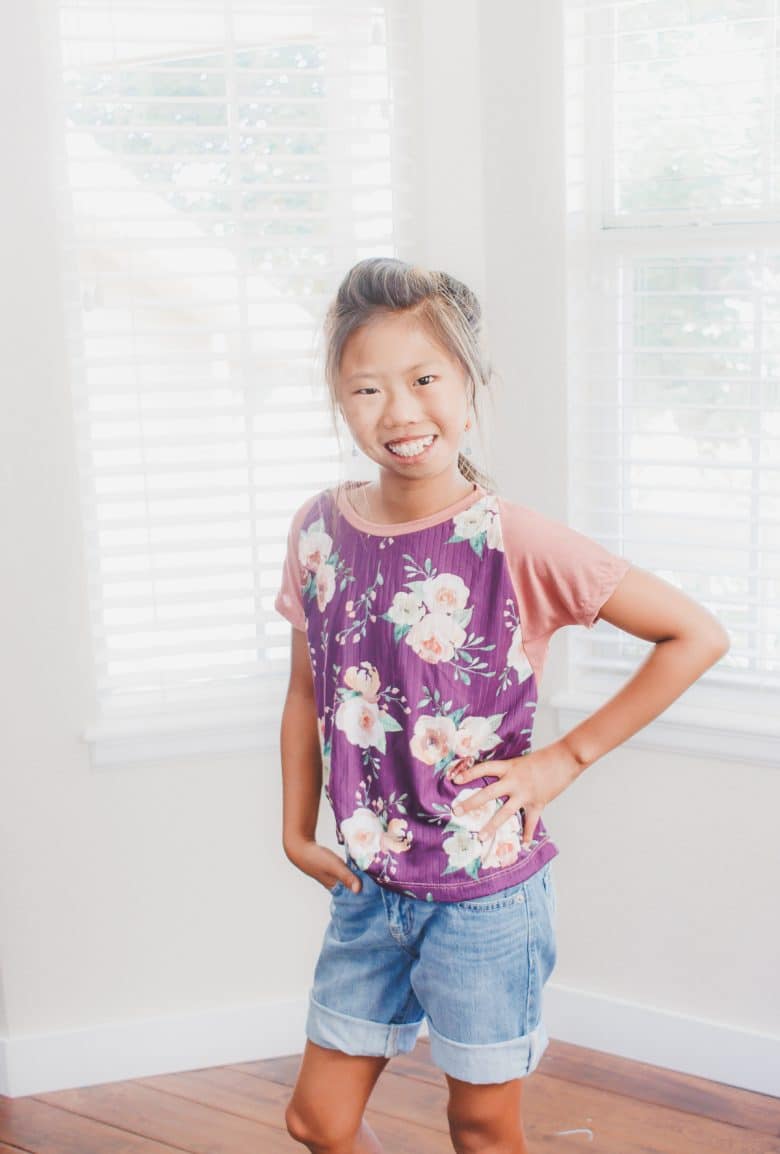
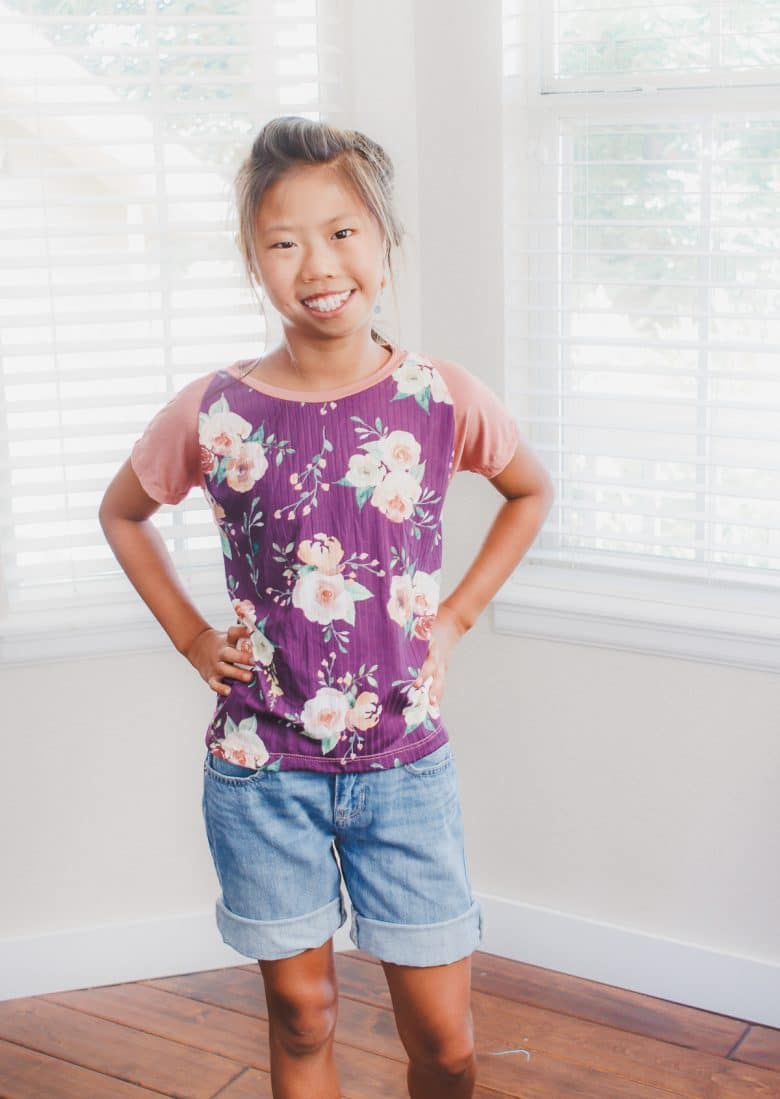
Also, aren’t Rose’s shorts cute? We got them for school and we actually bought boys shorts at The Children’s Place and with a few rolls on the bottom they are adorable for her!
How to create a color blocked shirt
This is a super cute look to recreate! It’s also super simple to sew.
Supplies for creating this shirt with color blocking:
- knit fabric
- two coordinating colors around 1/2 yard each
- Free Crop Top pattern for base
- Tissue paper for tracing.
That’s it! It’s super super simple. Print and assemble the kids drop top pattern as directed. If you need help downloading, printing and assembling the pattern, see this tutorial. Trace the size you need onto tissue paper.
The original crop top is the dotted line in the center. From the underarm I extended the length and the width. I wanted the bottom flared out just a few inches.
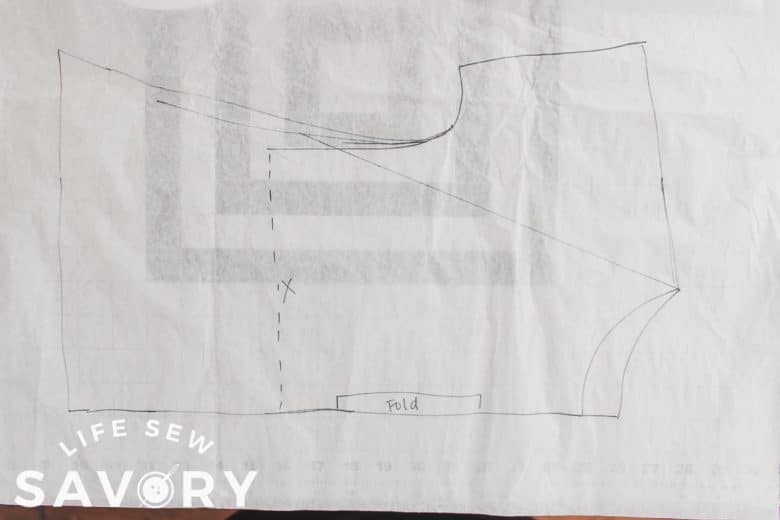
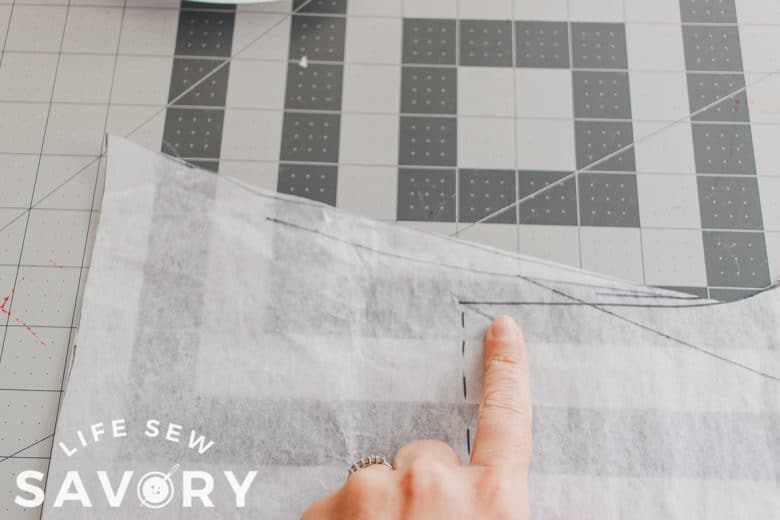
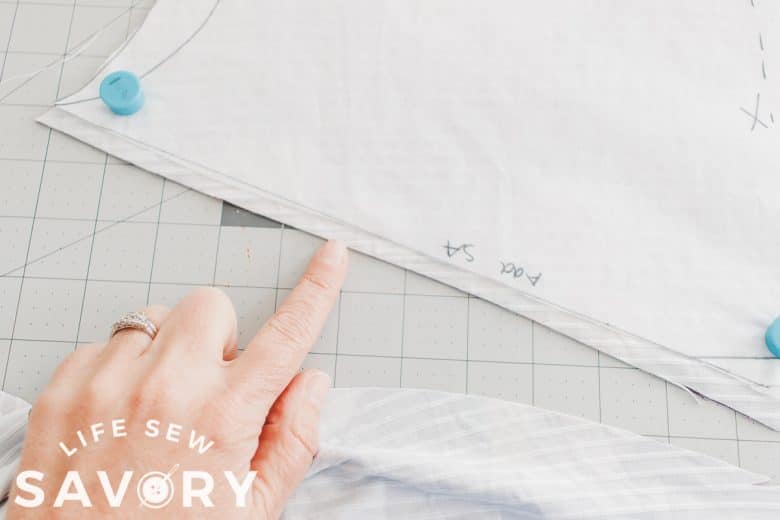
For the color blocking draw a diagonal line from the edge of the neckline to a few inches below the under arm. I also like to make note of where I cut the original pattern so I can add seam allowance when I cut the fabric.
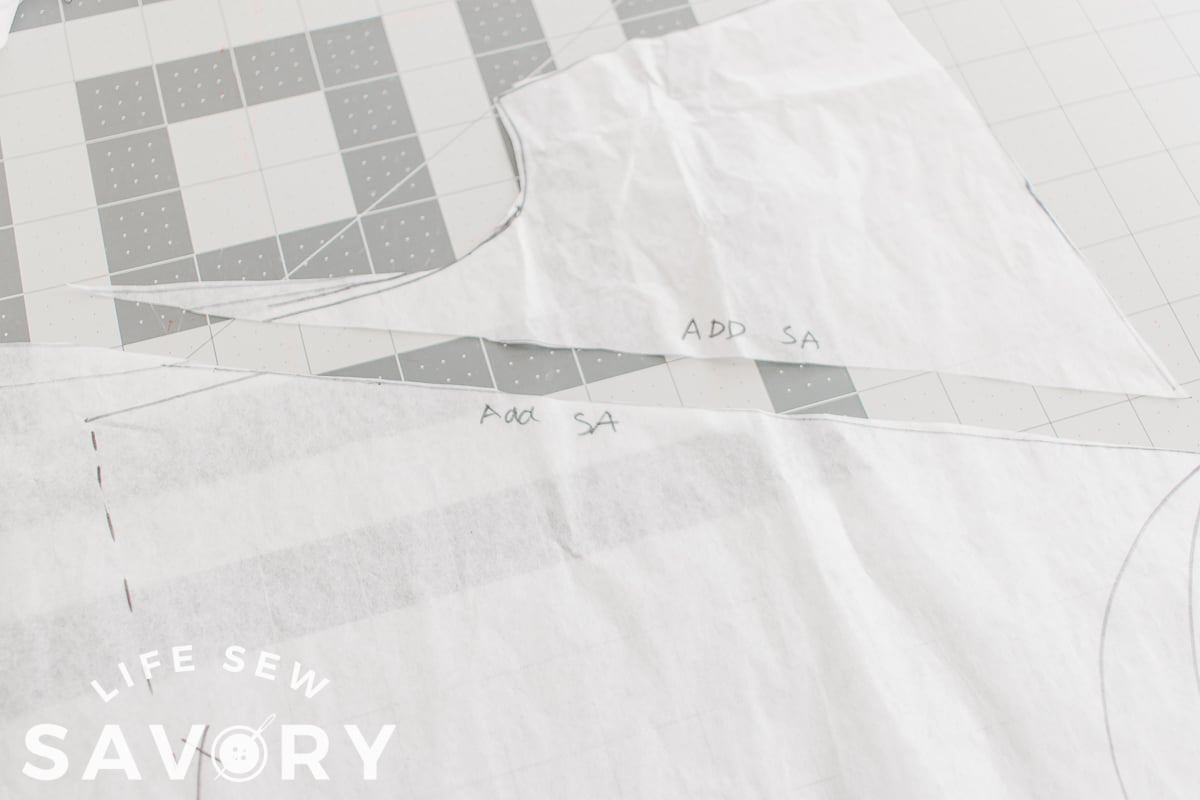
Add seam allowance to both sides of the cut pattern. I like to sew with a 3/8″ seam allowance, so that is what I added to my pattern.
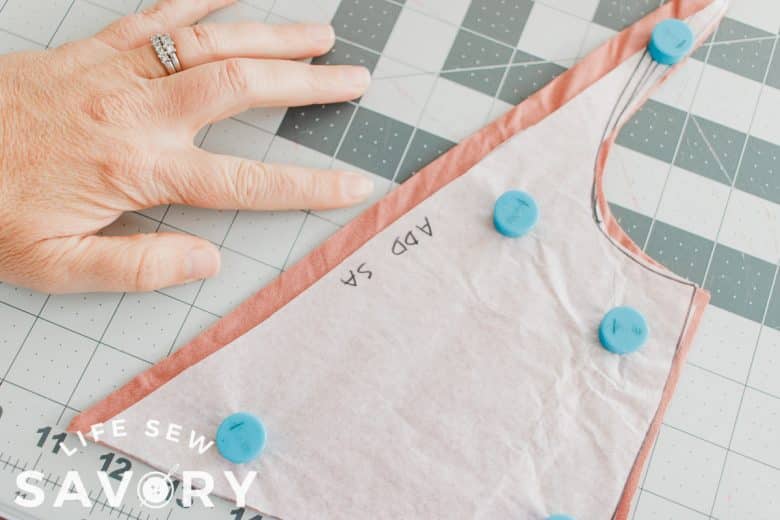
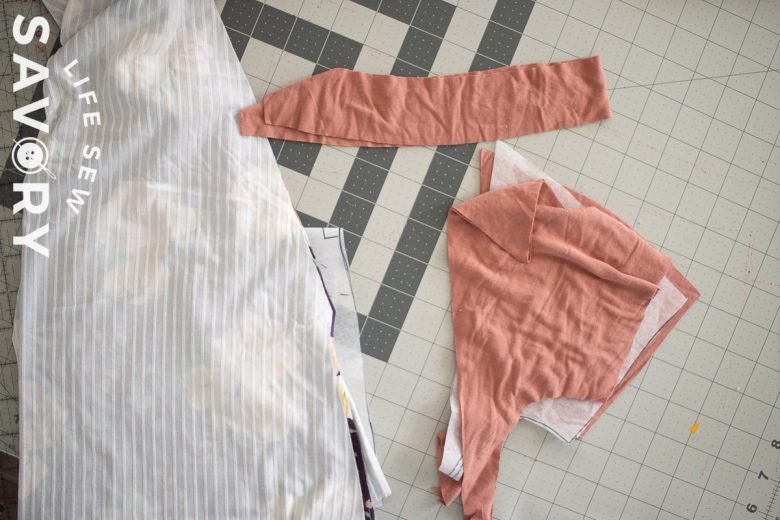
When you have the pieces cut out you should have. Four sleeve pieces, one front on fold, one back on fold and a neckband. I cut my own neckband at 1.75″ wide and about 20″ long. I didn’t measure length, just used what I needed. Need help sewing your neckband? See this tutorial for more details.
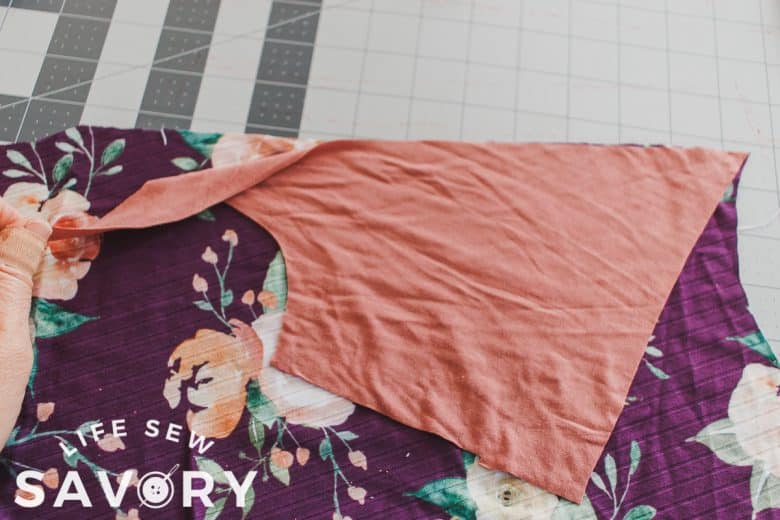
Start by sewing the front back together where you cut the pattern. Place the sleeve right side together matching the neckline and down to the side of the shirt.
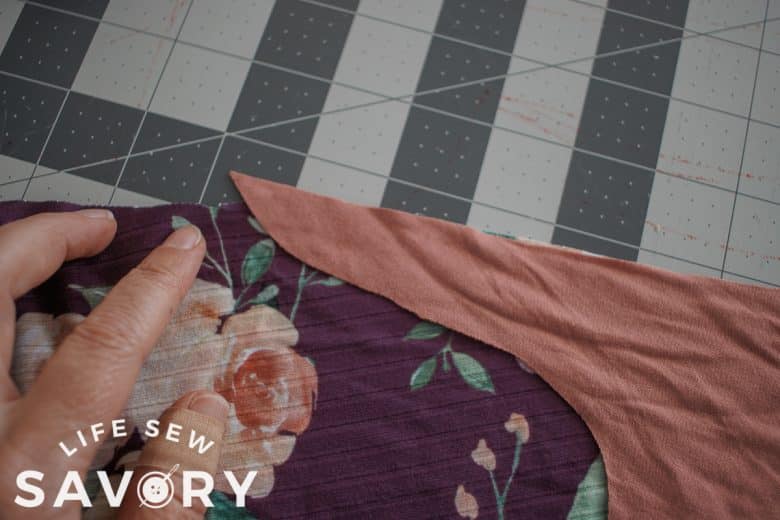
Sew with a serger or knit stitch {keep the fabric stretchy}
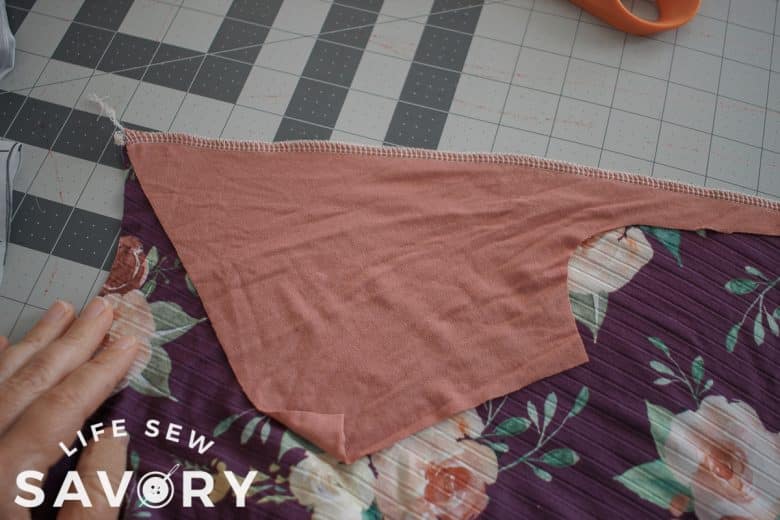
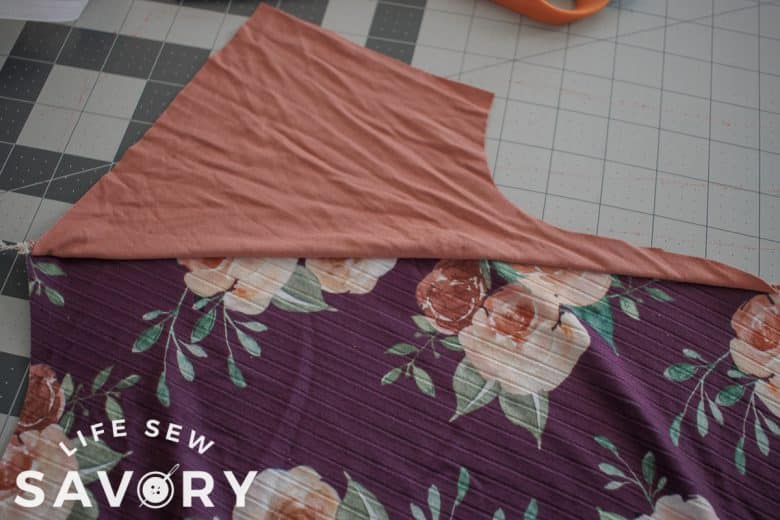
After the front is complete, sew the sleeves on the back of the shirt as well. Place the front and back shoulder together and sew one shoulder.
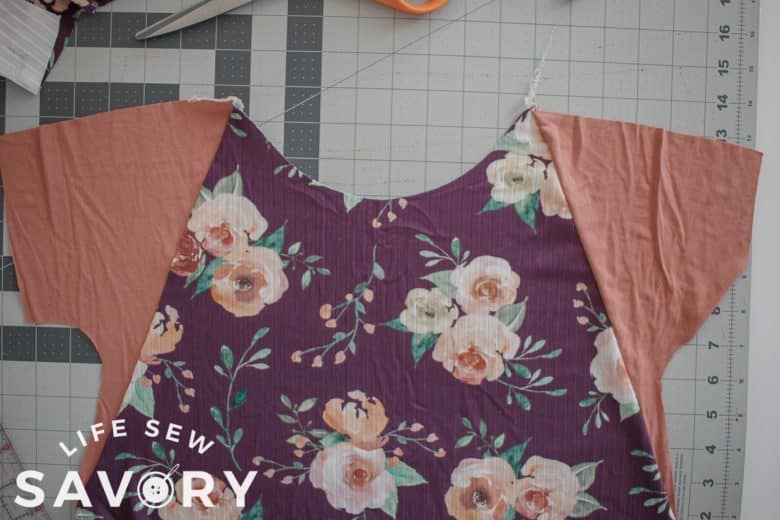
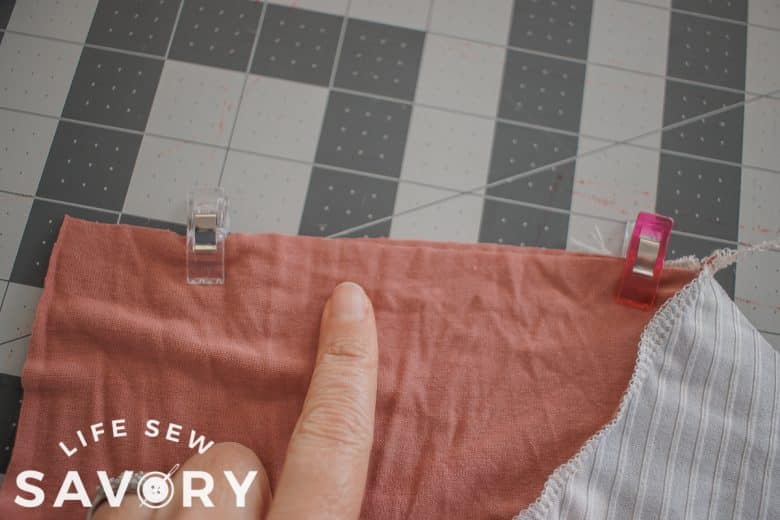
Open up the neckline and sew the neckband to the neckline.
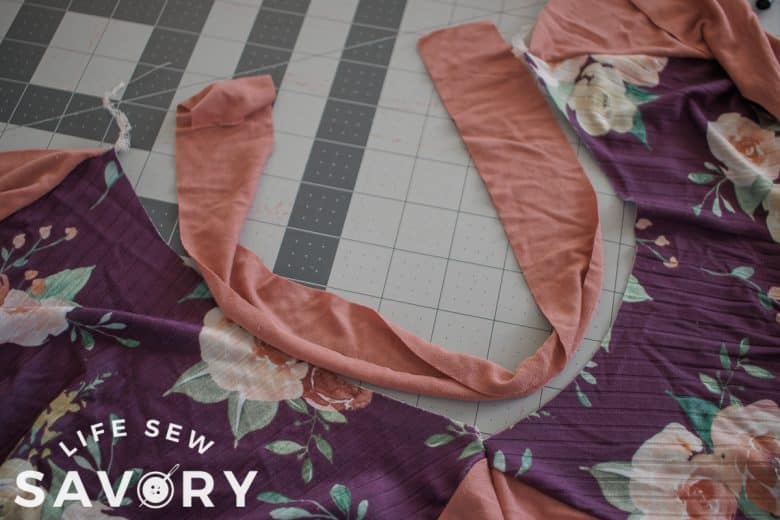
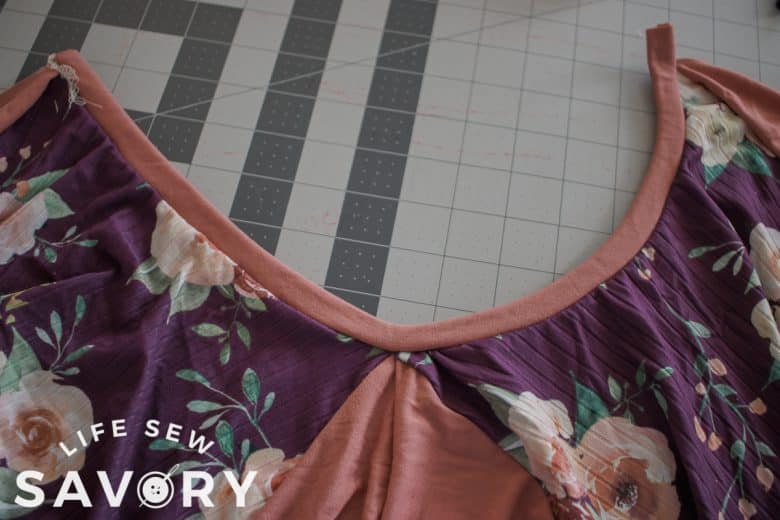
Place the second shoulder right sides together and sew across the shoulder.
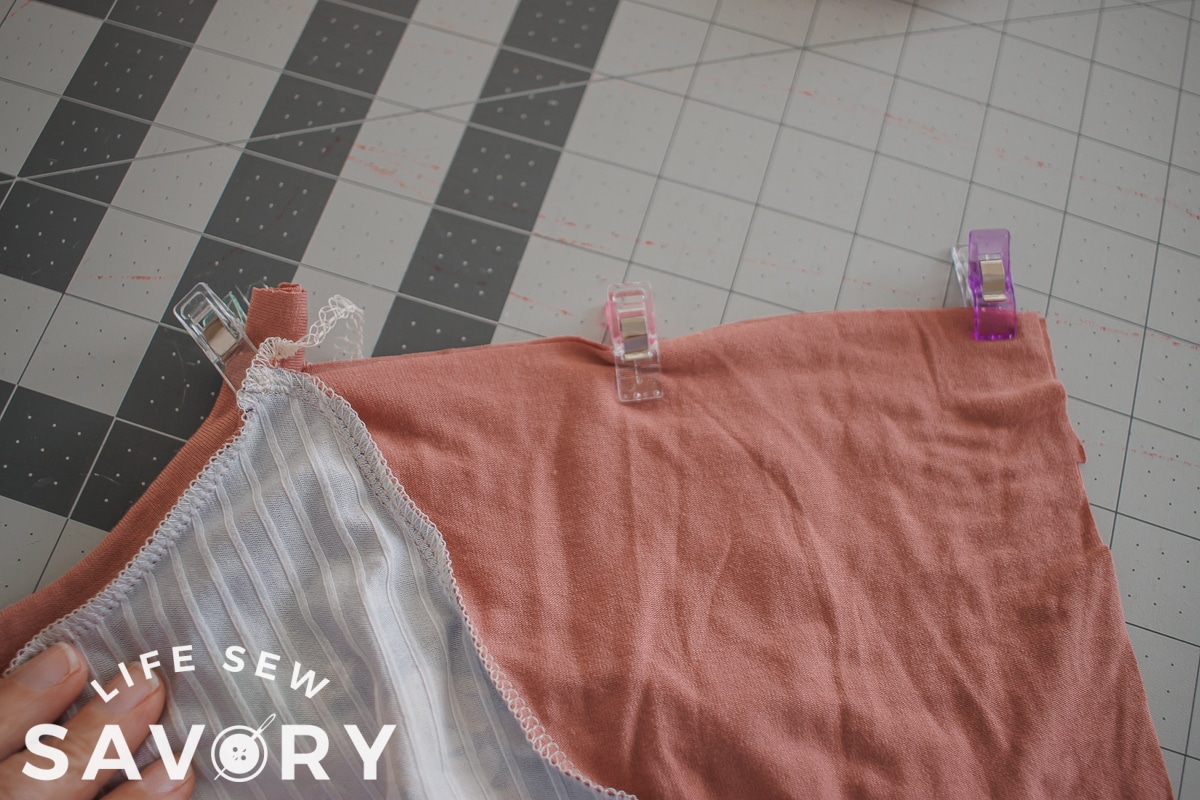
Sew the side seams of the shirt. Match the color matching at the sides, then sew.
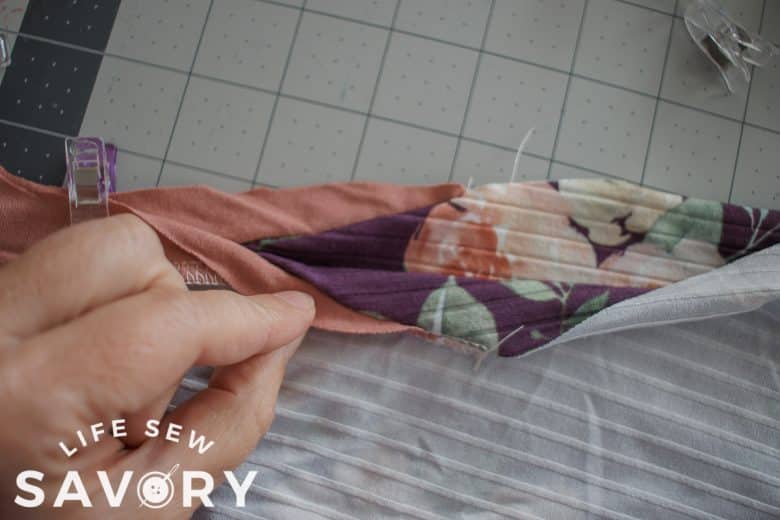
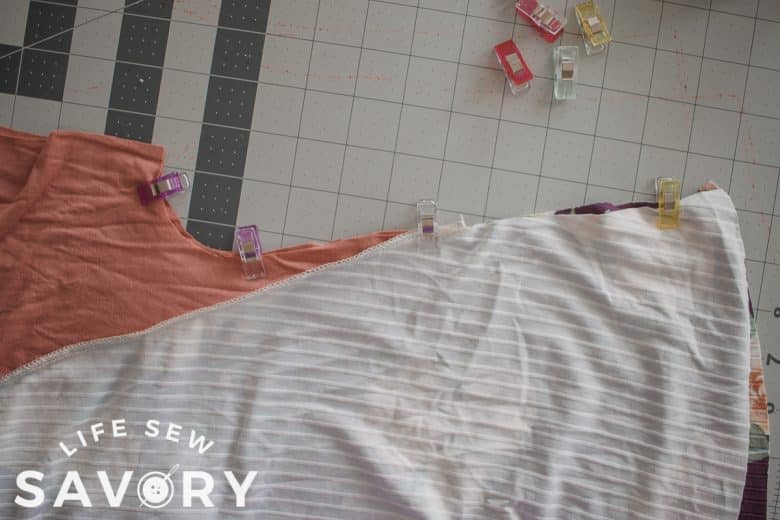
Here are the side seams sewn.
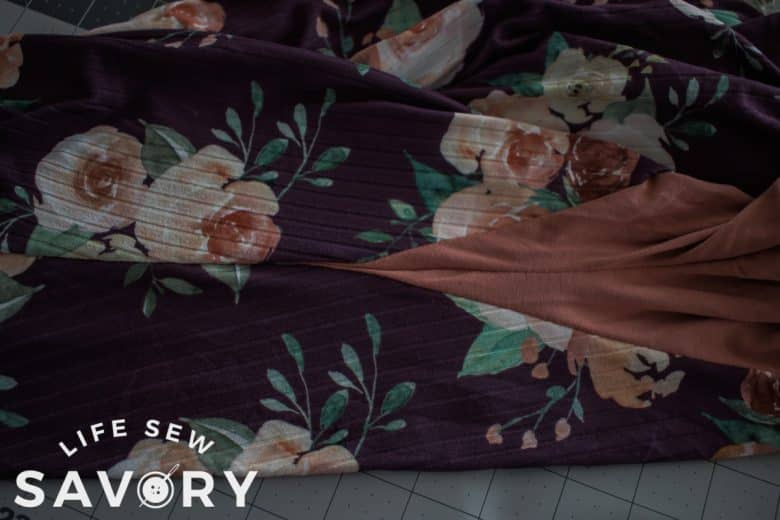
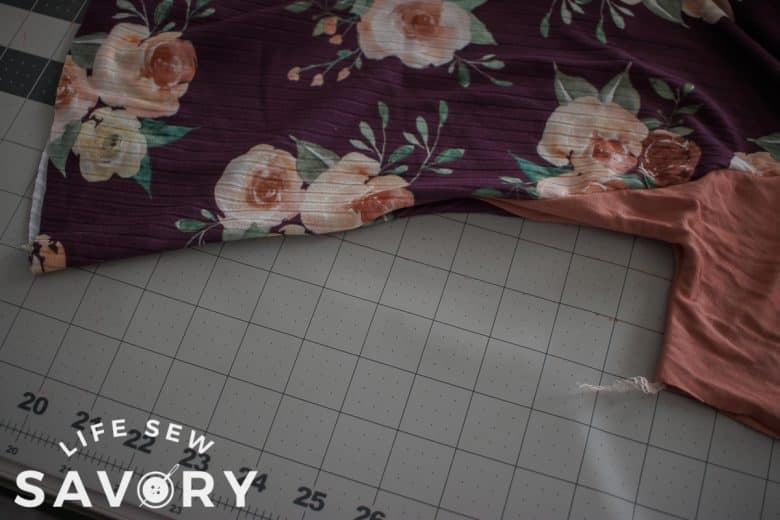
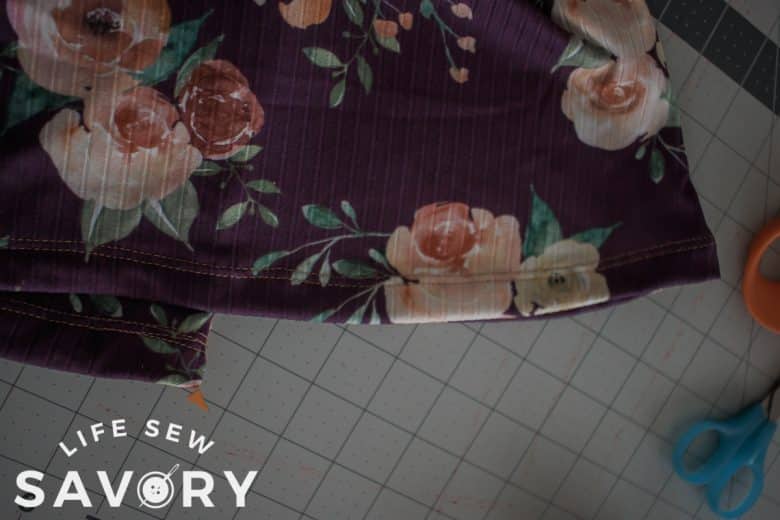
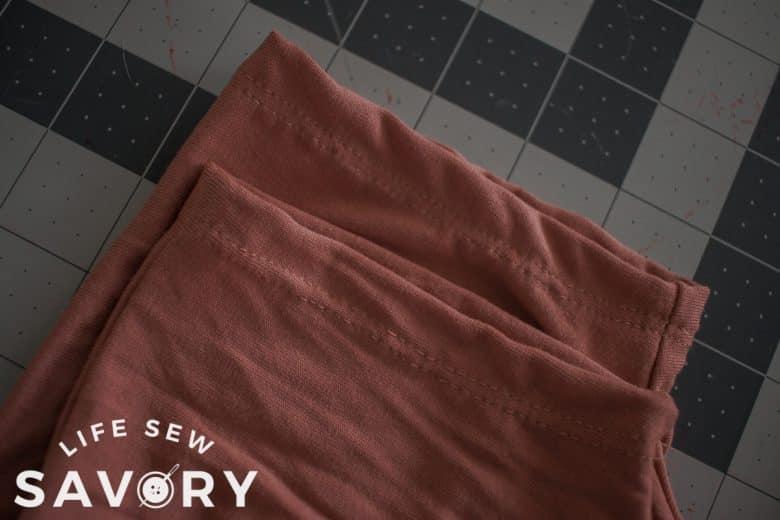
Finally, hem the bottom of the shirt and the sleeves. Need help hemming knit fabric? Check out my how to hem knit fabric tutorial.
And that’s it! Your shirt is complete and so so cute!!








Leave a Reply