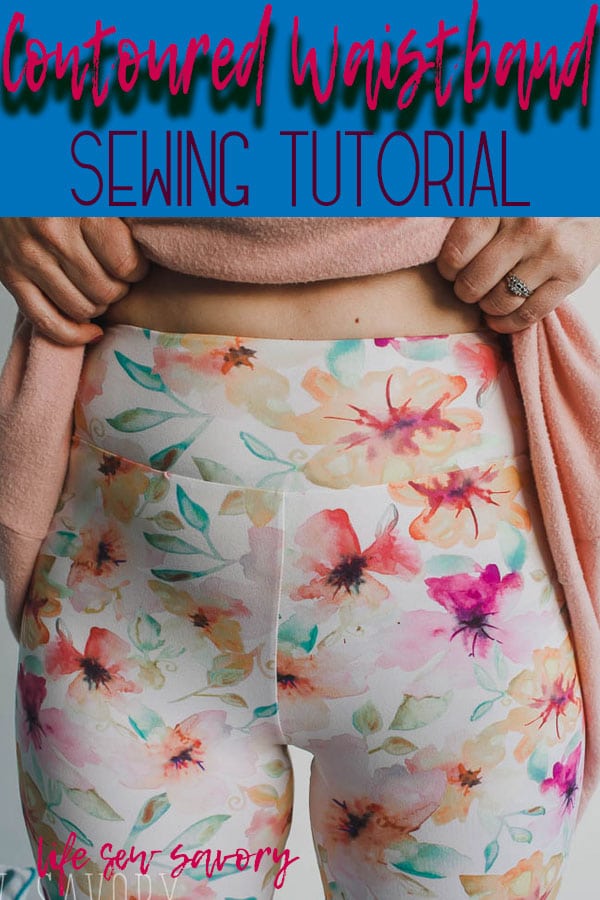
inside: Use this contoured waistband sewing tutorial to sew a waistband for leggings.. use for for any leggings pattern. This tutorial will show you a contoured band option to add to your leggings.
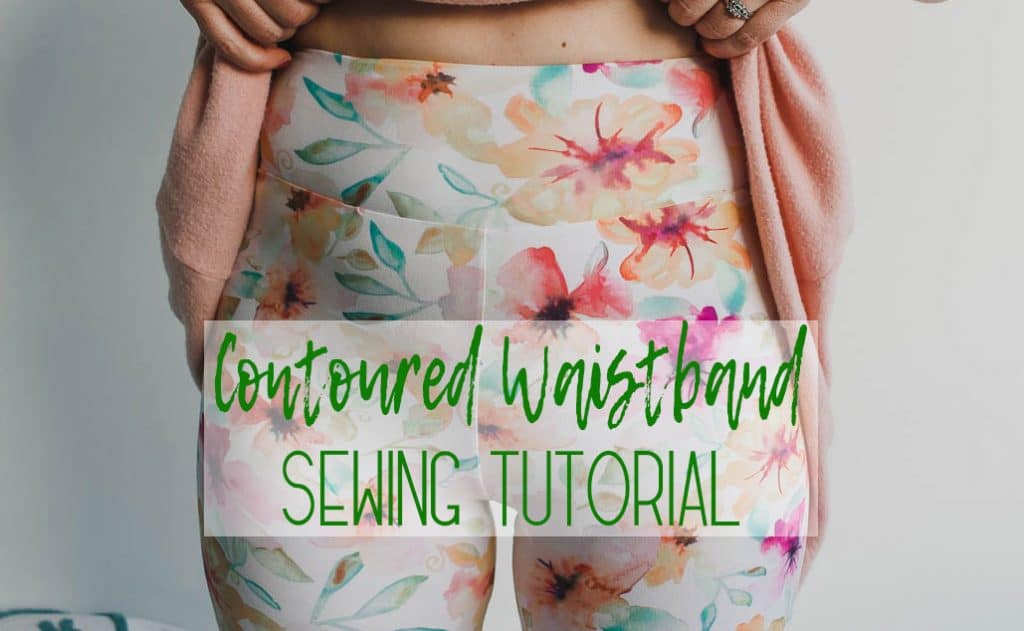
I’ve always sewn leggings with just and elastic waistband, but lately I’ve been experimenting with adding a contoured waist. This tutorial will walk you through adding a contoured waistband to any legging pattern. You can use my free leggings pattern linked here or any you have that you like.
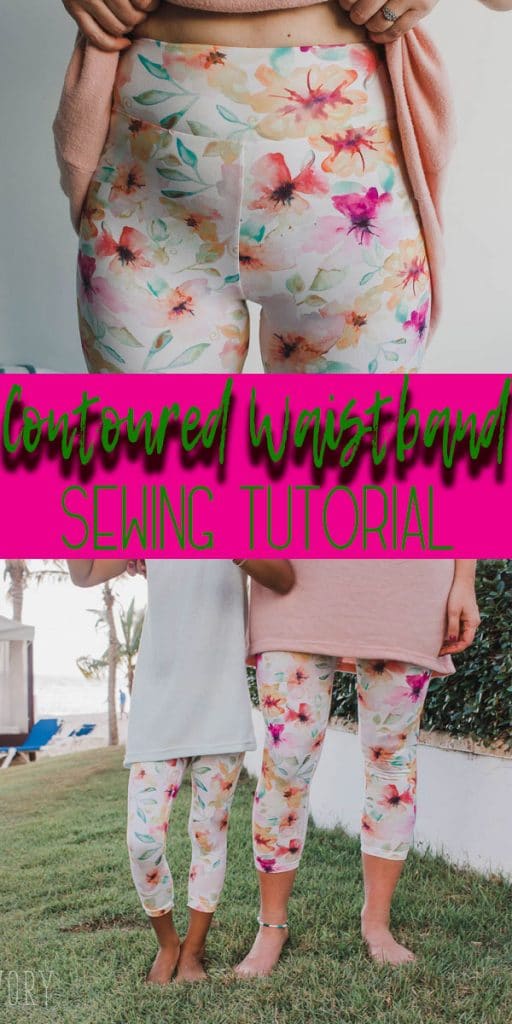
Spring Leggings with Contoured Waistband –
This sewing tutorial will detail how to add a contoured waistband to my women’s free legging pattern, but you can certainly use it with any leggings pattern you like in any size.
The leggings fabric in this post is from Raspberry Creek fabric and is Double Brushed Poly, you can buy here.
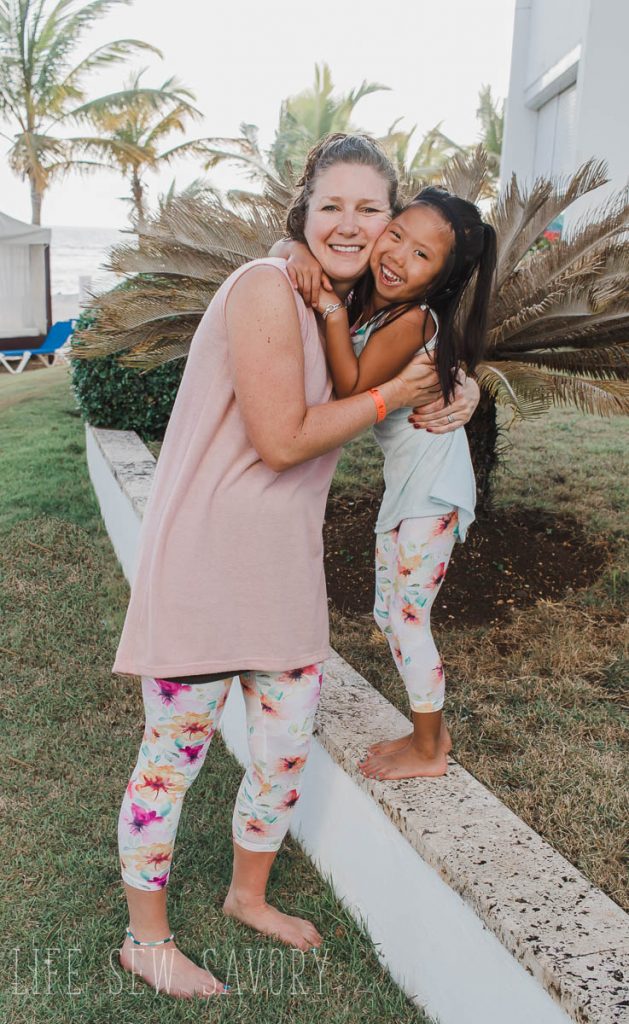
I’ve never been a huge fan of the contoured band on regular leggings {I love it on my workout leggings though} But I know that many women love this kind of waistband, so I thought I would write a tutorial for it.

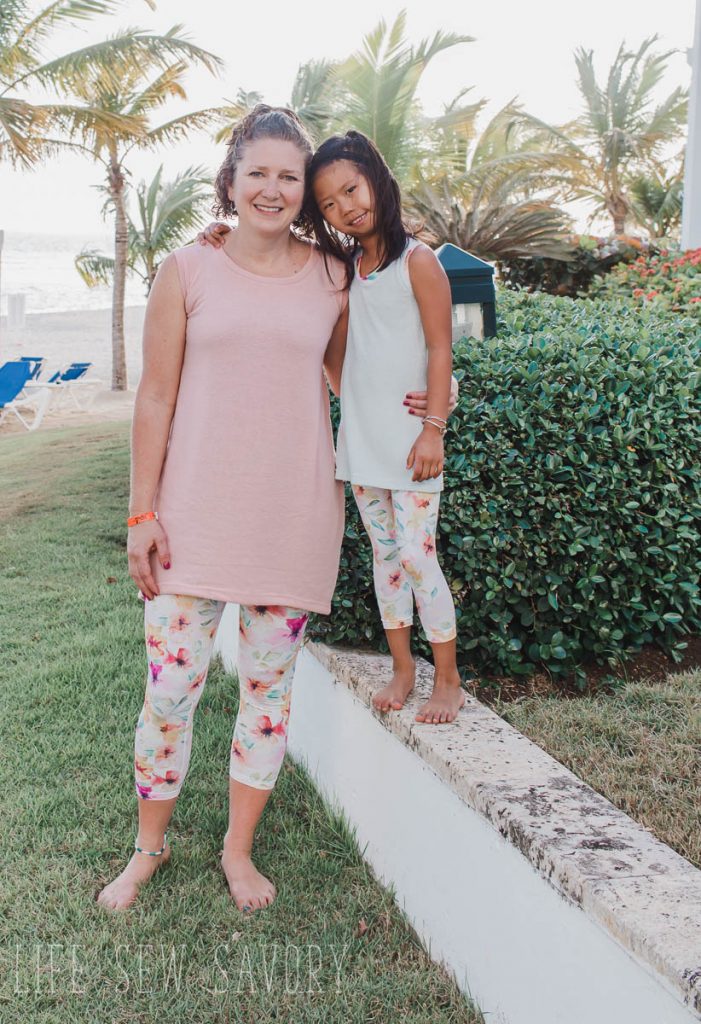
Since I was sewing these beautiful springy leggings for this tutorial I thought I would complete the outfits. We are both wearing leggings made from my free patterns. {kids free leggings here} {Womens free leggings here} Also, I used two free tank patterns of mine lengthened for our tops. {Girls free tank pattern} {Womens free cross back tank pattern}
Contour Waistband sewing tutorial-
Supplies –
- Legging Pattern {my free womens pattern here}
- 1/4″ Clear Elastic
- Serger preferred, but you can do this all with a knit stitch on a sewing machine. I love my Brother Serger.

Begin by altering your pattern slightly before cutting. I knew I needed to trim the top of the pattern or the waist would be super high with the new band. You can either measure a pair of leggings/pant that you like or measure your body from apex of legs to 1″ under your belly button. Note that measurement and use it to fold over the top of the leggings pattern.
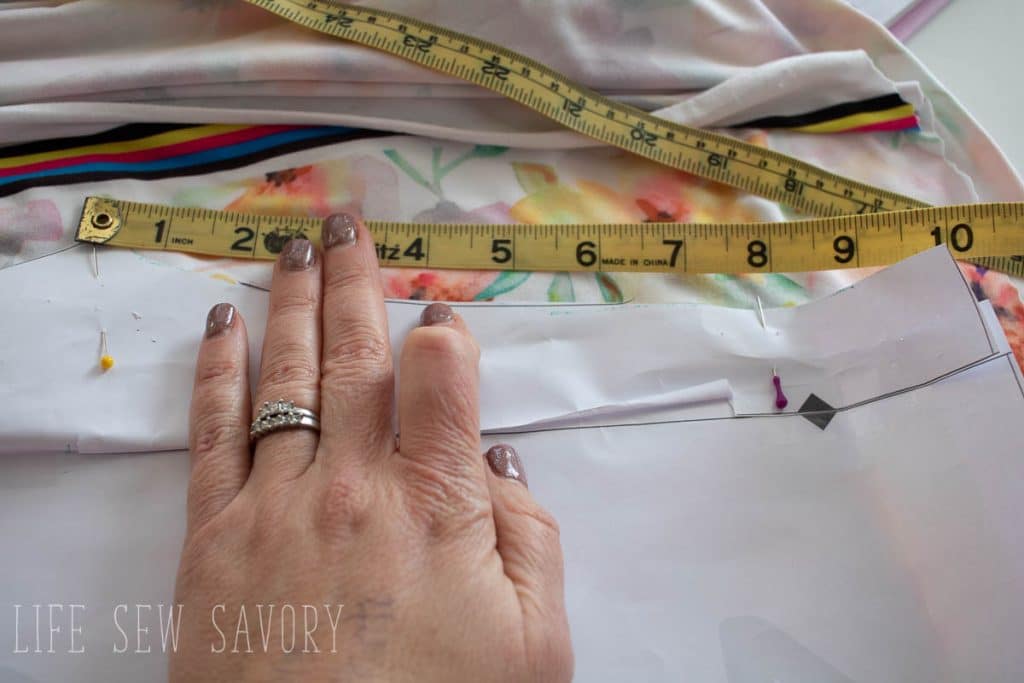
Now you can cut out and sew up the leggings as directed, but don’t do anything to the top edge.
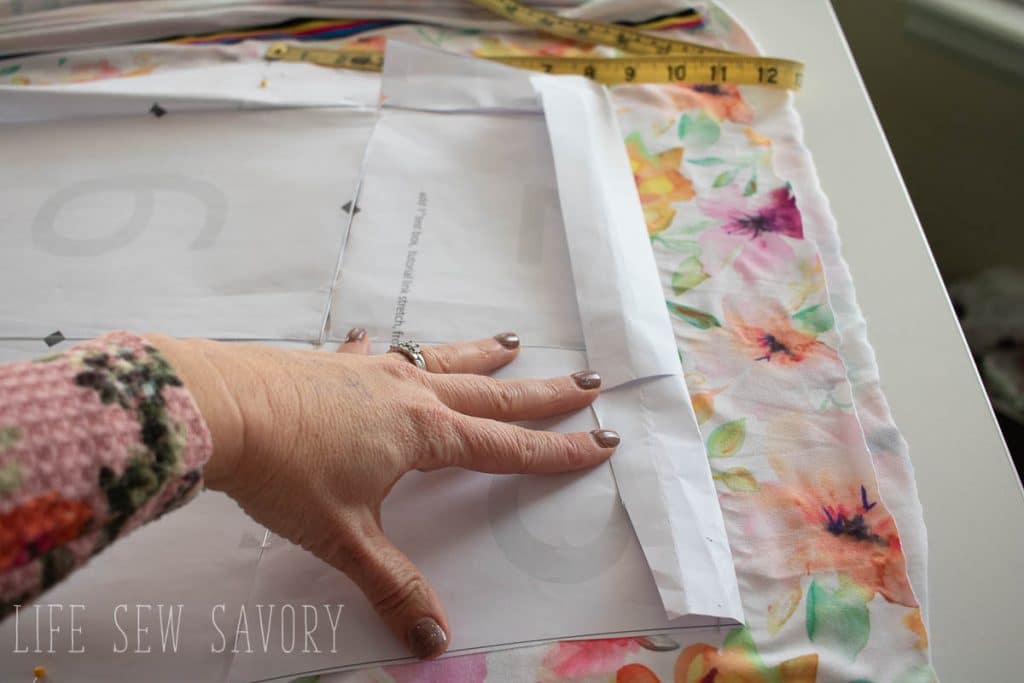
To prepare the waistband lay your leggings out flat and measure across the front. The center front and back seam should be on top of one another and you can use pins or clips to mark the sides. The back rise will be higher than the front. Ex: From side to side the leggings measure 14″. Subtract an inch from each side for the waistband for sizes xs-m and 1.5″ from each sizes for size L and up.
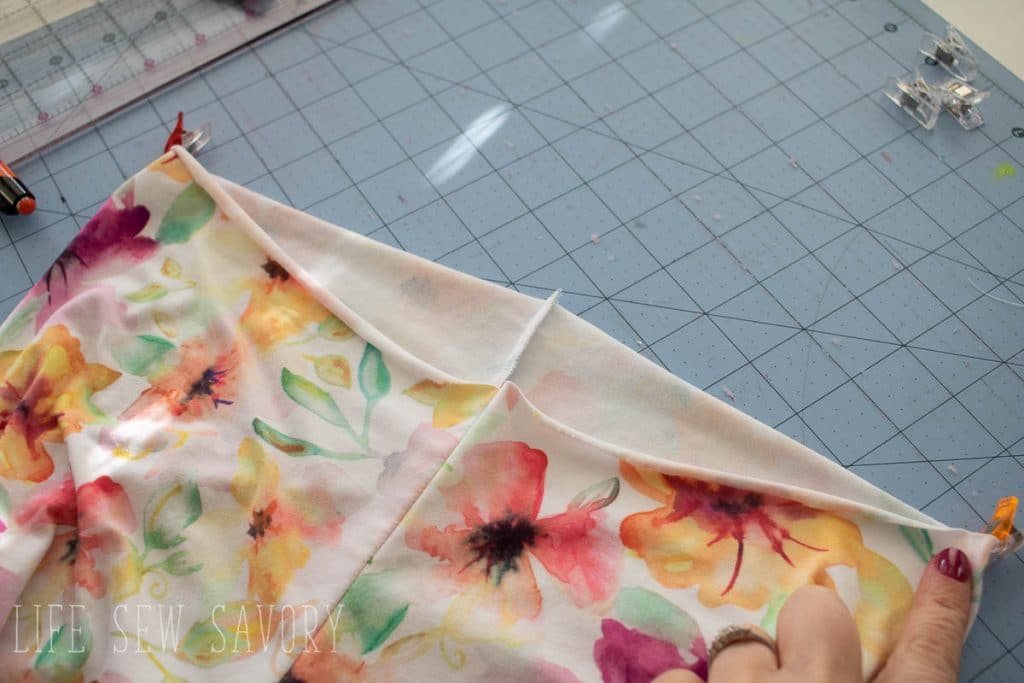
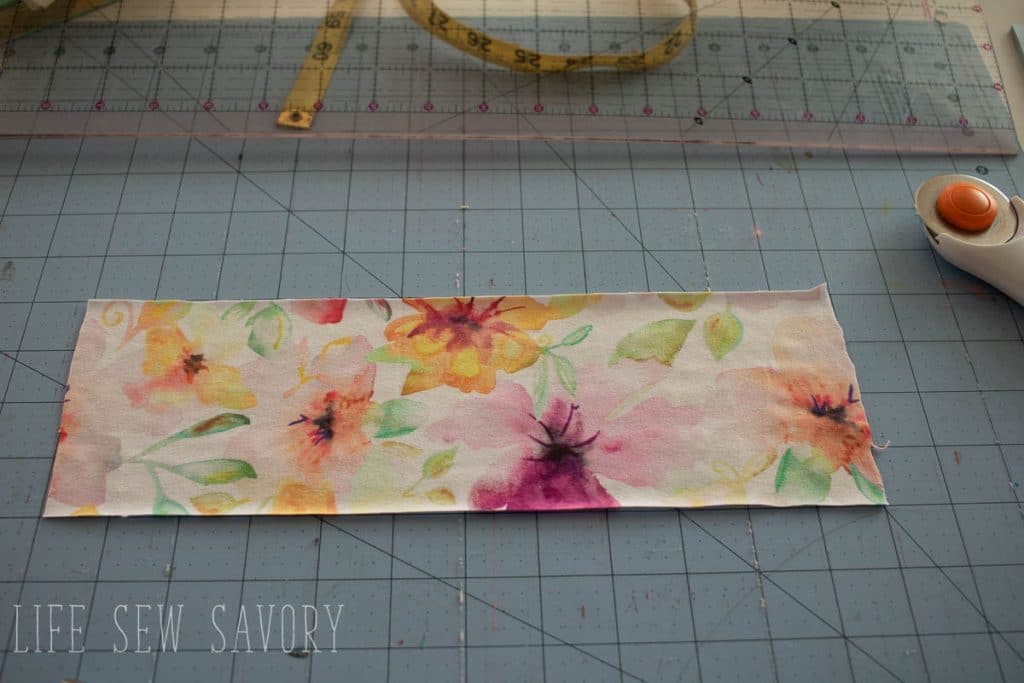
Measure and cut FOUR waistband pieces 4″ tall x the lenght you measured. My example above would have waistband pieces 4″ x 12″ and I cut FOUR.
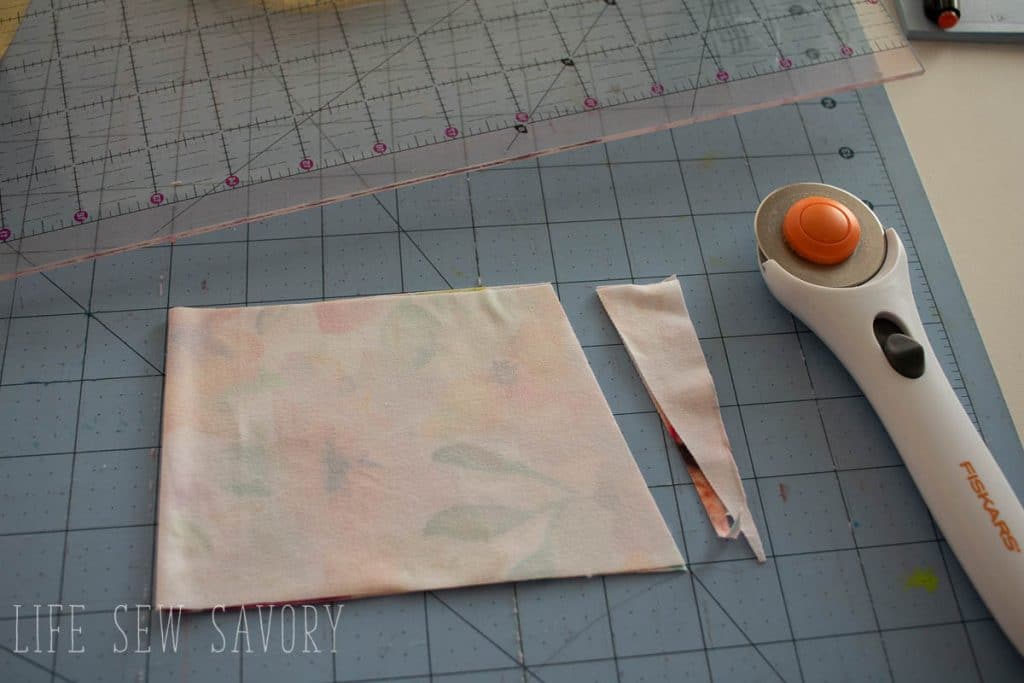
Now use a straight edge ruler to trim another inch from the TOP edge of the the waistband pieces. I do this by folding each piece and marking and cutting 1″ angled to nothing. Repeat with other three pieces.
With right sides together sew the side seams creating two wasitband pieces.
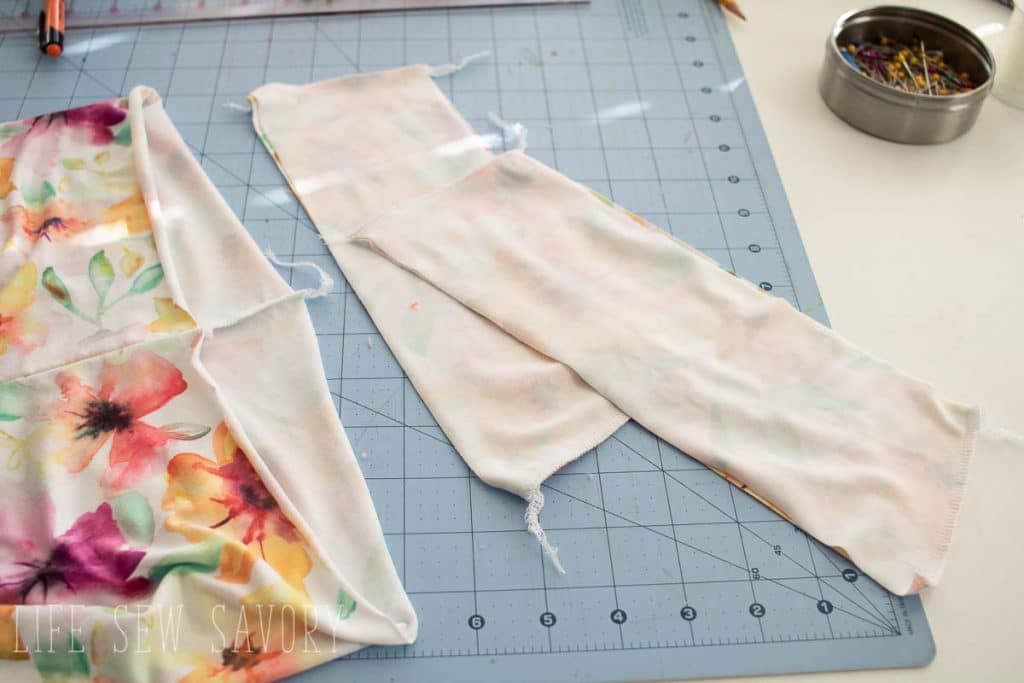
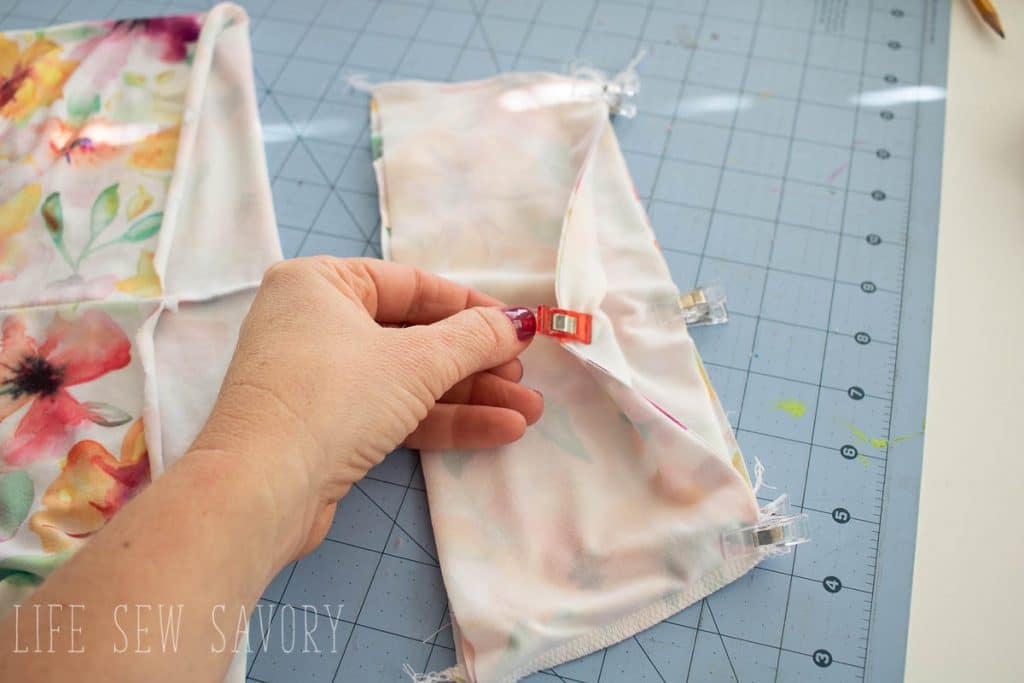
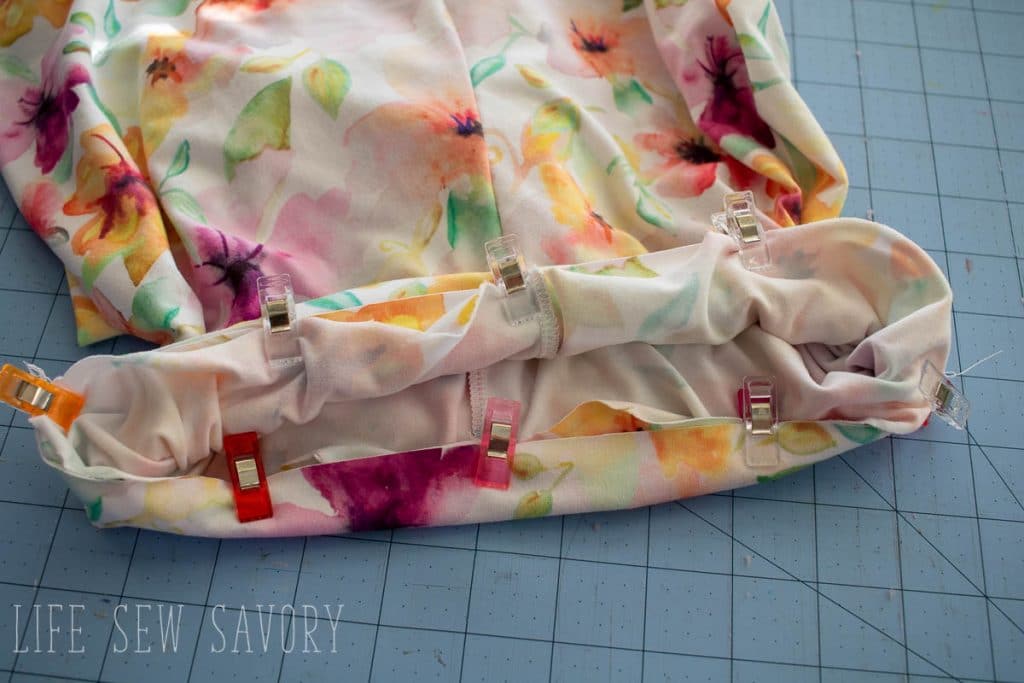
Place the right sides of the fabric together and pin or clip together. The clear elastic is optional, but it will help your leggings stay up better. Need a tutorial about adding clear elastic to your seams? See this tutorial.
Sew around the top of the waistband, adding elastic as you sew. DO NOT stretch the elastic, just let it feed as normal into the seams.
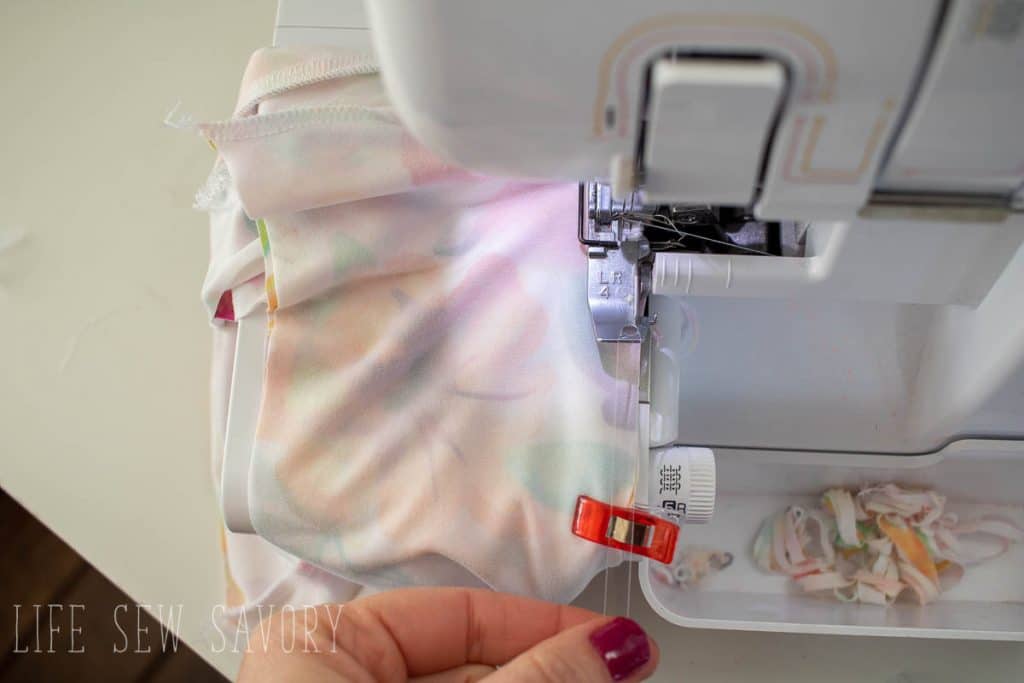
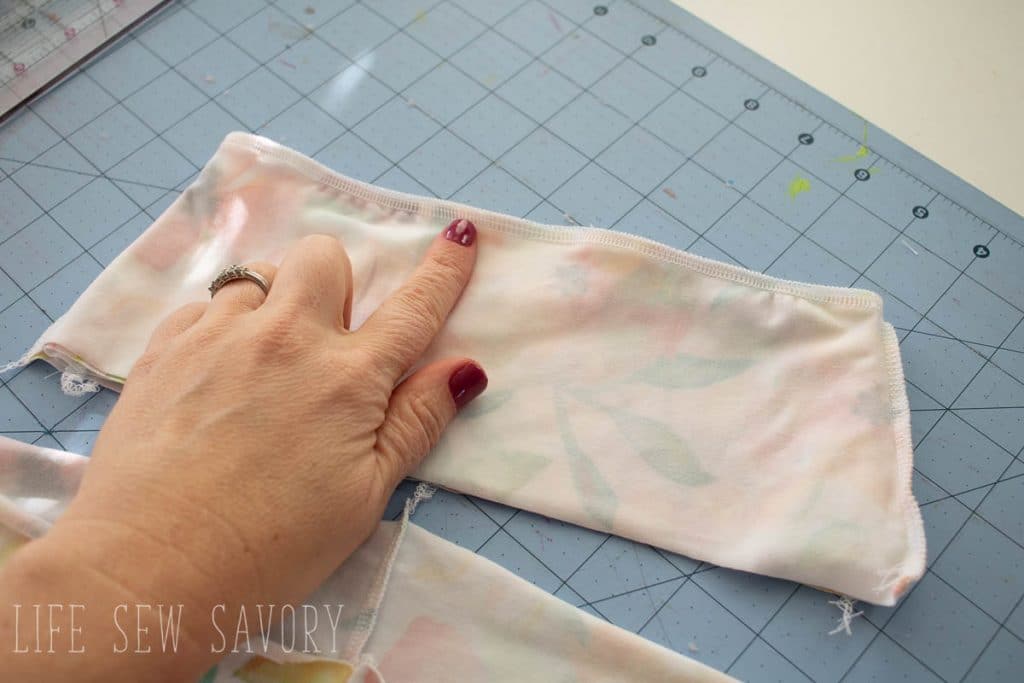
Turn your waistband right side out now and match the side seams with the markers on the sides of your leggings. Stretch the waistband to fit and sew the three layers of fabric together adding clear elastic again. {three layers are one of leggings and two of band}
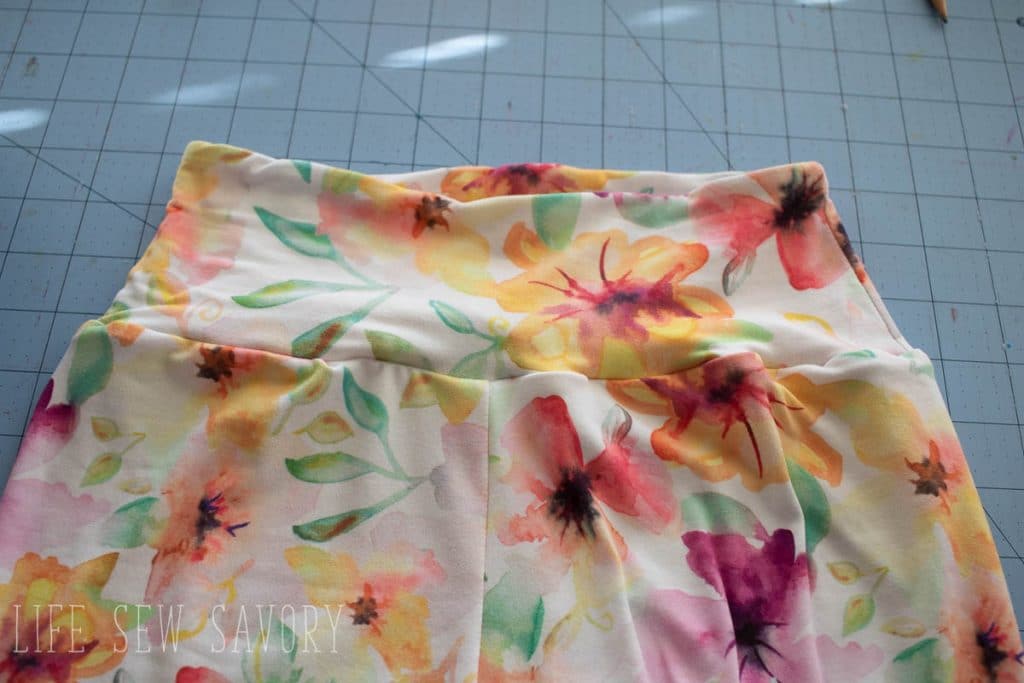
You now should have a lovely contoured waistband on your leggings.
Make up several pairs if you love them as much as I do. You can always see the original leggings post for elastic waistband information
Here are some great tops that would pair well with your new leggings { and they are all free!!} Many of these can also be lengthened to a tunic for wearing with leggings.







Kay Nicodemus says
Is the contoured waist pattern higher in the back than the front?
Paris Parsons says
I guess i dont understand the point of adding an elastic piece at the top of a wide waistband (admittedly, its a pet peeve of mine)
A good four way stretch material eliminates the need for it.
In my experience, if the waistband needs an elastic band sewn in, then theres a good chance it’s the type of material that bags out after a while
Is there another need for this that I’m just mot thinking of?