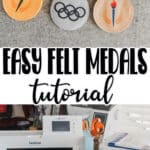
Inside: Learn how to create fun DIY felt Olympic medals to celebrate the games! Get into the Olympic spirit with these fun felt medals. Celebrate every moment this summer with a gold, silver or bronze medal.
**Post updated 7/2024- completely new tutorial**
My kids have loved felt medals since they were small {not so small anymore!} Who doesn’t want to be a gold medal winner! With these easy DIY medals you can hold competitions year round or celebrate when the Olympics come around every few years. This post was originally shared in 2014 for the Sochi Olympics and we have had versions of these several times over the years. Make sure you scroll down to check out some photos from the original post.
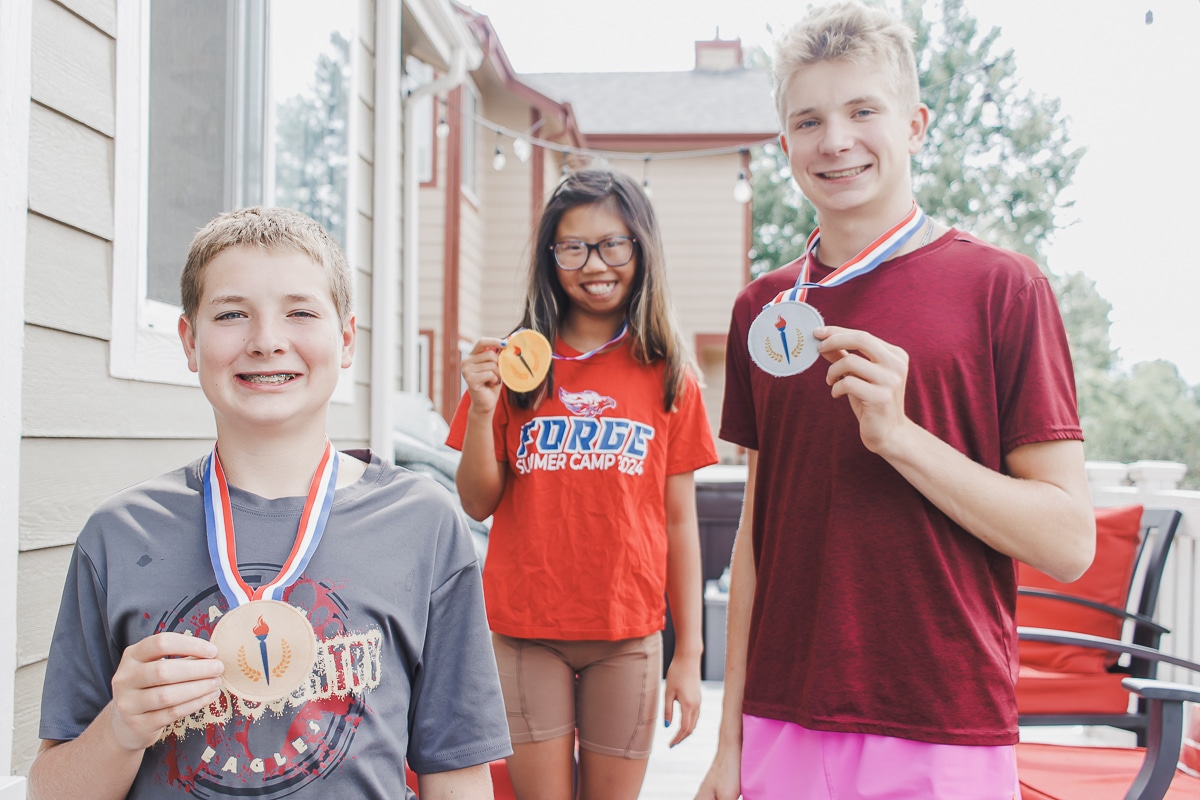
Felt Olympic Medals
I love the Olympics… the excitement, the thrill, the fun!! LOVE…love…LOVE!!! I grew up in the 80s and 90s without a TV in our home, but every four years we rented a TV to watch the Olympics…and stayed glued for those weeks to the magical box in the living room {yes you could rent tvs!!}
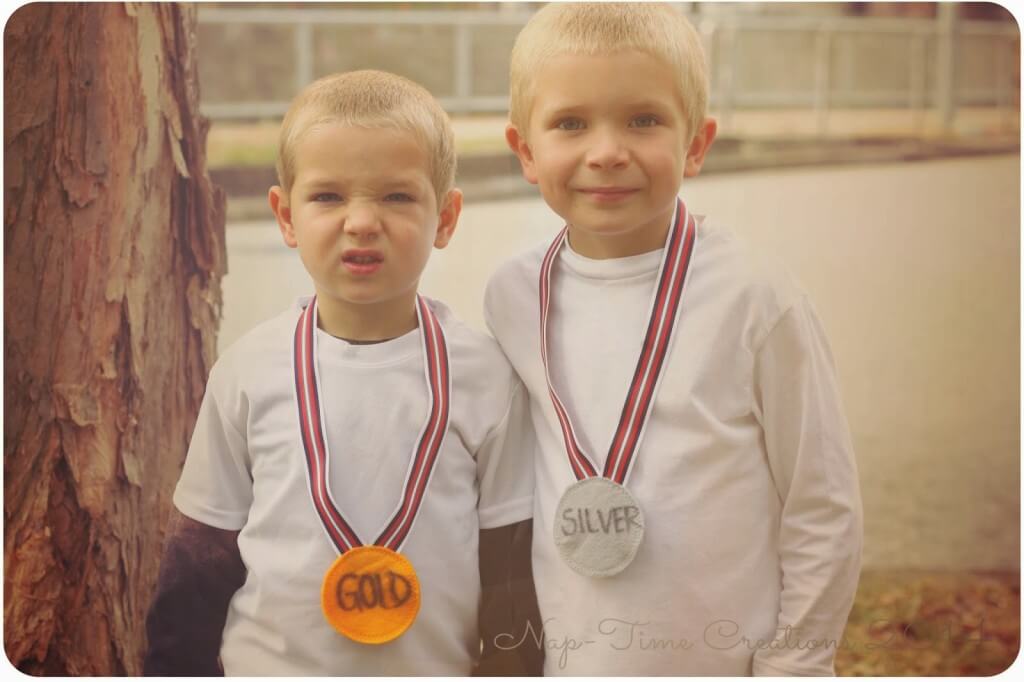
You can see the links above to all the fun Olympic crafts and ideas I have shared over the years. Speaking of the past… check out this photo of the two little boys and our re-enactment from this week.
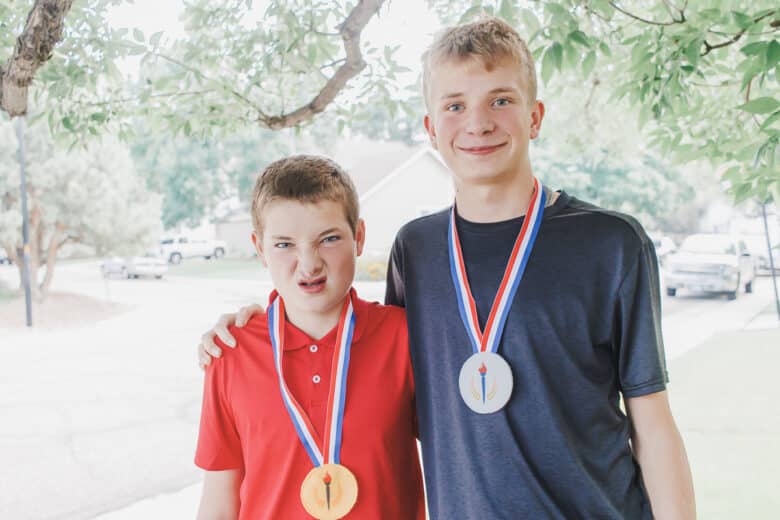
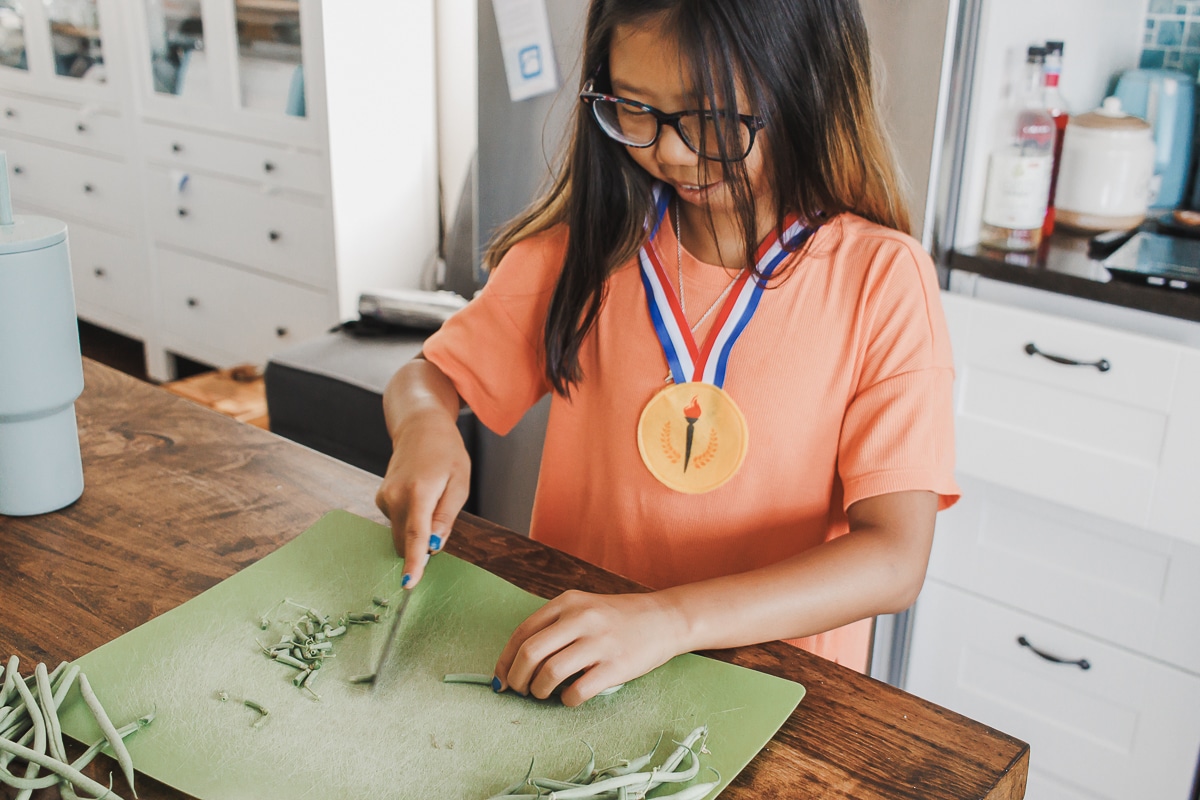
The best part of making your own medals is you can give them for anything… Best bean cutter? gold medal! Best toy picker-upper? Gold Medal! {haha}
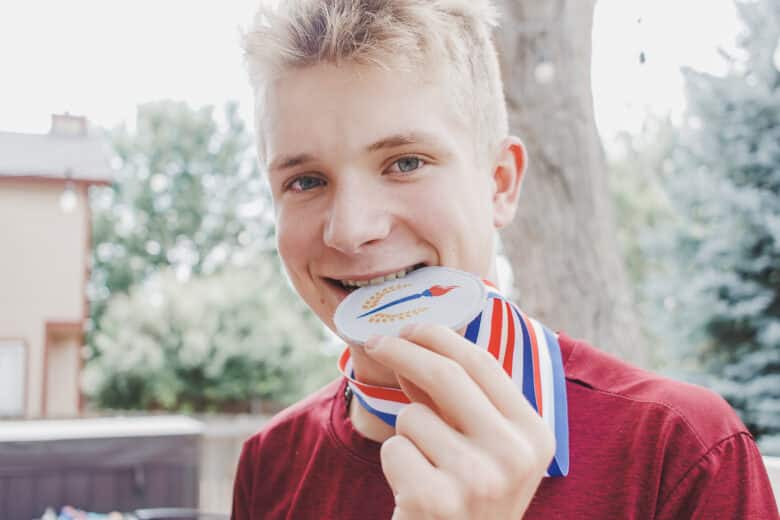
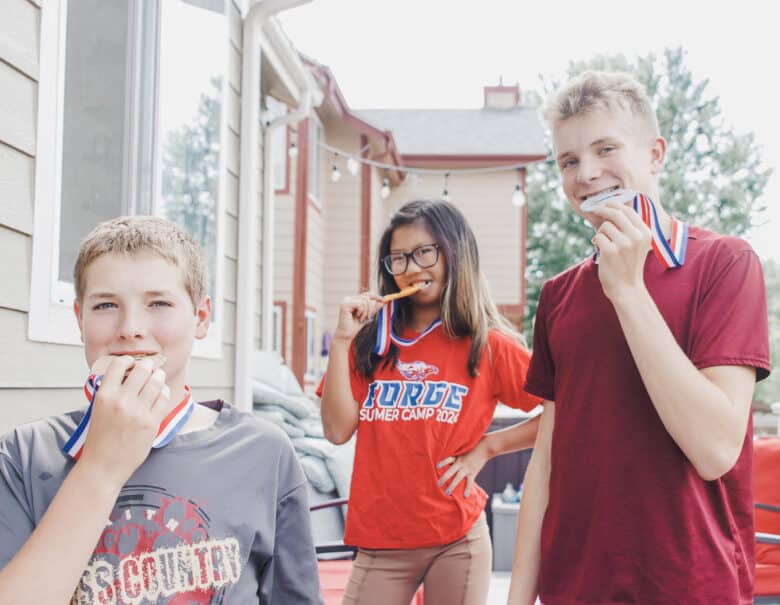
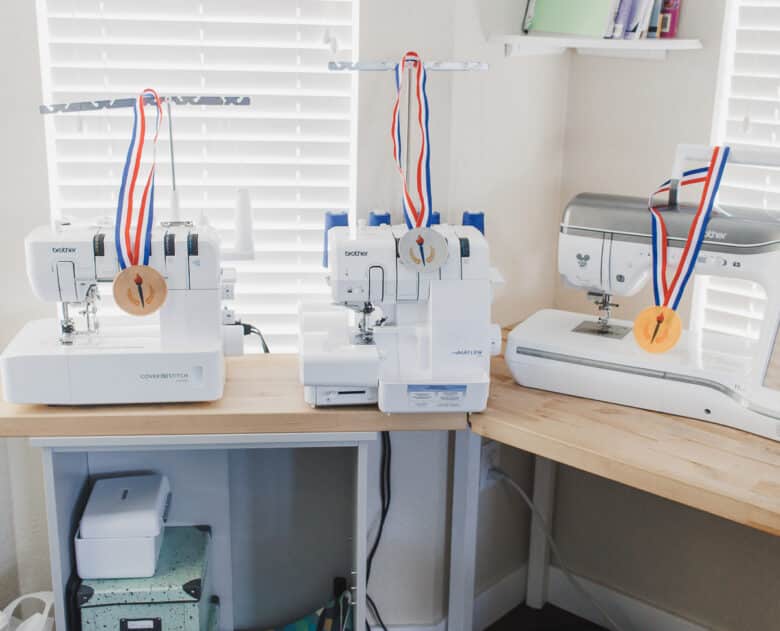
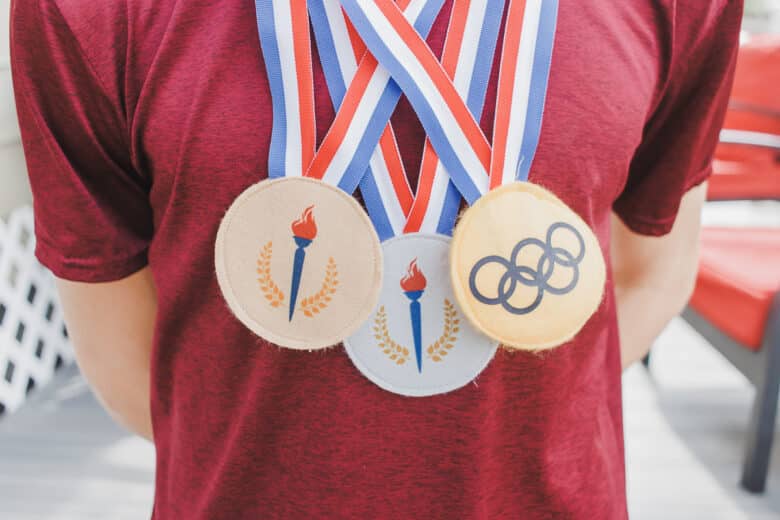
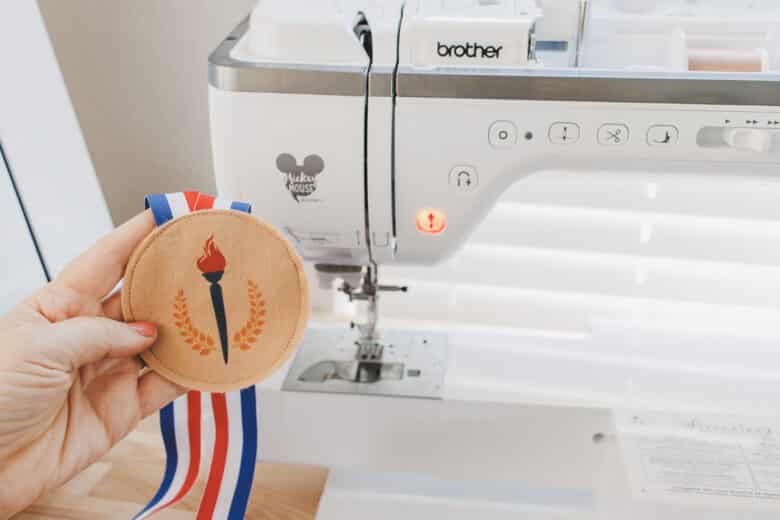
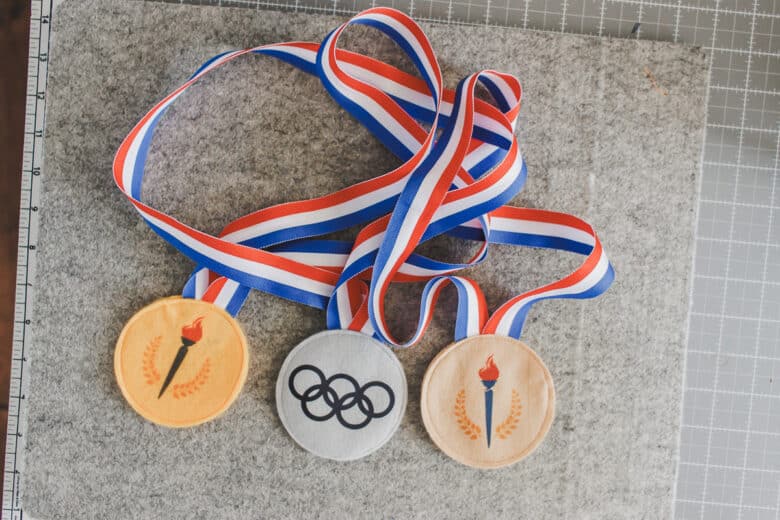
I also gave some medals to my sewing machines! My sewing/embroidery machine got the gold, serger the silver, and cover-stitch the bronze. These medals are double sided and so so fun to make and wear.
Other fun Olympic ideas
- When the boys were small we through an Olympic themed birthday party
- Host your own family games for family reunion time
- Gold medals with wooden discs tutorial
How to make your own DIY felt Medals
Supplies for DIY Felt Medals:
- Felt – I bought a single sheet of each color at Hobby Lobby
- Ribbon – 25-30″ per medal
- Heat transfer vinyl
- Sublimation paper/printer
Notes: You can take felt and a sharpie like I first did and create really fun, cute medals. If you want to make medals that are a bit mor sophisticated, this is the tutorial for you! I used all Brother products and free graphics, but I will give ideas if you don’t use Brother products in the tutorial below.
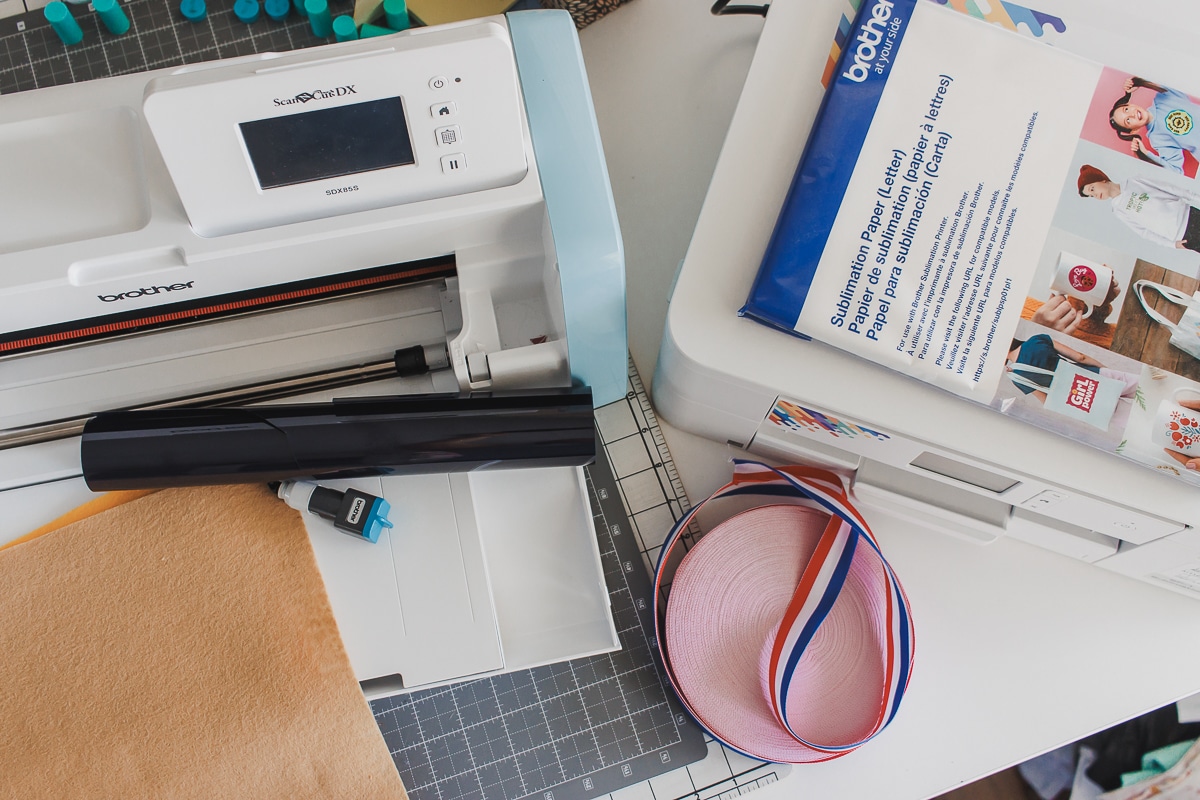
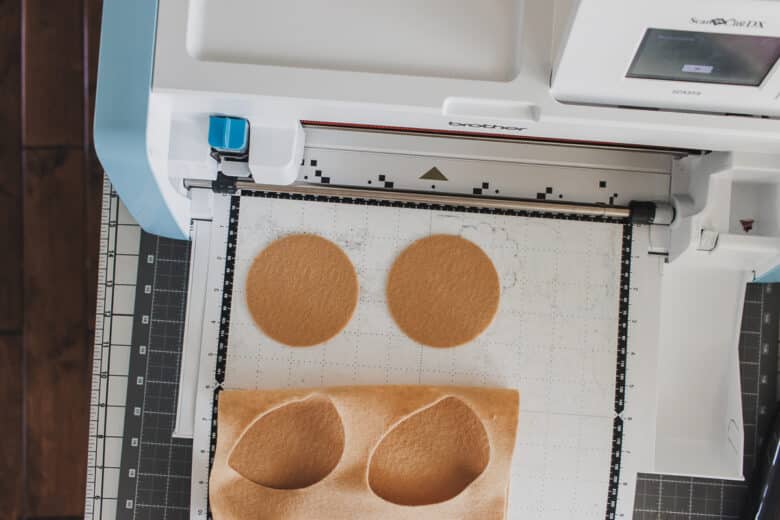
Buy or find colors in your stash that will work for the gold, silver and bronze medals. I headed to Hobby Lobby and bought a single sheet of each color. You can make 2/3 medals from each sheet. I used built in designs right on the ScanNCut machine to make the medals. My circles were about 3.5″ wide.
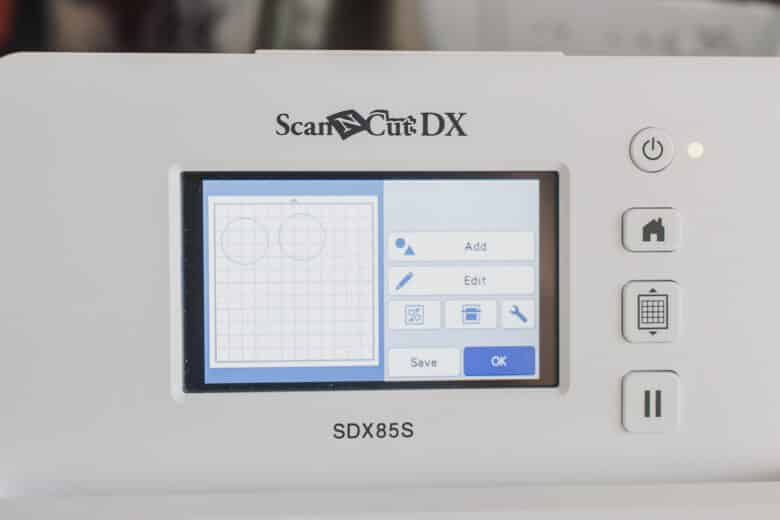
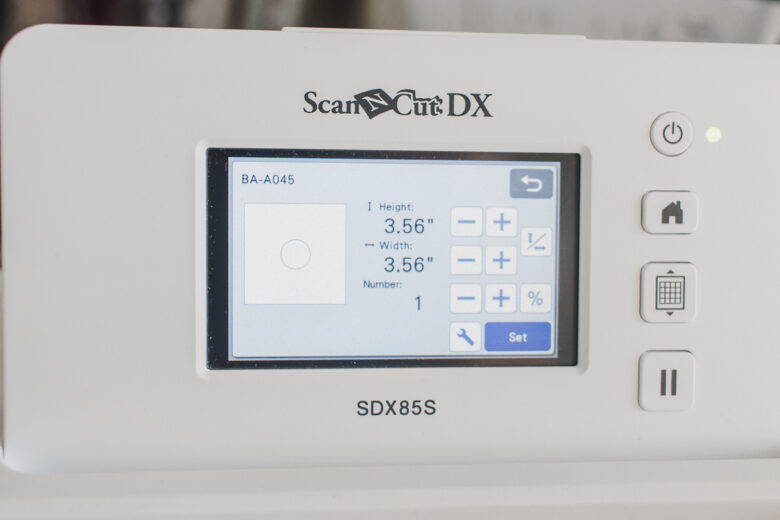
Don’t have a ScanNCut? You should be able to find a free circle design on any cutting software… You can also just hand cut the felt. If you are cutting felt with your cutting machine, a fabric blade works best. I have cut felt with a auto-blade too… Check out my tutorial on cutting with my ScanNCut.
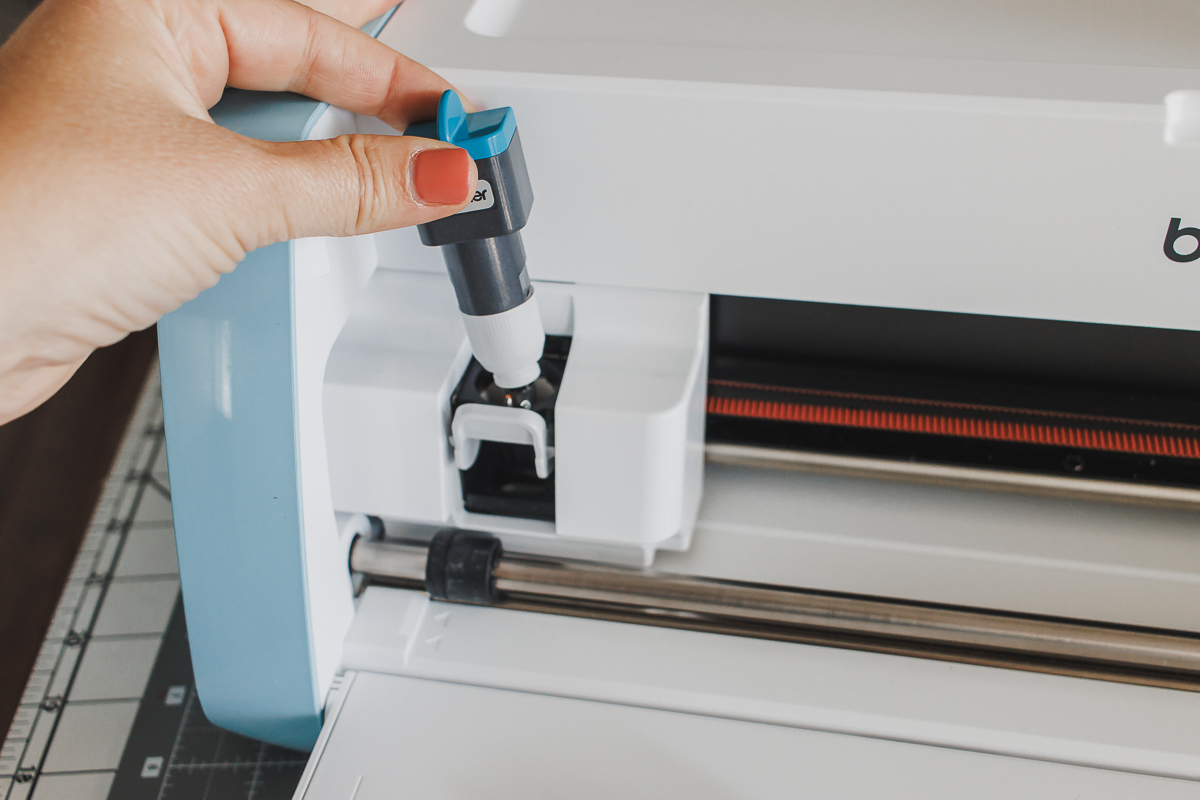
Use a fabric mat for the felt and cut one color, or a couple at a time.
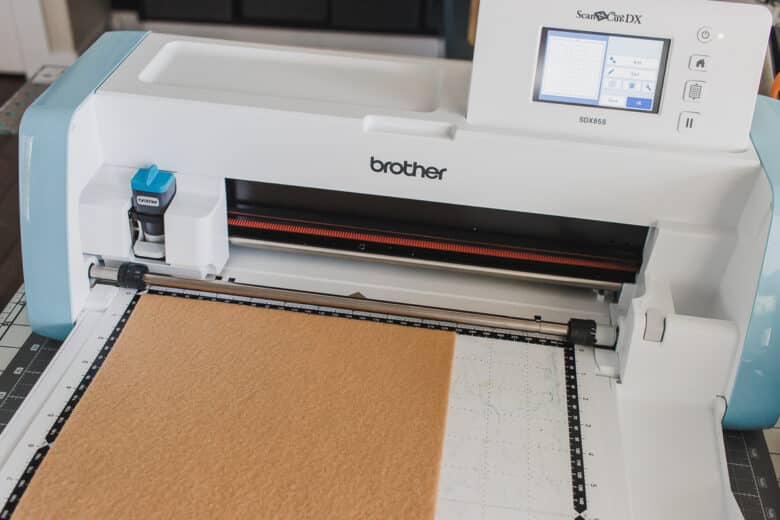
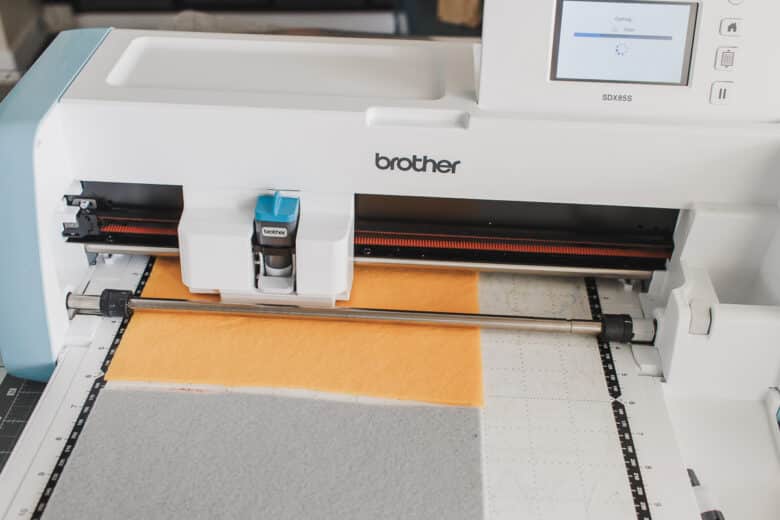
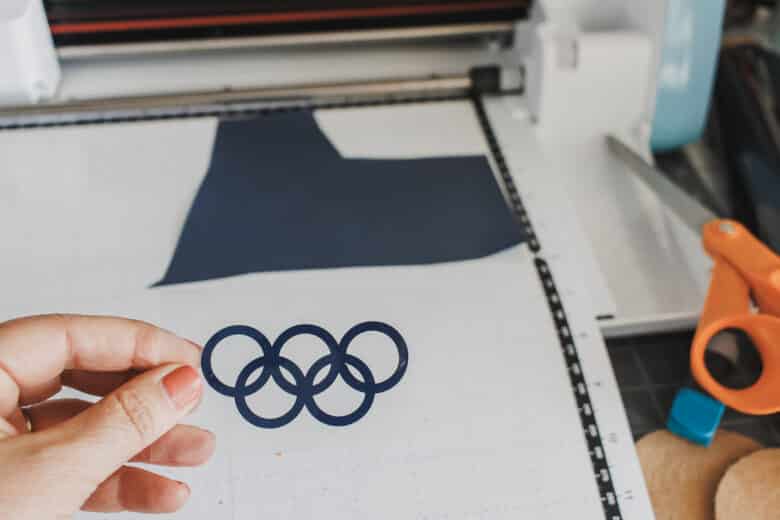
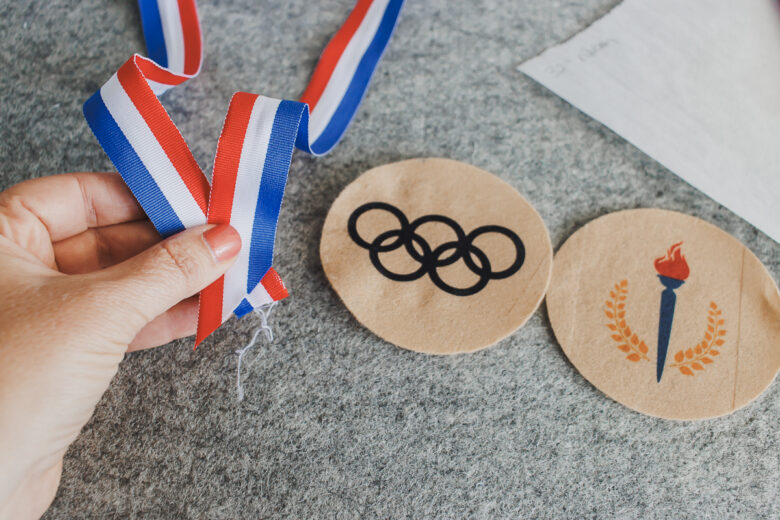
The ScanNCut makes cutting felt so easy! The Olympic rings I created in the Artpira App. {This is free and works with all Brother Wifi machines} I imported a single ring and then just duplicated it 5 times and arranged them together. You can do this in Artspira or any cutting software. {You can probably easily buy an Olympic rings design too.} I transferred the design from my Artspira App to my ScanNCut to create.
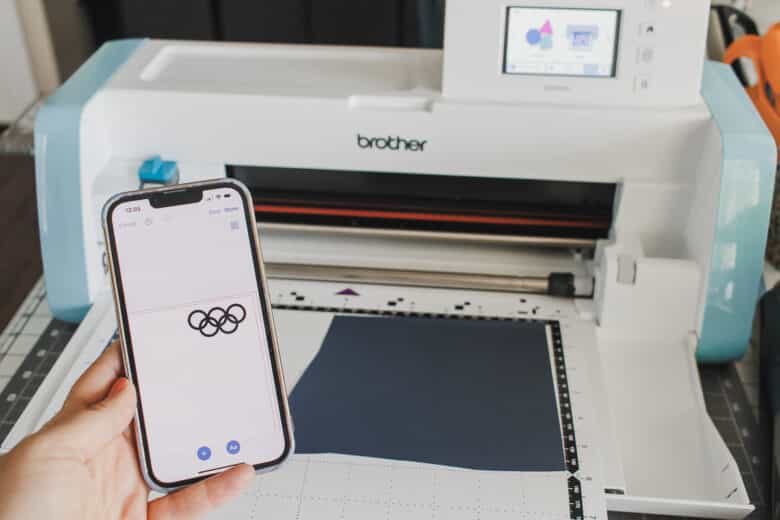
I went back to the autoblade for cutting the vinyl. Heat transfer vinyl on a standard mat and it was easy to cut several ring designs. Make sure the size of your ring design can fit on the felt you cut.
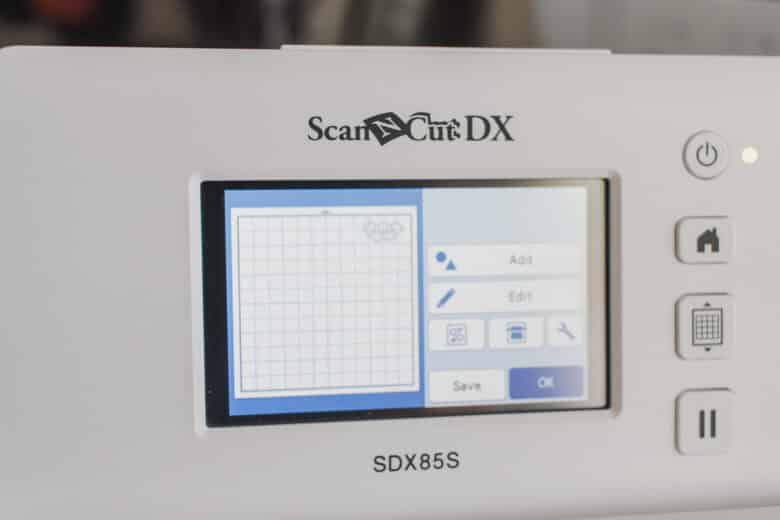
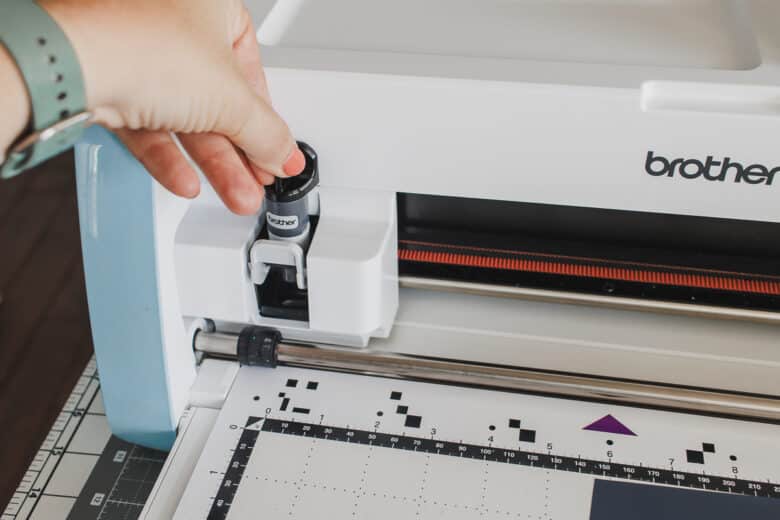
Weed out the extra vinyl and get the design ready to press.
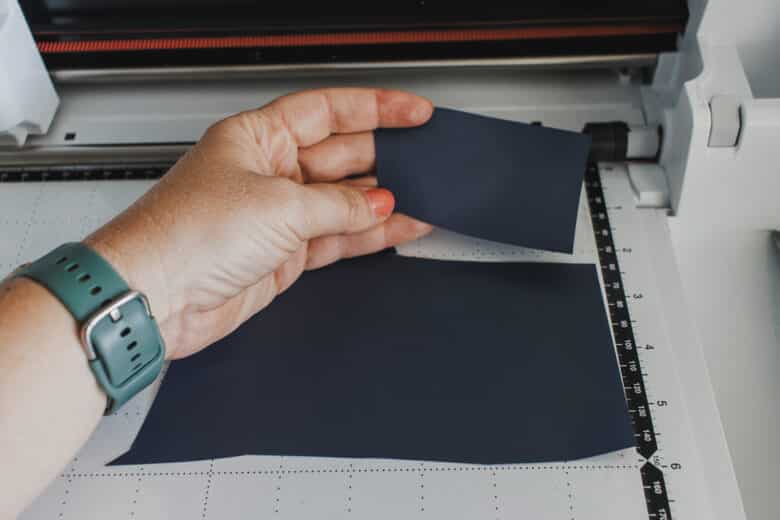
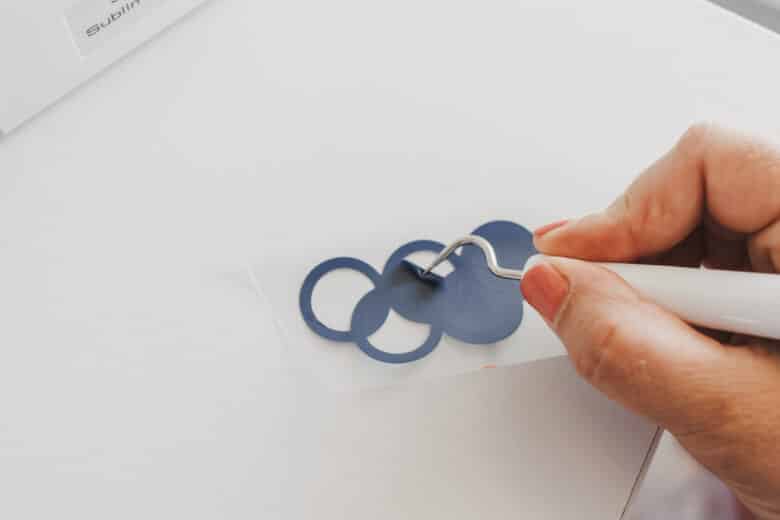
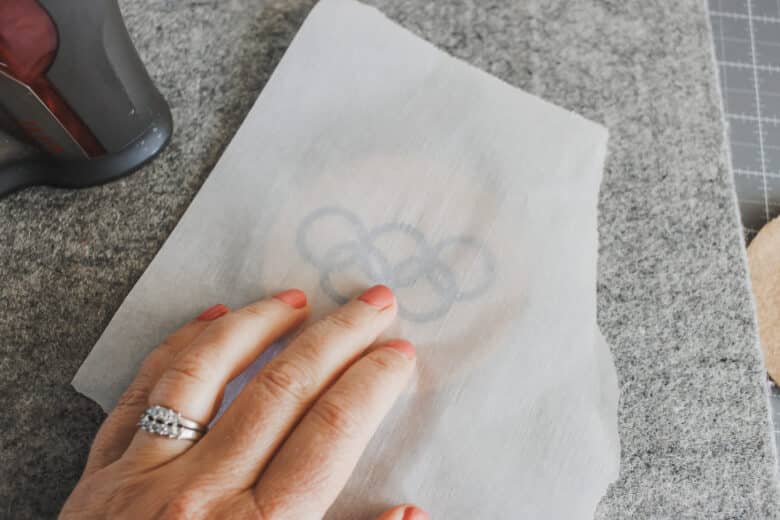
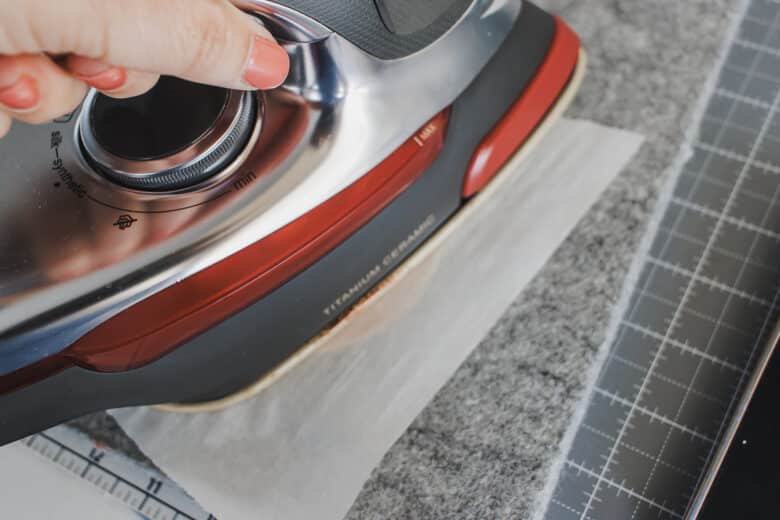
I didn’t want my iron to melt my felt so I placed the ring design face down, then some parchment paper over to protect the felt. Use an iron or heat press to transfer the design to the felt.
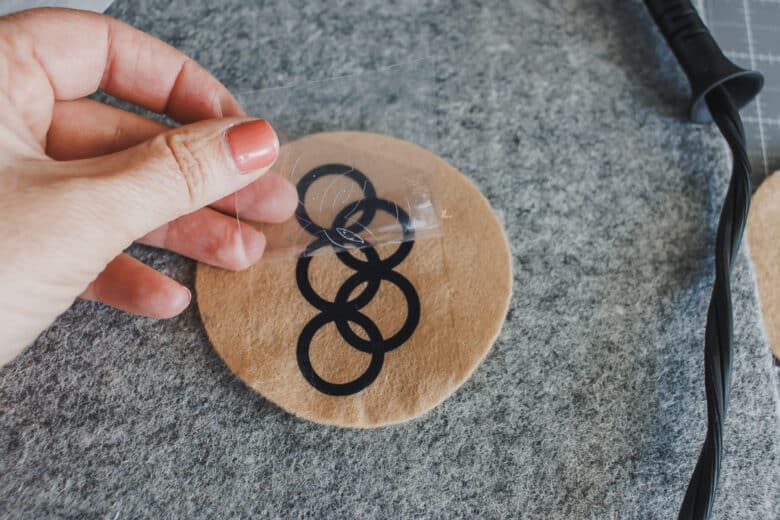
For the second side of my medal I tried sublimation. This fun design is available for free on the Artspira App. I duplicated it to print three at one time. Again I transferred the design straight from Artspira to my machine.
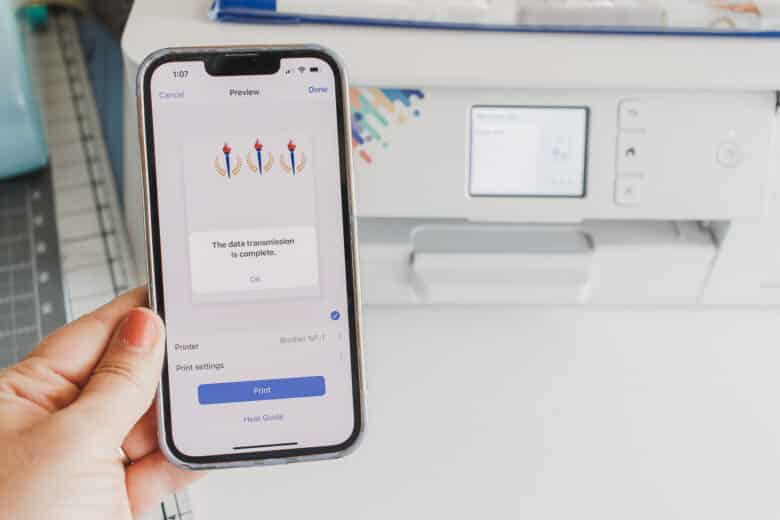
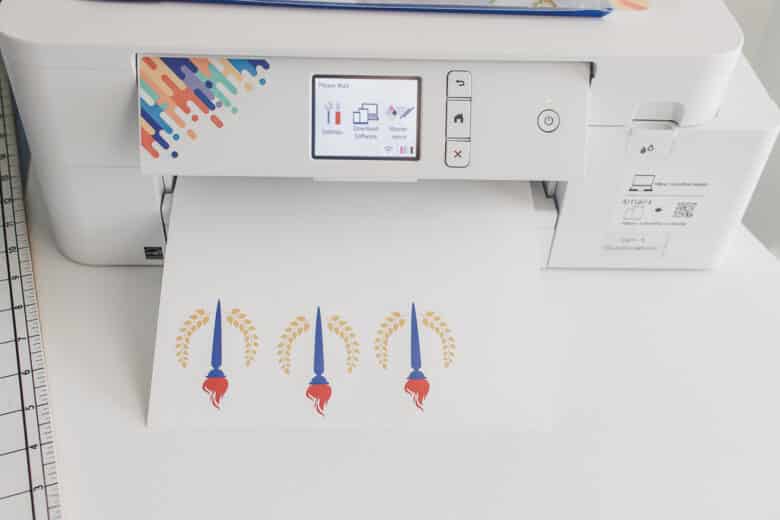
Place the design face down on the other side of the felt, and cover with the parchment paper again. I was really pleasantly surprised how well the sublimation worked on the felt.
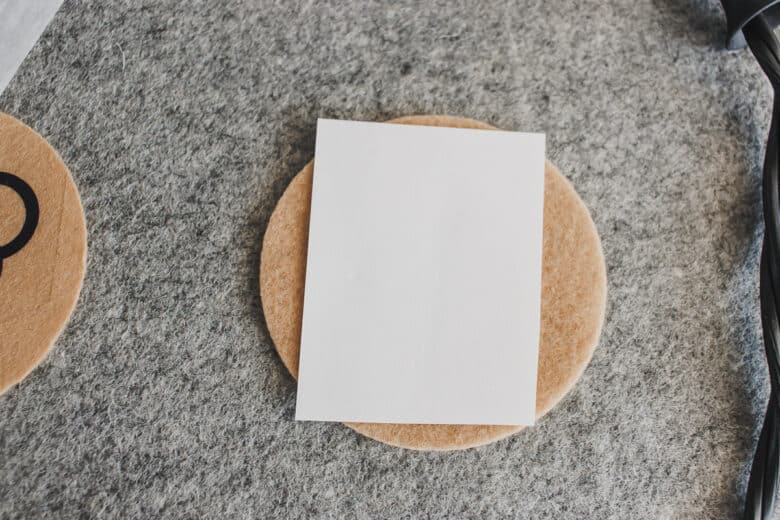
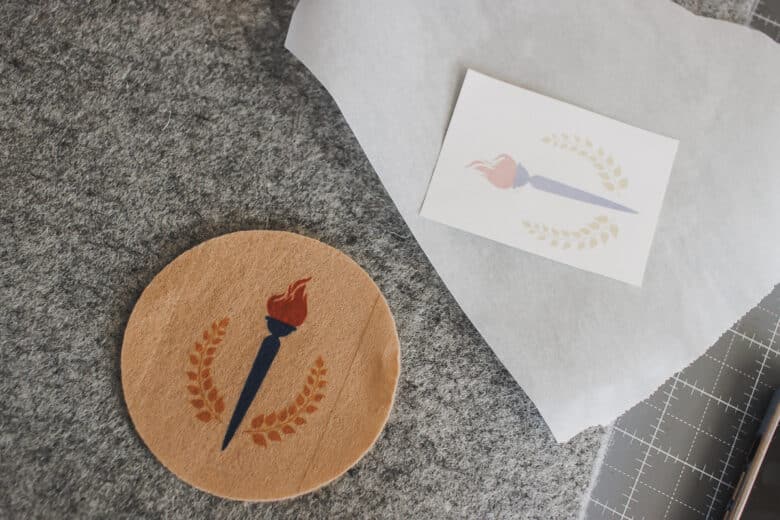
Take the ribbon you cut earlier and make sure its not twisted. Overlap the ends of the ribbon and place on the backside of one felt circle. Place the other circle face up on top and pin or clip the layers together.
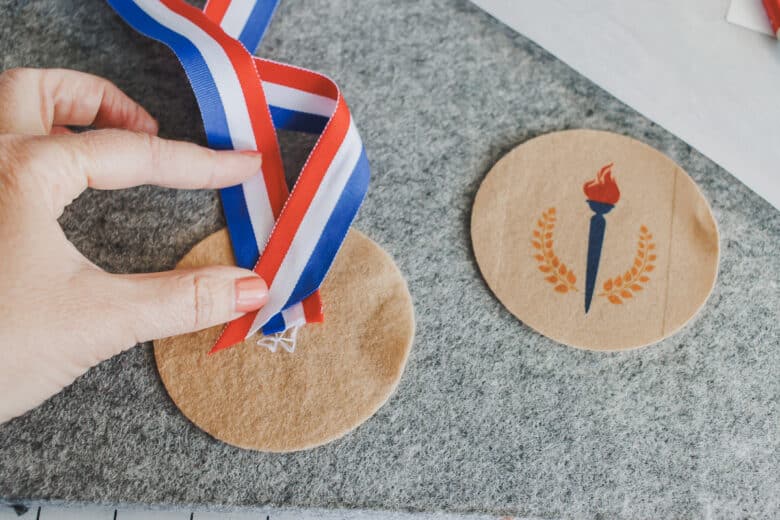
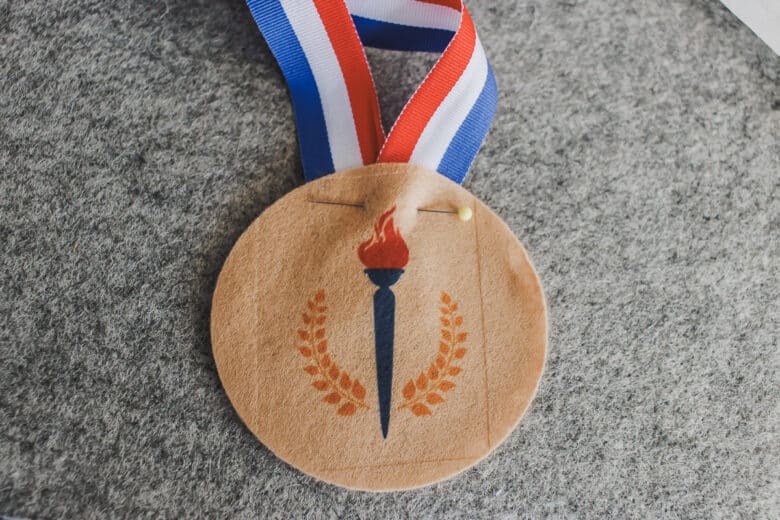
I sewed around the edge with a straight stitch to finish the medal. Don’t have a sewing machine? Hot glue would totally work for this step as well. Now that you made one medal, it’s time to make at least one set.. maybe more and start handing them out! You get a medal, and you get a medal and you!! enjoy!!
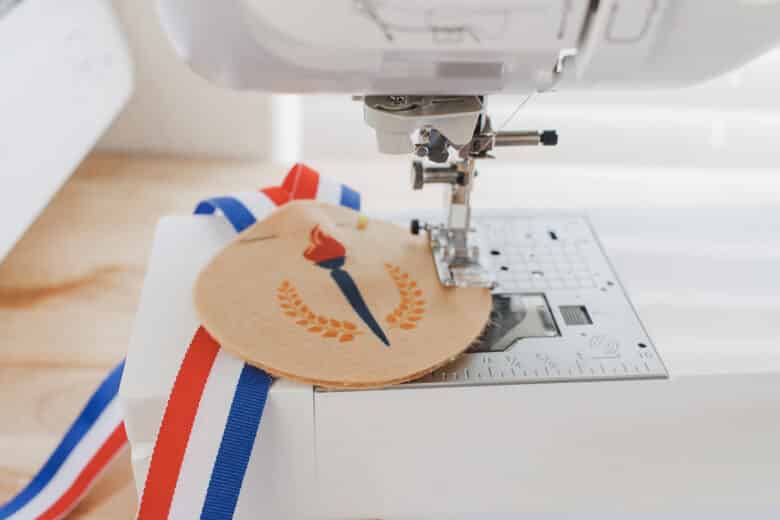
You can leave very simple like my first version… Or add more details as I did in the new version.
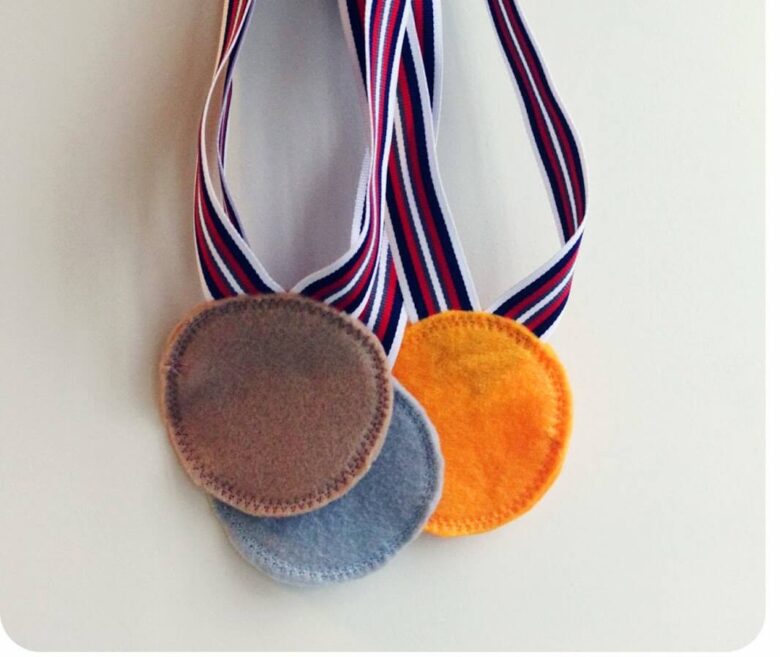
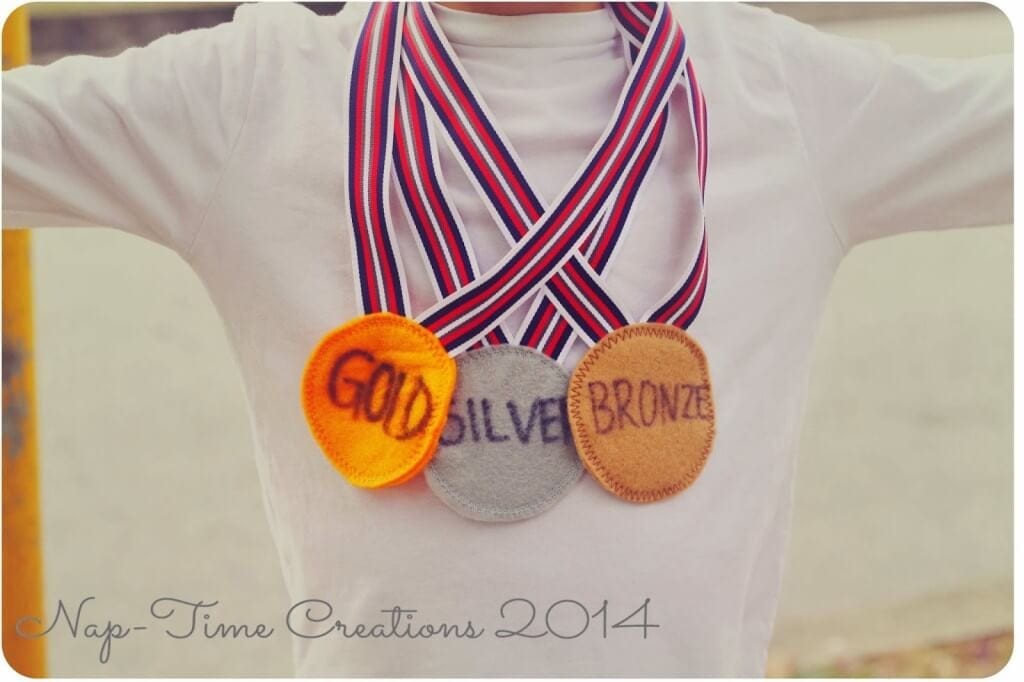
Here’s another old/new photo and version of the felt medals. They also show how far I’ve come with my crafting {haha} Depending on what resources you have, here are also a few ideas to get you started. And…. don’t forget to watch the Olympics starting later this week!!





Shauna Smart says
What a cute idea Emily! I wanted to stop by and say “Thank You” for linking up to The Weekend re-Treat Link Party last weekend on The Best Blog Recipes and to Pin your post to our party boards while I was here tonight too!
Hope to see you again this week!
Shauna @ The Best Blog Recipes
Huckleberry Love says
Cute idea, I can’t wait for opening ceremonies tonight. 🙂 Pinned!
Jamie
http://www.huckleberrylove.com
Jamie H says
What a fun idea! It would be so awesome to watch the kiddos attempt Olympic events! Pinning.
Molly Wagner says
These are great, so easy really. I think I’m going to give them a try with my little guys this weekend, they’d get a kick out of it. I wanted to say thanks for linking up last week to our Lovely Ladies link party, and to let you know that I’ve included these in my features this week if you’d like to stop by and check it out 🙂 http://bit.ly/1fY2N2K
-Molly from Just a Little Creativity
Dino Reed says
How entertaining! It would be really thrilling to see the children compete in Olympic activities! Using as an anchor. Doodle Jump Unblocked