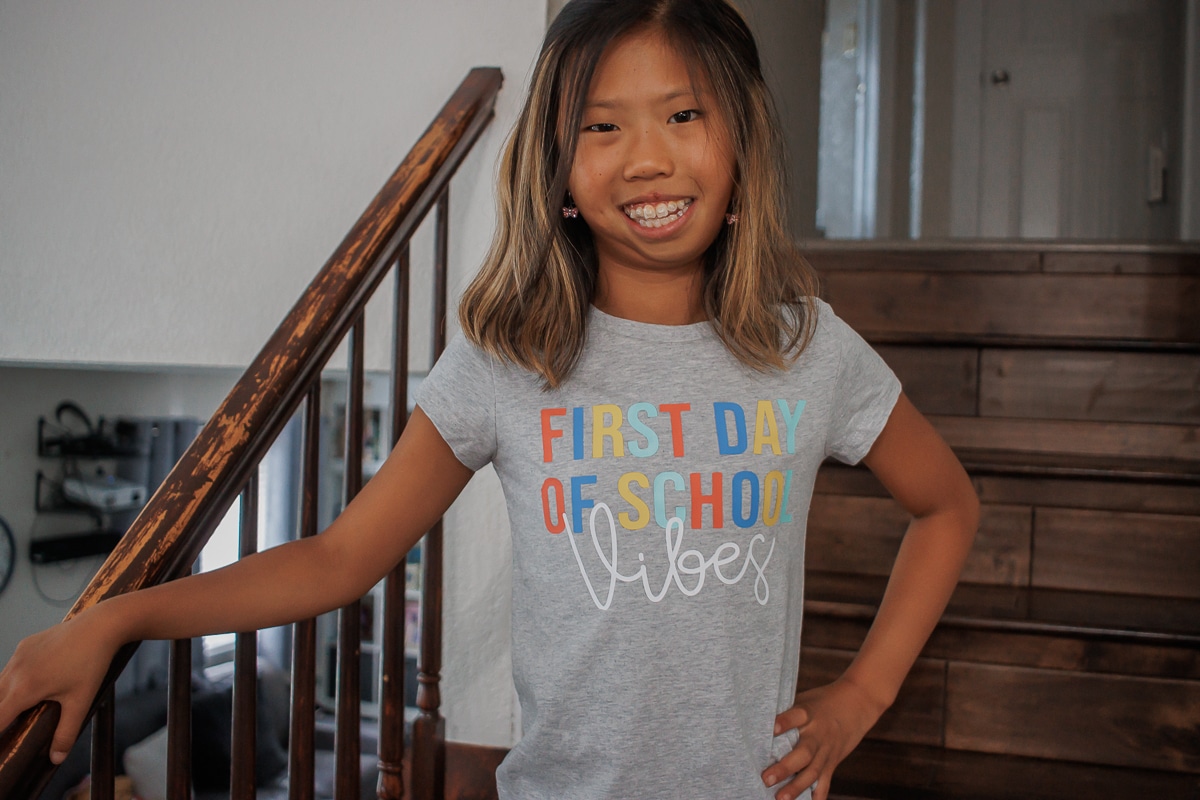
inside: Create a DIY first day of school shirt with this free cut file download. Craft a fun first day of school shirt using the included SVG download and tutorial.
I wasn’t going to create anything new for a first day of school outfit this year, but then inspiration struck and now I have a free cut file to share with you and an adorable shirt to create! This fun DIY first day of school shirt works for boys and girls of any grade… just change the colors to whatever is your child’s favorite.
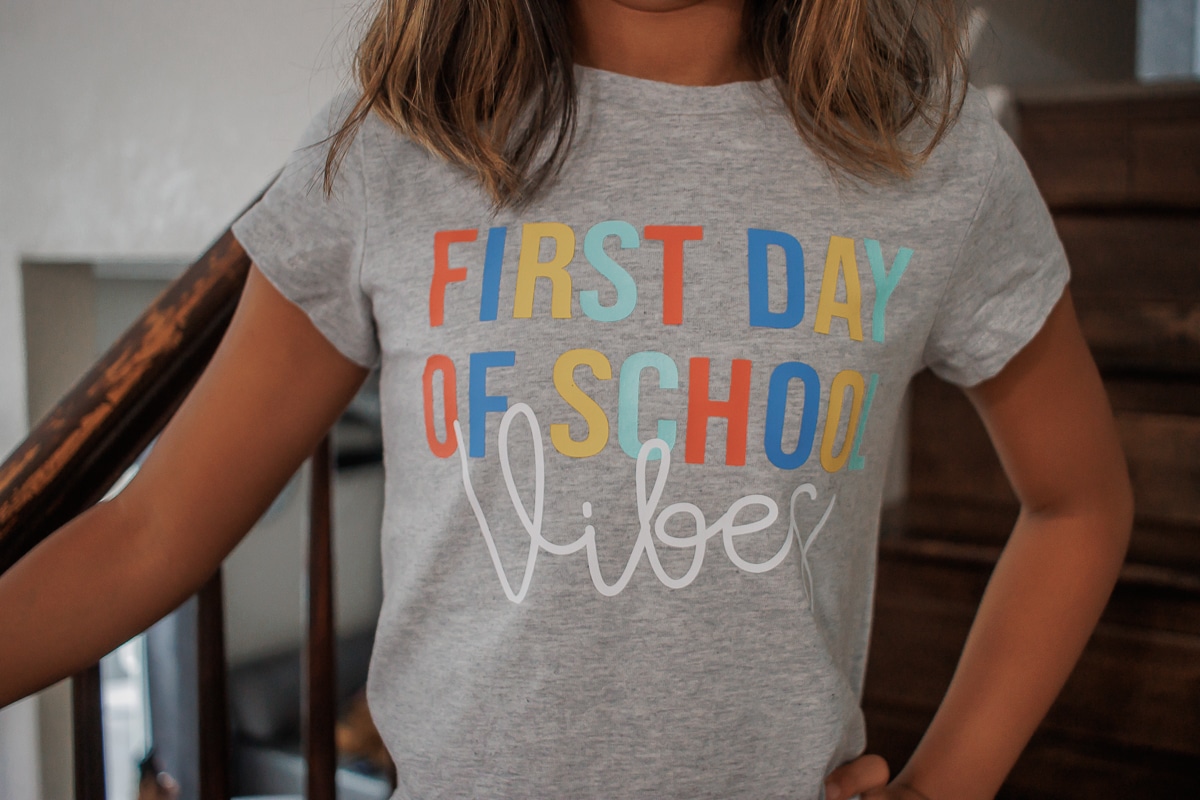
DIY first day of school shirt
I created this fun version for my daughter heading into 4th grade this year. {wow! When did she get soooo old!?} And while I do think this can work for any student {or teacher} My 9th grader told me he absolutely would not wear a shirt like this {not that I was going to make him one} So… lesson is.. know your kid {haha}
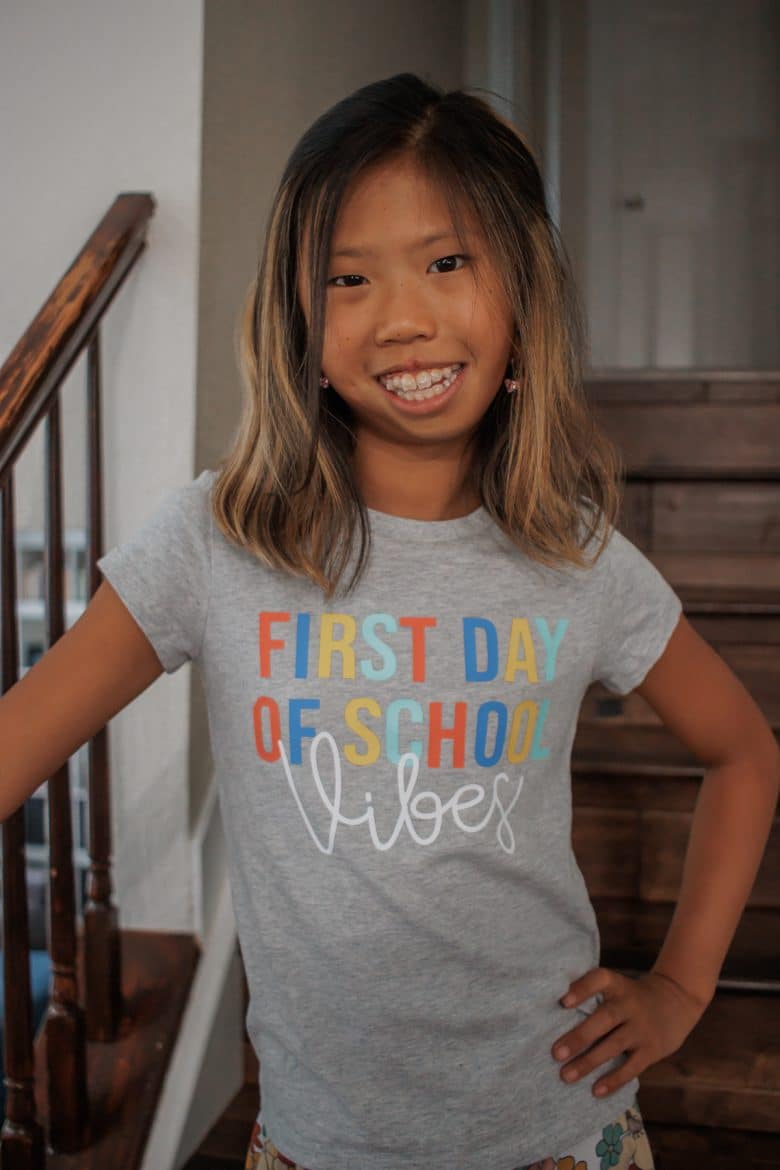
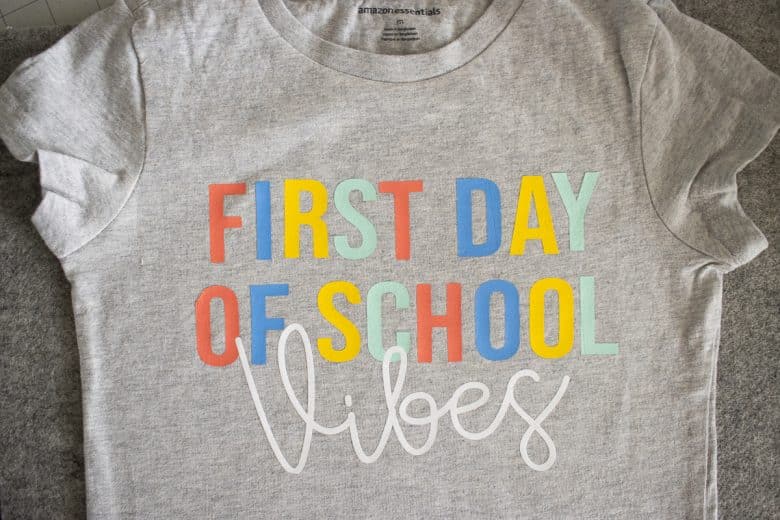
This first day of school shirt is not difficult to make, and works with any craft cutting machine. I kept all the letters on individual layers so you can cut them any color you like. Of course the easiest is to cut all one color, but I love the look of the variety of colors. I just used vinyl I had on hand, but this is a perfect file for customizing. The free cut file comes in PNG-JPG-SVG format. Button to download is below.
Other fun Back to School Projects
- Lunchbox sewing pattern
- List of Back to School Cutting files
- Tips for saving money on back to school
- Sewing patterns for back to school
- Binder pencil pouch free pattern
- Art Bag sewing tutorial
First Day of School Cut File for crafting
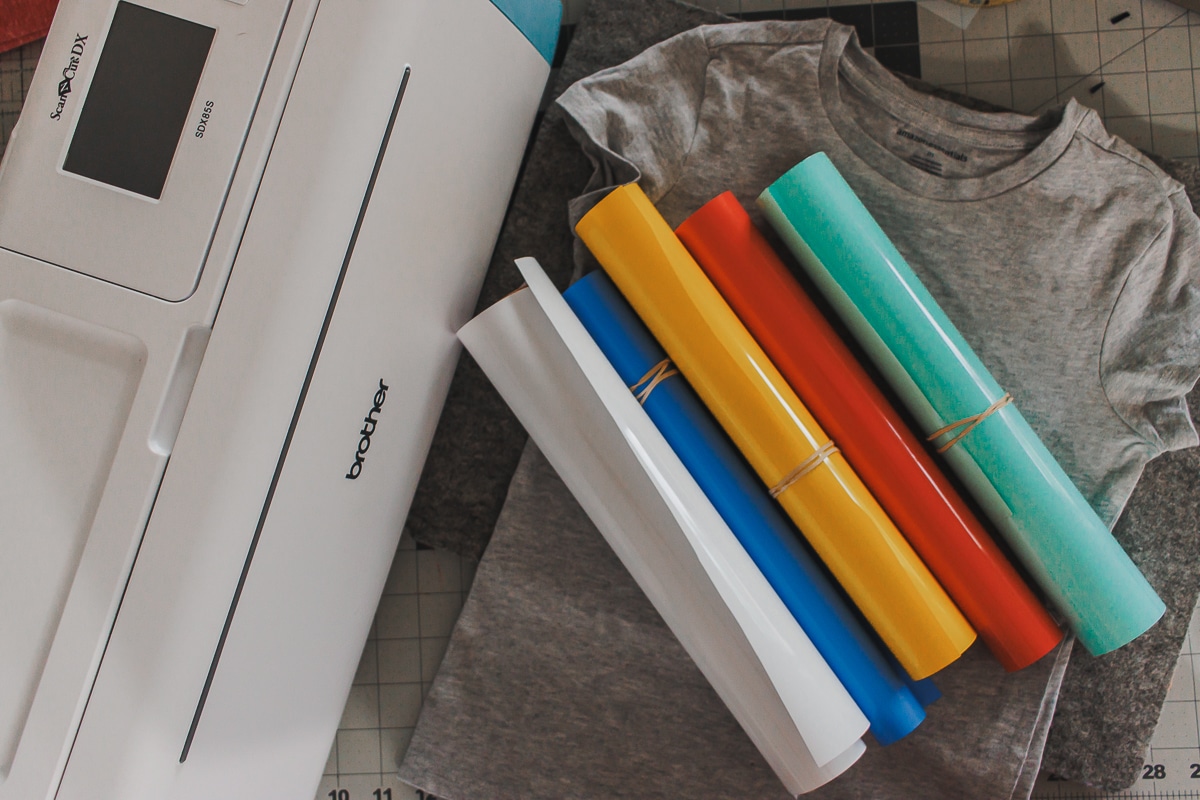
Supplies needed:
- T-shirt {I used an Amazon essentials}
- heat transfer vinyl
- Cutting machine {I use a ScanNCut}
- Free cut file using button below {clicking button will open a new download window}
How to make a first day of school shirt
Ok! Let’s make this shirt! If you are super familiar with vinyl and how to use it, you probably can just download the free file and get to work. If you aren’t familiar with layers and vinyl, I’ll walk you through the project.
If you want to create different color letters I would recommend opening on your cutting software, and not directly on the machine. It’s just easier to work with the file. I used four colors, plus white for the word VIBES… When I open it on Canvas Workspace it looks like the photo on the left.
Usually I would group all the letters of each word to make cutting easier. However, since I wanted to hide each letter to be able to cut the different colors, each letter is a different layer. To create four colors here are the letters to leave. Layer 1 {color 1} is below. Send each color separately to your machine and cut {see below} Also make sure to reverse {mirror} the letters before sending.
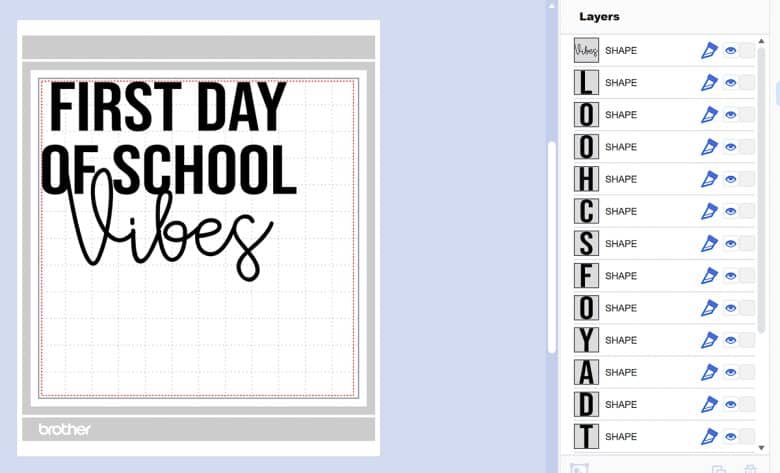
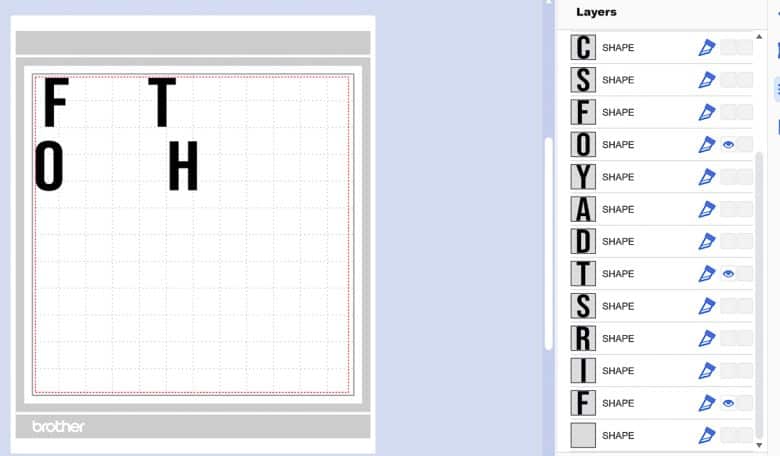
Here are colors 2 and 3..
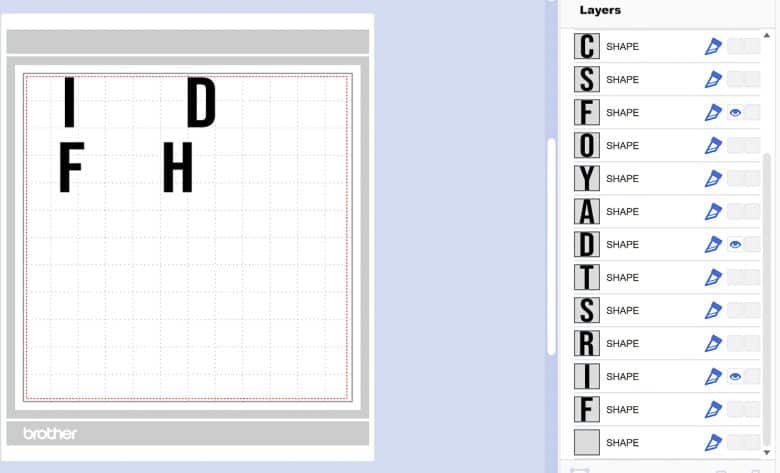
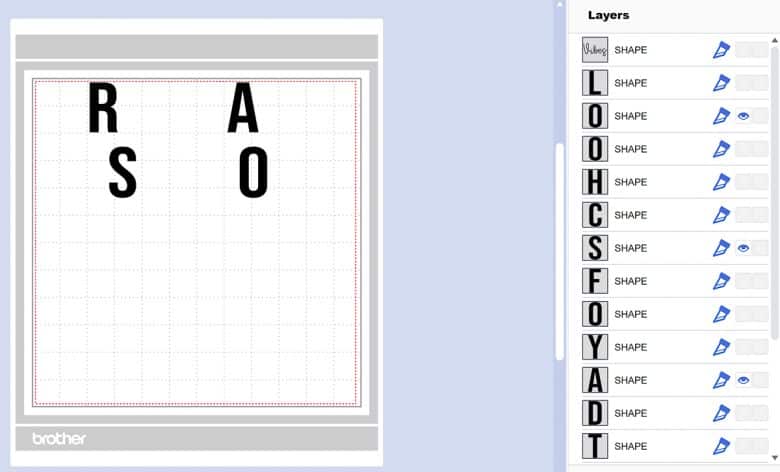
Color 4 and the word Vibes to cut with white.
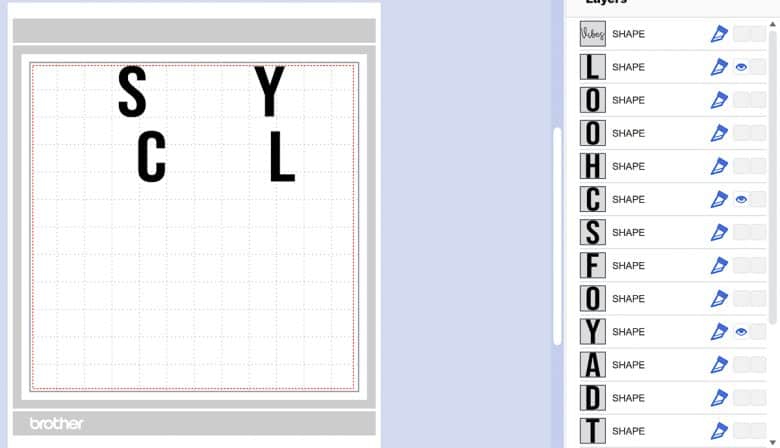
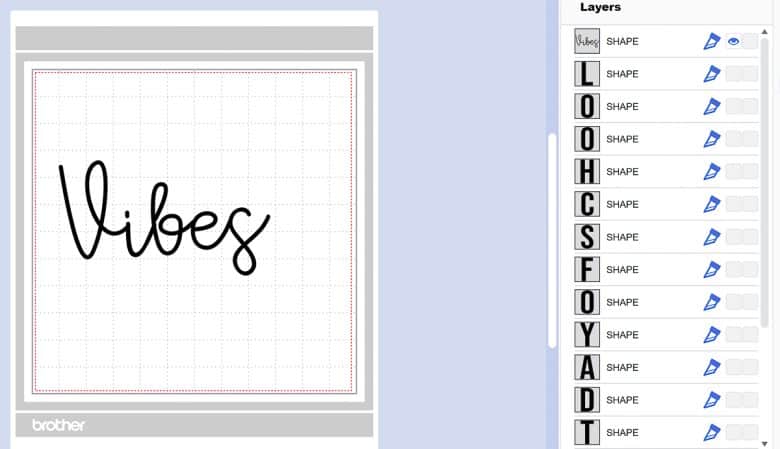
Reminder to mirror the images!! The second photo is what an individual color looks like when sent to my machine {the letters should be backwards!}
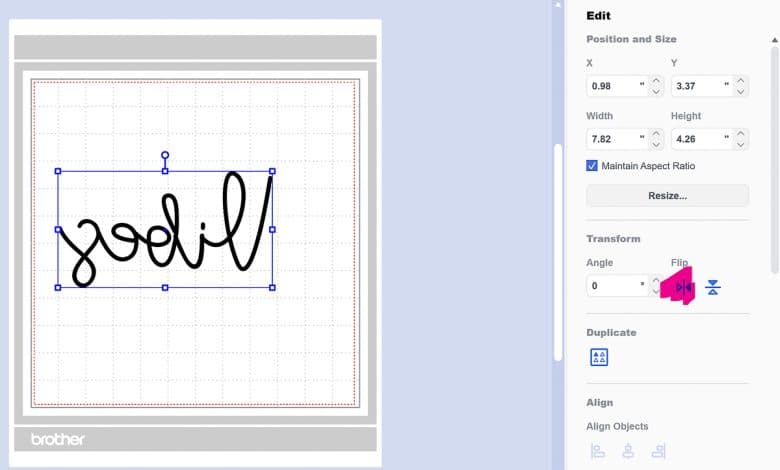
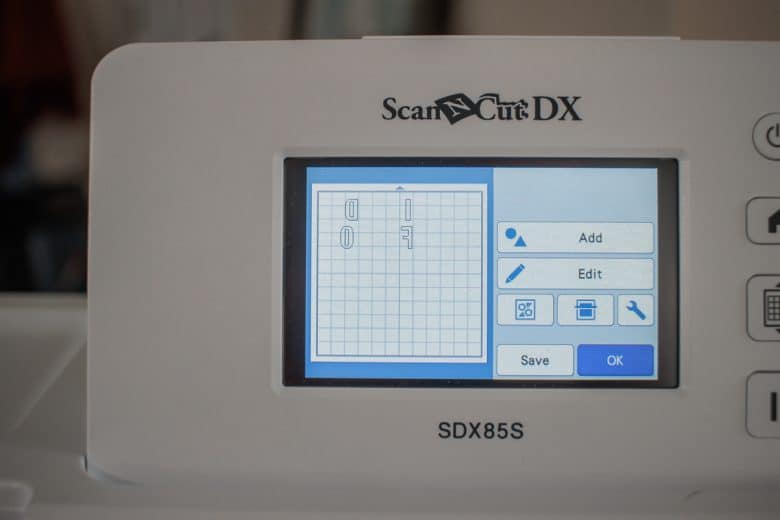
Cut each layer with the desired color of vinyl. Remember the shiny covered side of the vinyl should be face down when cutting.
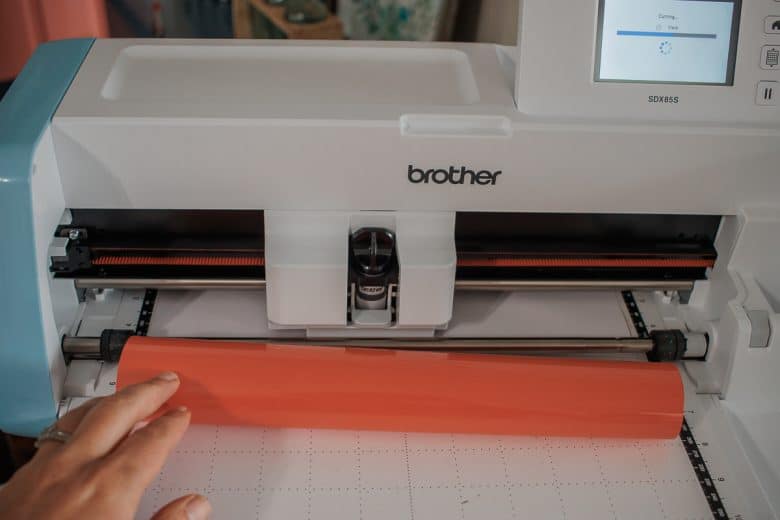
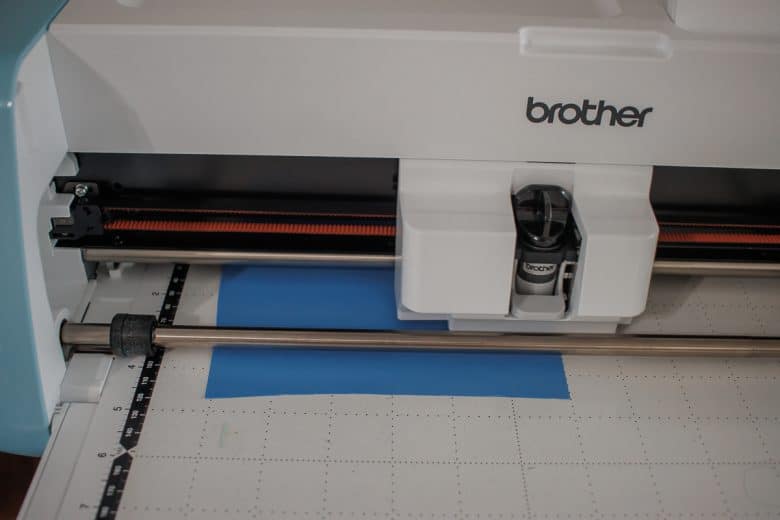
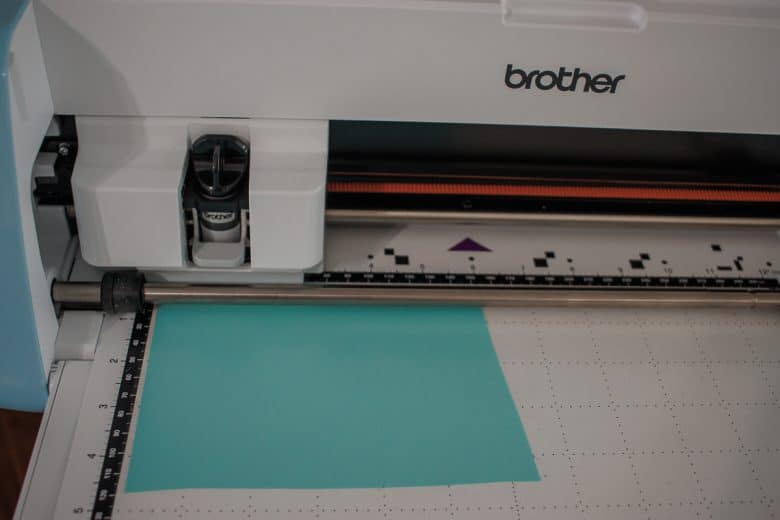
After cutting each layer weed out the extra vinyl and reveal the letters. Keep the letter spacing as on the original file to make placement on your shirt easier.
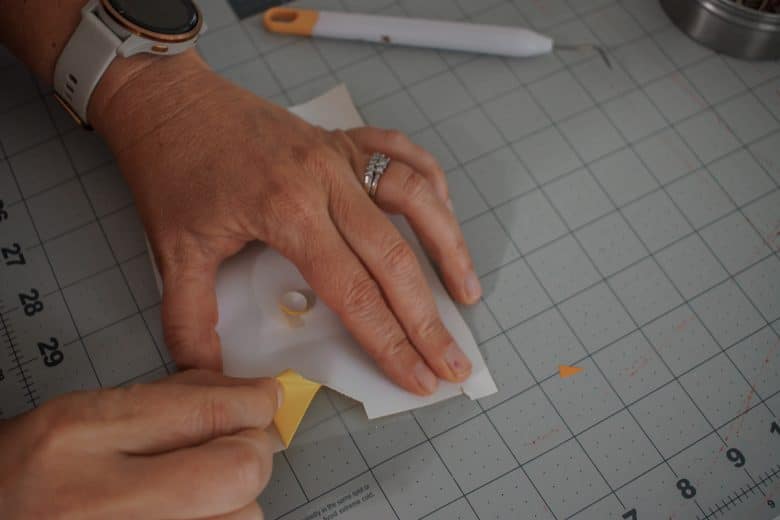
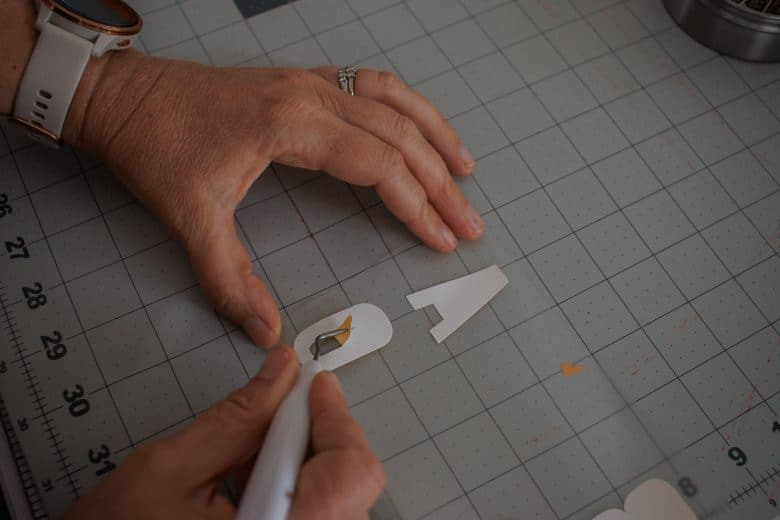
To begin, I stacked all the colors on top of each other to check the shirt placement.
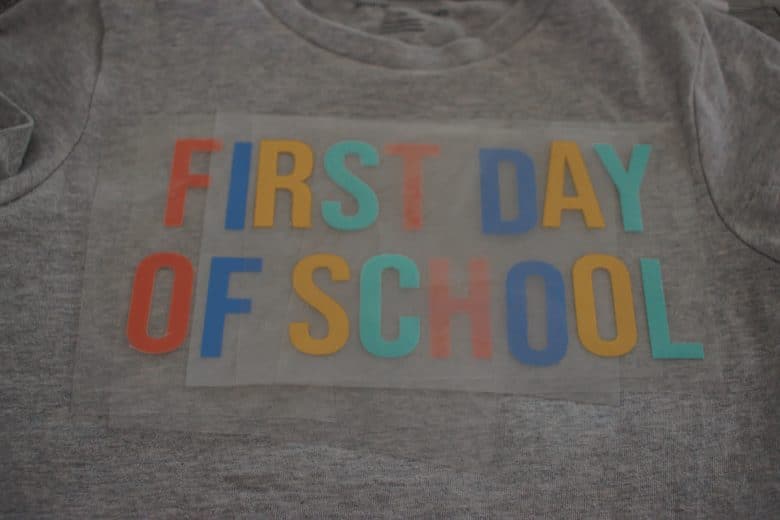
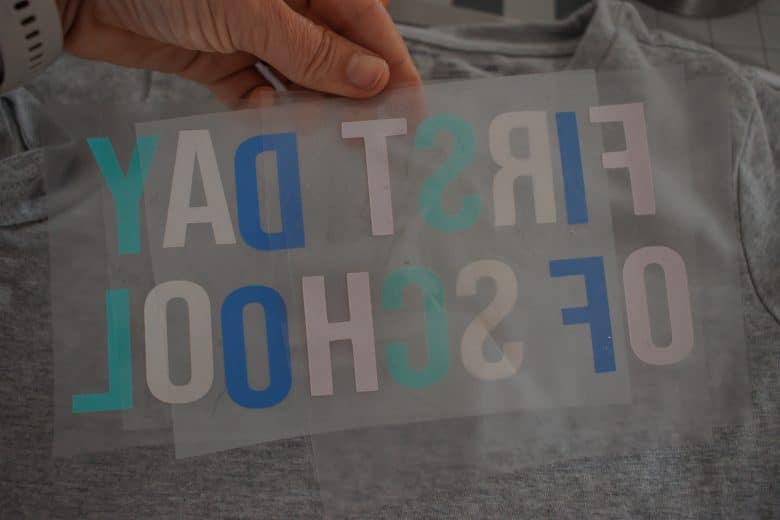
Peel off all the top layers and just leave the first color/layer left on the shirt. Begin pressing one layer at a time to the shirt.
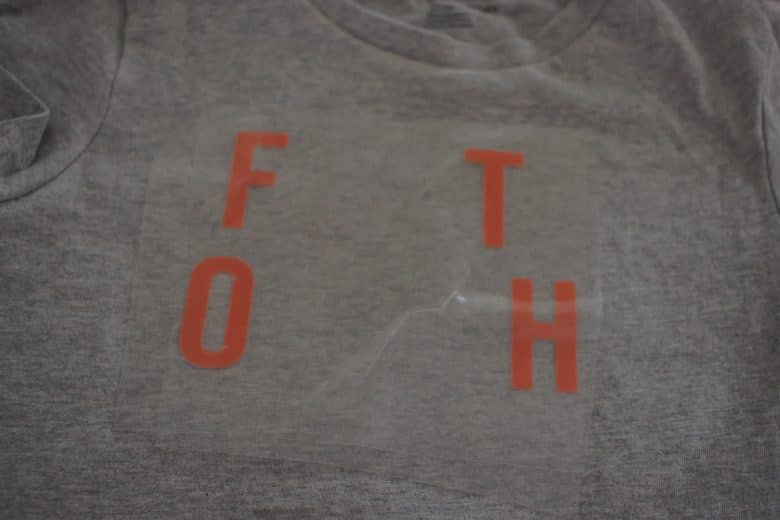
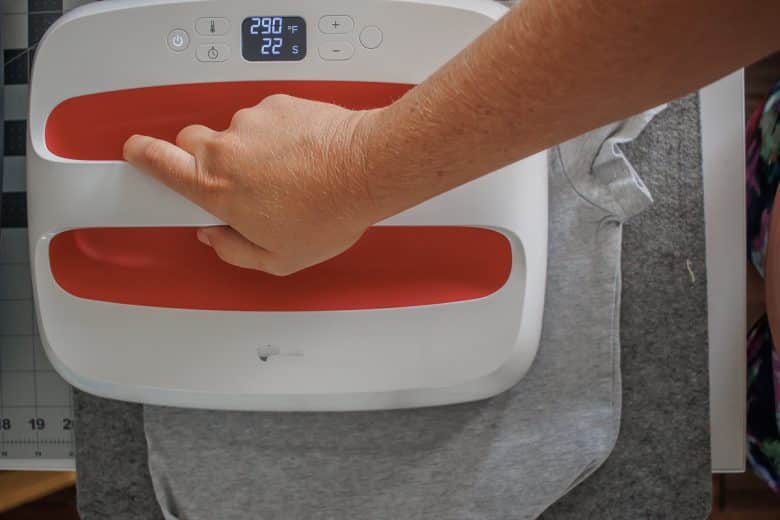
Peel of the protective sheet before adding the second layer. However, make sure to cover ALL exposed vinyl before pressing the second layer to avoid a big melty mess on the bottom of your heat press. I use the protective layer that I peeled off already to recover the vinyl.
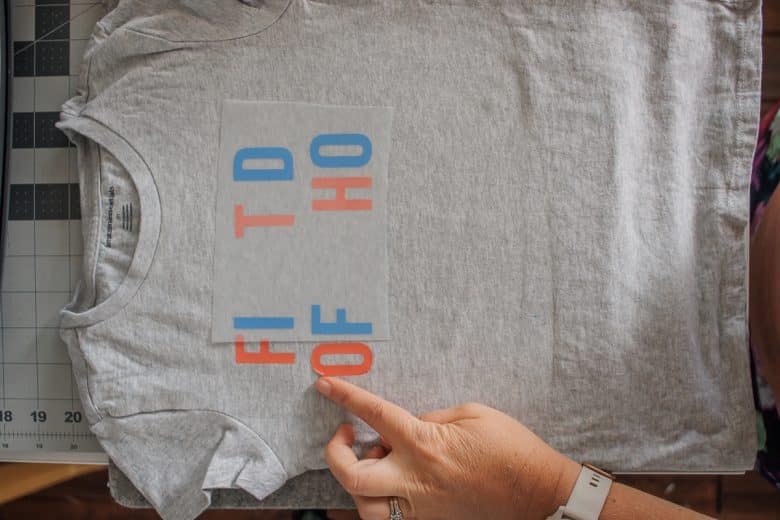
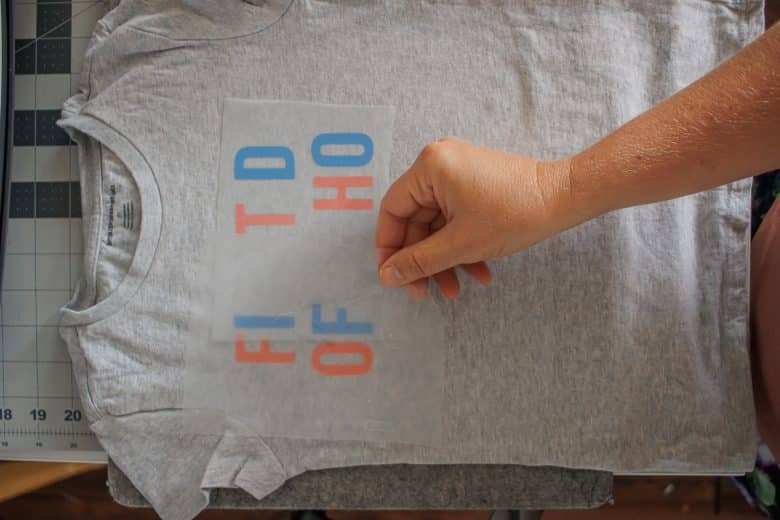
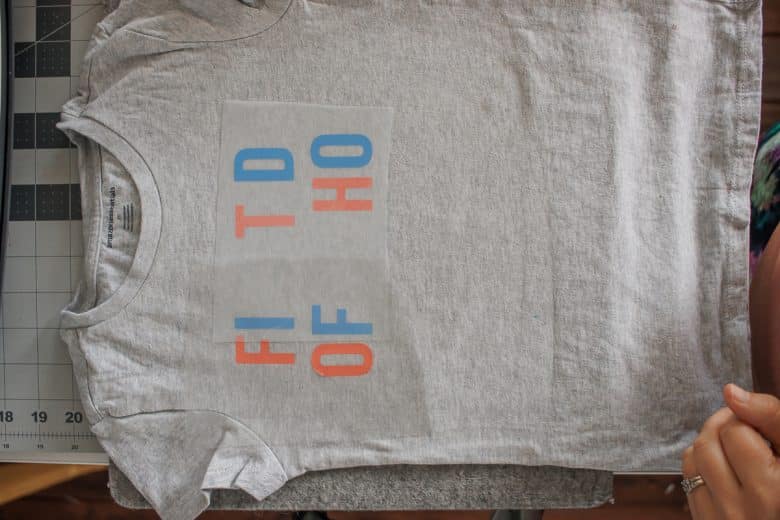
Keep peeling and layering and pressing.
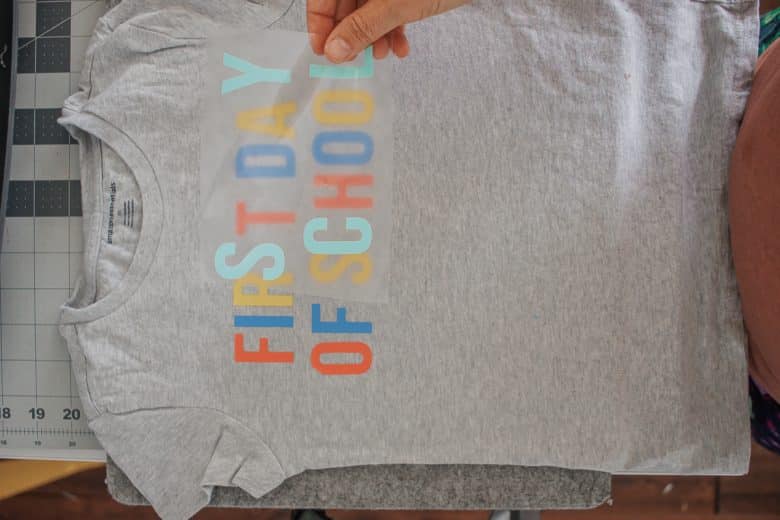
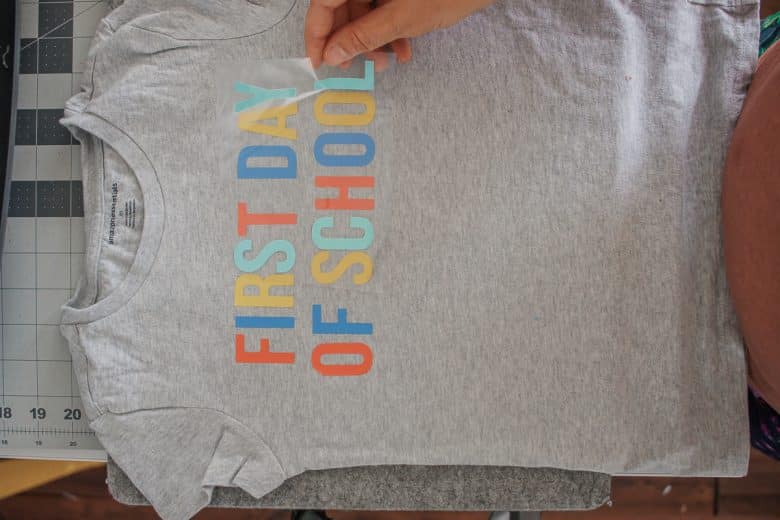
The final layer should be the word VIBES and I angled it and overlapped it on the bottom of my letters. You can arrange however you want, but I thought this was cute. It takes a bit to separate the colors/letters, but once you get going the whole project is pretty quick.
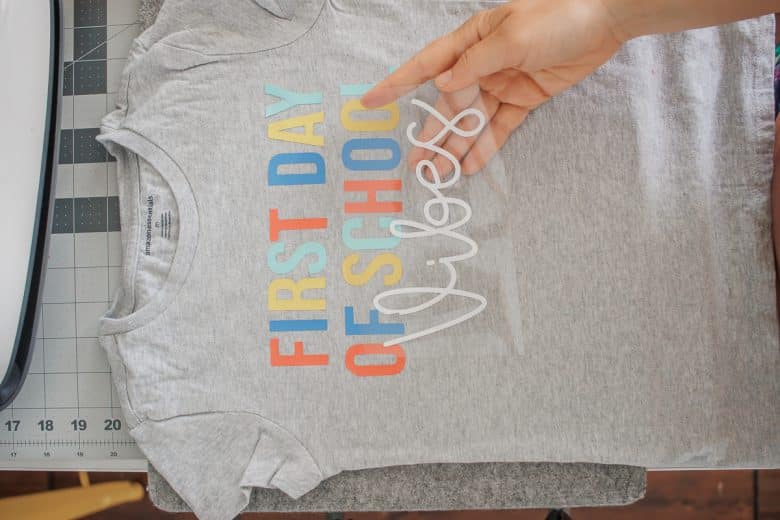
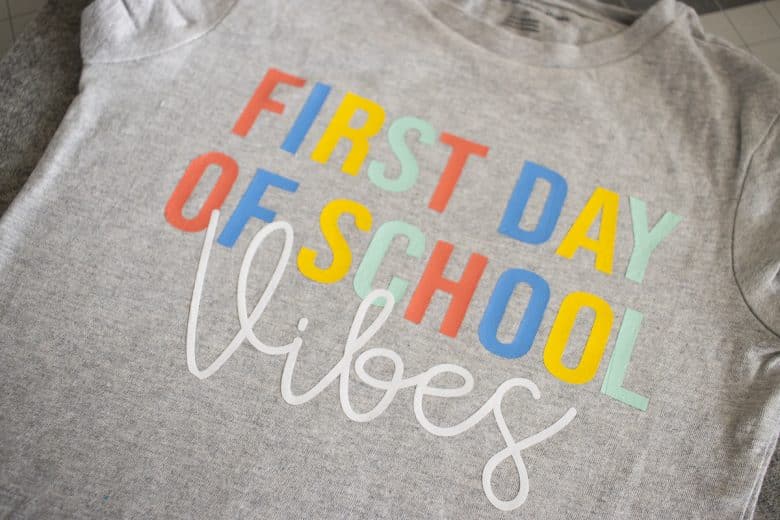
We are pretty excited how this shirt came out. I’m also pleased that I wasn’t working on this the night before school starts! I’m finished with two weeks to spare and now I have time to share it with you as well!





doodle cricket says
Thank you for the helpful recommendations.