
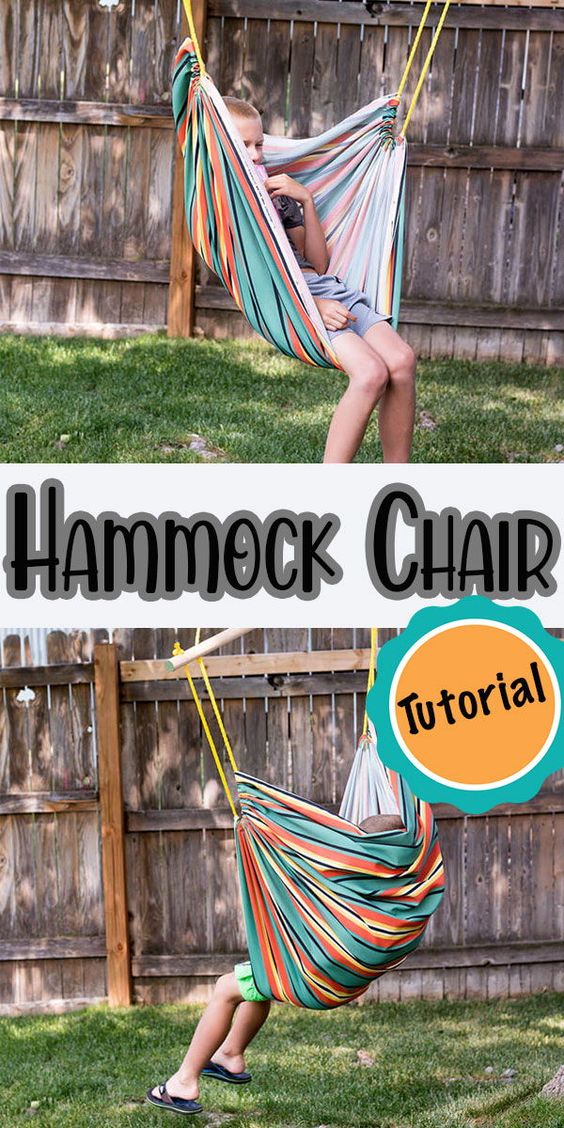
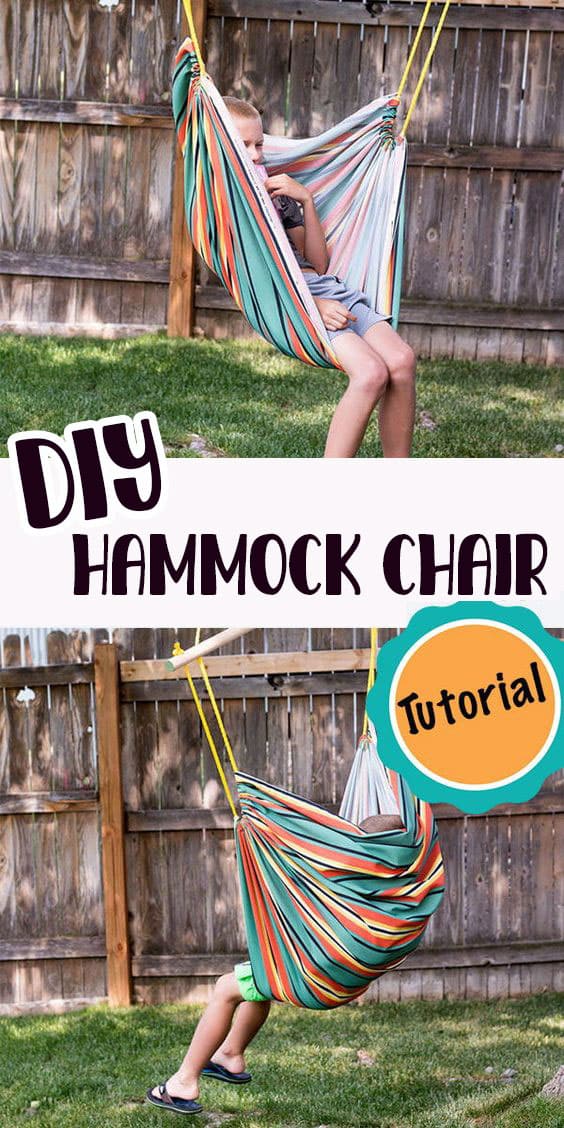
inside: Sew a fun DIY hammock chair with this sewing and diy tutorial. Create a fun outdoor chair to enjoy all summer long.
{posted originally 2018, updated 2025} The post now has a full video tutorial.
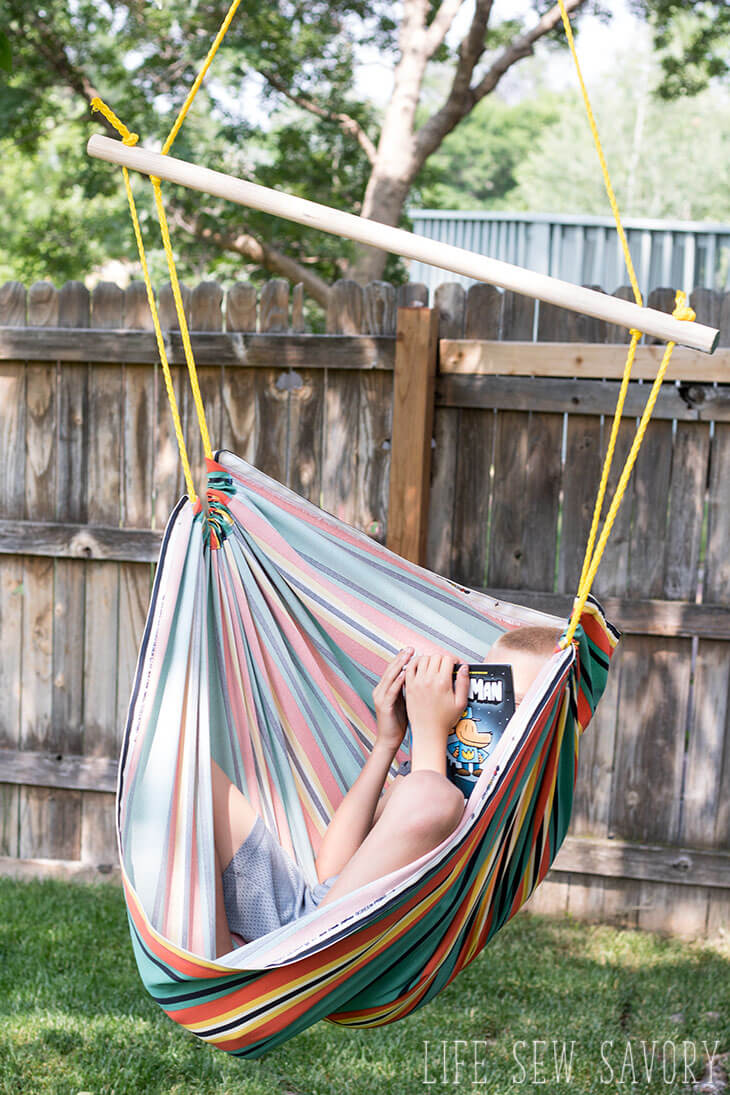
The kids have been patiently waiting weeks for me to finish this DIY hammock chair. I told them I was going to be making a Hanging Chair for our back yard, and then it took me awhile to get all the supplies together. Today was the day it finally got hung! Kids all took a turn, everyone loves it… my oldest went outside to read and swing, only to come in 30 min later saying he was motion sick from reading and swinging.. so, I’ll show to how to make a hammock chair, but swing at your own risk {haha!} Or maybe just keep your feet on the ground so you don’t turn in circles…
Outdoor Chair fun
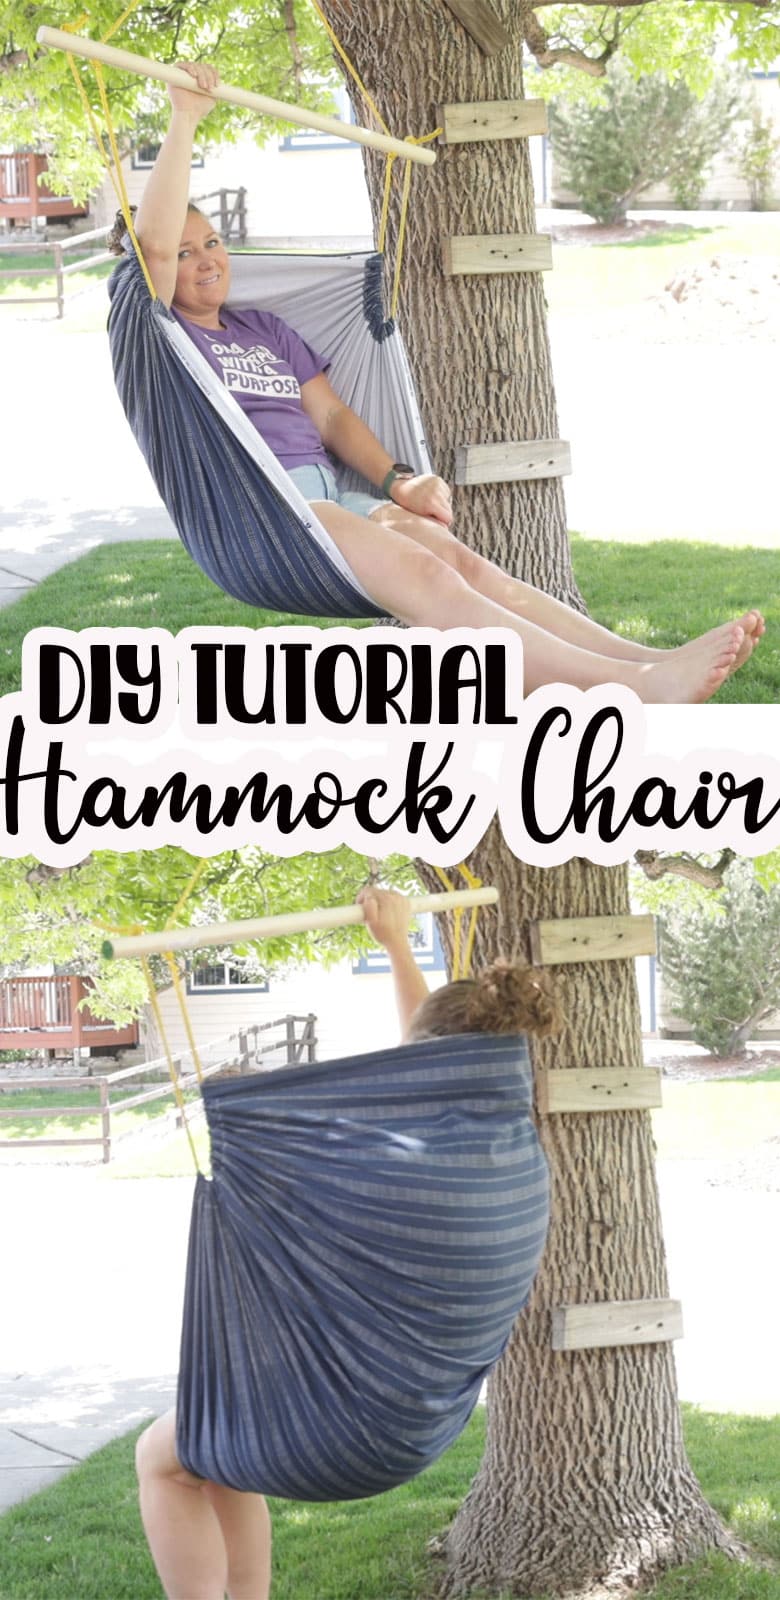
A lot has changed since I originally post this SIX years ago! Wow! where does the time go. The tree this hammock is hanging in no longer exists in our backyard and my kids are way bigger. Also, while this hanging chair lasted for a long time, we left it out over a few winters and it is sadly no more {haha}
It’s probably time to make another one, although we just gave the kids all new full hammocks {amazon link for hammocks we gave the kids} for Christmas, so we may just be hanging those outside this year. This chair was super fun to make though, so if you have a tree or a porch to hang one on, you should make one for this summer!
This hanging hammock chair is surprisingly easy to make and I really hope you will try it out for summer!
Video tutorial to make a Hammock Chair
Here is the making of the chair in action. This is the same as the step-by-step tutorial below, but you may like seeing it in action. The video will appear below here or in the sidebar. If you don’t see the video you may be running an ad blocker.
Other DIY projects for summer fun
Great list of outdoor sewing projects
DIY Hammock Chair Tutorial-
We’ve only had this hanging chair hung for a day, but I can already imagine all the lazy summer afternoons spent reading, swinging or just enjoying the shade on a hot summer day. I’m going to show you how to make your own hammock chair. It’s a project that can be completed in an afternoon {once you have the supplies gathered!}
Reflecting back on the years we had this hammock chair, I can indeed say it was a huge hit and I actually had many many friends and neighbors ask where we got it as they wanted one too!
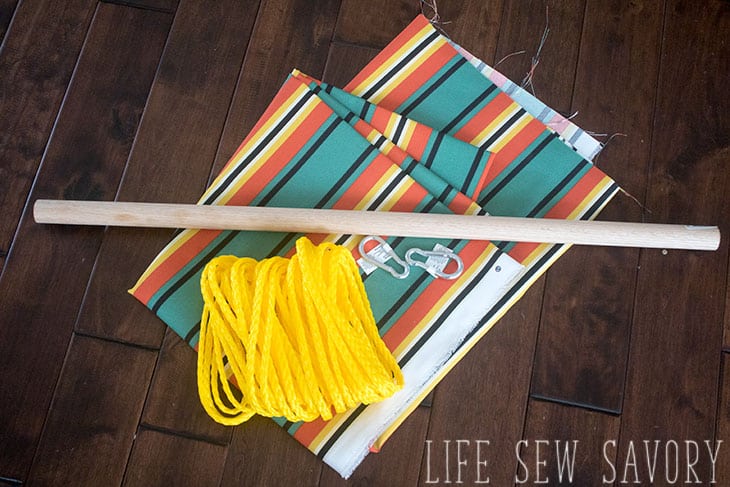
Ok! To make your hanging chair you will need…
- 1.5″ x 36″ hardwood dowel. You can find at your local DIY store or on amazon. {it’s super pricey on Amazon, but this can give you an idea of what to look for at the store.
- 1 and 2/3 yard canvas or other outdoor fabric. I found mine on the sale rack at Hobby Lobby or you can find on Amazon here. The fabric should be 60″ wide.
- 16′ of 3/8″ rope. You want it to be strong and not too stretchy to hold the swing. Like this one here.
- and finally a carabiner to hang it! I also used one of these swing hangers for a tree branch that I used for my DIY hammock Chair. Some branch hanging kits come with a carabiner, so would include both in one set.
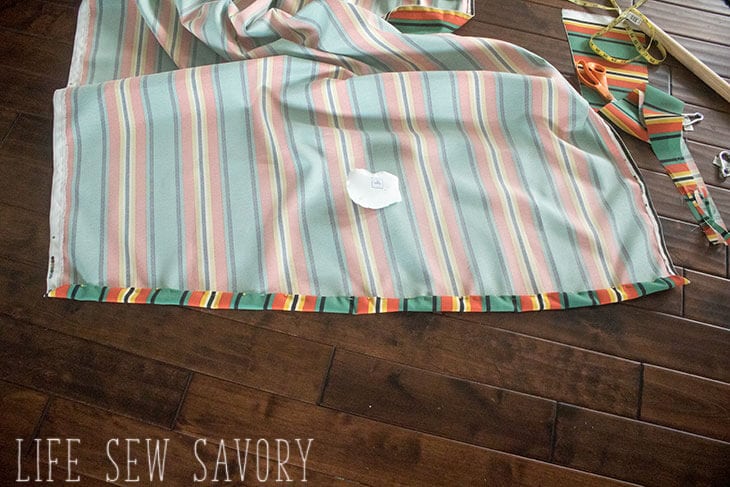
If you have 1 and 2/3 yards fabric you will be starting with a piece of fabric 60″ wide x 60″ long..
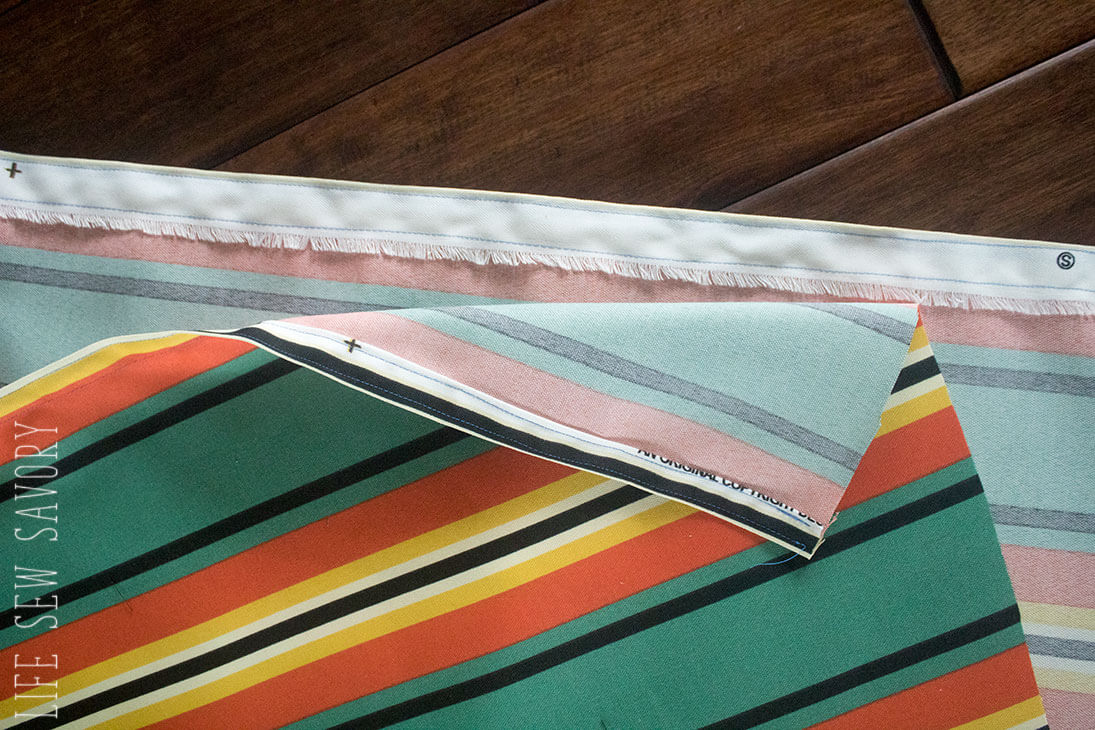
Fold your fabric together with the selvage edge on the sides and the fold in the middle. My fold is where the arrow is here. On the right side here you will measure 9-12″ from the raw edge. I cut mine 9″ and this makes the hanging chair a bit more reclining. If you want it to sit more upright you should cut 12″. Cut from the measured mark then angle down to the opposite raw edge. You will have 9-12″ cut off one side angled down to nothing cut off the other side {see photo below}When you open up the fabric you not have a short side and a long side.

Finish the short and long side. You can just turn over 1″ and stitch or turn over 1/2″ and then another 1/2″ to finish this side. This edges of fabric will not fray so this is just a finish for looks.
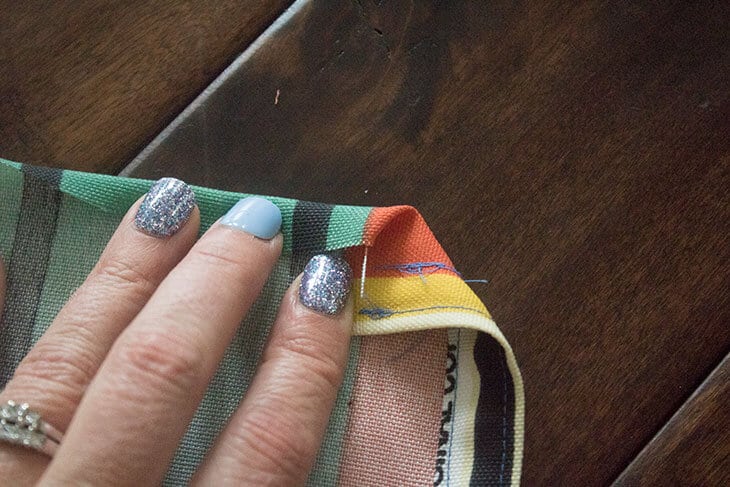
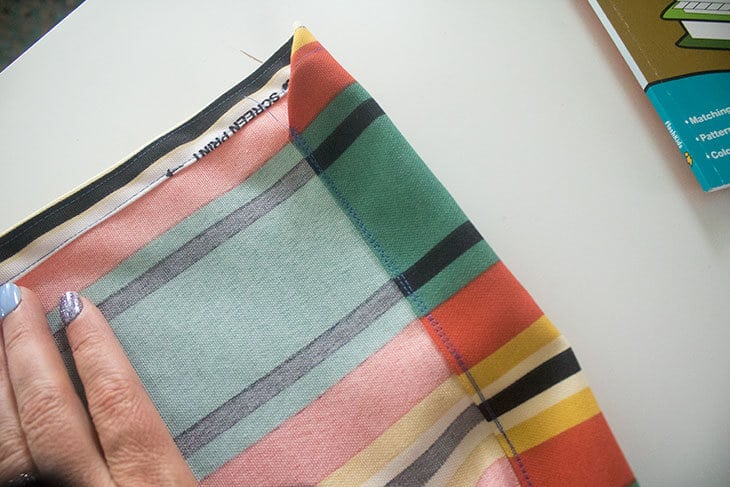
Now let’s finish the cut edges. Fold the corner in, then the edge 1/2″ over. Press the edge 1/2″. Then fold over again 1.5″ to make the casing for the rope to slide through.
Here’s the 1.5″ fold. Pin along the whole raw edge.
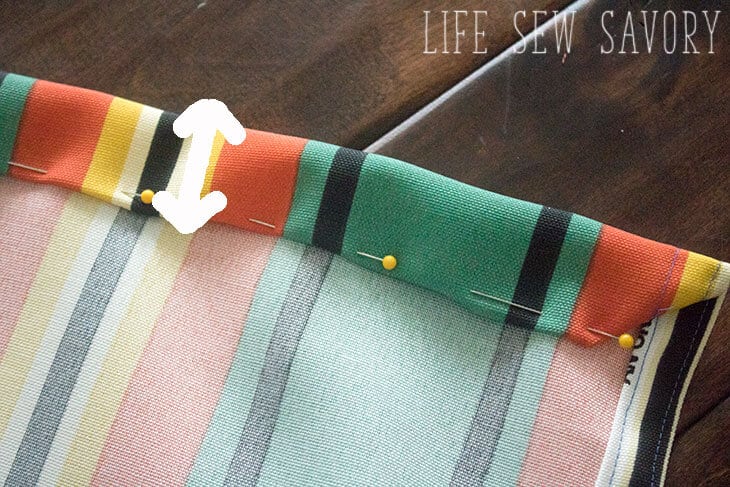
Stitch this edge, then stitch again for a double reinforced seam.
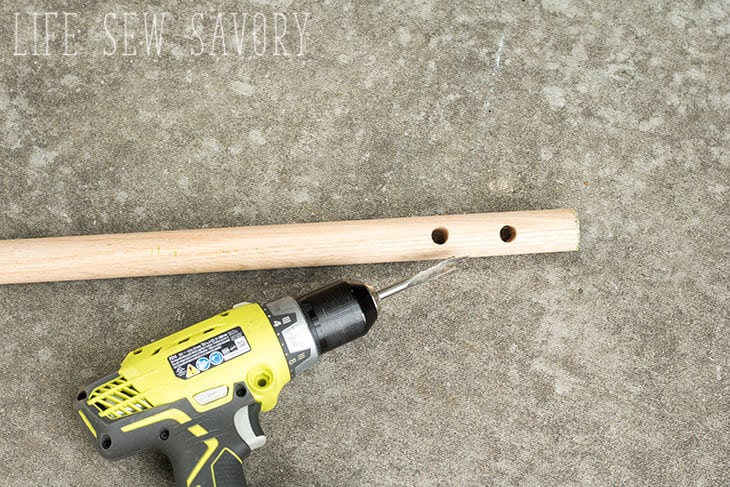
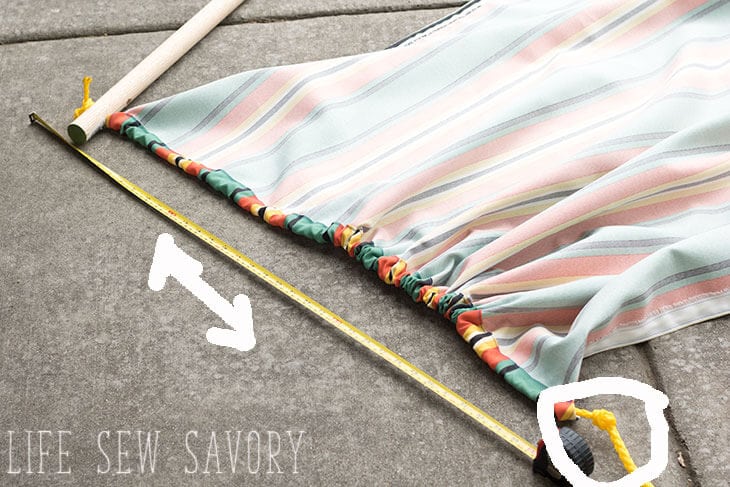
Take your dowel and drill a 1/2″ hole 2″ from the edge and 4″ from the edge. Do this on both sides of the dowel. You will have 4 holes.
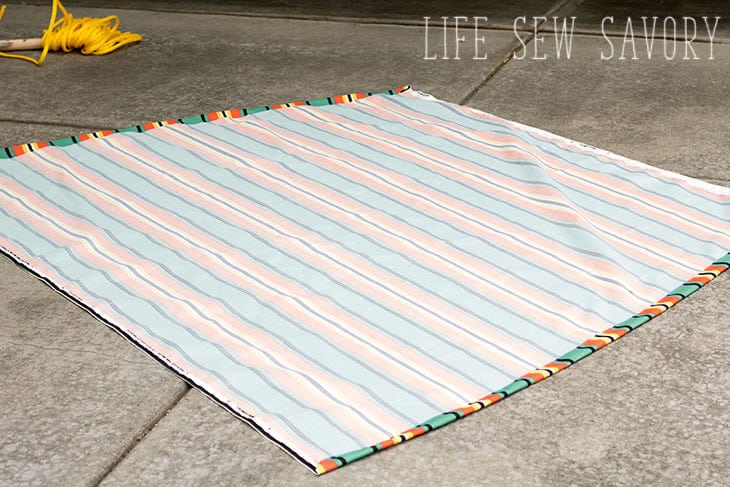
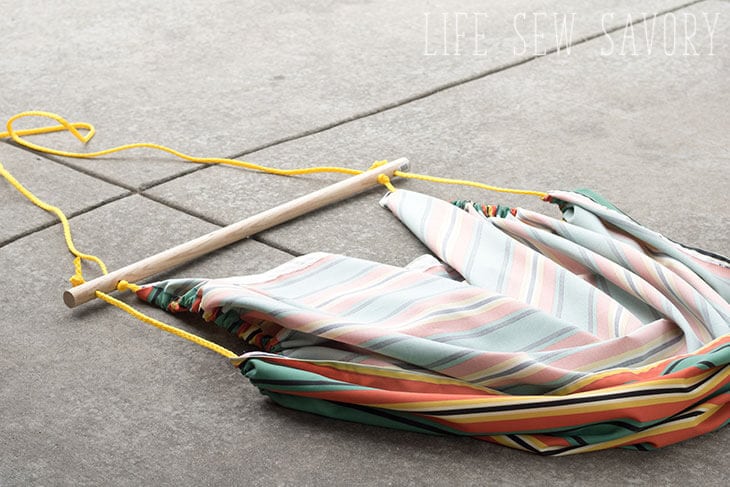
Lay out the fabric. You have a short side and a long side with the angled sides having the rope casing.
Cut the rope 16 feet long. Tie a double knot at one end of the rope, then thread it through one of the outer holes. Then put the rope through the LONG side end of the casing. Again, start threading the rope on the long side of the fabric. Measure 3′ from the dowel and tie another knot.
Thread the rope up through the dowel with the knot on the underside this time. Create a big loop on top, then come back down from the top on the inside hole. 3.5′ from the end tie a knot, then thread back through the fabric, this time you will start on the narrow side of the fabric. Finally, go back up through the dowel and finish with a double knot.
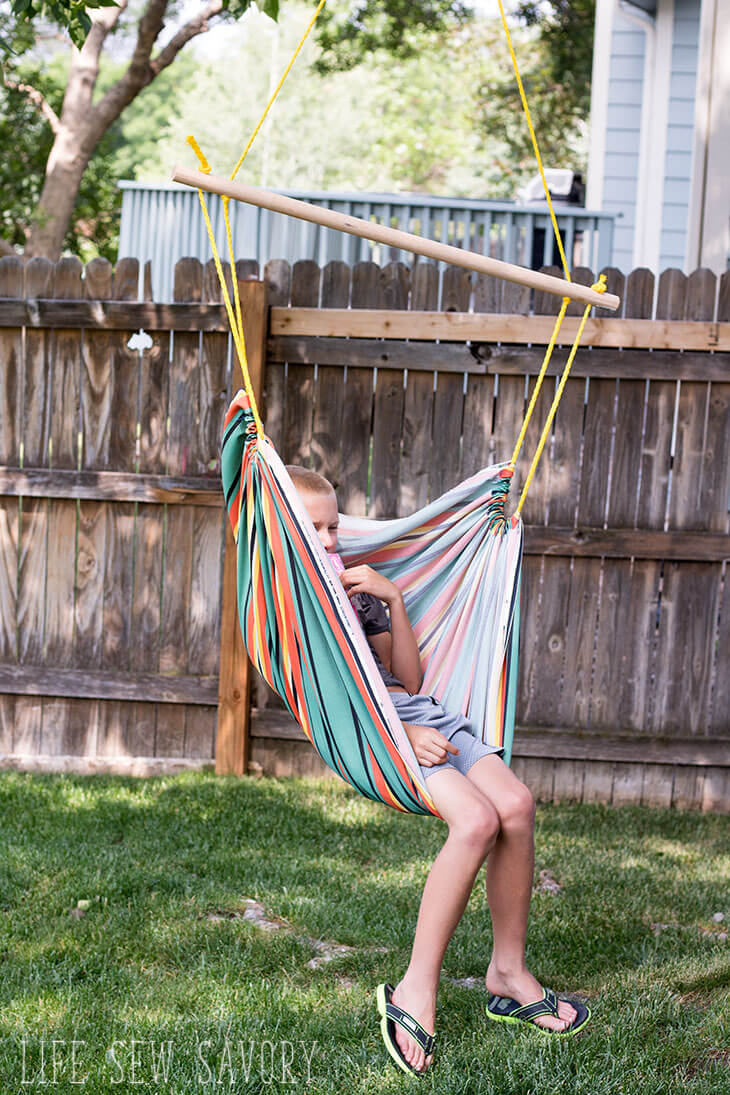
Slide all the fabric to the center of the rope loop. Loop the swing hanger around the tree branch, tie a knot in the top of your rope about 6″ from the top. Then you can use your carabiner to connect the rope to the swing hanger. This swing is a great size for my kids and is also big enough for me to relax in. You can see how our hammock swing reclines in the back. If you cut more off that short side it will sit more upright…
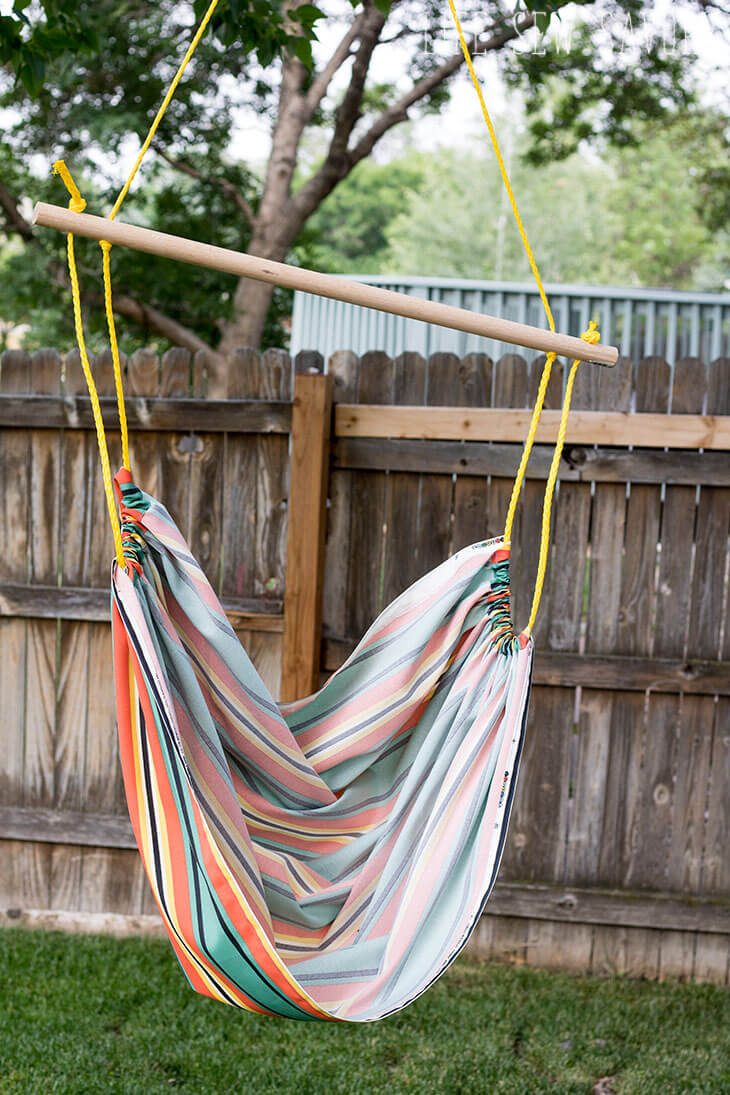
See! I told you it wasn’t that hard! What a fun hammock swing to make. It was fun to make {and easy} and my kids love it! Winner! Can’t wait to see what you make with this idea! Tag me @lifesewsavory on all socials so I can check out your makes.


91 lottery Login says
I absolutely love this DIY hammock chair tutorial! The step-by-step instructions are super clear, and the fabric choices you suggested are just perfect. I can’t wait to give this a try in my backyard. Thanks for sharing such a fun project!
Nervecalm Buy Nervecalm Get Nervecalm says
I absolutely love this DIY hammock chair tutorial! The step-by-step instructions are super clear, and the photos are really helpful. I can’t wait to make one for my porch. Thanks for sharing such a creative project!
b9 game says
I absolutely love this DIY hammock chair tutorial! The step-by-step instructions are so easy to follow, and I can’t wait to try making one for my backyard. It looks super comfy and perfect for relaxing with a book. Thanks for sharing such a fun project!