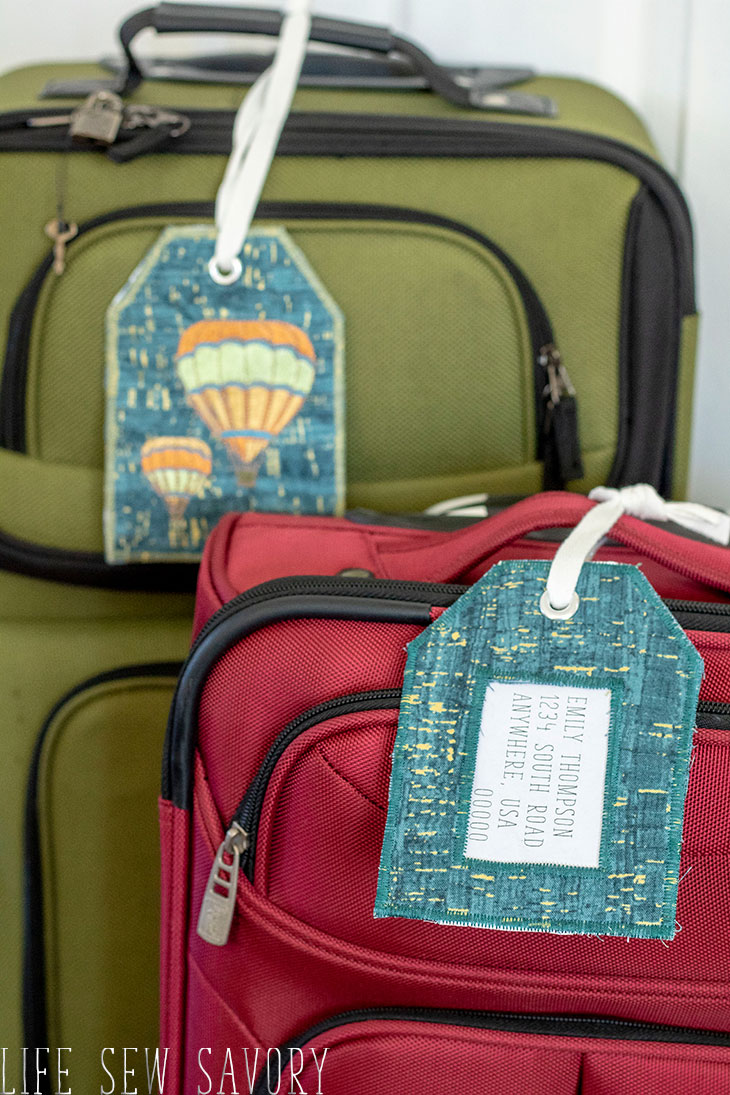
inside: learn how to create easy DIY luggage tags with this free template and the photo tutorial. You can add machine embroidery like I did or just make a plain tag.
We love to travel, if you read this site you know that we’ve taken our kids all over the world. {you can find our more about our travels here} And with these DIY luggage tags I’m adding to my list of sewing projects for travel. If you scroll all the way to the bottom of this post I will share a few other sewing projects that are great for travelling. I love how these embroidered luggage tags turned out and I’m excited to share this tutorial so you can make some cute personalized tags too.
Do you have a black suitcase that blending into the sea of black at the airport? These embroidered bag tags can set your bag apart the next time you travel. You don’t even have to put your name on it to set your bag apart from the others.
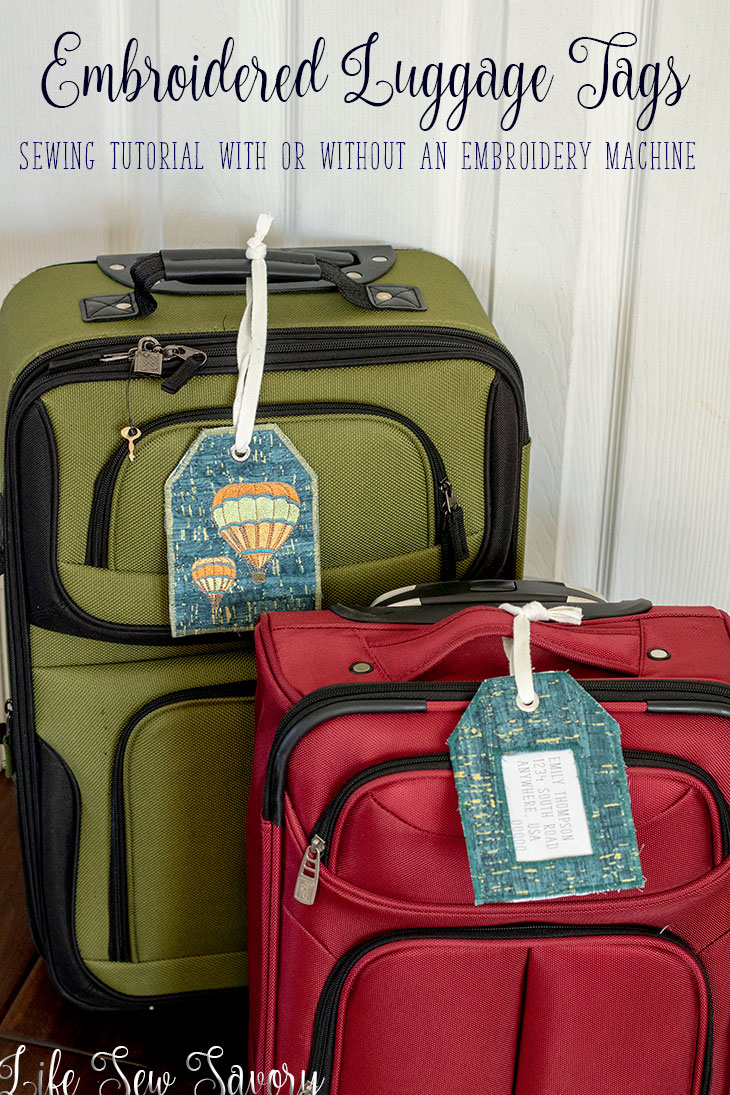
DIY Luggage Tags – Tutorial and Template
Ok, so I have to start off this post with a bit of a story.. I originally wrote this tutorial for the Brother Sews blog. I write at least one post a month over there… Have you check out my tutorials over there? Anyway, I was in a bit of time crunch so I went on Amazon and {thought I} ordered Cork..
I wanted to make these tags out of cork. Well.. When the package arrived it was fabric that looked like cork… not exactly what I wanted… So I ended up finishing my DIY luggage tags with a zig-zag all the way around, but if I actually had cork I would have just stitched the edge. I will give the directions for both below.
Here is the cork FABRIC I bought.
Here is the cork I actually wanted. Or this one or this one. I think these embroidered tags with be SO cute in real cork. Next time!!
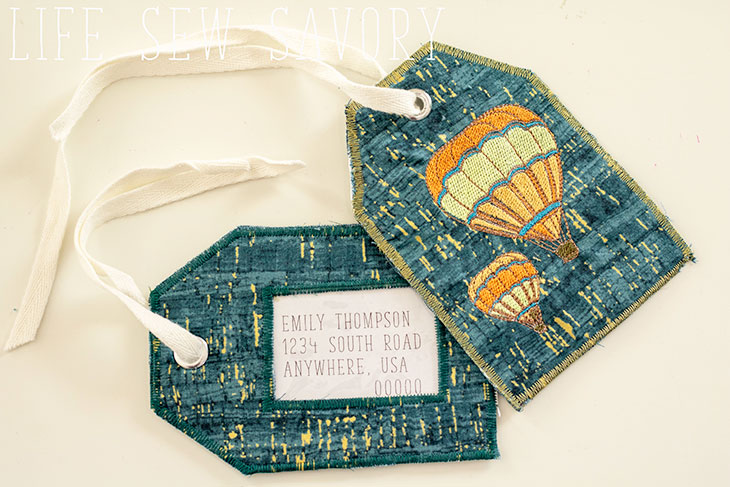
For now, let’s move ahead with the tutorial using my lame cork “fabric” {haha}
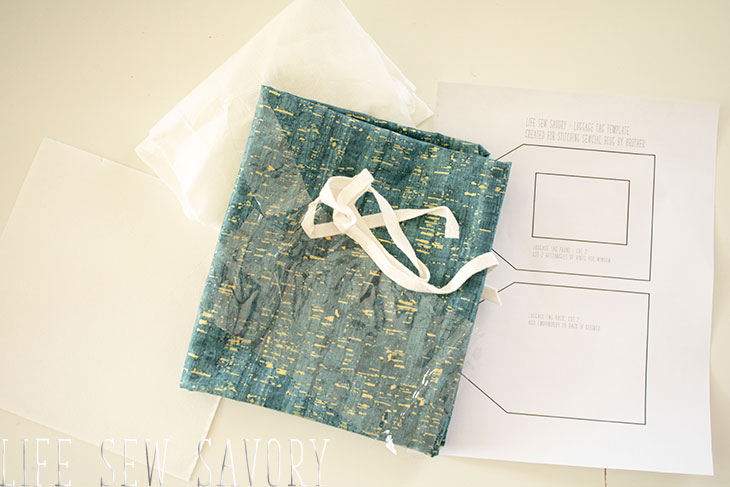
You can download my luggage tag template HERE. Print and use to create your own amazing diy luggage tags for your next trip. Gather your supplies. In addition to the cork you also need some clear vinyl, cording and iron on interfacing. {although if you are using ACTUAL cork you will not need the interfacing}
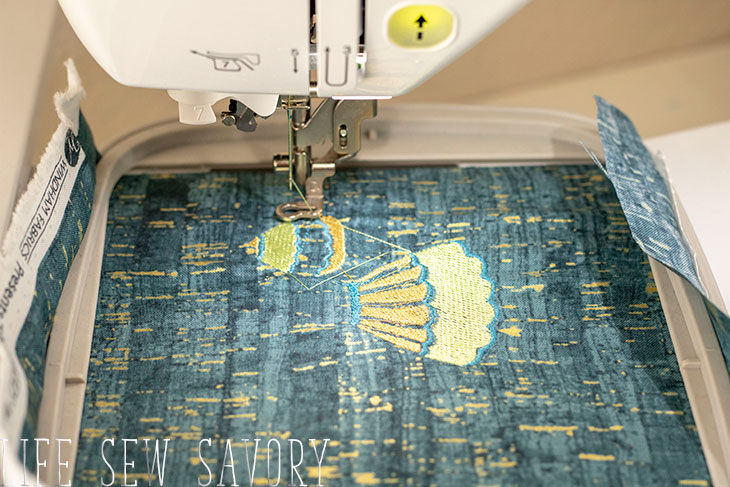
If you are added machine or hand embroidery I would do that on the cork or fabric before you do anything else.
Next, iron interfacing on a piece of fabric big enough to cut one tag. Don’t cut yet, but prep the fabric.
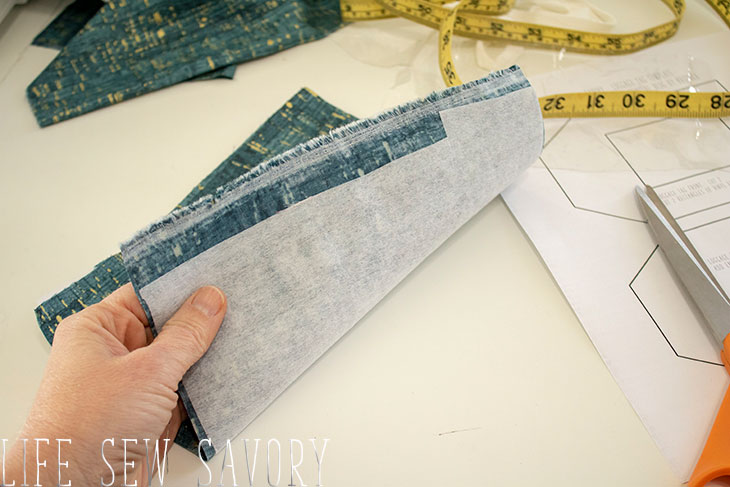
Now, cut two tags with window hole. One should have the interfacing on the back and the other just fabric. If you are using actual cork I would only cut one of this side of the template. You would not need two. Use the rectangle from the window cut out and cut out a piece of clear vinyl. Make it at least .5″ bigger on all sides for seam allowance.
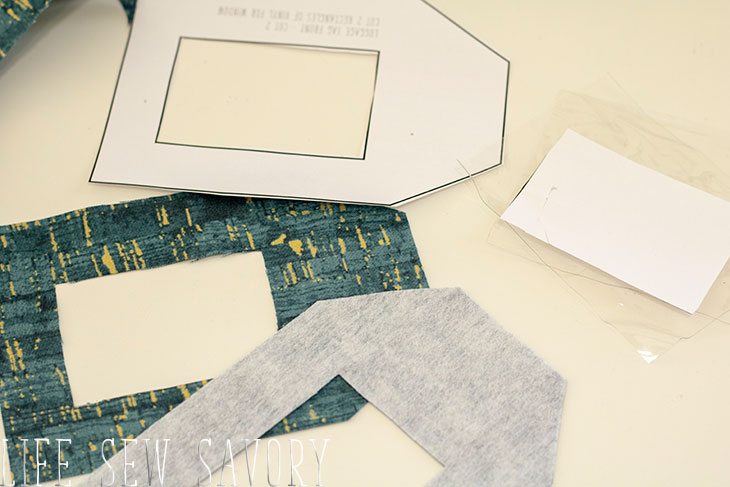
We will now get ready to sew. Make a sandwich with the vinyl. Place the wrong sides of the fabric together with the vinyl centered in the window. Pin or clip all sides to hold in place. If you are using CORK you will not zig-zag I would just use a straight stitch to go around and hold the vinyl in place around the rectangle.
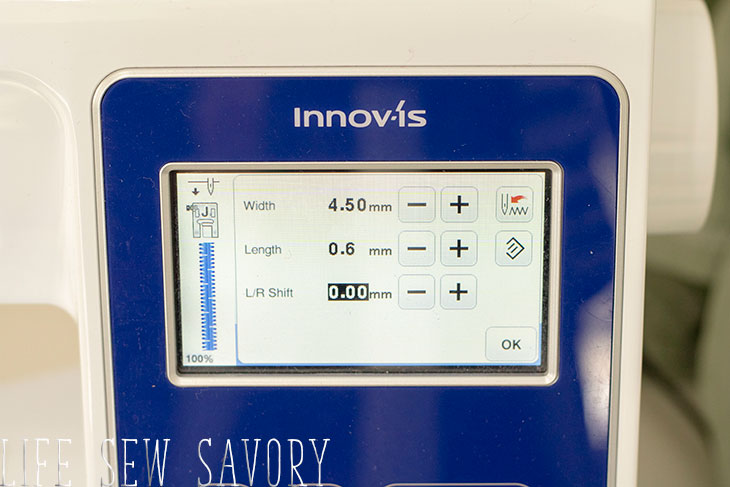
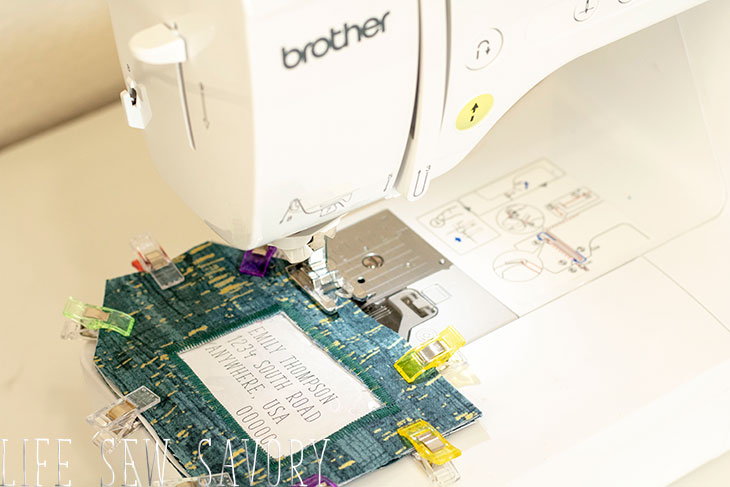
Set your machine for a tight zig-zag for the make your own luggage tags fabric version. Here are my settings.
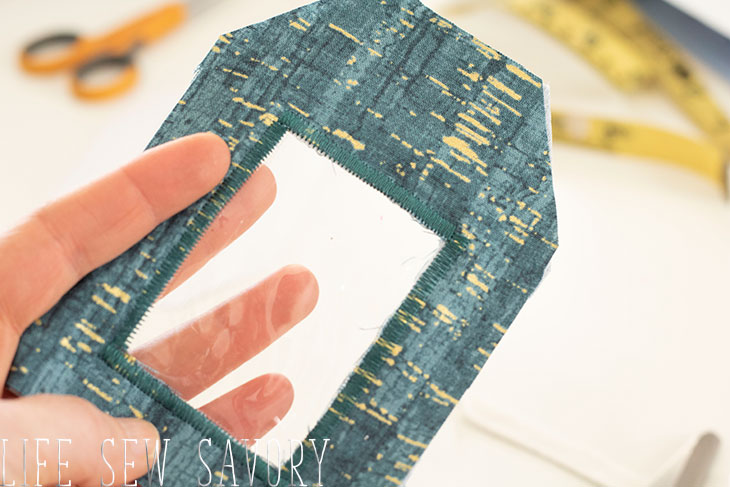
Sew around the window rectangle. Again if you are using CORK that will not fray I would just sew around this window with one layer of cork and one layer of vinyl and a straight stitch.
Here I have two layers of fabric with the vinyl in the middle for a finished look.
We will now make another fabric sandwich. Place your embroidery design face down on the table, then another full tag with the wrong sides together. On top of those two place the window piece you already created. {note – you can see that I left the embroidery stabilizer on the fabric to add to the stiffness of the tag.
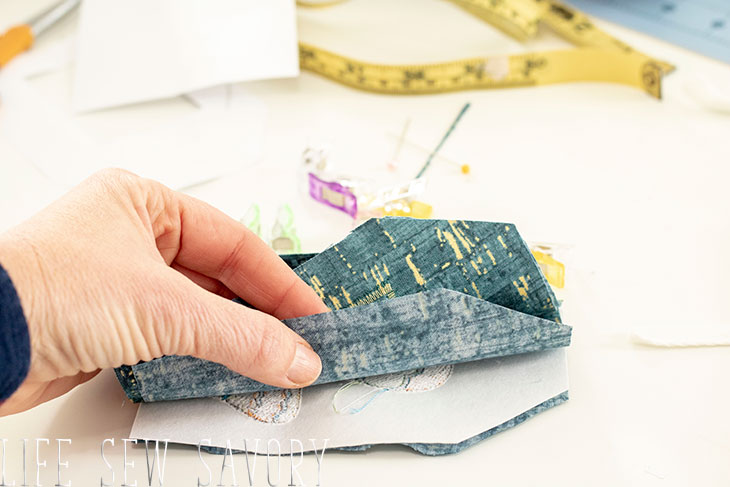
Before you sew it all together you can stick you address/name or other identification in the window. Like I said above you actually can just use this as a way to find your bag quickly and not even add your address… up to you!
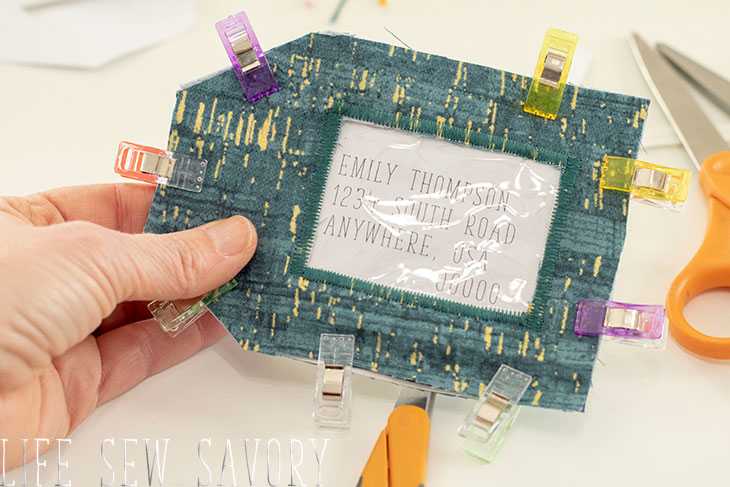
Sew around with the tight zig zag again. If you are using CORK just use a straight stitch around the edge.
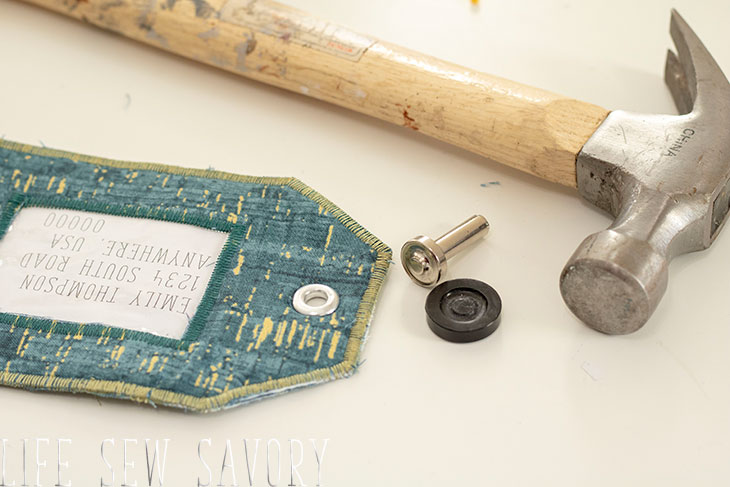
Use a metal grommet or a button hole to make a circle for your ribbon or cord to thread through.
Add your tags to your bags and get out and see the world! Yeah!!!! I think they look pretty great!
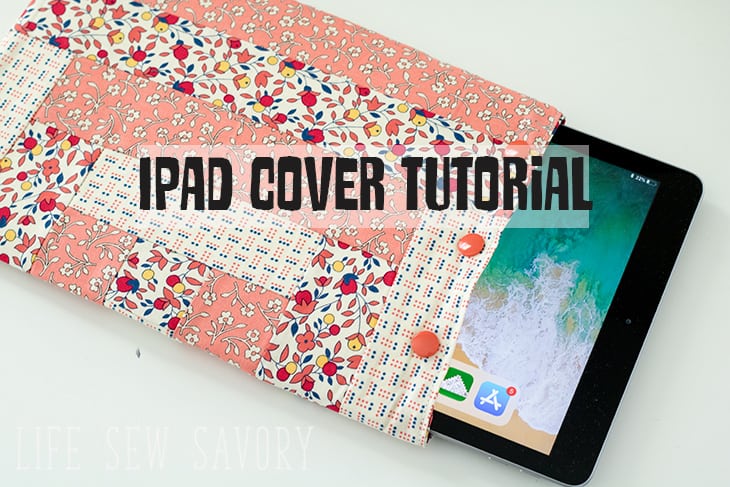
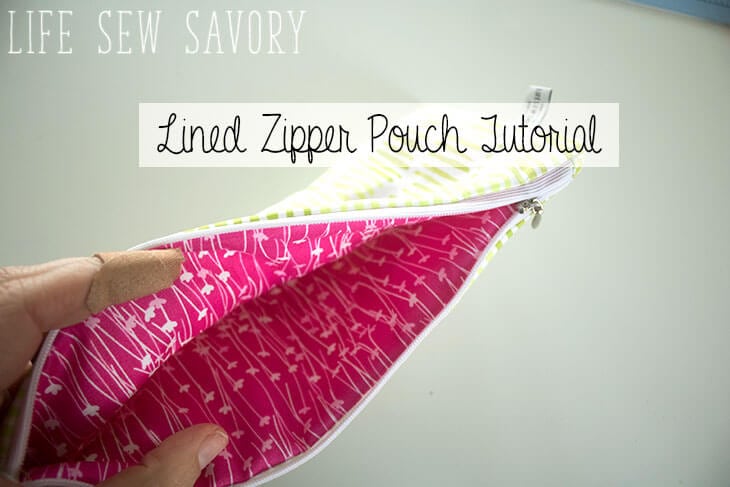
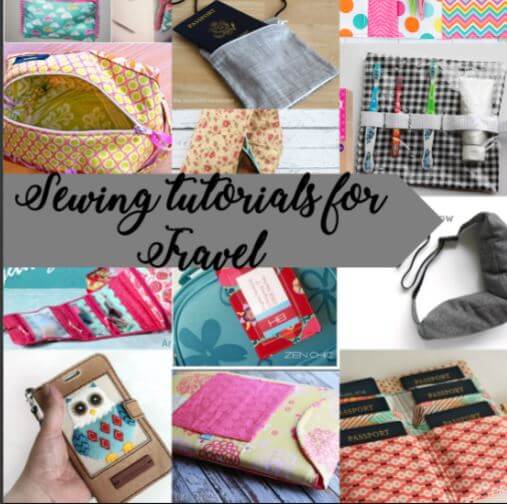
Here are some other travel related sewing tutorials-
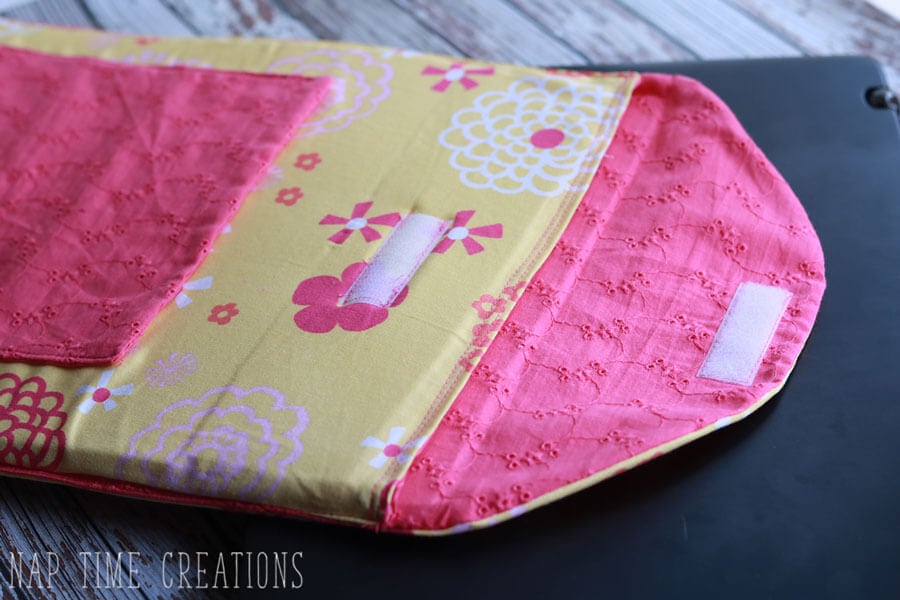
Lap Top Sleeve Sewing Tutorial







Leave a Reply