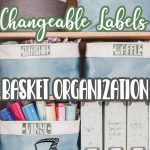
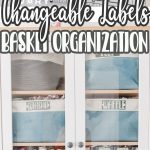
inside: Create easy DIY organizing labels for fabric baskets. These organization labels are perfect for organization tags for baskets or other bins. Create easy interchangeable vinyl labels.
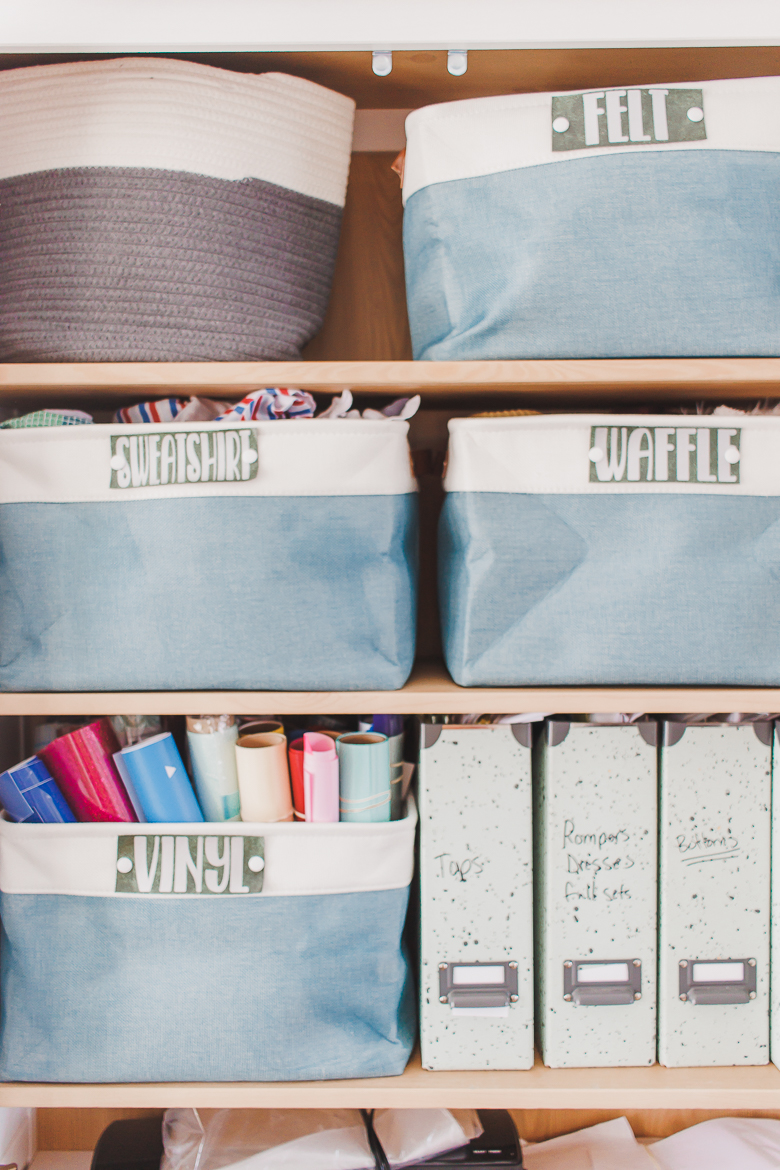
Over Christmas break I did some reorganizing of my sewing space. I needed a bit more space for storage and I also wanted to clean up a few pieces. My desk is now a corner desk and I’ve almost doubled my storage space. You may have seen my new shelves in the post last week. Today I’m going to be showing you the fabric and rope baskets I purchased as well as the DIY organizing labels I created to use with my new shelving.
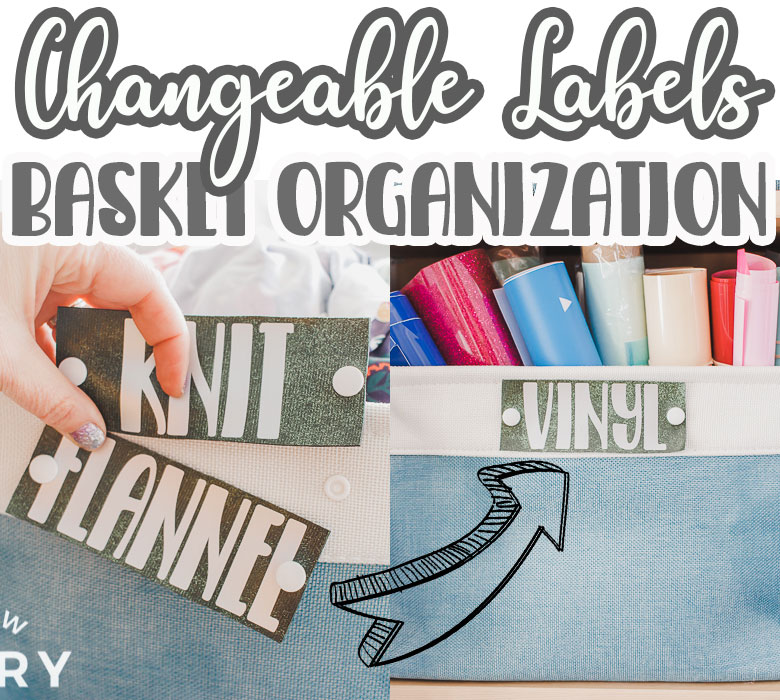
DIY Organizing Labels
First up, here’s a quick preview video to show you how it all came together. This video is not meant to be the tutorial, but just the inspiration. It’s a quick overview of the project. The full detailed tutorial is below. If you cannot view the video, please disable your ad blocker OR try a different browser.
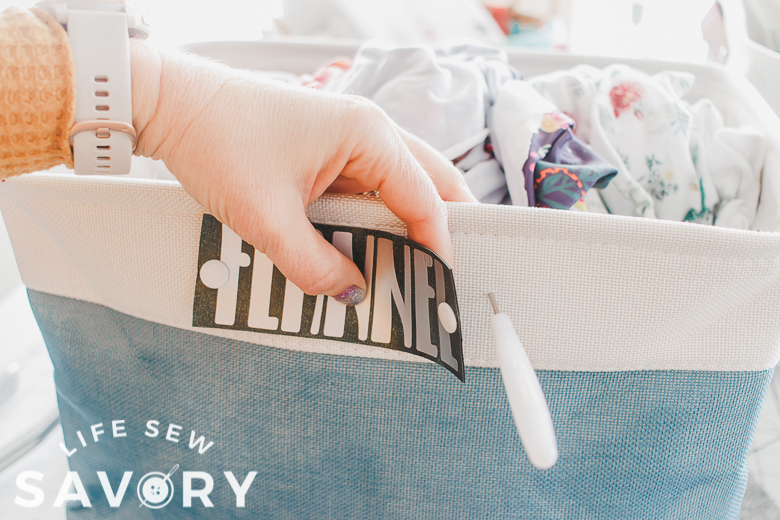
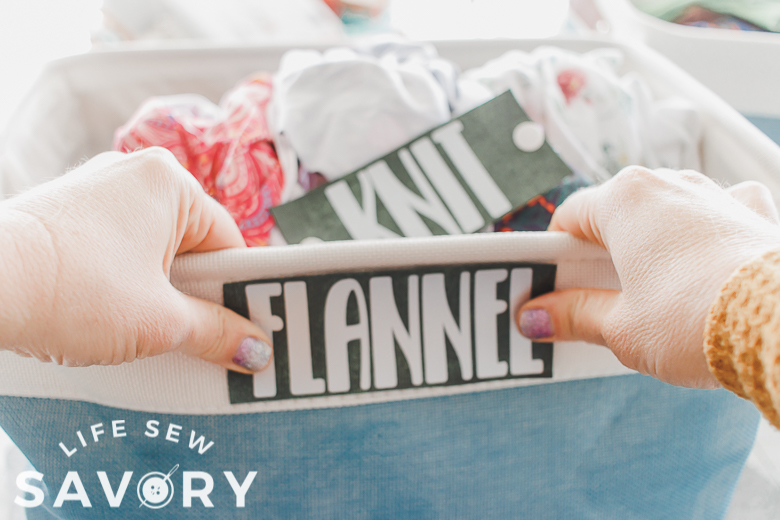
I not only wanted to label my baskets, but I wanted them to be changeable in case I move things around in the future. These baskets probably won’t store the same thing forever, so I want to be able to change the labels as needed. I’ve created these DIY organizing labels all the same size so they can be changed out or around as needed.
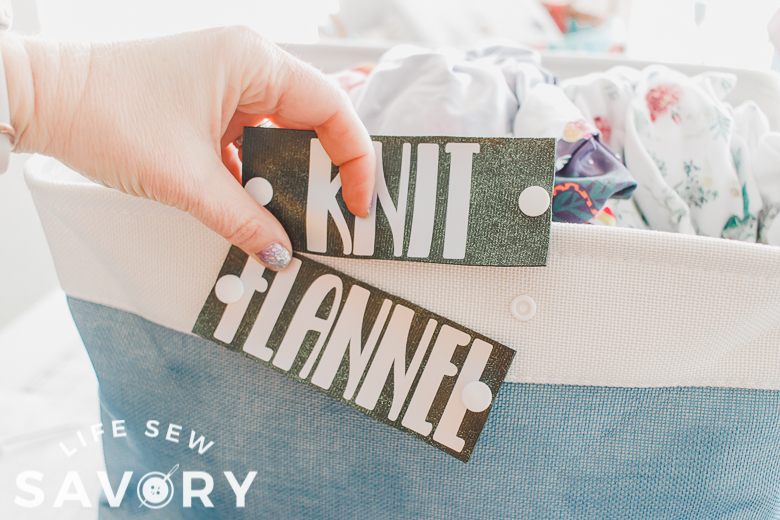
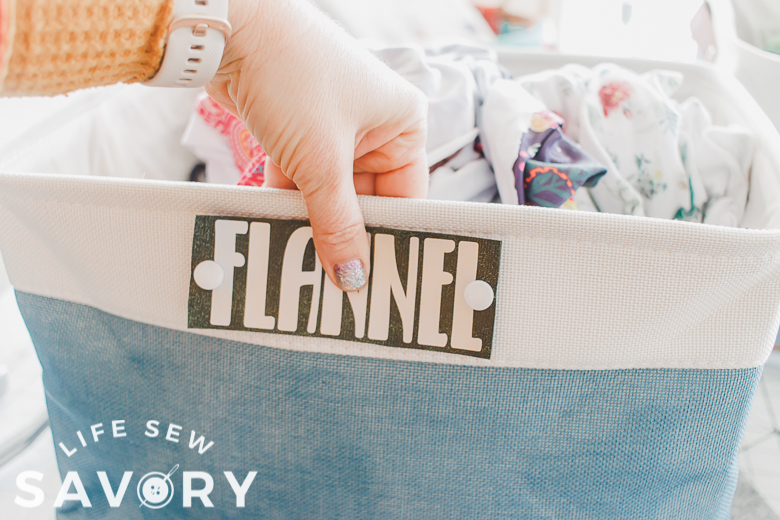
I’ve got snaps on the baskets and snaps on the labels and they all fit. I can switch them around as I change supplies or make a new label if I put something else in the basket. I also think these labels look pretty cute too! Just what I needed for basket labels.
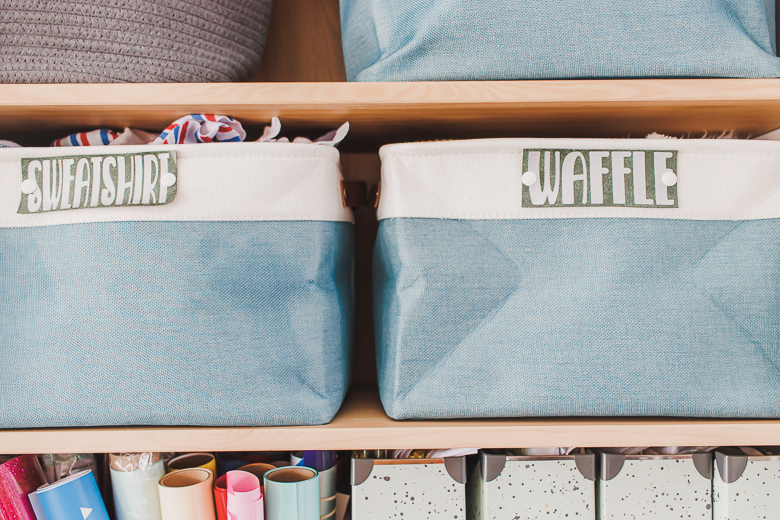
Organizing tags for baskets
I love how nice these basket labels look! You can create these easy organizing tags for baskets with any color or style that works for you. I used a faux vinyl fabric for the backing and heat transfer vinyl for the word. I’ve got a list of all the supplies below.
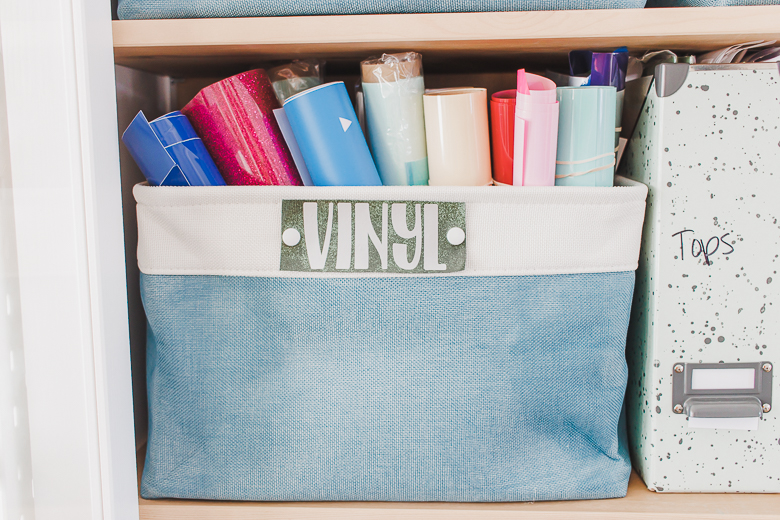
I have both rope baskets and fabric baskets in my new shelving. There aren’t labels on the rope baskets yet as I only have a couple of those. I have six of the blue fabric baskets and I wanted to add basket labels to them so I don’t have to pull them all out every time.
How to label baskets
Creating these basket labels was quite easy if you have the supplies. Before we discuss how to label baskets, let’s first start with the fabric baskets I bought. Here are links to the rope and fabric baskets I have on my shelves. I love that they come in several colors to go with your home decor.
After you have the baskets you want to label you need to supplies to create the labels.
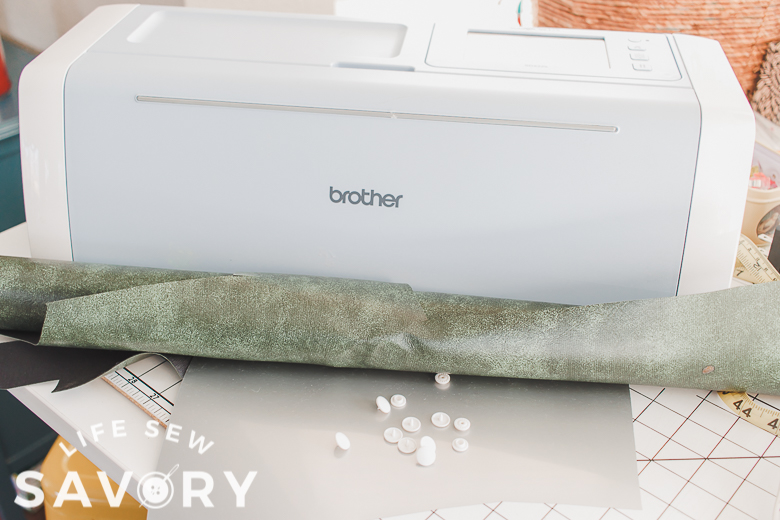
If you need help with using heat transfer vinyl you can see my tutorial for that here. I’ve also made these cute tags that you can write on and wipe away. These would also work for basket labels as you could change what was written on the label.
how to make labels for organizing
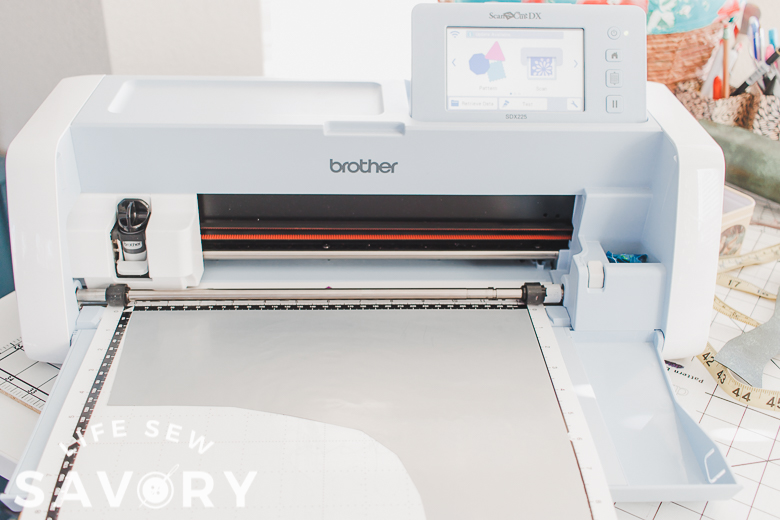
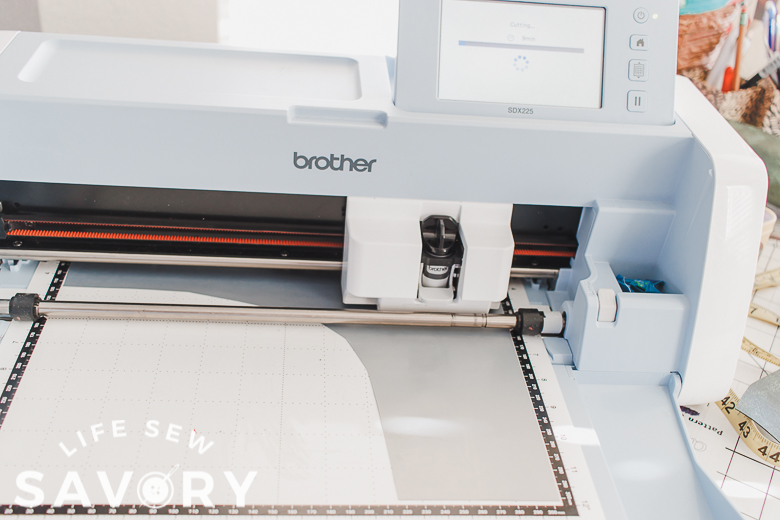
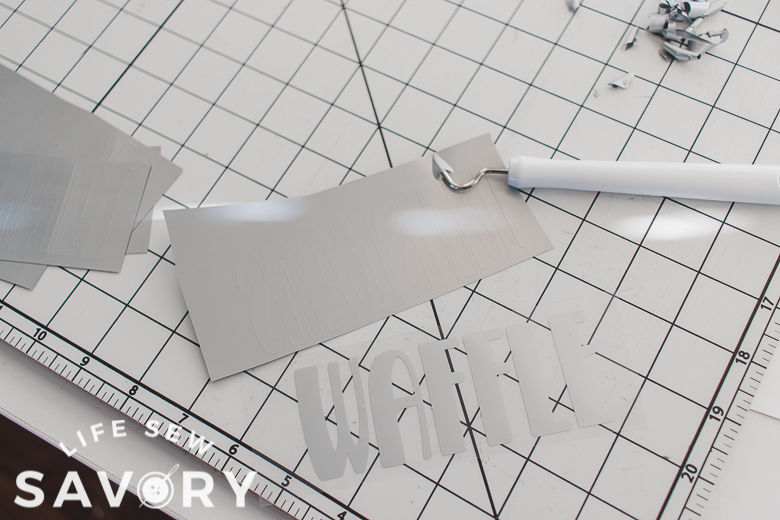
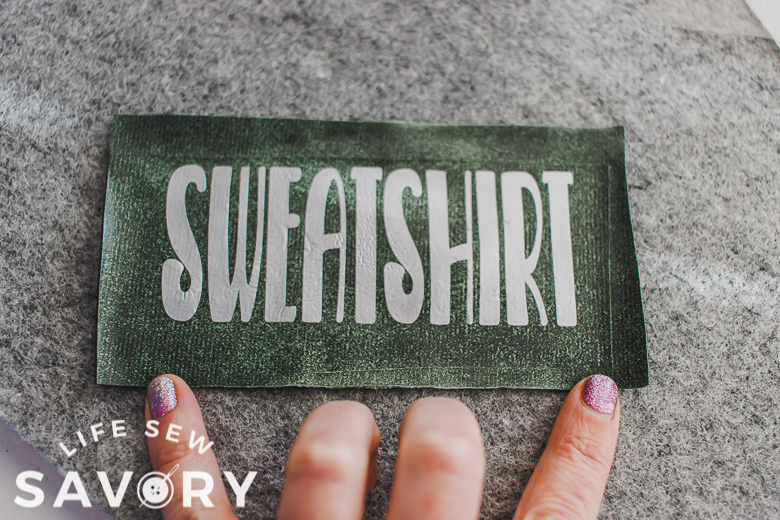
There are so many ways to create your own labels, but these are specifically for fabric baskets {that you can put a snap in} and also created to be changeable. These were two things I had in mind when I was creating these labels. With the above supplies, the first thing I did was to cut the words for my labels with heat transfer vinyl.
Before I cut the letters I did decide how big {tall} I wanted the letters to be. Mine are 2″ tall and varying widths {depends on the words}. Make sure the longest word is within the size you want for your labels. Also note that you will need to reverse your letters before cutting.
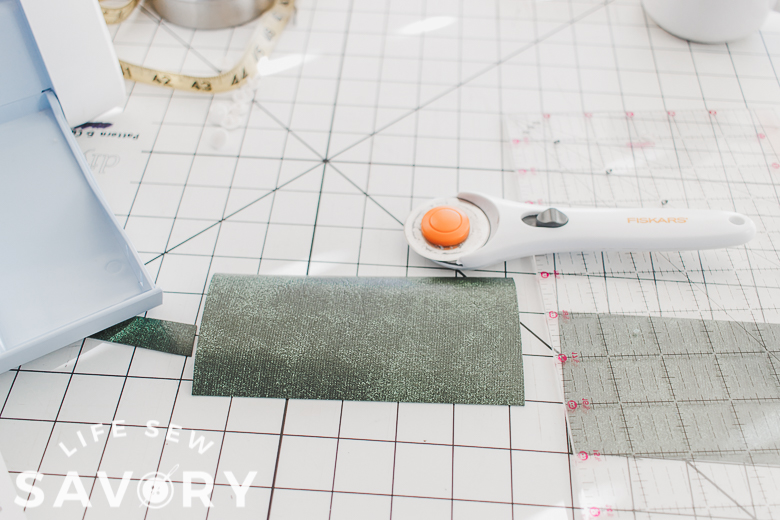
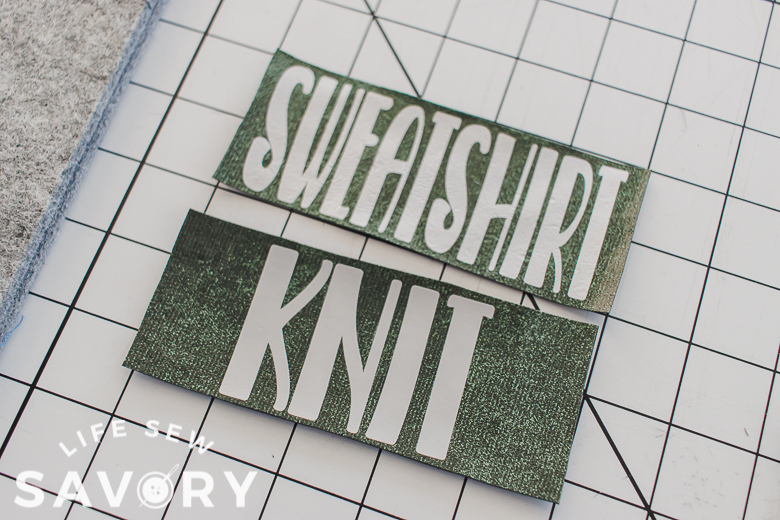
Because I wanted my labels interchangeable. I cut all my vinyl backings the same size. {I ended up trimming down, but still keeping them all the same} Weed the vinyl words.
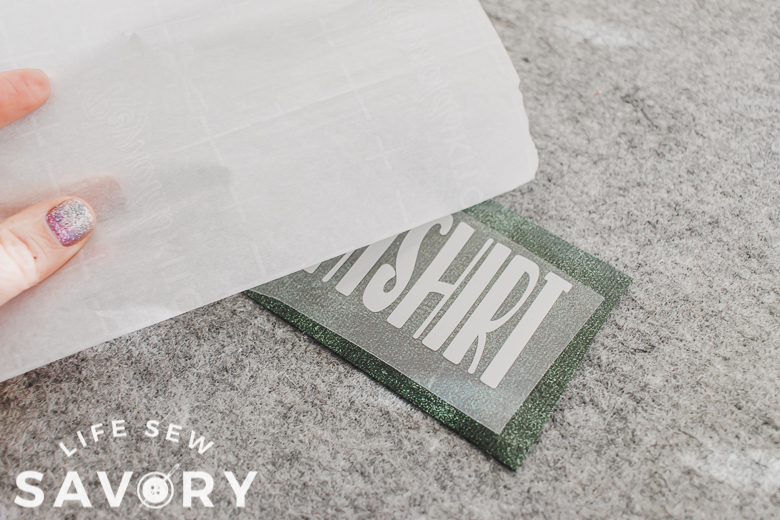
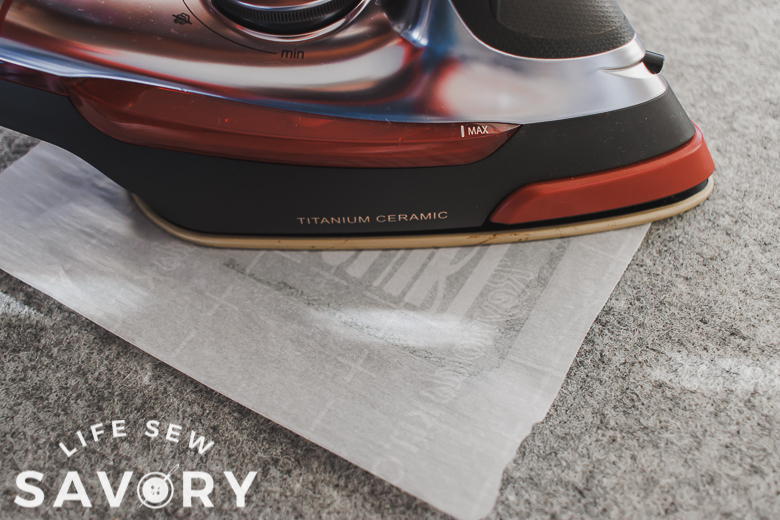
Iron on the letters to the vinyl backing. I used a piece of parchment paper to cover all of it because the vinyl fabric can melt.
Let it cool then peel off the clear protector. You can see the labels on the right side that I trimmed down. The height and width are still the same on all labels. I decided I didn’t really want any border around the words.
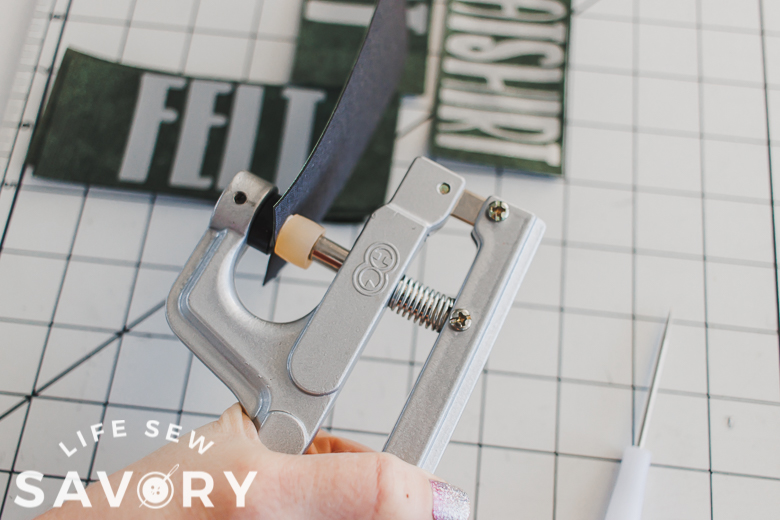
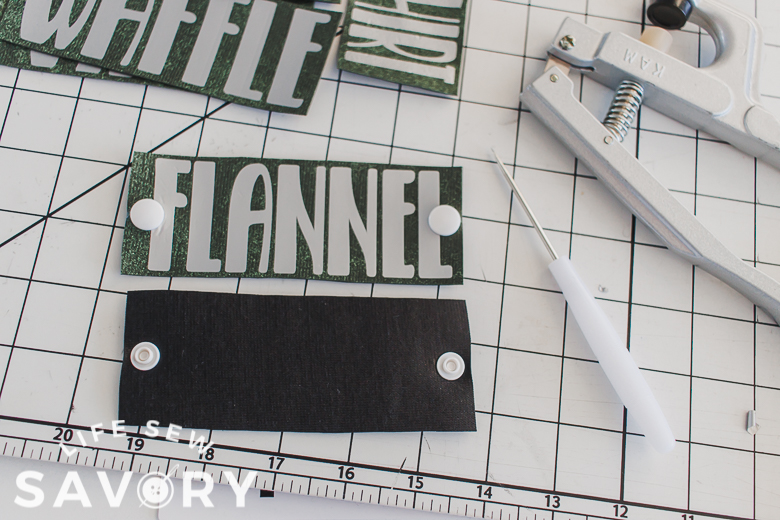
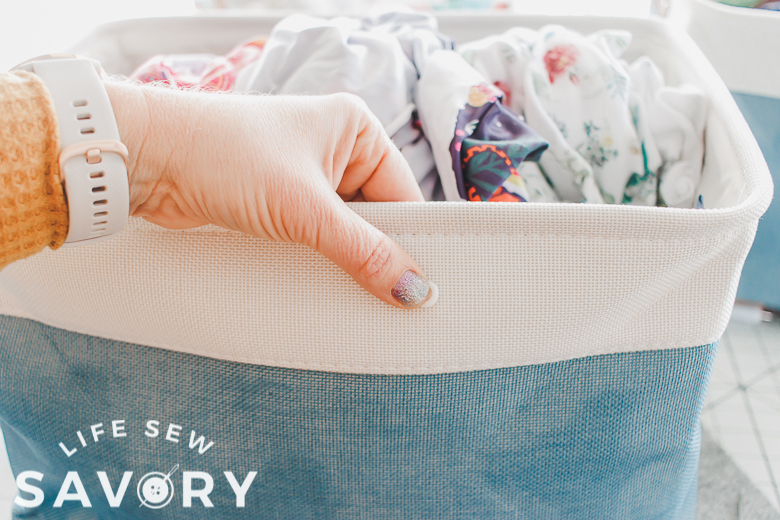
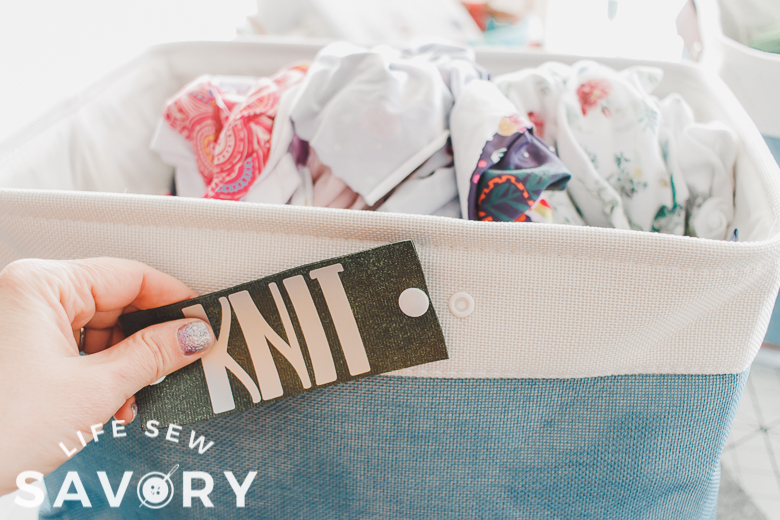
Place snaps on either side of letters, use the same side of the snap on all the labels.
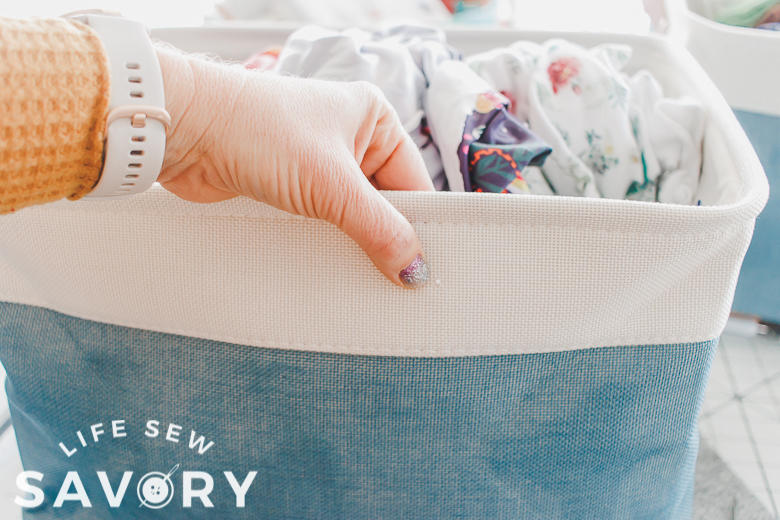
Find the placement you want on your basket. Make a hole for the first snap.
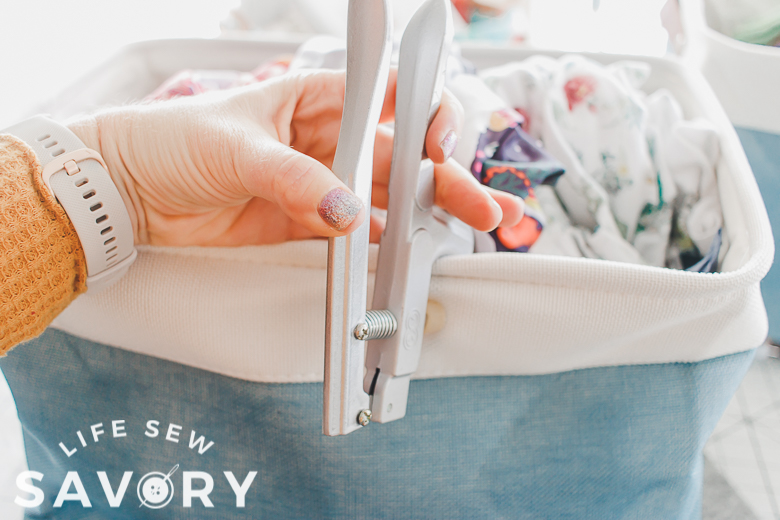
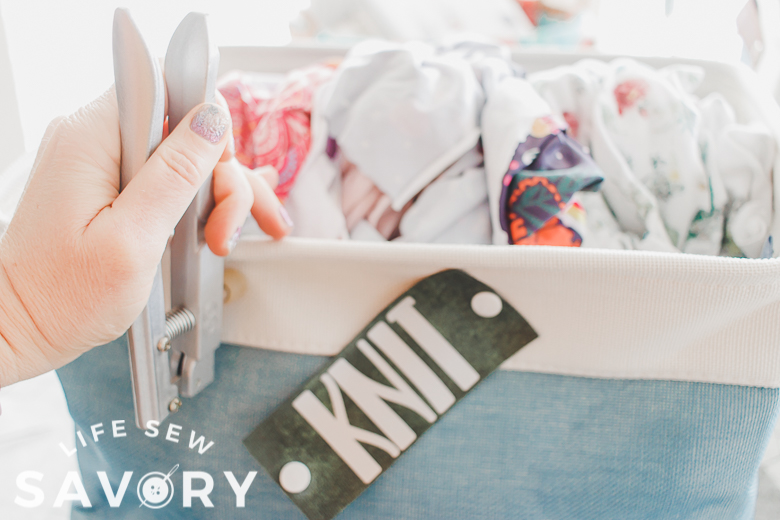
Place the snap stud from the back of the basket, then place the snap on the front. Clamp it in place and snap one side of the label in place.
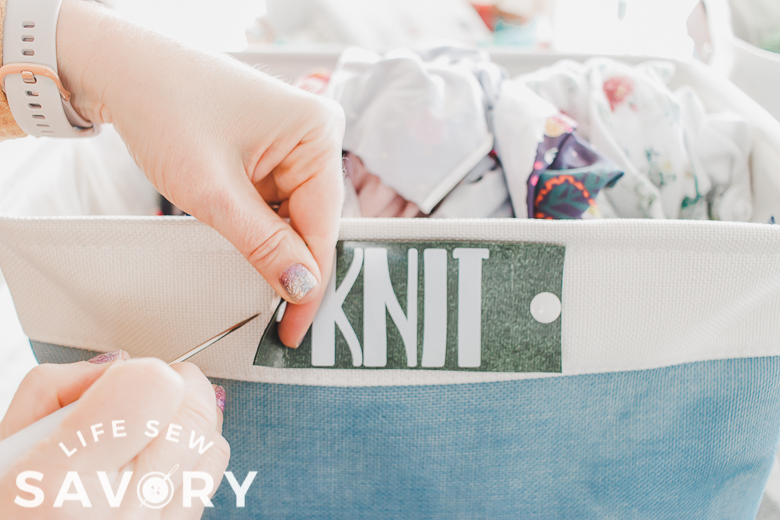
While the label is in place, mark the second snap placement. Set snap.
Label is now attached to the basket and ready to make your organization clear and orderly.
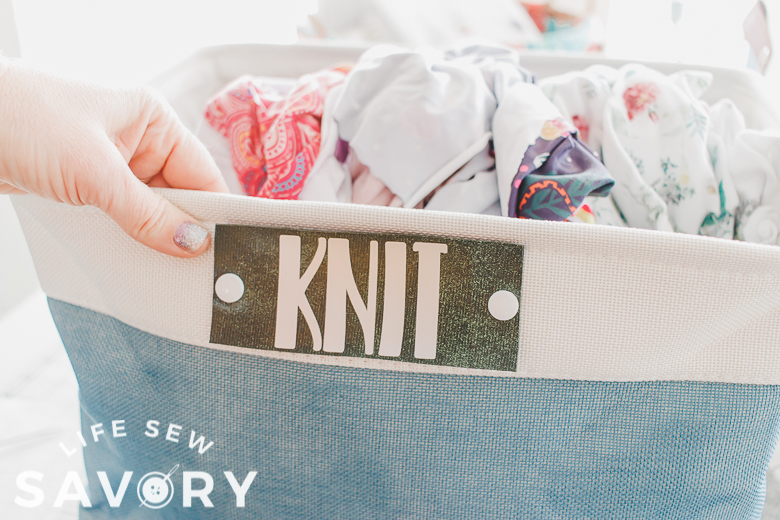
You can change out the labels at any time. Amazingly easy basket organization.
Here are a few other fun organizing ideas:









Leave a Reply